|
Area51 Project Foreman 2019: Big Refresh!
Work on Project Foreman started early this year in February as I began prepping the bike for our annual winter cabin trip to the Sooley Cabin in Whitbourne. We had very little snow this year but very cold temps so ponds were frozen and steep ATV trails icy and quite dangerous for rubber tire machines.
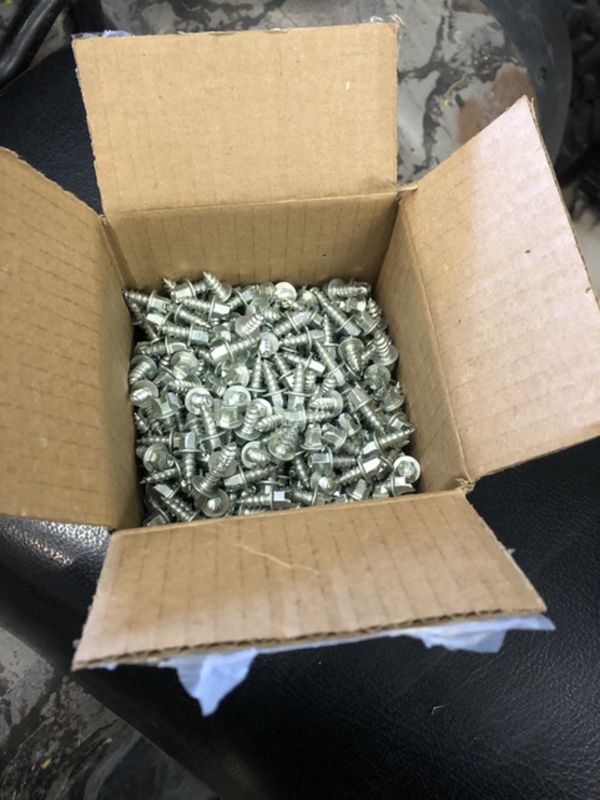
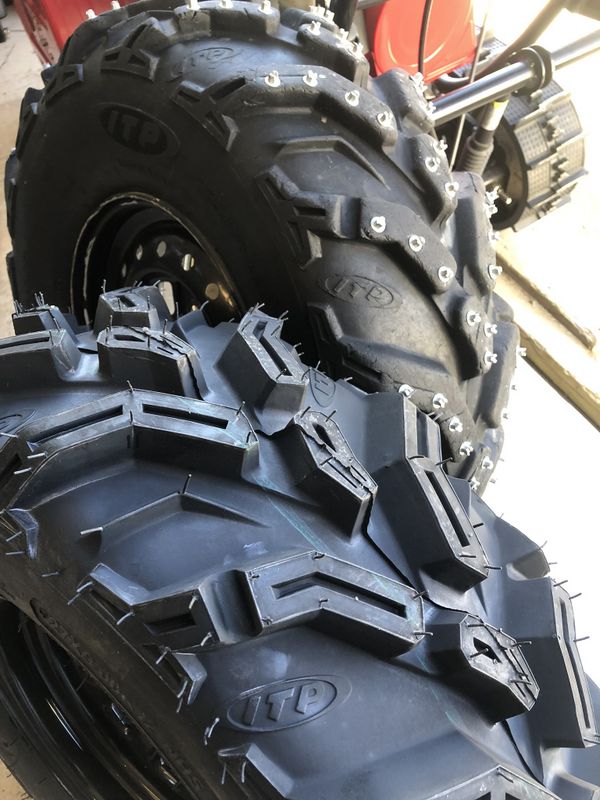
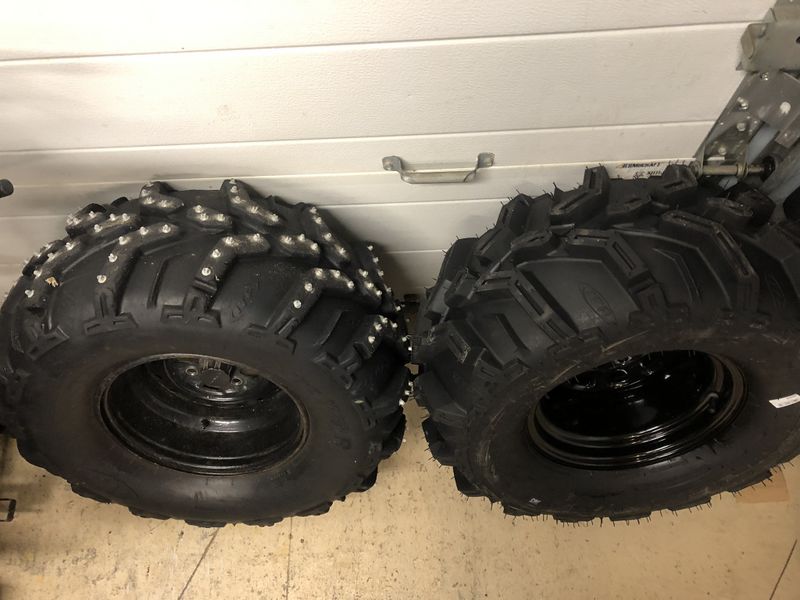
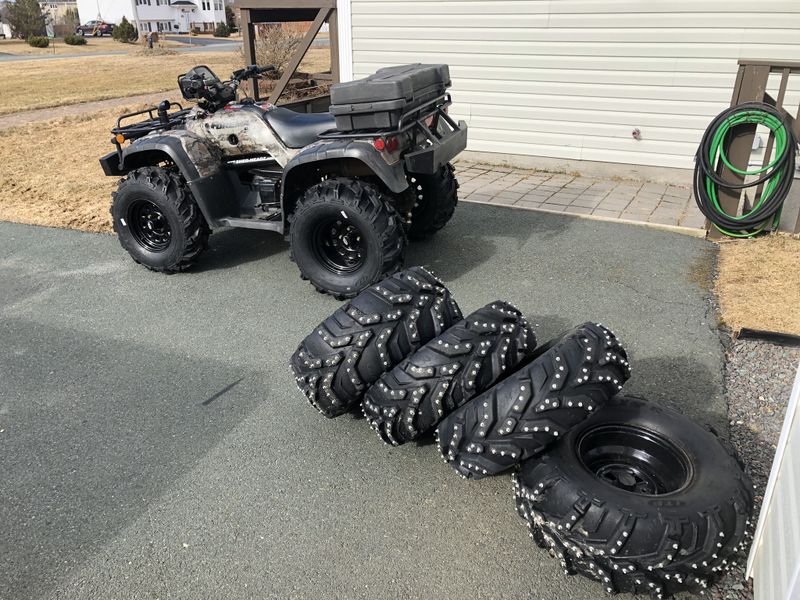
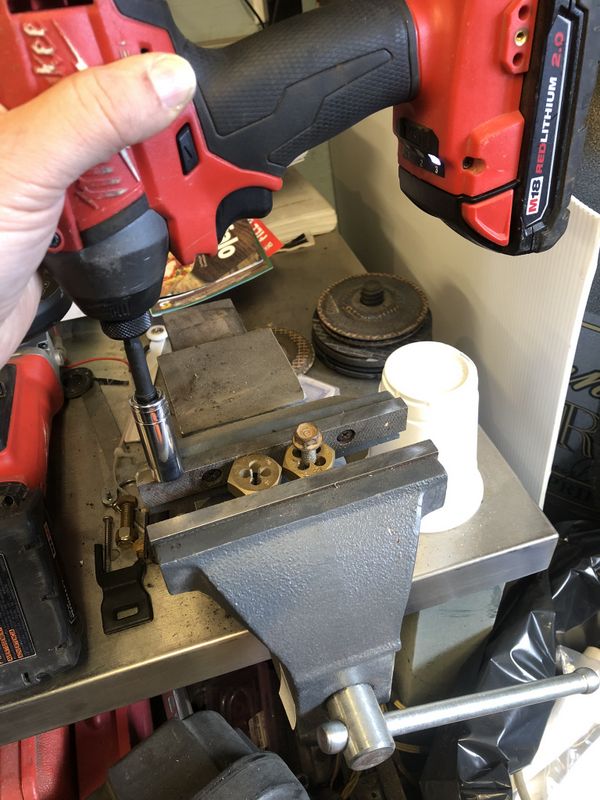
I decided to install dirt bike screw in studs in my well worn ITP MudLite XTR's as they are the perfect candidates to poke full of metal studs. These studs made a world of difference on Maffer's Cab Am especially climbing steep, icy ATV trails.
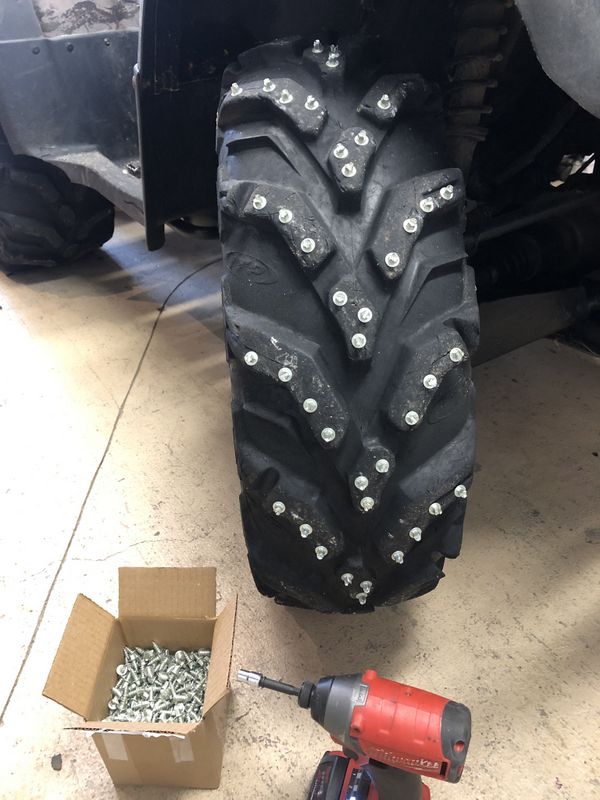
Between 4 tires I installed 700 1/2 screw in studs using my Milwaukee impact tool in about an hour.
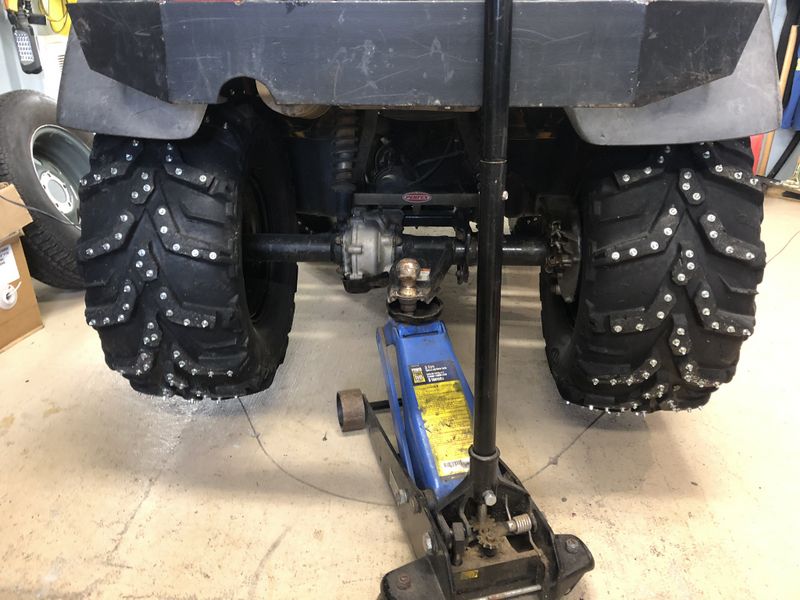
I am very happy with the results, steering and control of the bike on icy trails is second to none. The bike climbed the steepest hills with ease and made off camber trails safe and controlled. They are hard on concrete floor, if your attached to a well finished floor I recommend parking and moving the bike on plywood.
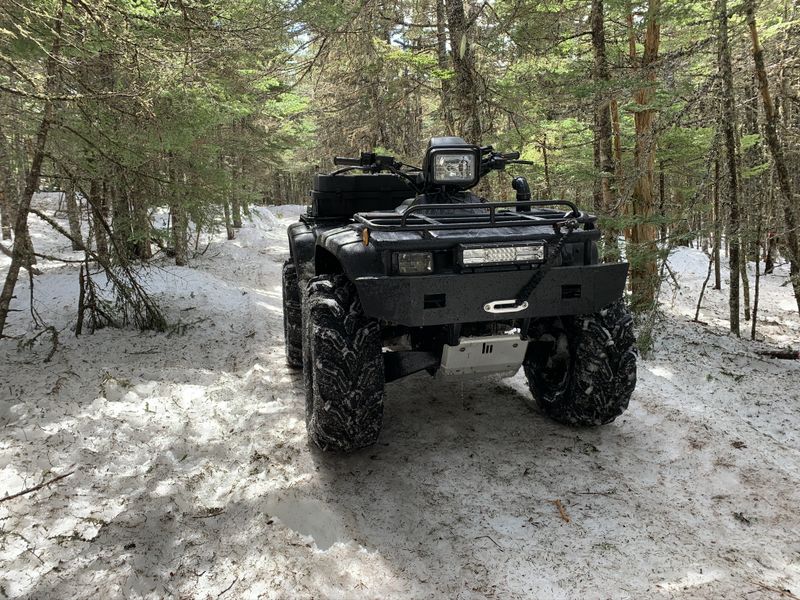
The newly studded tires were a huge improvement on glare ice at the Annual Winter Cabin trip 2019. Accelerating, steering and stopping on the pond was drastically improved, and I could climb even the steepest, most tangly hill at the top of the pond with ease. The studs bite into ice, frozen tree roots and frozen tundra with vengeance!
February 15, 2019 Winter Torbay ATV ride and boil-up.
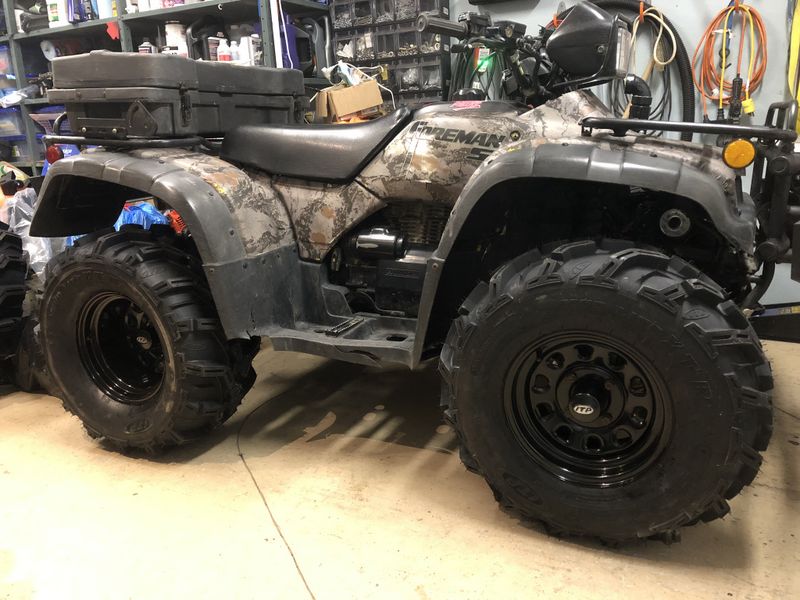
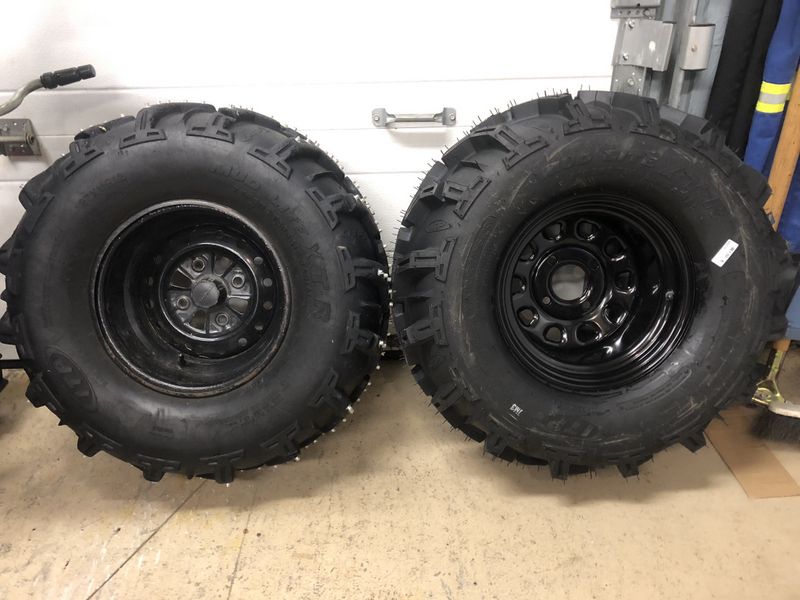
In March my new Summer tires arrived. I was very pleased with the first set of MudLite XTR Radials (purchased in 2006) so I ordered a brand new set. I wanted to keep the studded tires on my OEM wheels so I paired the new tires with ITP Delta 12" black steel wheels. These wheels appear modest but are a very classy styled steel wheel that suits my Foreman well.
I also ordered matching black centre caps as well.
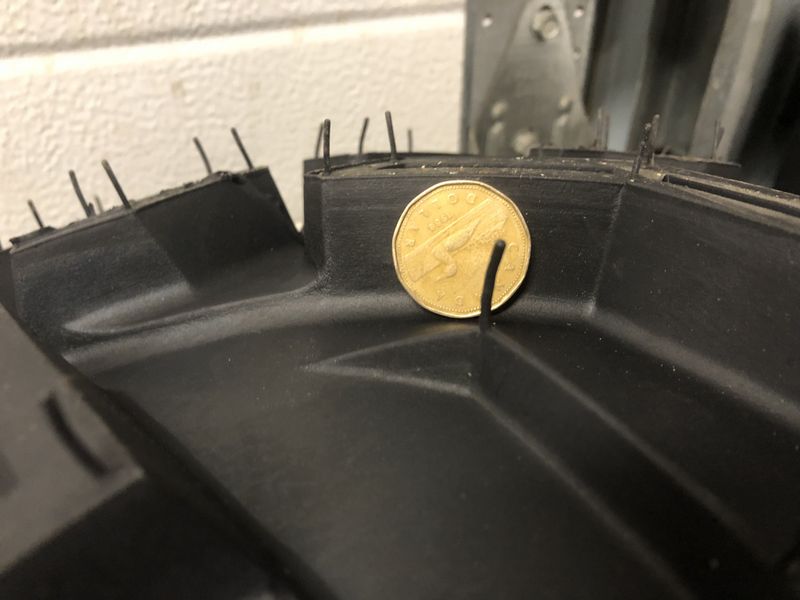
Loonie tread depth measuring device on new tires...
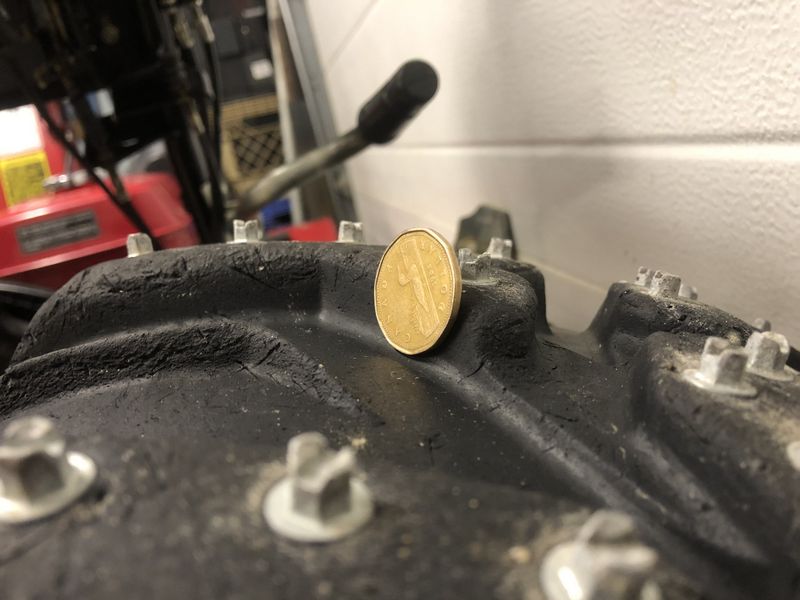
...and the old tires. The amount of wear for 13 year old rubber is quite remarkable as they have been well used and have 1000's of kilometres on them!
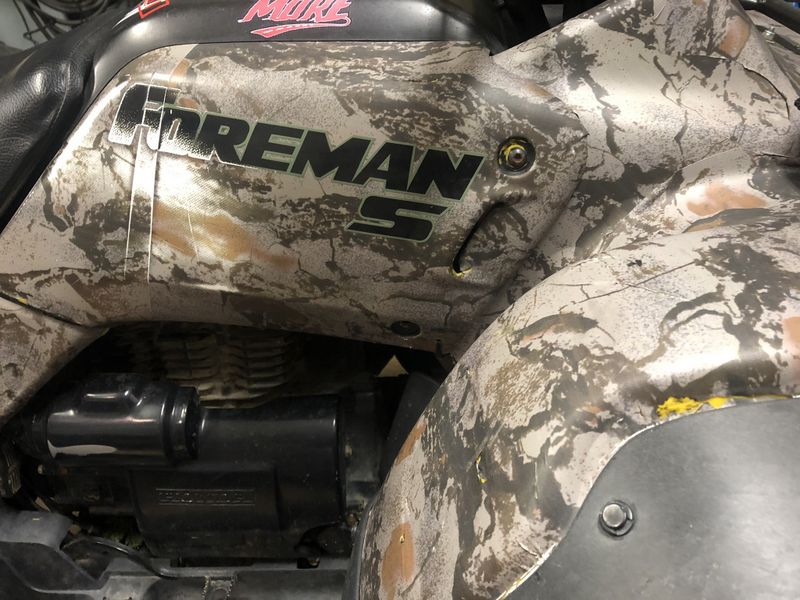
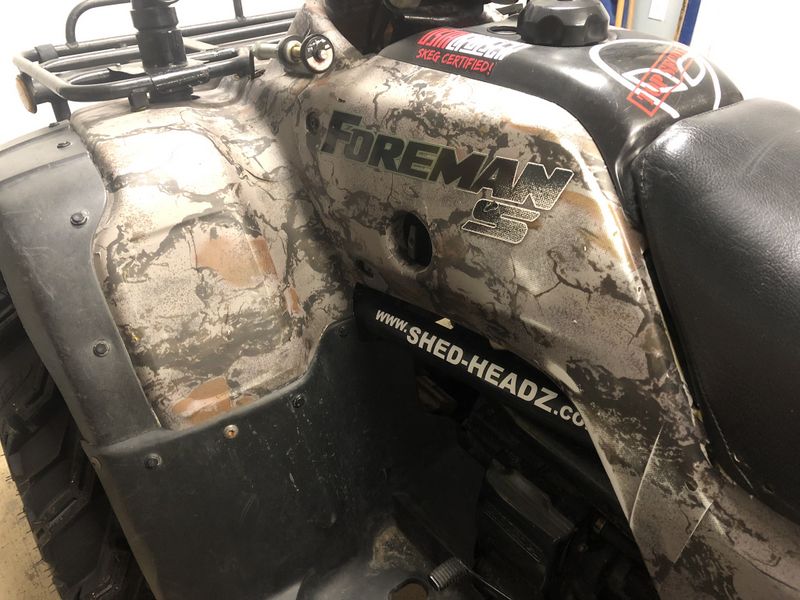
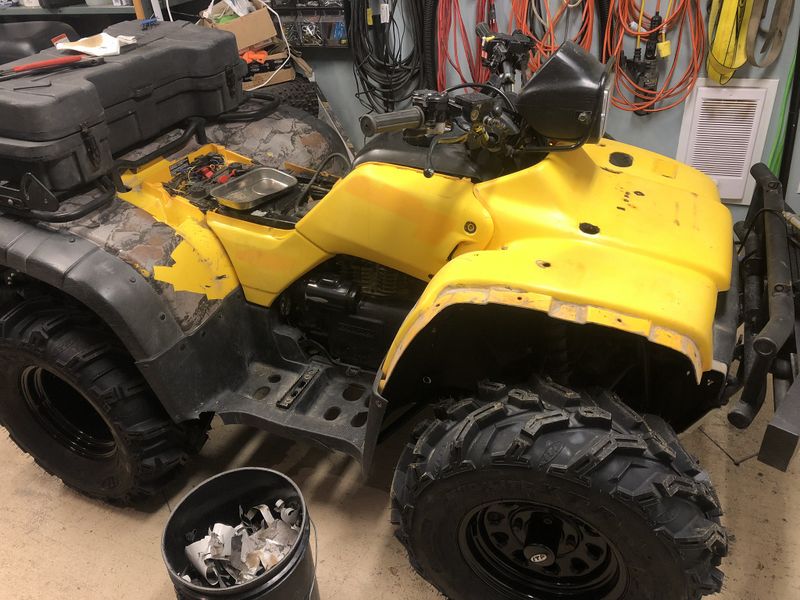
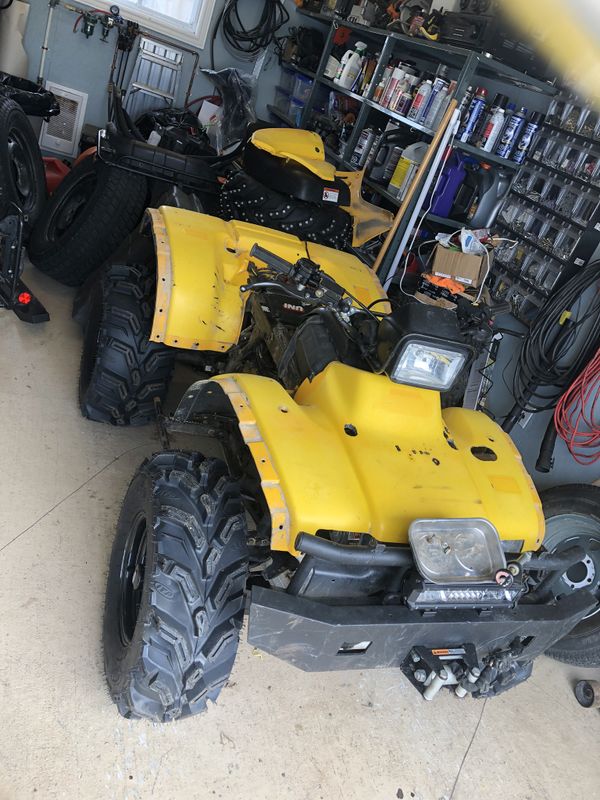
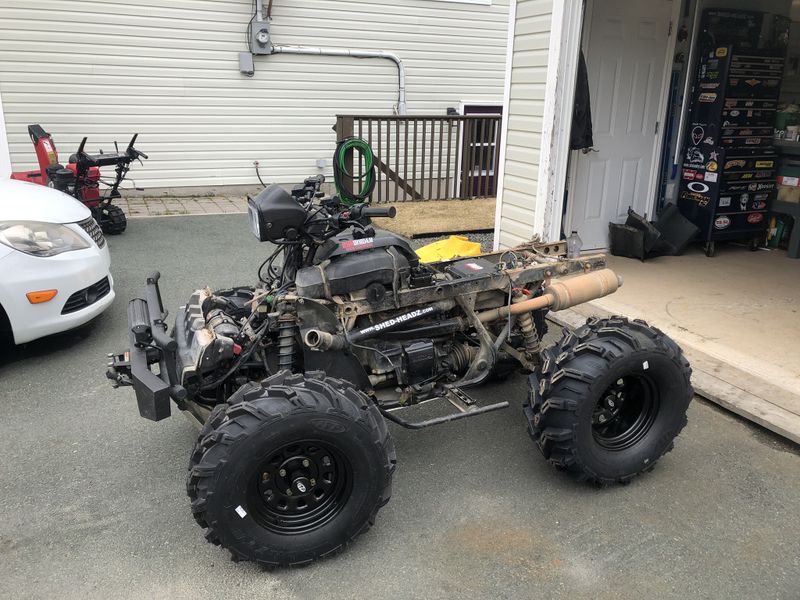
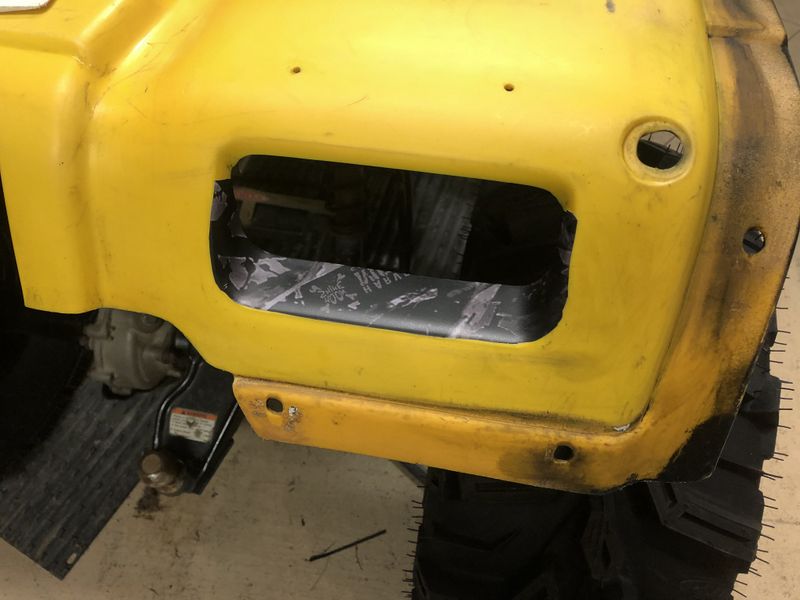
In April the next phase of my 2019 refresh began. My Natural Gear Camo wrap which appears beautiful tan in pictures but its actually grey to the naked eye, and at 10 years old its showing its age in worn spots and some cracking/fading.
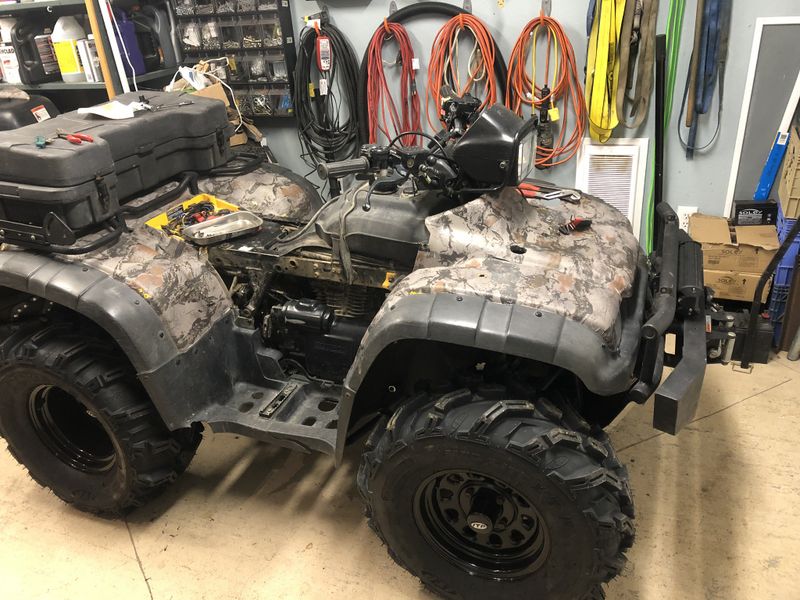
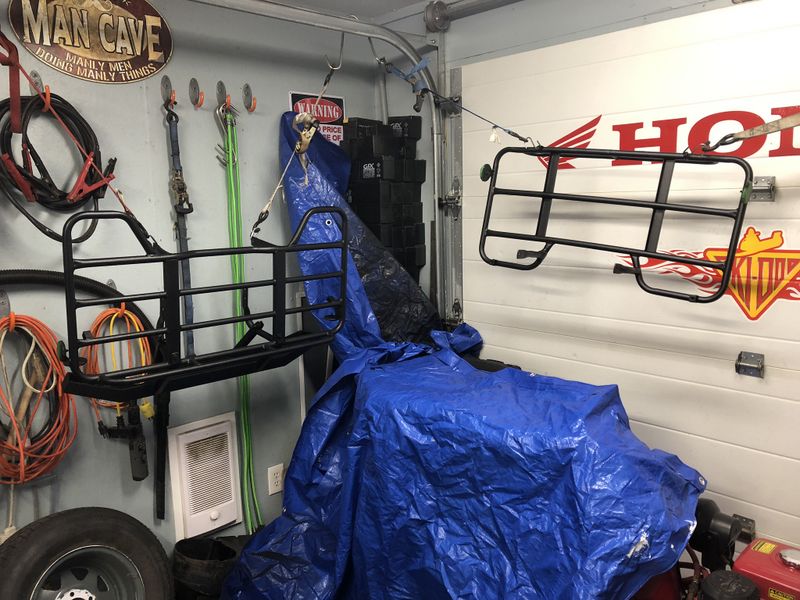
I began stripping the bike of racks, WARN 424 shifter, snorkel and everything else that was in the way.
The wrap took some time to remove, a lot of it came off in large pieces, areas where I heated it to stretch during installation were glued very well! This quality 3M product held up well and left no residue behind while removing it.
With the plastics stripped I removed them from the bike and gave them a thorough cleaning with hot water, spray nine and my pressure washer.
I also thoroughly washed the rest of the bike as well in preparation for frame paint touch-ups.
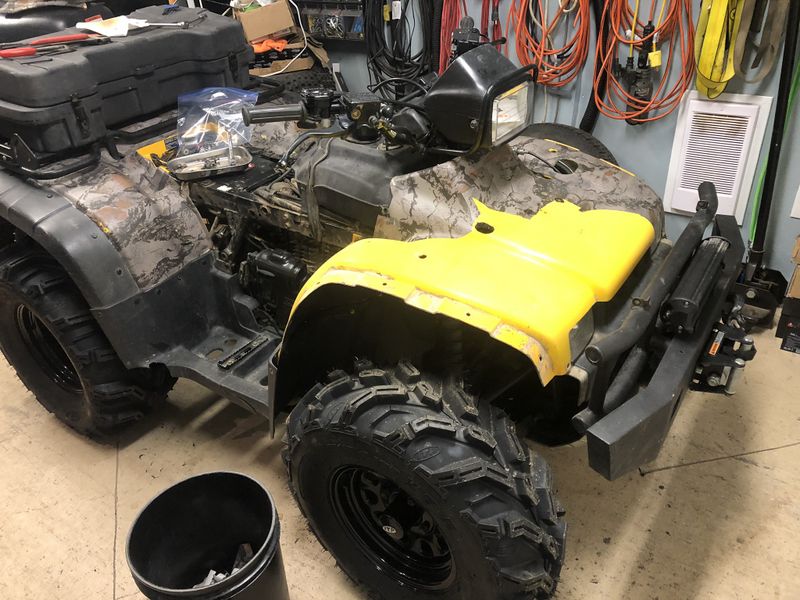
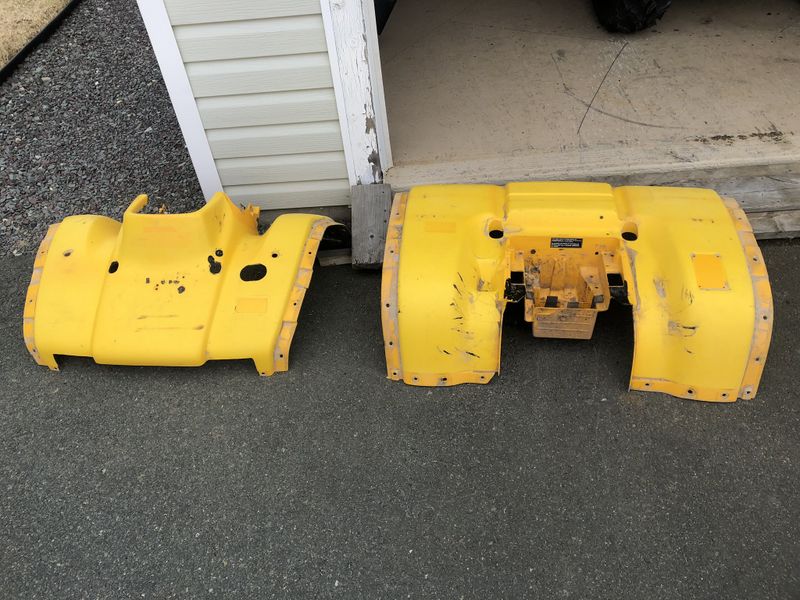
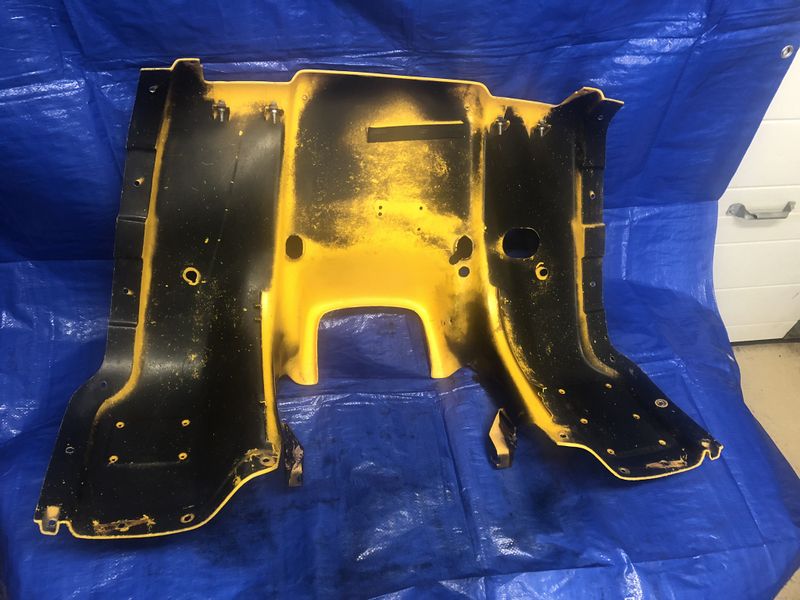
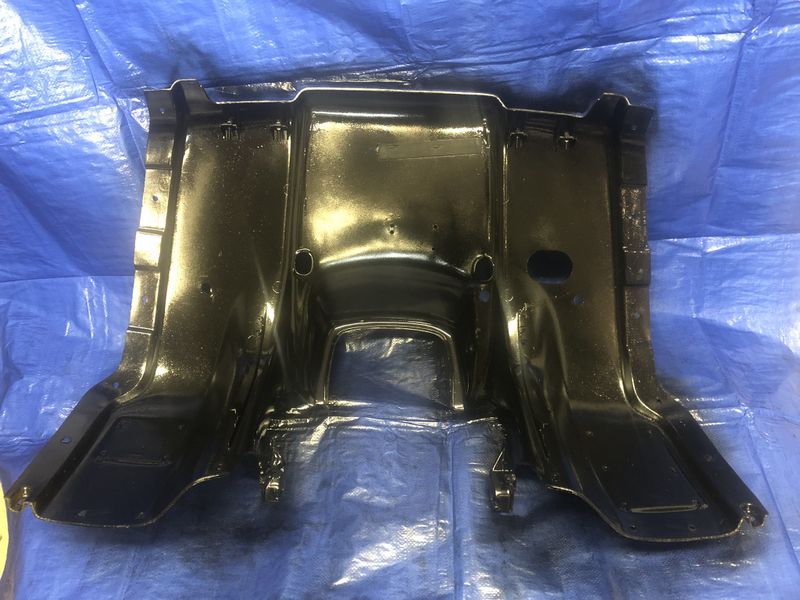
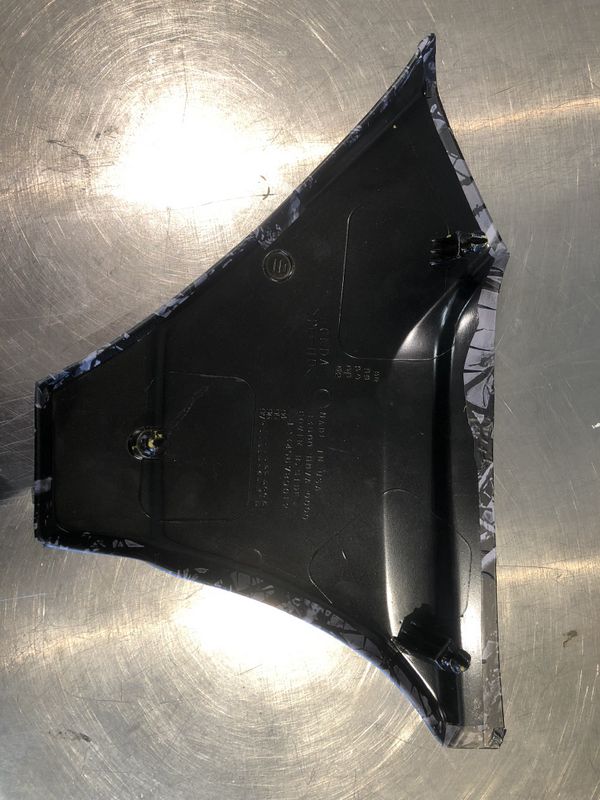
When I installed the last wrap in 2009 I quickly gave the undersides of the fenders a quick and dirty Krylon Fusion spray paint job to hide the yellow plastic from plain view. Surprisingly this paint held up remarkable well with absolutely no prep!
This time I did a proper job with the plastics removed and painted the entire surface with Gloss Black Krylon Fusion paint which is designed to chemically bond with plastic surfaces.
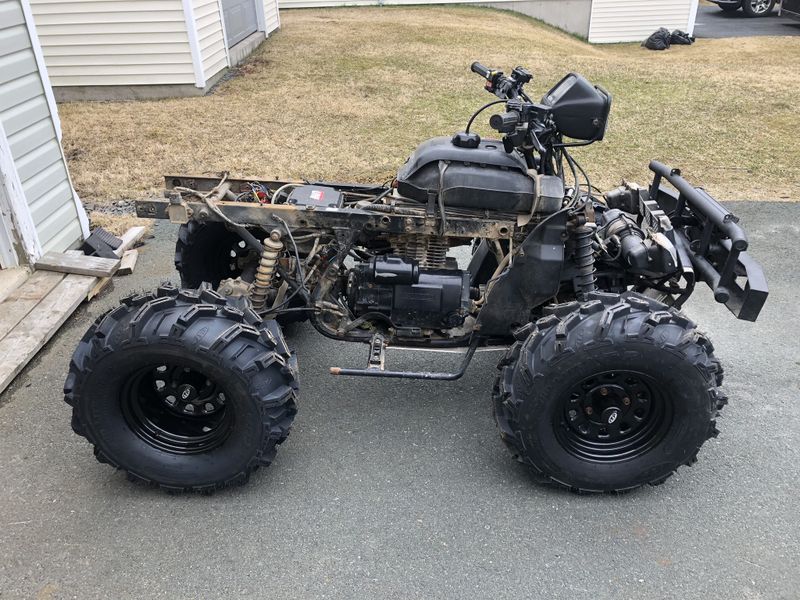
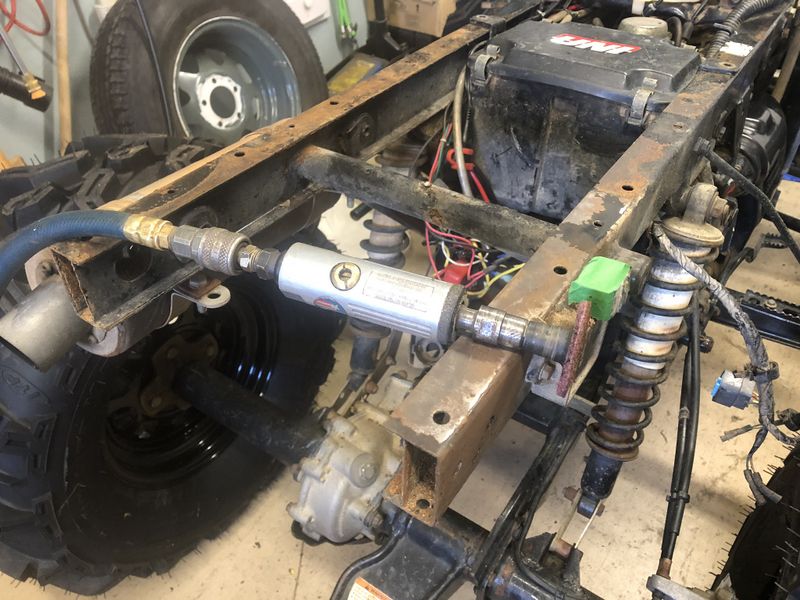
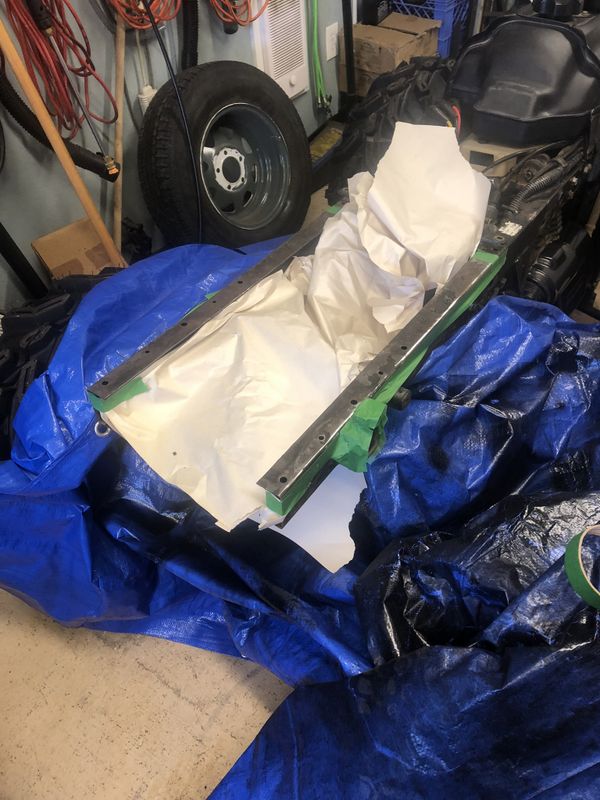
Next frame painting began, I used my die grinder with 3M 2" discs to clean and prep the surface.
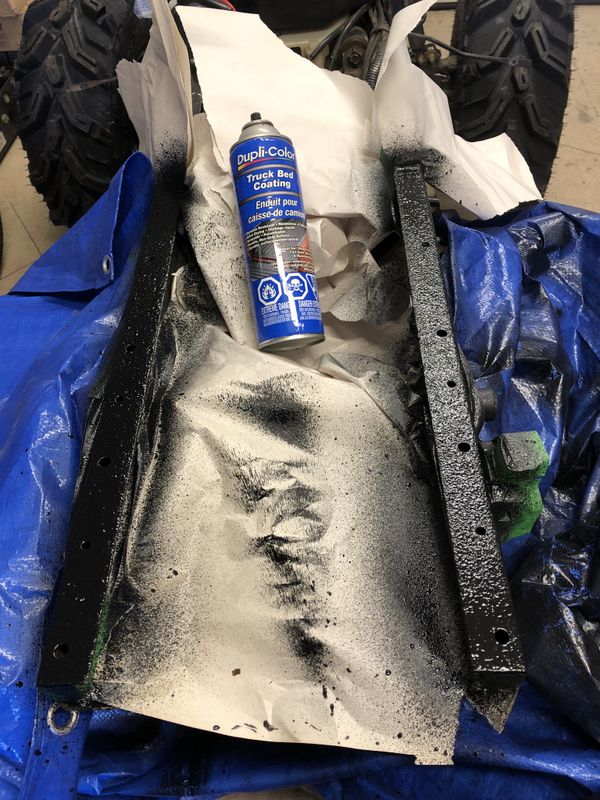
The rear plastics don't bolt in place tight, movement of the fenders wore the paint a lot on the top section of frame rail. With this in mind I decided to coat this section of frame with Duplicolor Truck Bed coating which is a much more durable product than paint. I've used it on many projects including the racks and bumpers of project Foreman. The rest of the frame was painted with standard brush on oil based Tremclad Gloss Black.
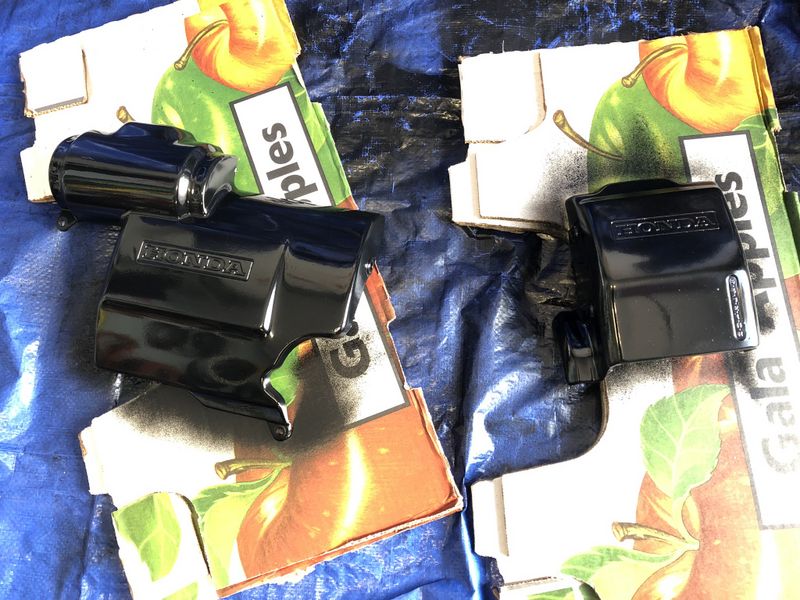
The side covers of the engine were refreshed with a coat of 900 degree high heat gloss black paint.
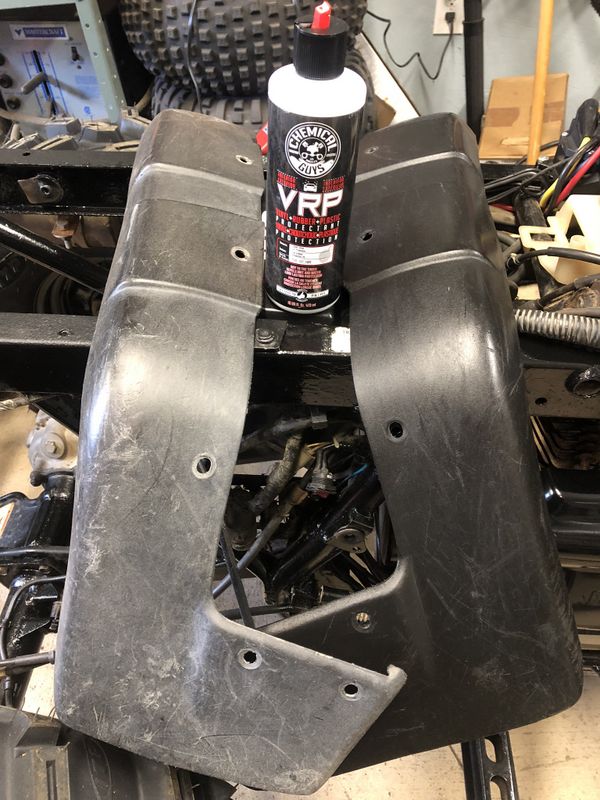
I did some research on great products to use to restore faded black plastics and came across Chemical Brothers VRP. I was very pleased with the results, this product dries to the touch and doesn't attract more dust.
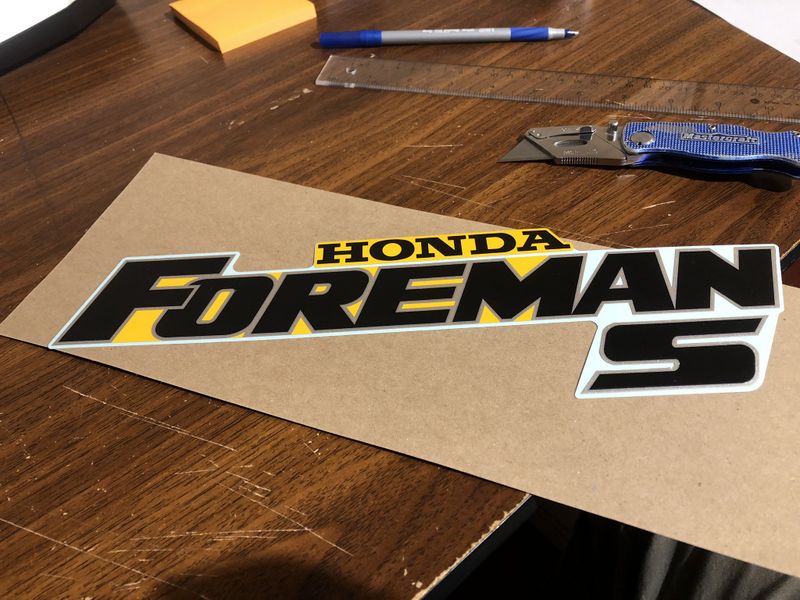
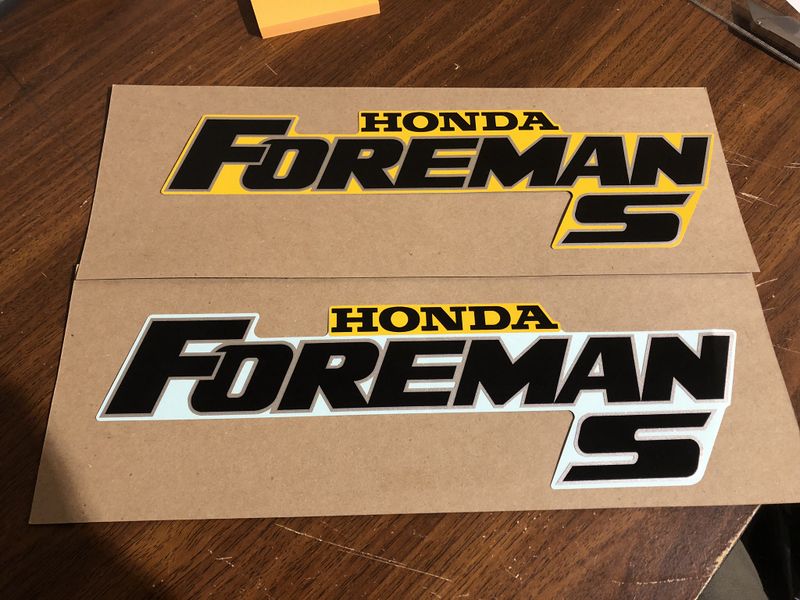
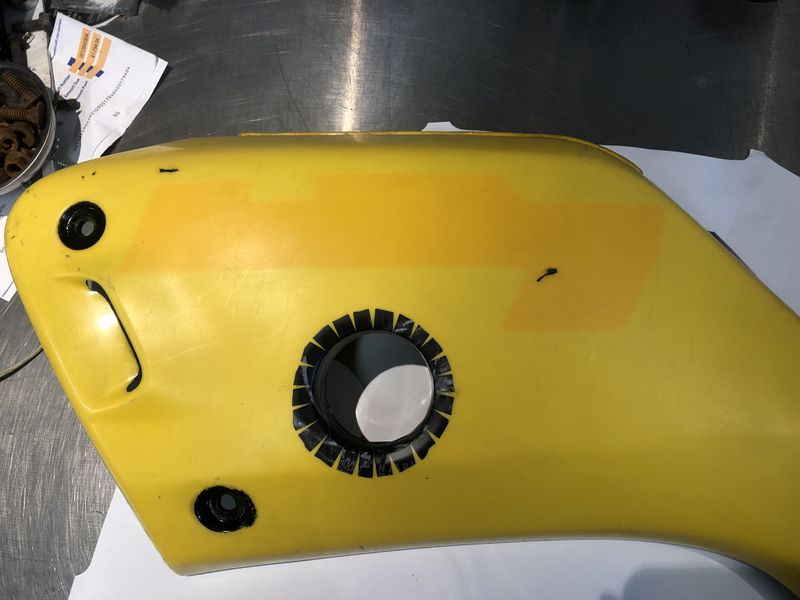
Next up was trimming up another set of OEM Honda Foreman gas tank decals to remove the yellow outline. I did this procedure in 2009 for the last wrap and was pleased with the results.
The "HONDA" part of the logo wont be used at this time.
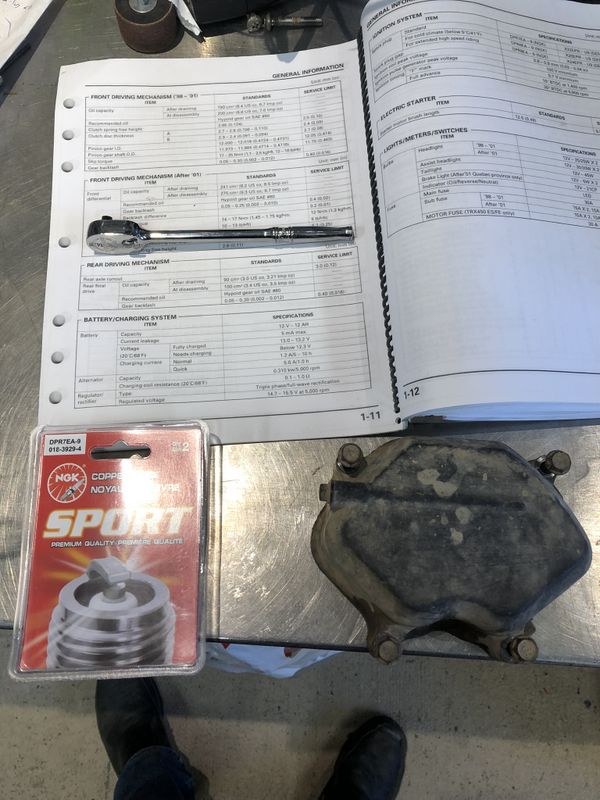
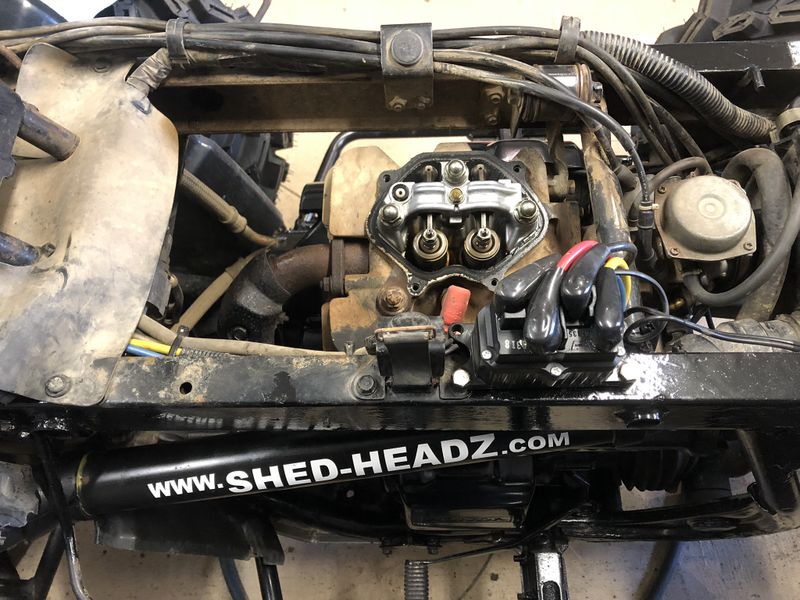
Next up I took advantage of the plastics being off the bike to perform some maintenance work on the bike. Intake & exhaust valve clearances were checked and a new spark plug installed.
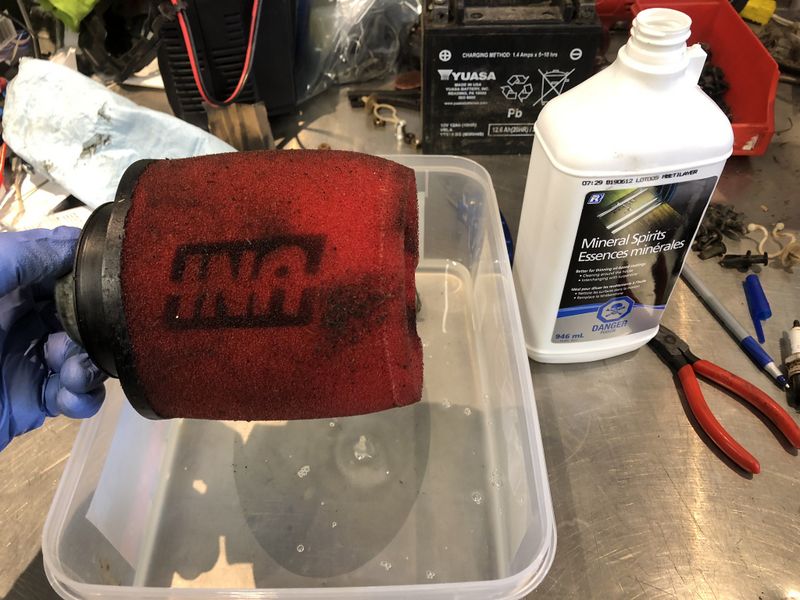
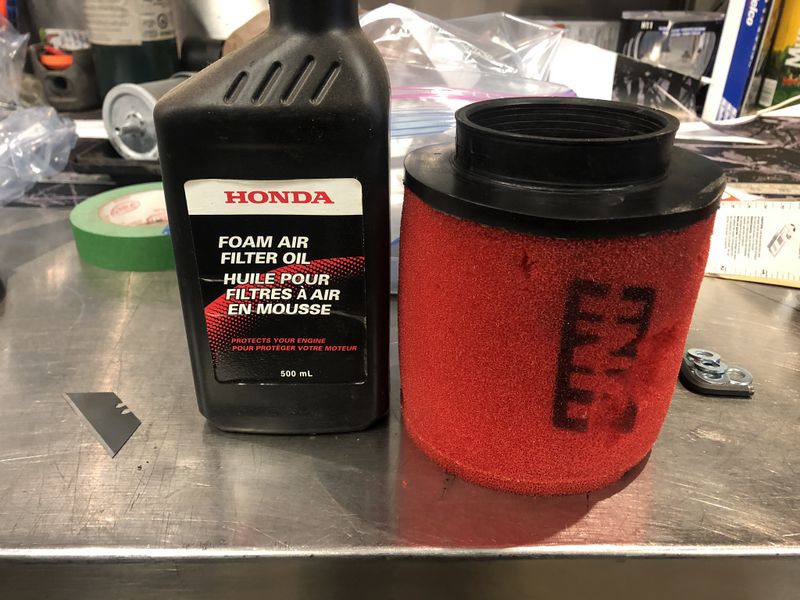
My UNI air filter had seen better days so it was washed first with mineral spirits, then hot water/dish soap.
After a couple days drying the filter was oiled and reinstalled.
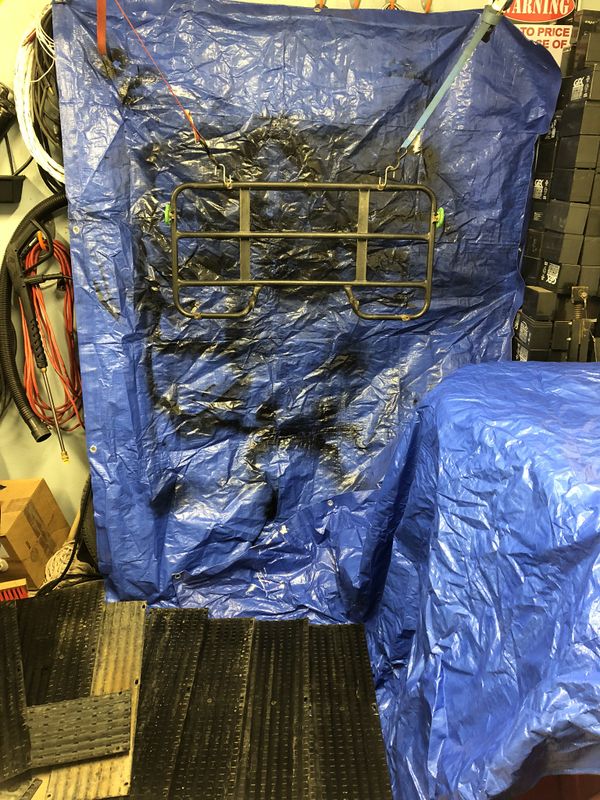
In 2009 I coated the racks and bumpers with Duplicolour truck bed coating and it held up very very well, much better than paint. This year I simply wanted to refresh them to match the new clean appearance of the bike. Prep was minimal with my die grinder/3M 2" pads & sandpaper.
Next up all hardware was cleaned and threads chased to remove mud and rust and ensure the bike went back together with ease and no broken bolts!
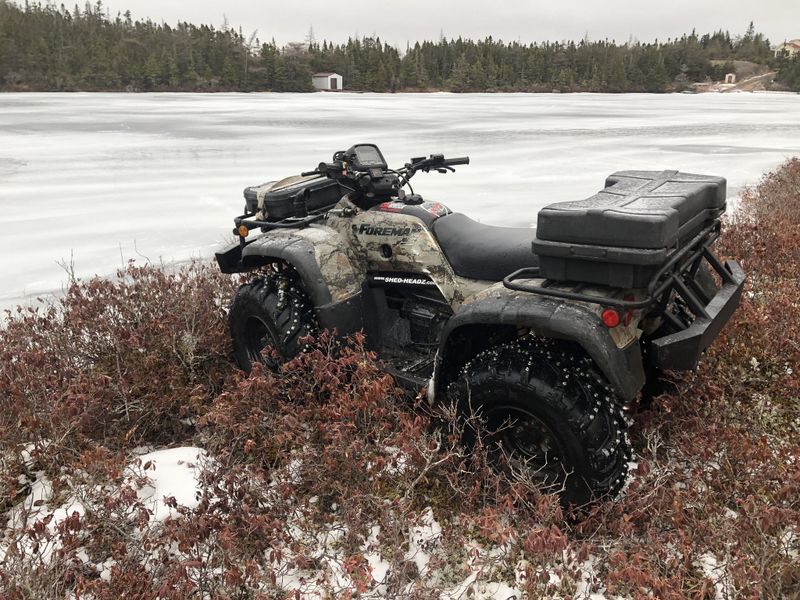
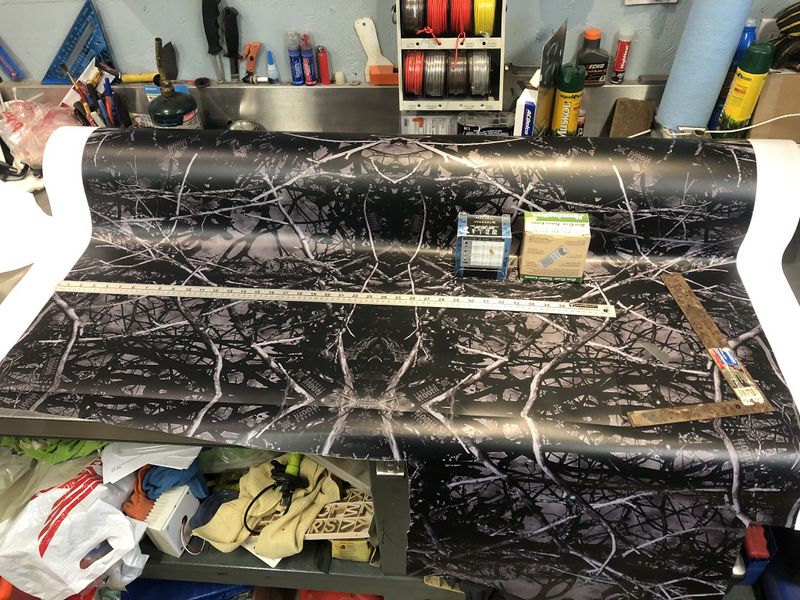
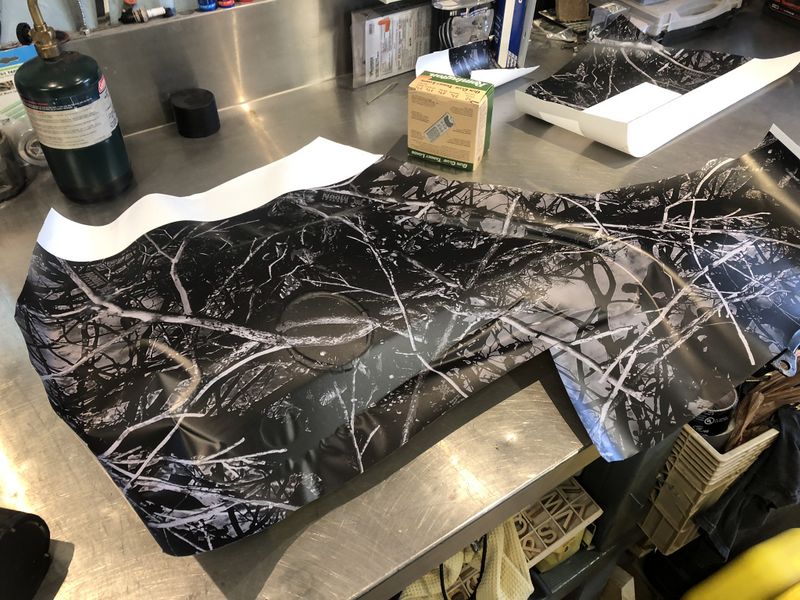
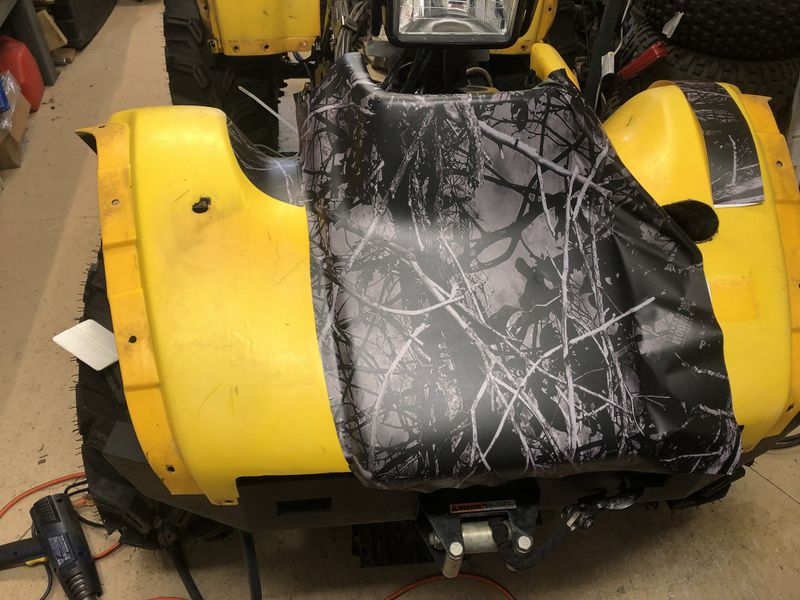
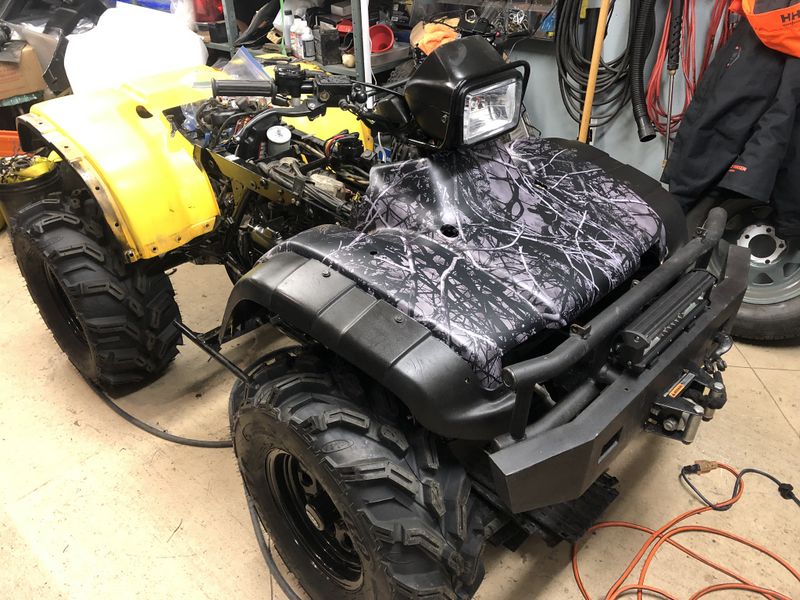
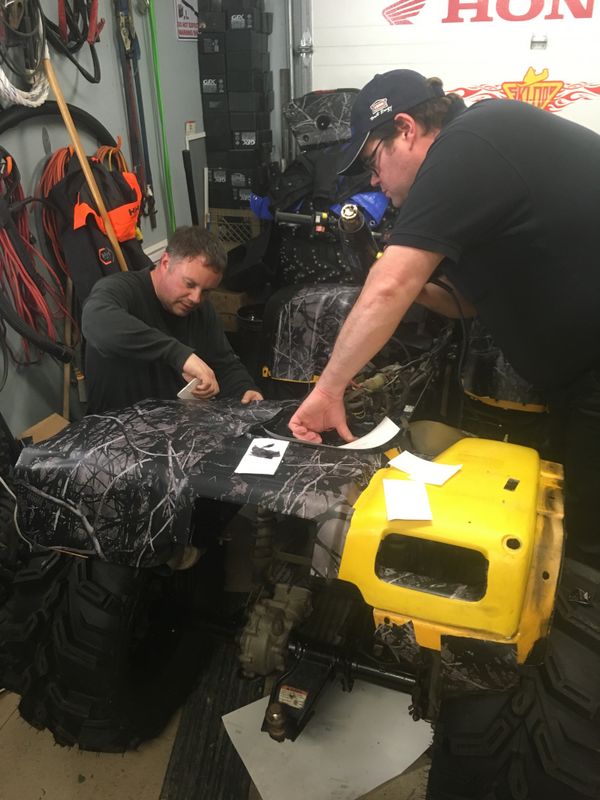
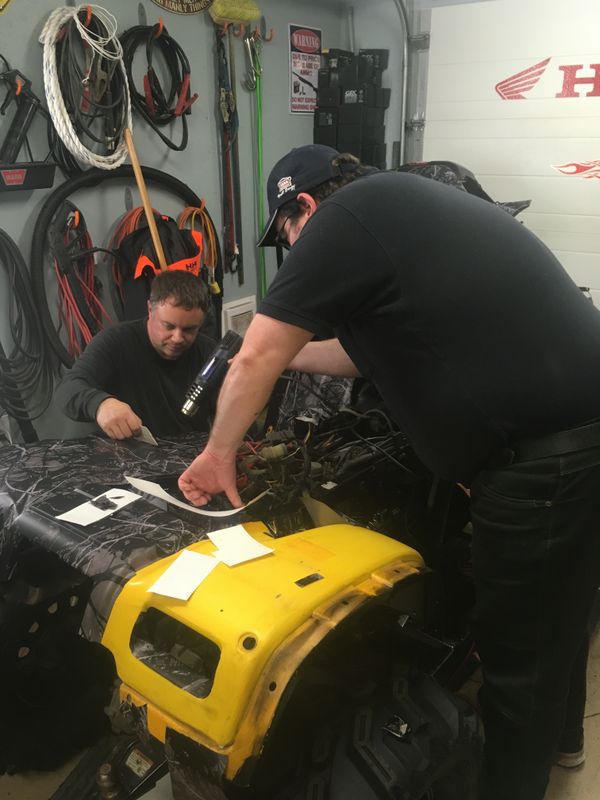
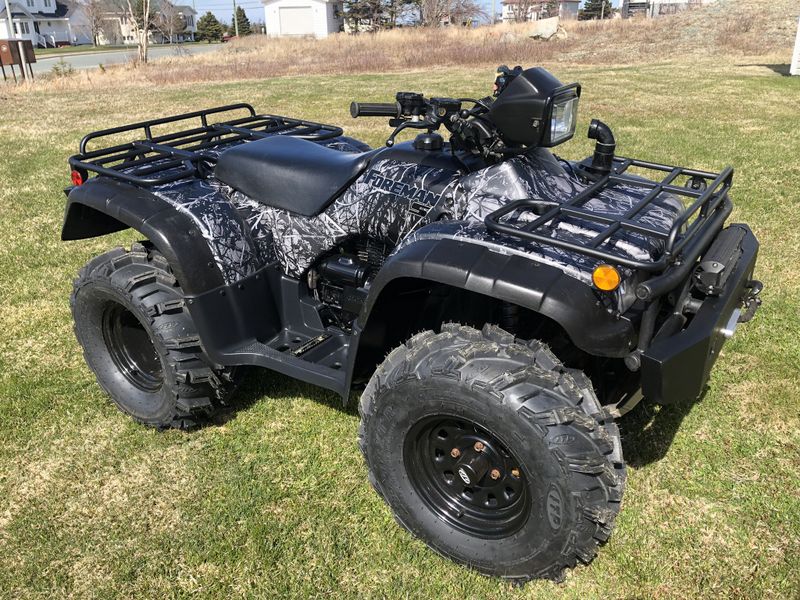
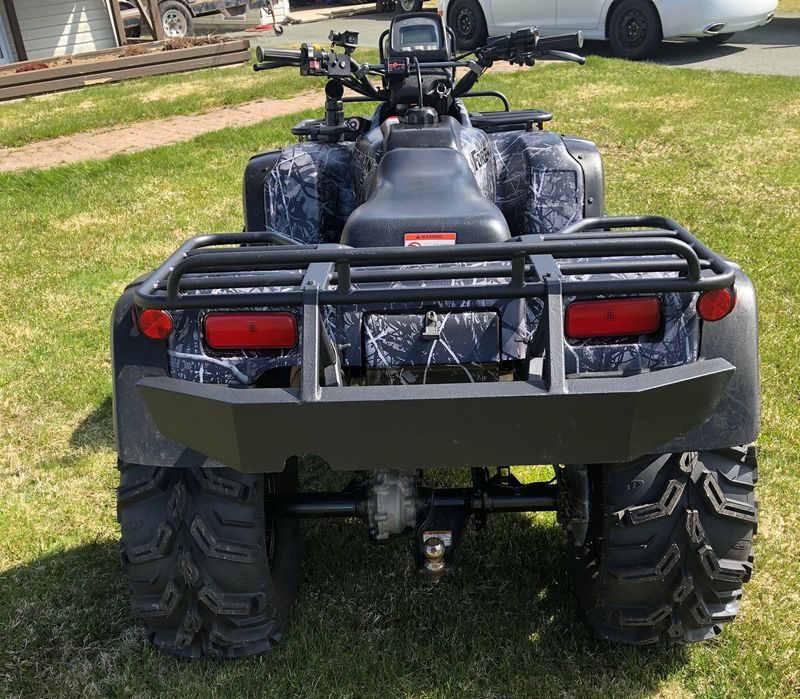
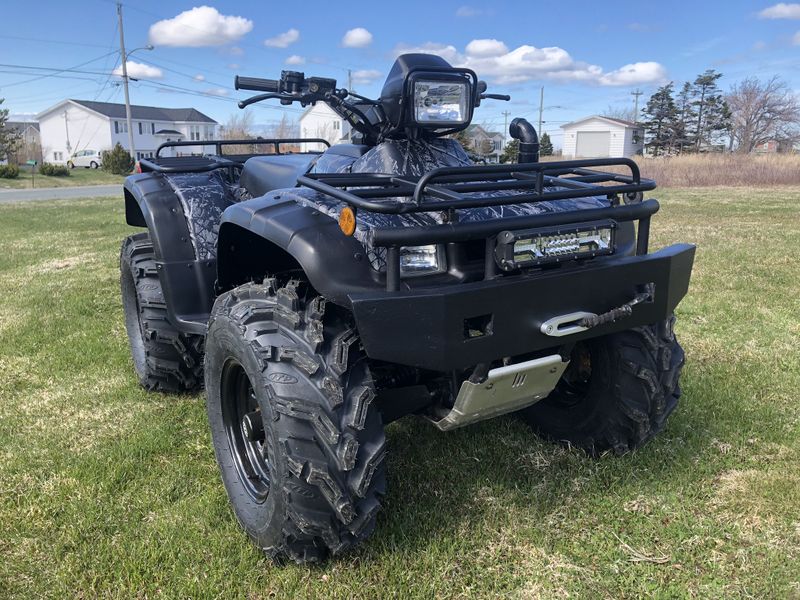
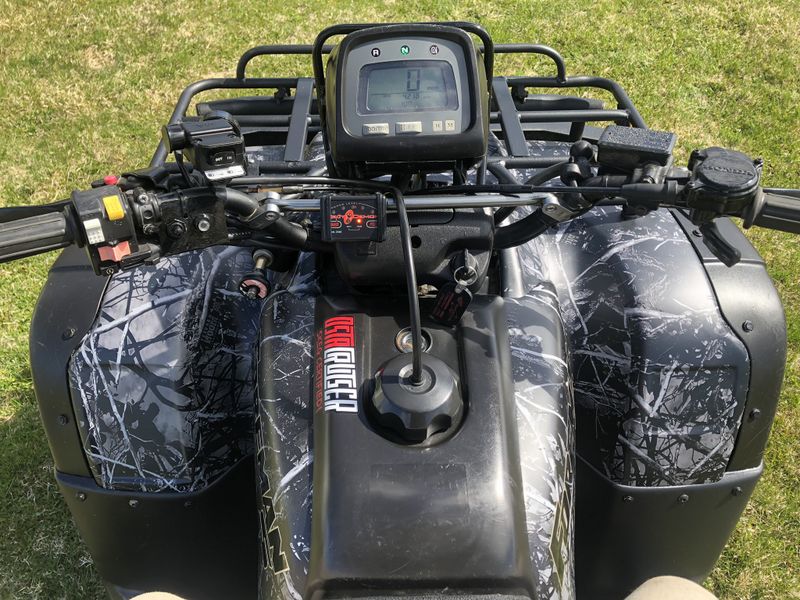
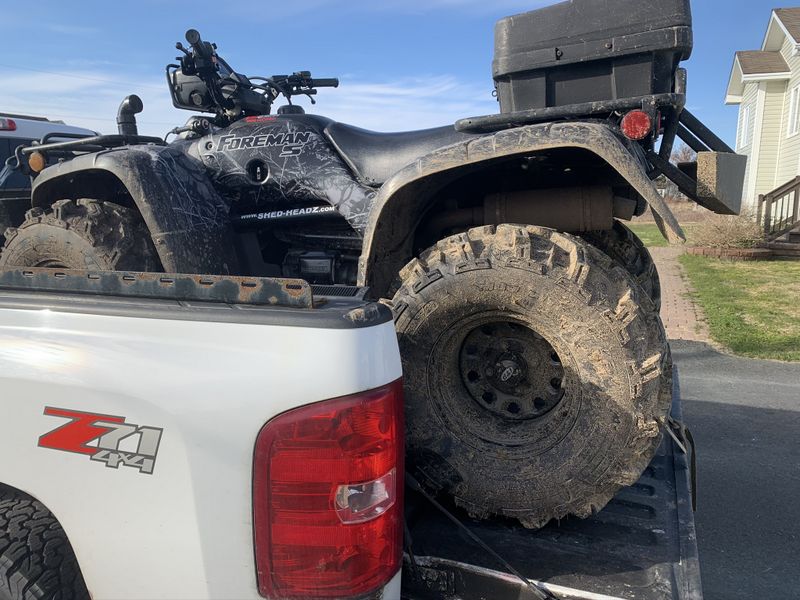
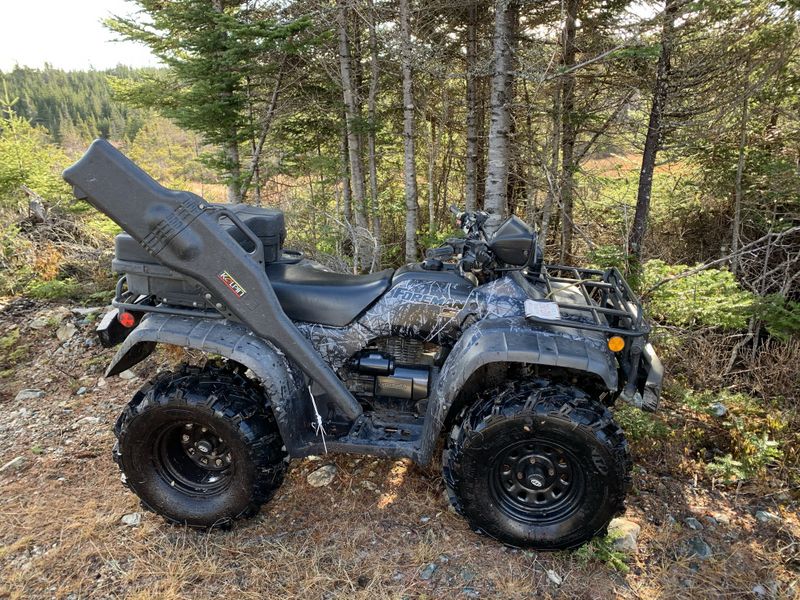
Finally it was time to begin the process of installing my new Wrap. The pattern is Moonshine-Harvest Moon. It's an awesome black and grey camouflage that will really set project Foreman apart from other bikes.
I originally planned for a local shop to do this install but that didn't work out so for the 2nd time in this bike's life time I installed a full wrap myself.
This wrap came from the helpful crew at camoskinz.com, its a 3M premium product that has a great feel and I think will be very durable.
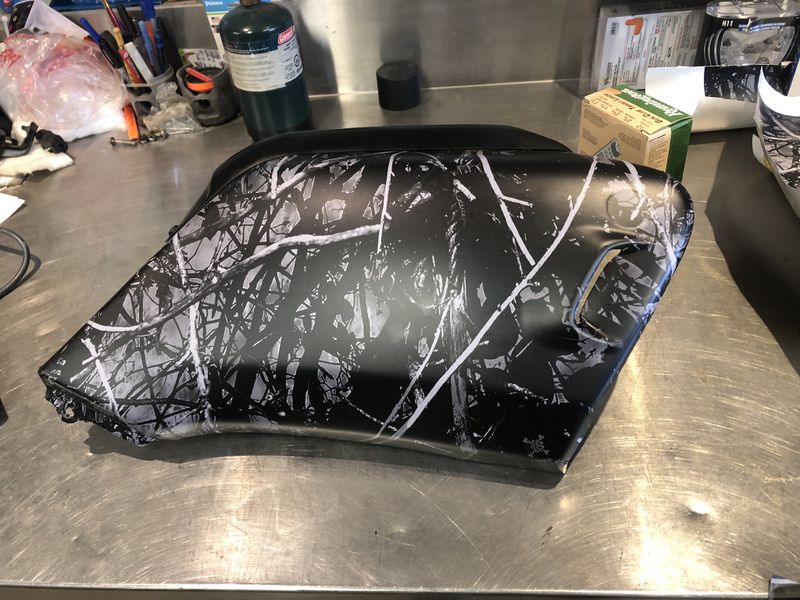
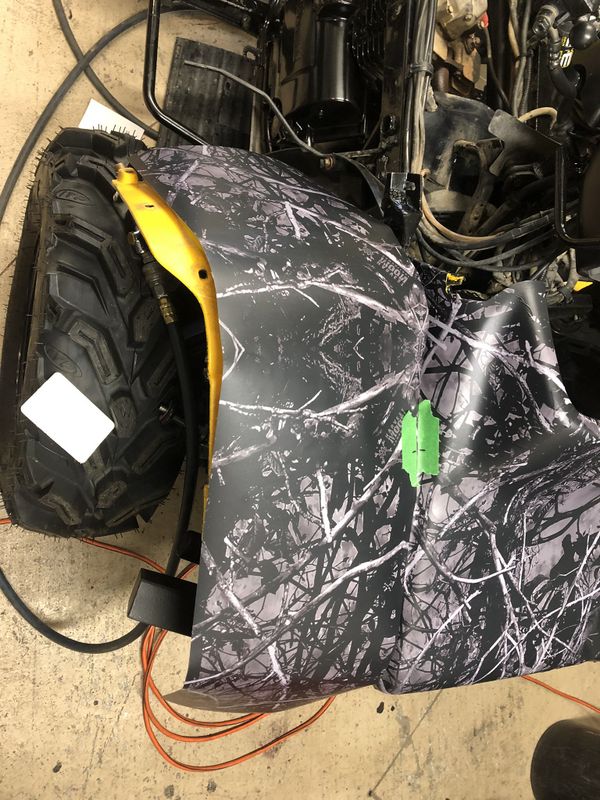
Along with patience, heat is required to stretch the product over the complex compound convex & concave curves of the plastics. Very complicated areas were done with multiple pieces overlapped to help avoid a lot of wrinkles.
I am far from a professional in this field, but professionals I asked didn't want to take on these complex ATV plastics. My install isn't perfect but I'm very pleased with the results.
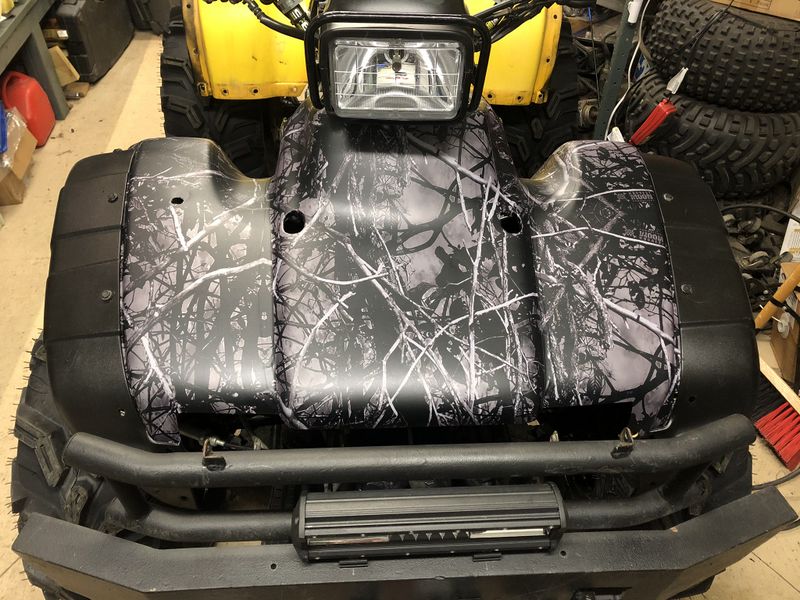
The front fenders were started with the centre section first.
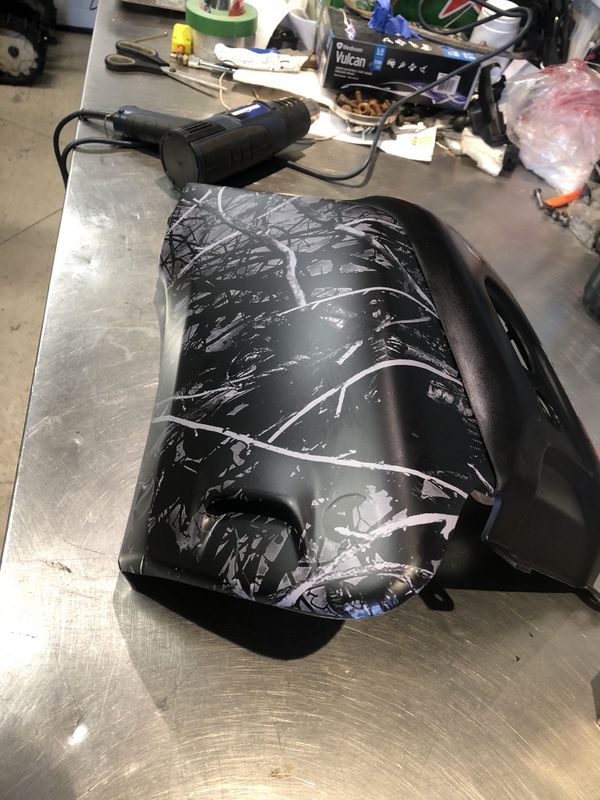
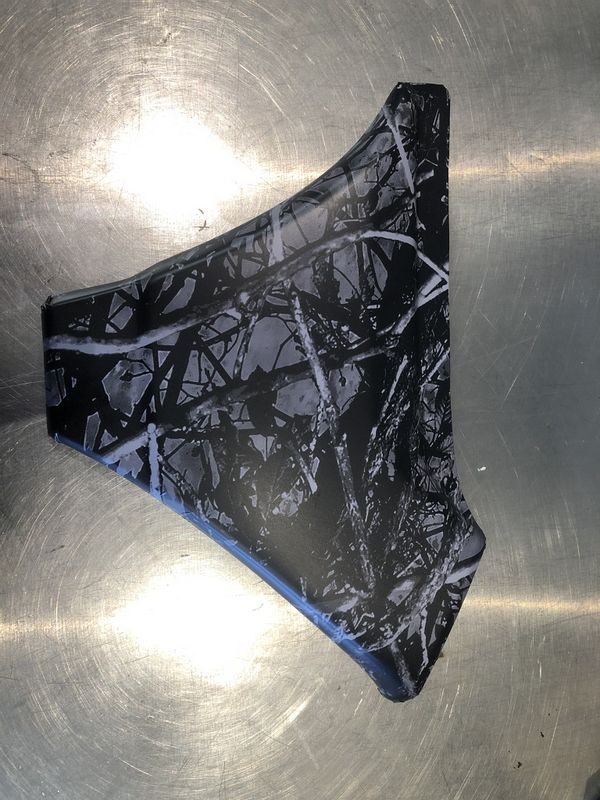
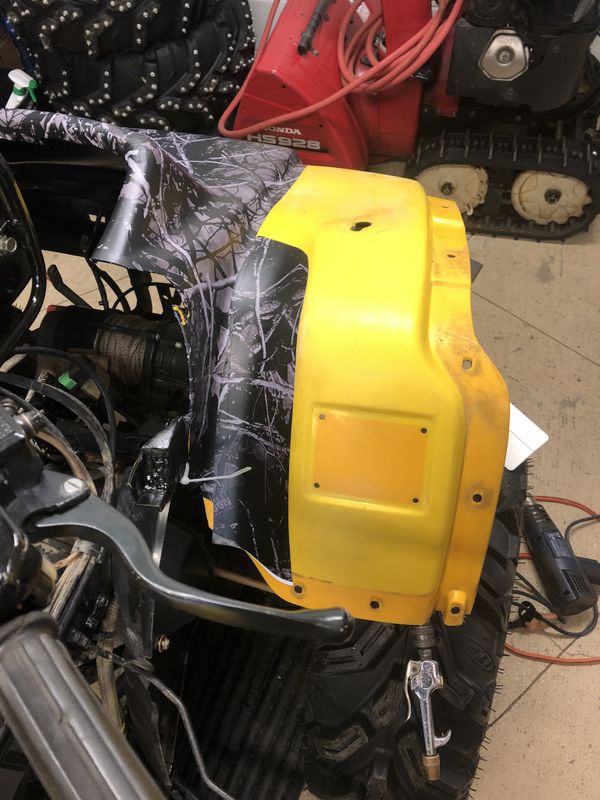
Then the concave areas of the right front fender were covered.
Finally the remaining convex section of the right front fender.
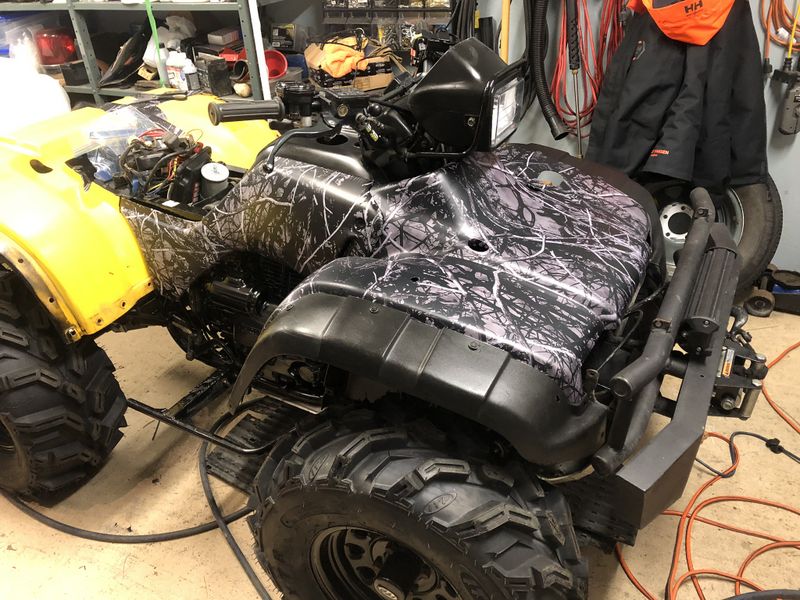
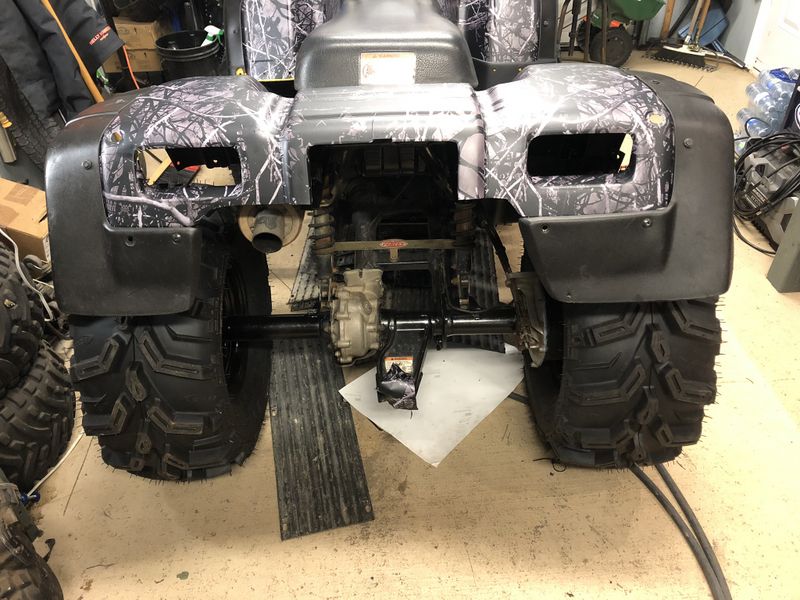
Later that evening Mark and Ronnie dropped down to help me finish the install that same night.
Next my custom trimmed Foreman S decals were installed to finish up the gas tank plastics.
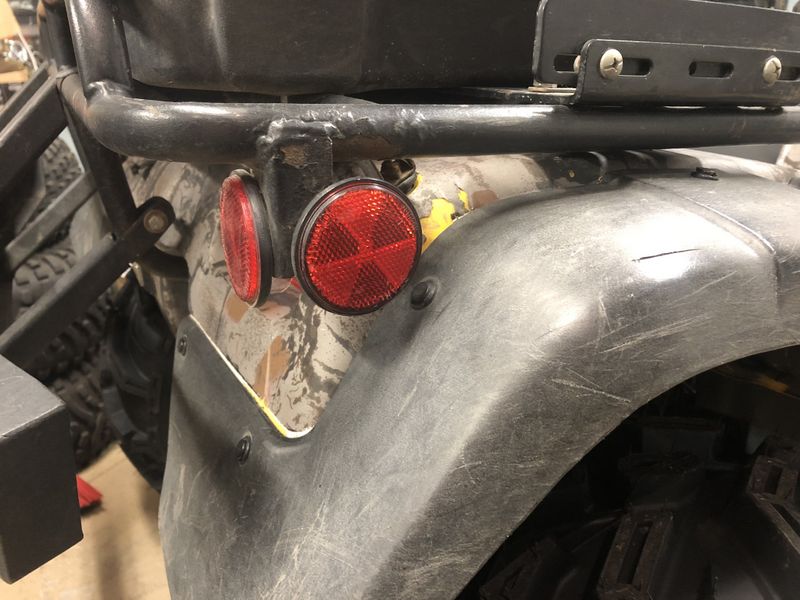
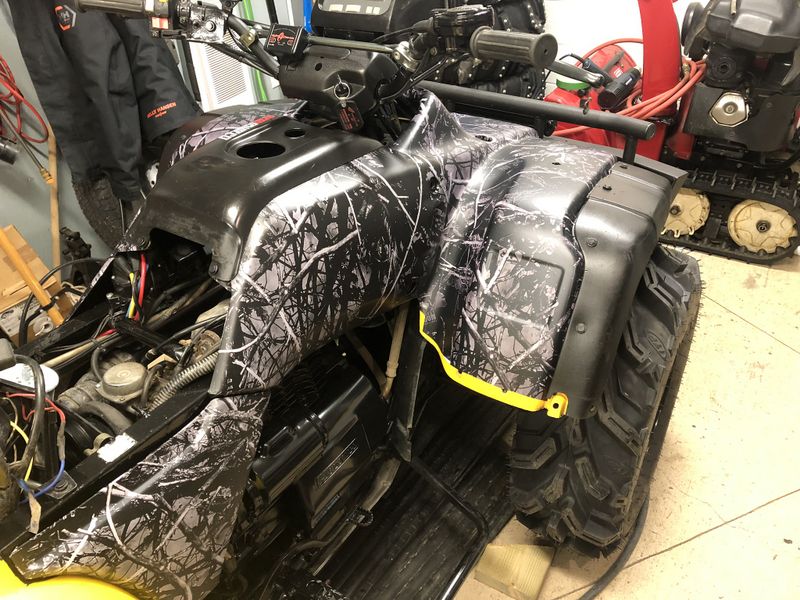
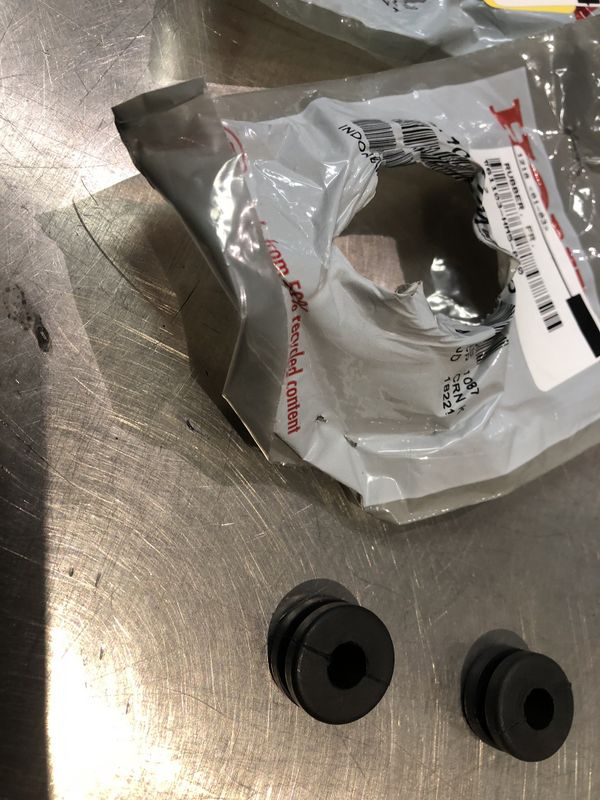
These rubber bushings are located where the fenders bolt to the underside of the front and back racks. The originals were well worn so new one were ordered and installed.
With everything looking so nice I even replace the expensive damaged right side floor board which had seen better days!
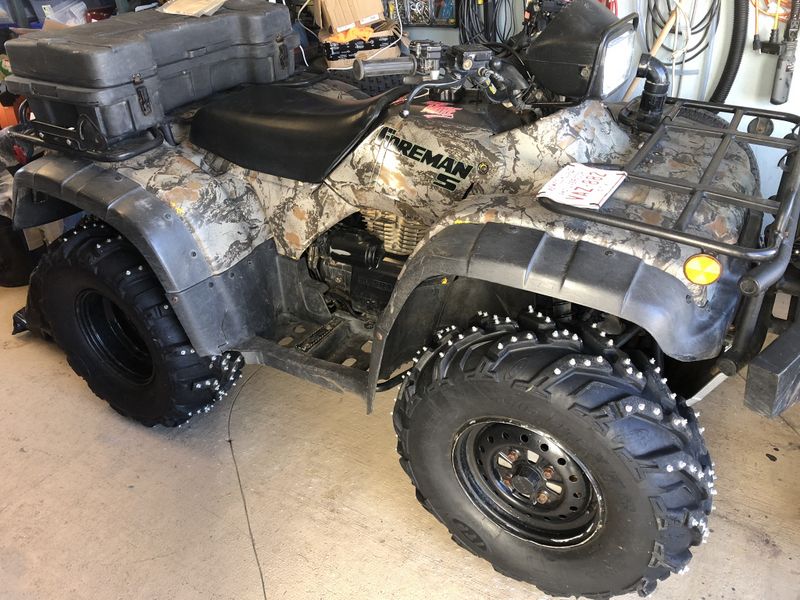
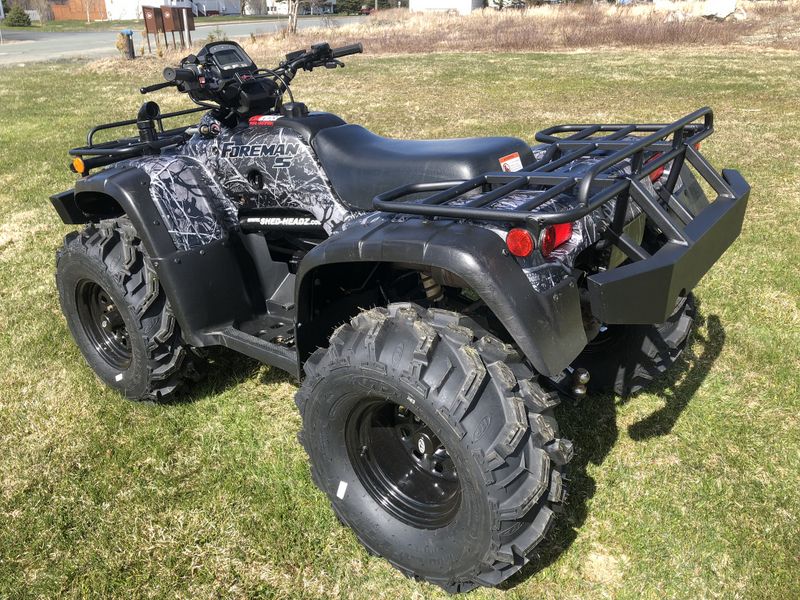
1998-2009 vs. 2009-2019 vs. Present To say I'm happy with the finished product is an understatement. The final appearance is clean, unique and amazing in person.
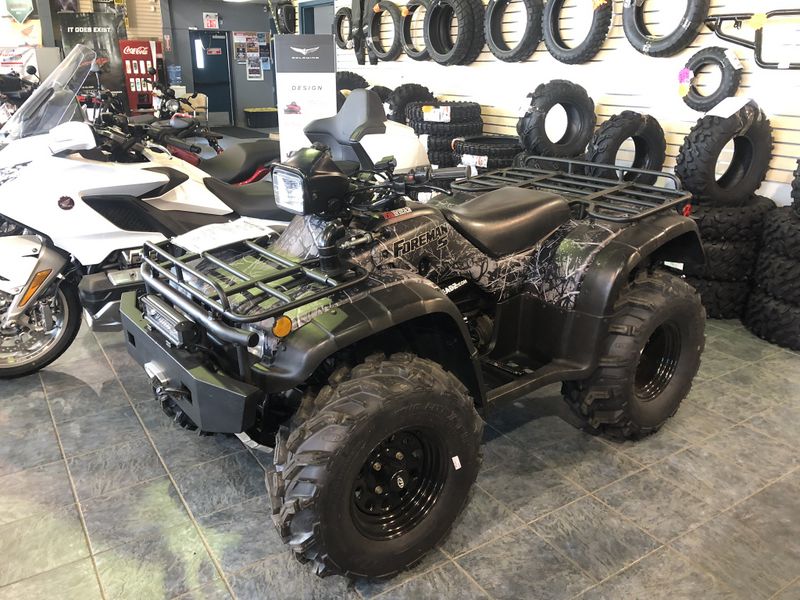
Project Foreman is entered in the 2019 Honda Vintage Bike & ATV show to be held at Honda One Saturday June 15, 2019. I dropped the bike off early and the boys put it right on the showroom floor to show off the my custom work and the multitude of accessories I've purchased from Honda One over the last 20 years.
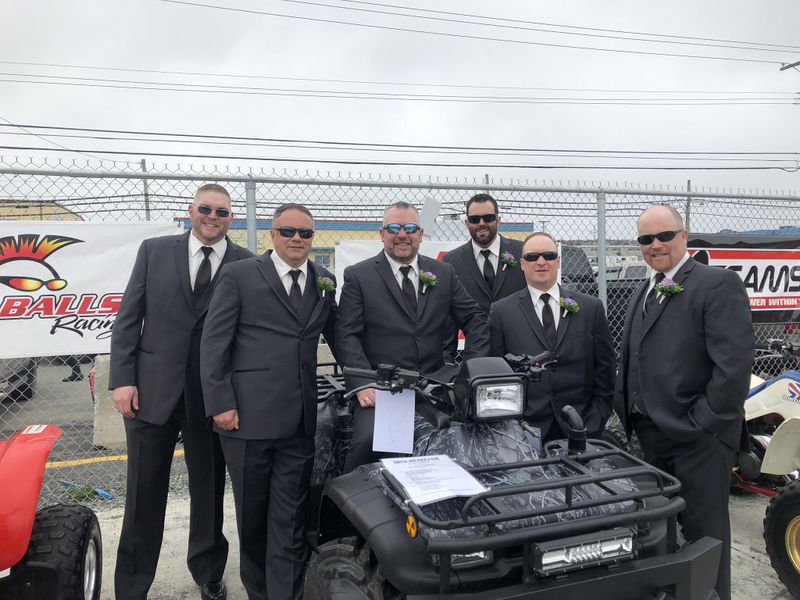
I couldn't spend the day at the show as it was crew member Brad Janes wedding day, but the groom side bridal party stopped by for a quick look and a few pics.
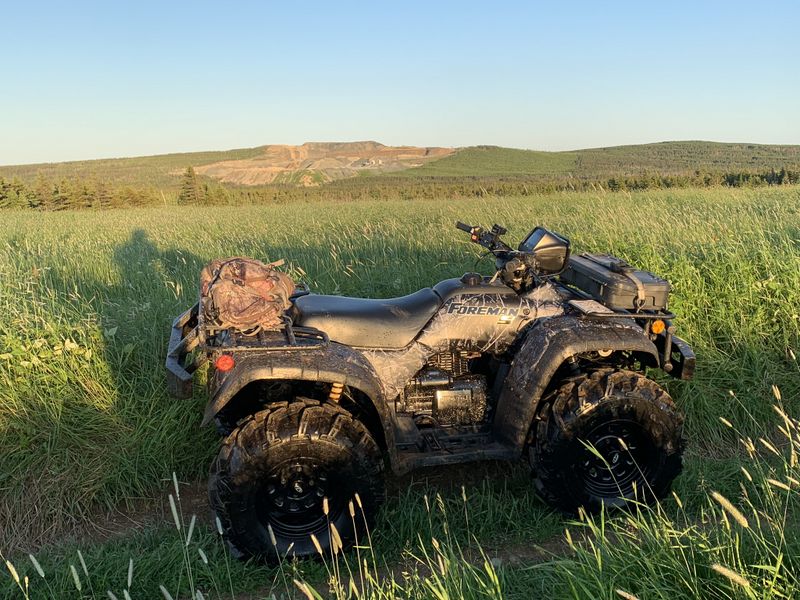
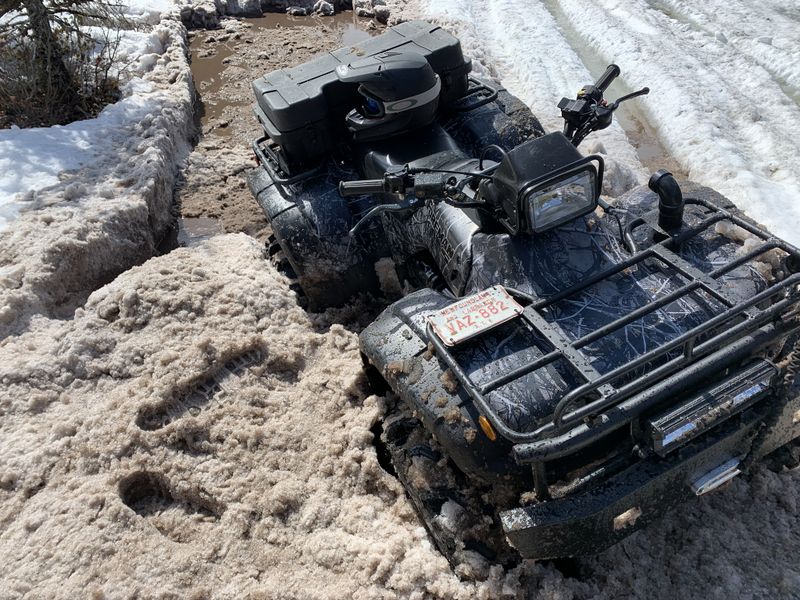
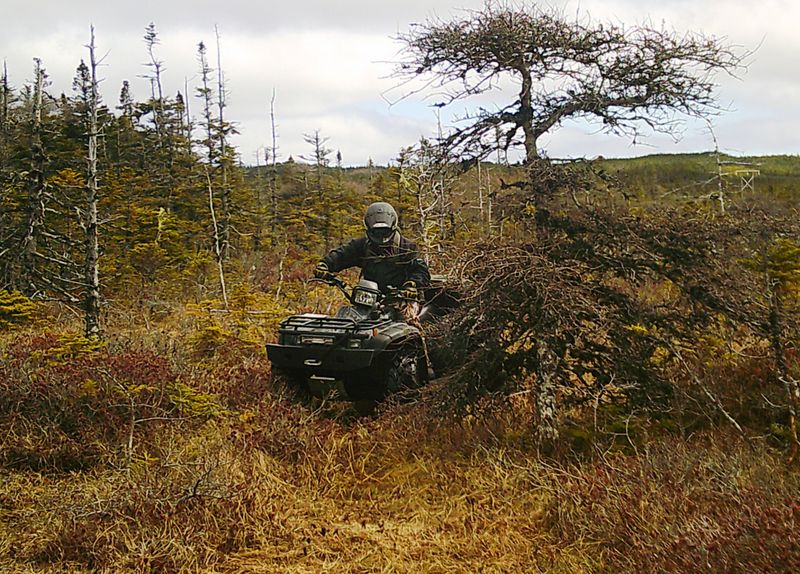
Can't stay new & shiny forever, first ride since the new wrap installed! Quick afternoon Torbay ATV ride and boil-up!
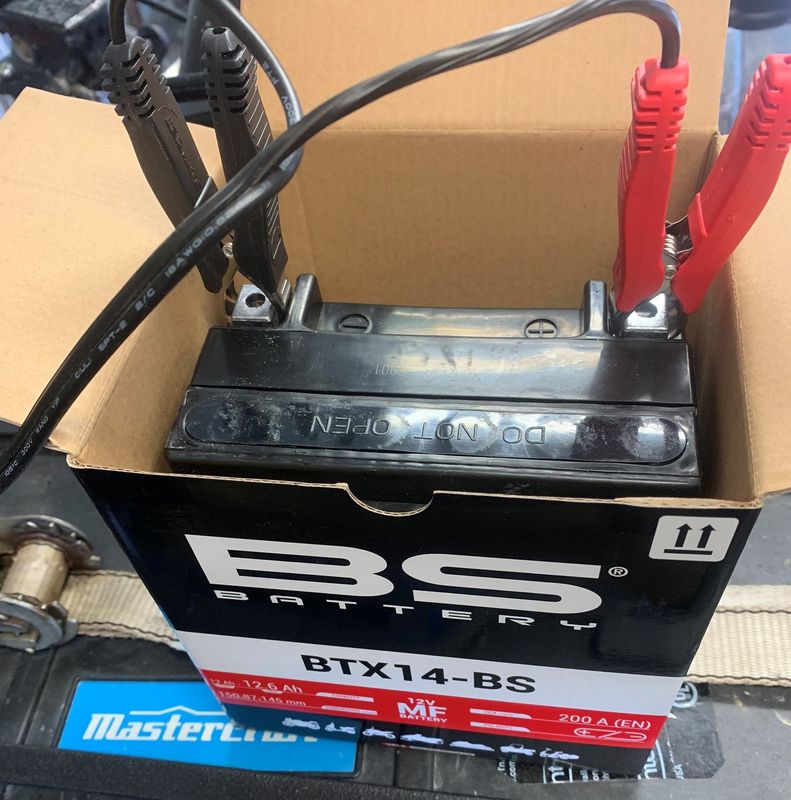
Quick July 2019 update: On my Torbay ATV Ride last week I started having trouble with the battery. I diagnosed the problem as a defective cell within the battery and ordered a replacement battery from Honda One.
I normally go with the OEM Yuasa battery but Q recommended a new line they were stocking: BS Battery. These are identical to the OEM battery in every way except price, these are significantly cheaper. So far so good, it fit perfect and works perfect as well.
September 19, 2019 Rescue Scottie mission, Northern Pond Road. Got a call from buddy Scott Evans, he sunk and stalled his ATV in a deep water hole while moose scouting with his wife. I loaded up Project Foreman, grabbed a pile of straps and a few tools and headed in to get him running! For the first time in many years of moose hunting Project Foreman was off duty as I wanted to run my recently restored 1989 Argo 6x6, aka Project 6x6. The machine ran well and was a lot of fun to operate in the same country I was already used to running on bike. These two machines will make the ultimate duo for future hunting seasons!
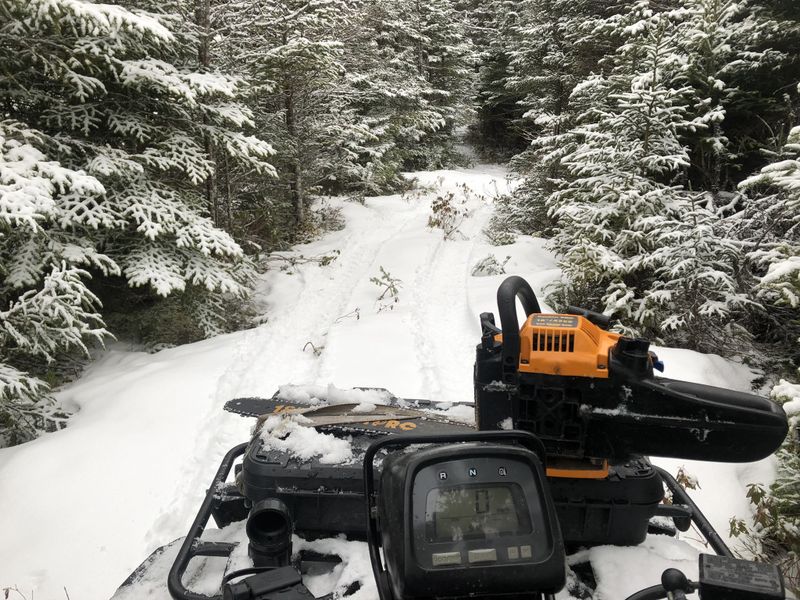
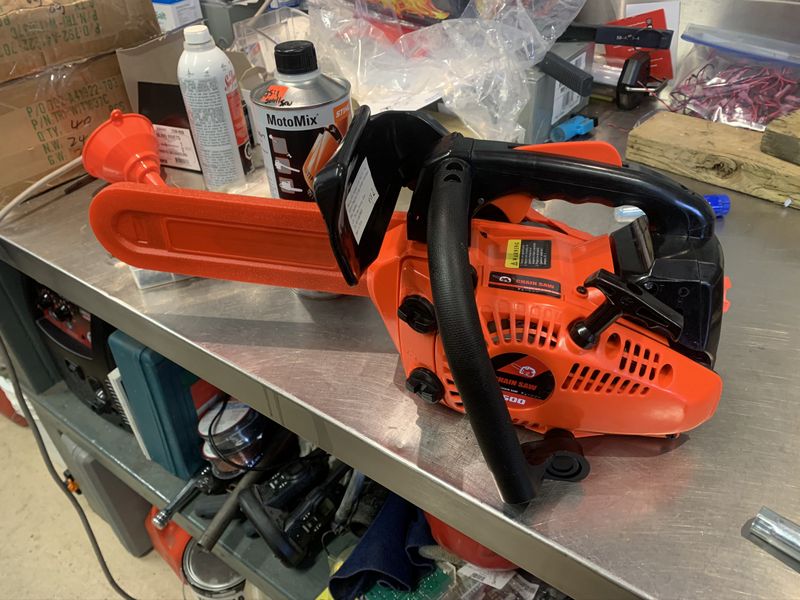
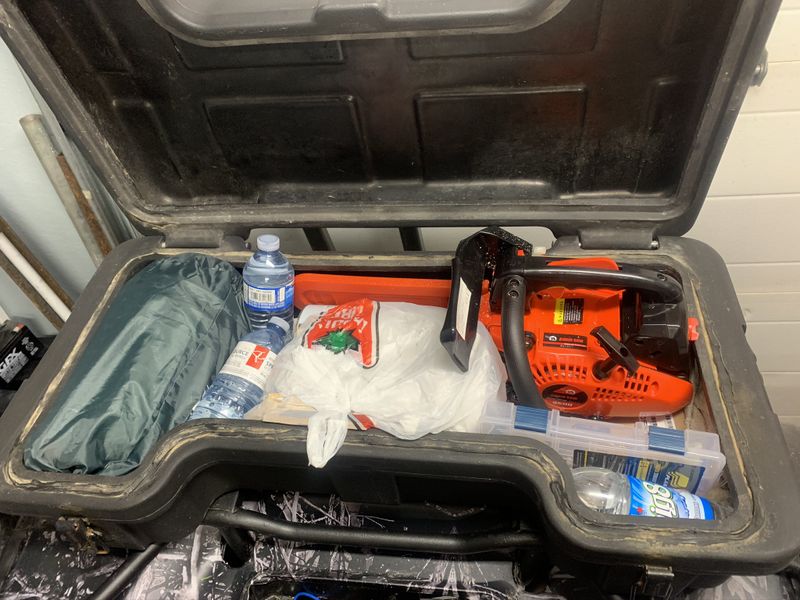
Lastly in December I received a new accessory to carry in my ATV box on trail rides, a Chinese made eBay top handle chainsaw. This unit was $150 shipped to my door, is 25cc 2-stroke with automatic oiler and a 12" bar.
The best part is that is works great and is compact fitting in my 13" tall rear ATV box with ease. This will make clearing trees fallen across the trail, gathering firewood for a campfire or cook-up so much easier and faster!
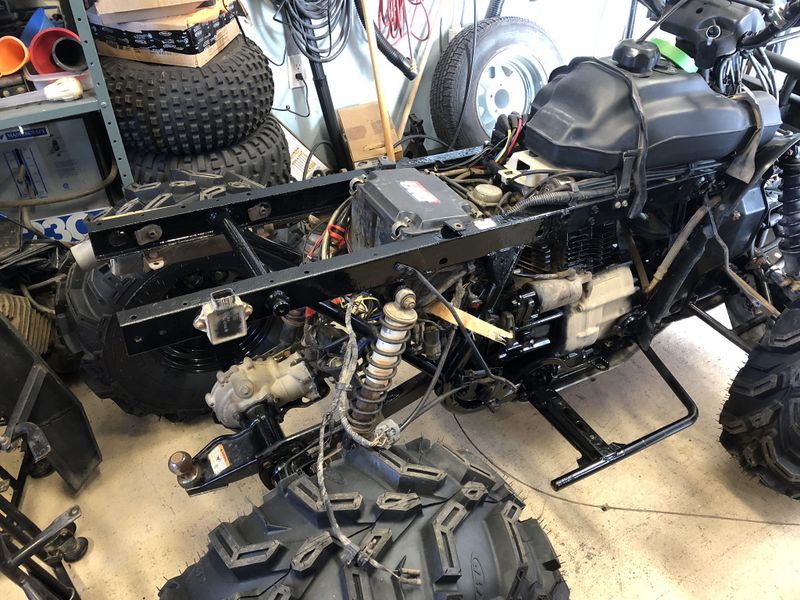
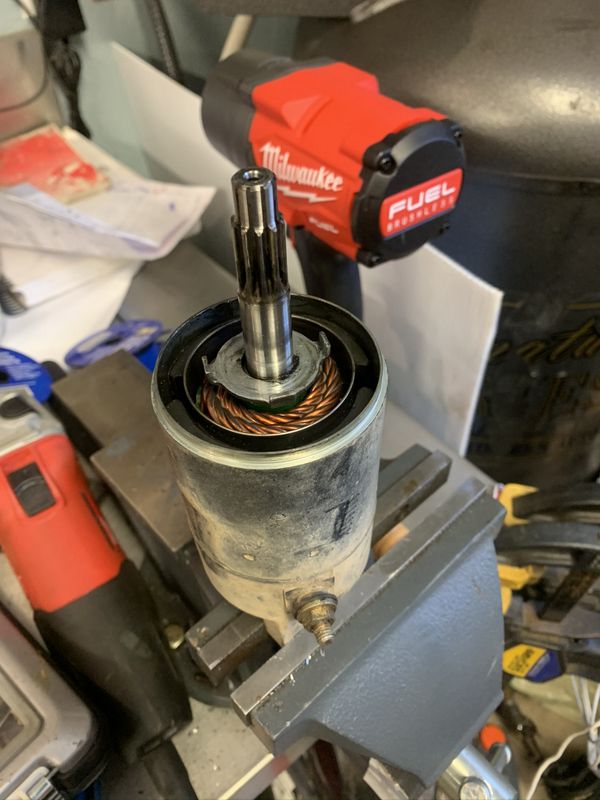
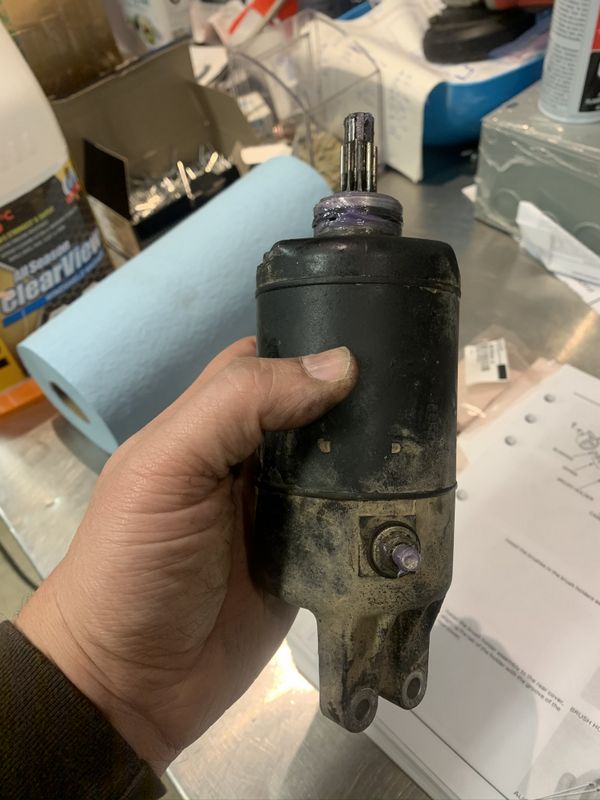
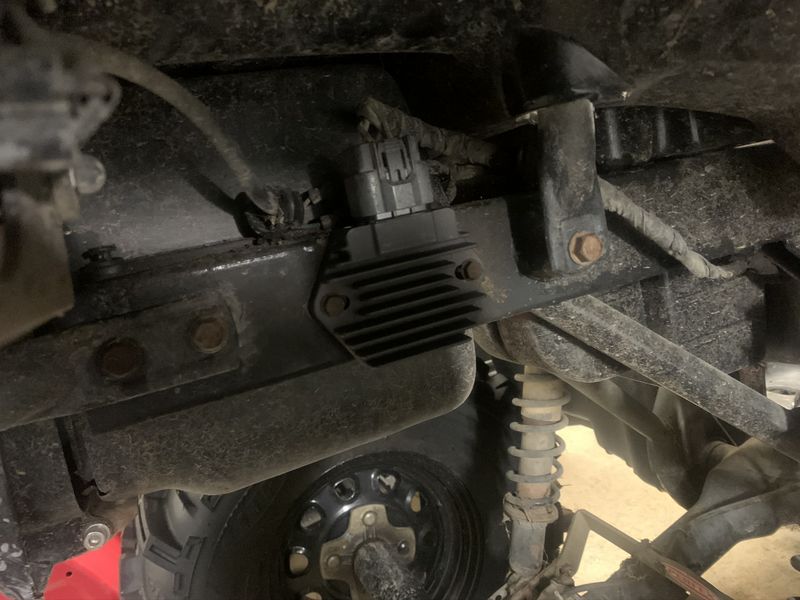
Electrical Repairs continue on Project Foreman. With a new battery installed the bike would still intermittently not start on the electric starter but would if I held the starter button and tapped the starting motor. I metered the circuit and found power was reaching the starter so I knew the solenoid was OK and all connections were perfectly clean (I coated all connections: Battery, Solenoid & Starter with di-electric grease when the bike was new). To remove the starter you take out 4 bolts holding the plastic side cover, the starter power wire and 2 bolts holding the starter in. Then tap it gently to the right and it comes right out.
Disassembly is achieved by simply removing two long 10mm bolts.
I was pleased to find no water, dirt or corrosion inside the starter, this meant I cold rebuild it instead of replace it.
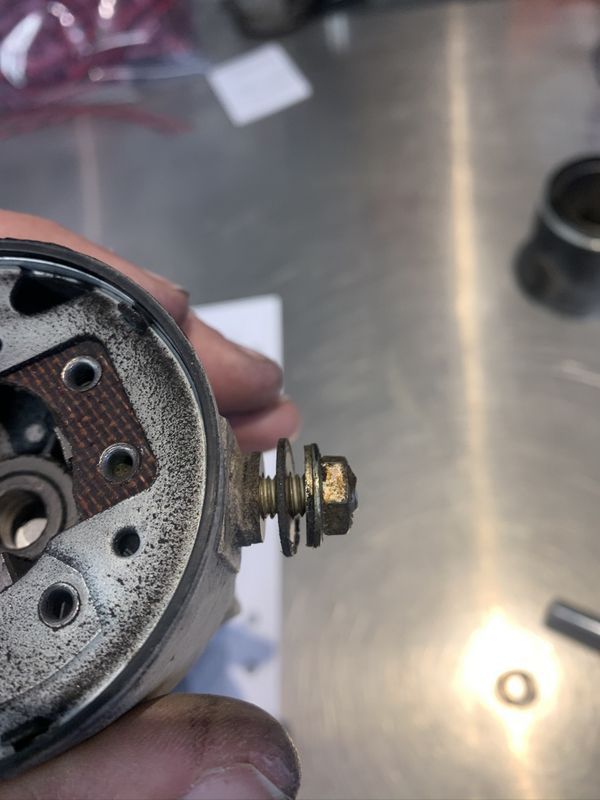
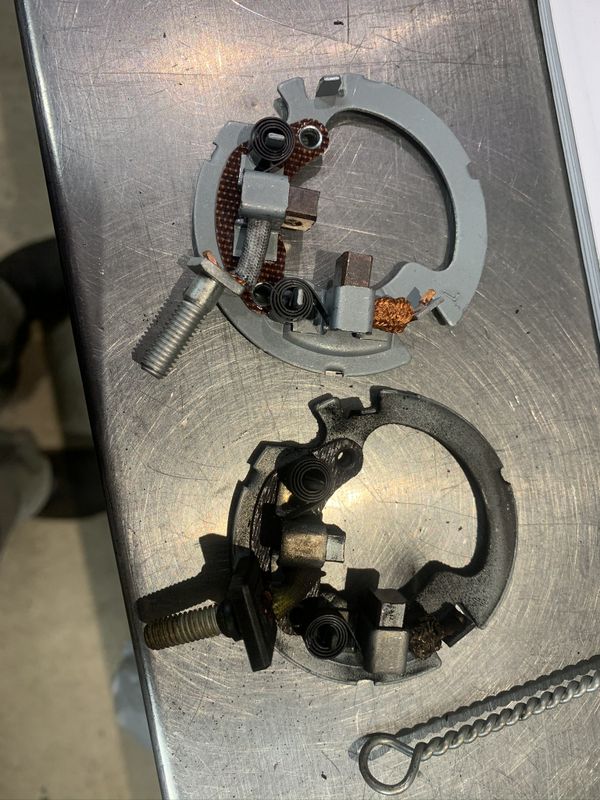
The old brushes measured less than the minimum specification listed in the factory repair manual so I picked up an OEM Honda brush kit from Honda One. This way I'd have a proper working OEM starter instead of a crappy quality aftermarket starter.
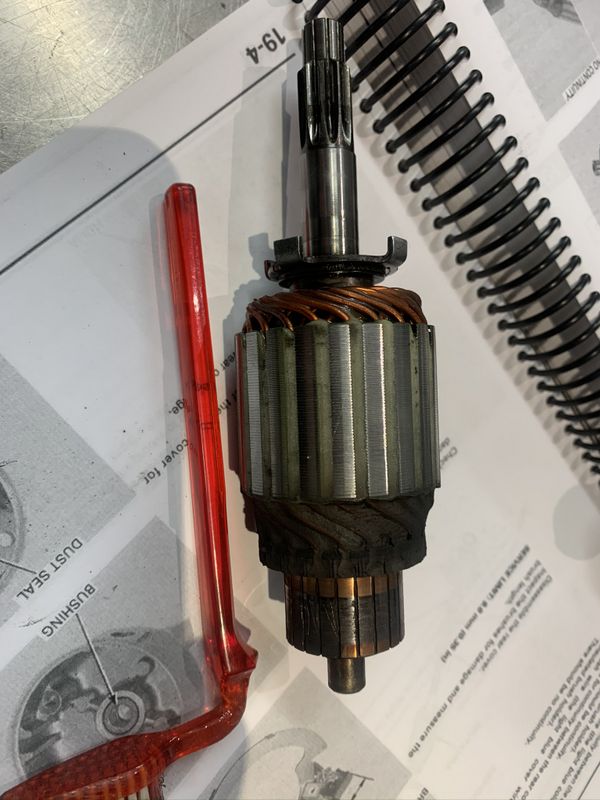
I cleaned up the armature to remove all dust from the old worn brushes.
You have to be careful reassembling the starter, there are little lines on each section to make sure everything is aligned properly. If you cant see them mark each join with a sharpie marker. All of the seals and bearings in my starter were in perfect shape. With the repaired starter installed the bike now starts every time with ease!
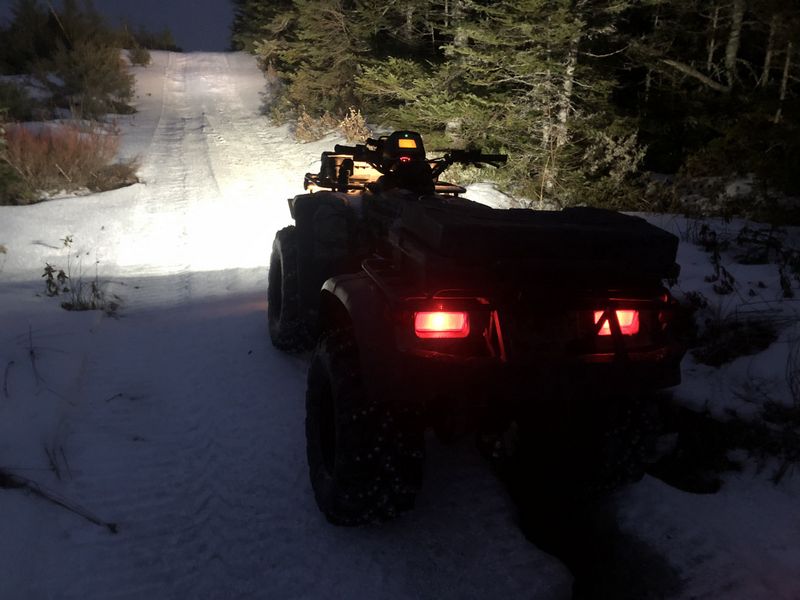
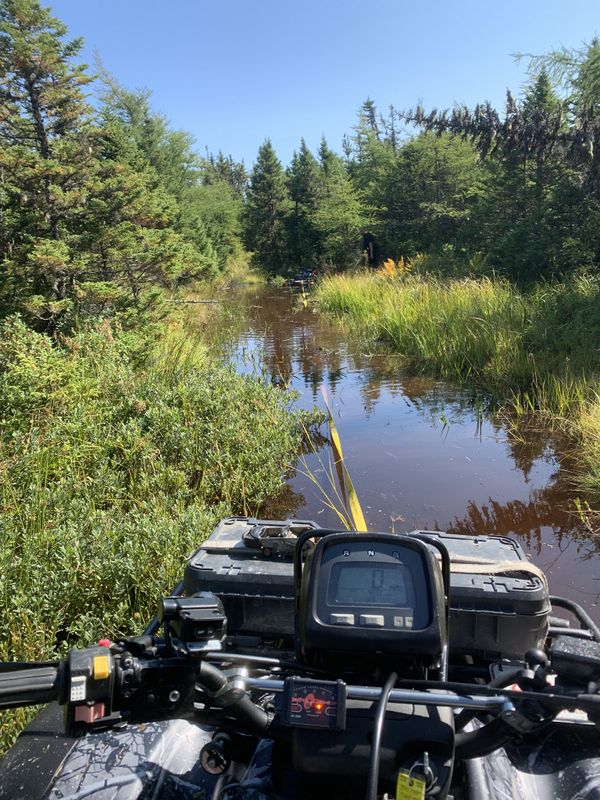
January 4, 2020 Pre-Blizzard ATV rip and new top handle chainsaw test. With a lot of snow in the forecast, this could be the last ATV ride for a few months!
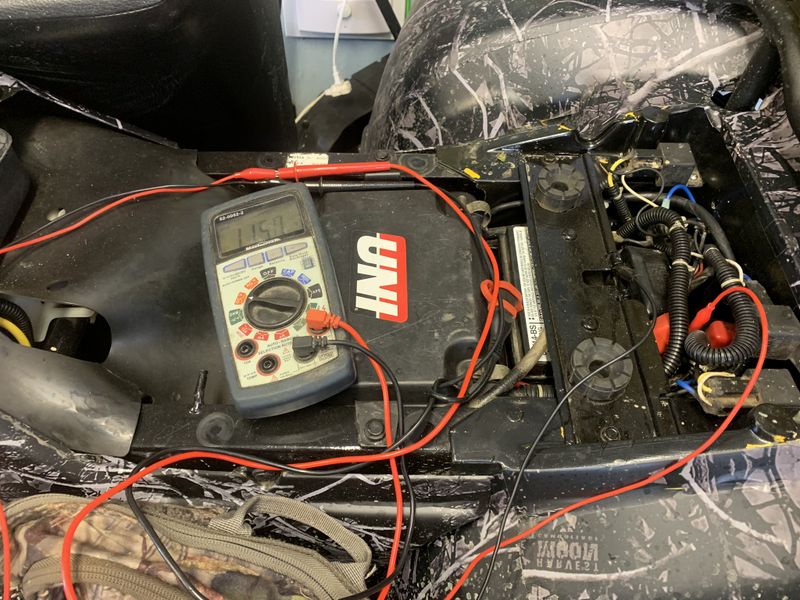
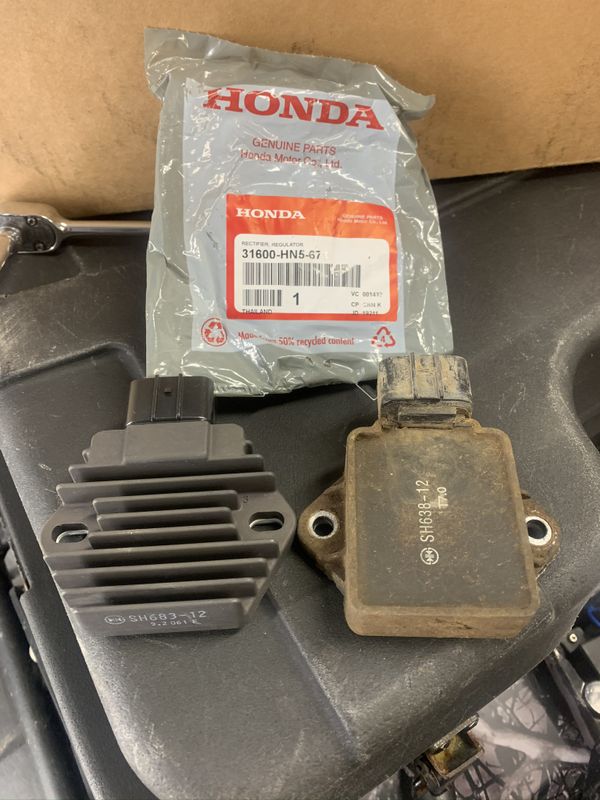
On my last ride, January 4th I discovered that my bike was no longer charging the battery, as I had been running the heated grips all day, and lights after dark. After a short while the light bar went out. When I got home I broke out the factory repair manual and followed the diagnostic guide for testing the stator and voltage regulator finding the regulator to be faulty. When I removed the old regulator I actually found the unit cracked at the connector, and corrosion inside.
The replacement I chose was an OEM Honda voltage regulator which now has an updated design. These are more expensive than aftermarket & eBay units but I find OEM is much more reliable. Bassan boiled a brand new battery dry with a defective eBay regulator a few years ago. The bike is now working very well with a brand new battery earlier this year, rebuilt starter and new voltage regulator.
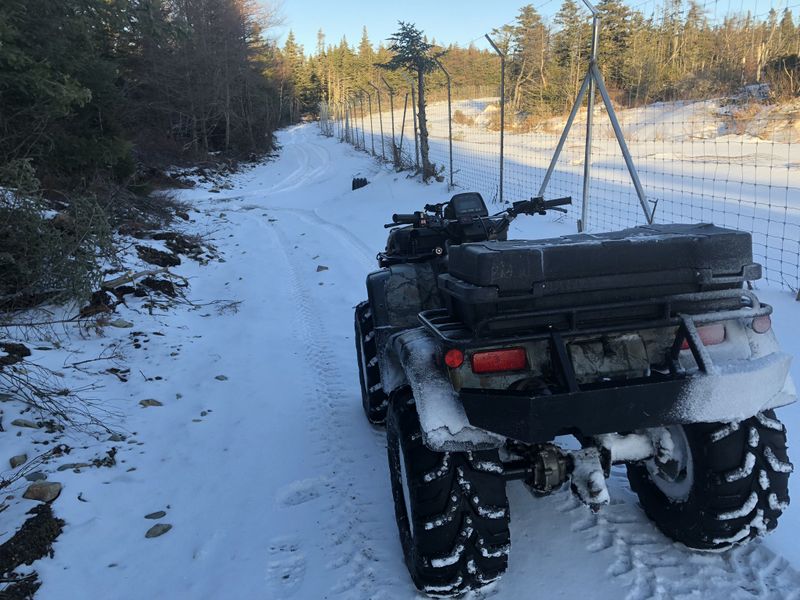
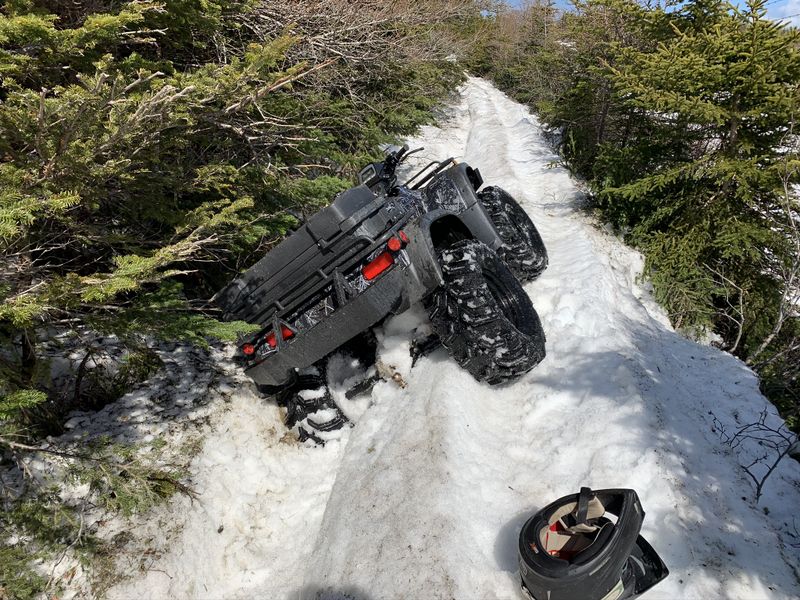
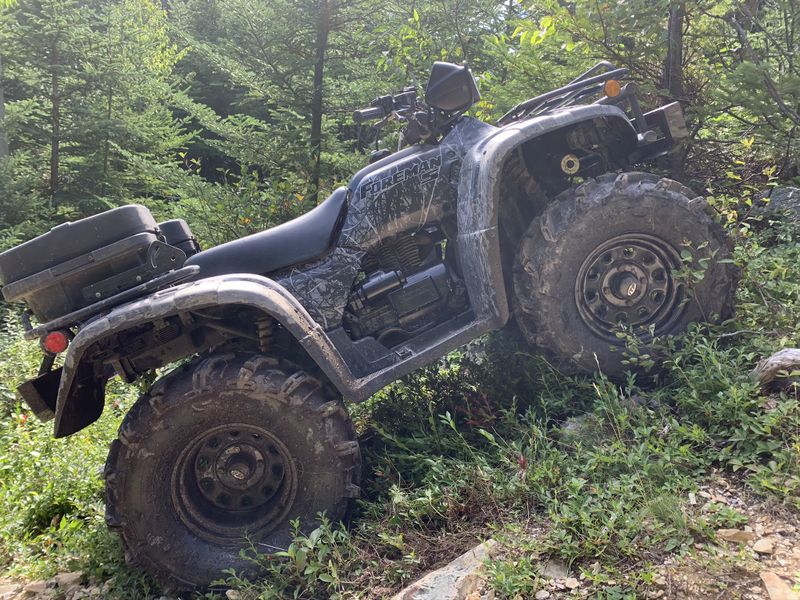
April 16, 2020 Tangly end of winter Torbay ATV rip. 2020 was truly an epic winter of Blizzards, snow storms, even snomageddon, it was well into April before we could even consider taking an ATV for a run. If you slipped off trail you were into some really deep soft snow!
Even today was borderline at best!
Needless to say it was a beautiful day and quite an interesting run! When I got home I found a bunch of engine oil in the air box. After a bunch of research, I discovered that as the bike sat idling on its side for so long while retrieving it from this stuck (when it laid over even further), oil level covered the crank breather. Crank case pressure slowly pumped oil out the breather into the air box. I cleaned it, topped off the oil, and it appears to be OK.
May 6, 2020 Southern Shore game camera retrieval and Matt French prank!
May 24th weekend 2020 day ATV trouting and finding new fishing holes!
September 6, 2020 Awesome Torbay ATV rip and new Axe reveal! Trail, bog, climbs, this trip had it all. Also, For the last few rides I've still been getting a little oil in my air box. (from my tangly April snow ride). Turned out there was still oil in my snorkel pipe which has a downward slope. Parking on this super steep hill while I enjoyed a coffee cleared out the rest of the fluid and the problem is finally fixed for good!
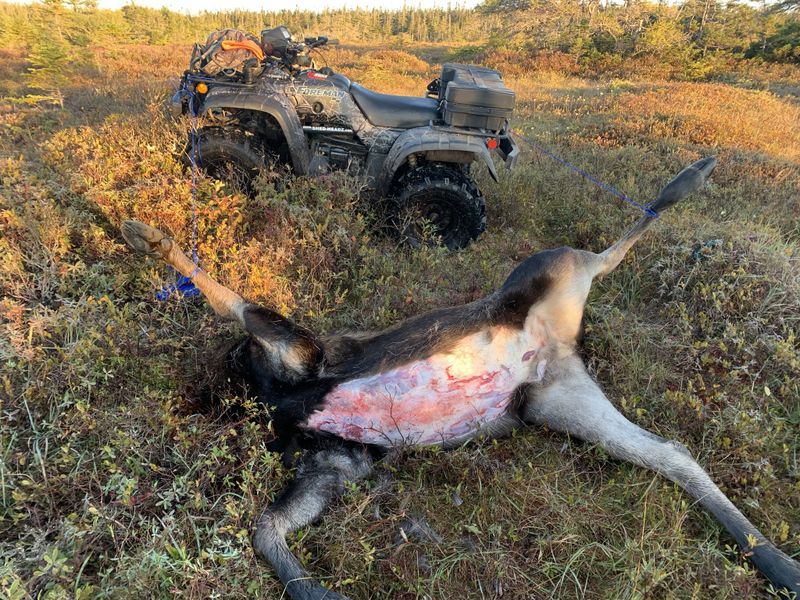
Moose Hunting October 2020 Part 3. As I said last year, the Argo and Project Foreman would make the ultimate hunting vehicle duo. The Argo is great, it can carry a lot of stuff and is quite capable off trail, project foreman is also, perhaps more capable off trail as it has great tires and a front differential locker.
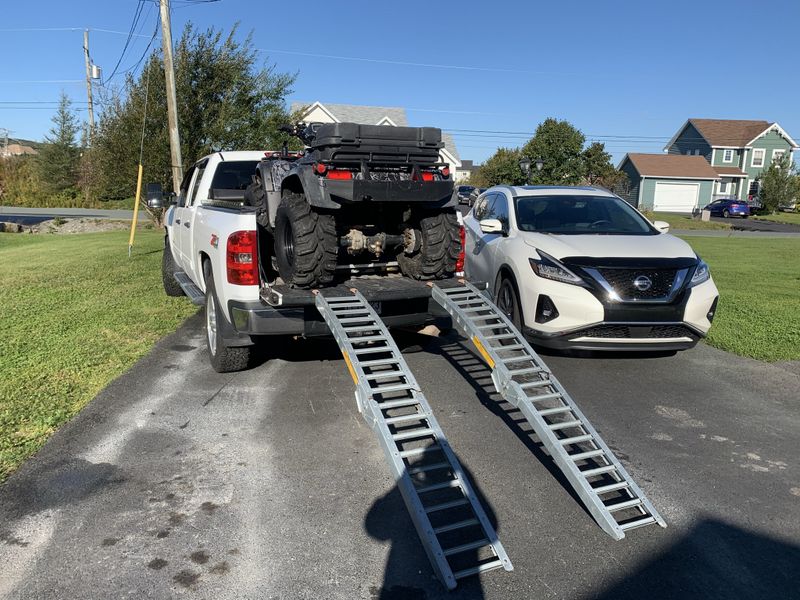
On October 14th with the rest of the crew at work, Project 6x6 inside Mark's trailer, and an absolutely beautiful forecast I made the early morning drive to the Southern Shore with Project Foreman loaded aboard the truck. The trip paid off and I made my first ever solo harvest, field dressed, quartered, and transported out to the truck of a beautiful young bull moose.
It was a fair amount of work, and took a little longer than doing so with the boys, but it was one heck of a great feeling to accomplish this all on my own! Project Foreman was a star, it was a moderately difficult spot to get to, but this bike did the job with ease in 5 trips, one for each quarter, the last for gear.
Moose Hunting 2020 Part 4. Mark still had a charity license to fill, so we spent our remaining trips utilizing our Argos and bikes depending on the areas we chose to hunt. All in all a fantastic season! Cheers, MIKE
Project Pages:
Copyright © 2011 Michael Smith
|