|
Area51 Project Foreman - Custom Front Bumper Build:
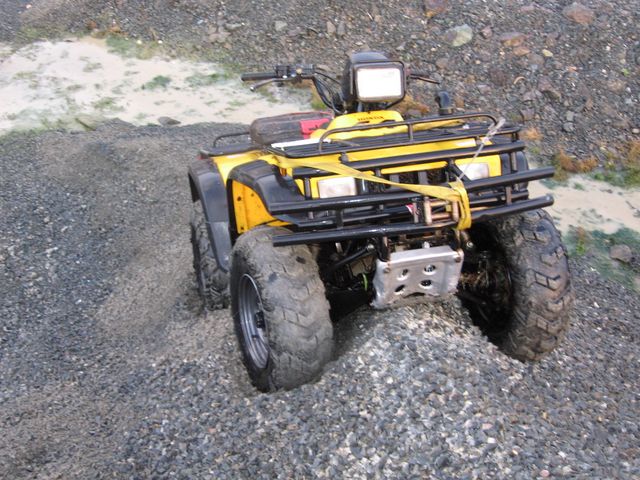
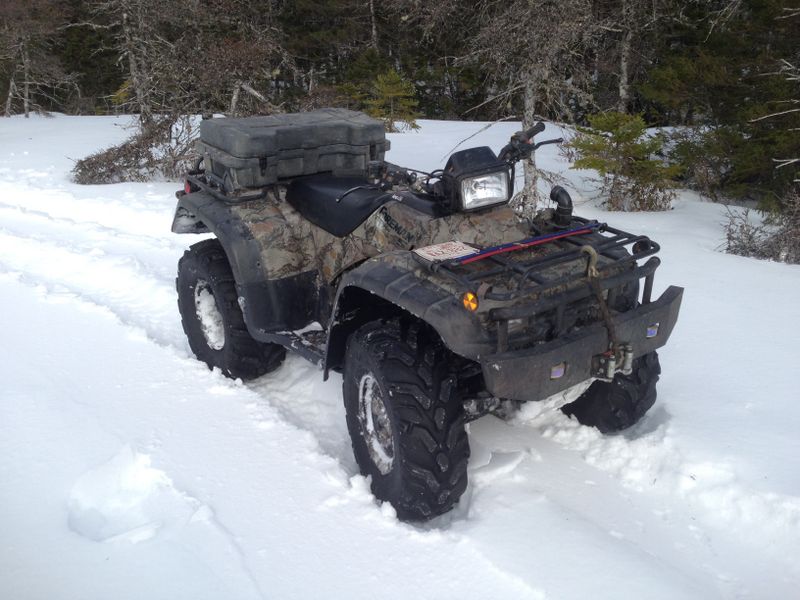
When I bought my Honda Foreman ATV new in 1998, I knew it
would need good front end protection. At that time I purchased an aftermarket
tube style bumper and had it installed before I took delivery of my new bike. After providing nearly 10 years of service
protecting the front of my bike from rocks, trees and other bikes, this bumper
had seen better days. With dings, bends & rust weakening the inside of the tubes, it was now
time for an upgrade.
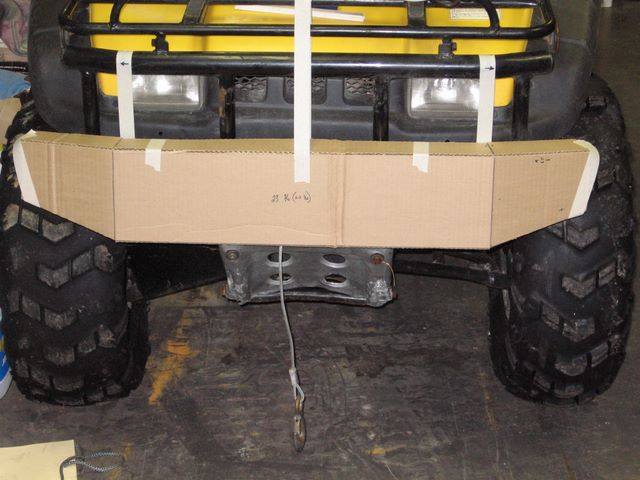
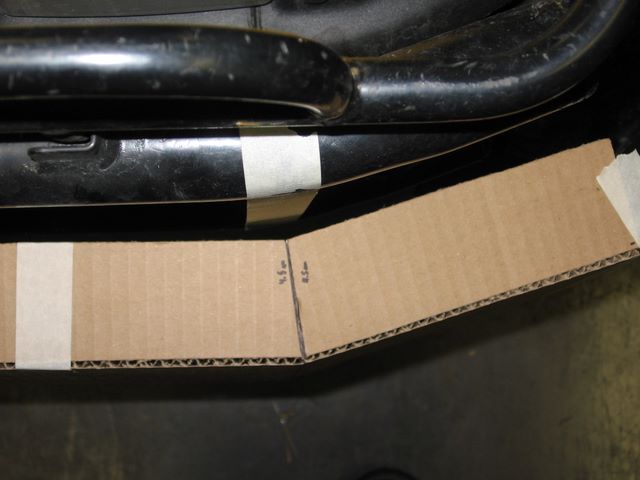
I wanted to build something a little more heavy duty and styled along the lines of custom bumpers found on off road trucks, with out incurring the heavy duty price tag. To start, I searched the internet for pictures and inspiration. Once I formulated a plan I began making a cardboard template which allowed me to create, adjust and play with the design.
More importantly it also allowed me to get accurate measurements and angles figured out.
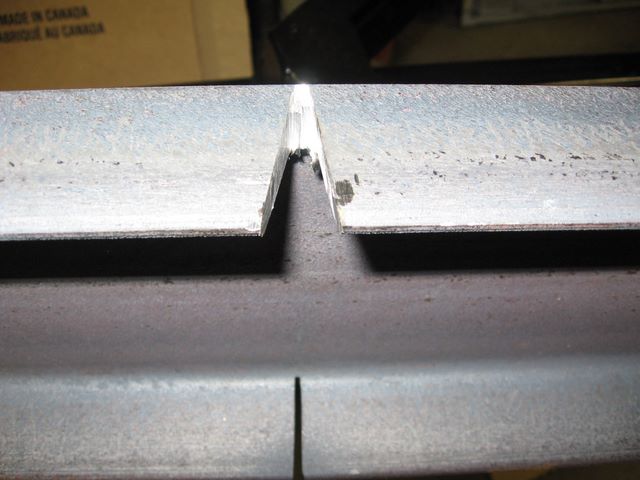
Now that I had my measurements and design, it was time to start building. I
started with a length of 5" x 3/16" C-channel steel, which I figured would make
for a nice solid bumper. I wanted the ends of the bumper bent to match
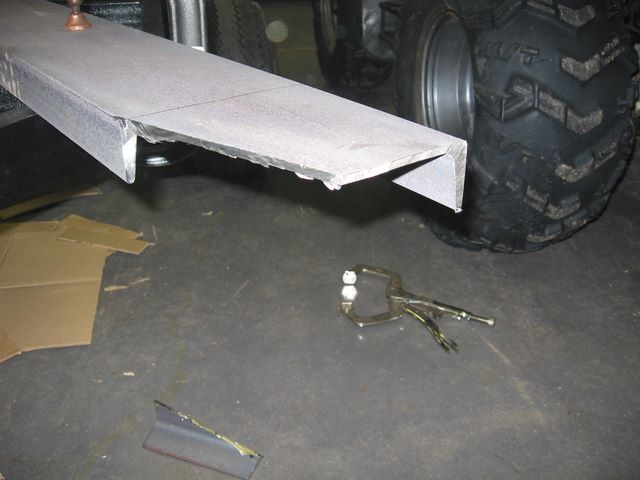
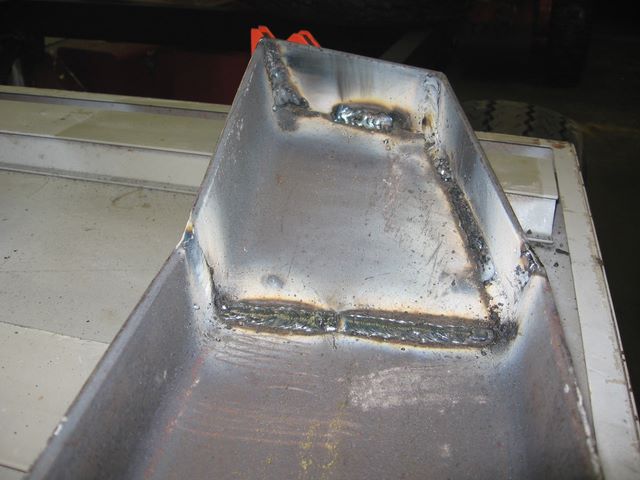
the bike, so I started by cutting 2 wedges out of the top and
bottom rails of the c-channel, as measured from my cardboard template. Next I
cut a relief groove vertically from the point of the top wedge to the point of
the bottom wedge making sure to only cut 1 /2 to 3/4 of the way through. Having
this relief would make the steel much easier to bend. All cuts were made with my
not so fancy 4.5" angle grinder.
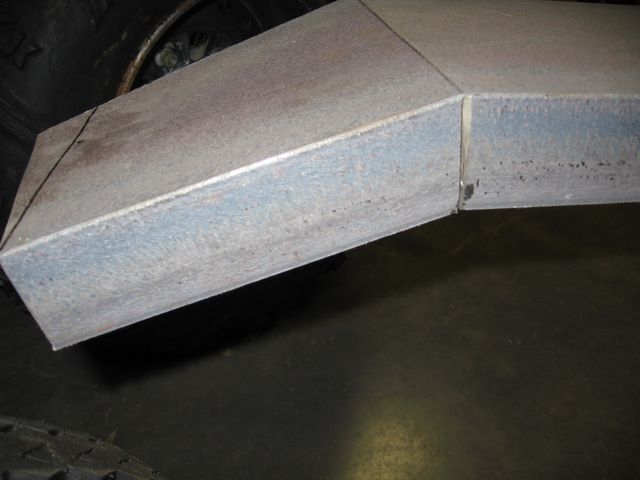
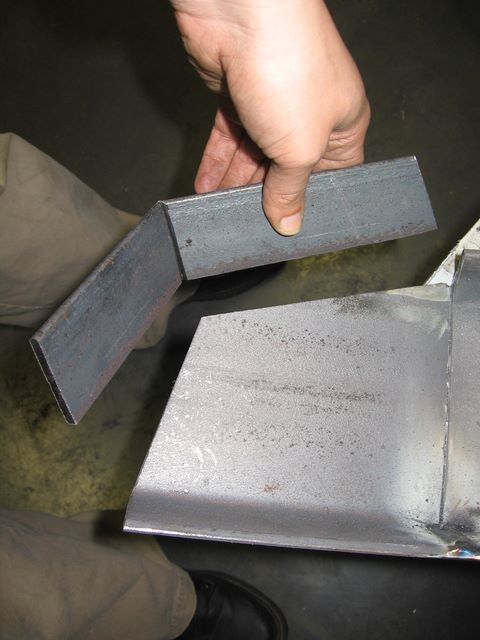
Once the cuts were made, I bent the channel until the wedge shaped openings were closed and then tack welded the seam with my trusty Arc Welder. This process was repeated for the opposite end of the bumper so that both sides matched. Careful measuring from the template made sure the bumper was the width I desired.
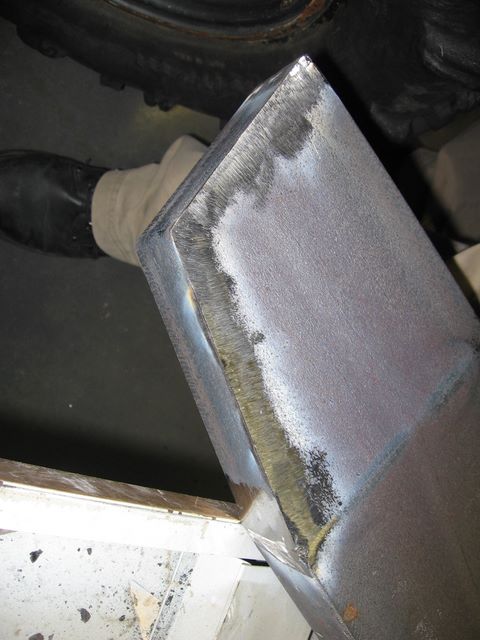
Now the bumper was curved the way I wanted, but it still looked like a rectangle from the front. This was solved by transposing the next 2 cuts from my template to the Steel as seen in the pictures. With these cuts made the bumper had taken the shape I was looking for.
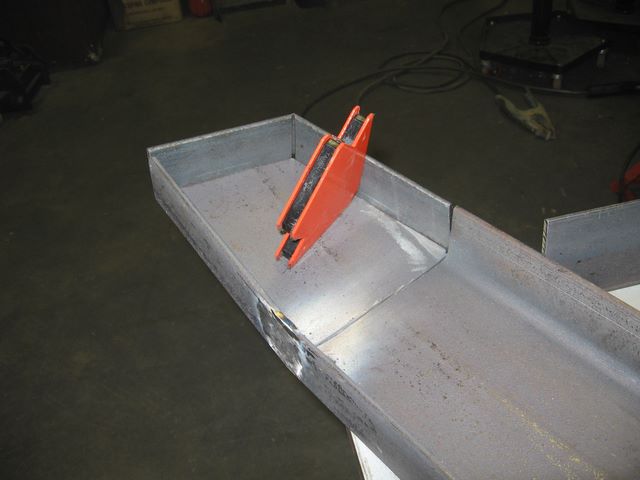
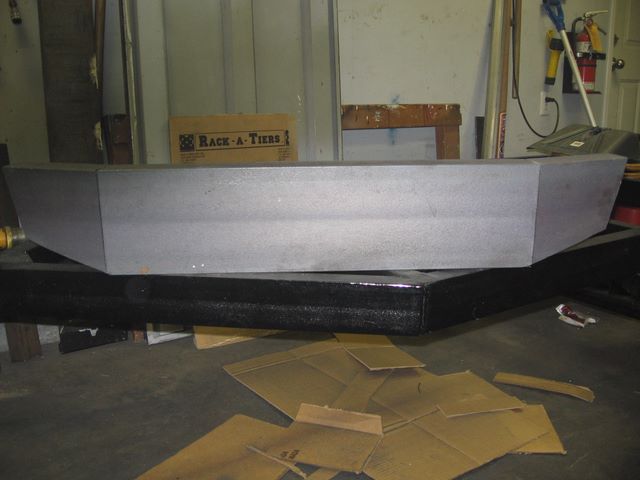
All of the welds on the front of the bumper were ground flat for a smooth, factory, seamless look, while the inside ones were left untouched after the welding slag was removed.
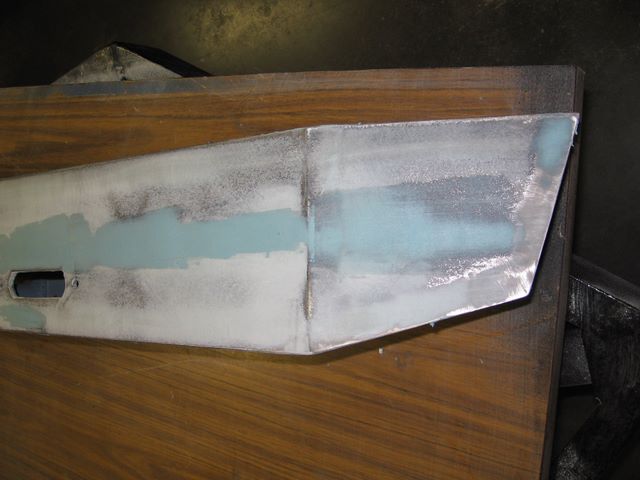
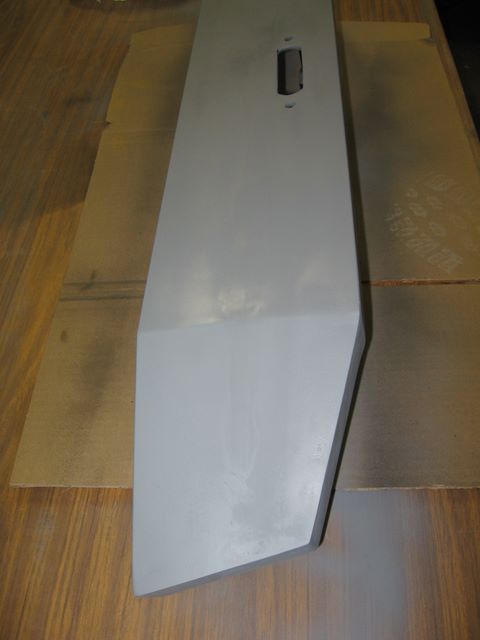
Now that the fabrication and test fitting was completed, it was time for finishing. To start I went over all the outside welds to ensure that they were smooth and level, then cleaned off all of the welding slag inside the bumper and out. Since cast steel has a rough, textured finish, I mixed up some spot putty body filler and applied a light coat to the entire outside surface of the bumper. With a little sanding the bumper now had a very smooth finish similar to the expensive, factory made, stamped steel bumpers.
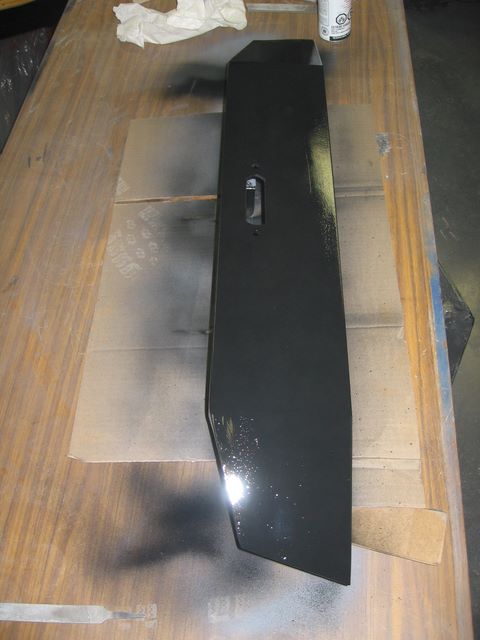
A few light coats of etching primer and 4 light coats of gloss black enamel paint and my bumper was ready for business. I’m very happy with how it turned out and so far it works very well, looks great and I have the satisfaction that I completed it with my own hands.
Now, after many years of service the bumper is still holding its own with only a few minor scratches in the paint! Cheers, MIKE
Project Pages:
Copyright © 2011 Michael Smith
|