|
Area51 Project Argo - Steel Floor Replacement:
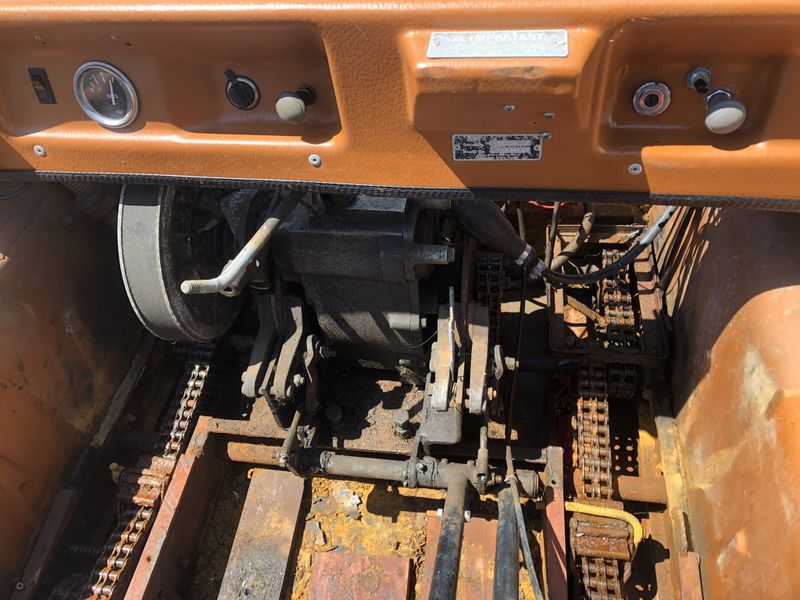
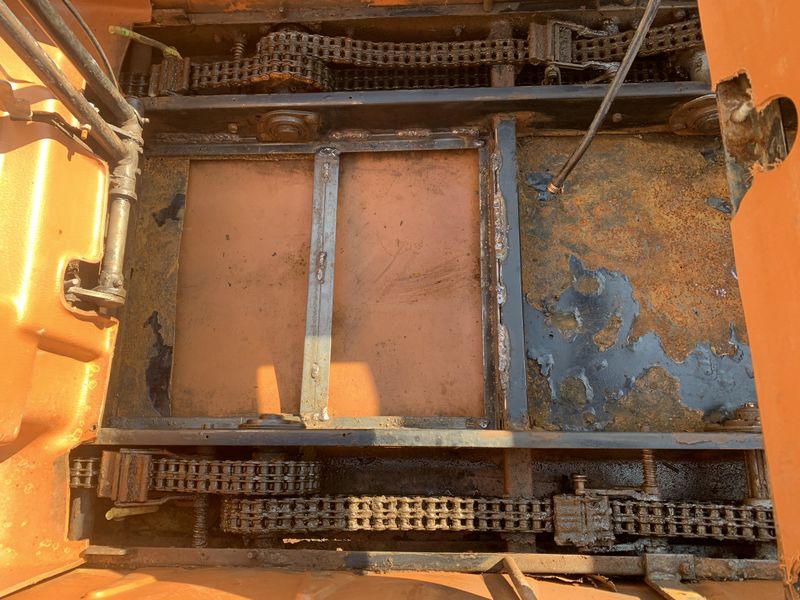
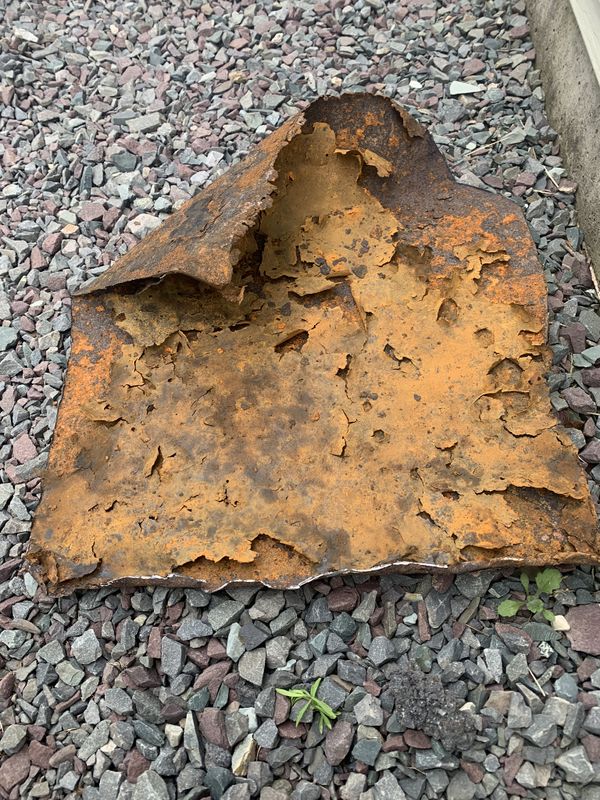
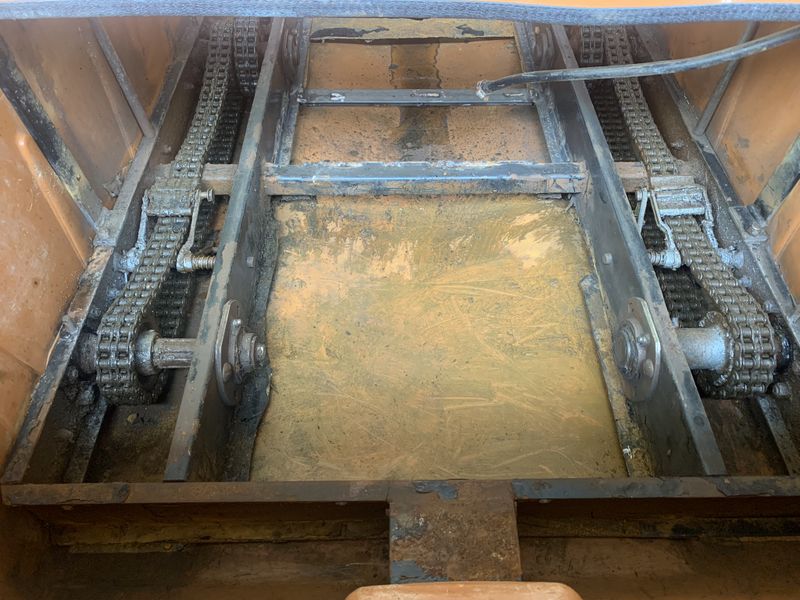
The original steel subfloor was attached in one piece welded directly to the bottom side of the inside frame rails before the chassis was installed into the Argo body at the factory. Water and rust had taken its toll and the floor was completely let go under the drivers feet, the previous owner installed 3/4" hard wood to bring the height back up. lol
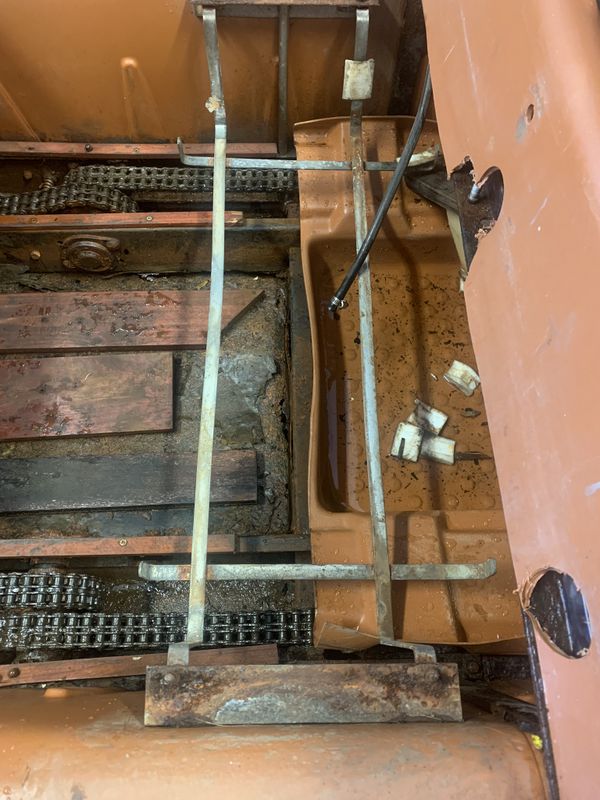
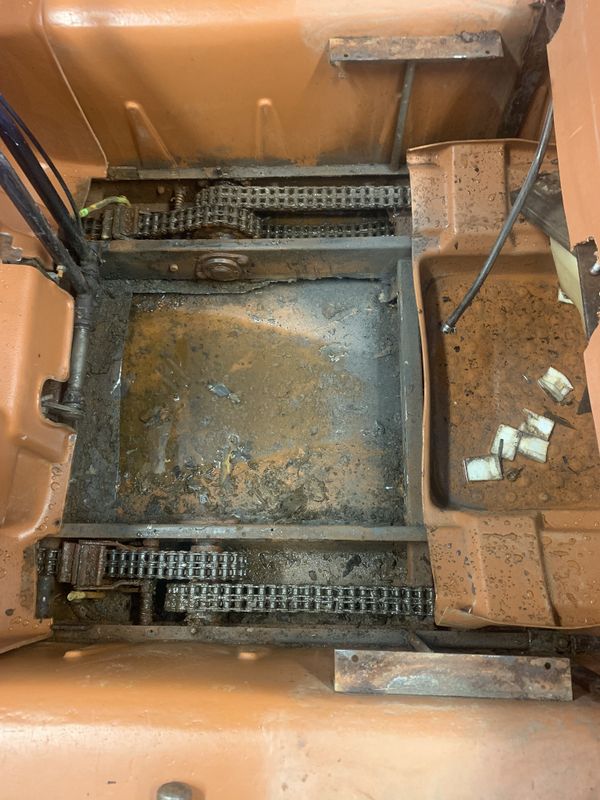
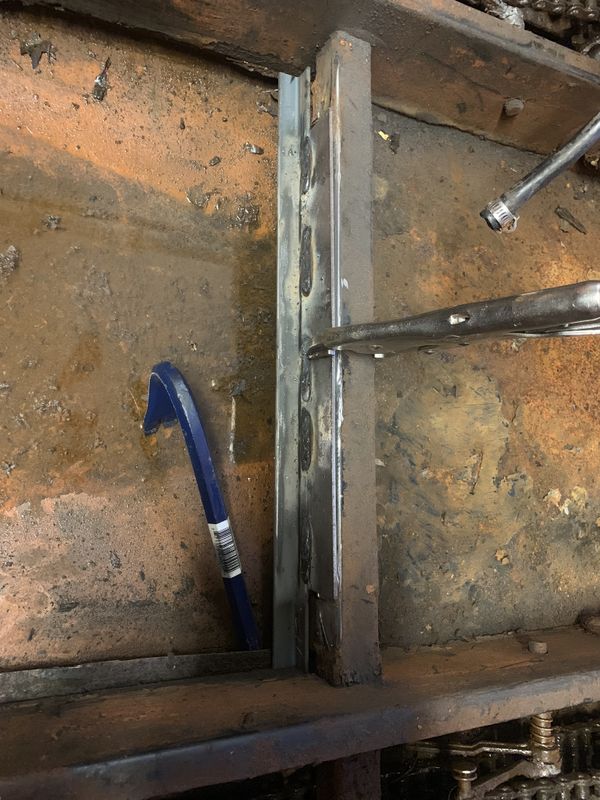
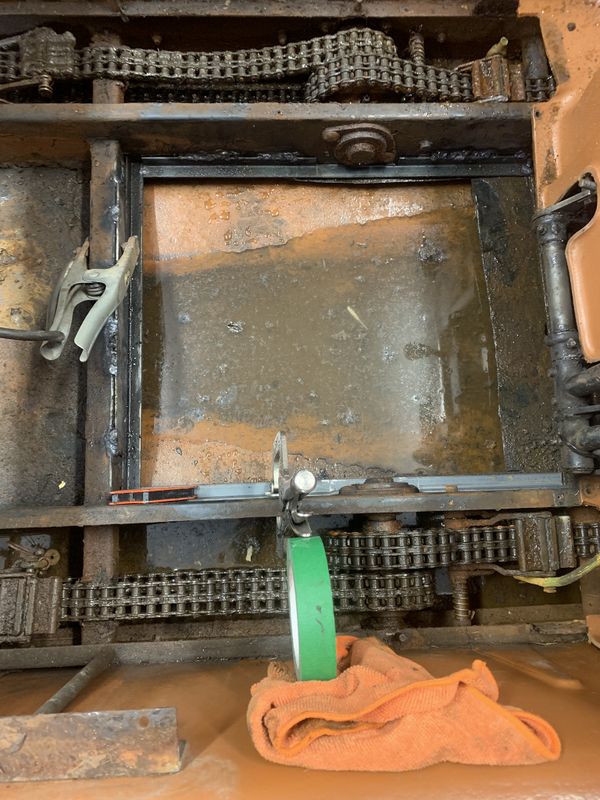
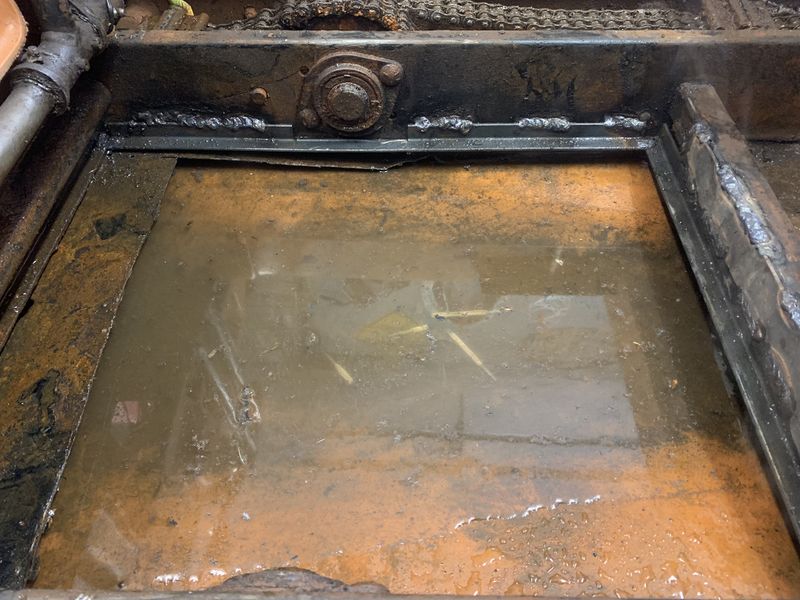
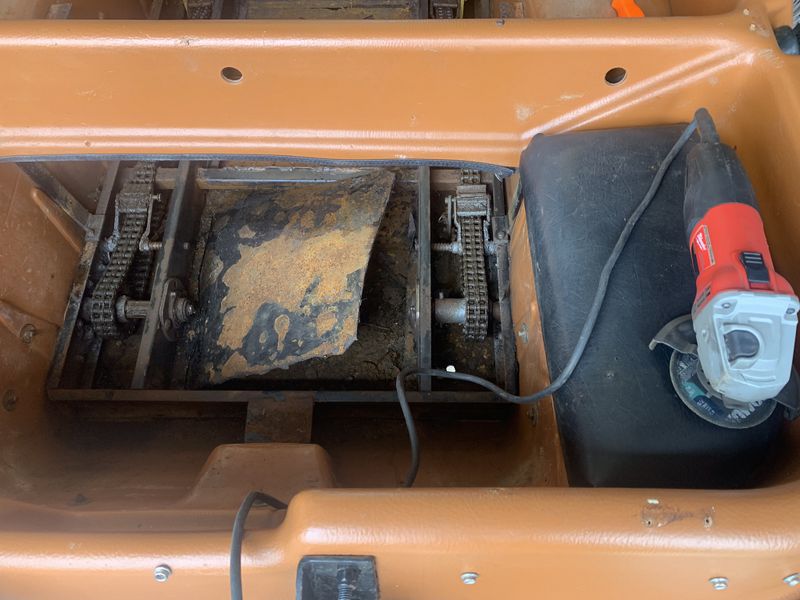
I used my angle grinder to remove as much as the old floor as possible mainly to inspect the plastic body which is hidden by the old steel floor and the full body skid plate. Although dirty it was in great shape. It was hard to get the grinder tight enough for complete removal but this proved beneficial in holding the new floor supports in place while welding.
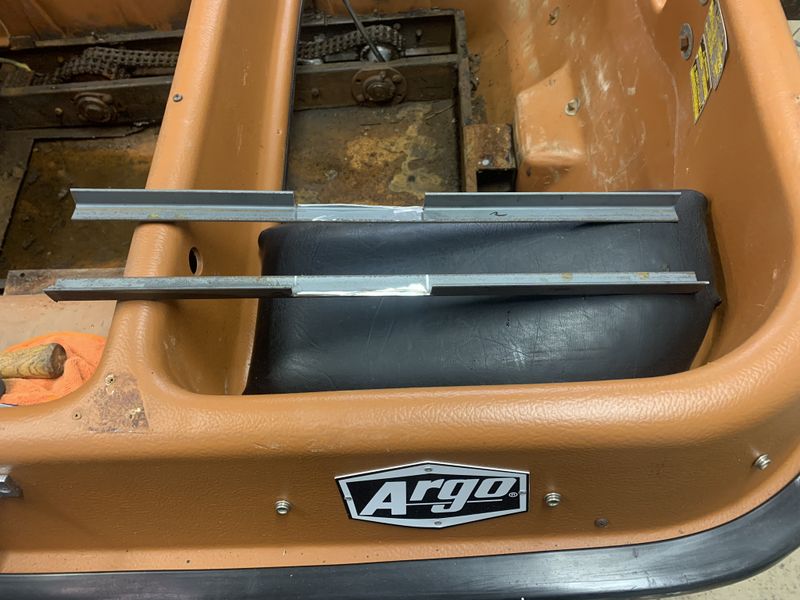
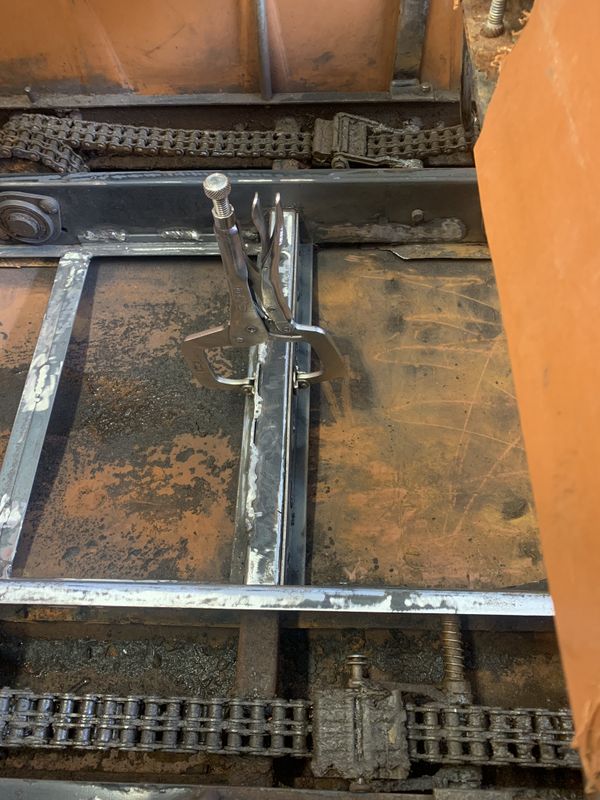
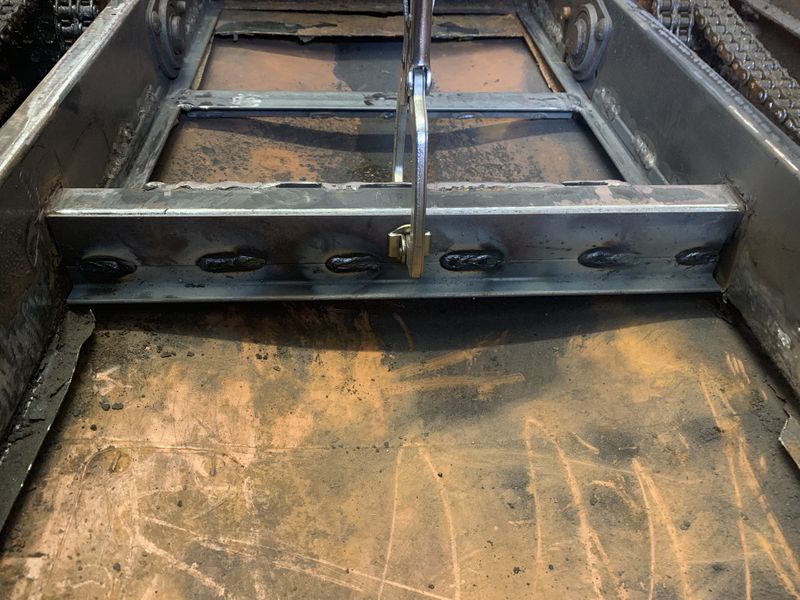
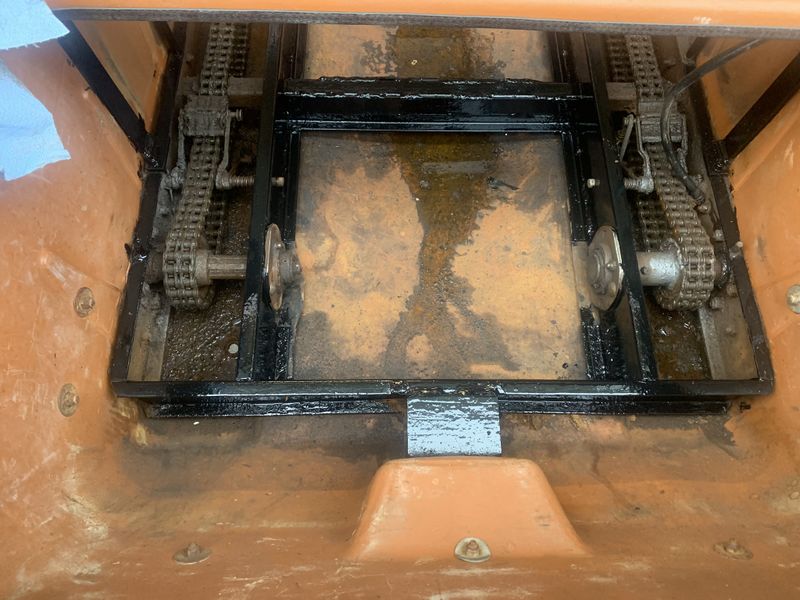
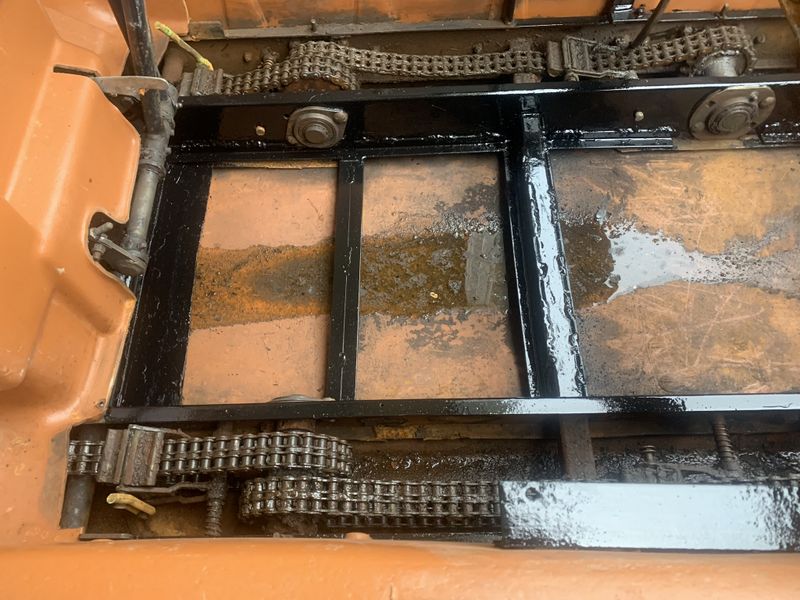
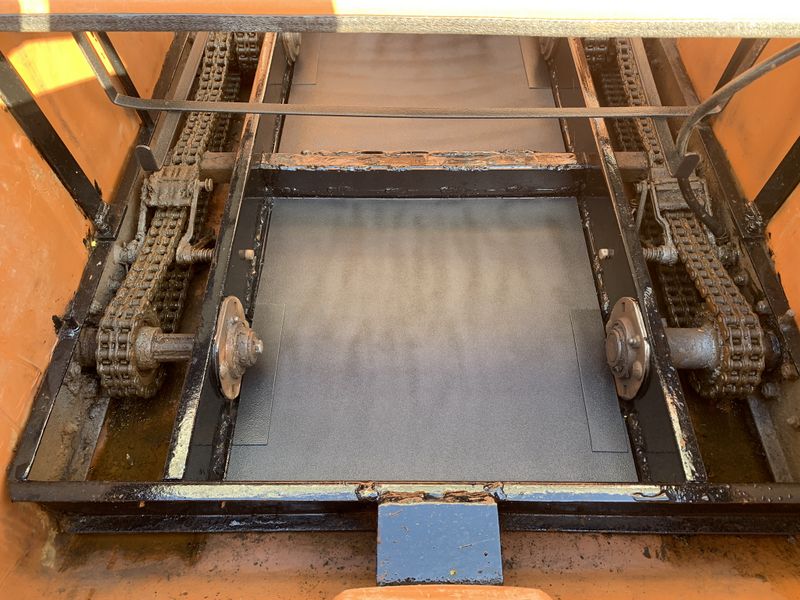
The new floor supports were made from 1/8" 3/4 x 3/4" angle iron, the rear brace had to be taller so I could weld it to this cross member for extra support. A piece of 1" flat bar was welded to the top edge of the angle iron then welded to the cross support rail.
The side supports were notched to fit easily around the inside axel bearings and wont interfere if they ever have to be replaced.
I kept the floor good and wet while welding to prevent hot slag from burning into the plastic body. The whole job was completed with no fires!
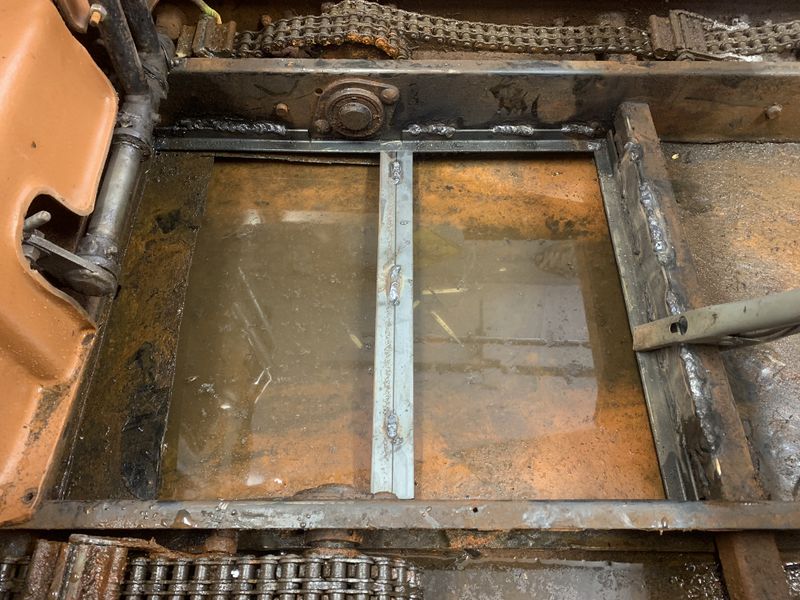
My welding skills using my 220v stick welder and thin steel are not pretty but it got the job done.
I added an extra brace made from two pieces of angle iron welded into a T shape to add extra support directly below the drivers feet.
I originally planned only to replace the front, but upon closer inspection I decided to replace the rear as well which is super easy to do now while the gas tank & seat are out.
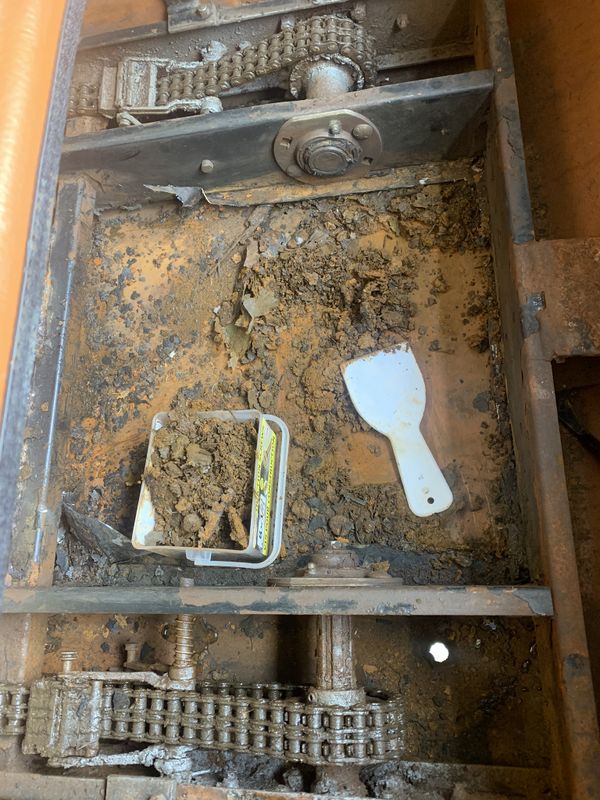
Again there was a fair amount of crud below the floor which was removed before re-construction began.
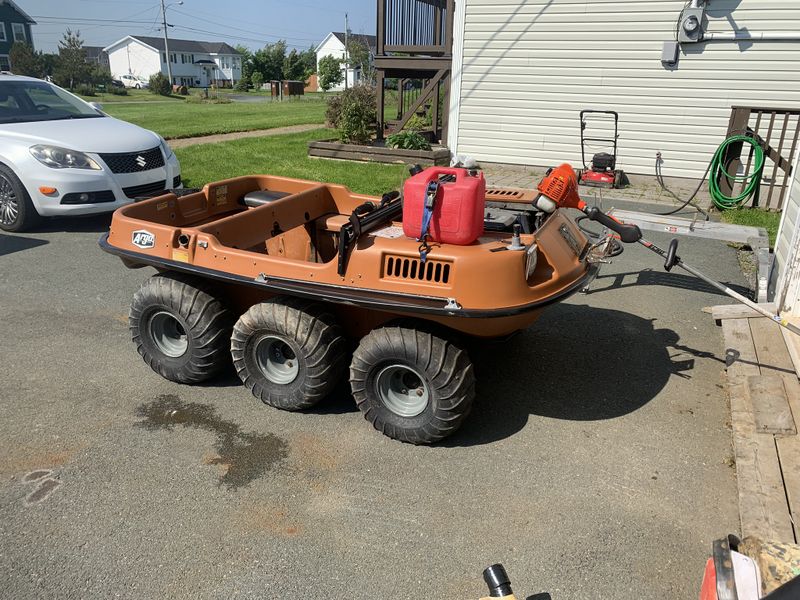
With welding complete I backed the Argo outside to give it a good cleaning before painting the frame began.
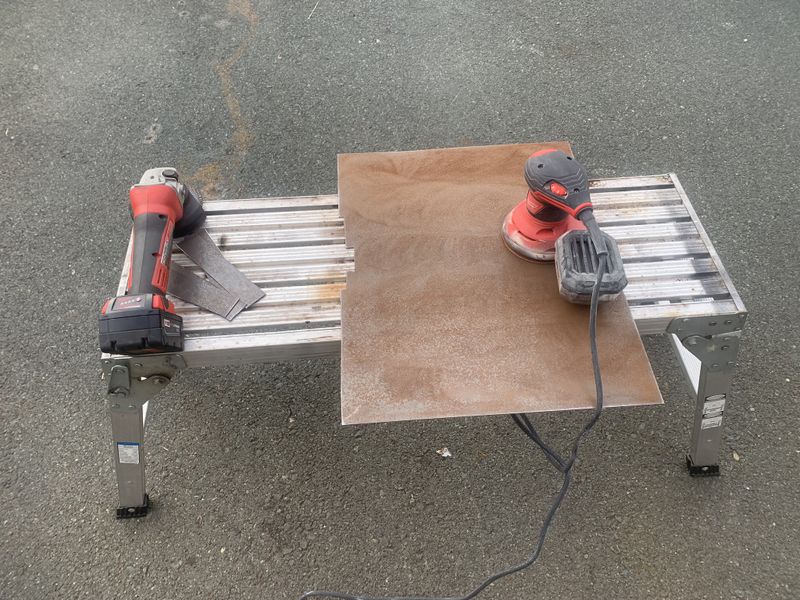
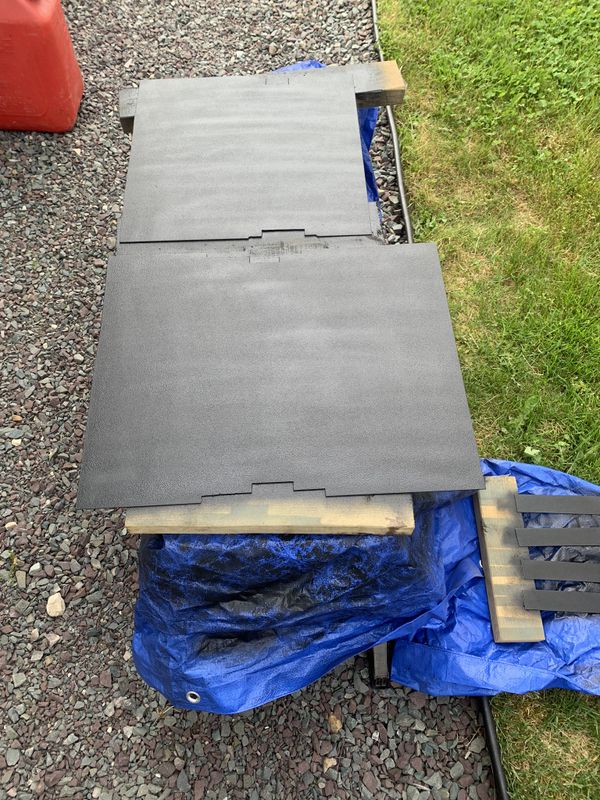
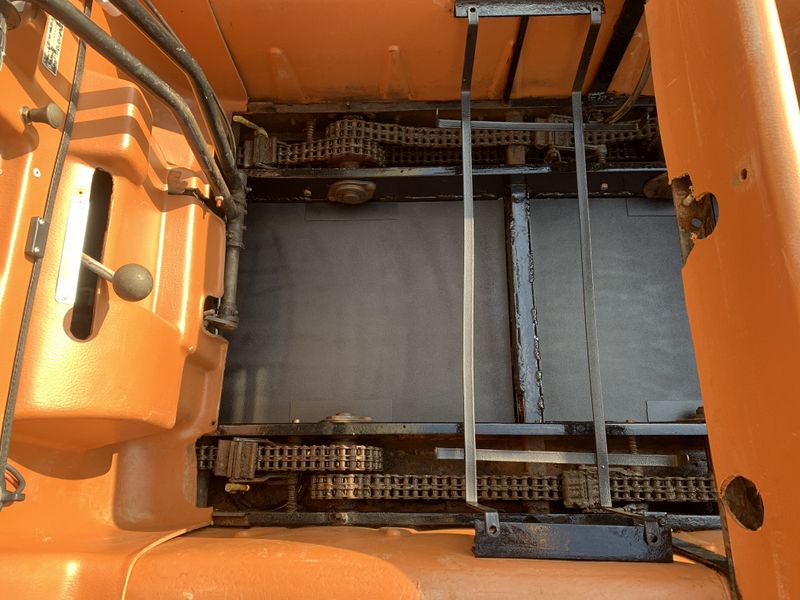
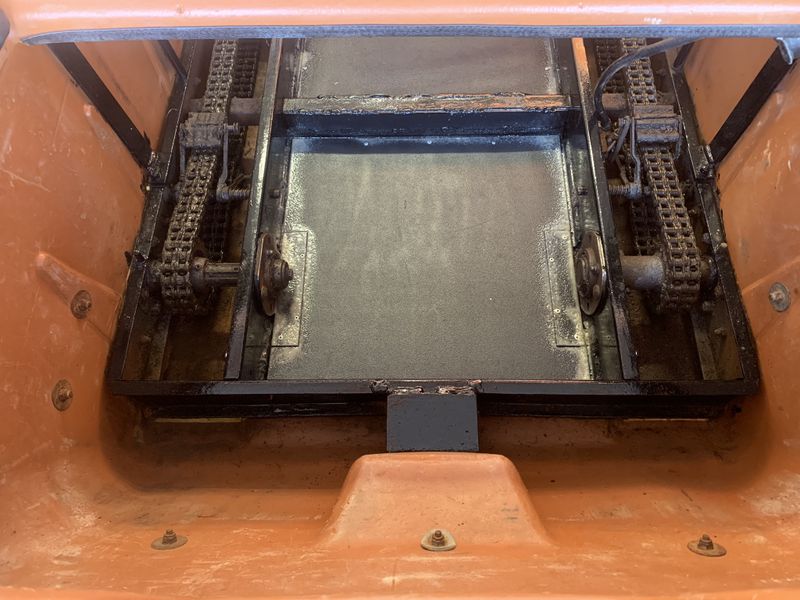
The new floor pans were fabbed from 1/16" sheet steel which is a little heavier than the OEM floor. Its also available from my supplier in part sheets unlike diamond plate which only came in 4'x8' sheets.
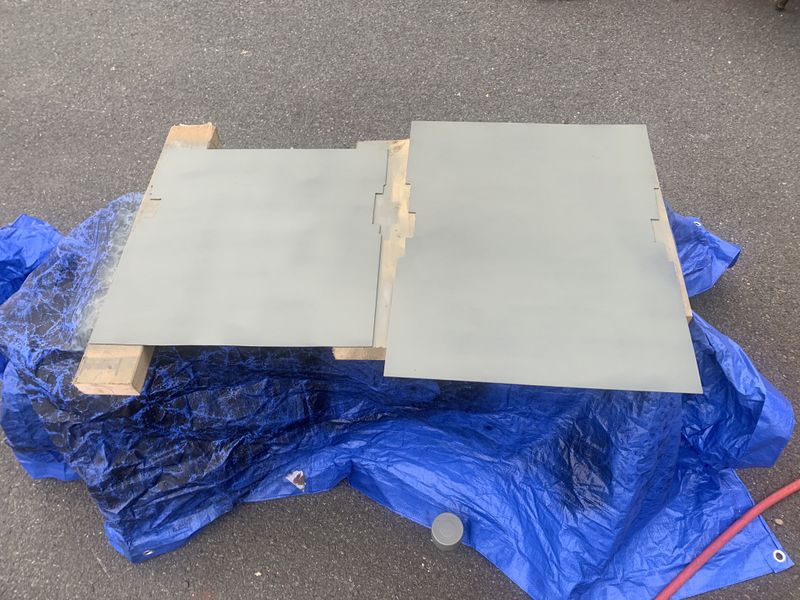
After sanding I hit the floors with Etch primer and let cure for a couple days.
Chassis painting complete with trusty oil based gloss black Tremclad brush on enamal.
Once the primer fully cured I hit the panels with many light coats of Duplicolour Truck Bed Coating which is the replacement product for the blue can Duplicolour coating I used on Project Foreman's Racks & bumpers.
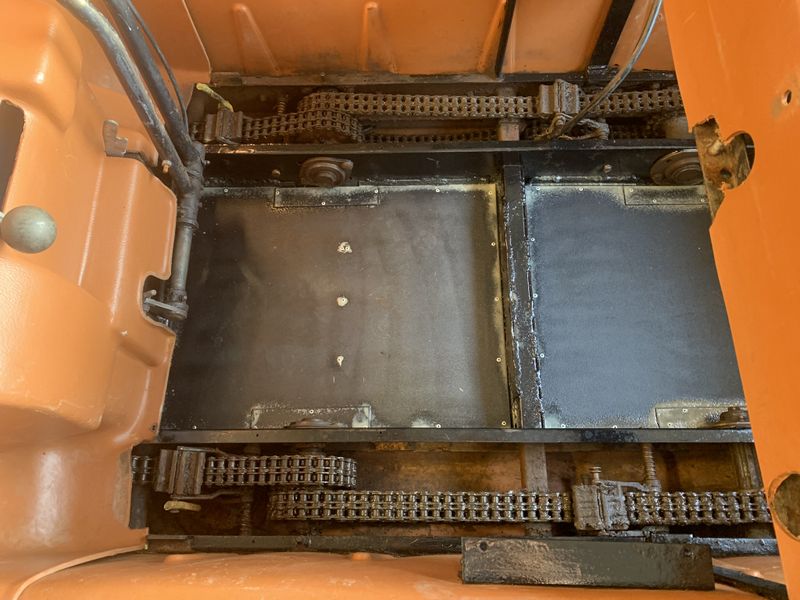
I decided to use steel pop rivets to attach the floors. Welding them would damage the paint in a place I couldn't re-paint once installed and rivets drilled on 4" centres should be good and strong. I chose steel vs aluminum rivets to prevent corrosion due to dissimilar metals. Once installed I coated all the seams and rivets with Fluid Film which is a rust preventer that will spread and protect all seams in the new floor.
All in all a lot of work but its great to have this properly repaired so I can use the machine worry free.
Project Pages: Copyright © 2011 Michael Smith
|
