|
Area51 Project Argo - Tracks & Convertible Top:
When I picked up my Argo this past summer I was stoked to learn that the Argo genuine accessory tracks and convertible top were still with the machine and included in the deal!
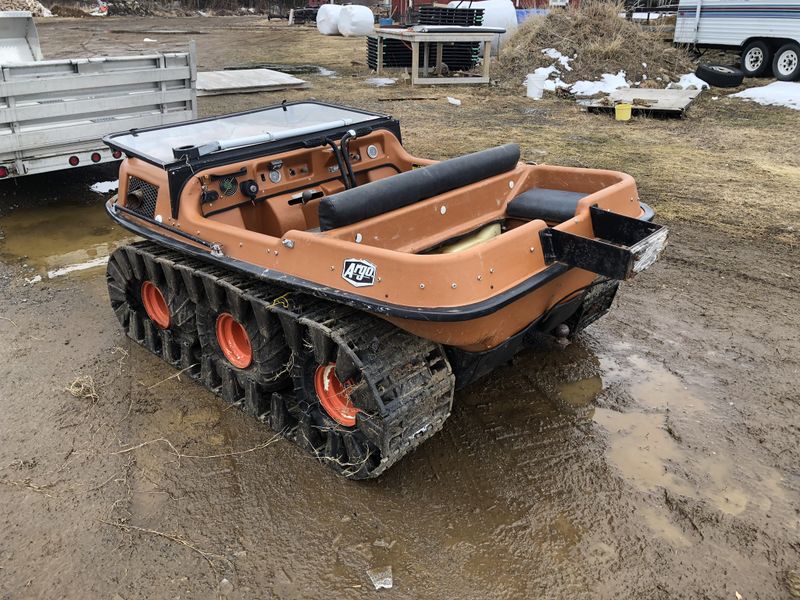
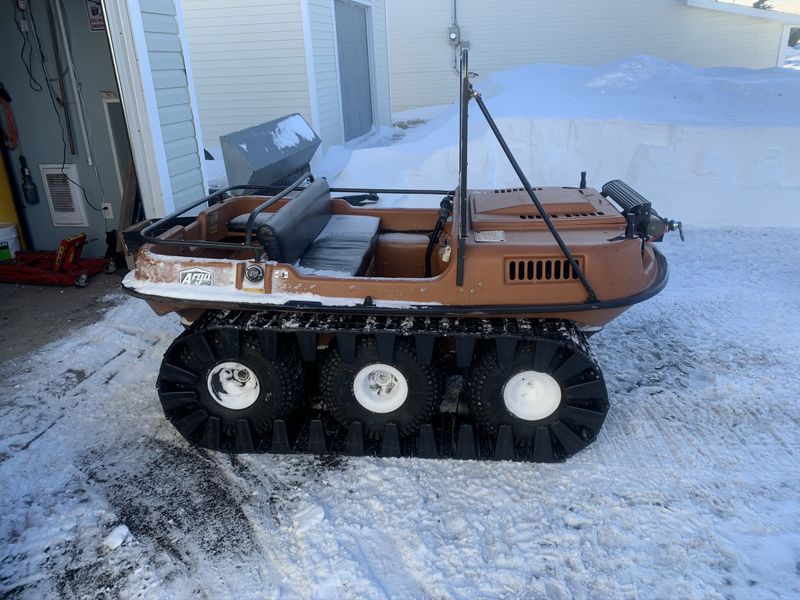
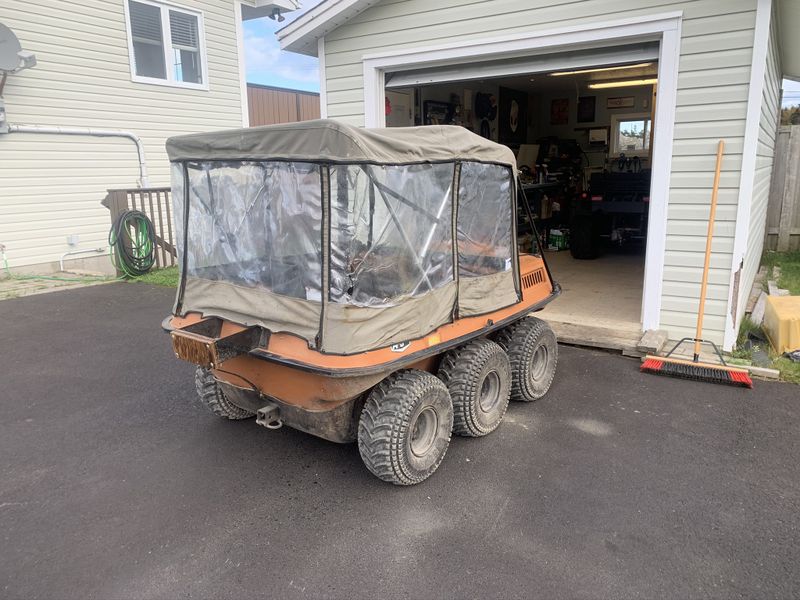
The tracks are Argo 13" standard plastic tracks. They work great on these older lightweight machines (this machine's dry weight is about 700lbs plus accessories vs an 8x8 Avenger weighing in at almost 1400 lbs plus accessories). I don't require the flotation of 18" tracks, the narrower tracks are easier on axel bearings, epically important since my machine does not have bearing extensions, and they are easier to install - not requiring wheel spacers. Plus they were essentially free!
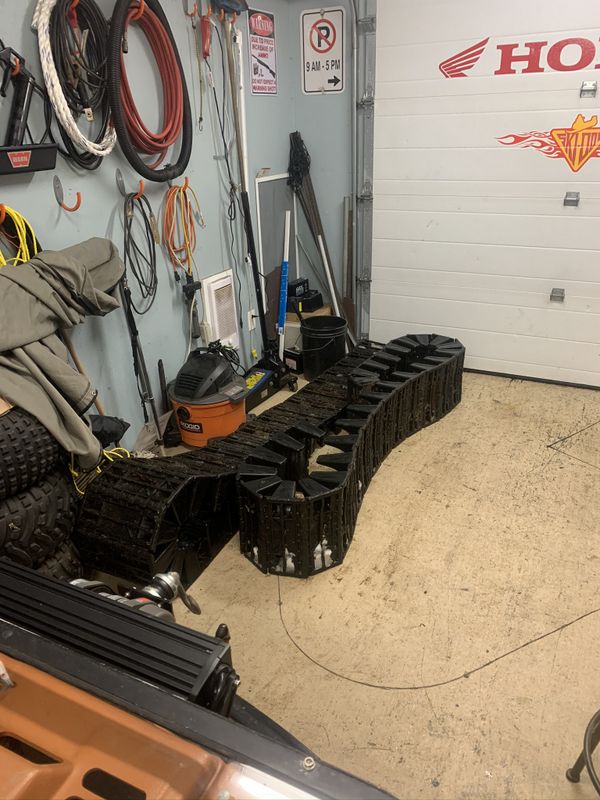
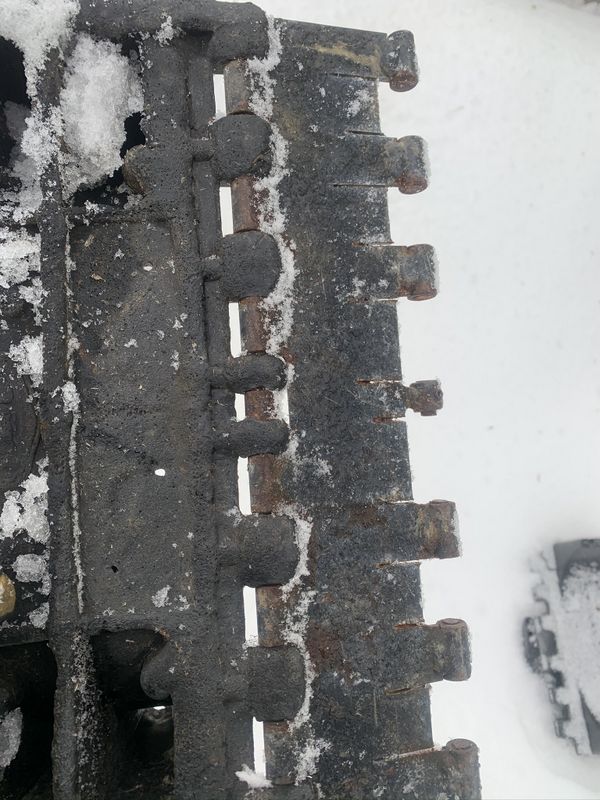
The tracks were still in decent shape and already installed when I bought the machine, all the locking collars were well rusted to the joining rods so I had to cut out a pair of pins to remove them from the machine last summer.
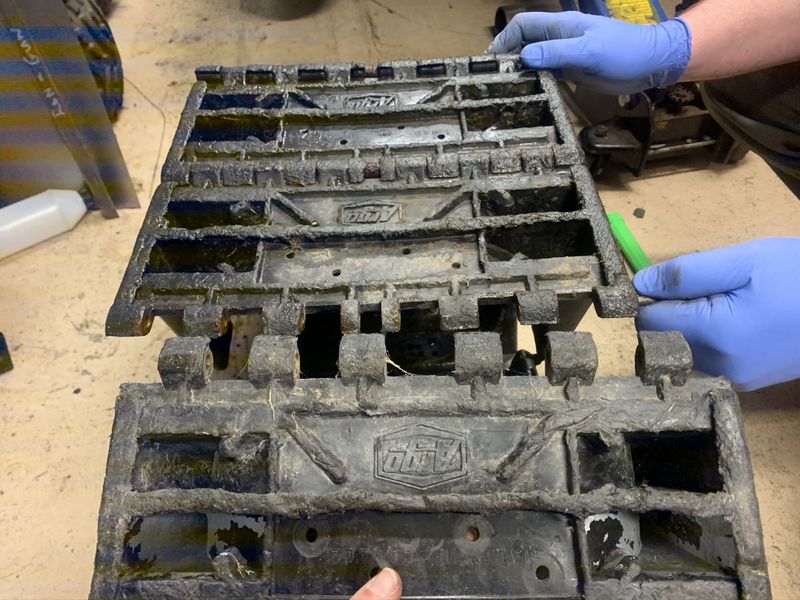
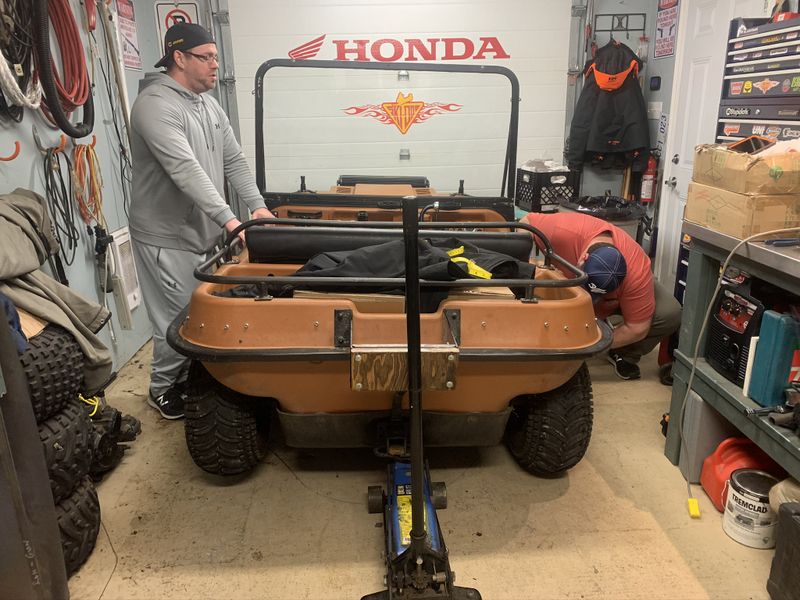
Upon inspection I found 3 track segments split more than half way through, and the steel 1/2 segments were not in good shape at all. I had two used full segments and some new joining rods (with lock collars) in stock so Mark French and I set about getting them installed. I ordered two new full segments & two 1/2 segments and extra joining rods from Argo Adventure to finish the job later.
That evening we also jacked up the machine and got the tires ready for track installation. On all Argos you have to remove all the rims, carefully inflate all tires to exactly 5lbs and measure the circumference around the centre line as all tires are not exactly the same. Tires are reinstalled as follows on a 6x6: Smallest two on the front axels, next largest on middle axels and the largest two on the rear axels. This is important to prevent chain wind up & breakage. Download the installation guide for full instructions. Also the tire locations on an 8 wheel machine are completely different.
I used an ATV/motorcycle jack under the engine and standard floor jack under the trailer hitch. This kept the machine nice and stable while switching tires around and installing tracks.
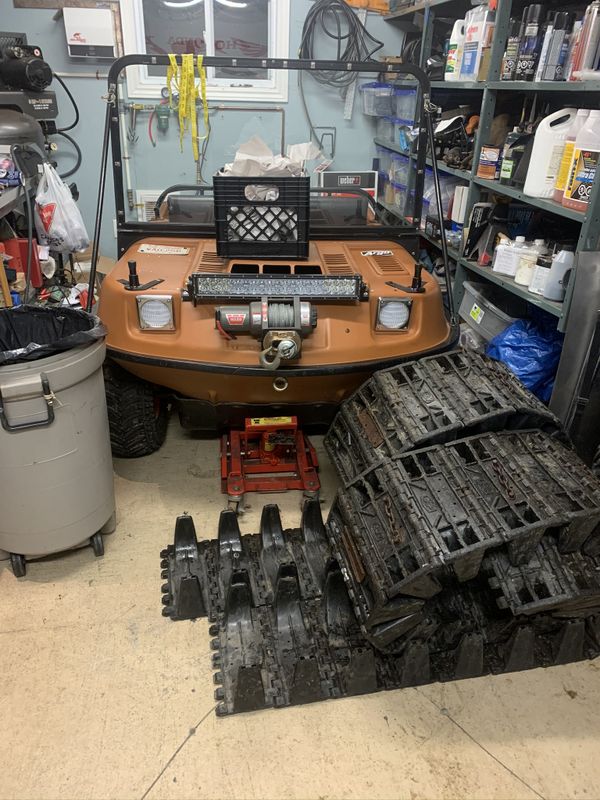
In January just after our big mega blizzard I finally got a chance to install the new track segments and put them on the machine. I jacked up the machine with my ATV jack & floor jack as before and slid the track under then up around all the tires. I let the machine down and aired down all 3 tires by removing the valve cores. It was a bit of a wrestle to get the ends to meet but I managed and installed the remaining joining pin and lock collar.
After both tracks were installed I aired up the tires to 5lbs Front, 5lbs Middle and 6lbs in the Rear as noted in the installation guide which seemed to work well with my Duro 243 tires.
There is no deflection measurement like on the rubber track machines, mine seemed loose enough at the recommended tire pressure. I also did all this work in the cold with the Overhead Door open so that tire pressure wouldn't change much when operating in cold weather.
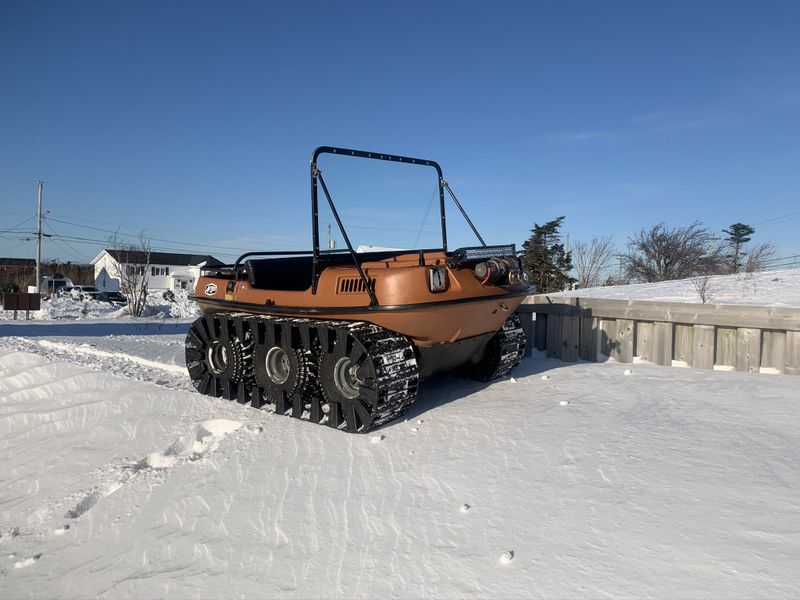
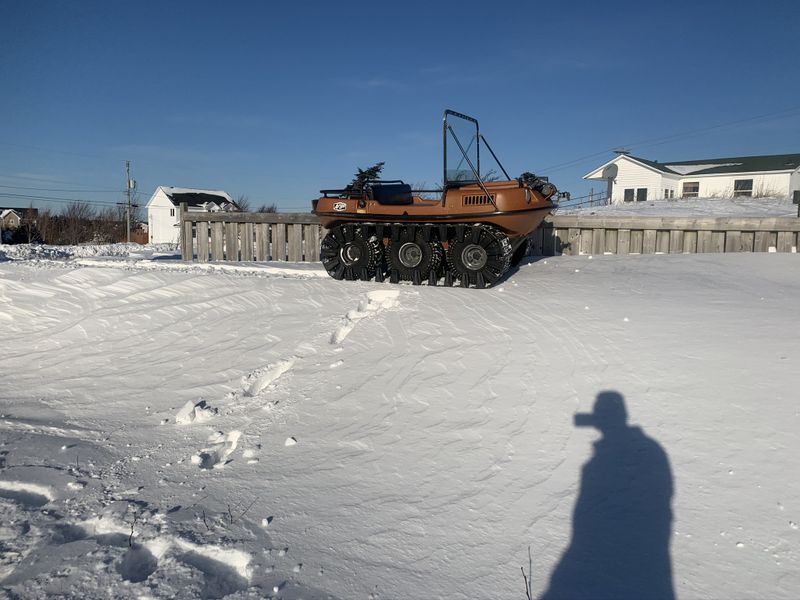
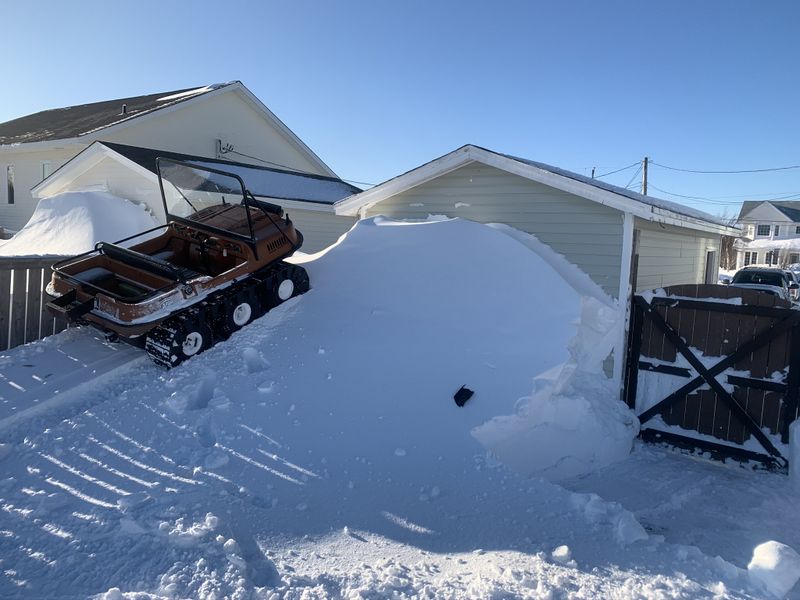
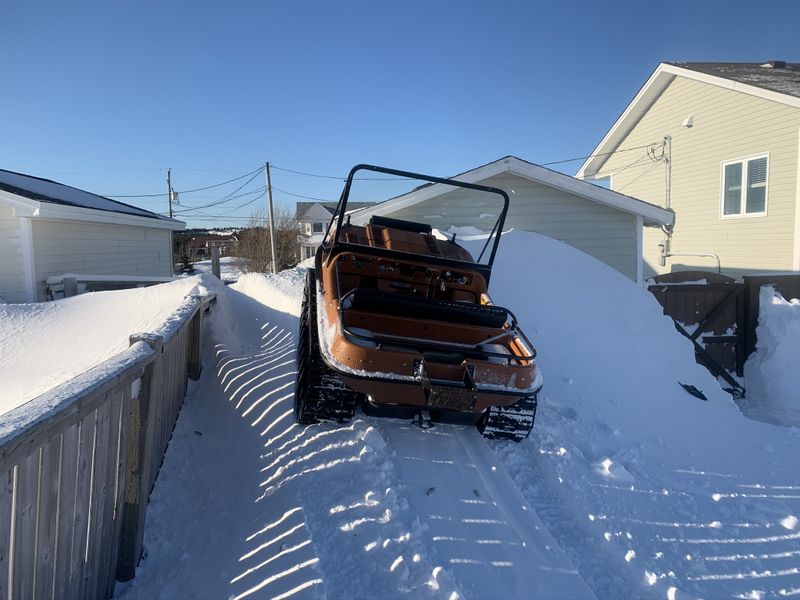
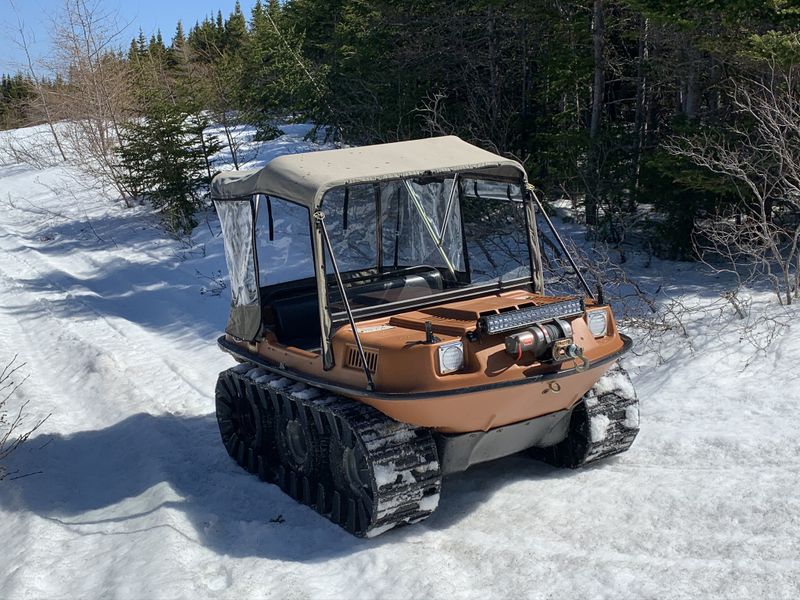
The tracks work awesome. Even in 70cm of fresh snow they kept the machine on top and riding along with ease! Track tension seems OK with no trouble turning and no tire slippage inside the tracks.
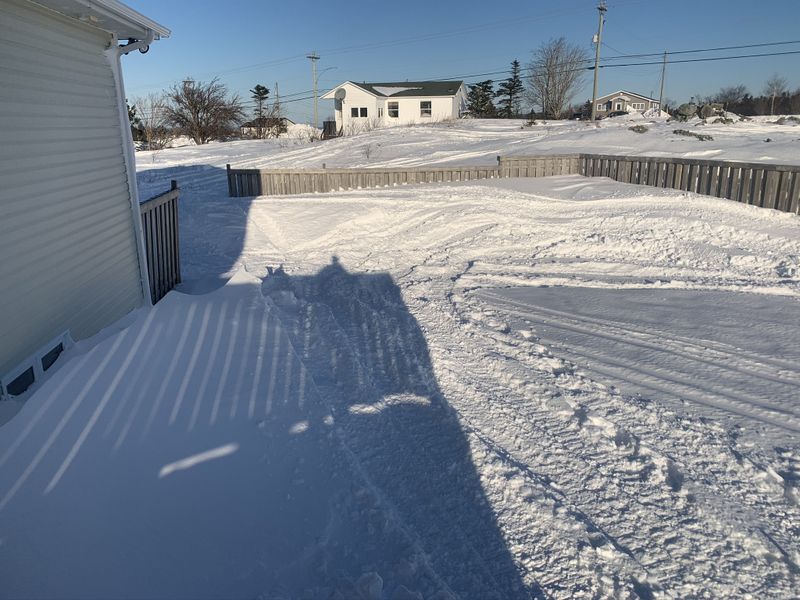
With a State of Emergency still in effect I didn't want to go too far by myself but I got a good break in done in the backyard and up behind the house.
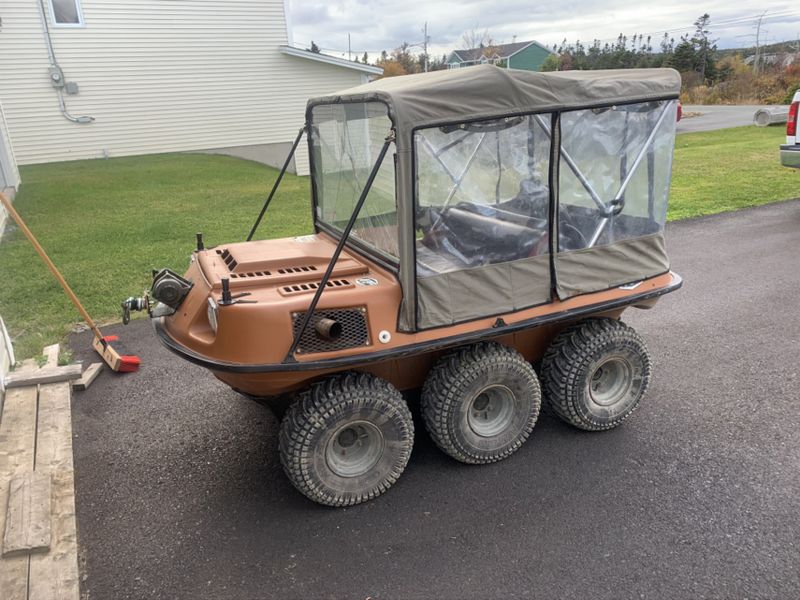
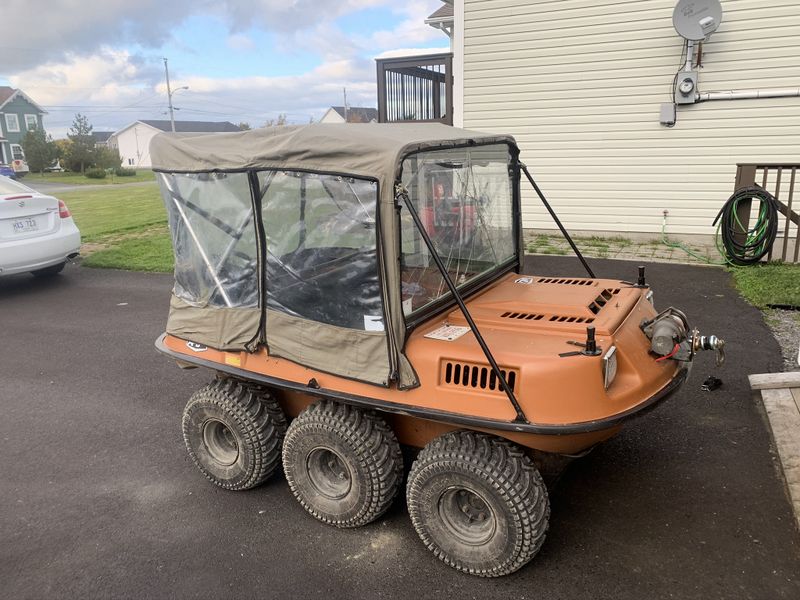
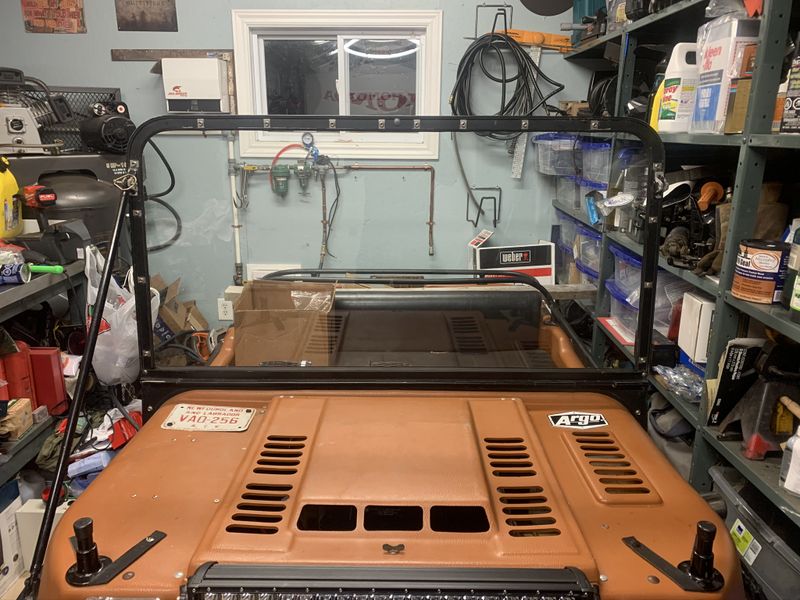
In November I started getting the Argo prepped for winter by test fitting the Argo accessory convertible top. I had never seen the it installed on this machine as Dad purchased the top long after I stopped using the Argo in the early 2000's. The top is about 15 years newer than the machine and is very similar in design to the tops on current machines.
Most notable include: smashed windshield glass, some missing snap fasteners, a melted driver side rear plastic panel, and some pin holes in the roof presumably from whatever fire melted the rear corner panel. Other than that all the pieces were there, all the zippers worked well and the frame was in good shape.
Two of the tension straps from the rear overhead bar to mid point overhead bar appeared to be installed wrong so I managed to figure that out and fix it as well.
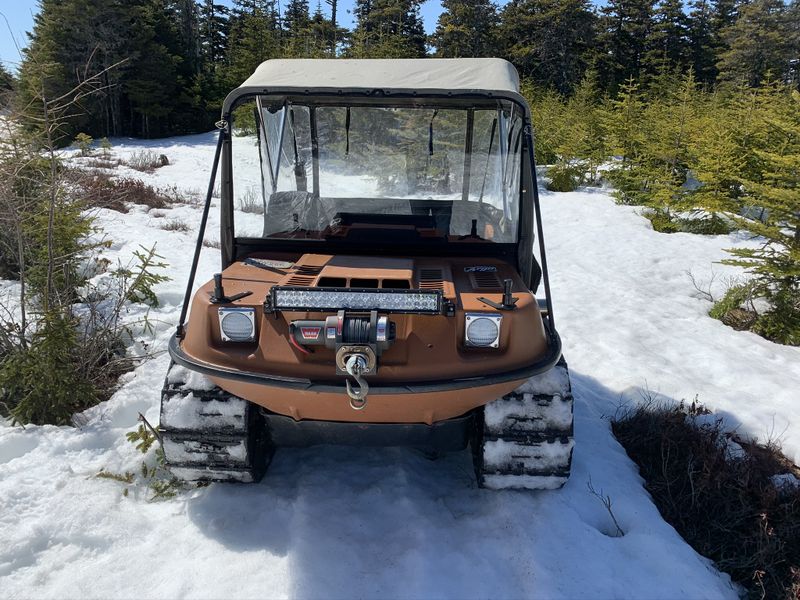
I picked up a tube of Canvas Tent seam sealer and it did a great job repairing the multitude of pin holes in the roof. This will go a long way in keeping me dry this winter particularly on mild days. Once dry I also treated the roof segment with aerosol canvas water proofing spray to help maintain water resistance.
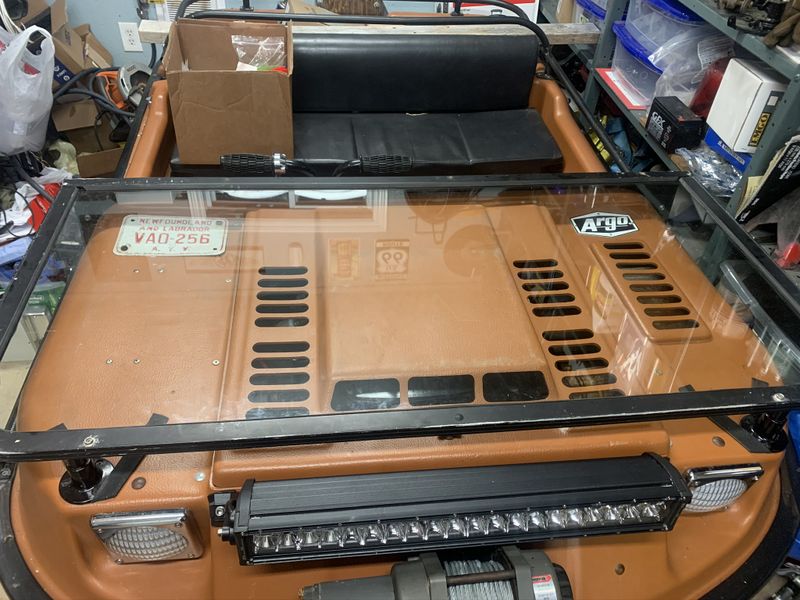
After calling all over town and speaking to the dealer I finally found a reputable shop to replace the windshield glass at a reasonable cost. Newfoundland Glass just off O'Leary Avenue (not a sponsor) did a fantastic job custom cutting and installing a new windshield glass out of laminated safety glass just like OEM. This is much safer than Plexiglas and wont scratch, haze or discolor like Lexan. Total cost was less than $200.
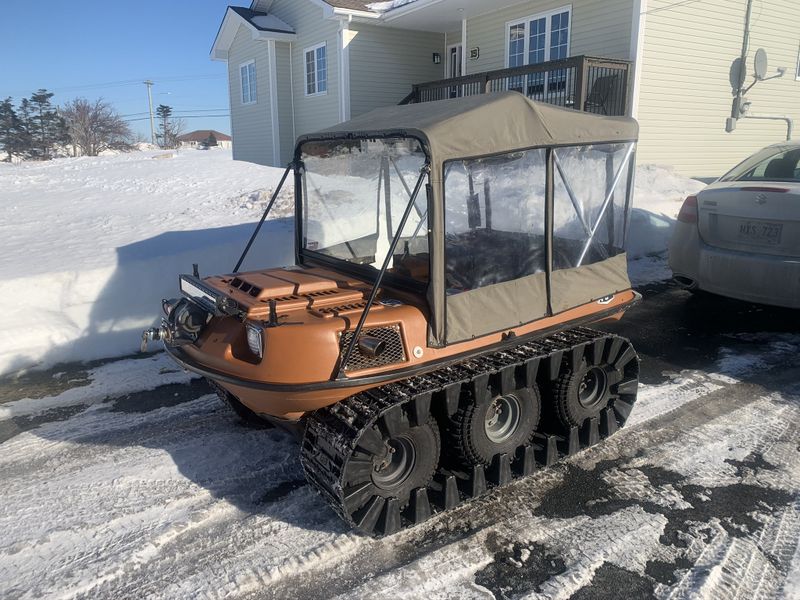
After my successful test ride around the house I reinstalled the convertible top in preparation for much longer winter rides and ice fishing. I treated the outside of the windshield with Rain X to help repel water, I treated the inside with Rain X-Anti Fog, and I even found a bottle of Rain X plastic window treatment for the side and rear panels.
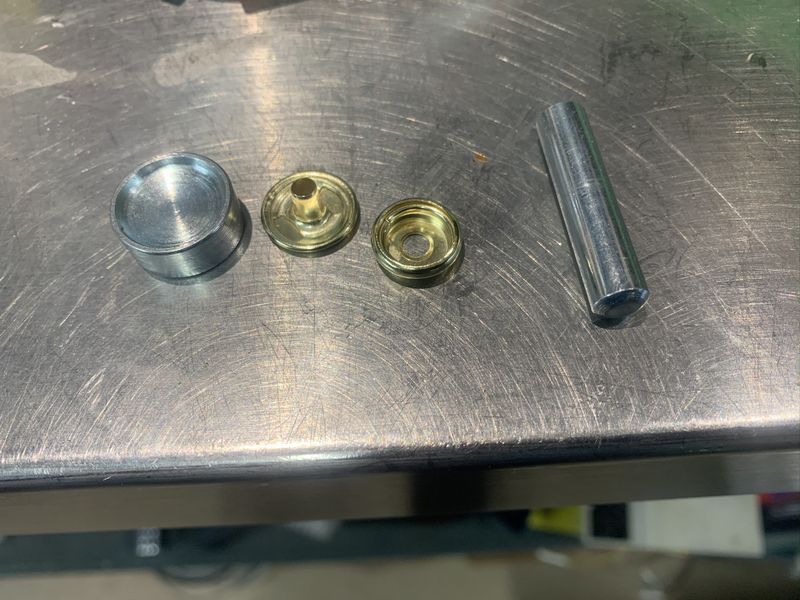
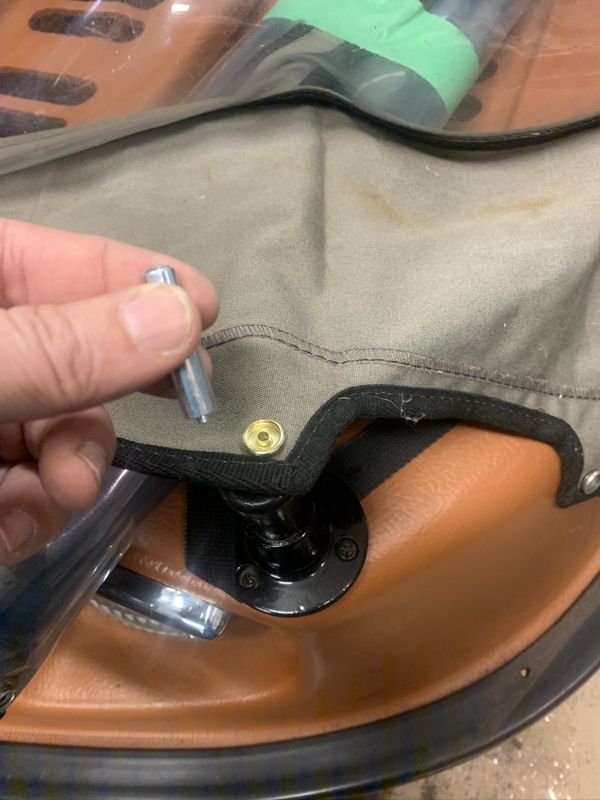
I also found a button snap repair kit in the camping section at Canadian Tire. The pieces installed with ease using the included tools.
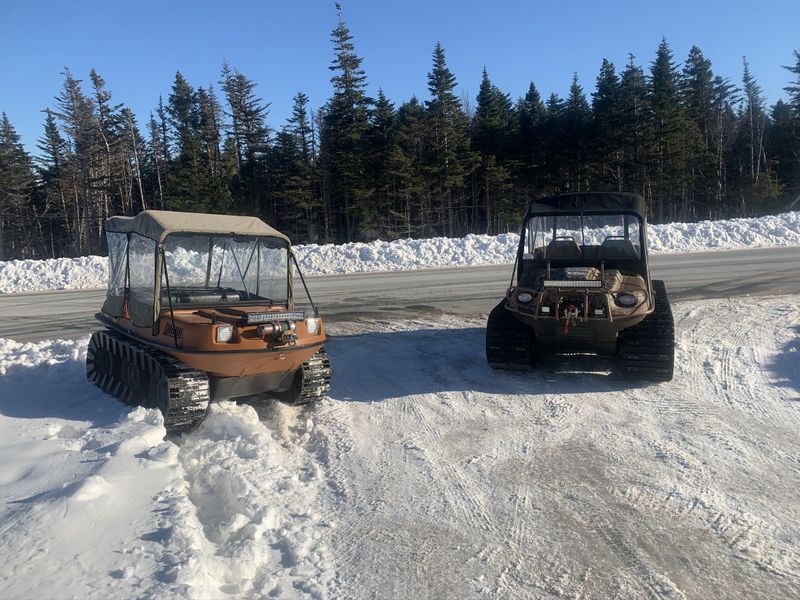
All ready for my first winter ride in Marine Park with Mark French.
The machine continues to run very well. I've kept the chains well oiled and bearings greased which is important easy maintenance. I usually drive with the drivers side window rolled up and the heater fan still keeps the cab nice and warm. French and I have been putting both machines to the test this year especially with all the snow we've been having, breaking fresh trails and climbing hills all with no troubles to date!
Project Pages:
Copyright © 2011 Michael Smith
|