|
Area51 Project - Mike's 2006 Powertek REV: 2018 Update |
|
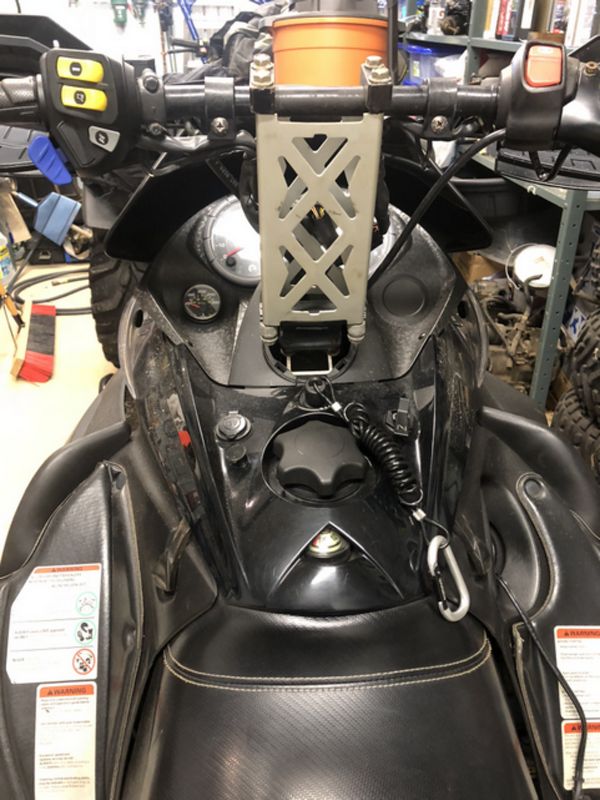
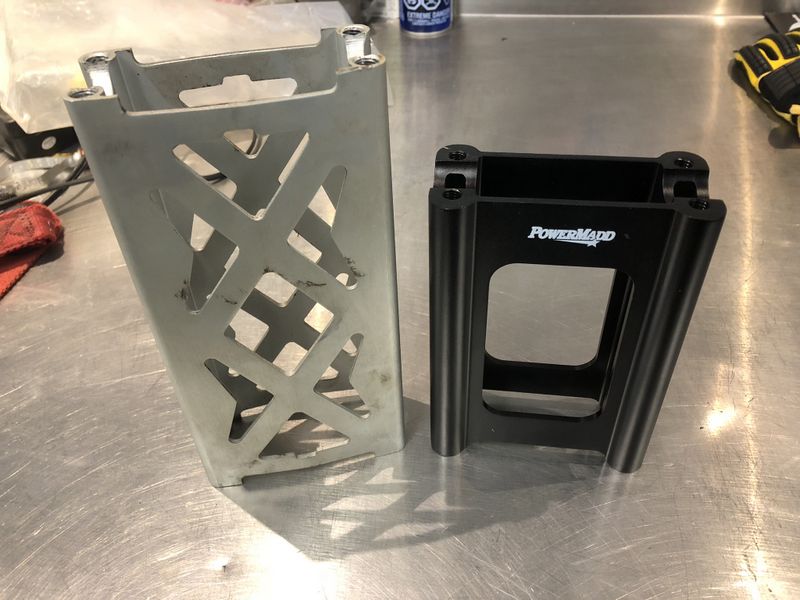
In January 2018 it was time to go through the sled for a thorough maintenance an address a few minor issues that came up in the rattles department. One item that came on the sled but didn't really fit me was the very tall 8" handle bar riser (plus a 1.5" pivot adaptor). I always found it too high standing and way too high sitting.
I got a great deal on a brand new 6" PowerMadd riser at Honda One and installed it retaining the existing pivot adaptor.
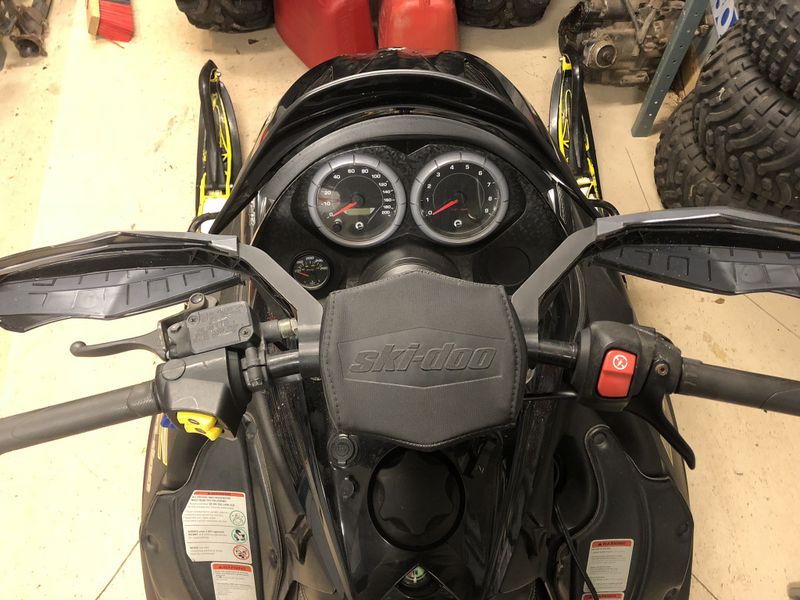
Now the bars are much more comfortable and will give me better control especially side-hilling.
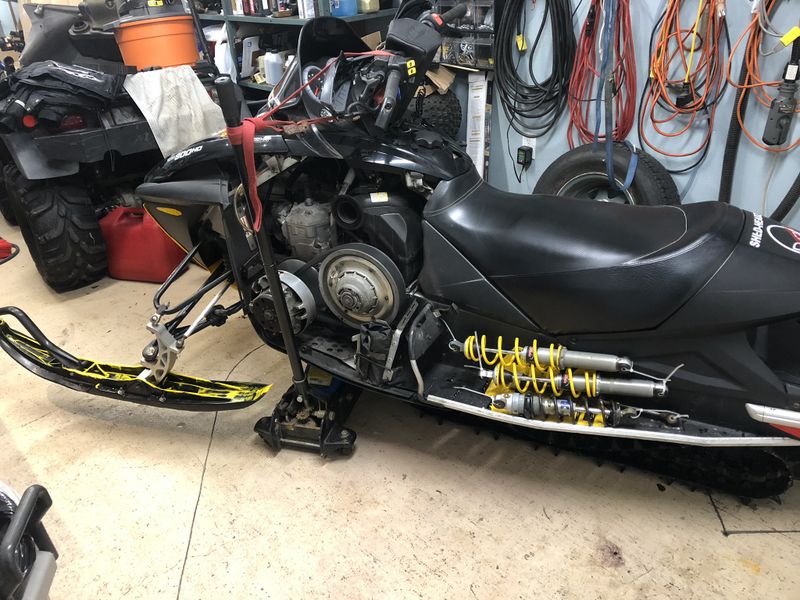
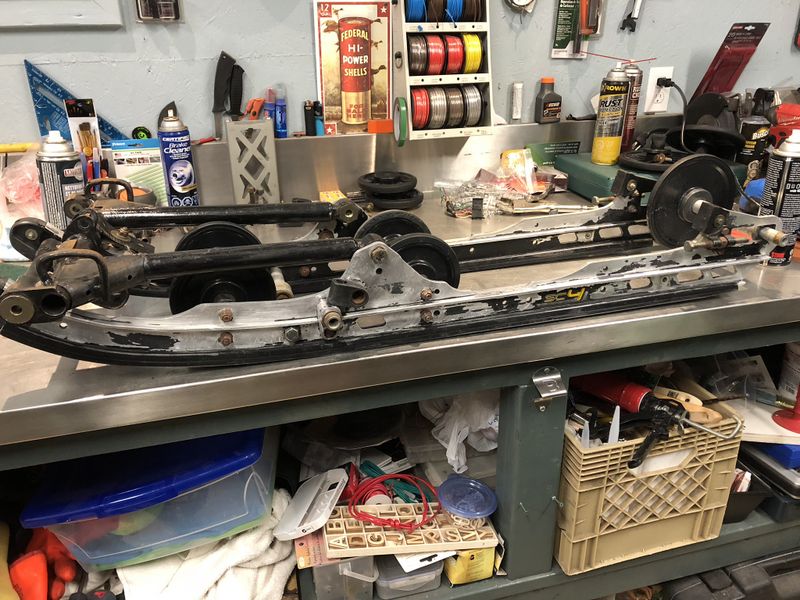
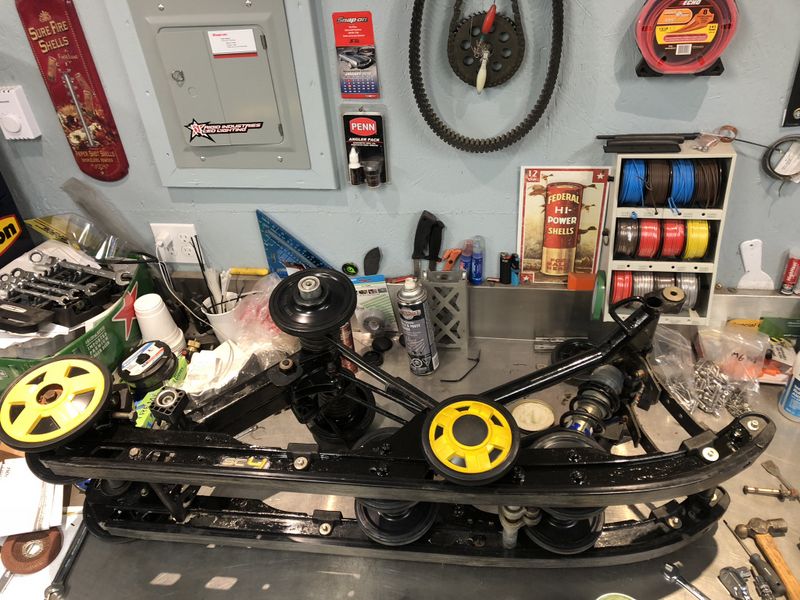
I last had the rear skid out of the sled five years ago so I figured it was time for an inspection. I suspected the shocks needed to be freshened as the rear was sagging more than it should.
I pulled out all four shocks and sent them to my awesome shock rebuilder Mark Murray to have them inspected and freshened up with seals, fresh oil and gas.
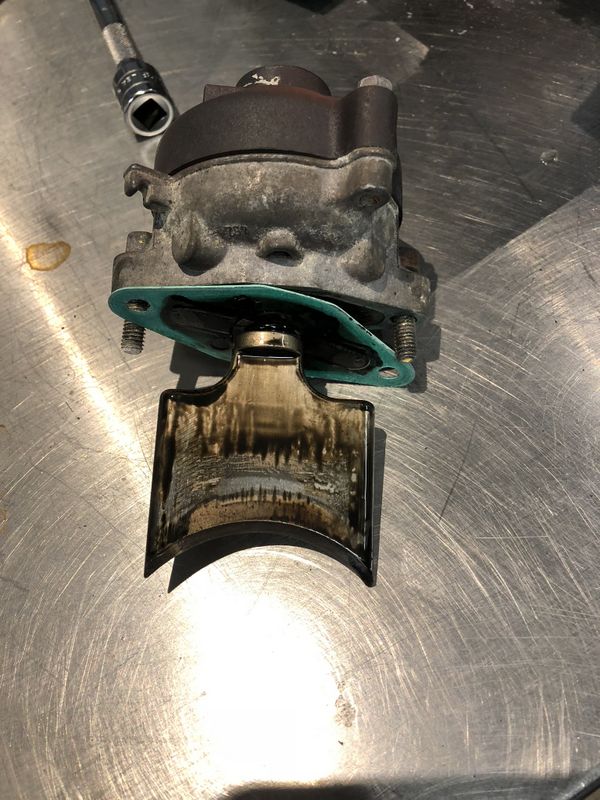
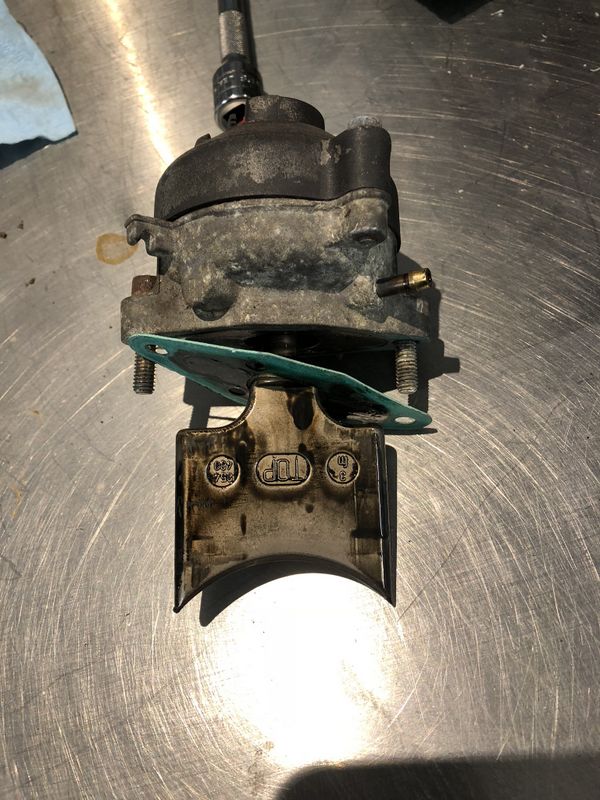
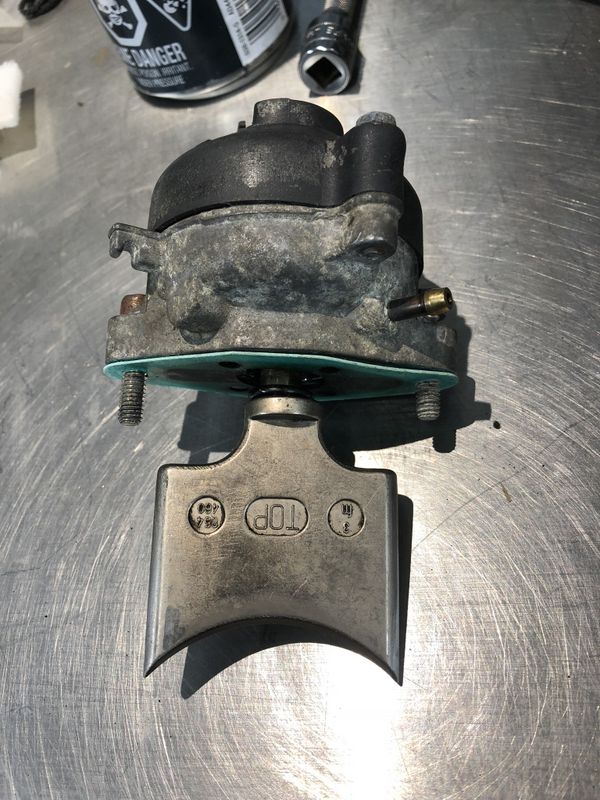
Next up was cleaning the power valves. Again, its been a few years of running off the shelf Formula One 2-stroke oil from Canadian Tire, but overall they were in great shape. A quick scrub with brake cleaner and a Scotchbrite pad and they were as good as new.
The gaskets and o-rings were still in great shape so they were reused.
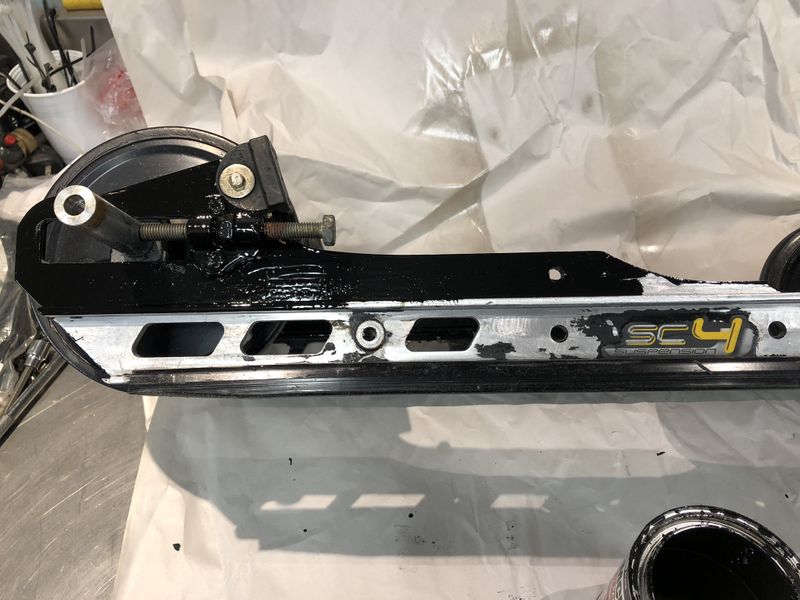
With the skid installed in the machine, the black painted slide rails still looked OK. Upon closer inspection the POR15 paint which was supposed to chemically bond to metal didn't adhere well at all. I scraped off what remained and thoroughly sanded both slide rails.
I repainted the rails this time using ordinary oil based Tremclad paint. Powder coating would be ideal, but would require 100% disassembly including drilling out rivets etc. A lot of extra work for the same look. Besides, overall it's a small detail that's covered in snow & ice most of the time, but I appreciate the slick blacked out appearance!
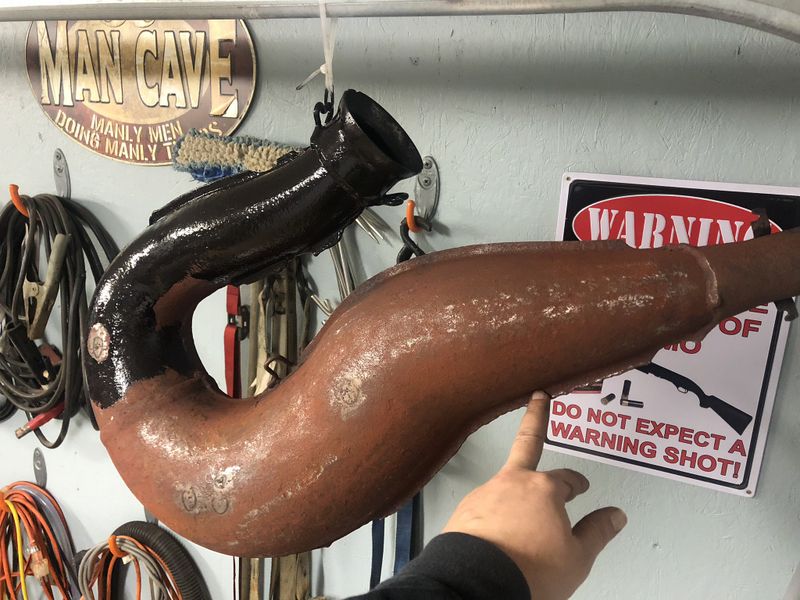
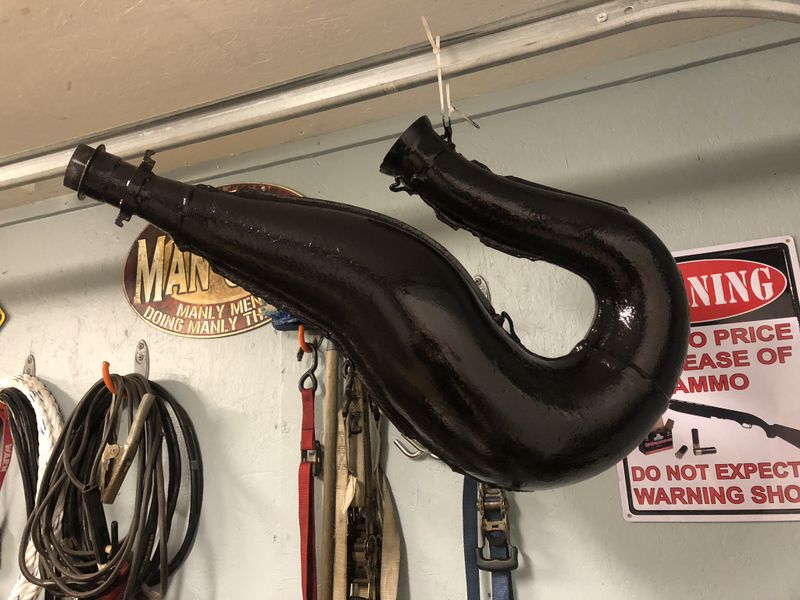
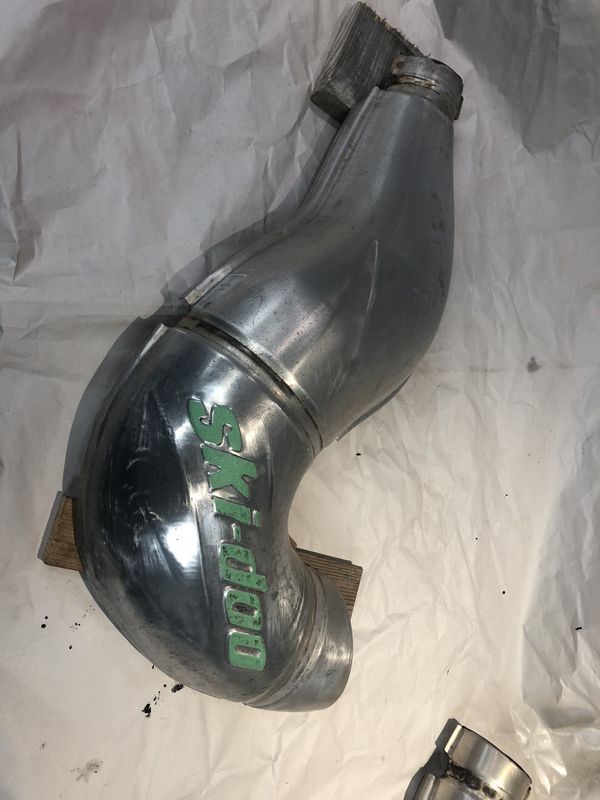
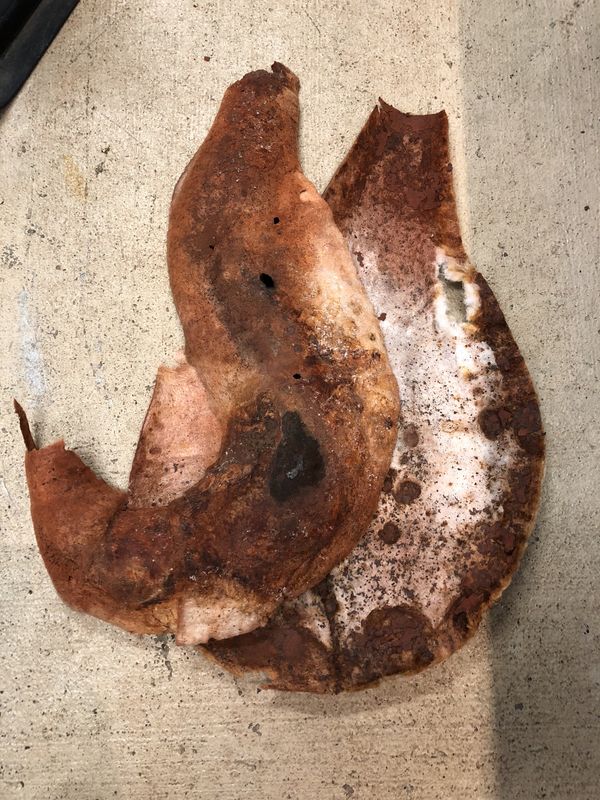
I suspected the pipe may need a little work, the aluminum covers were loose and rattling so I took them apart and found the pipe extremely rusty. I spent some time scraping off the flaky rust, cleaning with a coarse wire wheel and a flap disk (outdoors) before painting with multiple coats of brush on high heat stove paint.
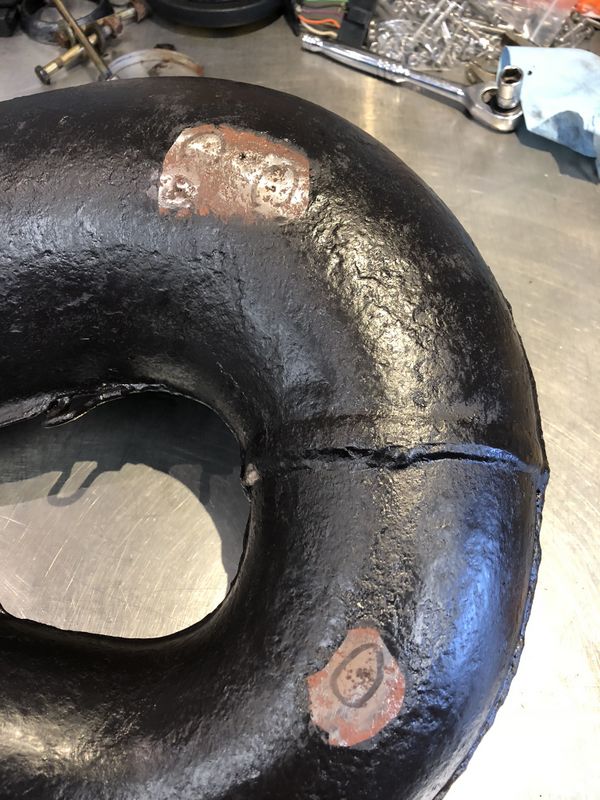
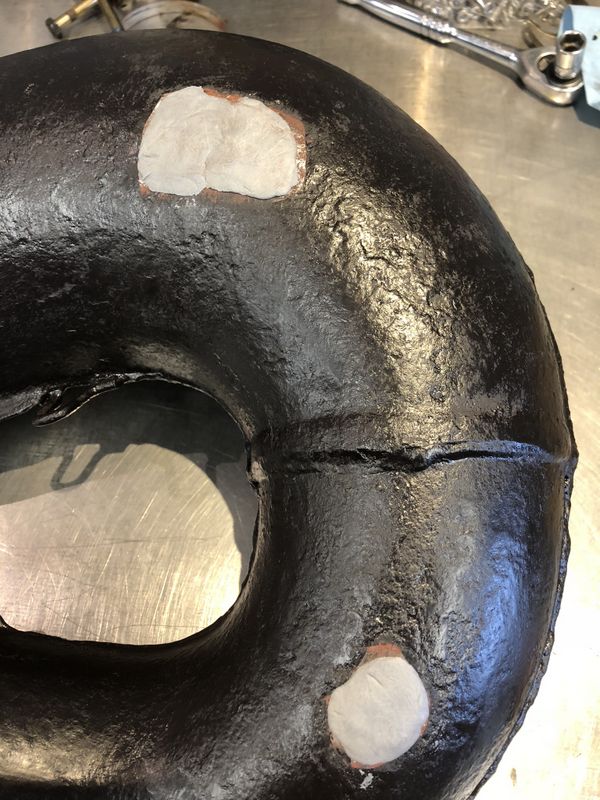
While cleaning and prepping for paint I found a couple of pinhole leaks on the underside of the pipe.
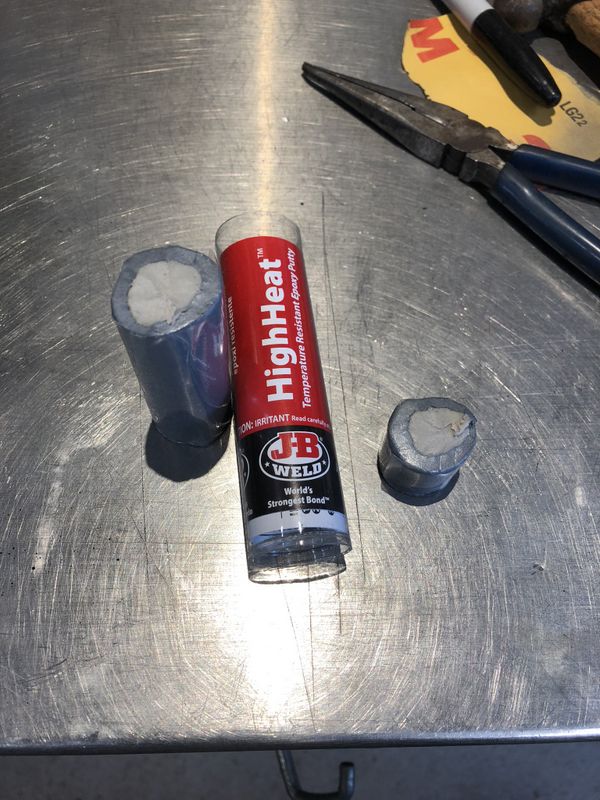
With no brazing gear nor a 110v Mig welder in stock, I decided to try a quick backyard repair with high heat JB Weld two part putty as it received decent reviews online. If this doesn't work out I'll probably have to replace the pipe entirely.
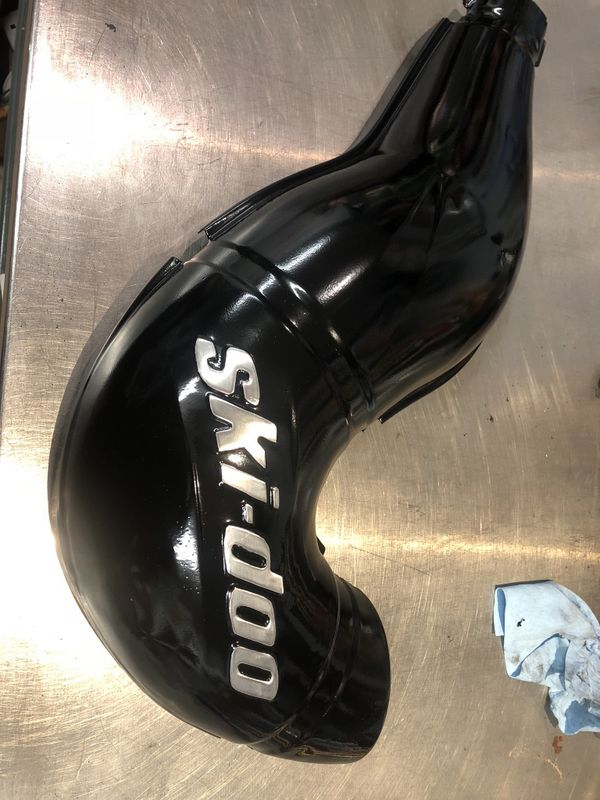
I painted the entire pipe and exposed parts of the muffler with brush on high heat Tremclad paint, using two coats to achieve a nice thick layer of protection that should bond well to the rusty surface.
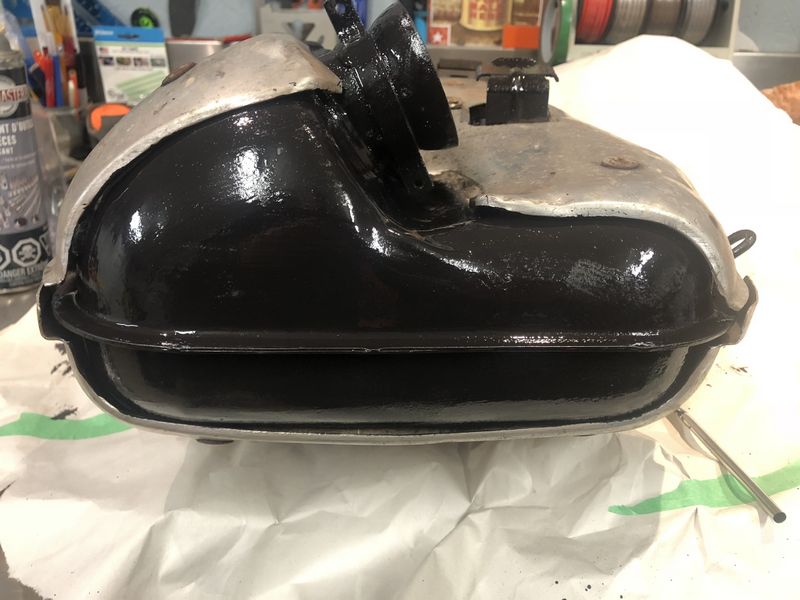
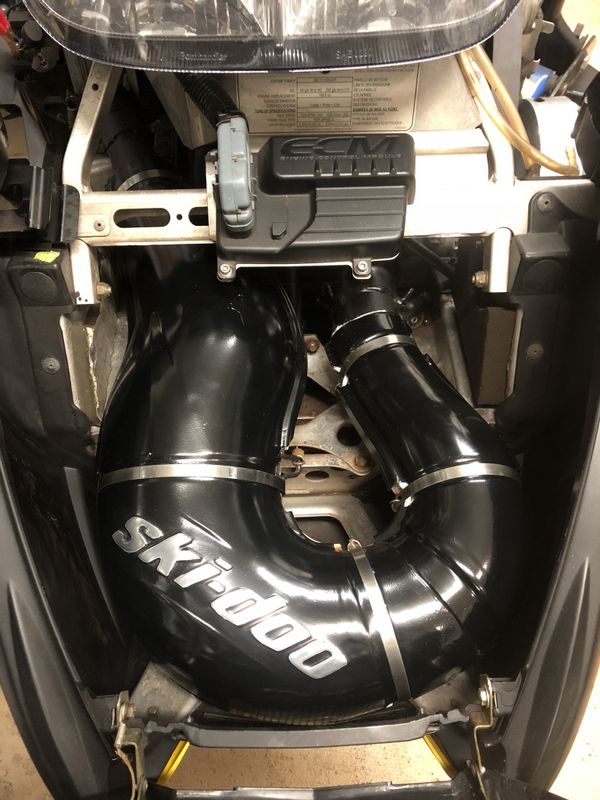
The aluminum pipe cover was looking quite tired, I didn't want to polish the entire thing so I concentrated on polishing the Ski-doo logo while prepping the rest of the surface for paint.
I painted the two top covers with a light coat of etching primer followed by two coats of high heat brake calliper paint which should work well on this surface. I didn't paint the bottom pieces as you can't see them plus the paint would only get rubbed off by the rubber pipe braces anyway.
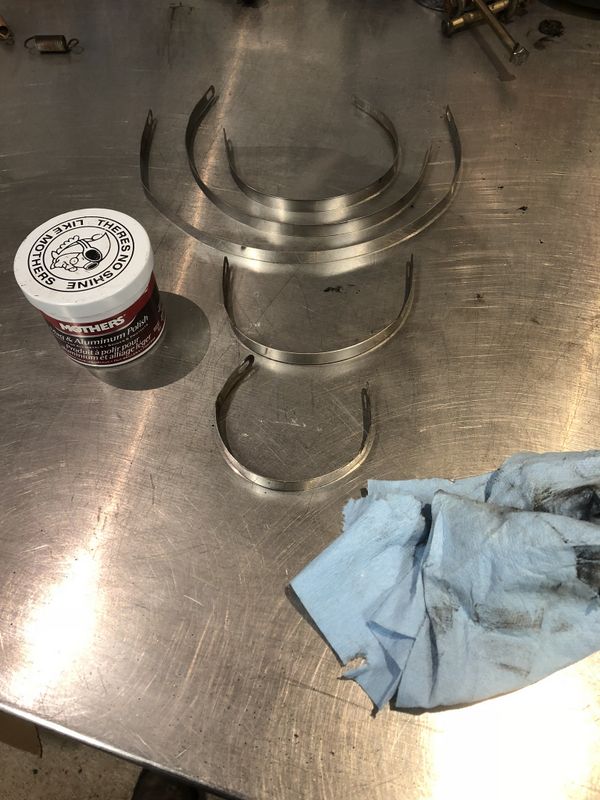
Since everything else looked so nice and new, I polished up the stainless bands that hold the aluminum covers to the pipe.
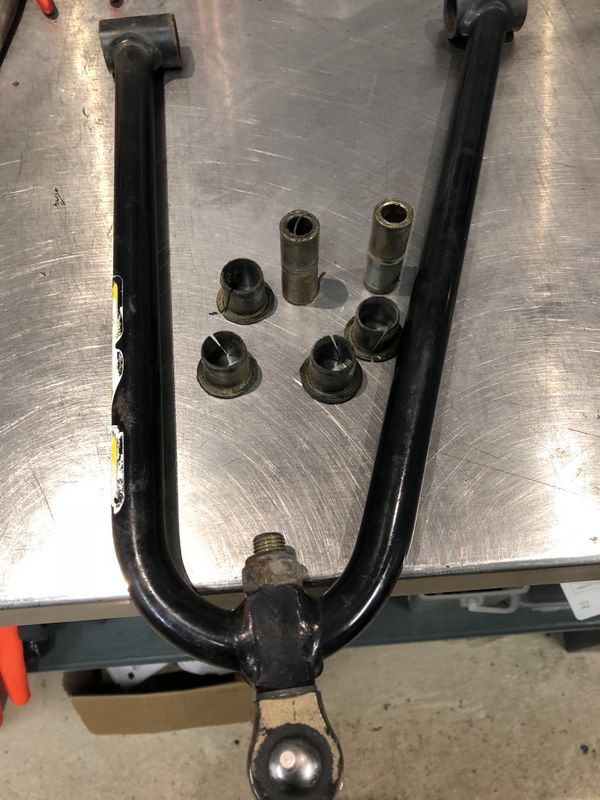
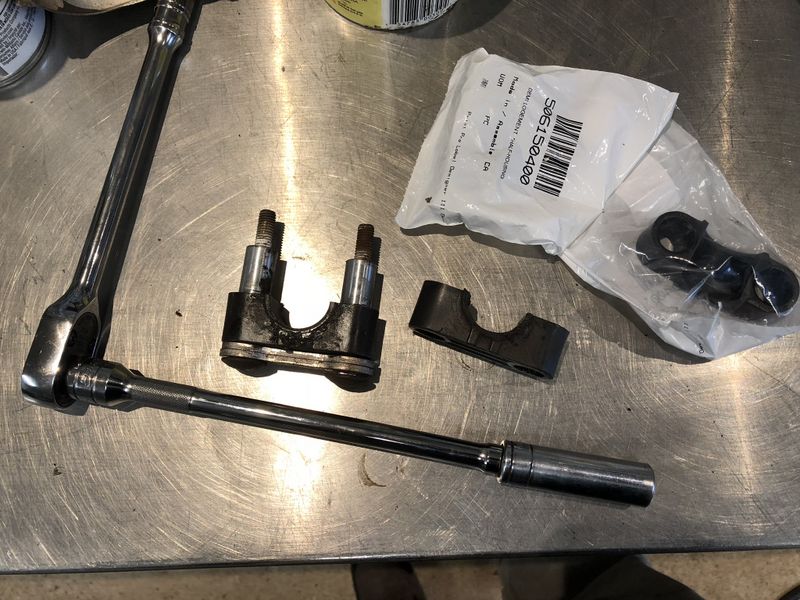
While the front shocks were out for rebuild I inspected the front suspension for unwanted movement. The only parts I found even slightly worn were the upper control arm bushings which take a pretty good beating. The stock skidoo plastic bushings are quite cheap so I picked up a fresh set for each upper control arm and replaced them. The lower control arm bushings were in great shape as were the ball joints and tie rod ends.
The only other looseness found was in the lower steering bushing under the exhaust pipe. With the pipe removed for cleaning & paint it was an easy fix installing two new bushing halves purchased from our local Skidoo dealer.
The main reason the aluminum pipe covers were loose and rattling was because the pipe padding/insulation was worn out and collapsed. Some people remove this to prevent the pipe from rusting out, others say they help keep heat in the pipe making the machine run better and definitely quieter. I decided to replace them with brand new pieces purchased at the dealer for a very reasonable cost.
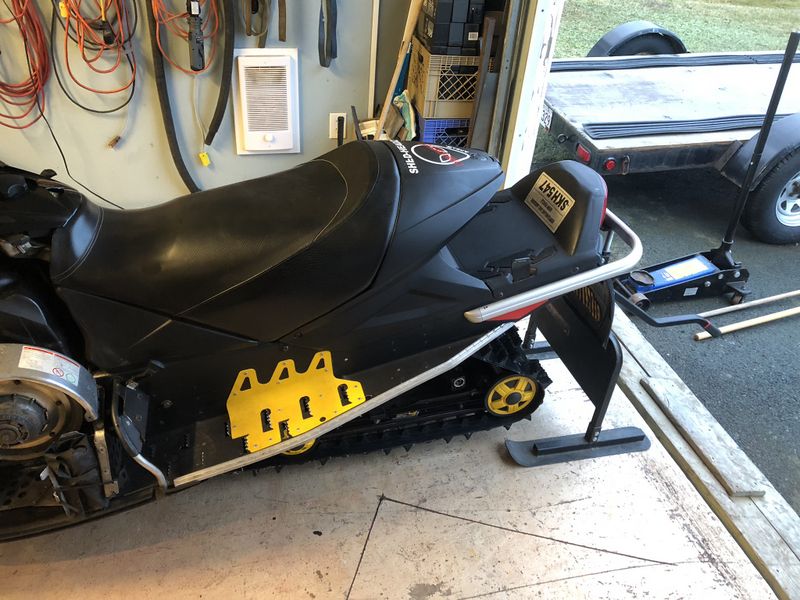
I'm very happy with the finished appearance, it's a nice custom touch that works with the blacked out/yellow highlight theme of the sled and much cleaner than it was before I started! Most important, no more rattles & vibrations coming from under the hood!
While working on the rear skid I replaced a lot of the small rusty bolts with new Stainless hardware I had on hand in the garage.
Surprisingly all of the rear suspension bearings & bushings replaced in 2013 were still perfect, as was the Hyfax. The skid was reassembled with my freshly rebuilt shocks and it was ready for re-installation in the sled.
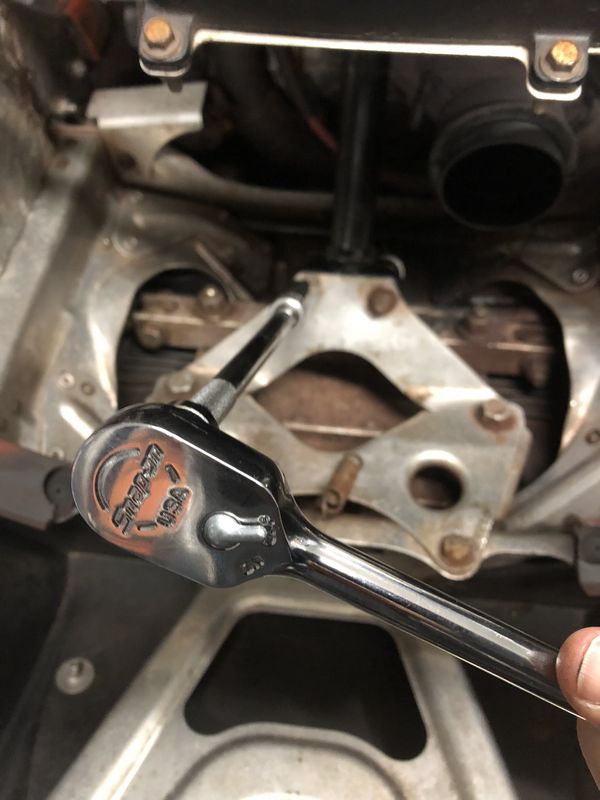
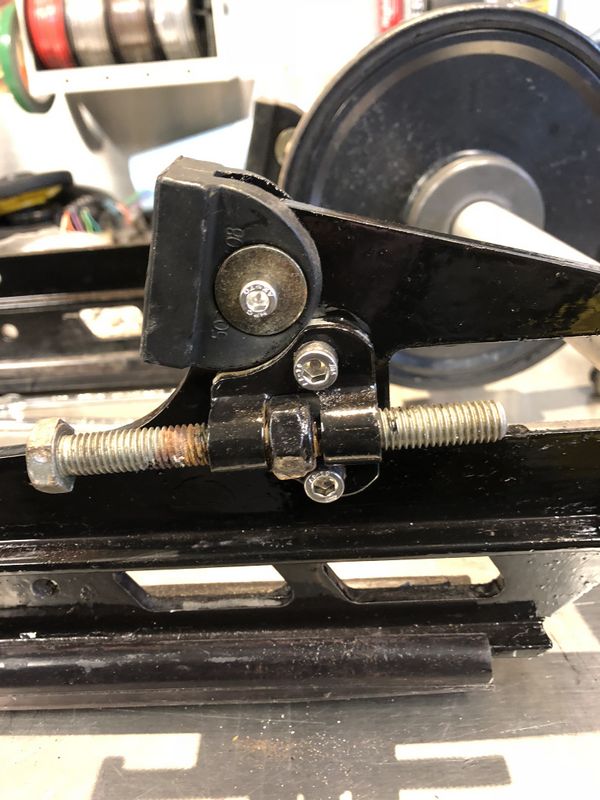
With the skid installed I ran the machine to adjust track tension & alignment then tightened the rear axle bolts. Always use a proper stand when performing this job to prevent serious injury should the track let go.
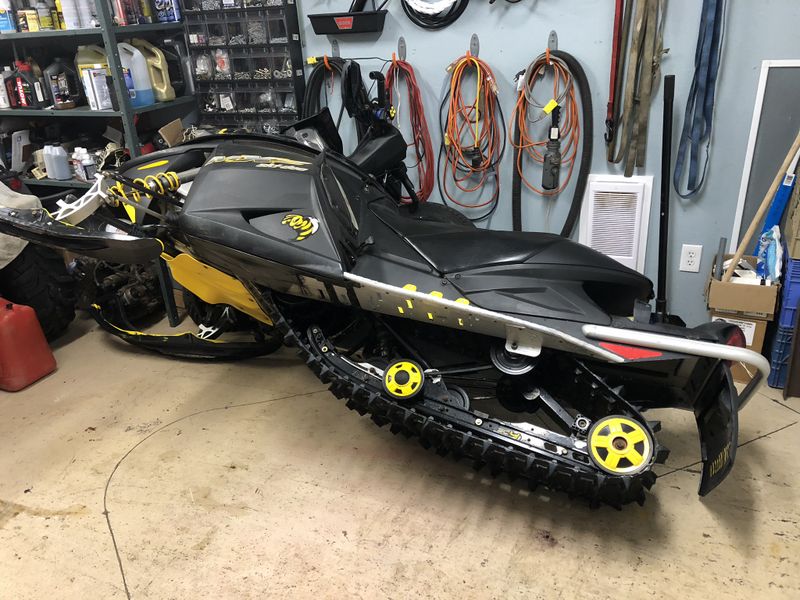
With a fresh polish using SC1 and greasing of the rear suspension project REV is all ready to hit the snow! That is provided we actually get back to cold winter temps this year here on the East Coast. All in all I'm still very pleased with this sled. Even the Duplicolor truck bed lining on the tunnel is holding up perfect! It was a lot of work over the years, but this machine is as tight as a new sled at a fraction of the cost. The initial purchase price and initial parts list for the rebuild/restoration was paid for five years ago giving me equity in the machine even back then! This is the first money in repair parts I've spent since, totalling only $300 which is a really good value since the machine is good as brand new in both looks and performance.
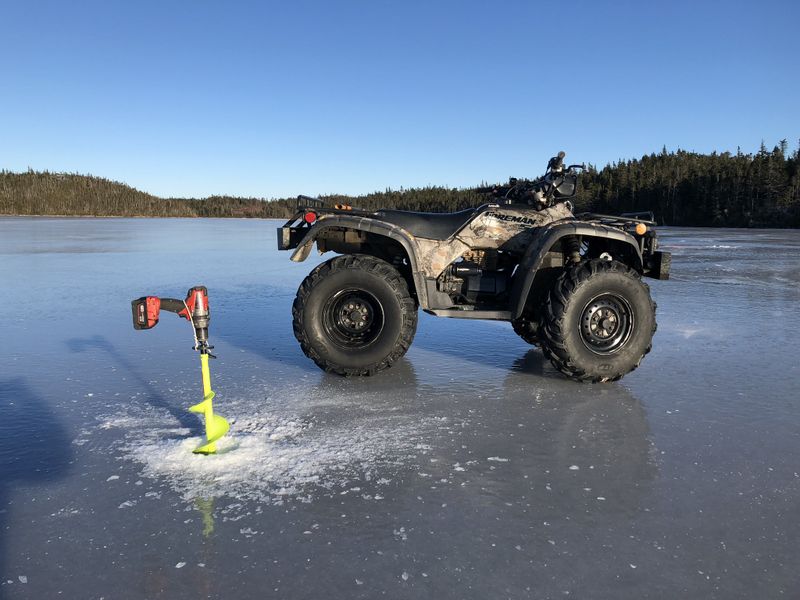
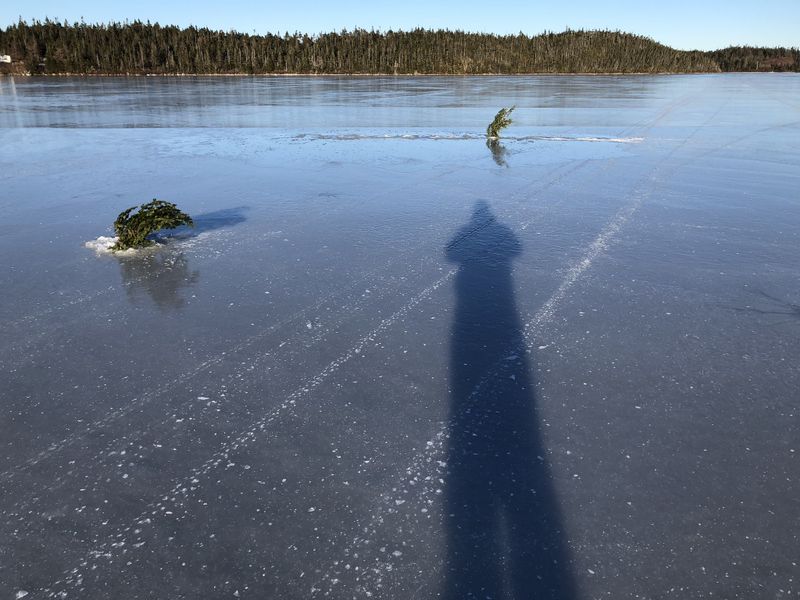
The annual winter cabin trip in February 2018 started off Thursday and started off rough. This year we were celebrating our 20th anniversary of the annual winter trip. Unfortunately there was barely enough ice on the pond to take a machine out on at just 6-7", and of course absolutely no snow.
In fact we chose to mark off a couple unsuspecting very thin ice spots for some of the crew less familiar with the pond to ensure they didn't go through especially on bikes.
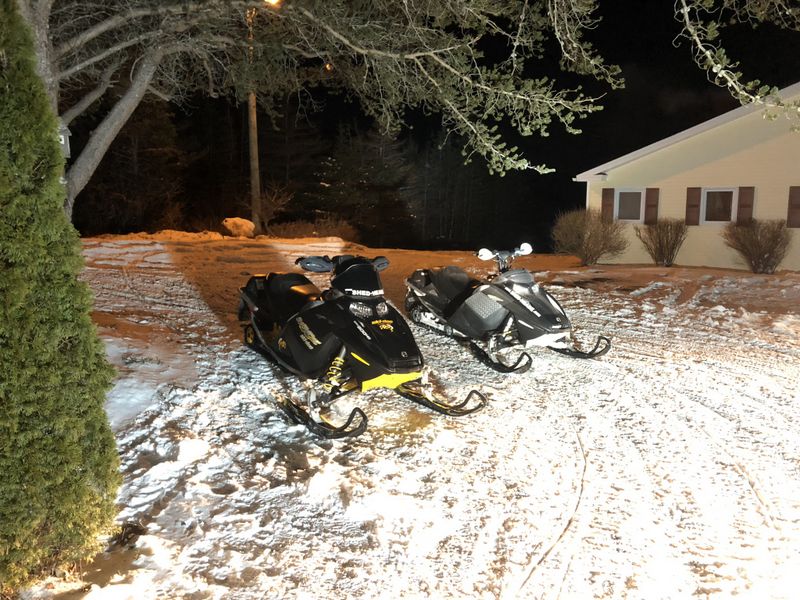
We received about 10cm snow Friday night which made Saturday a lot of fun on the bikes. However with another storm forecast for Monday I decided to run back to town and pick up the sled. I was stoked that it would not miss our annual cabin trip, especially after the work put into it last month!
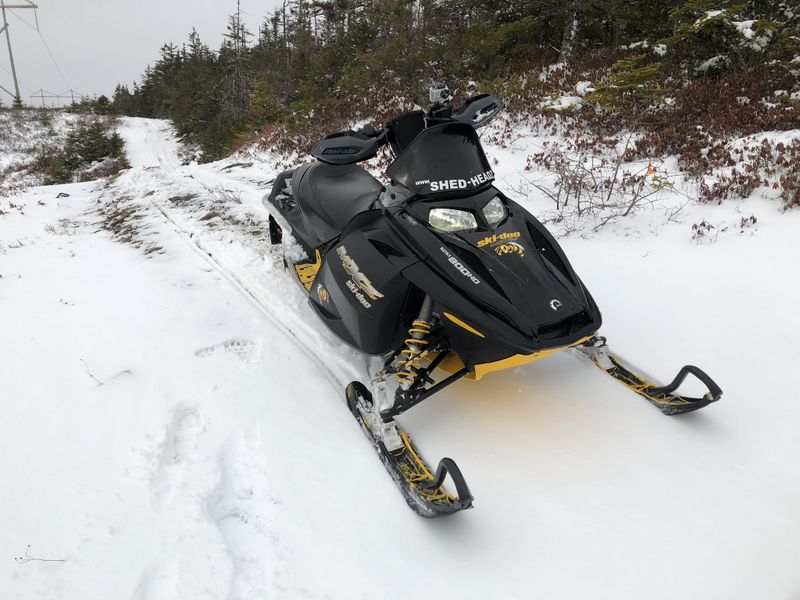
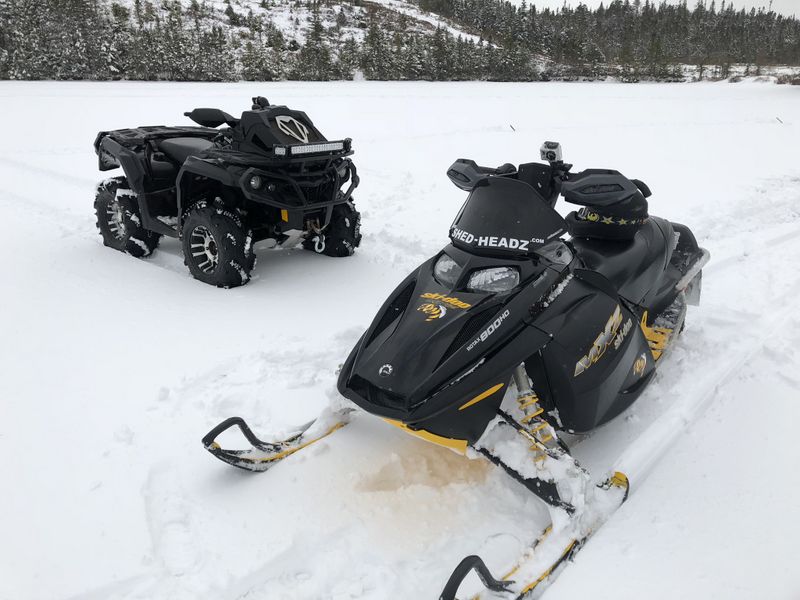
By Tuesday we had a fresh 15cm of snow on top of Friday's 10. Riding conditions while not ideal but it was certainly enough to scratch the sledding itch. No jumping or bashing drifts this year, but we could certainly pick our way along the pole line, and run the ponds with ease.
Just one week later and the ice on Sooley's pond along with most others on the Avalon was gone, as was any snow on our trails. 2018 was a brutally short riding season, Project REV remained stored at Sooley's cabin for summer 2018.
Cheers, MIKE Project Pages:
Copyright © 2025 Michael Smith |