|
Area51 - Mike's Miscellaneous Projects 2020: |
|
2019 was just incredible here at Area51 with some major projects introduced and added to the fleet. This year may not add any machines but will certainly be quite busy polishing and perfecting Project 6x6 and more!
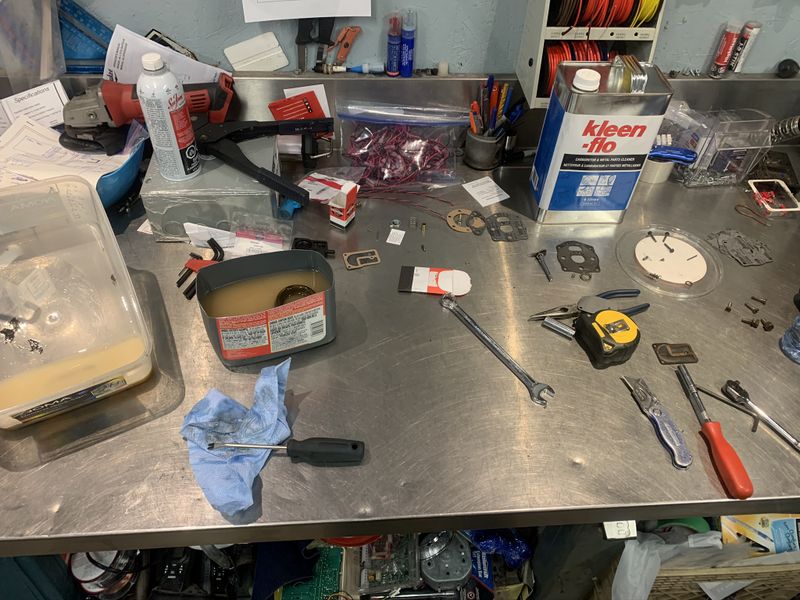
Its been a busy few months in Area51 so far this year. First up, Project 6x6 is near completion. One of the final hurdles was deep cleaning and rebuilding the carburetor, and this was probably the most satisfying result as the machine is finally running beautifully.
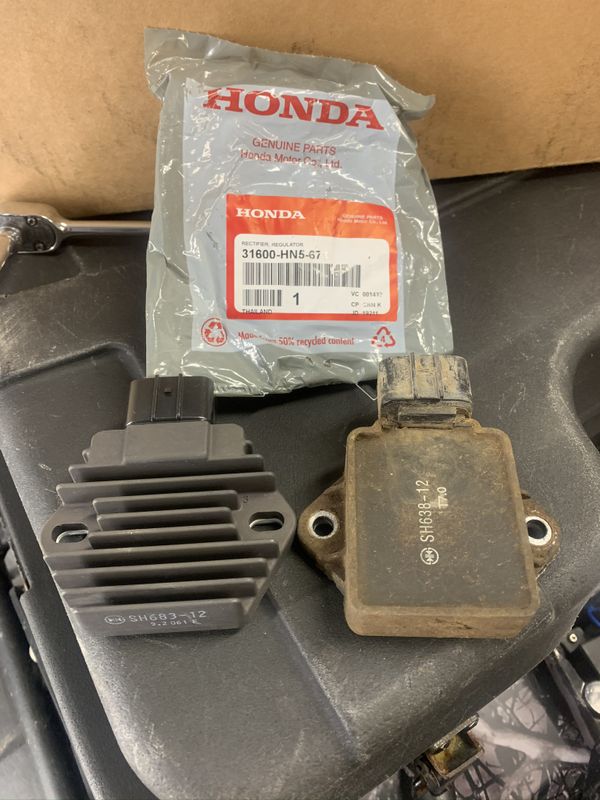
In January I made a few minor repairs on Project Foreman which included rebuilding the starting motor and a replacing the voltage regulator. On top of these project updates I've been filling a huge order of custom built door left open alarm boxes out of my shop which has kept me very busy over the winter.
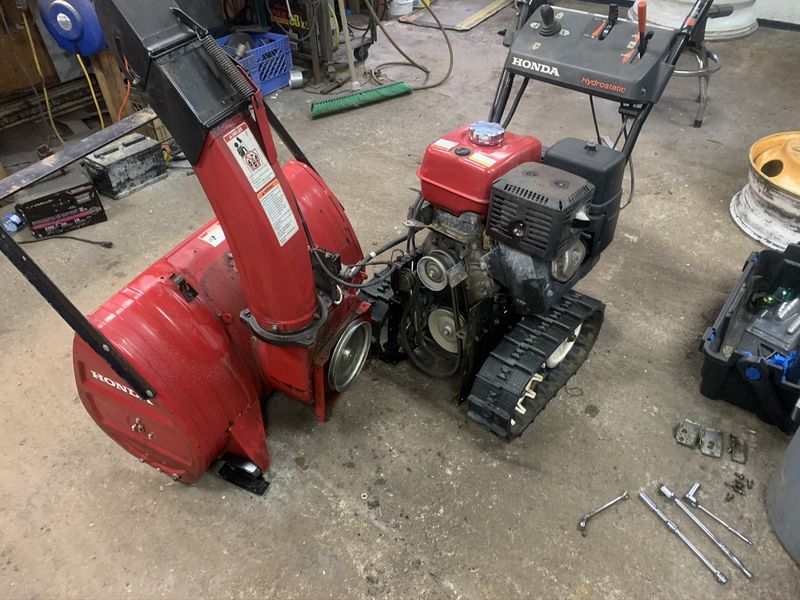
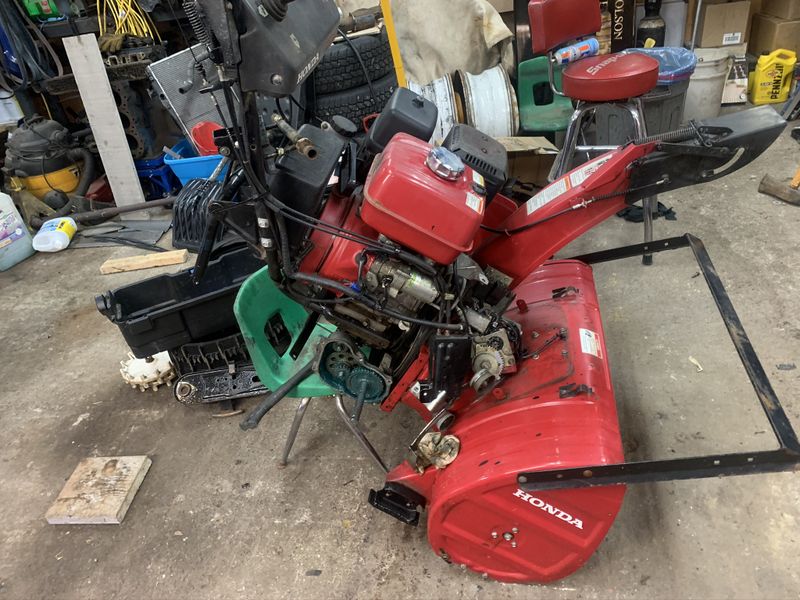
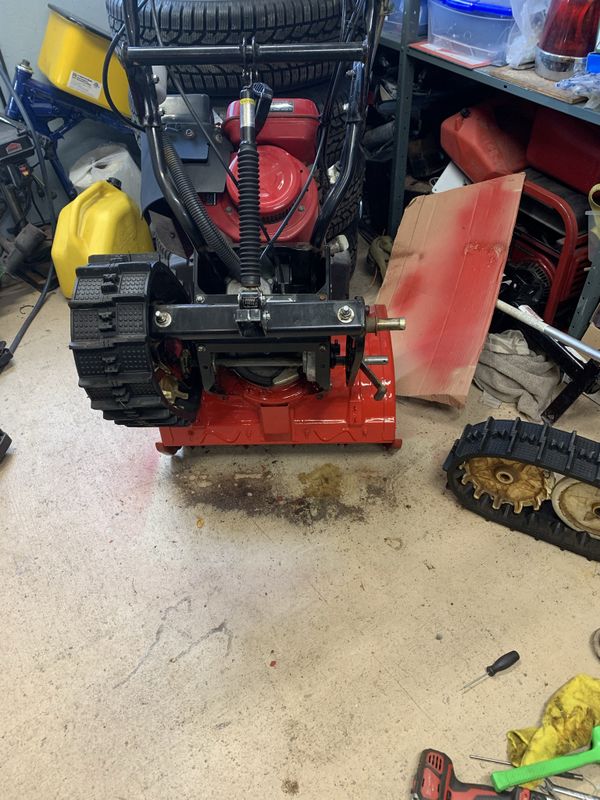
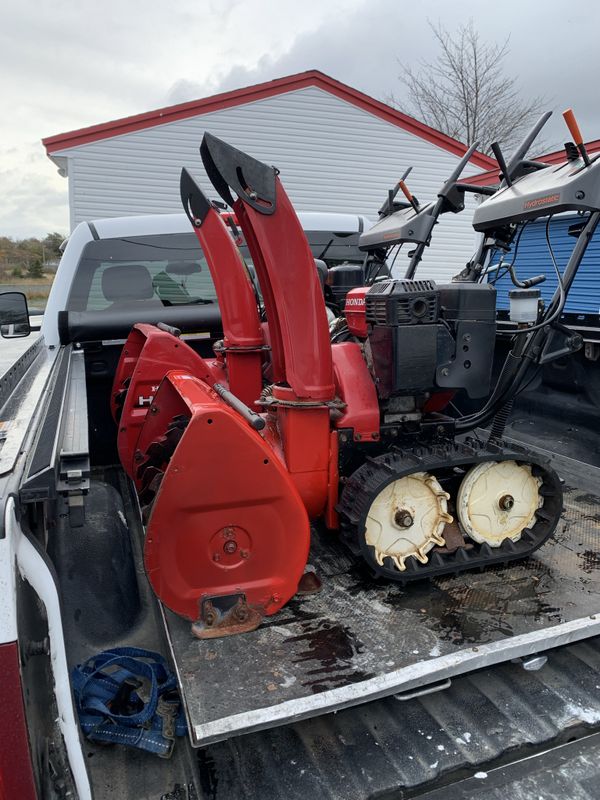
In mid January I got a call from Rob of R&D Towing fame. He needed some work done on his Honda 13/32 Snowblower as it just stopped turning the track drive. It's a common problem for the crawler drive gearbox to fail so he picked up the parts as well as new belts and a muffler heat shield and we got to work over at his shop. For more information, be sure to check out my How To: Repair a Crawler Drive gearbox on a Honda Snowblower article.
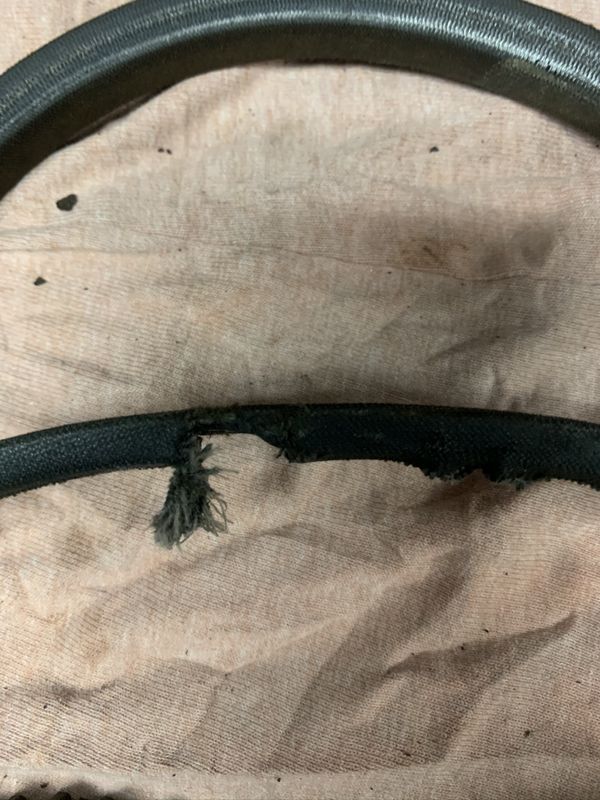
Replacing the belts at this time was a good call as the hydrostatic drive belt was 90% totalled!
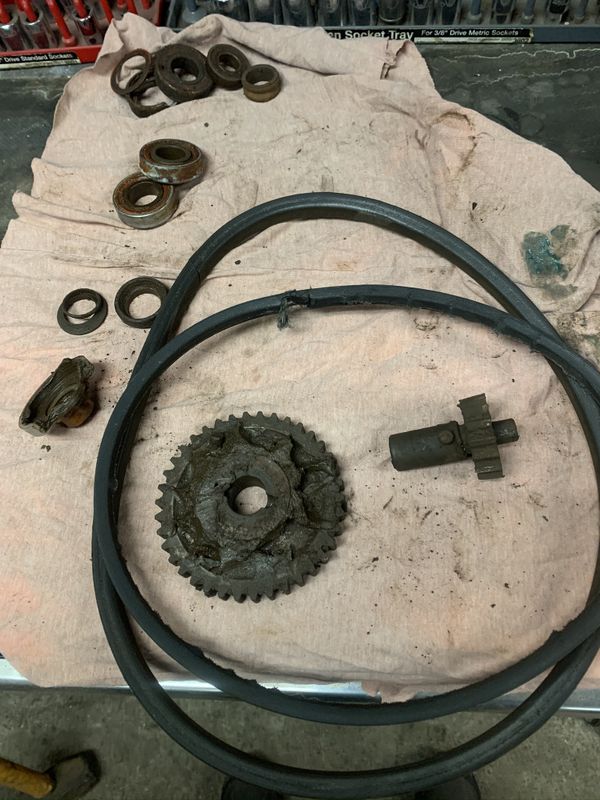
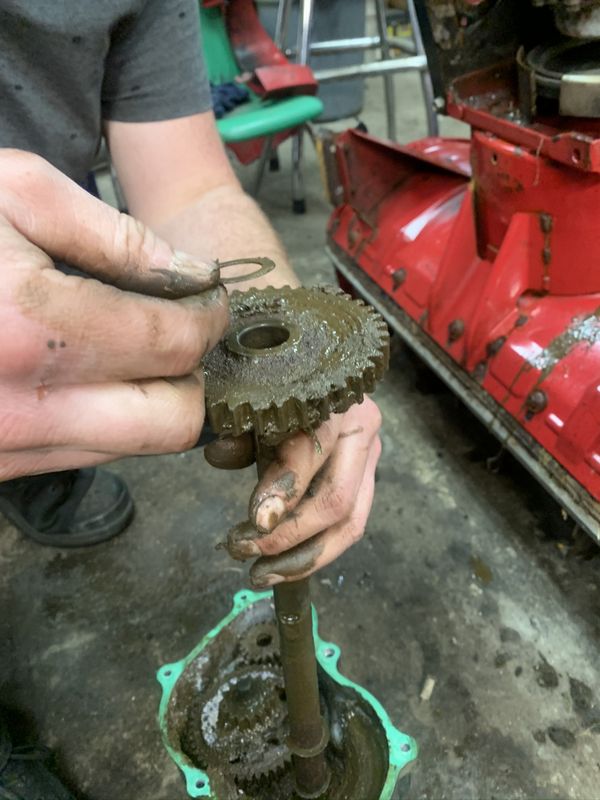
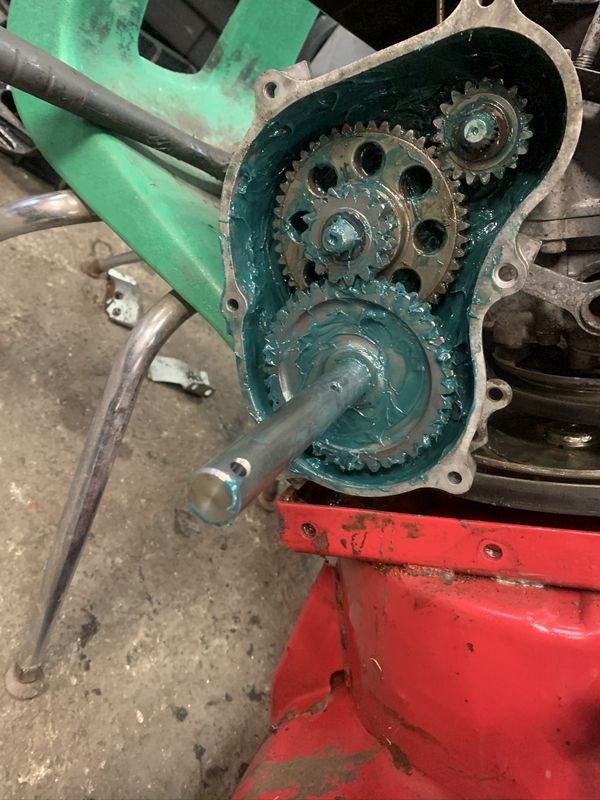
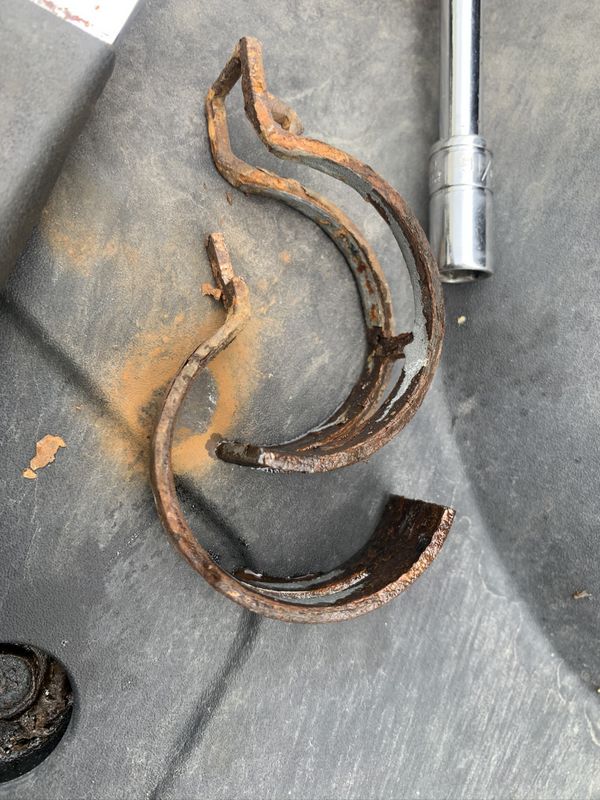
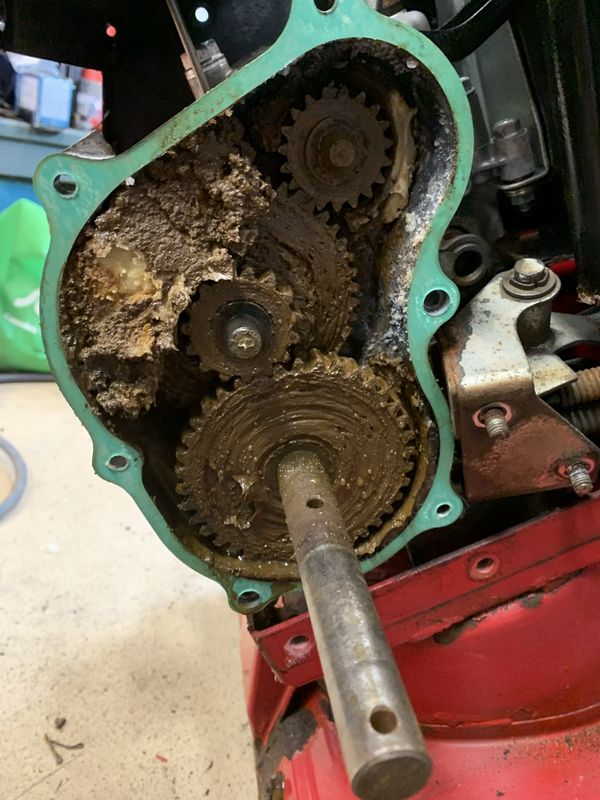
As usual grease inside the crawler drive gearbox was toast so the bearings failed which led to other damage and eventual failure.
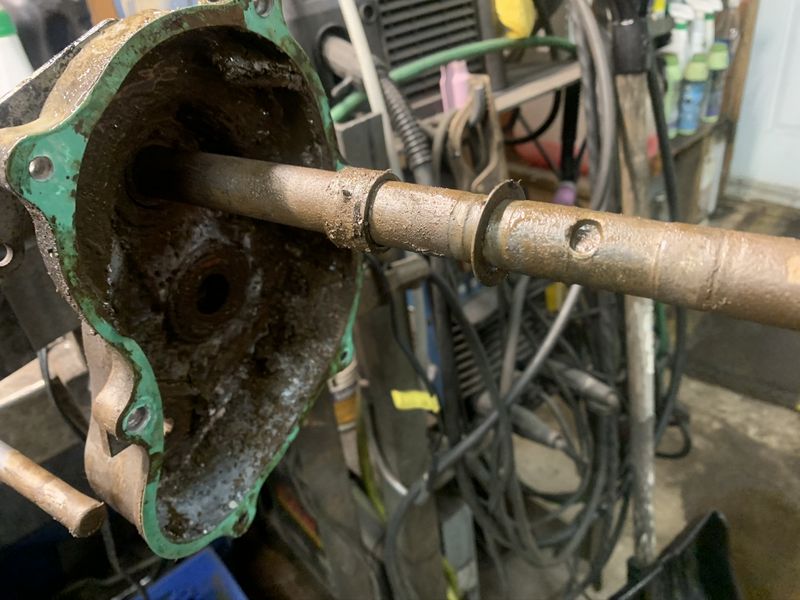
The indentation in the crawler drive axel is were a large pin normally resides. When the bottom bearing fails the shaft moves, the gear cocks over and snaps off the pin causing the blower to stop moving. The kit from Honda one included a new crawler drive axel, some new gears and all new bearings, bushings and seals. I also replaced bearings on the opposite side of the crawler drive axel and bearings behind both cogged drive wheels.
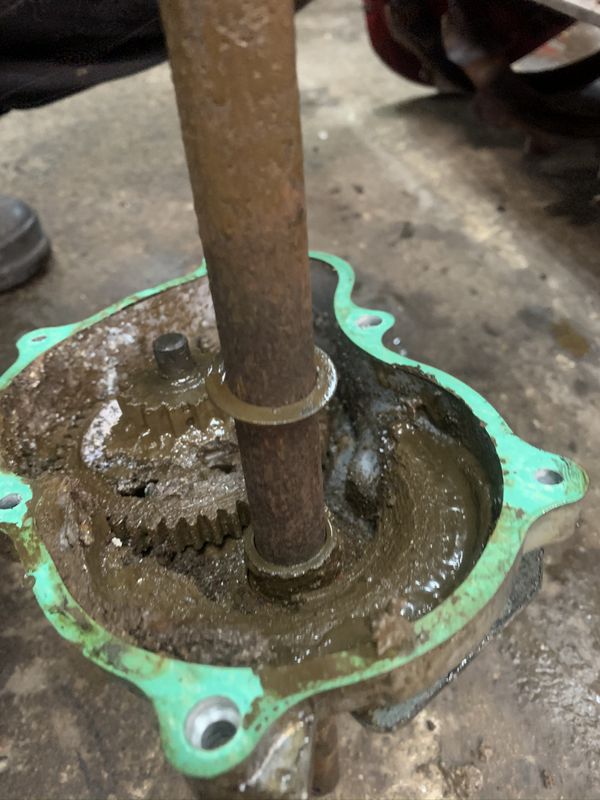
I always use lots of grease during reassembly making sure the grease I pack in there is the same as the customer has in their grease gun, in this case Lucas Green Heavy Duty. After this pic was taken I added even more grease to take up space where air & water could reside.
There is a grease nipple on the crawler drive gearbox cover right behind the right track that will allow you to add grease when servicing your blower. If you keep adding more it will force fresh grease down to the bottom bearing and extend the life of the system.
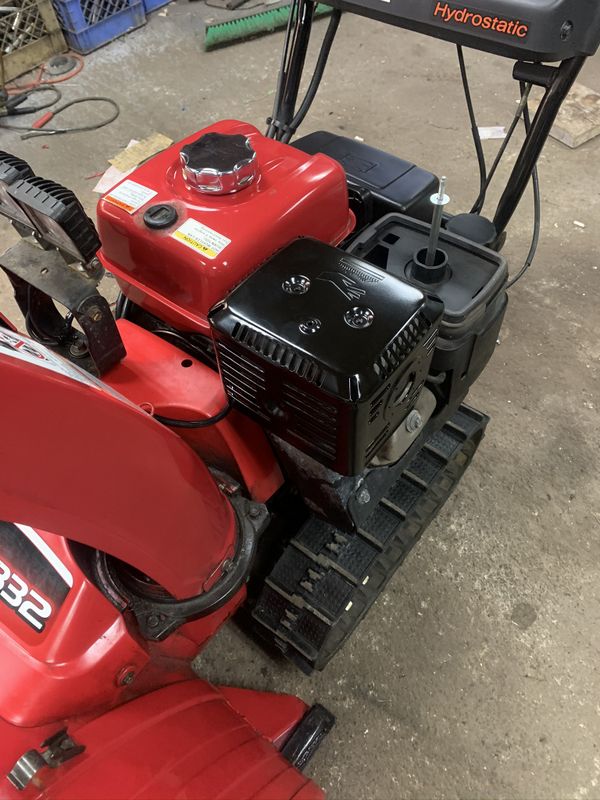
Lastly we installed a new muffler heat shield as the old one rusted out around the mounting screws and was vibrating.
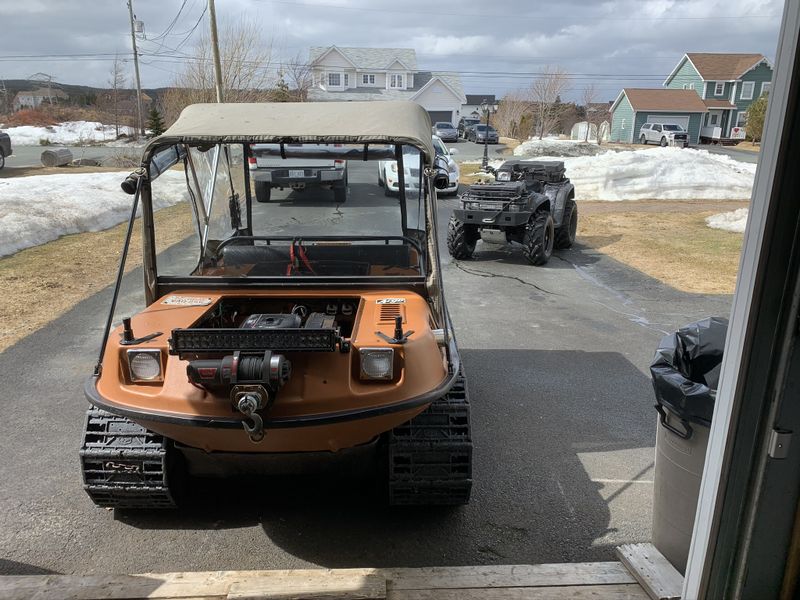
On January 19th while housebound during the Snowmageddon State of Emergency I installed my 13" tracks and convertible top on Project 6x6 so it will be ready for some winter adventures!
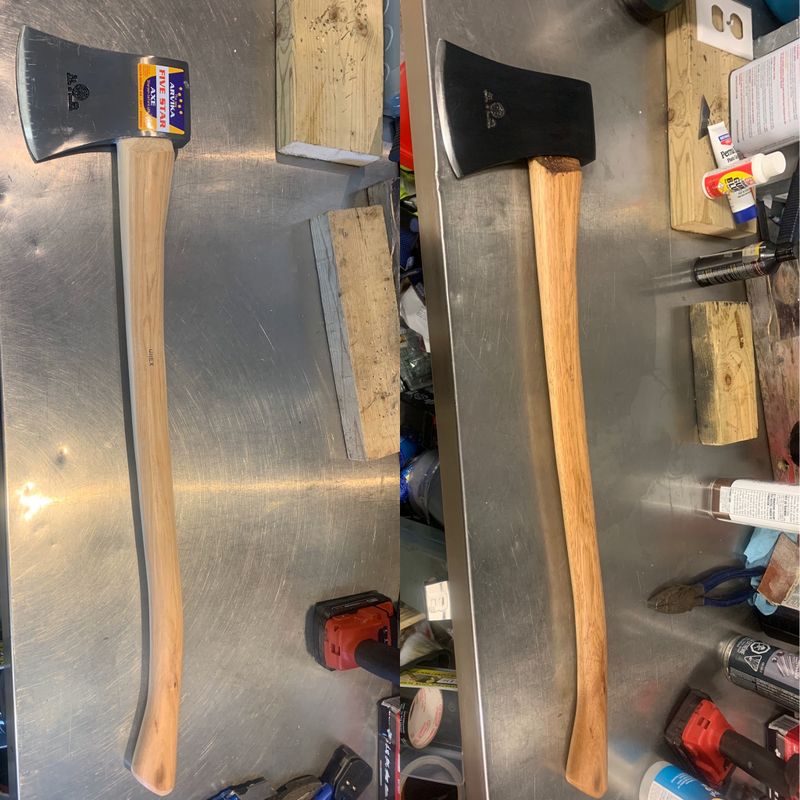
My next project was custom re-finishing my new Hultafors Arvika axe, follow the link for the full article.
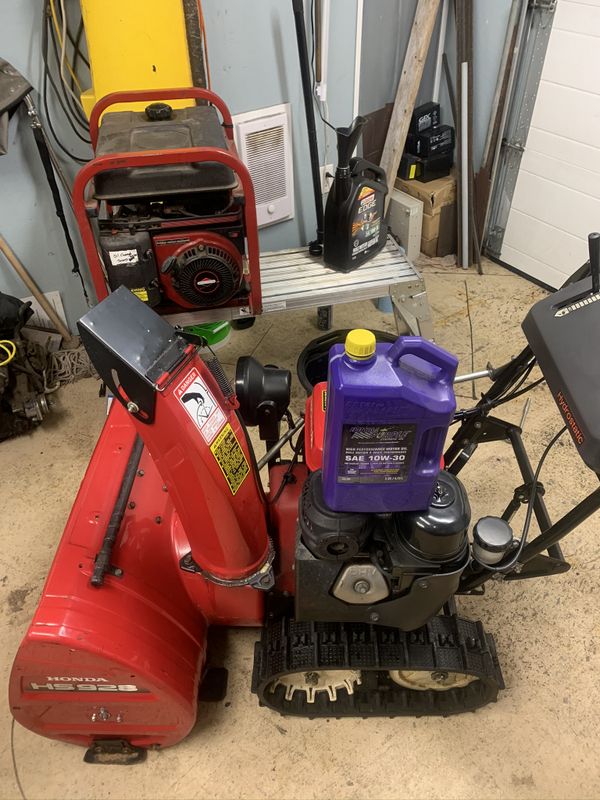
It was now February and I hadn't yet changed the oil in my own Honda 9/28 Snowblower as it didn't get used very much last winter (and I use quality full synthetic oil). However so far 2019-2020 has seen two blizzards, one major Snowmaggedon blizzard and we're having regular snowfalls now every 4-5 days. With so many hours being logged on my machine I performed an oil change and 2nd full service and inspection for the season!
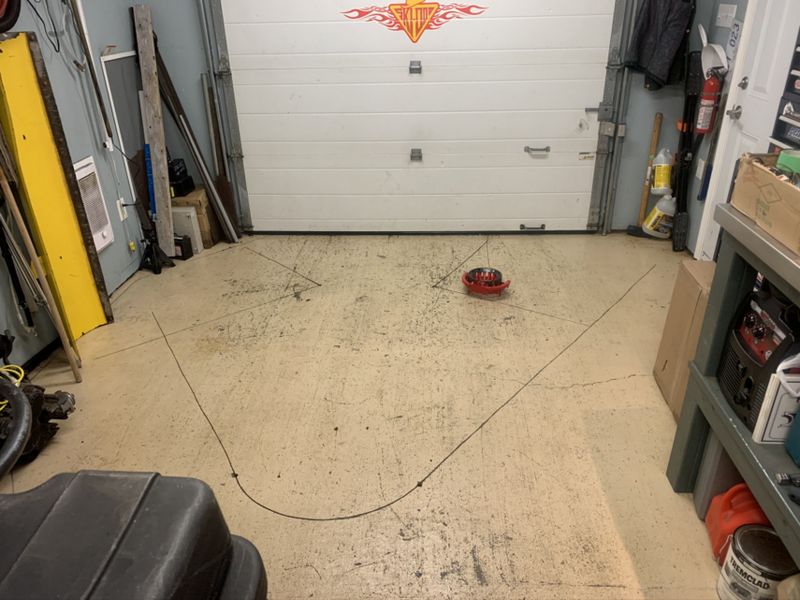
With Project 6x6 in French's trailer for awhile I finally got a chance to mop & scrub the floor after a long summer/fall/winter of projects here in Area51. It's great to have a perfectly clean floor to work on again, although it's soon time for another coat of epoxy paint!
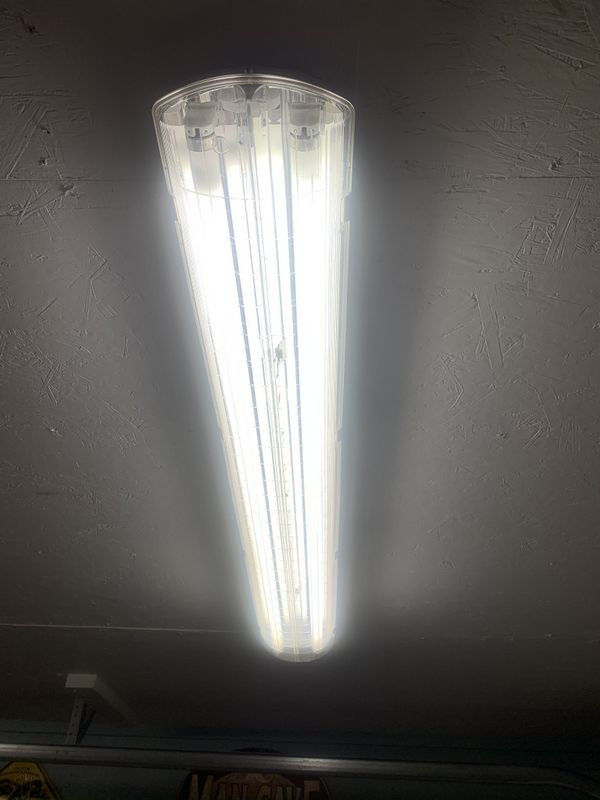
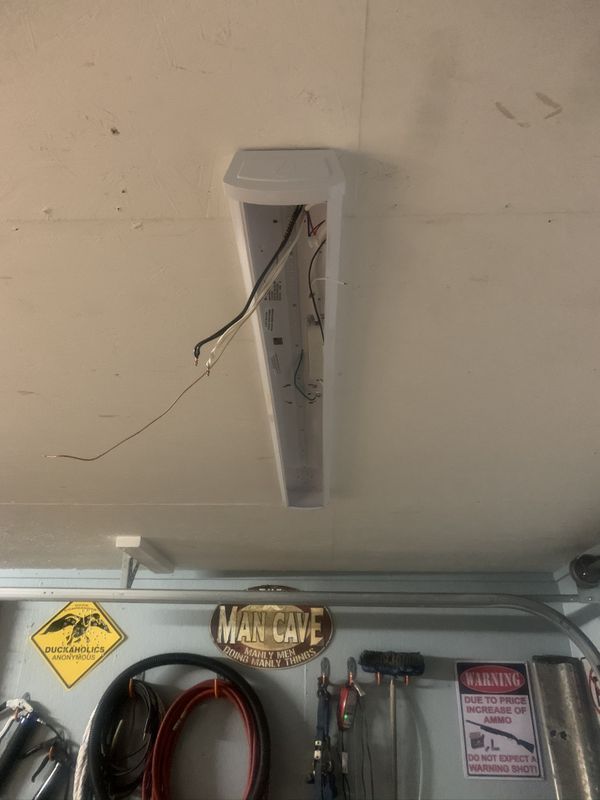
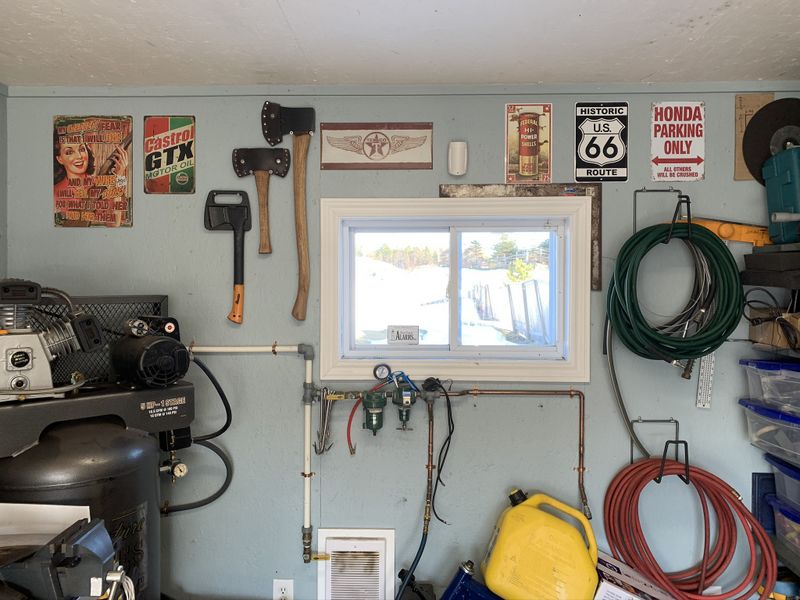
In mid February my fluorescent shop lights started acting up. One was intermittently flickering, and the rear fixture failed completely. These fixtures are of unknown age and appeared to be recycled, they were already in the shop when we bought the house six years ago.
For a temporary solution while working on Alarm Boxes I popped open the housing and threw in my magnetic 4' LED under hood work light which provided a surprising amount of temporary lighting.
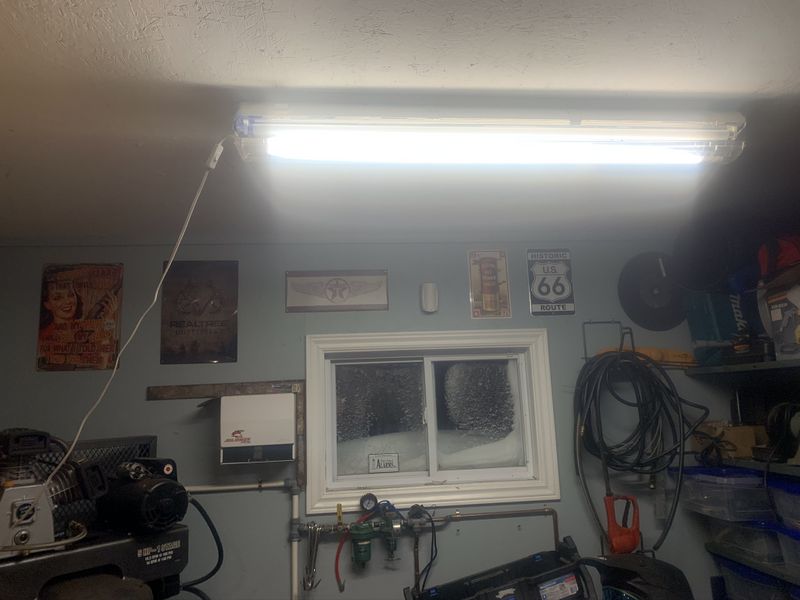
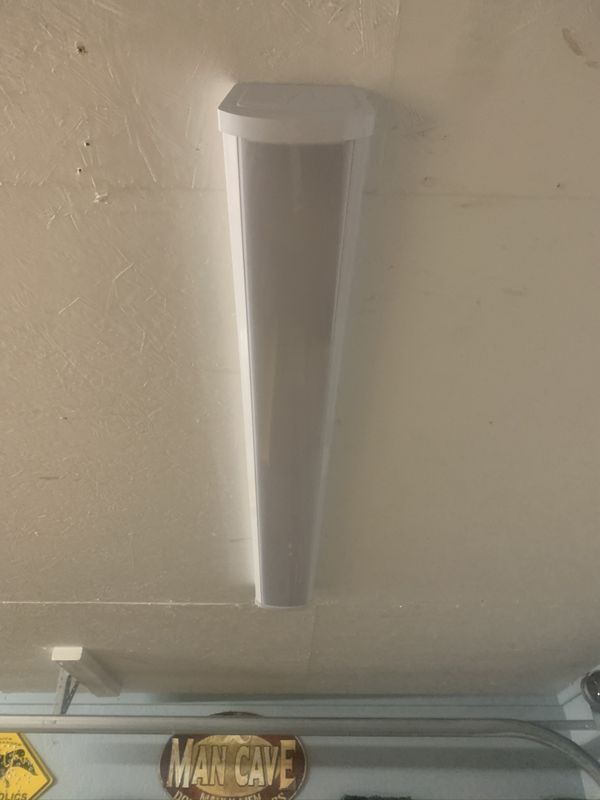
The new LED light fixtures I chose came from Home Depot and are the same ones Bill installed in his garage a couple years ago. They are a beautiful design and we found them extremely bright in his garage.
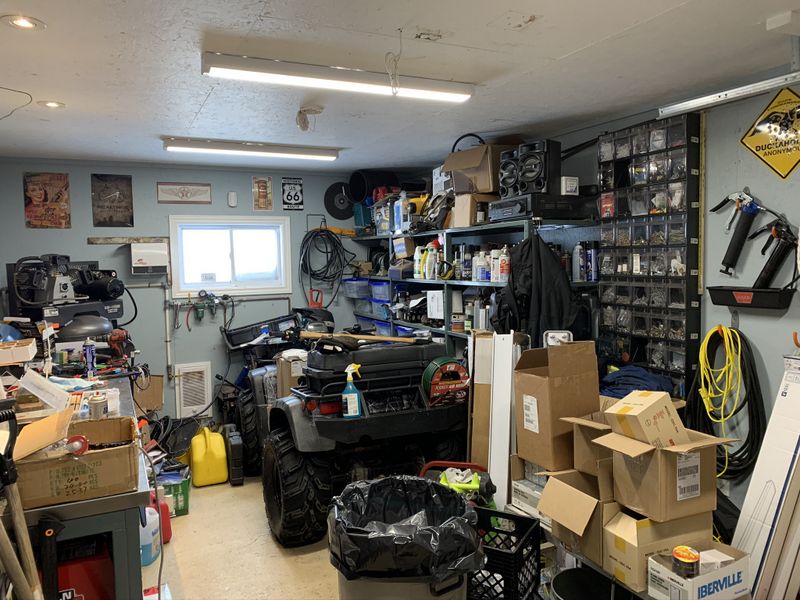
The garage is much brighter now and it was already pretty decent with my old light fixtures. A bright garage makes working on stuff much easier.
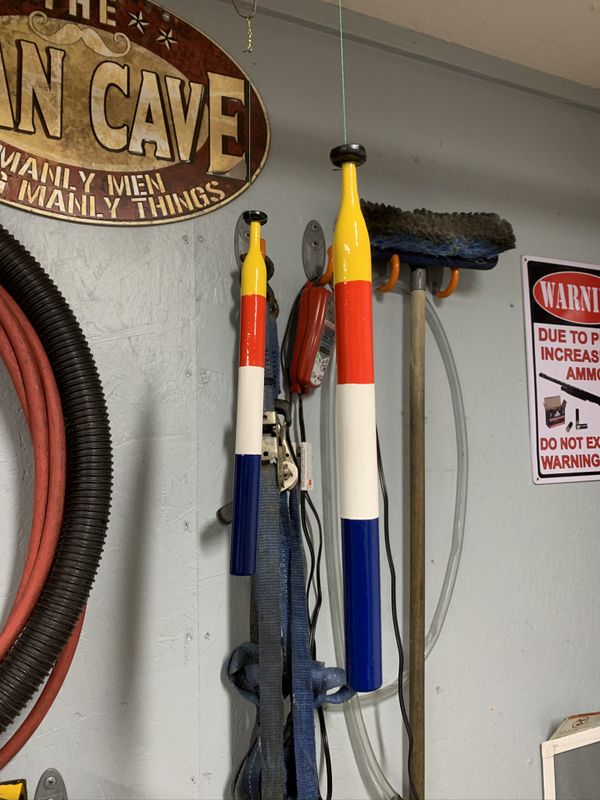
Next on my project list was a quick little custom ice fishing line project to replace my older plain Jane ice fishing lines.
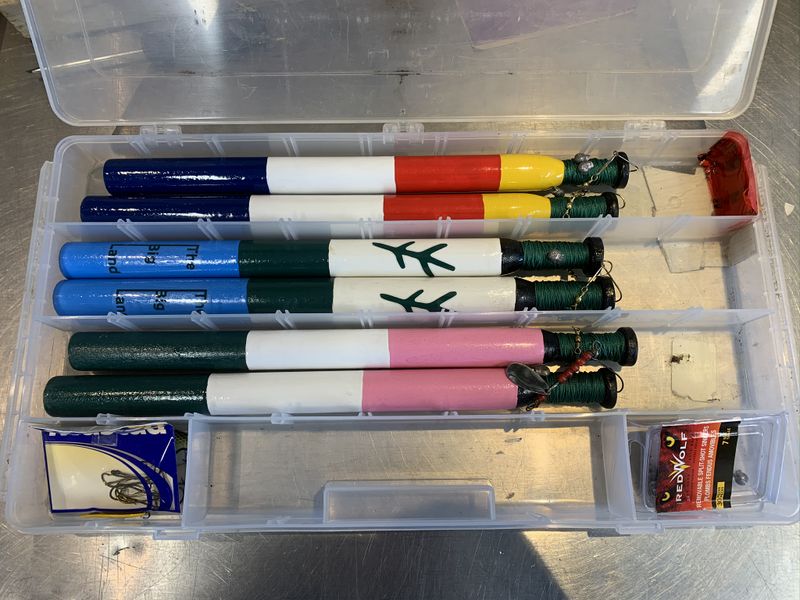
As you may have seen in my February Ice Fishing stories on the Crew Adventures page, I purchased some new ice fishing sticks from Outdoor Pros. They are made by a local fella in Paradise and he does a beautiful job. His sticks come painted in the Republic of NL flag & Labrador flag colours. I wanted 6 sticks for my set (enough for 2 people) so I picked up one pair of Republic of NL, one pair of Labrador and an extra set that I would custom paint. I decided to paint my last pair in colours representing the new Newfoundland Flag to create a unique set.
I think the finished product turned out great and I already had these colours of Tremclad paint in stock! The only other changes I made to these lines were installing some lead weights, swapping some of the spinners that came with the lines for my own or setting them up hook/worm only.
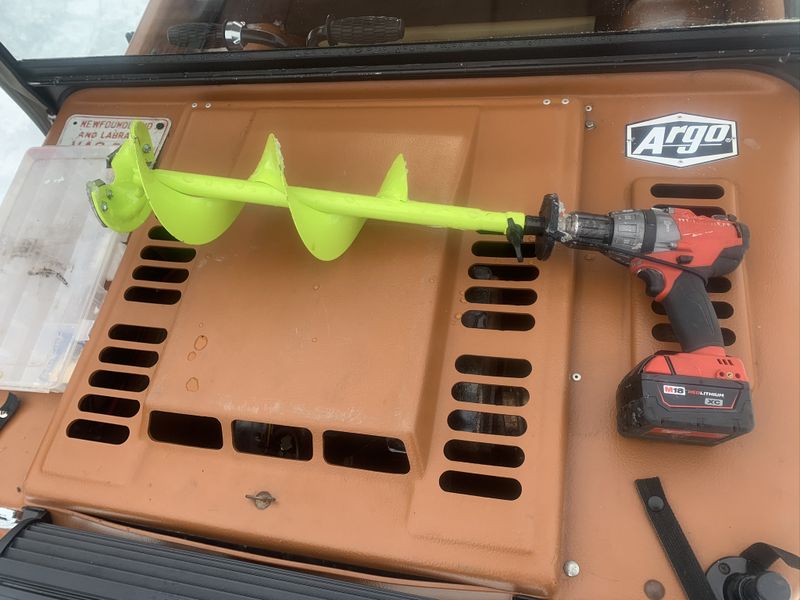
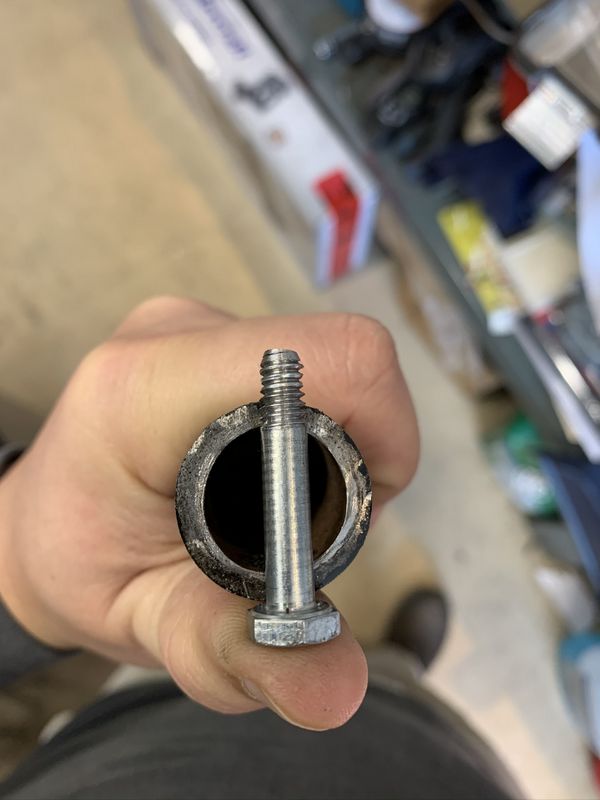
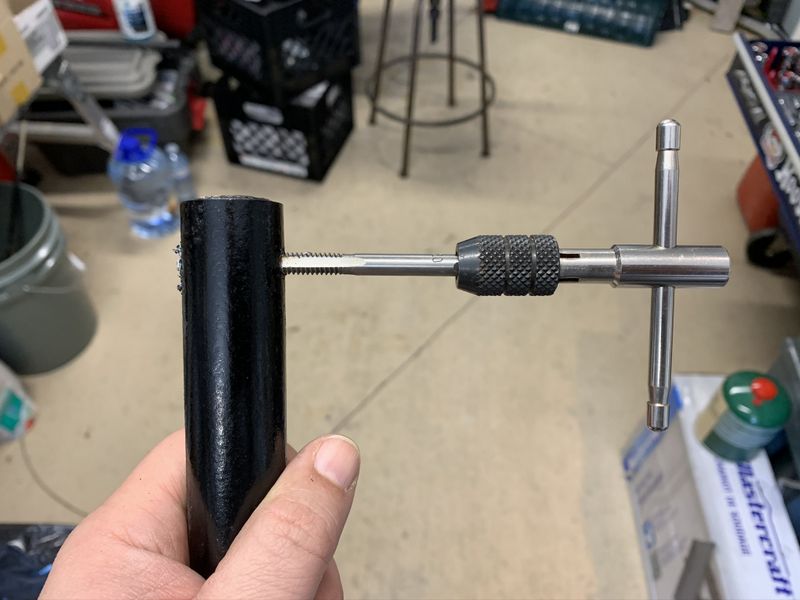
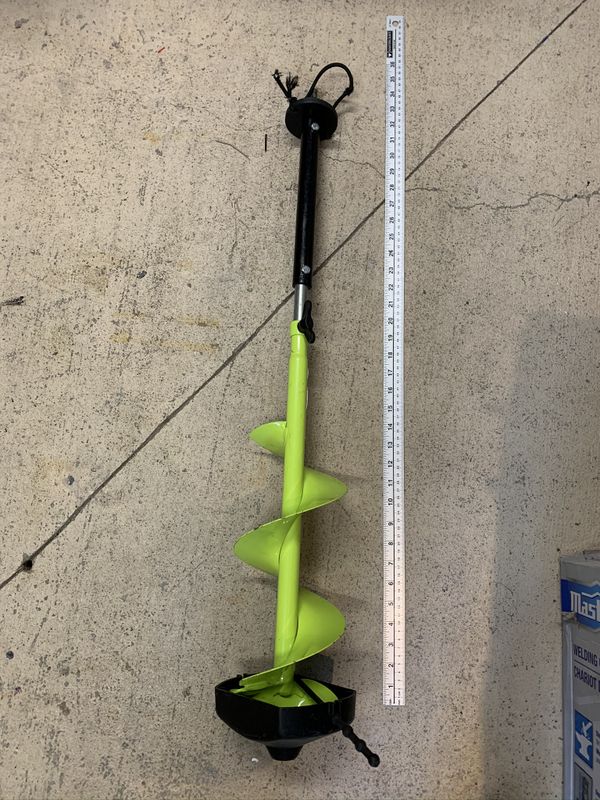
Next on my ice fishing equipment upgrades was fabricating an auger extension to make my ice auger longer when using my cordless drill adaptor. This Mora Fin-Bore Micro is nice and compact but its quite short which is a problem when the ice gets thick.
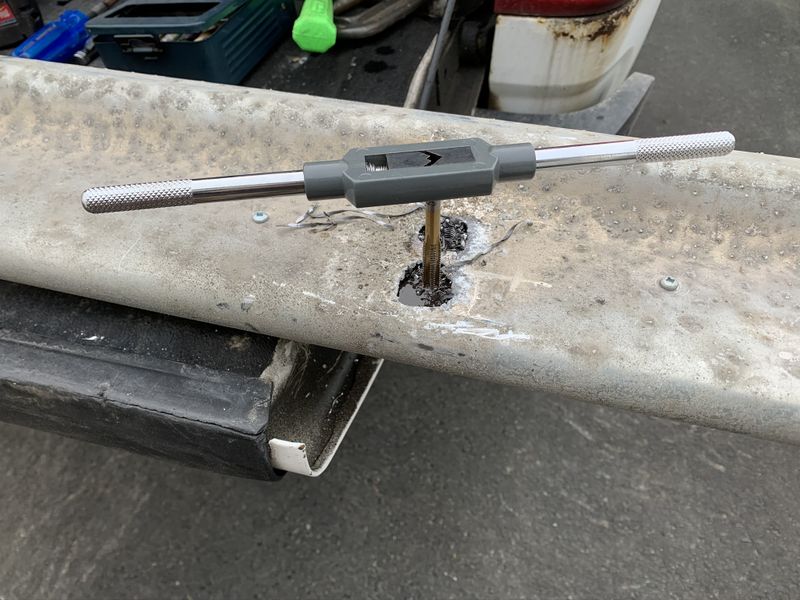
The smaller diameter pipe is actually a section from the original manual crank handle that I no longer use. The larger black pipe is a piece of 3/4" inside diameter 3/16" wall pipe I had laying around the garage and was the perfect size. I drilled 2 sets of holes in the heavy wall pipe, I drilled all holes 13/64" so I could tap one side, the opposite side I drilled out to 1/4" for the bolt to slide through.
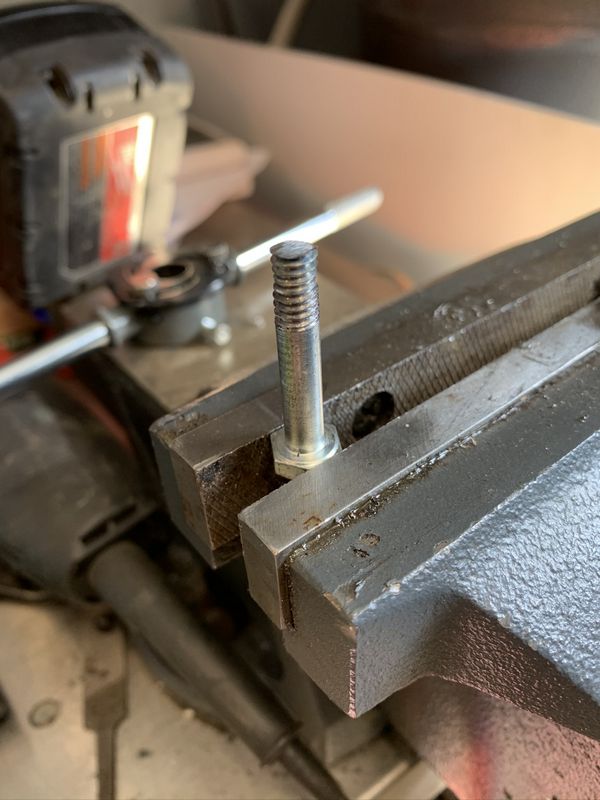
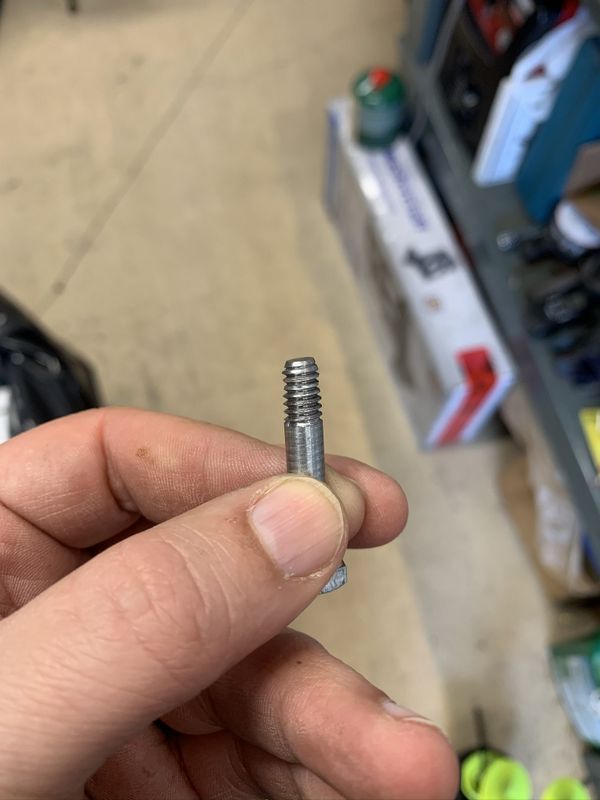
This is the finished product after extending the threaded portion of the bolt and trimming to length. I wanted the smooth portion as pictured so the drill adaptor wasn't touching bolt threads which will wear and become sloppy.
Trimmed and threaded to proper length.
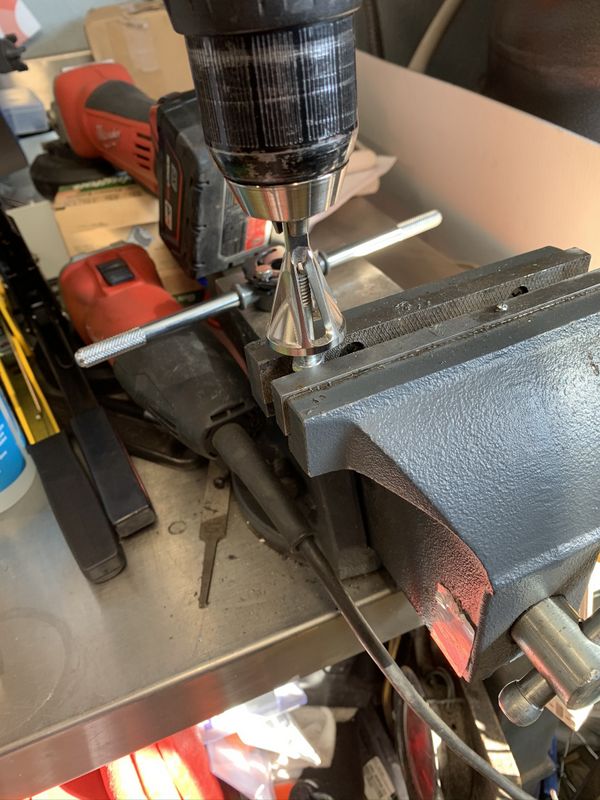
I used my de-burring/chamfer tool to clean up the end of the cut bolt so it threads in easily.
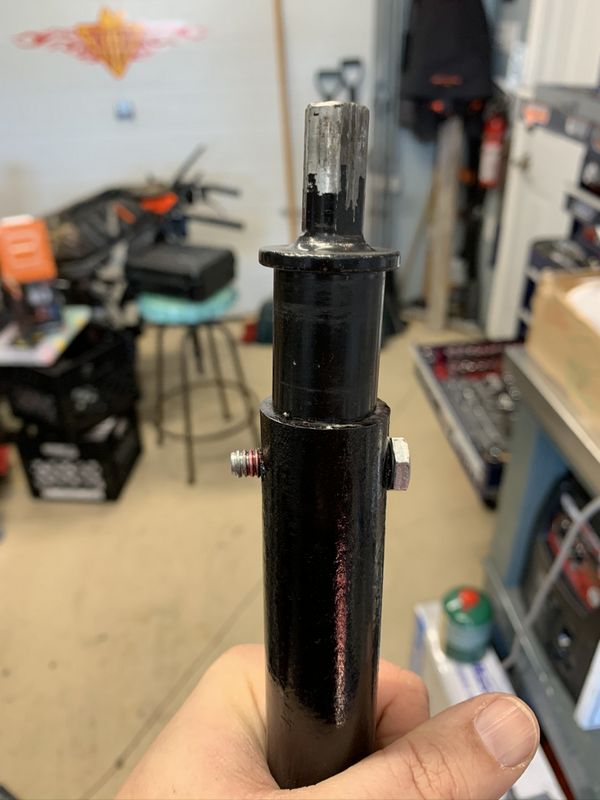
After I had finished I decided to install two nylock nuts as an extra level of safety for the bolt coming loose and loosing my auger down the hole!
By removing the upper bolt I am able to reinstall the old manual crank handle in place of the drill adaptor should the drill fail or battery die.
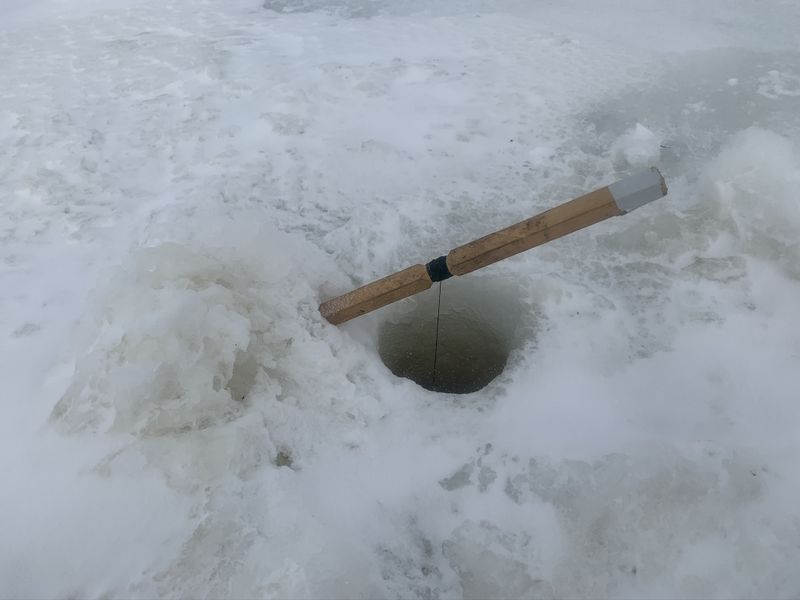
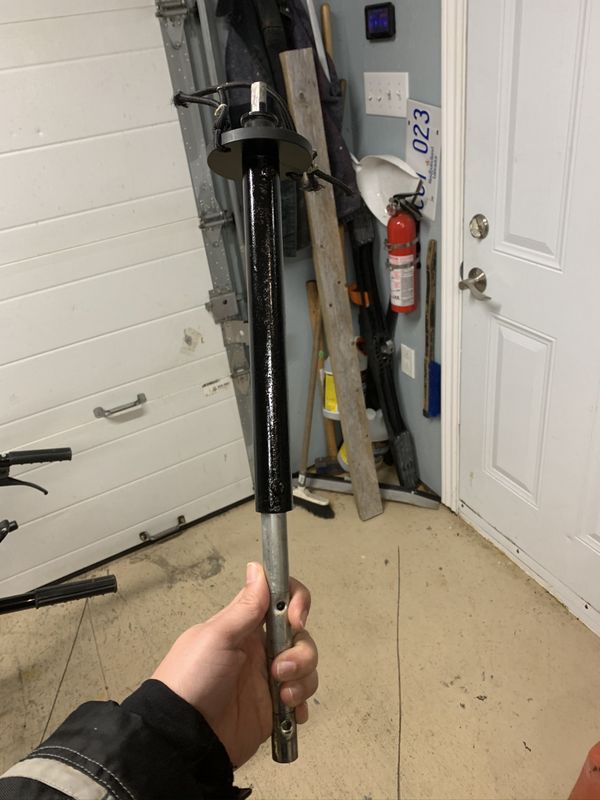
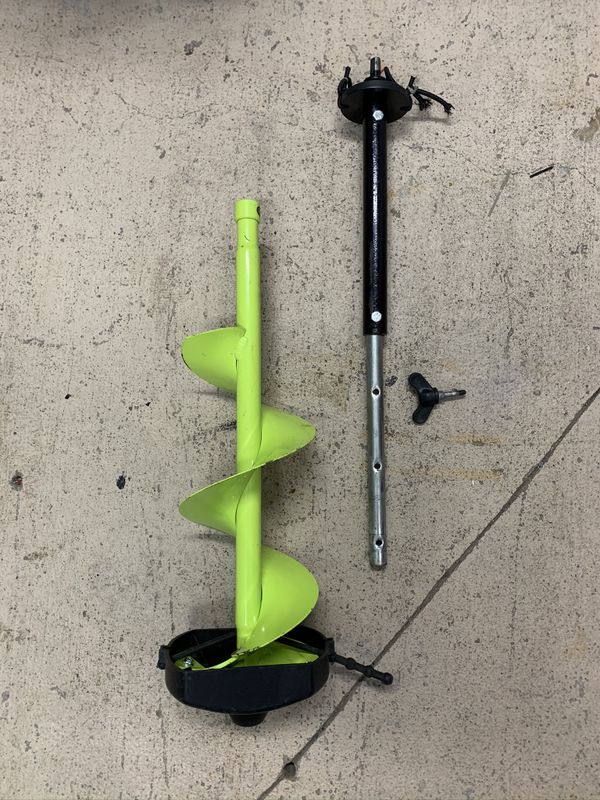
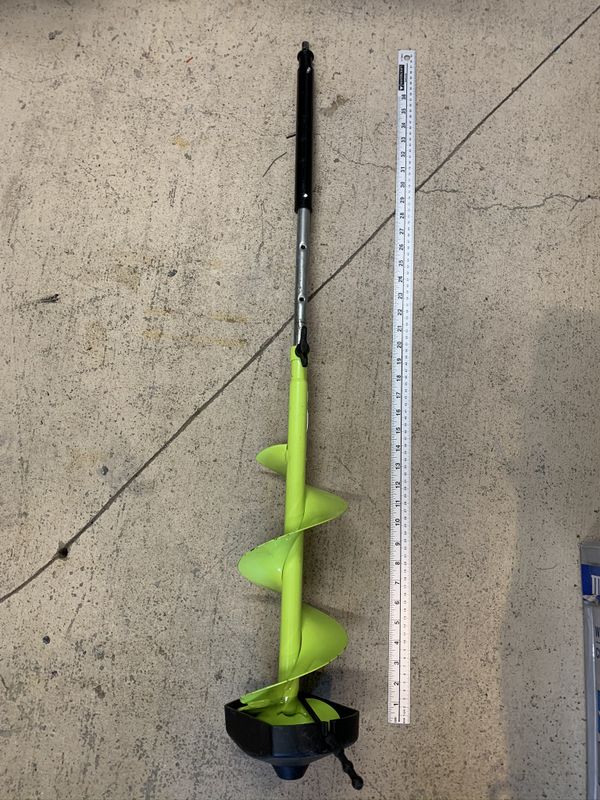
Fully extended I'm over 36" of drilling depth which should be plenty for around here, if not I'll by a longer piece of 3/4" black pipe!
Adjustable height is great, makes it a little more compact for travelling, by removing the wing bolt I can separate the unit and fit it in my ATV box with ease.
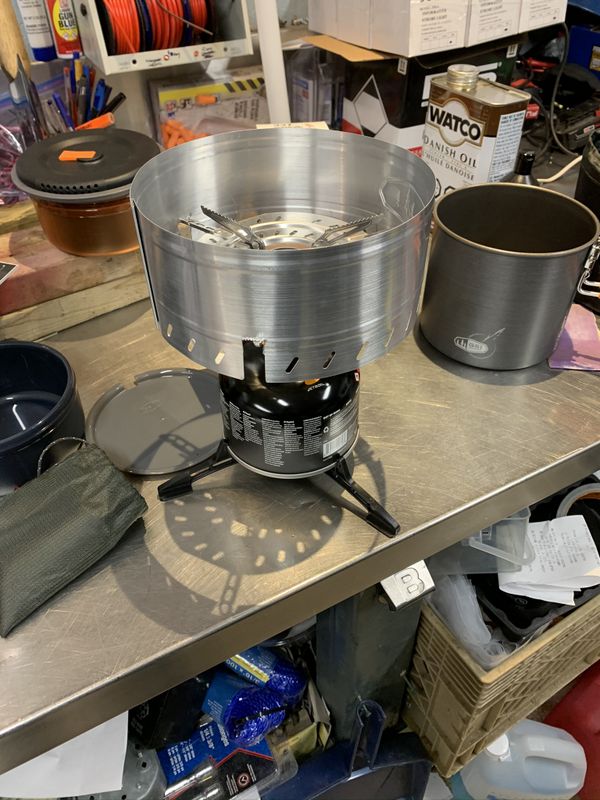
Also this month I purchased another gas stove from Outdoor Pros (not a sponsor) to use on our many trailside cook-ups throughout the year. My MSR Superfly compact stove continues to work well, but it takes longer to cook when it's windy and often I can really use two stoves depending what I'm preparing (eg marinated moose & rice).
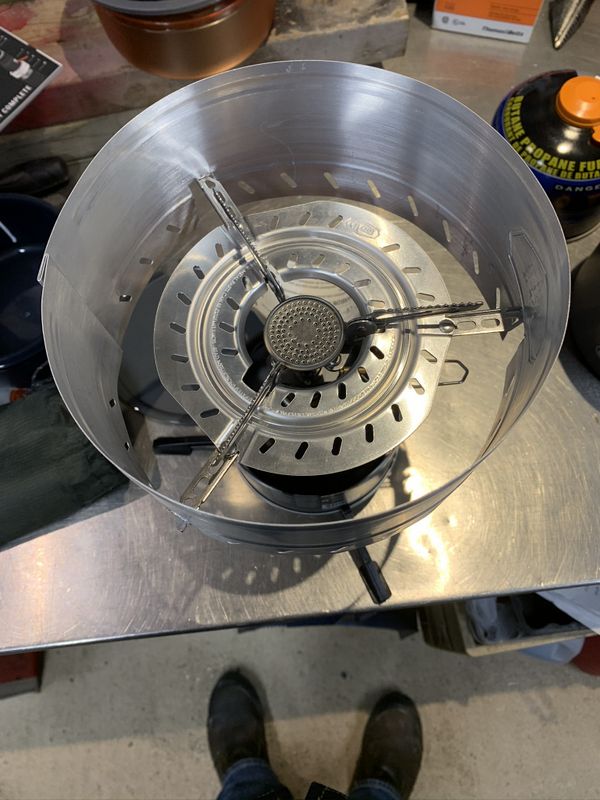
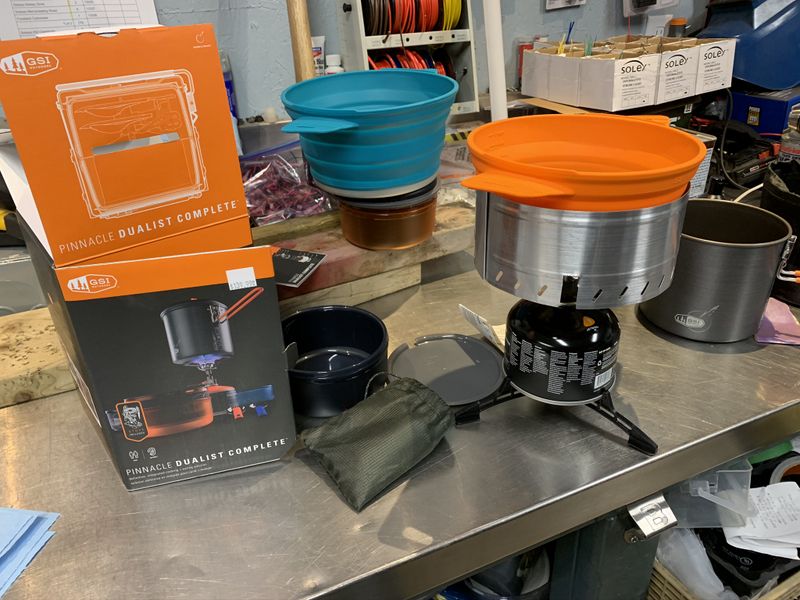
This 2nd stove is an awesome GSI Pincacle stove with Dualist kit which comes with some mugs, bowls and a nice pot all folded up in a nice kit. This stove also has a really good windscreen which will help cook & boil waster much faster on a windy day. Check out more reviews on the brand new Outdoor Lifestyle Product Reviews page!
I modified the windscreen on my Pinnacle Stove ever so slightly (raised the notches where the bottom arms rest) to better accommodate my silicone Sea to Summit X-pots. These stoves should make for some epic outdoor meals this year!
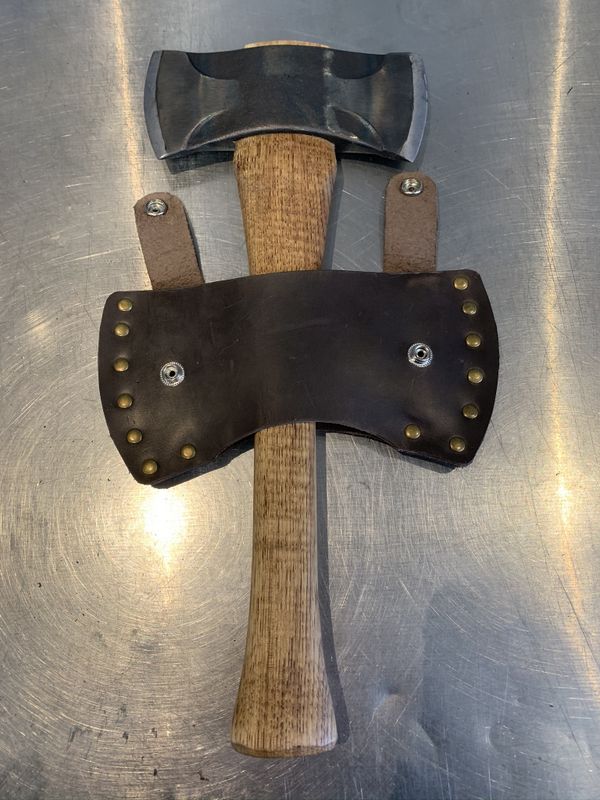
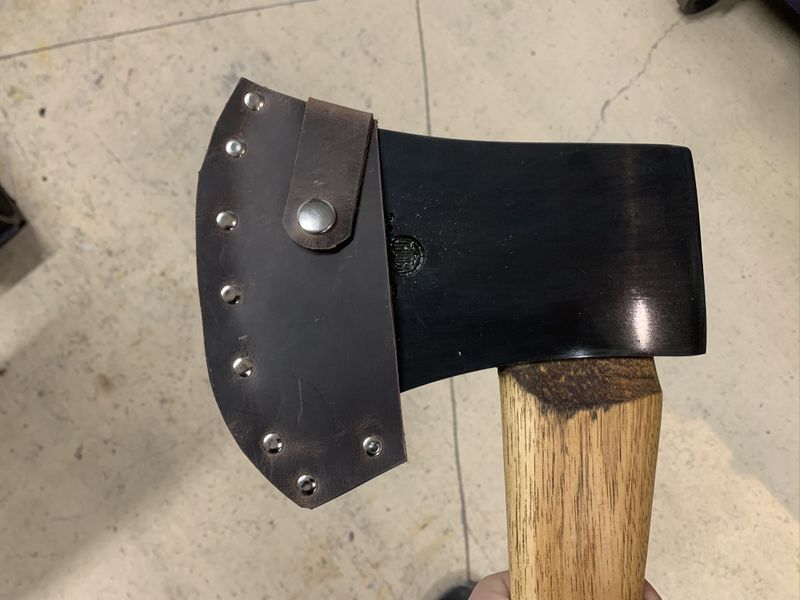
March 19, 2020. This has been leather work week at Area51. I finally received the parts needed to fabricate some custom leather sheaths for my newly acquired cool as hell axes, particularly the Council Tools #2 Double Bit axe and Hultafors Arvika. Check out my Council Tools #2 Axe Story on the Projects in the Shed page for more on the re-finish work and sheath fabrication.
er
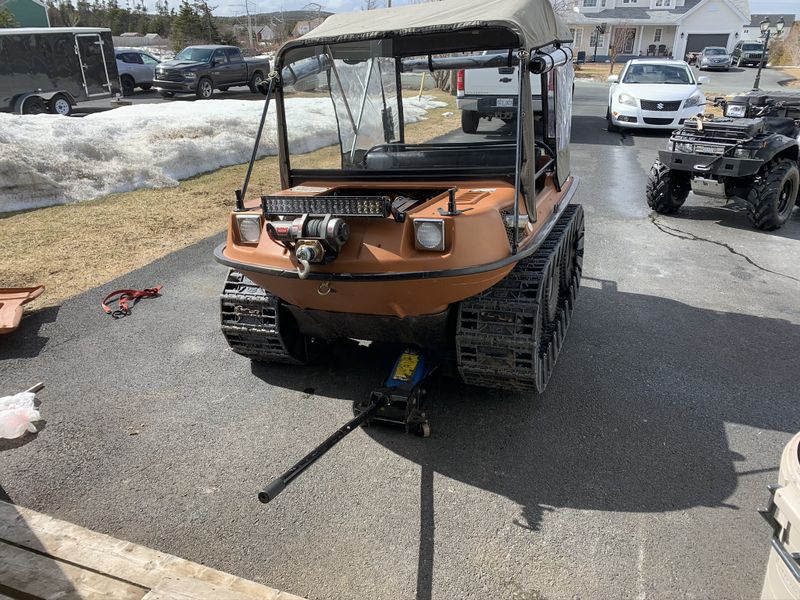
April 12th. Still in the midst of the Covid-19 pandemic we are all spending the majority of our time safe at home avoiding exposure to this terrible virus that has gripped the entire world. On the bright side it allowed me a lot more free time to get some maintenance completed on Project 6x6 after an awesome and very busy winter of tracked Argo Adventures with Mark French.
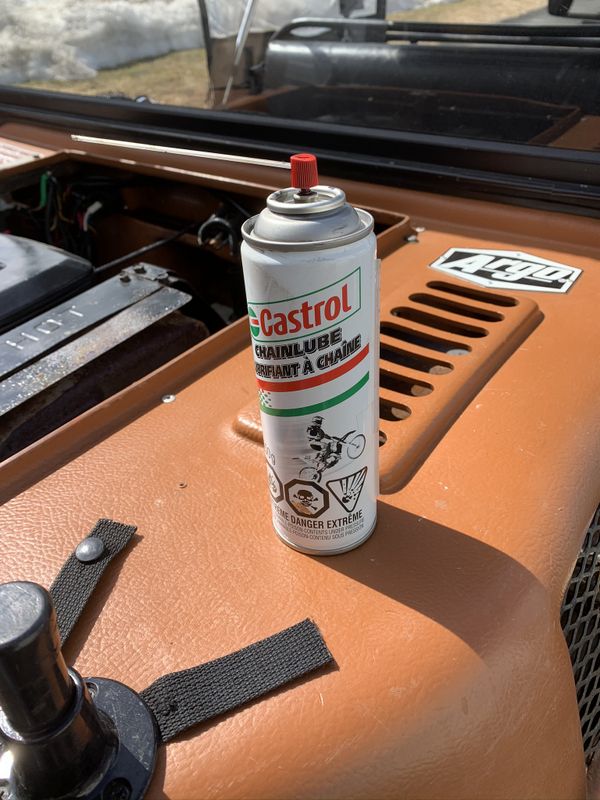
First up was greasing the drive chains which I try to do about every 10 hours as it's cheap easy insurance against drive chain wear and tear. I simply jack up one side at a time and spray Castrol chain lube with one hand and turn the track or tire with the other hand.
On my machine I can reach three sets of chains from the engine compartment. Idler from transmission to idler shaft, idler shaft to front wheel, and idler shaft to middle wheel. The rear chains are accessed by removing the rear floor pan.
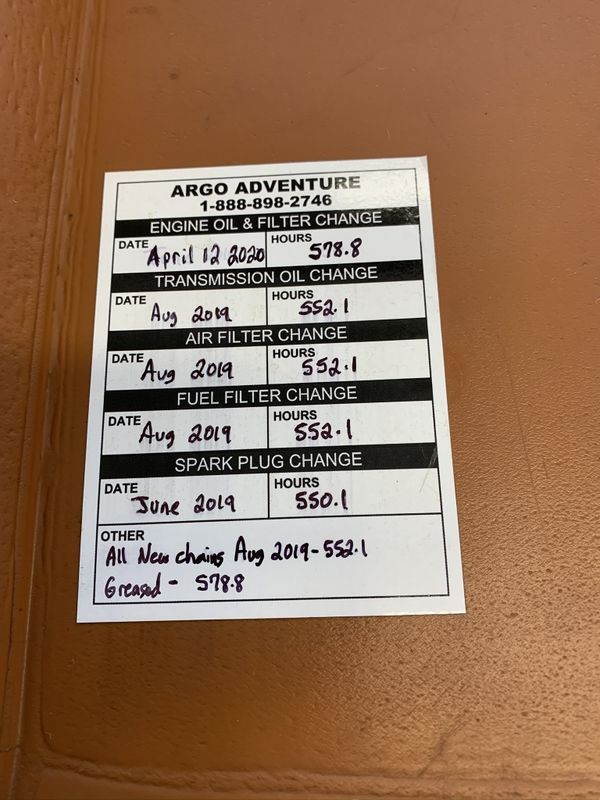
Also completed today was greasing of wheel bearings and an engine oil change. I have put 28 hours on the machine since purchasing it this time last year!
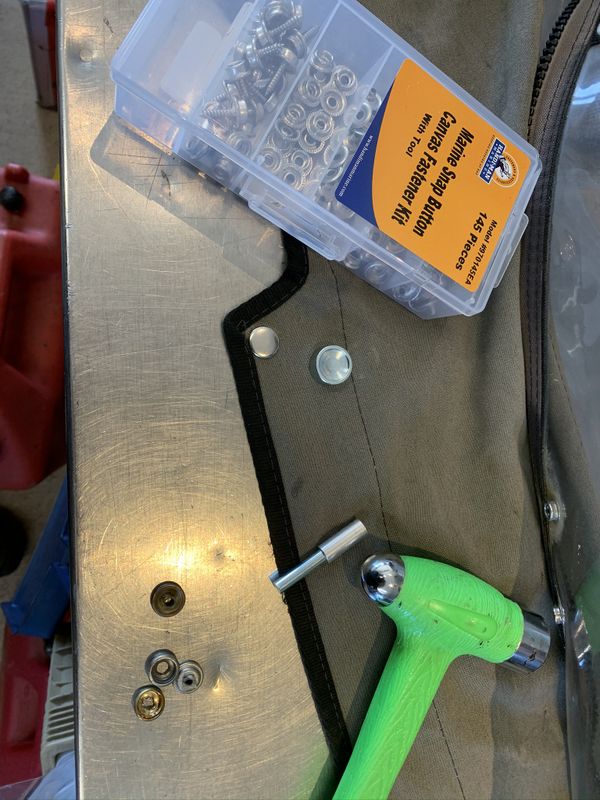
Earlier this winter I replaced a lot of snap fasteners on the convertible top using a kit from Canadian Tire which turned out to be of very low quality as most of them broke. Today I replaced these fasteners with quality stainless steel pieces purchased in a kit at Blue Water Marine.
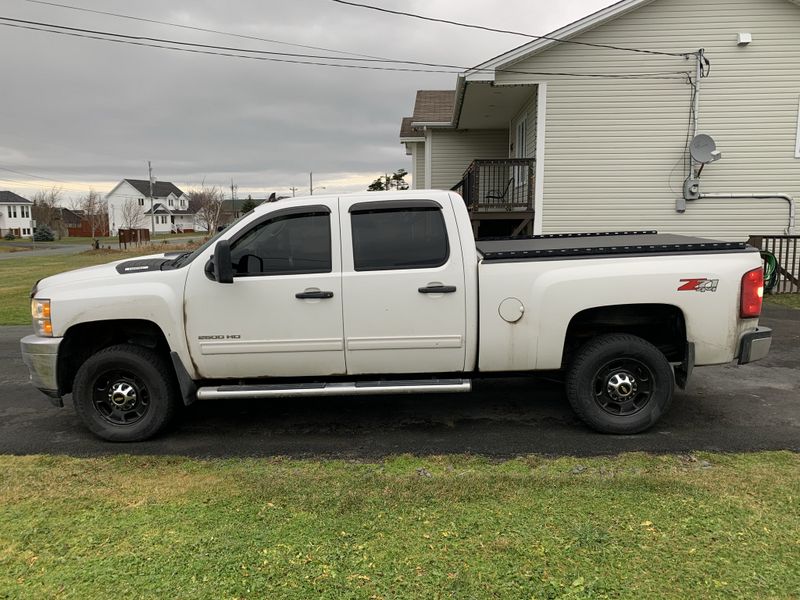
With the Argo all ready to go, next up was a couple weeks of random truck repairs on my 2011 Silverado 2500HD. First the right front wheel bearing decided to crap the bed after 190,000km so Justin at Canada Car Care promptly got me in and installed a quality replacement AC Delco replacement part.
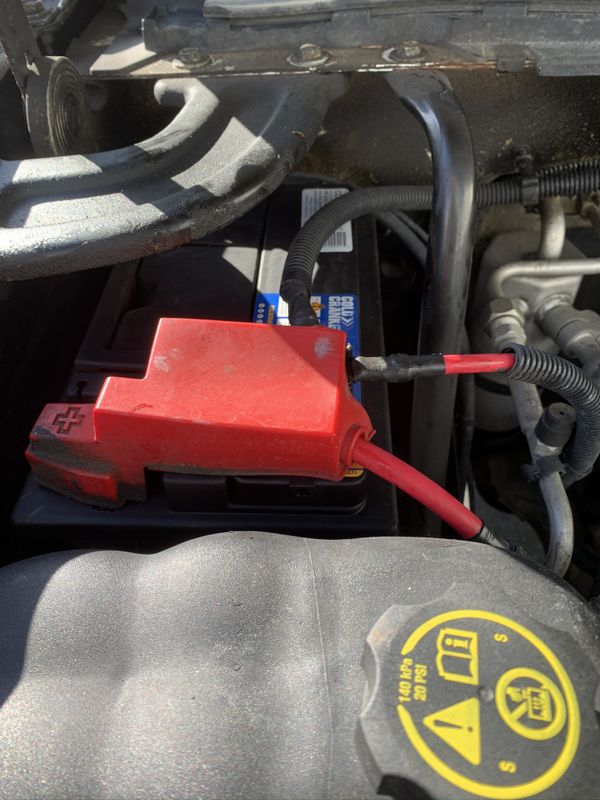
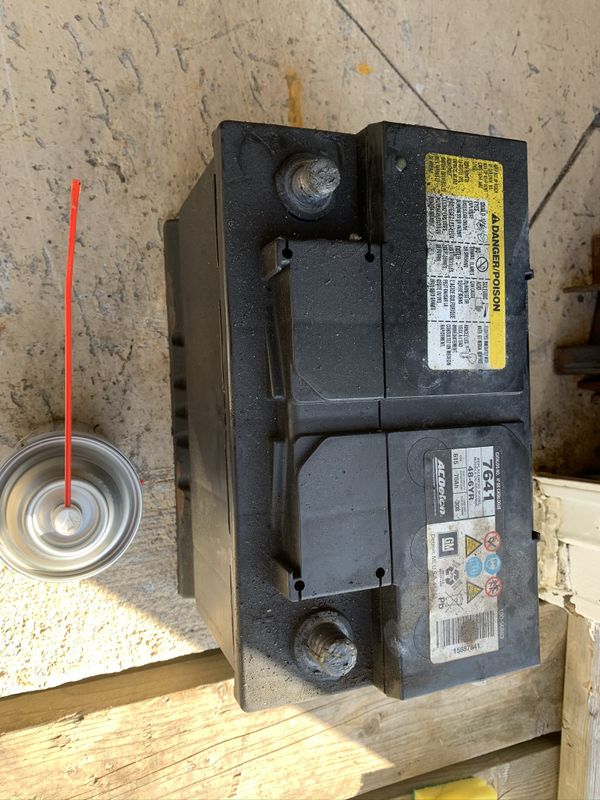
Next the OEM battery decided to give up after 9 years, so although inconvenient it wasn't a complete surprise. I picked up a replacement from Automotive Supplies and installed it myself with ease coating the new battery terminals with fluid film.
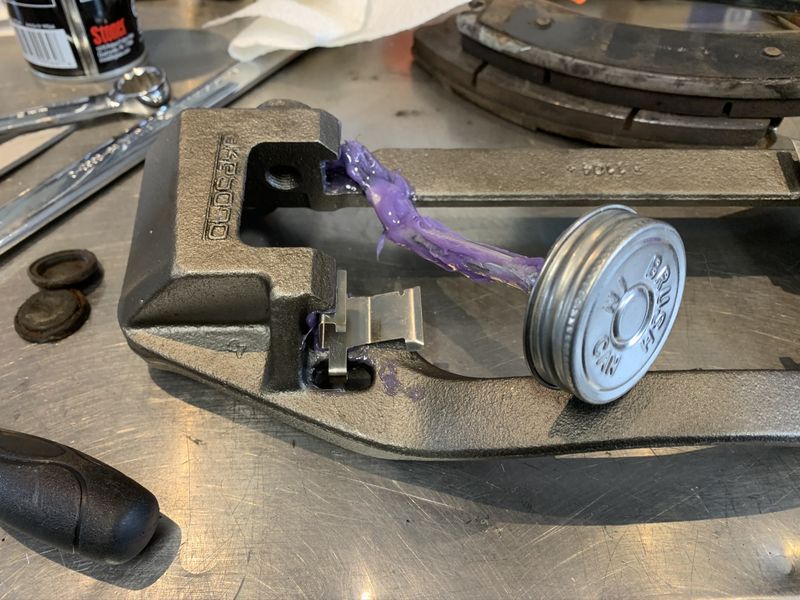
Next a rear brake calliper decided to seize after a couple years of use so a replacement was ordered, lubed with quality Permatex Purple brake grease instead of the crap that comes on them and installed along with a new Delco coated rotor.
With the new calliper bled I was back to fully functional 4 wheel disc brakes.
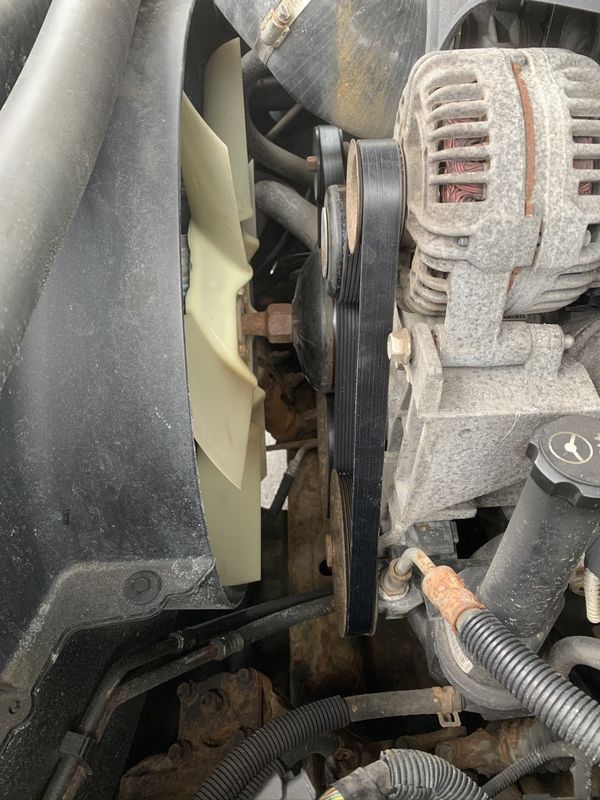
During Snowmageddon earlier this winter the engine compartment of my truck filled completely full of snow. I thought I had enough cleared out when I went to start it but I was wrong. The truck threw the belt but fortunately it didn't break so I managed to clear out all the snow and reinstall it.
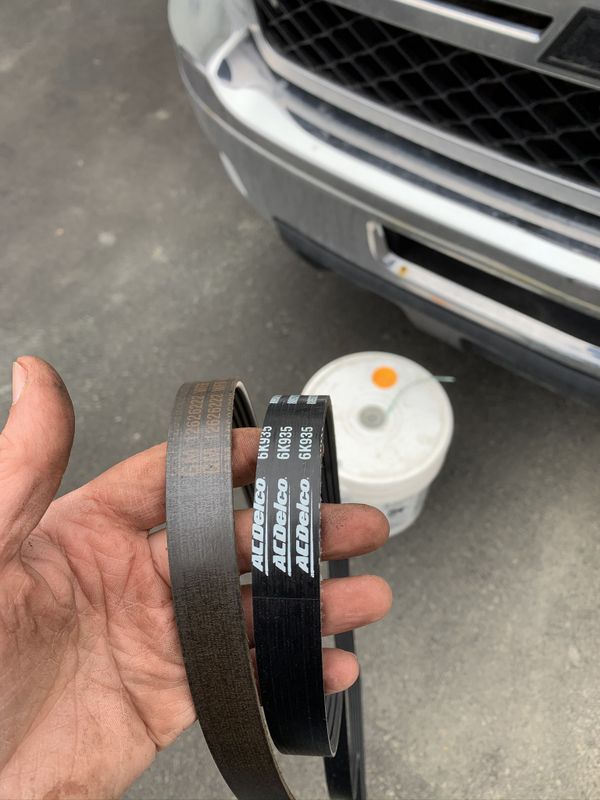
While I was ordering brake parts I ordered a fresh belt as the one on the truck was original at 9 years old and 190,000km. Amazingly the old belt still looked great and had no cracks or sign of dry rot, but the replacement belt was cheap insurance against being stranded later down the road.
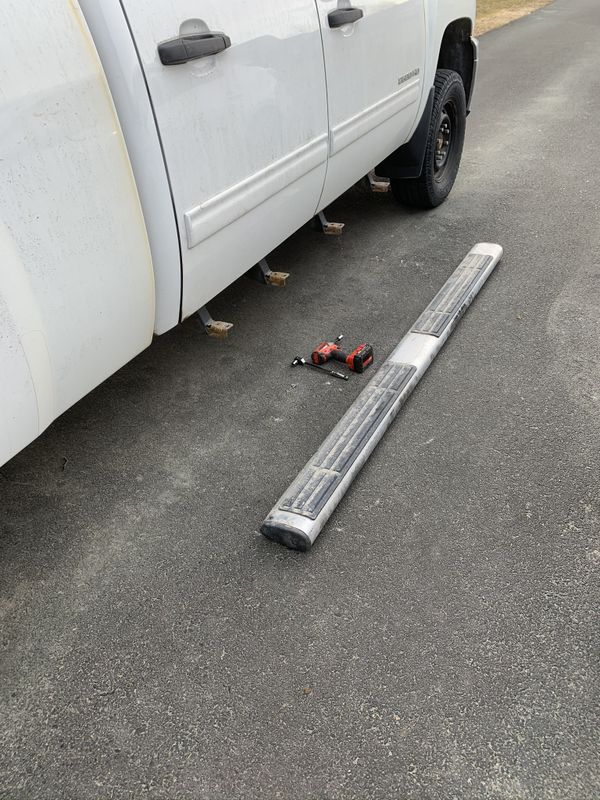
Next up was a planned repair to fix up the two running boards that Sandra and I broke earlier this year during one hell of a hard winter. The full story can be found on the Projects in the Shed page in a brand new HOW TO: Repair Silverado Running Boards article.
Lastly with so many projects completed I did a spring cleaning in the Garage, hung some new tin signs and made room to hang my new axes including the Council Tools double bit, Hultafors Arvika and my trusty Fiskars.
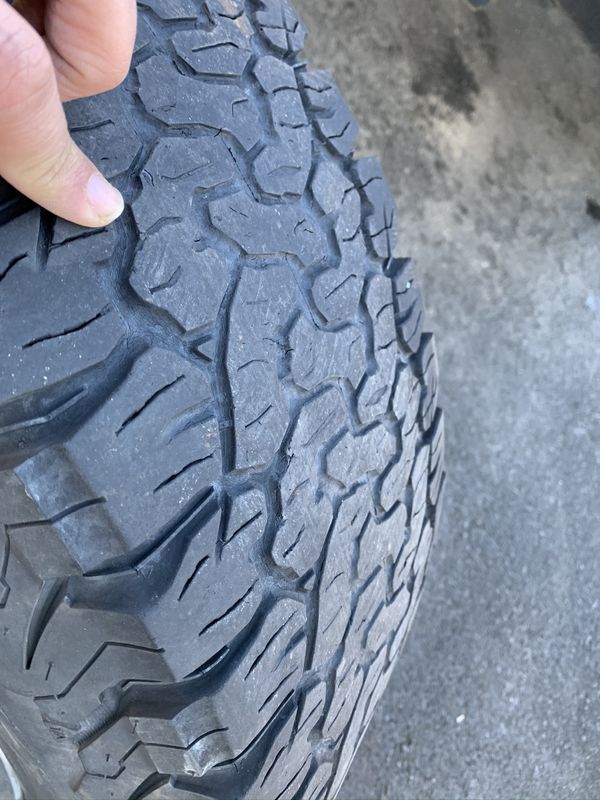
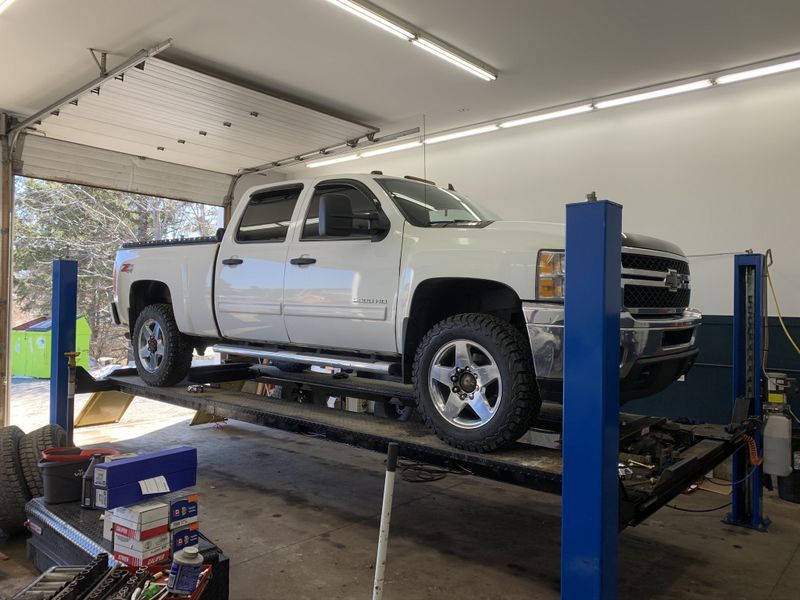
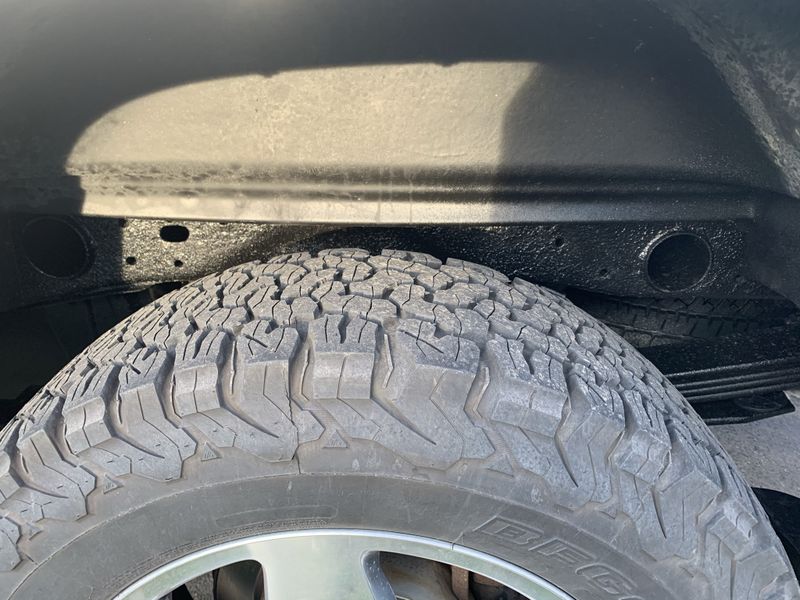
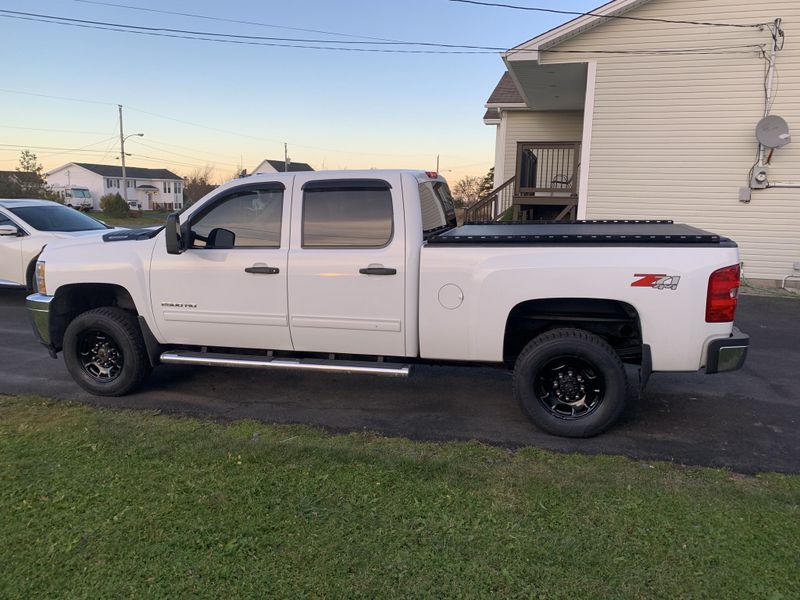
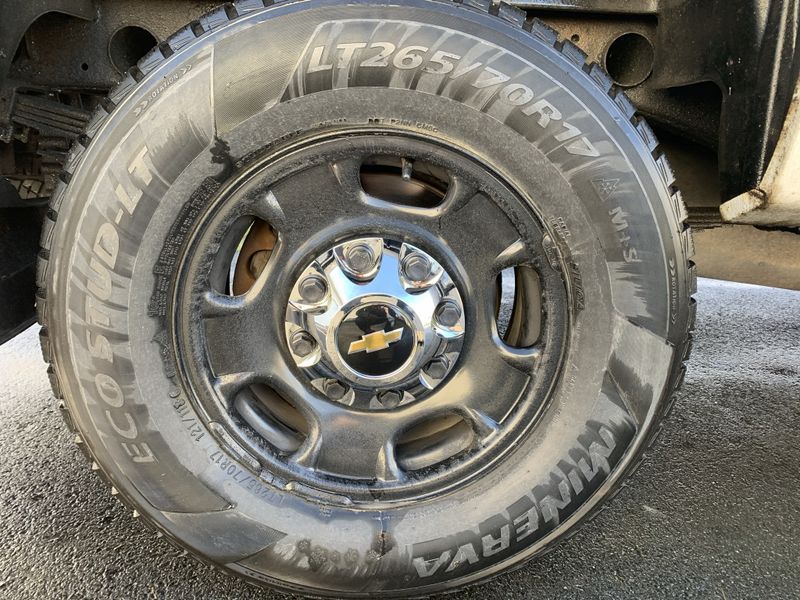
At the end of April it was finally time to switch back over to the pretty chrome OEM 20" aluminum wheels on my Silverado 2500HD, however first I would definitely be needing a new set of BFG's!
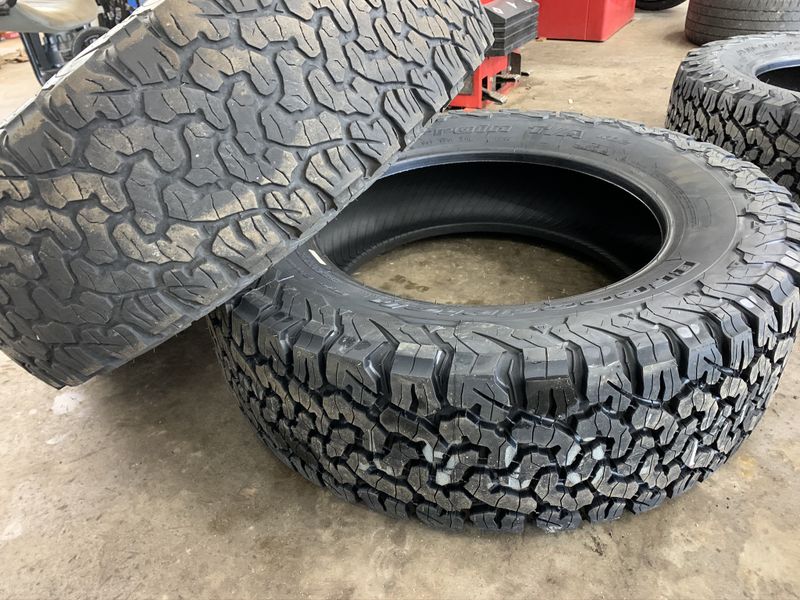
I was very pleased to get four long summers (put on early, taken off late) and many miles out of these tires which were purchased back in April 2016. I love how they look and especially how they perform so I hit up Justin at Canada Car Care in Mount Pearl for a set of fresh units.
The boys gave me an excellent price and very professional installation with proper sticky weights and wheels hand torqued to spec. Tire size was the same, 275/65/20 Load E.
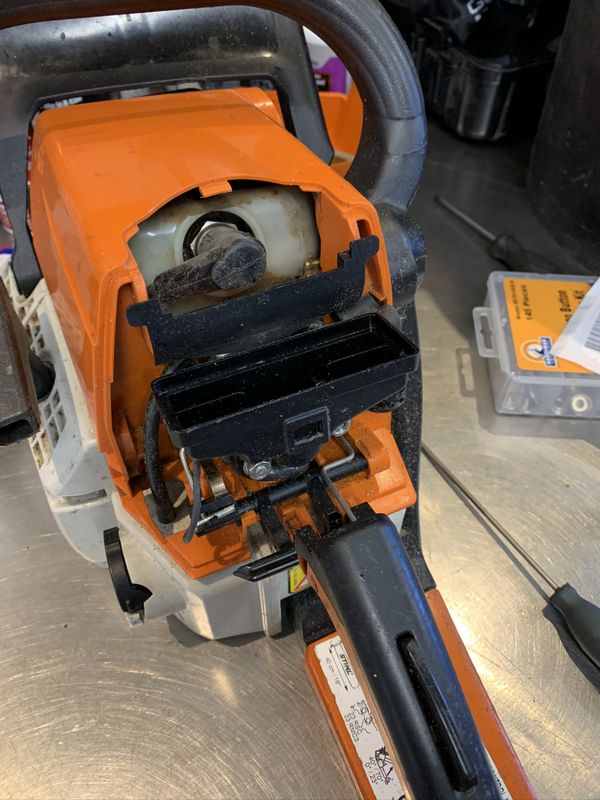
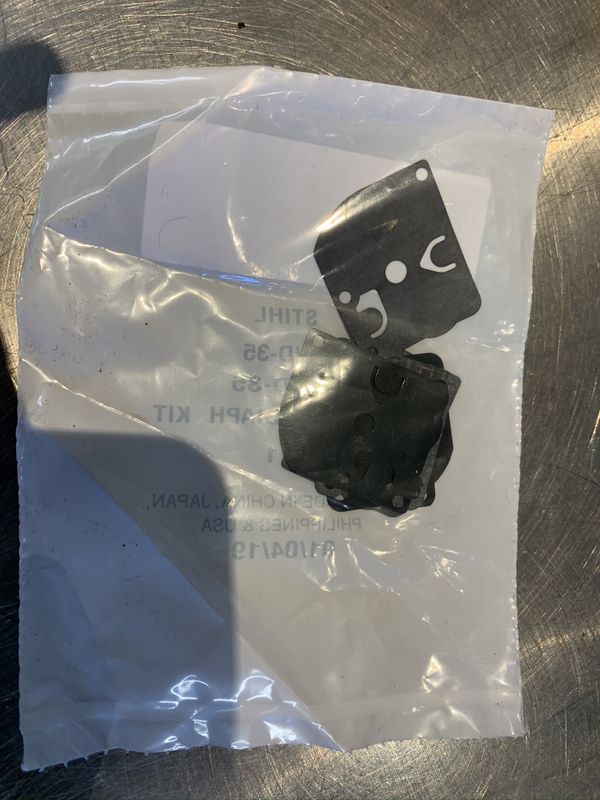
In May I started having trouble with my Stihl ms250, it wouldn't stay running especially when you apply throttle.
I tried the low cost repair of installing a carb kit to no avail, a leak test revealed defective crank seals. I have parts on order and if I can make the saw work well I'll probably sell it for a good deal. Stay tuned as I will be doing an article on that journey later this summer.
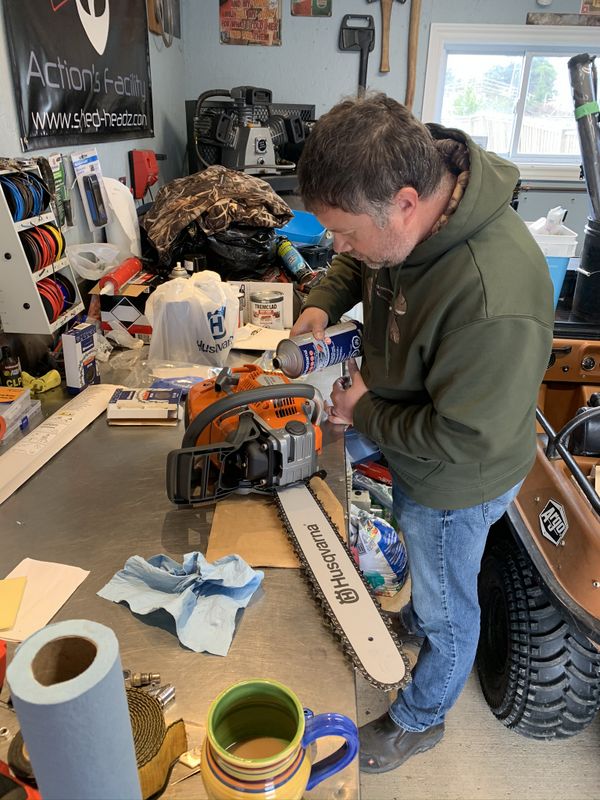
With my chainsaw broken an awesome opportunity to replace it came along, so after a ton of research I picked up this brand new Husqvarna 550xp Mark II from Parkside RV in Pouch Cove. I'm super happy with the new unit, check out the full review and lots of pics on the new Outdoor Lifestyle Product Review page.
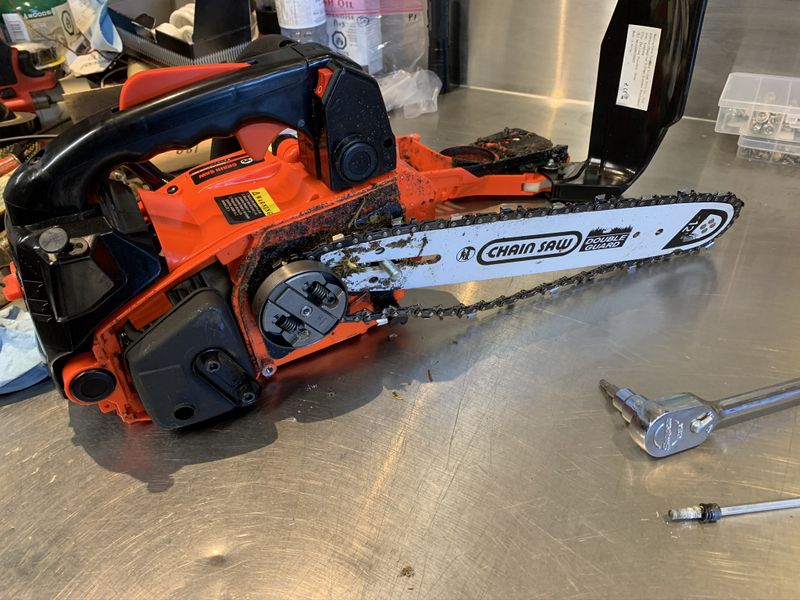
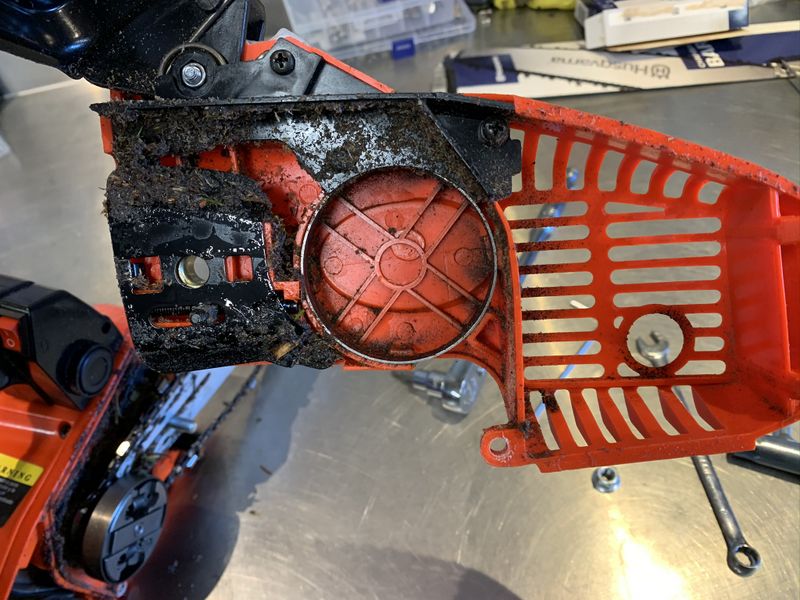
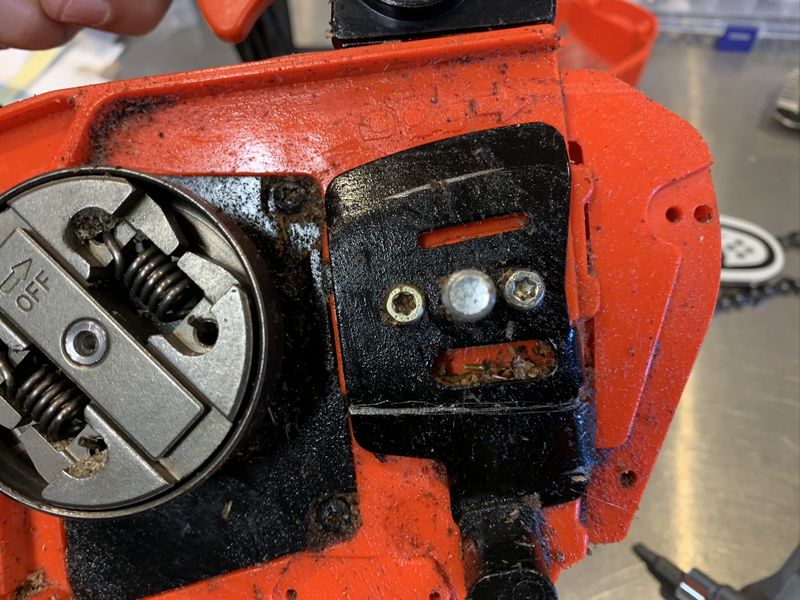
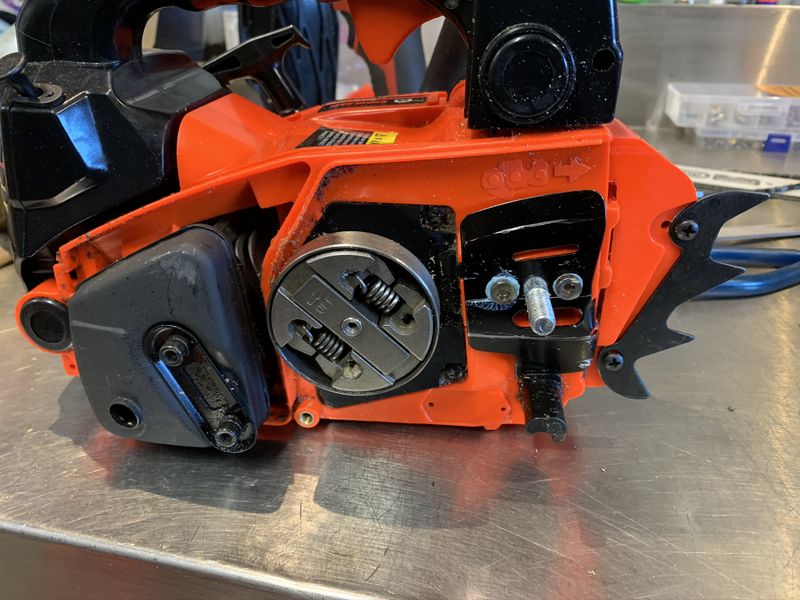
Next up was a minor modification to my epic awesome Chinese 2500 mini chainsaw. This unit has a single bar nut and relies on two broad head torx screws to keep the bar straight.
(plus the saw now needed a good cleaning!)
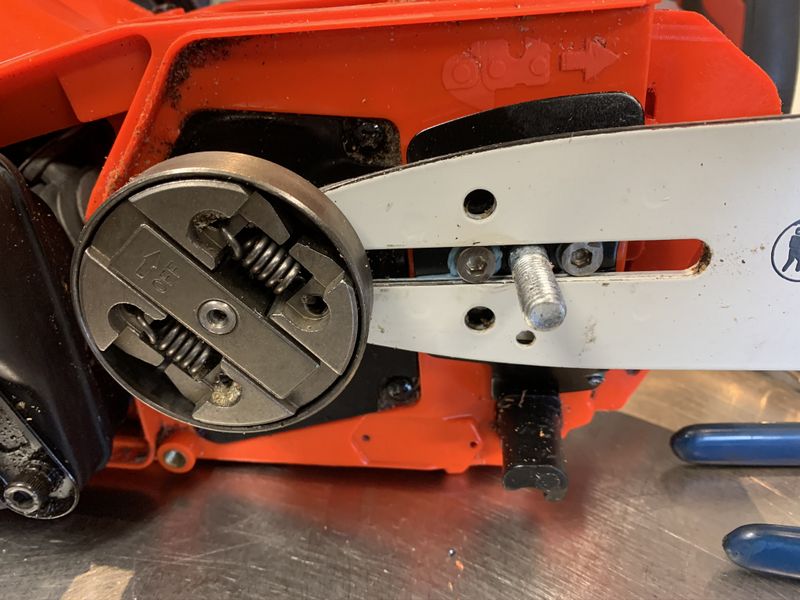
The heads of these screws were a smaller diameter than the groove of the cutting bar so the bar would rock a bit under use.
I had a wide variety of stainless steel metric hex head screws in stock so I chose 2, trimmed them to length, ground the heads so they were the same thickness as the cutter bar then re-drilled and tapped the screw holes in the chainsaw to match.
I installed the new screws with Locktite and now the bar fits the saw beautifully. This inexpensive little saw continues to impress me a lot. At $150 it was money well spent as it's compact, lightweight and starts/runs beautifully. It has been extremely handy out on the trail and even around the house.
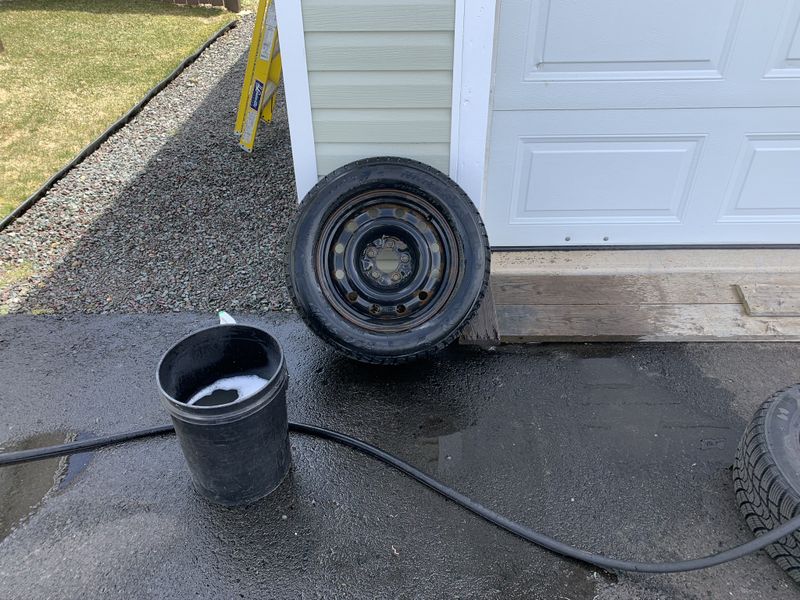
With the worst part of pot hole season coming to a close it was time to switch over Sandra's winter tires for her nice aluminum summer rims and tires and perform a brake calliper service.
Winter tires were washed inside and out so they are clean to store and to remove the troublesome layer of sand and crap from inside the wheels that plays havoc with rim/tire balance.
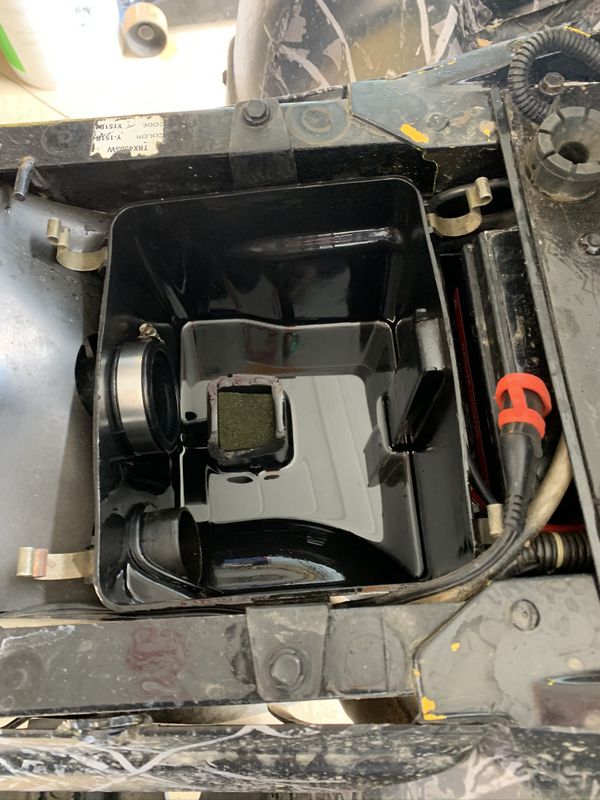
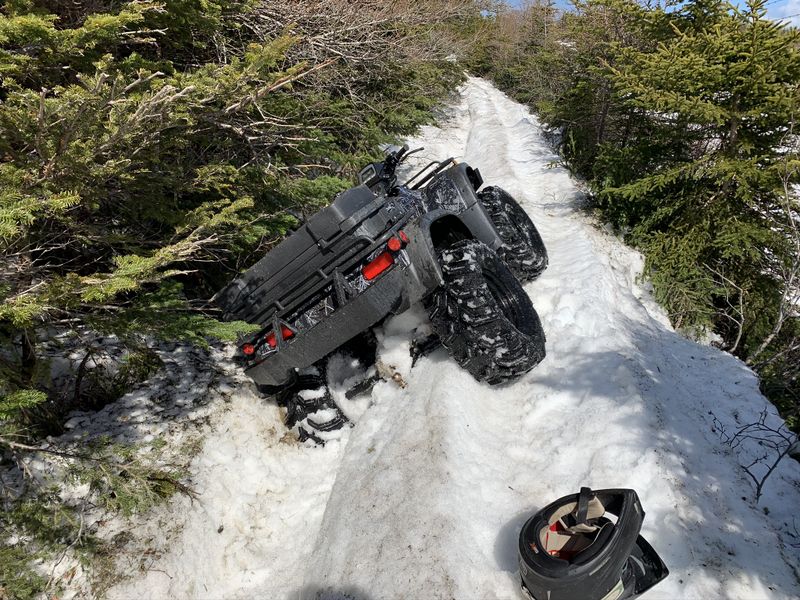
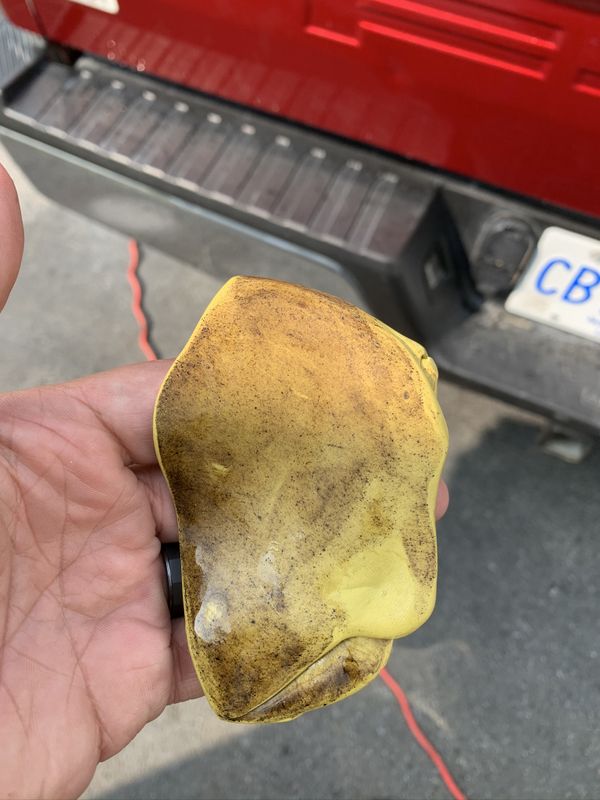
Later that day I noticed a few drops of oil under Project Foreman. I couldn't find any engine leaks but I found a whole lot of engine oil in the air box!
I believe this is was from my tangly ATV ride in April where the bike at one point was idling on its side for quite awhile as I set up the winch line for recovery. The crankcase breather is on the low side in this pic, so with oil sloshed over to that side, crank case compression pumped oil out the breather hose to the air box. I cleaned up the mess, cleaned the air filter and topped off the engine oil for an easy fix.
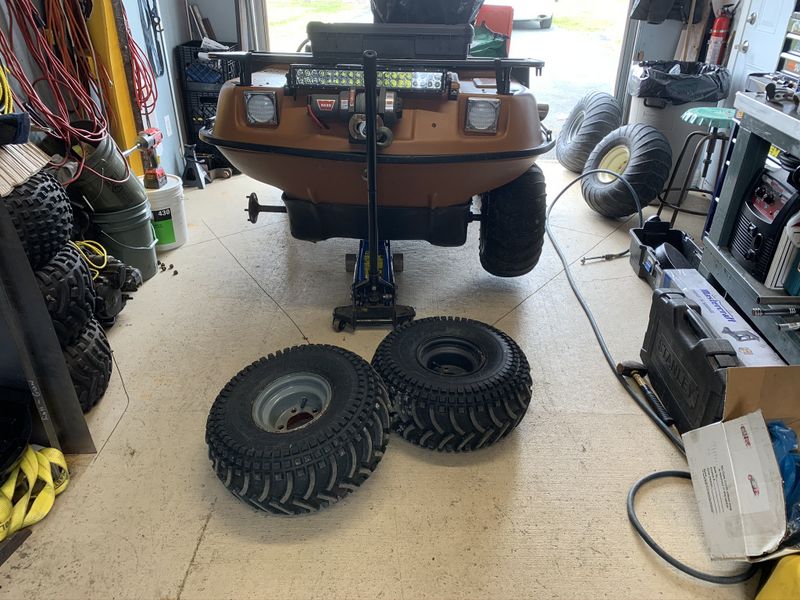
In mid May I finished summerizing Project 6x6 then removed all rims and tires. I wanted to paint them all dark grey as half were light grey and half were new black rims. I also painted the inside of the old rims black to cover up the last of the terrible neon orange paint applied by the previous owner. Check out Project 6x6 2020 for an update.
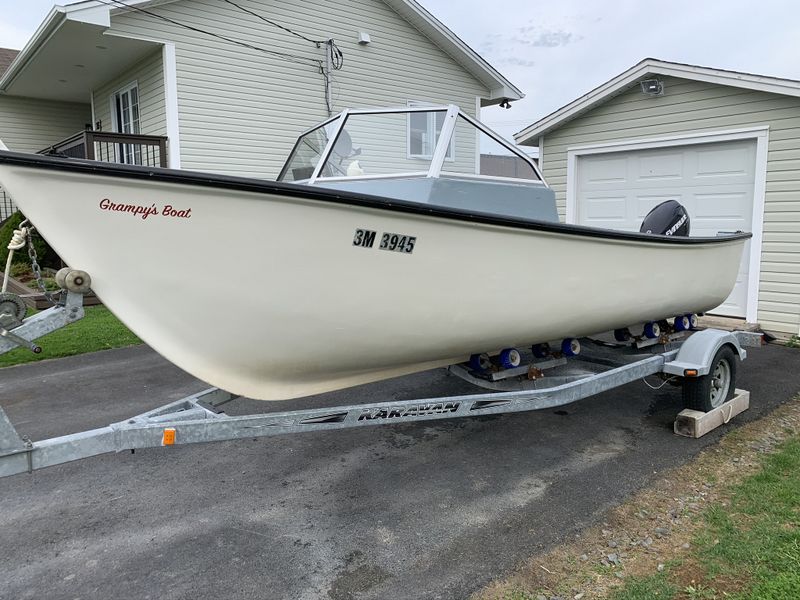
In May Dad dropped off his 19' Saltwater Boat which he purchased used last summer. I have a few projects to work on, some big ones include a new fibreglass dash, & new wiring and some small ones including a buff and polish of the outside which has become very dull and chalky.
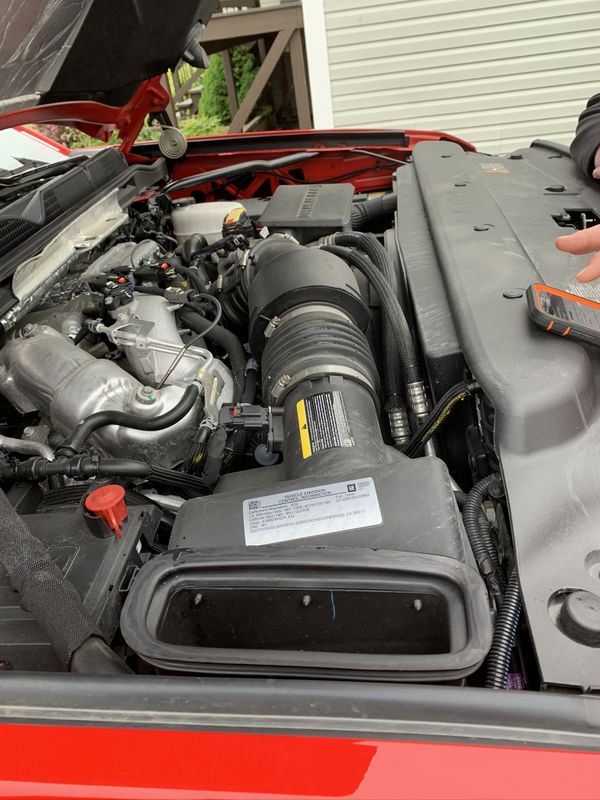
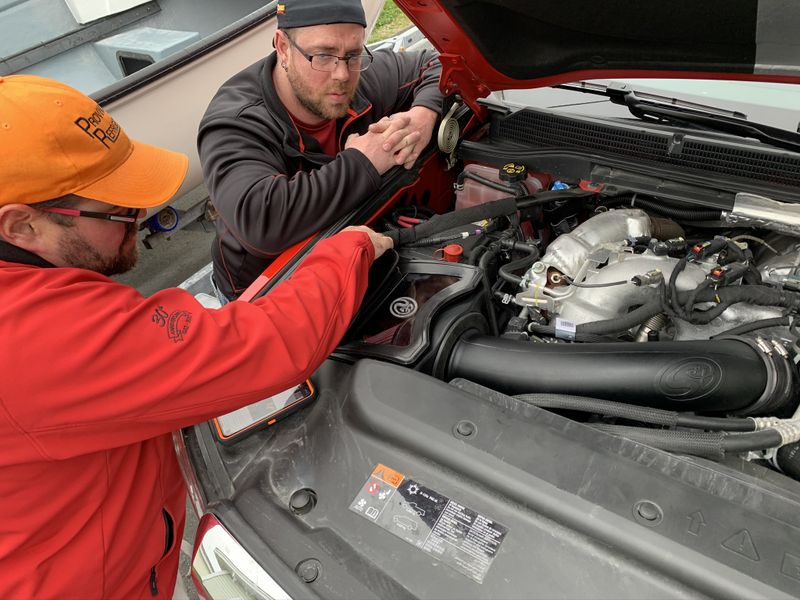
In June, Mark & Justin stopped by to install a new S&B performance intake on Mark's new Duramax Diesel Pickup.
The install was a breeze with Mark diligently following the instructions while Justin made fun of him for diligently following the directions. LoL
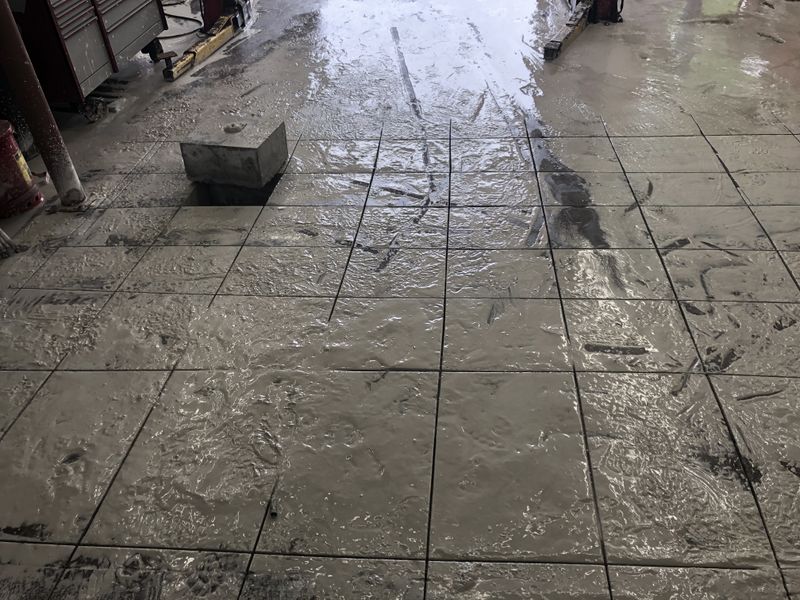
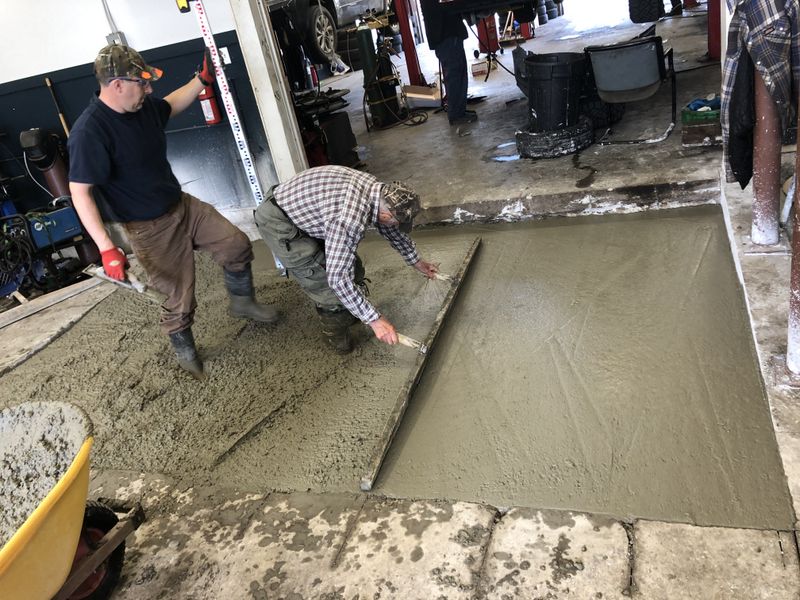
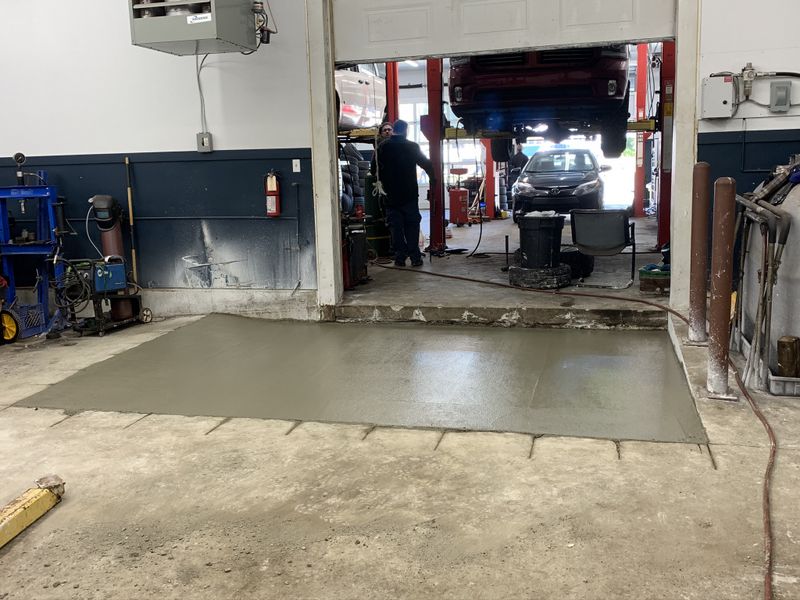
In early July Justin began preparing one of his service bays at Canada Car Care for the installation of a new 4 post lift and wheel alignment machine. The process began with cutting out a concrete ramp which ran from the front garage to the rear which was added later and sits about 7" lower than the front floor.
The ramp was right in the way of the new wheel alignment machine which needs to rest on a level surface for it to work right.
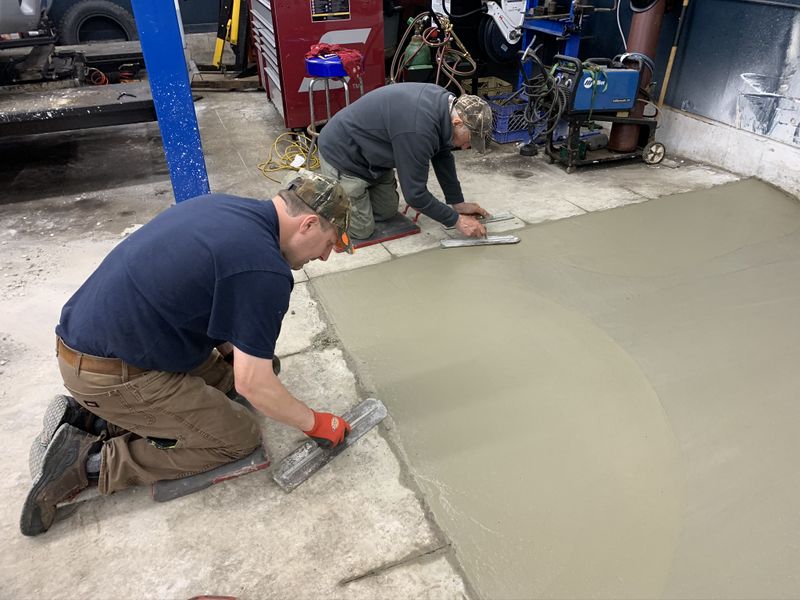
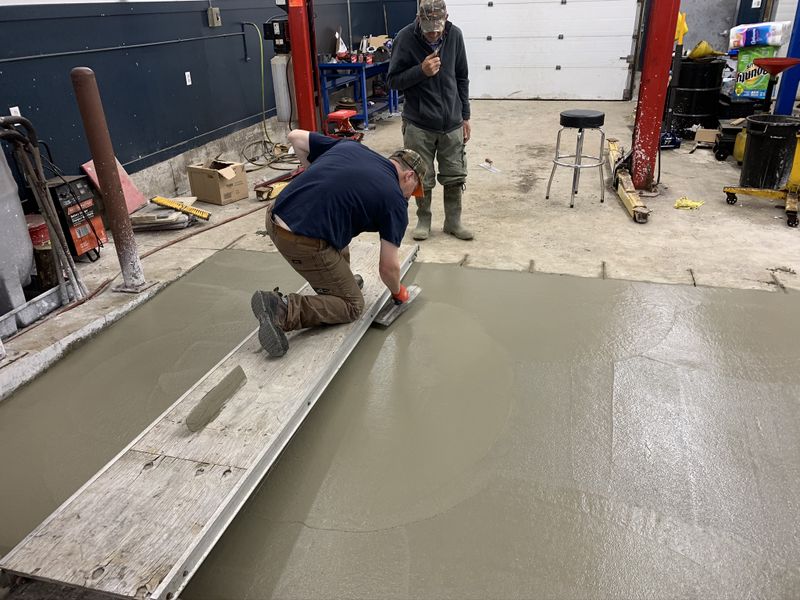
Andrea & Peter Bassan and I lent a hand by pouring and finishing the new 9'x14' concrete pad with a hand trowel finished surface.
Well after 6 weeks of near constant work on the boat (thanks Covid19 pandemic for the time!) Dad's boat is finally done. It was a huge project that took a lot of time but really turned out well. Dad is beyond happy with his "new" boat and has been enjoying it immensely ever since I delivered it to him in early July. Check out the full story with detailed pics of the entire process on Dad's Boat Rebuild page.
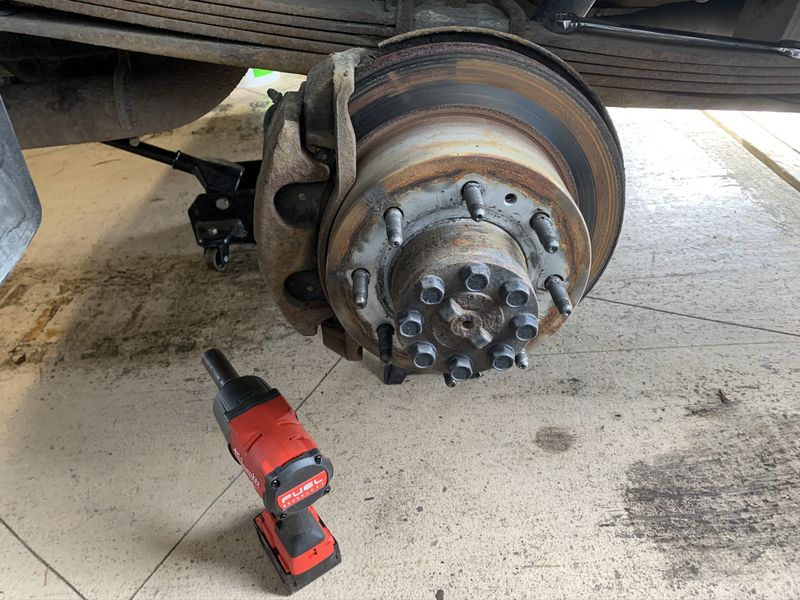
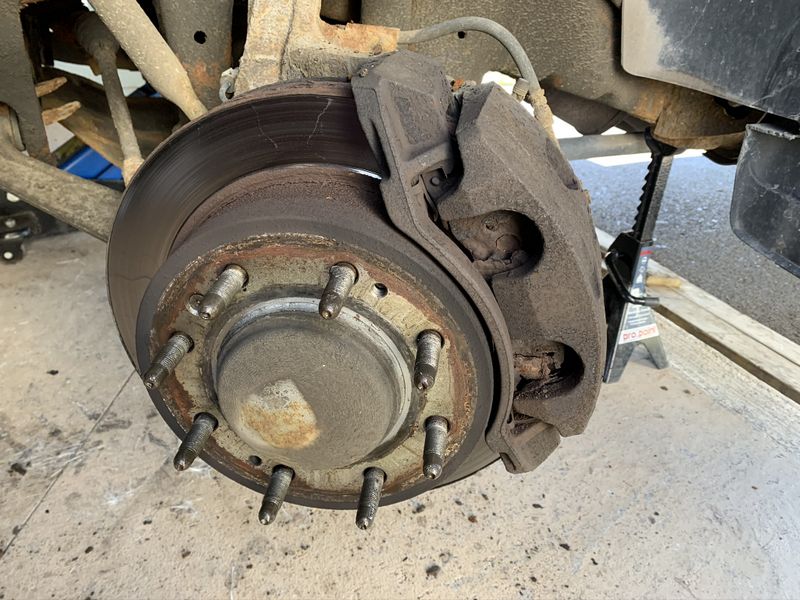
Before towing Dad's newly renovated boat back to Bay Roberts I dug into the noisy front brakes on my Silverado HD. I replaced the rears earlier this year due to a seized calliper, but the fronts have been trouble free for over 105,000 km. I found that one of the pistons on the passenger side dual piston callipers seized causing the brake pad to wear unevenly.
As the truck now has 195,000km on the clock I decided to replace both front callipers along with top quality AC Delco coated rotors and extreme duty brake pads.
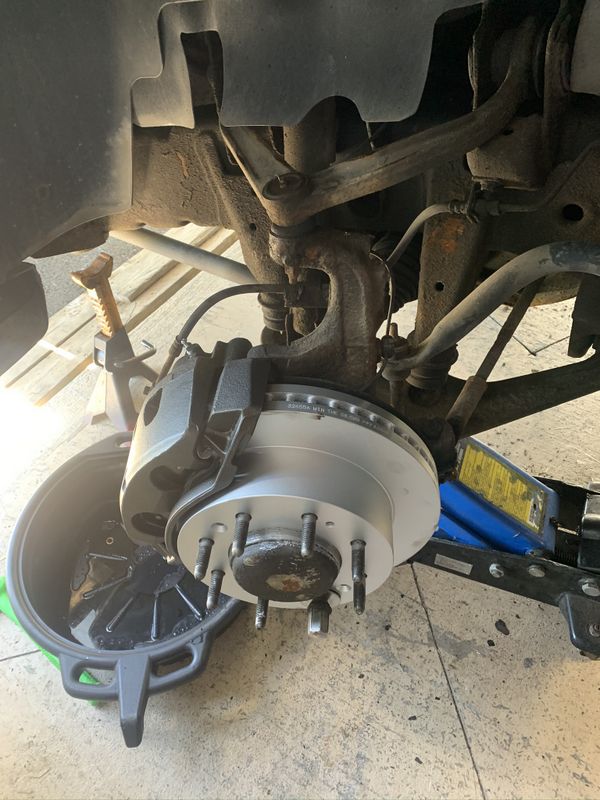
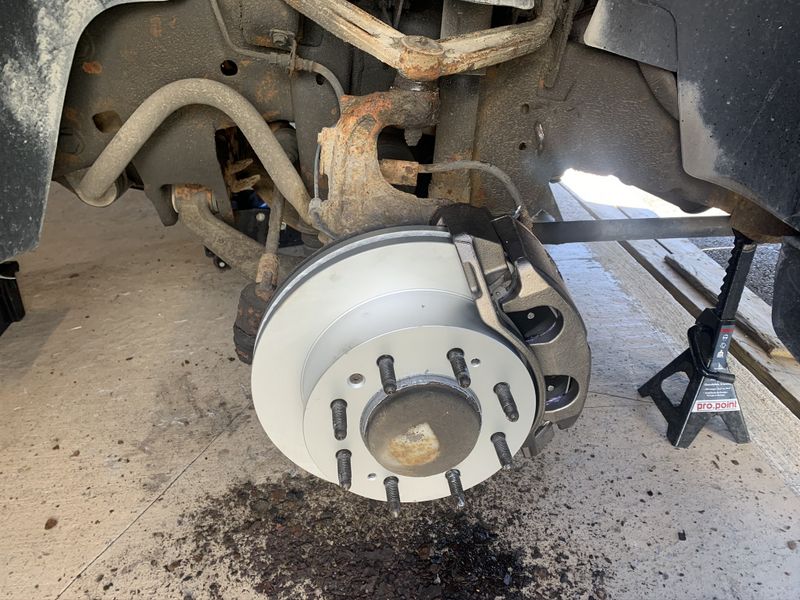
I lubed the new callipers in my normal fashion on the slide pins & behind the stainless steel pad retainers with quality Purple Permatex disc brake lubricant.
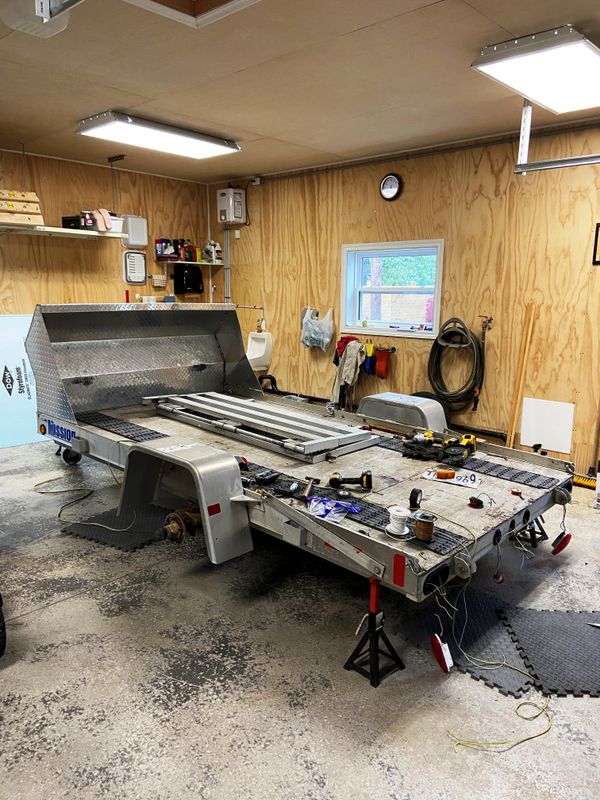
Meanwhile Dad is busy doing a complete re-wire of his Mission 5x10 open deck trailer, and while it's apart he also decided to replace the deck which after many years has become soft.
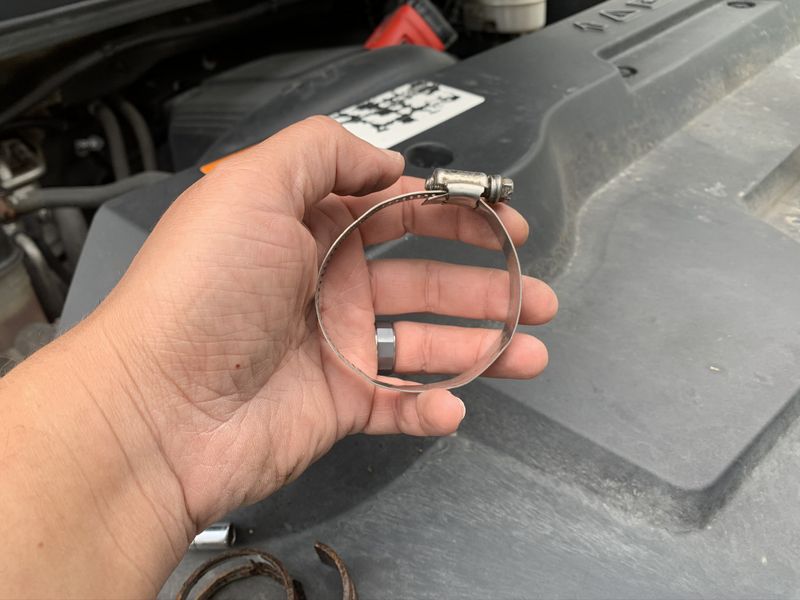
Mid way through July my Silverado decided to start leaking coolant again, fortunately this repair was a quick one. I found the lower radiator hose clamp at the water pump cracked in two.
I easily replaced it with a traditional stainless steel hose clamp and all is well.
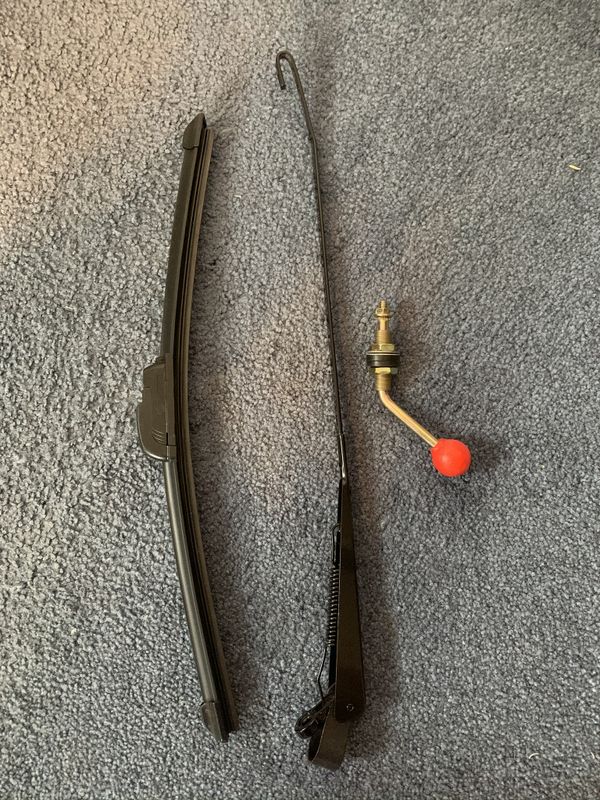
Near the end of July my long awaited manual windshield wiper for the Argo finally arrived. I ordered it in EBay in March and it shipped direct from China, probably on the back of a giant sea turtle. It cost $6.00 with free shipping and actually seems pretty decent.
There are local guys selling them for $30 and they are probably the same part. The unit installed with ease in the pre-drilled hole in my Argo factory windshield.
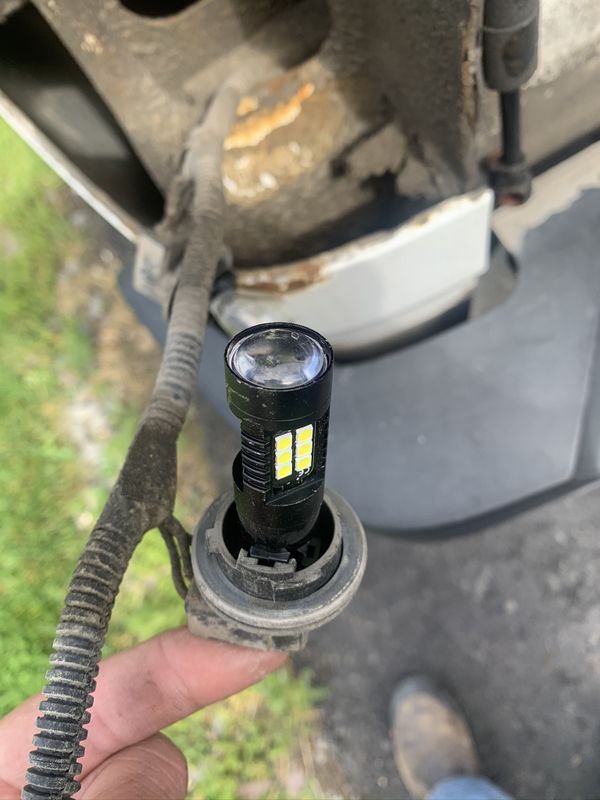
I actually installed these new style NL Lightbars LED reverse light bulbs in my Silverado a few months ago but forgot to take pictures. These bulbs are their latest and greatest model and are fantastically bright. Much brighter than OEM and much brighter than the last generation reverse bulbs I had from NL Lightbars.
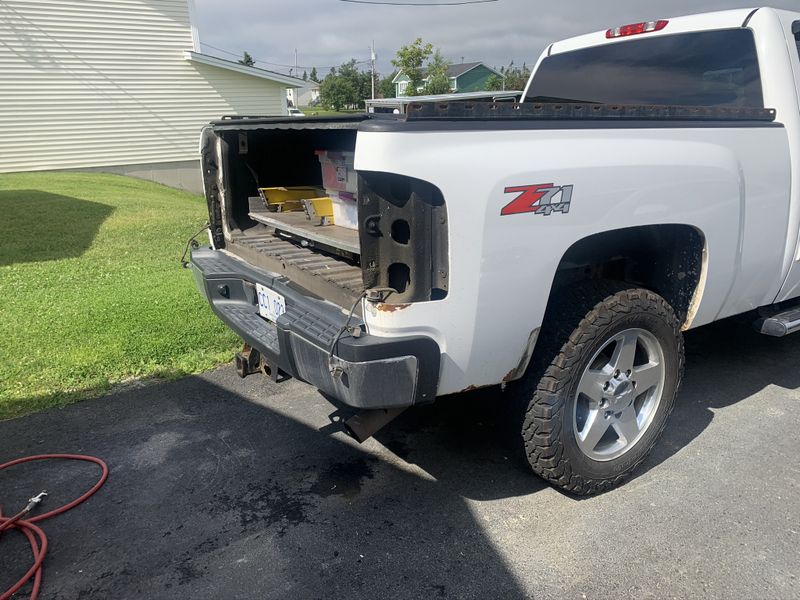
Sneak peak of my current project on my 2011 Silverado 2500HD, bi-annual paint repair which will include for the first time paint repair in the area where a stray bullet impacted my truck in Torbay a few years ago. Will there be a hole under the moulding? Are Chev trucks actually bullet proof?
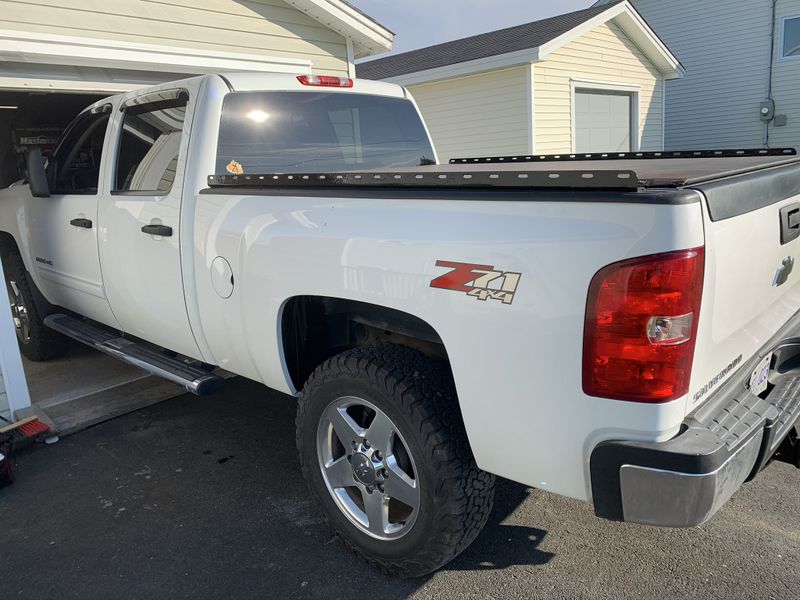
Job complete, it was a heck of a lot of work to touch up both rear quarters, fix the driver side rear door, repaint the passenger side front fender and touch up spots on the roof. Since there are a lot of pics check out the full story on my 2011 Silverado HD Paint Touch Up page with pics of the entire process.
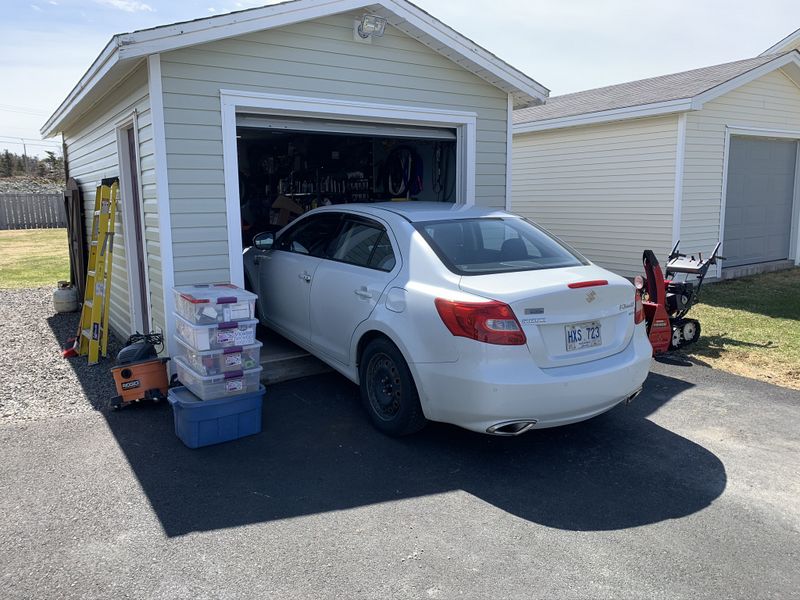
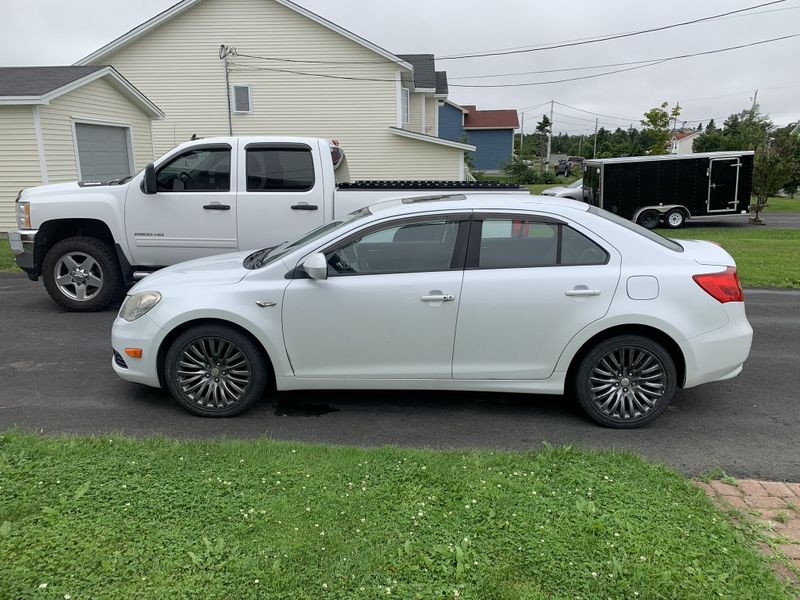
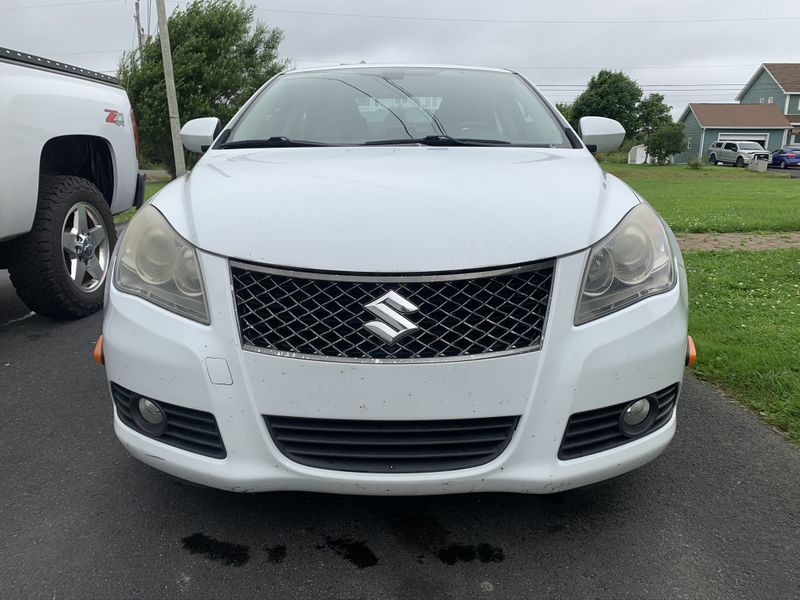
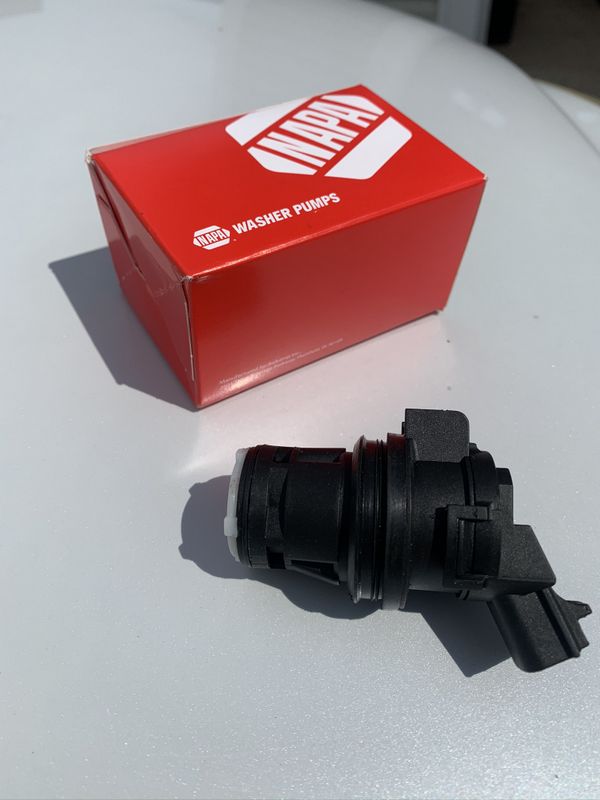
In July I had to make a quick repair on our 2012 Suzuki Kizashi as the windshield washer pump stopped working.
A replacement pump was sourced through our local NAPA dealer so I set to work.
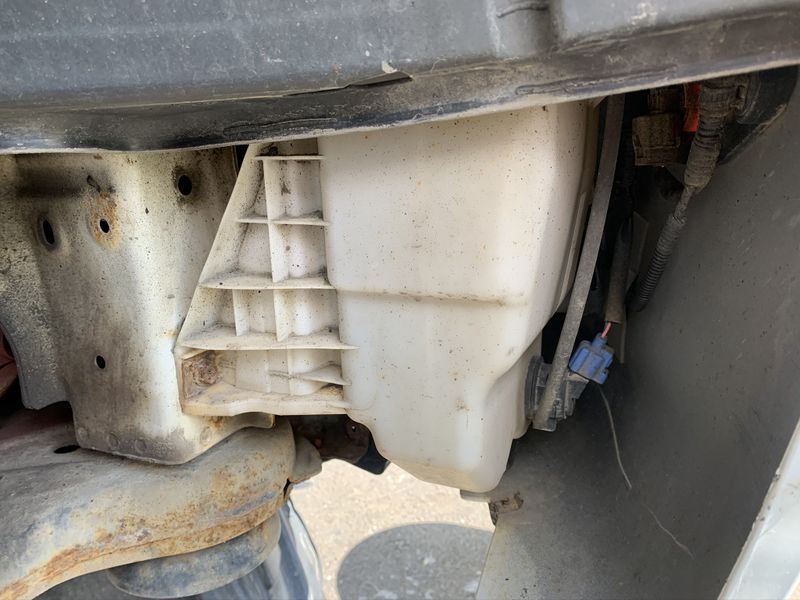
I removed the passenger side front tire and wheel well liner to access the washer bottle.
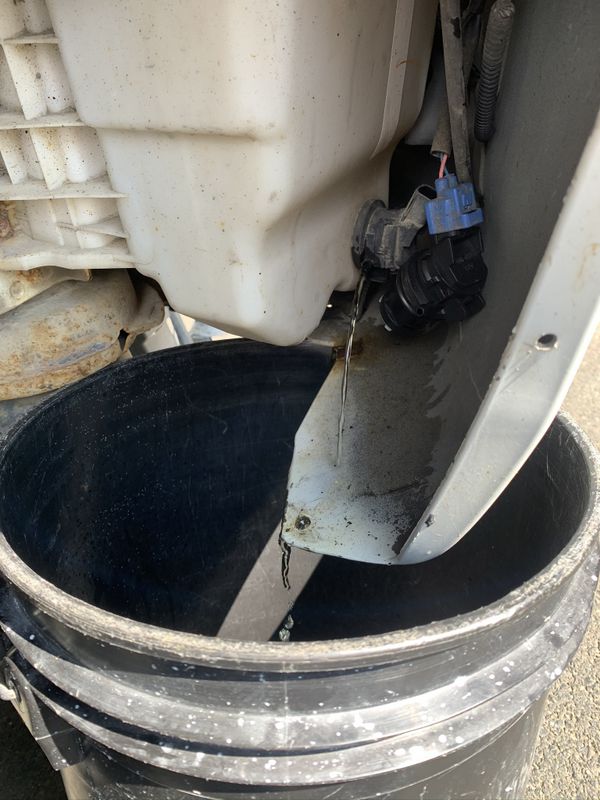
After pulling off the washer hose the tank gravity drained into a five gallon bucket. The old pump was pulled out and the new one slid in place and plugged in to complete the repair.
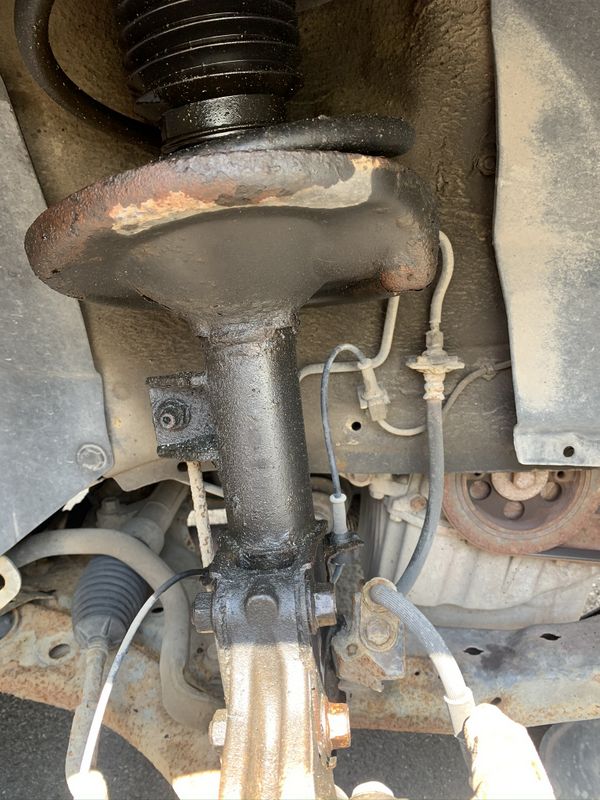
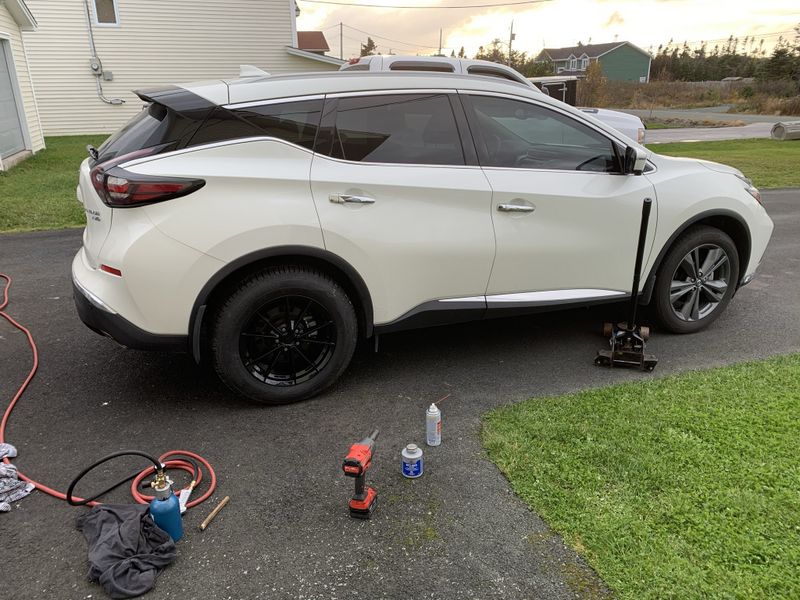
Unfortunately at this time I found the two front struts are leaked out. This was the straw that broke the camel's back, we put a bunch of money into the vehicle this past winter replacing the rear driveline so Sandra and I went shopping and picked up a brand new 2020 Nissan Murano.
Check out the full story and pics on our 2020 Nissan Murano page.
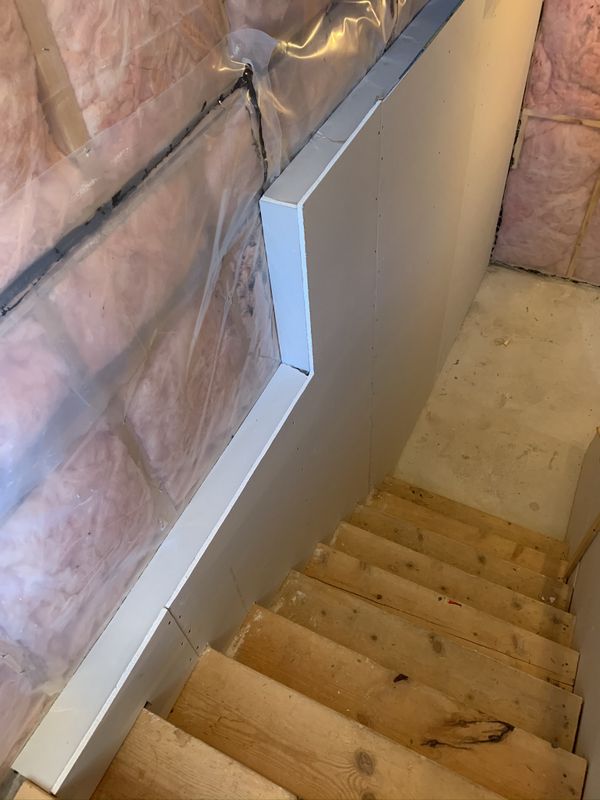
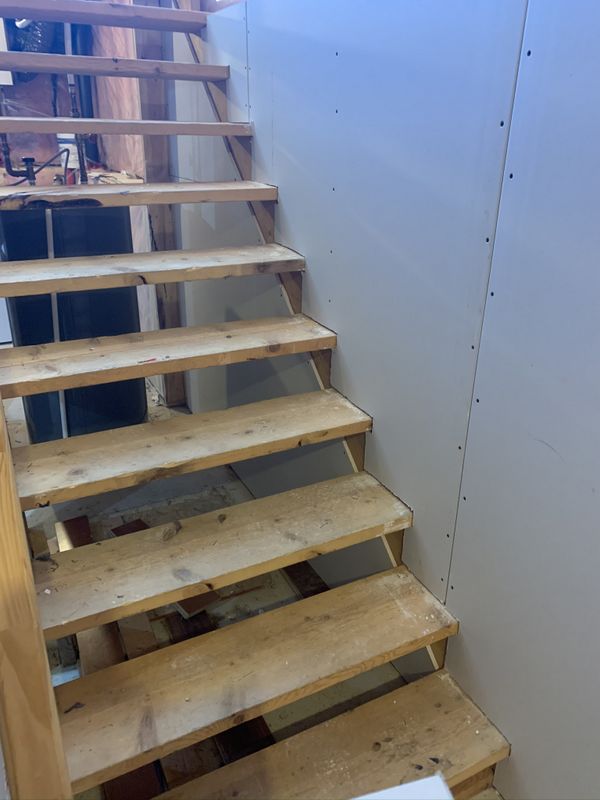
In August I gave Janes a hand at their old house which was set to close sale this month making a couple repairs to satisfy the new purchaser. We repaired the patio door and installed drywall to cover exposed SM foam insulation on the wall next to the stairs. Some sheets had to be notched out around the stair treads but the job came out nice and tidy.
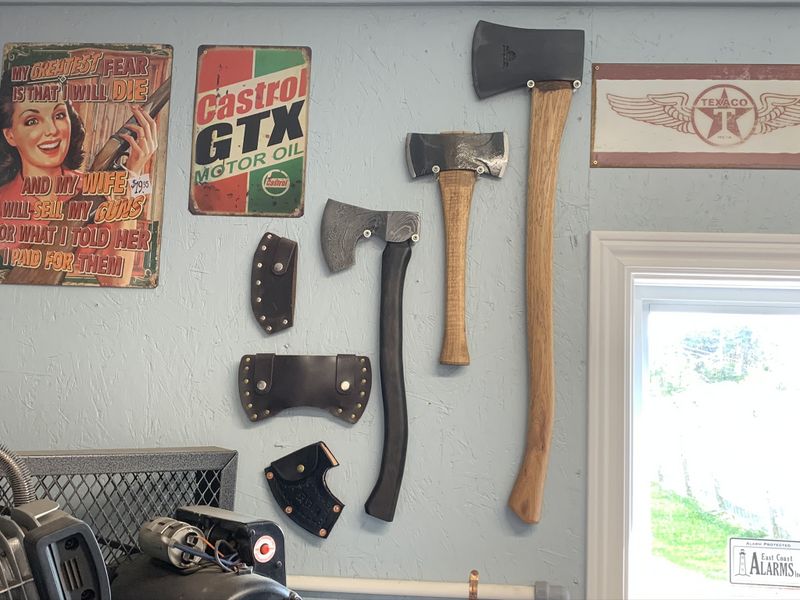
This month I finally got around to displaying my growing Axe collection, especially my newest addition a custom made Damascus Steel axe purchased locally from Georgecraft.
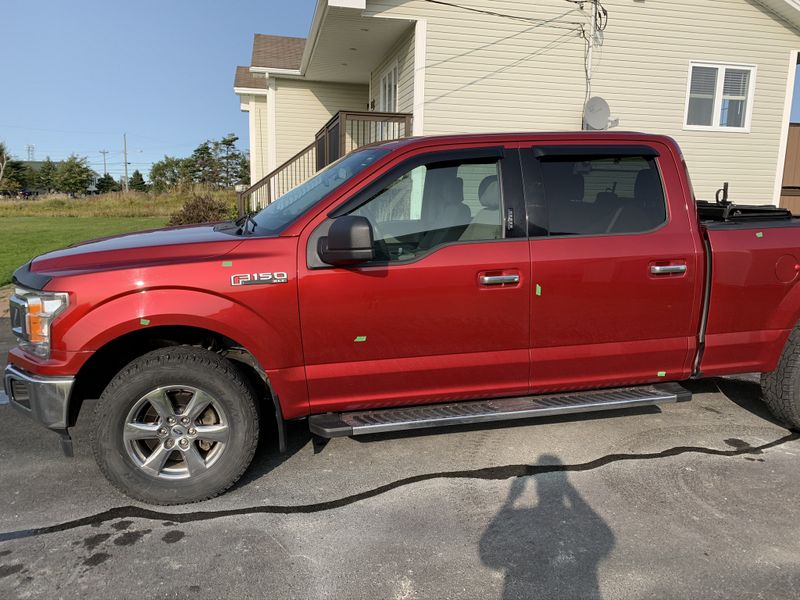
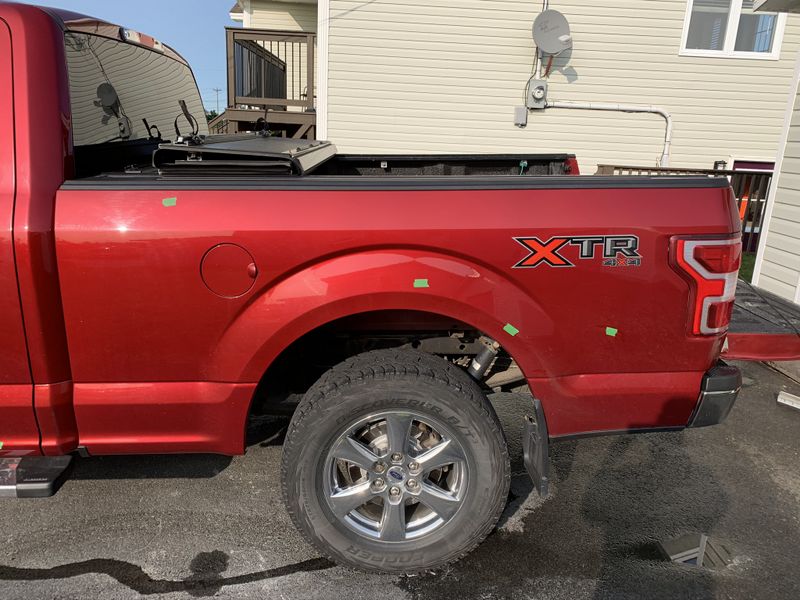
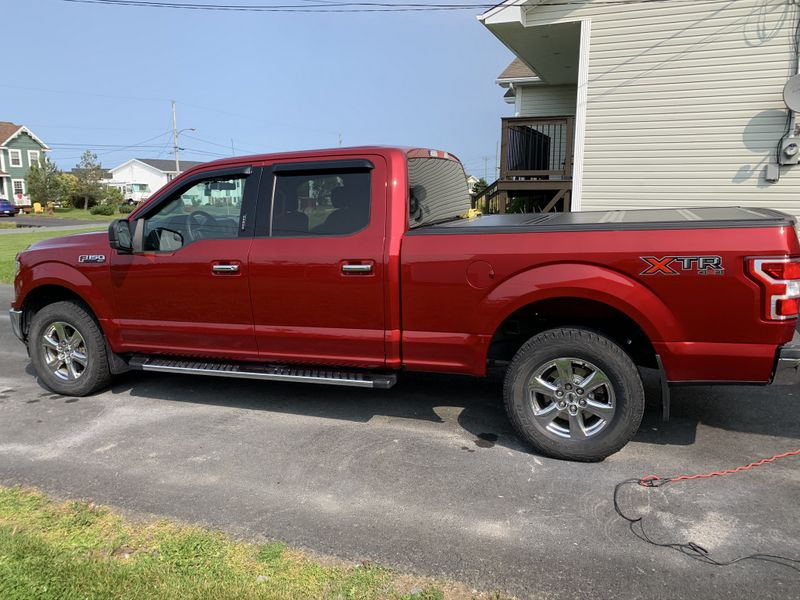
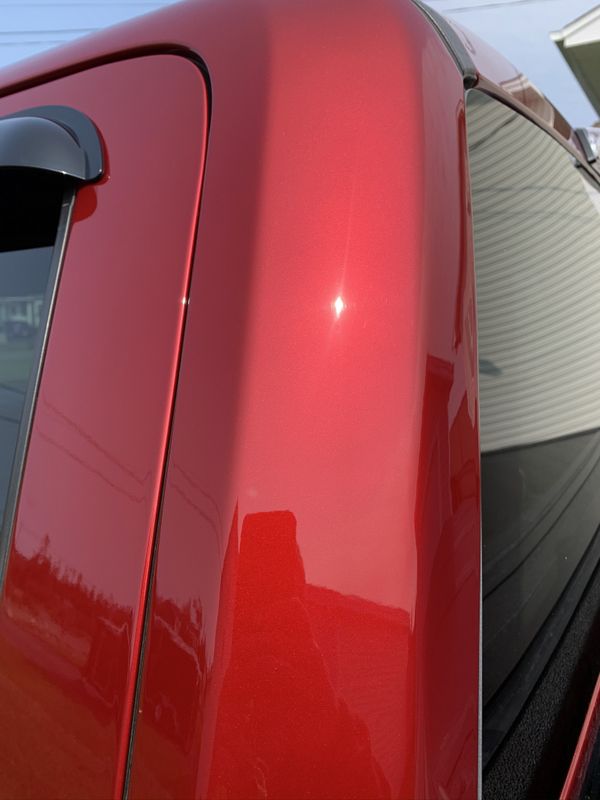
In September I had Dads truck for a few days while getting some work done on my Silverado namely new transmission and engine oil cooler lines. His truck is a 2018 F-150 that he proudly keeps very clean, but so much washing eventually led to spider scratches in the clear coat.
I thoroughly washed then clay barred the entire truck.
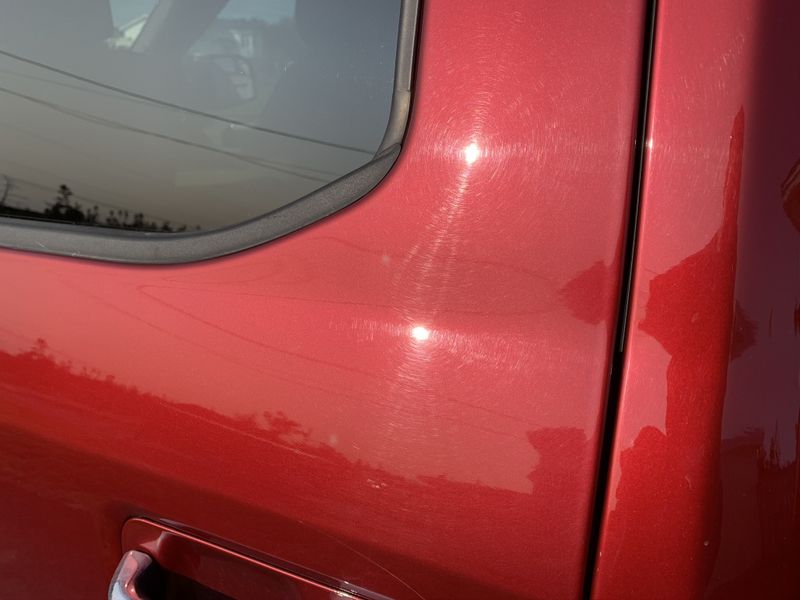
Once dry I went around and marked all the major scratches to compound buff them out.
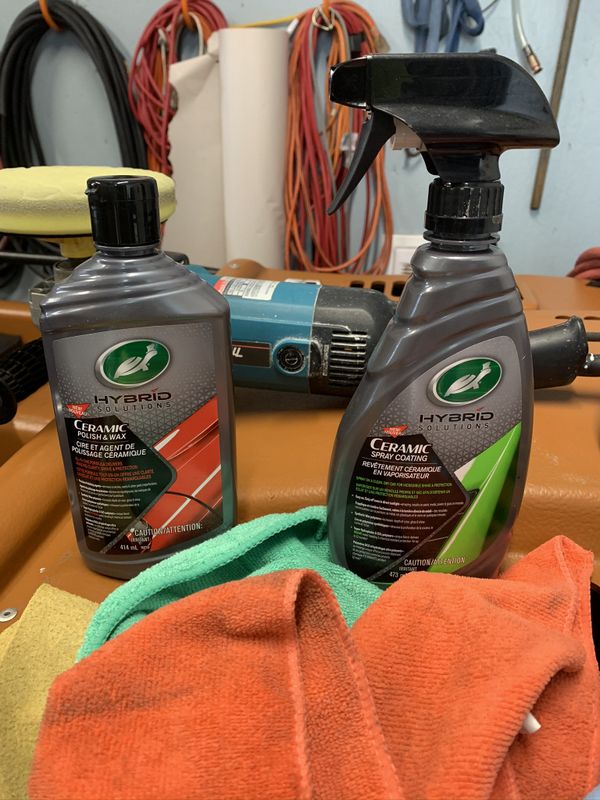
This turtle wax Hybrid Ceramic Polish worked absolutely fantastic, its the same product I polished out my Silverado HD with earlier this year. I applied the first coat wet and fairly fast with my Makita buffer to scrub the paint clean, waited 24 hours and did it again but this time dry and slow. This worked great and polished the paint without leaving swirls. After another 24 hours I applied 2 coats (24 hours apart) of the Turtle wax ceramic spray coating. This product when installed according to the manufacturers directions provide outstanding shine and protection. It has received great online reviews when tested along side other brands. Great value for a fairly inexpensive product.
No more scratches! This ceramic system not only looks great, but it will provide excellent protection and can be easily maintained throughout the year with the quick spray on/wipe off product.
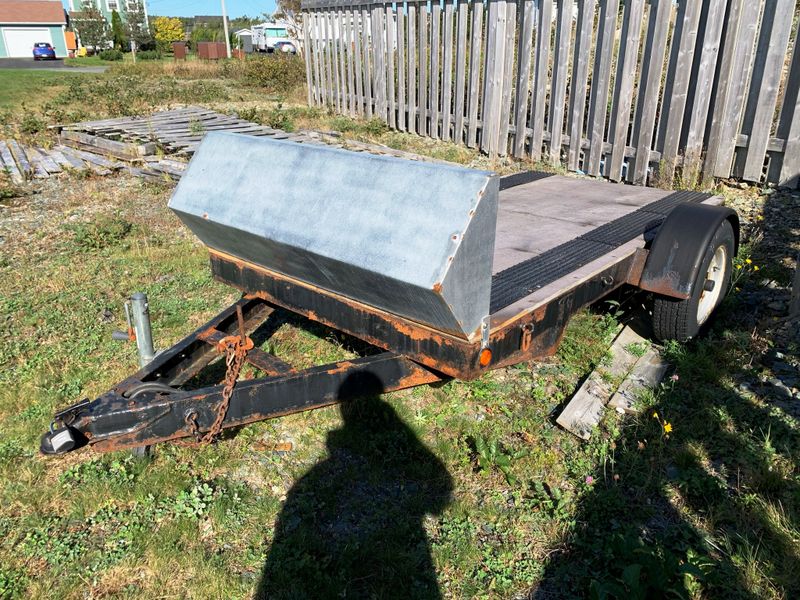
Also this month I started the process of repairing my 5x10 flat deck trailer which I last rebuilt in 2012. The years have not been kind and I found the trailer structurally too rusty for what I need it for so I parted ways with it. I plan to build or find a replacement next year which will be similarly styled but larger at 6.5x12'.
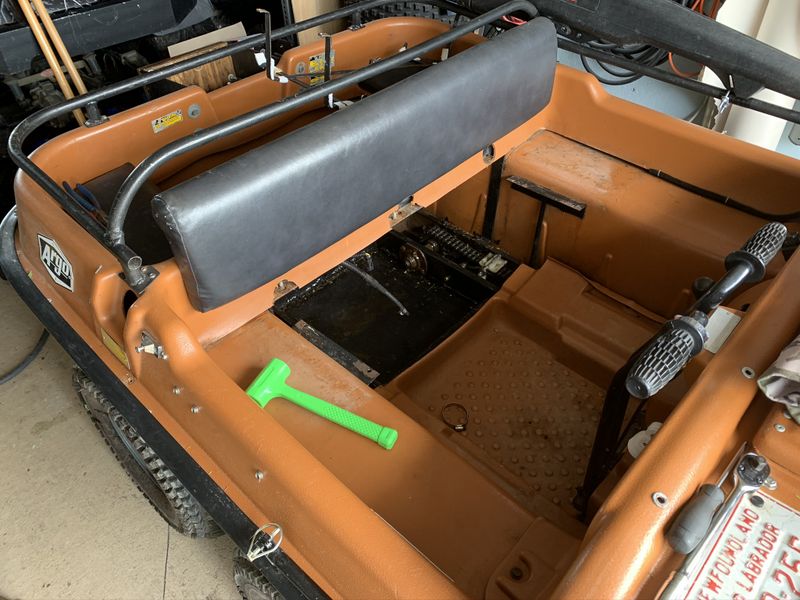
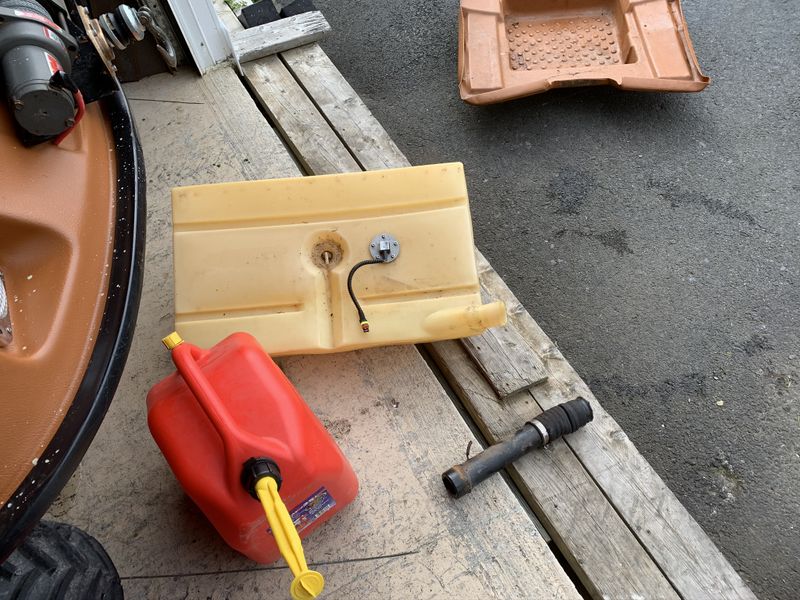
In mid September I had to make a couple of immediate repairs on Project 6x6 after the first weekend of moose hunting. In particular I had to replace the rubber coupler on the fuel filler neck as the 30 year old original piece dried out and cracked causing a fuel leak while rough trail riding with a full tank of fuel.
While the tank and seat were removed I took the time to replace the driver side centre wheel bearings and seals. Check out the full story and lots of pics on the 2020 Argo 6x6 Update and Repairs page.
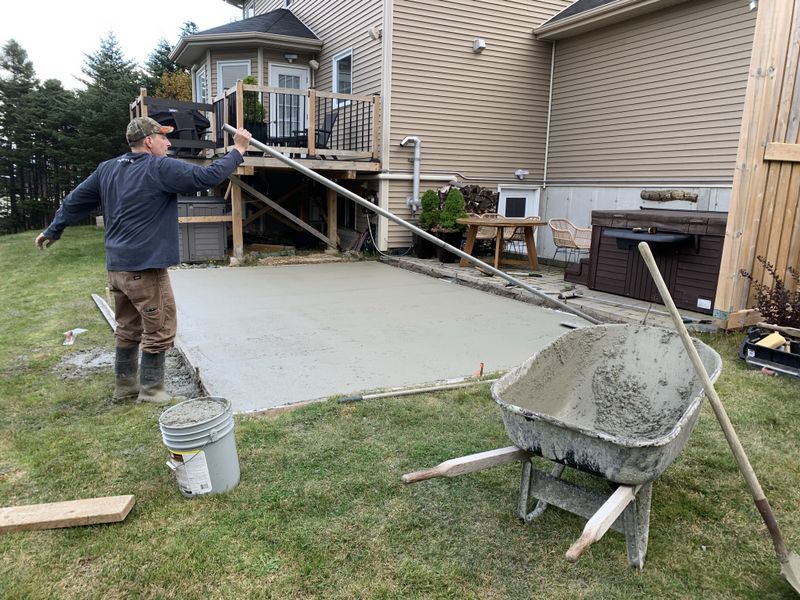
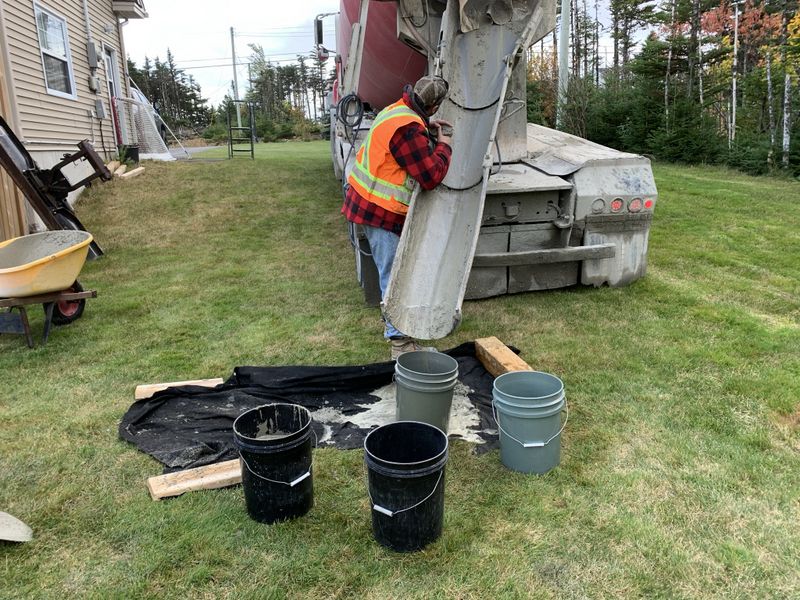
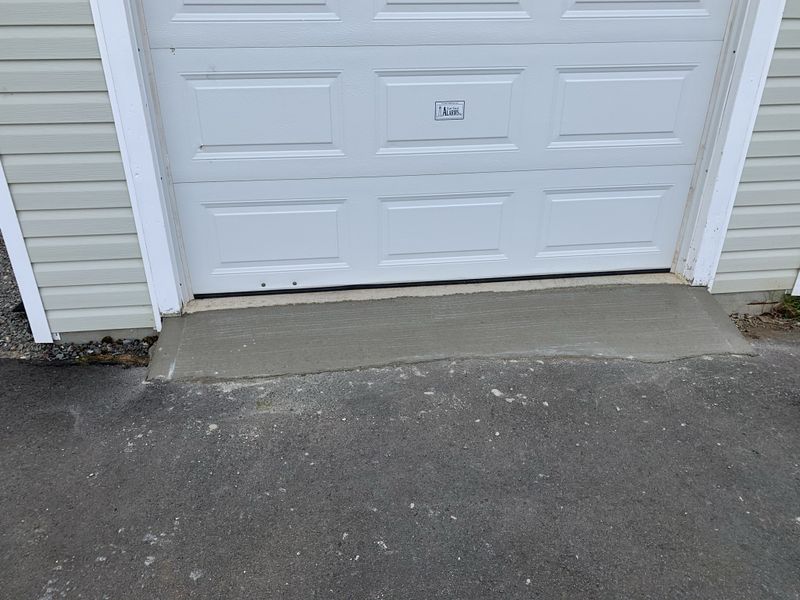
In October Bassan and I had a nearby concrete slab pour where we knew we would have some left over cement. (In some cases it's cheaper to over order on the load rather than pay a partial load penalty from the concrete supplier).
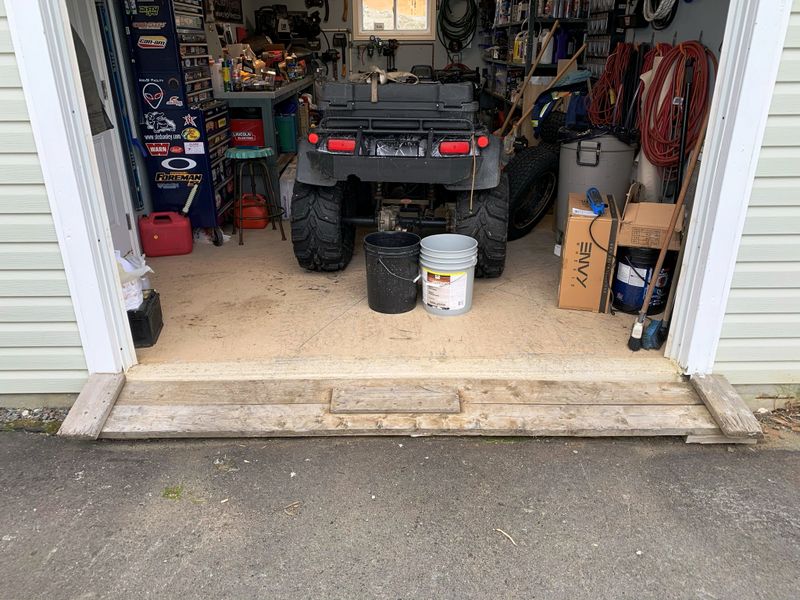
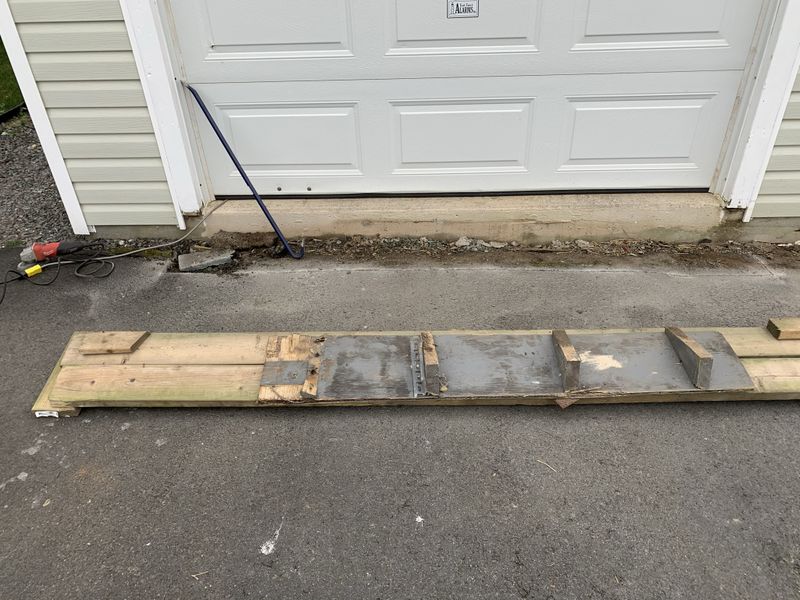
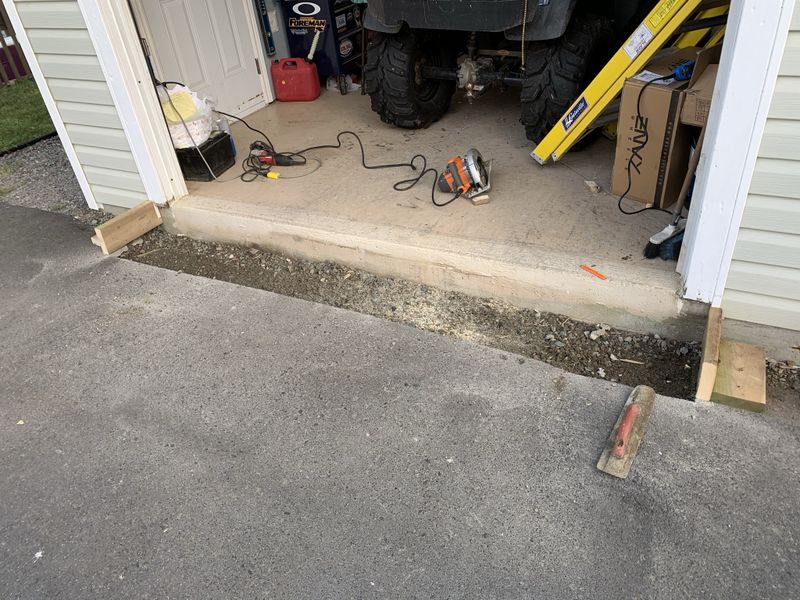
This gave me an opportunity to finally replace the Janky wooden ramp thrown together when we moved to Torbay in 2014. Before leaving for the slab pour I removed the old ramp and cut the asphalt using a diamond cut off wheel in my angle grinder. The edge of the asphalt would become part of the form for the new ramp.
Concrete was transported from the job site to my place in 5 gallon buckets.
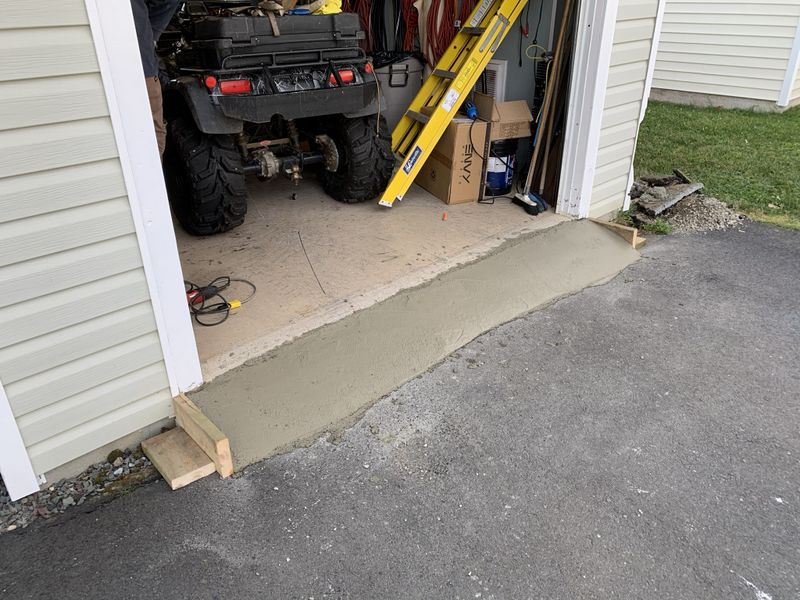
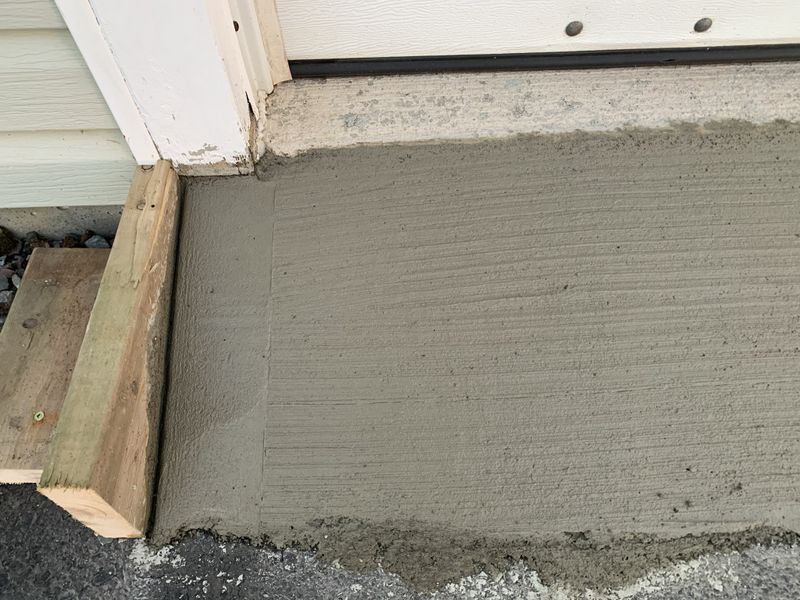
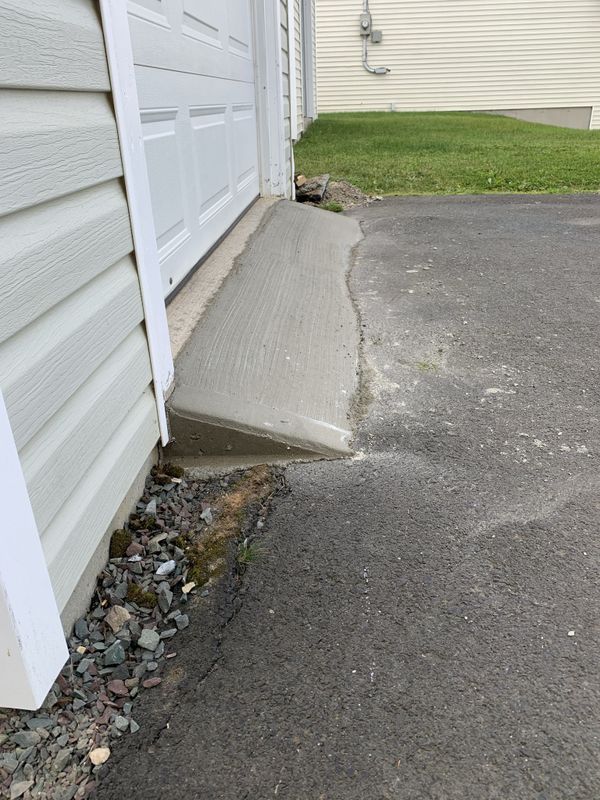
Bassan did an awesome job finishing the new ramp. The driveway isn't perfectly flat, the asphalt is thin and pushed up here and there which is why the leading edge of the ramp doesn't appear straight.
The finished job turned out great and is much stronger & smoother than the old, it even makes snow clearing much easier now that the ramp is solid and doesn't have Janky wooden braces!
In November I performed an annual service on Doug's Snowblower, last year I replaced the belts and bearings in front of the unit, this year I had to rebuild the crawler drive gearbox. It hadn't fully failed but the lower bearing had failed which means it was on its last legs. Much better to fix this now rather than during a snow storm this winter.
I have a full How To: Rebuild Honda Snowblower Transmission on this site, and this year I must be getting some fresh Google hits from that article! I've had quite a few emails from people across Canada and the US with questions regarding purchasing parts and some of the how to steps. I've even updated the article recently to address questions people have asked! It's great to see the Shed-Headz community growing strong!
My EBay Blind Hole Bearing Puller Kit tool once again worked perfect to easily remove the stubborn centre shaft bearing in Doug's transmission.
Blower maintenance and repairs complete, now to drop units back to the crew.
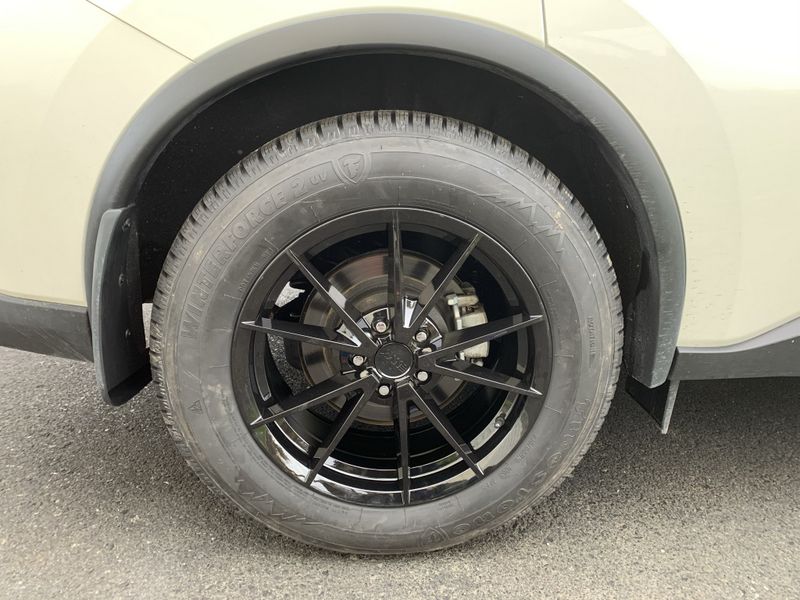
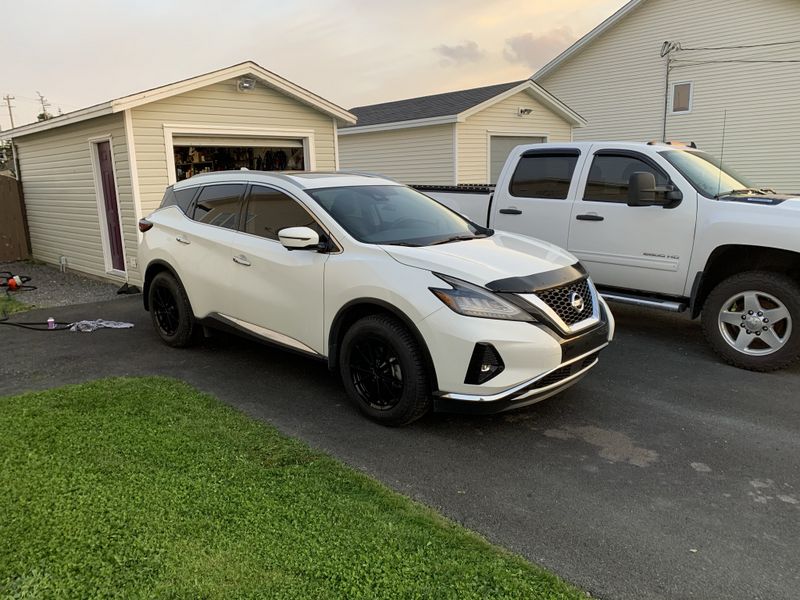
November also means winter tire and undercoating season has arrived! I used my trusty new (last year) undercoating gun to apply a thorough coating of Pro Form product to our new rig, even removing the wheel loners to spray all areas of the body, something most shops wont do. Our new Murano required a minimum of 18" wheels which were already pricey in steel winter rims so we decided to pick up a set of 18" aluminum winter wheels instead.
NL Lightbars gave us an awesome price on these 18x8" ENVY winter rated rims which are designed for winter use in both strength and the finish. The tires I chose are Firestone Winterforce 2uv purchased from Justin at Canada Car Care (now French's Automotive) which have a nice open -all the way to the edge- tread pattern and are actually very quiet.
Also in November my 2011 Silverado HD rolled over 200,000km on the clock!
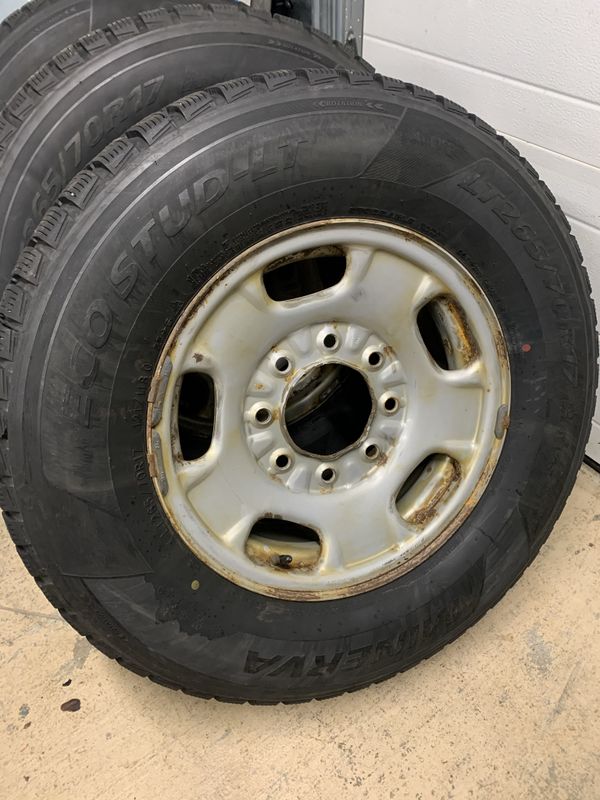
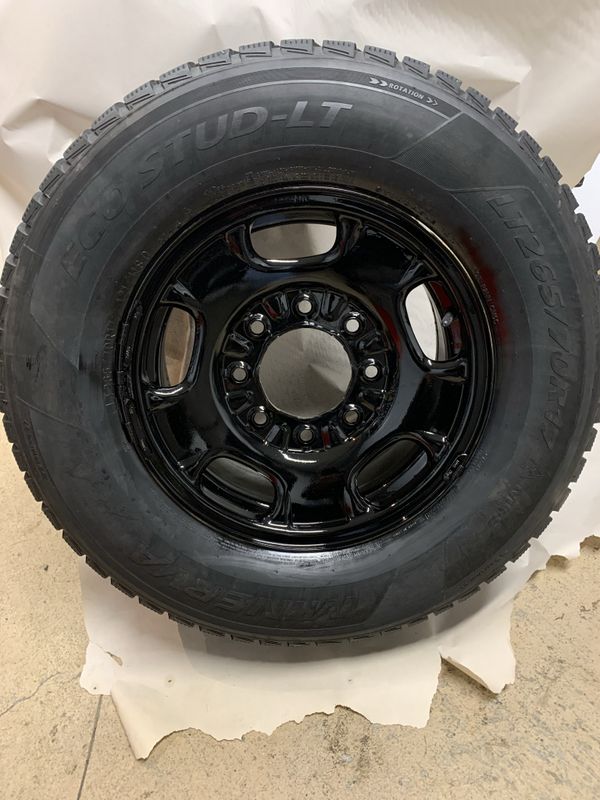
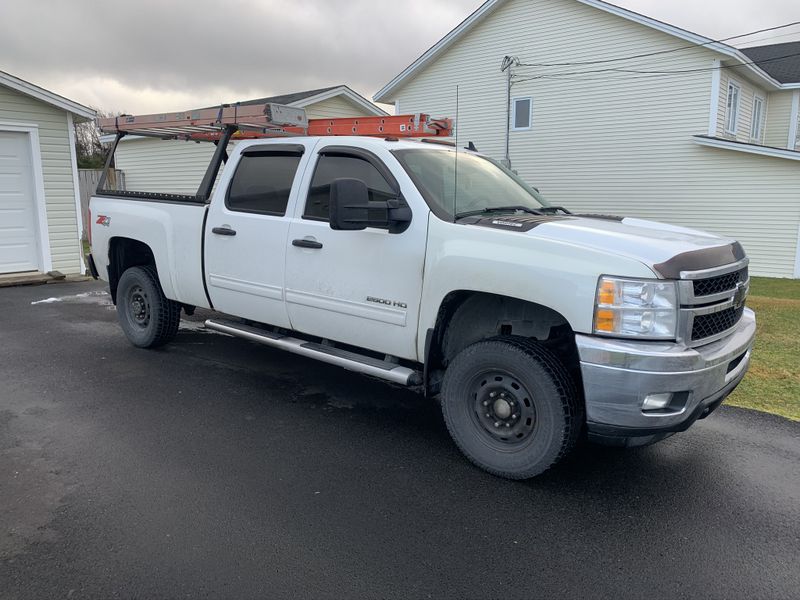
This year I came across an awesome deal on a set of nice GM OEM styled steel wheels complete with a set of one-year old winter tires for my truck from one of the crew.
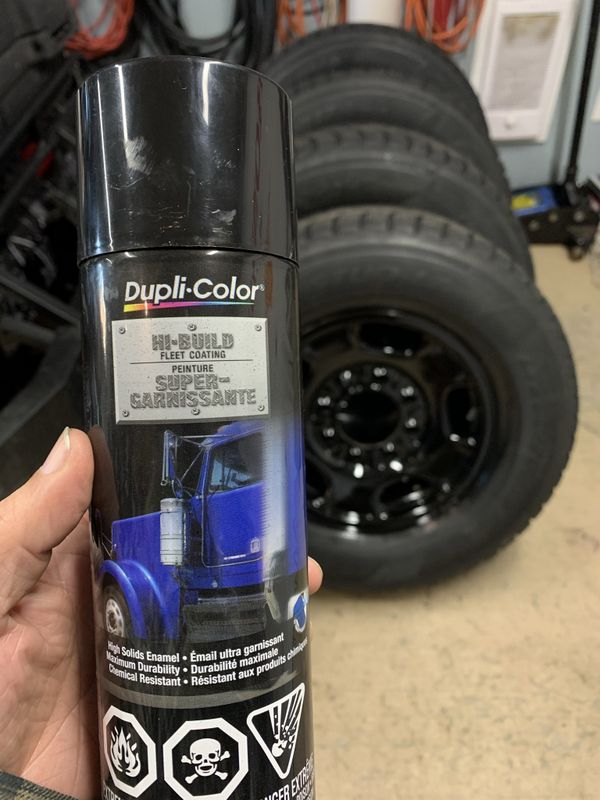
I still like the black look so I cleaned up the rims, treated the rust and applied a fresh coat of Duplicolor Fleet Coating in Gloss Black to the new (to me) rims inside and out.
Of course I also took the time and applied another thorough application of Pro Form Black under coating to the underside of my truck.
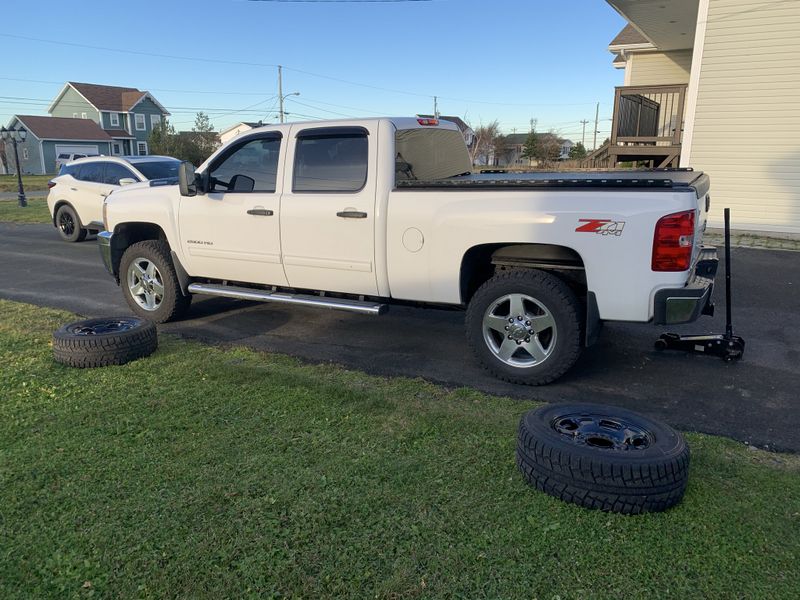
Throwback pic of the old winter wheels. The new OEM rims look great and I like the style much more than my last set which were aftermarket. The new winter look will be finished with a set of centre caps. Update soon.
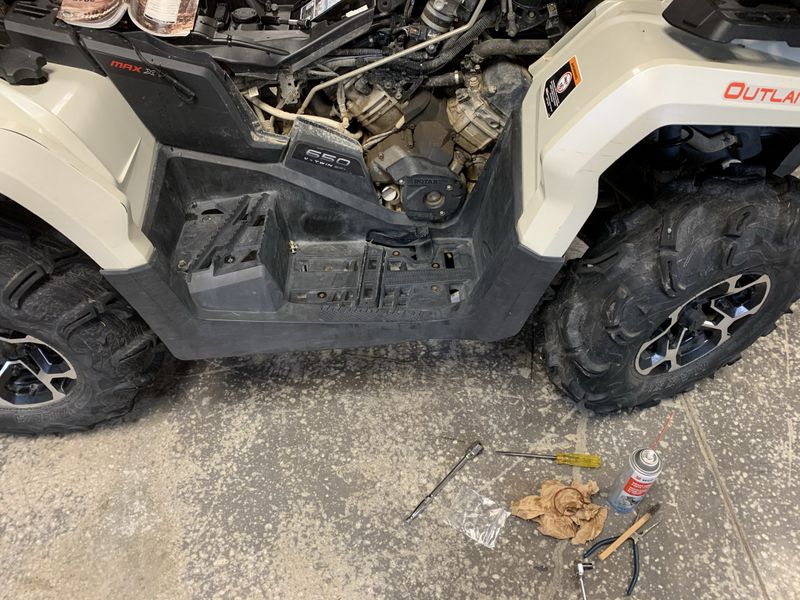
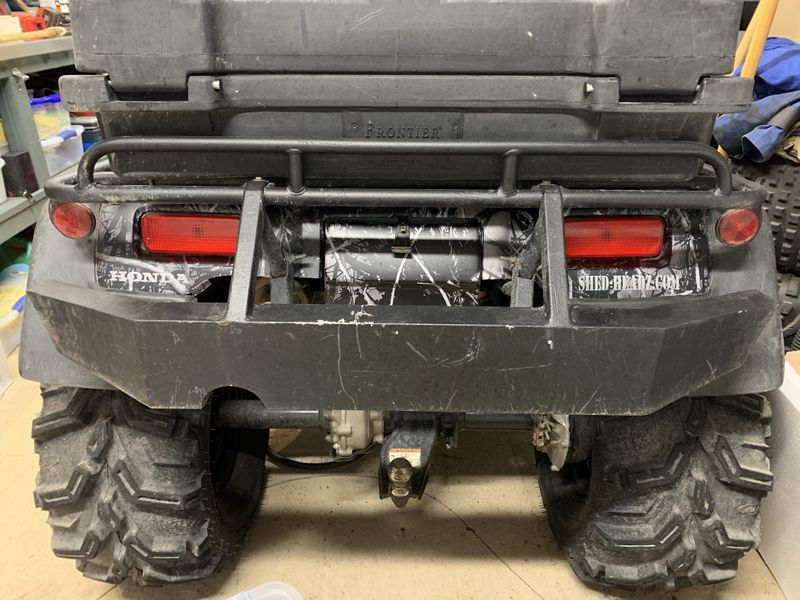
In December I headed out to bay Roberts for a couple weekends giving Dad a hand with a few projects. First up was an oil change and maintenance on his 2015 Can Am Outlander ATV.
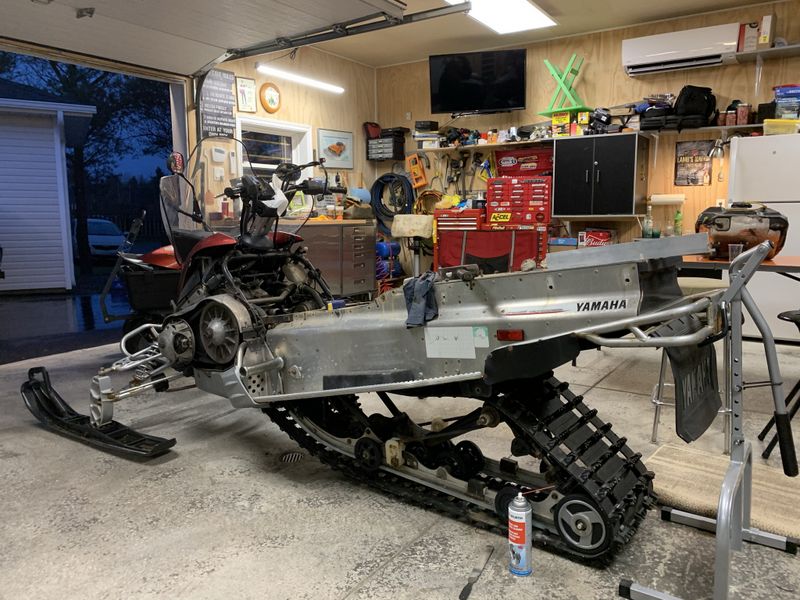
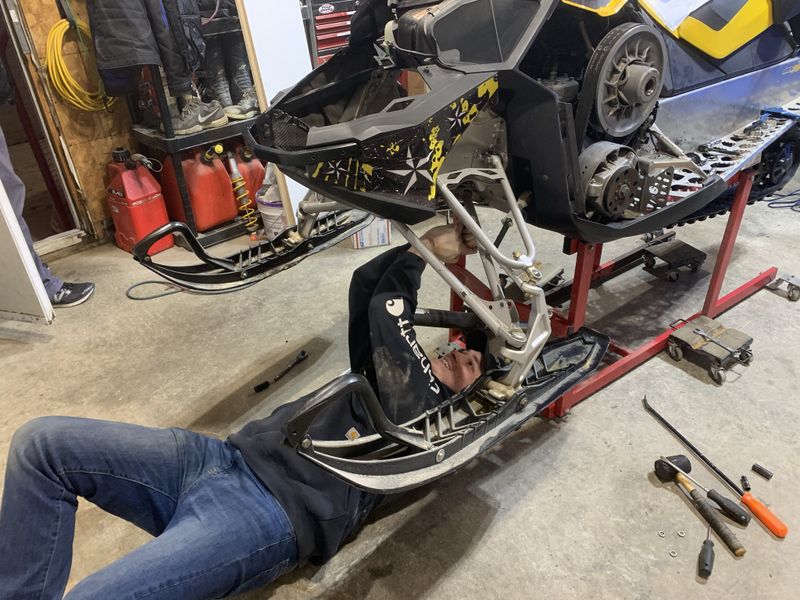
Next up, and the main purpose of these trips was assisting the boys with some repairs on Dad's buddy Kevin's recently purchased 2008 Yamaha Venture Multi Purpose snowmobile. We removed the exhaust to have it repaired, pulled the rear skid and replaced all moving parts in the front suspension. We fought some seized bolts & collars in the front end and found the rear suspension pivot arm #2 cracked off, but the job is now finally finished and ready for snow!
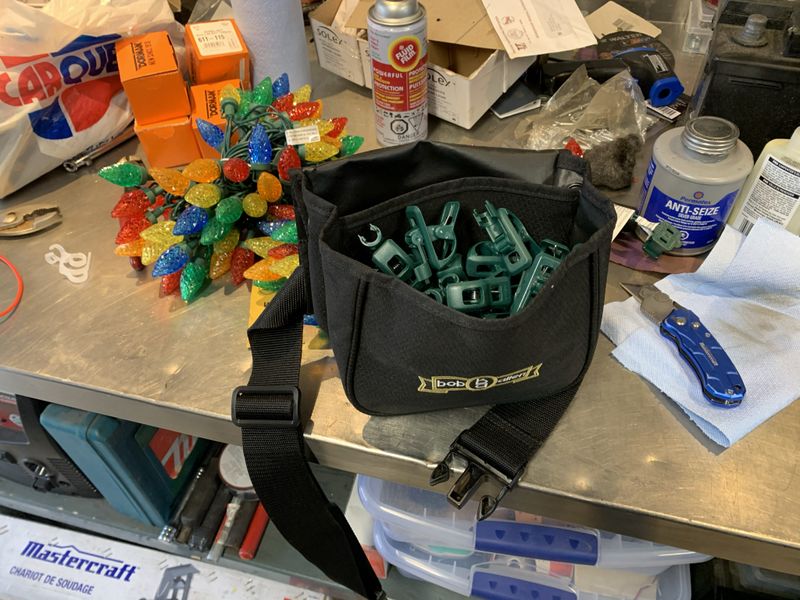
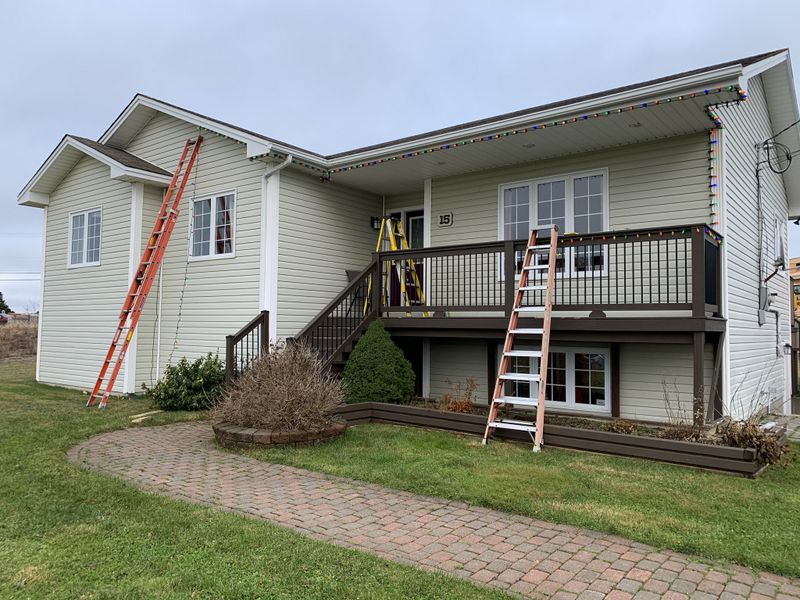
This year I replaced my Christmas Lights as most had stopped working due to an abundance of corrosion in the light sockets and cable. New lights meant new better clips, I temporarily re-purposed my Trap Shooting shell holder for Christmas light clips which worked really well!
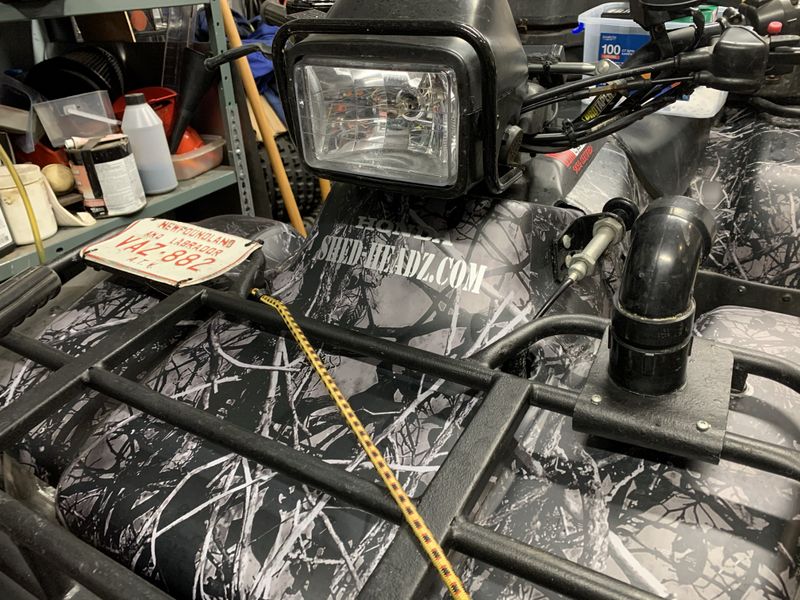
In December Sandra and I purchased a vinyl cutter which I have been putting to good use already. I produced a 12" high ARGO decal for my overhead door to go with the Honda and vintage Ski-doo logos already in place.
I was also finally able to replace the small "HONDA" decals on the front and rear of project Foreman which are placed there by the factory but I was unable to efficiently replicate them after I wrapped the bike in 2009 & 2019. I also custom cut new Shed-Headz.com livery for the bike as well!
I've also been working on and have created a trial run Shed-Headz decals and T-shirts which I may make available for sale if there is enough interest!
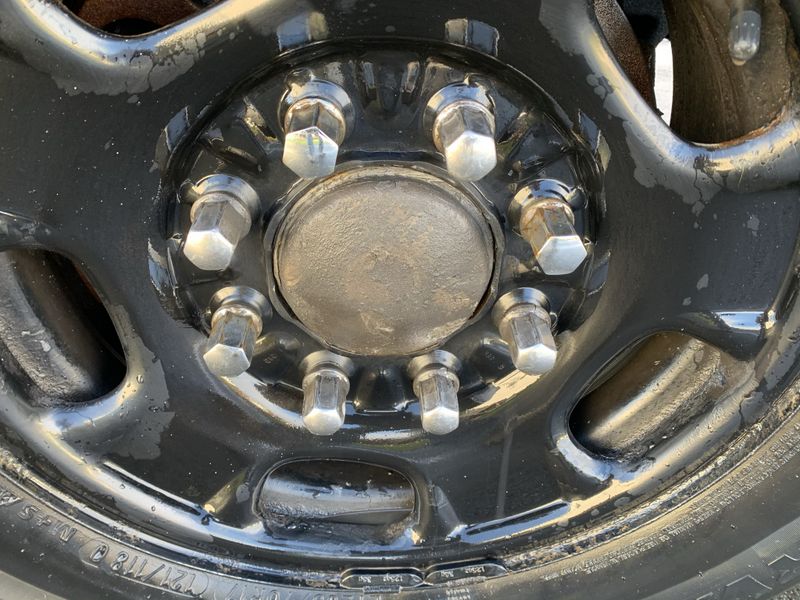
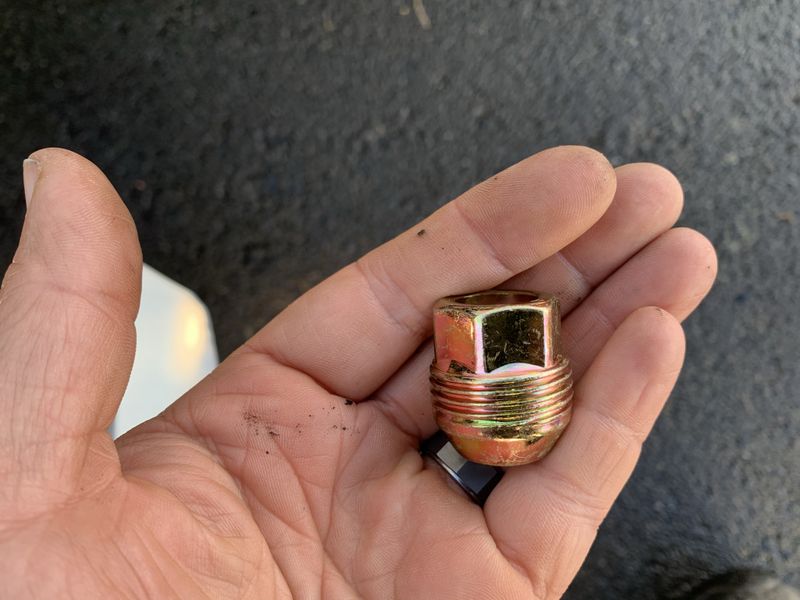
Just before Christmas my new (and hard to find) Chrome centre caps arrived so I set about installing them, first by swapping out my chrome lug nuts for new GM steel externally threaded nuts.
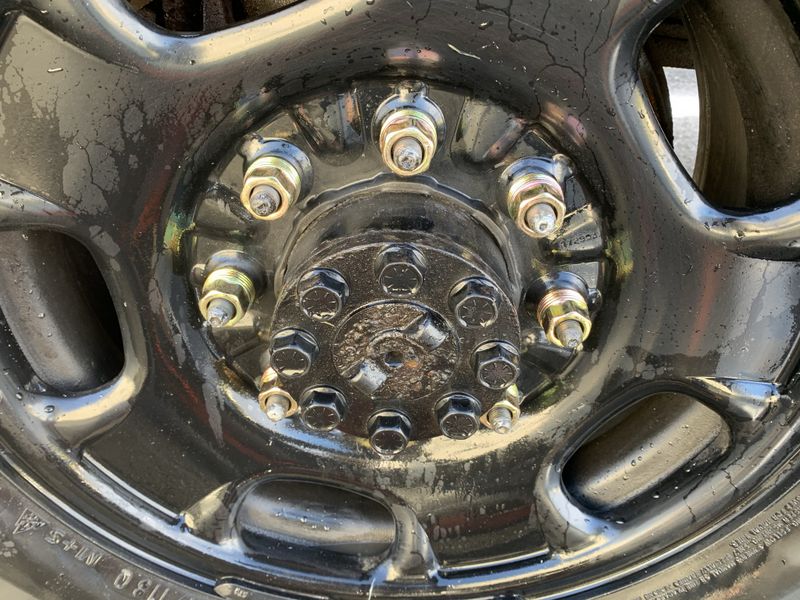
The new lugs were installed, torqued, test driven and re-torqued.
The new chrome centre caps really look great and are unique as all the ones I looked at are just painted silver, the overall winter look is a nice improvement over previous years for my trusty steed!
One of the final projects of 2020 was a bunch of mods and maintenance on AJ Power's newly purchased 2009 MXZ 500ss. Check out the full story of the build so far on his Skidoo project page. All in all 2020 was one of the most crazy years by far in a long long time. From Snomageddon & ensuing shutdown, even more snow afterwards, to Covid-19 and another shutdown for which is still affecting many aspects of life today, its been a year for the record books. Here's to hoping that 2021 will be awesome yet a little less crazy.
Cheers, MIKE
Copyright © 2025 Michael Smith |