|
Area51 Mike's new Council Tools #2 Double Bit Axe Project: |
|
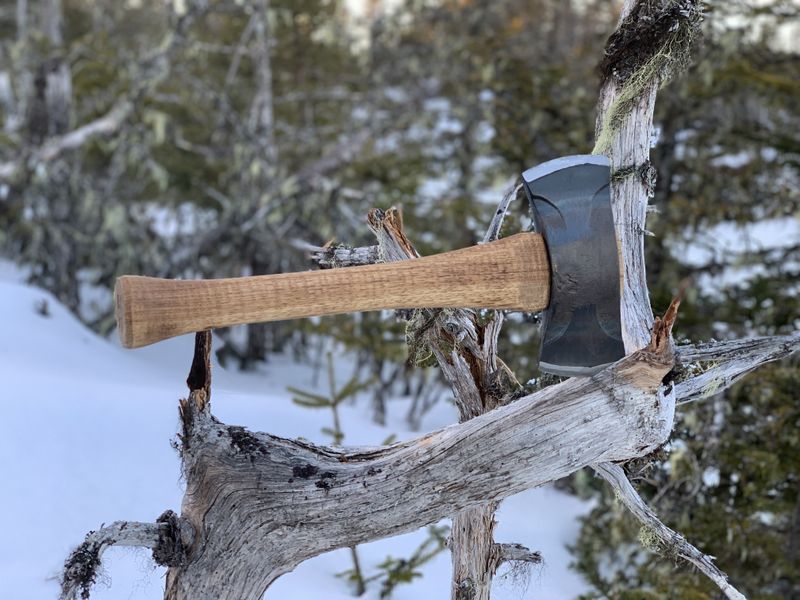
This week French and I finally received our new backpack axes. This is a Council Tools #2 Double Bit Saddle Axe - Sport Utility Edition purchased from Whiskey River Trading - not a sponsor.
The head is made from 2lbs of drop forged 1060 steel and has a 16" hickory handle. They also offer a version of this axe in their premium line for a premium price. The premium saddle axe changes from 1060 to 5160 steel and has a more polished fancy appearance.
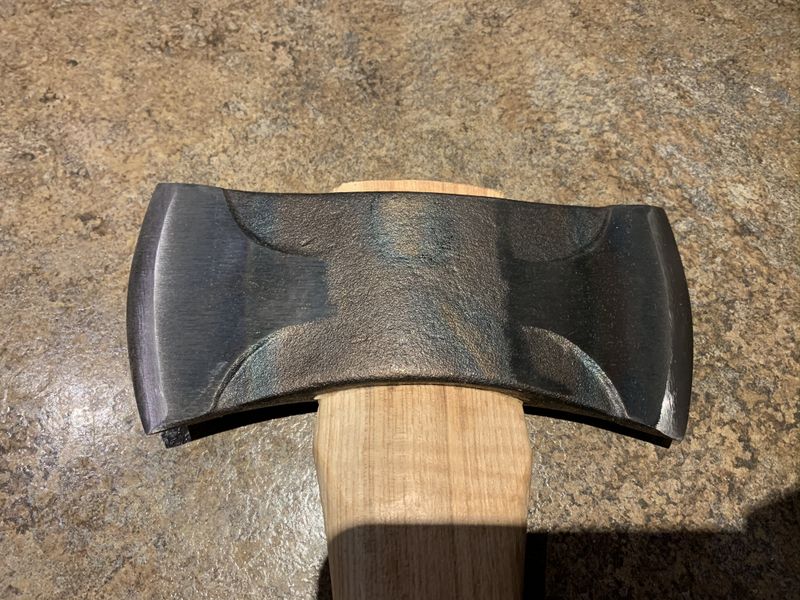
Council Tool internal standards call for tempered bit hardness of Rc 48-55 and they target 1-1/4 inches from the cutting edge. The poll and eye walls are not hardened and remain in as-forged condition. The head is factory coated with a rust proofing agent over the forged finish.
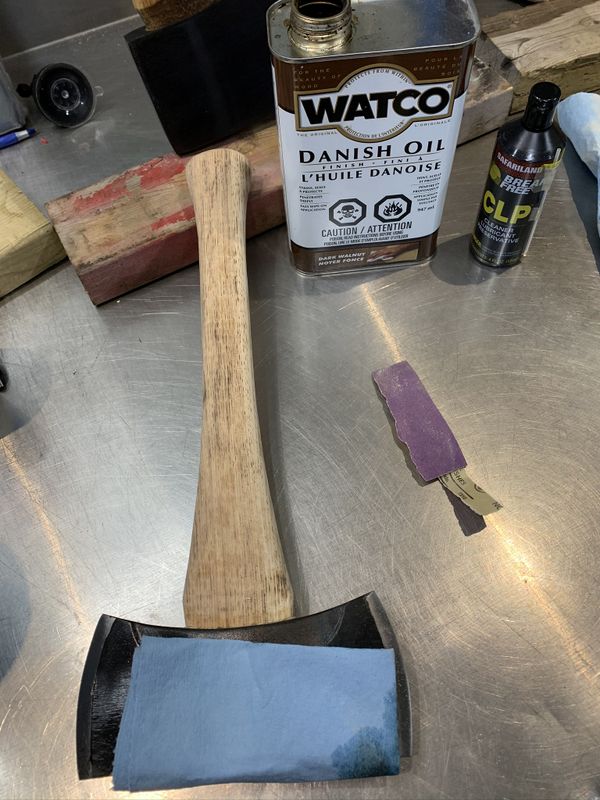
Our axes arrived razor sharp and ready to cut, I gave mine a cleaning with Rubbing Alcohol and treated the head in Break Free CLP. It's a fantastic rust proofing oil that I use regularly on my firearms.
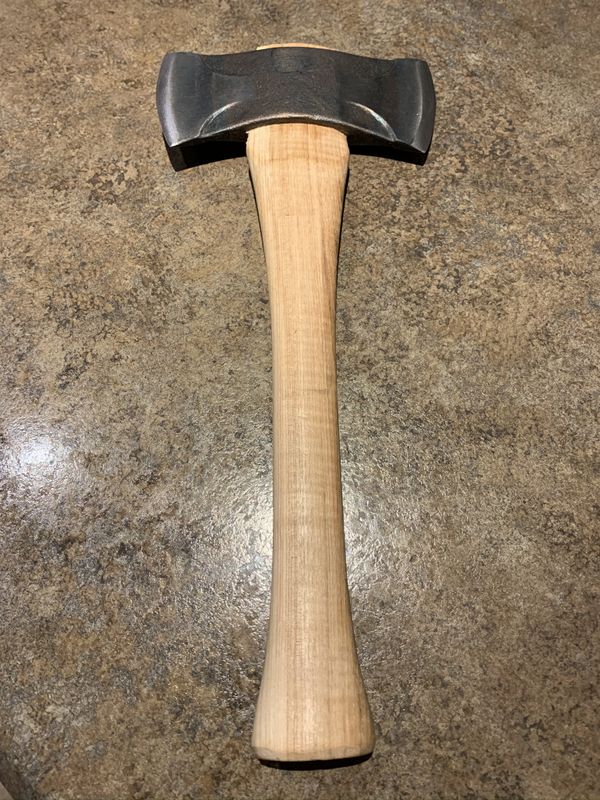
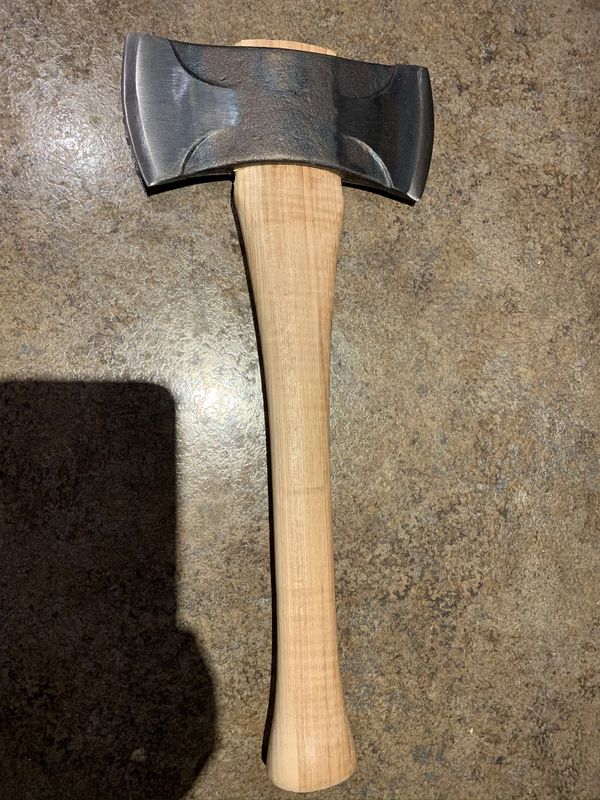
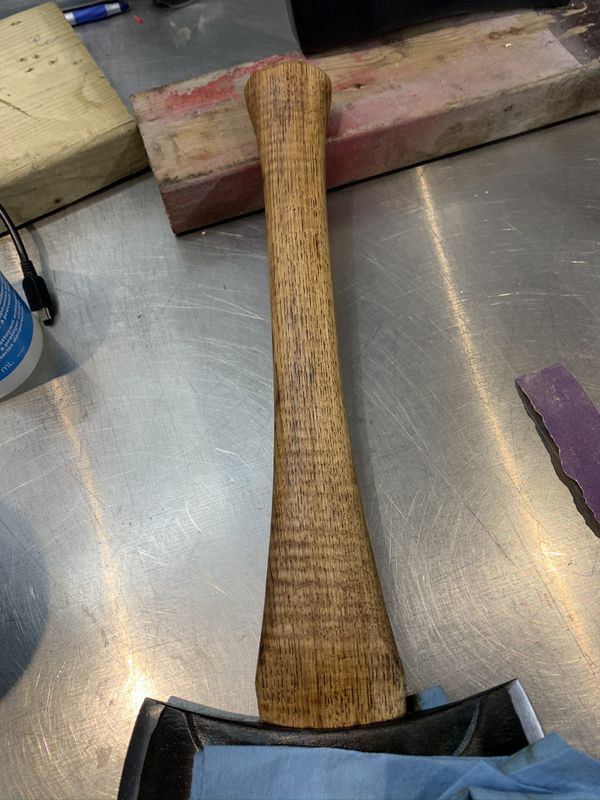
Next the hickory handle was sanded with 220-grit 3M sandpaper, scorched to highlight the wood grain then treated in multiple coats of dark walnut colored Danish Oil.
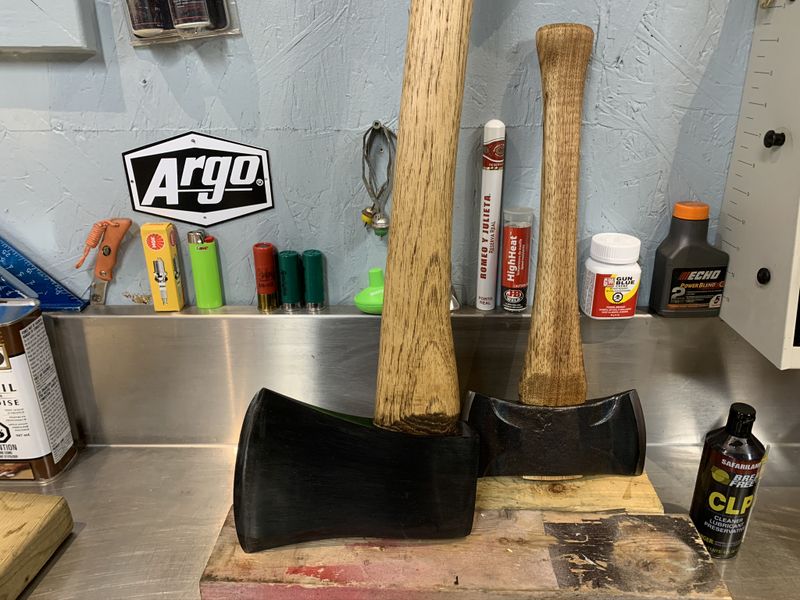
Two new Axes ready for service. Next up will be making a handmade leather sheath for my Saddle Axe as I plan on carrying it in my knapsack.
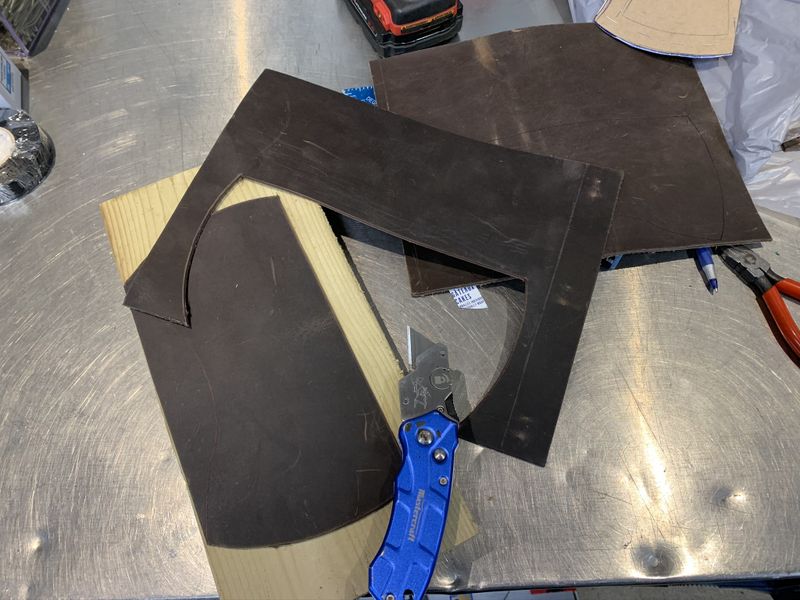
At the time of purchase there were no sheaths available from Council Tools or Whiskey River Trading so I decided to make my own. I picked up some leather at a local craft store, some tools at Princess Auto and ordered a leather rivet kit on eBay and set to work.
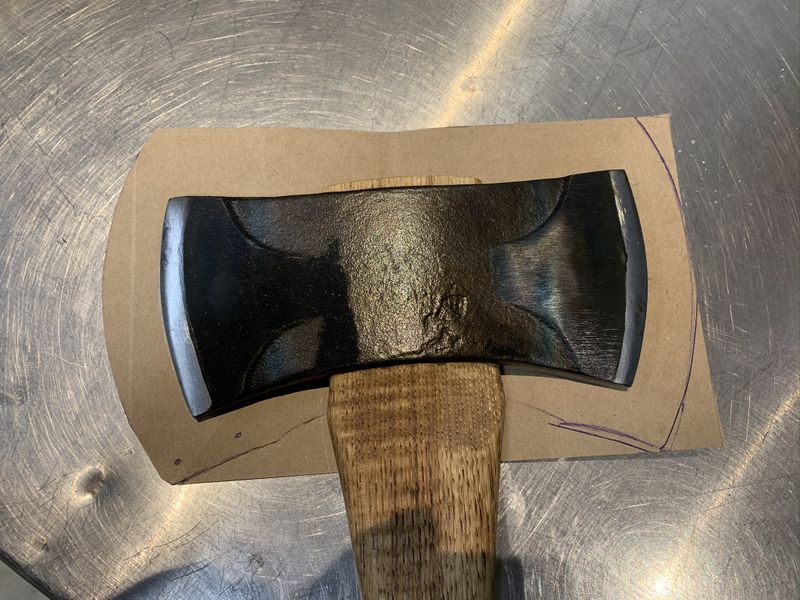
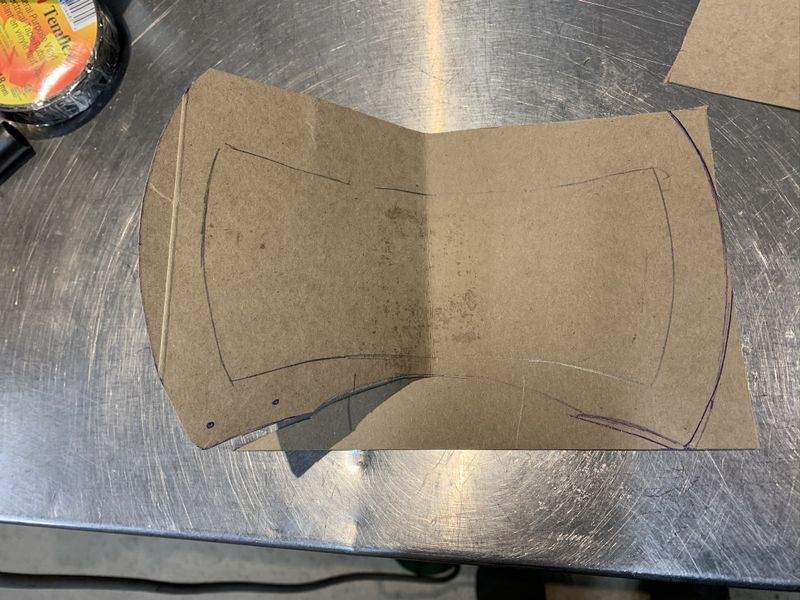
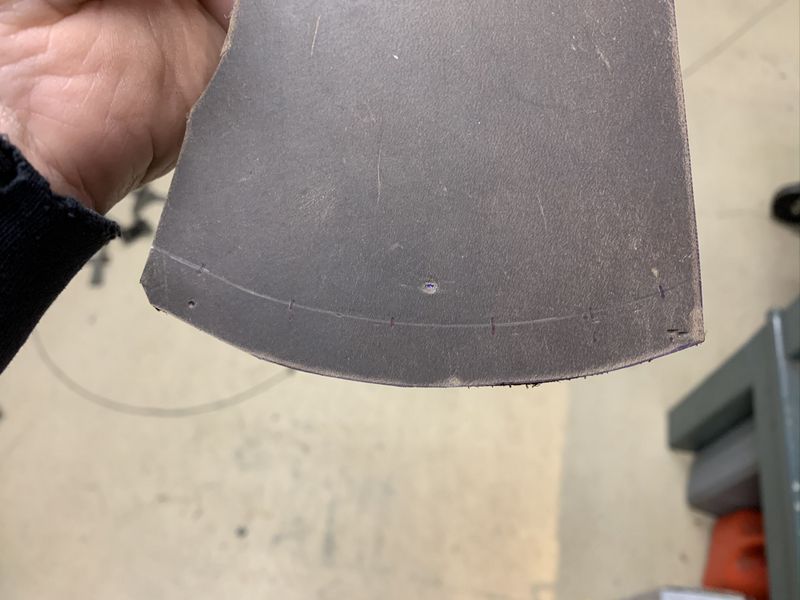
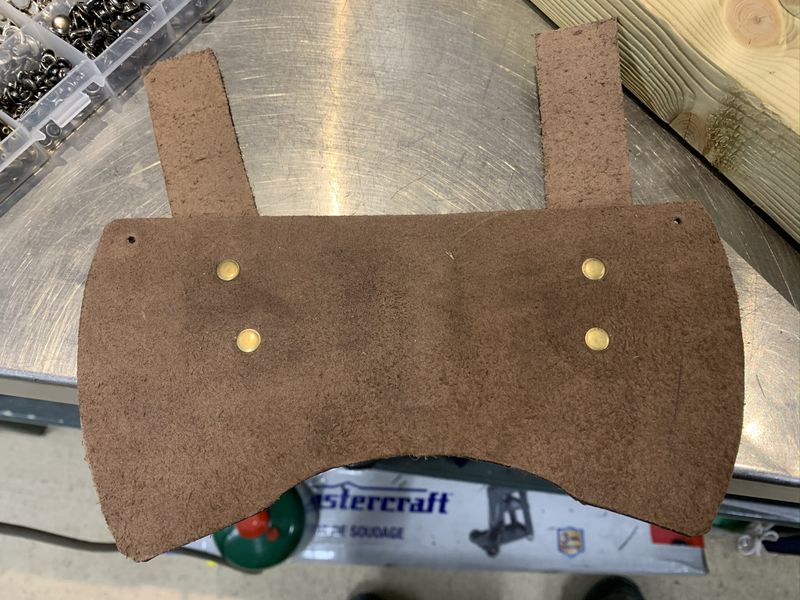
First I created a pattern by tracing the axe head and sketching the outline of the sheath approximately 2cm larger.
After cutting out half the pattern I folded it in half to make sure both sides were symmetrical.
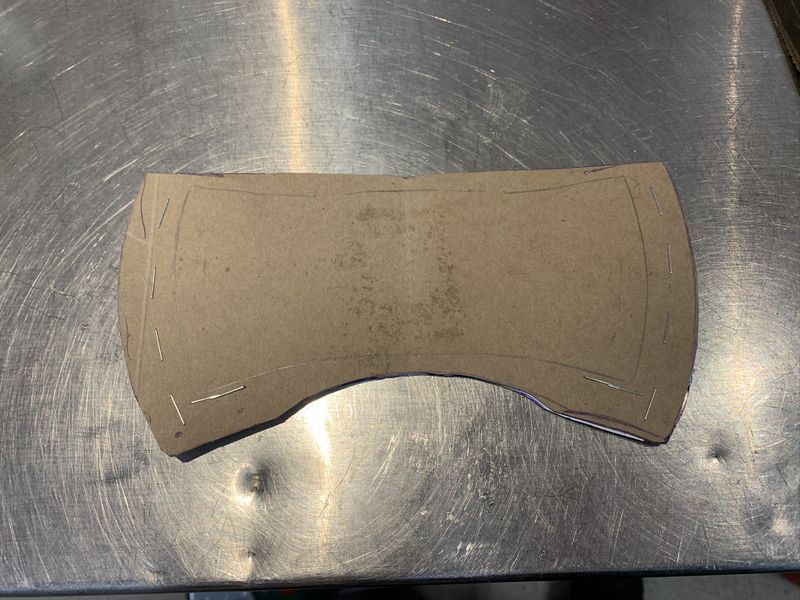
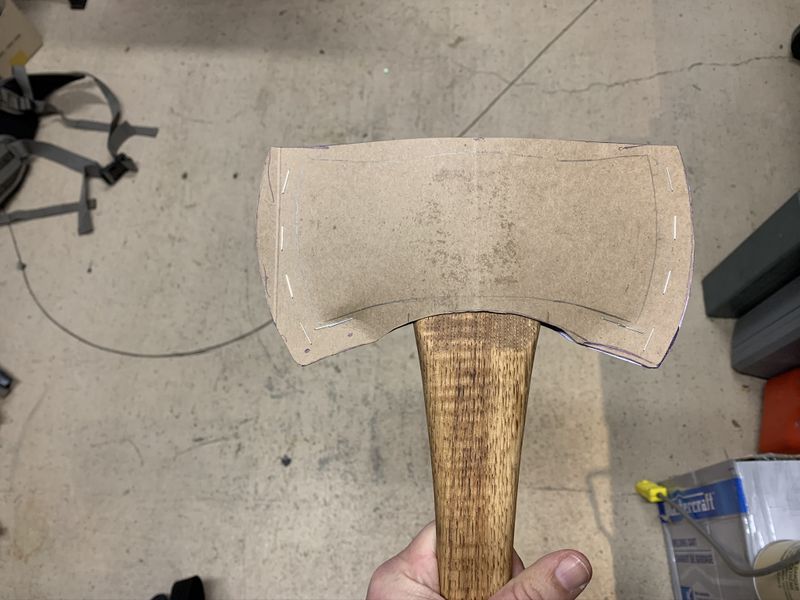
I duplicated the pattern for the back side and mocked up the cardboard sheath with staples representing rivet locations to ensure proper fit on the axe.
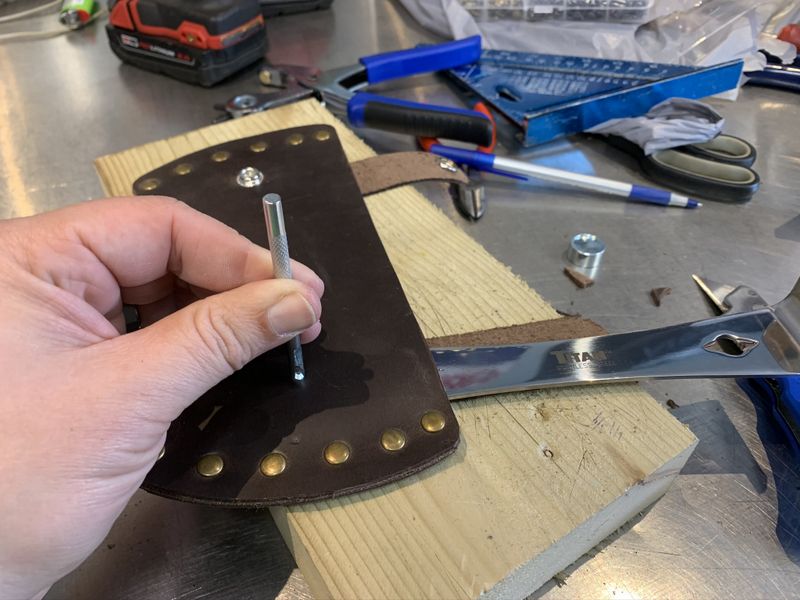
Next I marked out locations for leather rivets with carefully measured even spacings that were made symmetrical side to side.
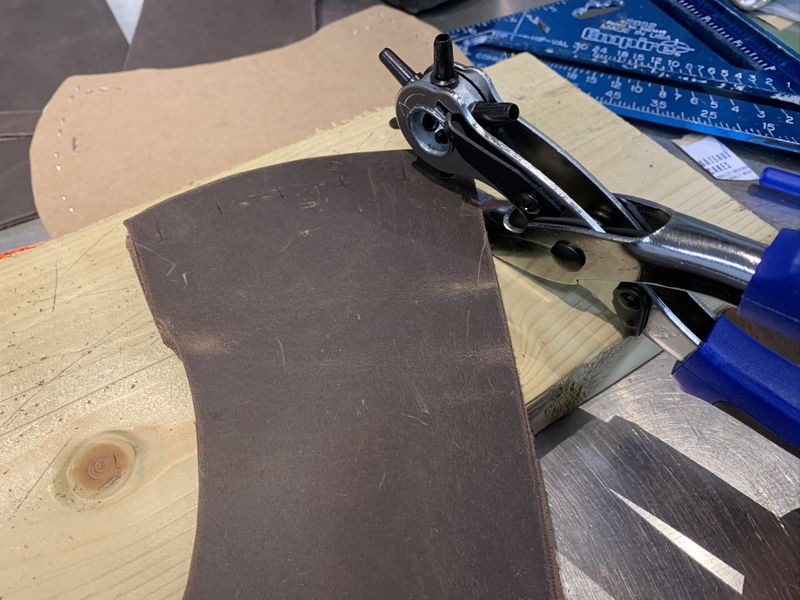
My Princess Auto leather hole punch came in handy to create perfect size holes for the rivets with ease.
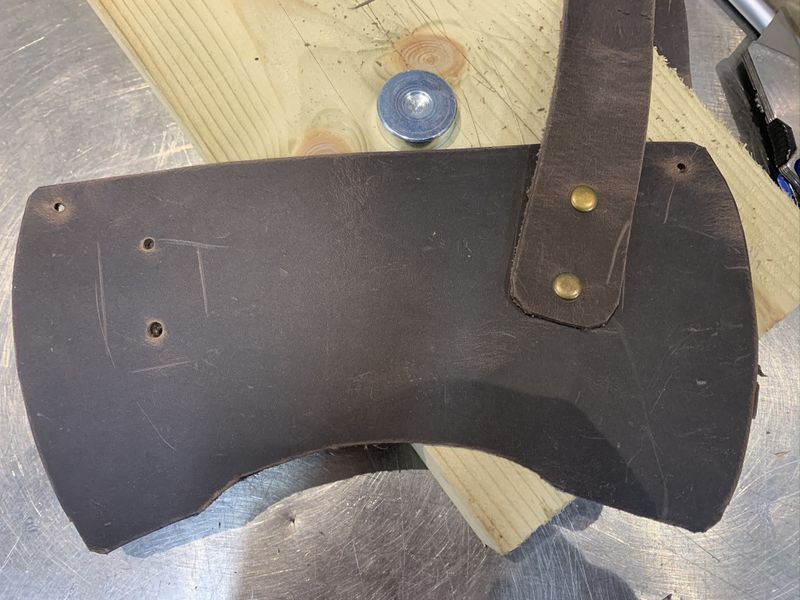
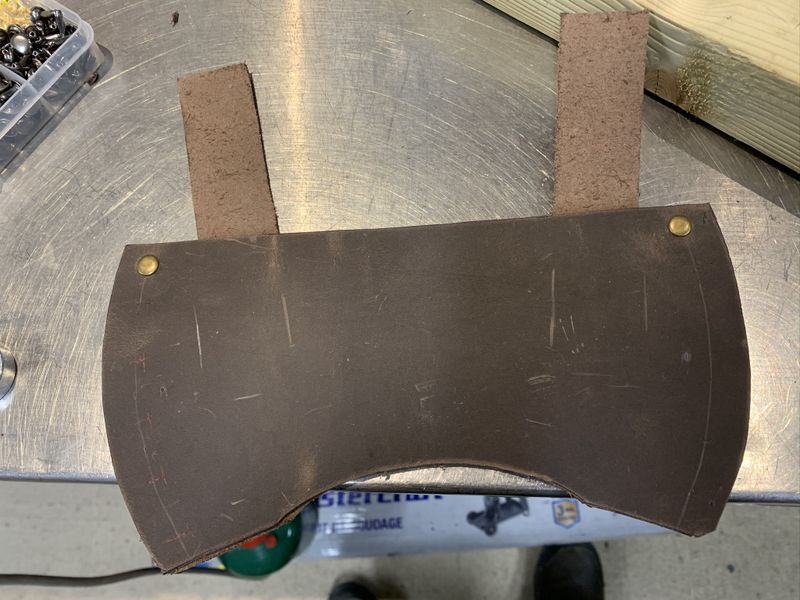
Next I mocked up the location for, then installed the fixed end of the holding straps on the back side.
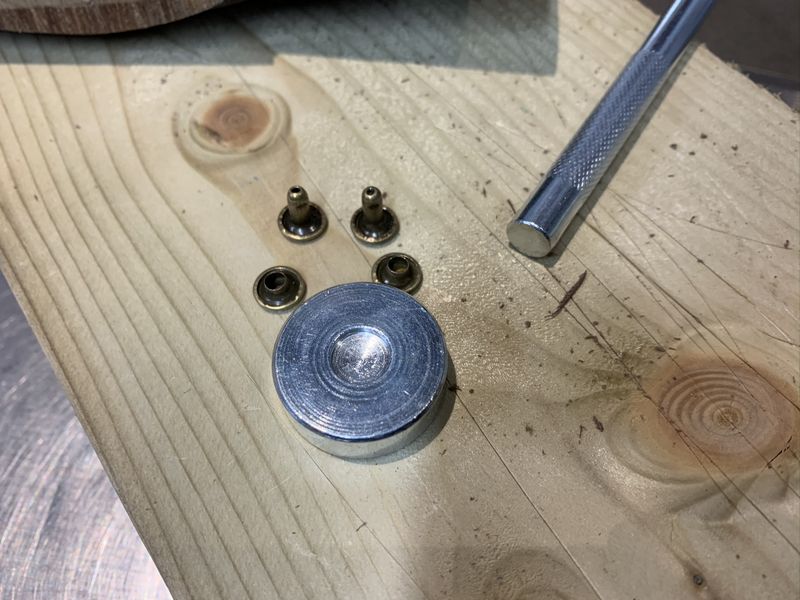
The eBay leather rivet kit came with lots of rivets in varying sizes and colours and the necessary tools to install them.
Next I joined the two sheath halves starting at the top and working my way down swapping left to right with each rivet.
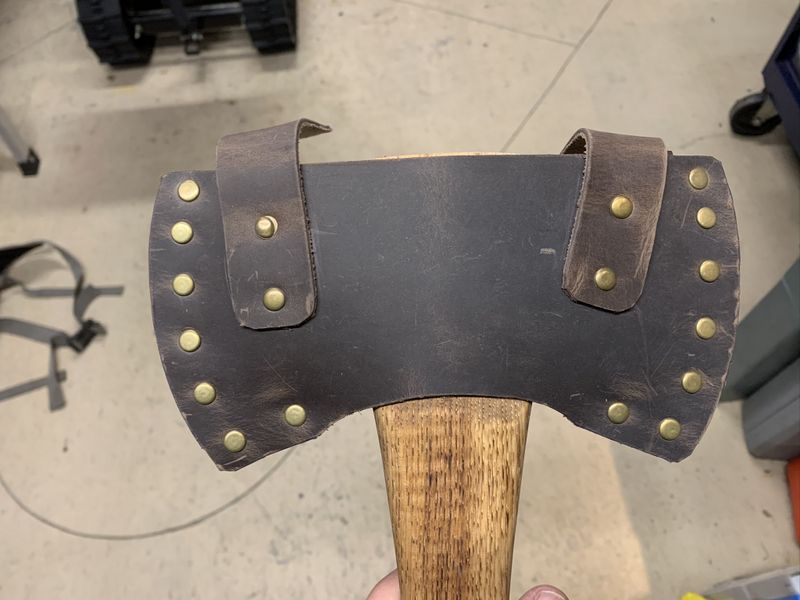
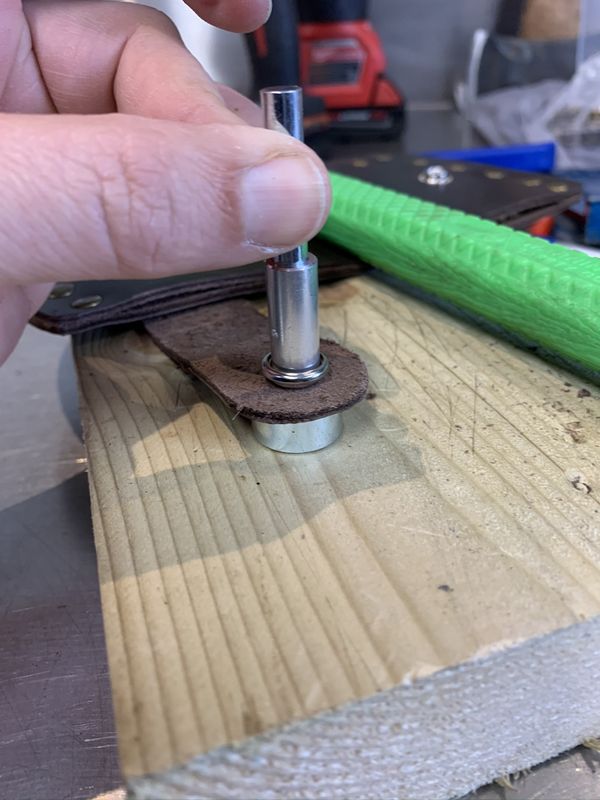
My P. Auto hole punch wouldn't reach the inside holes for the snap fasteners so I used the manual punch that came with my eBay rivet kit which worked well.
These stainless steel snap fasteners came in a kit sourced locally at Blue Water Marine. They are much better quality than the Canadian Tire fasteners I used to repair my Argo convertible top which have since all broken. I will be replacing them with these quality stainless steel fasteners.
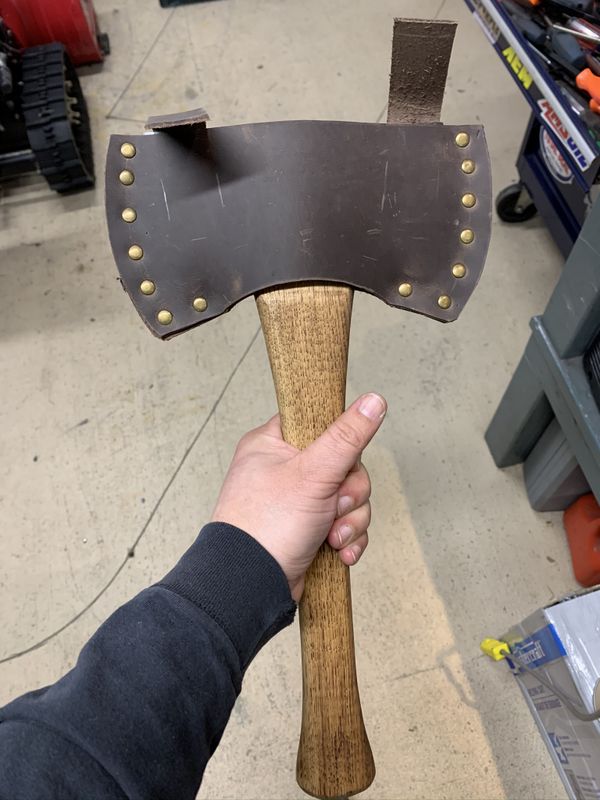
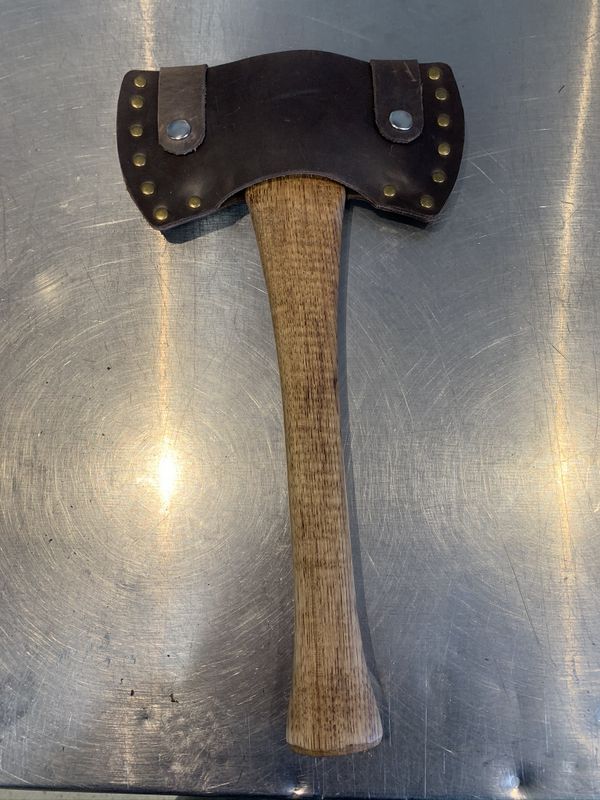
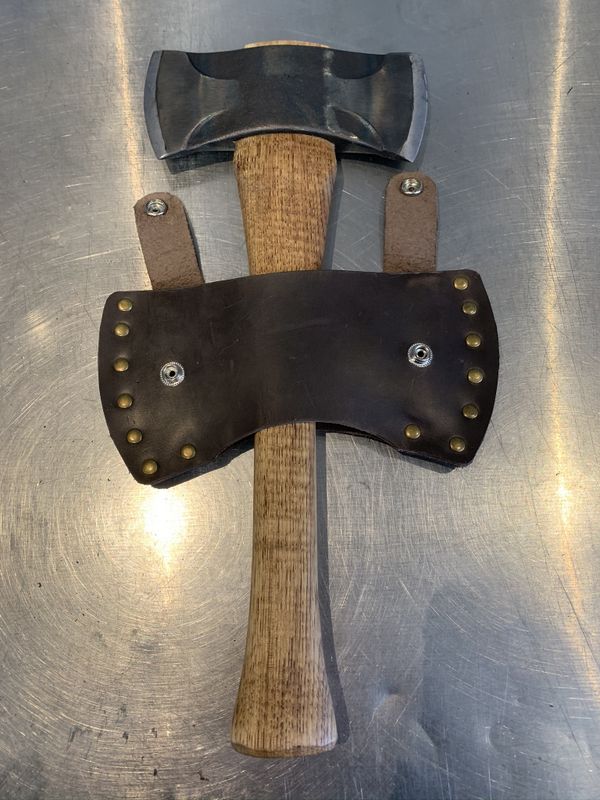
The finished sheath came out great. It looks decent but more importantly is very functional. I designed it for the axe to drop down into the sheath as the top of the bit is slightly wider than the bottom so this design works well for me.
A little bit of brown leather shoe polish will have this sheath looking fantastic! More importantly I will no longer have to worry about items in my backpack getting damaged when carrying my new cool as hell double bit axe!
Cheers, MIKE
Copyright © 2025 Michael Smith |