| Project: Installing Temp. Gauge on Skidoo REV |
|
Installing a coolant temperature gauge on a 2003-2007 REV chassis snowmobile is not an overly difficult task. The factory temperature gauge is no longer available from dealers, sometimes a dealer may have new-old stock, occasionally they pop up at used parts shops, and on eBay. To install a factory gauge on the 2003-2005 sleds you need to purchase the sending unit as well, the 2006 and up machines have this built into the computer so the factory gauge will work just by plugging it into the harness. However, since these gauges were nearly $300 (cdn) new, and still fetch a fair price used, I went found some aftermarket alternatives.
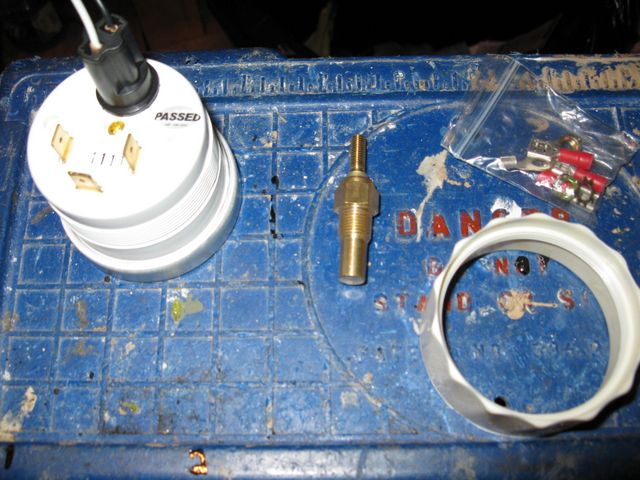
Online forums recommend a Cyberdyne unit which features a digital numeric display which flashes "high" when it reaches your preset "warning" temperature. I prefer a needle type gauge and found a couple models on eBay that will work with these sleds, and are installed exactly the same as the Cyberdyne unit. The first is an Equus 6262 which has a black trim, black face and backlit numbers. The second is an Equus 8262 which features a silver trim, white face , with the entire face backlighting in the color of your choosing. Both units are 2" round, have an electronic sending unit, and work on 12v power.
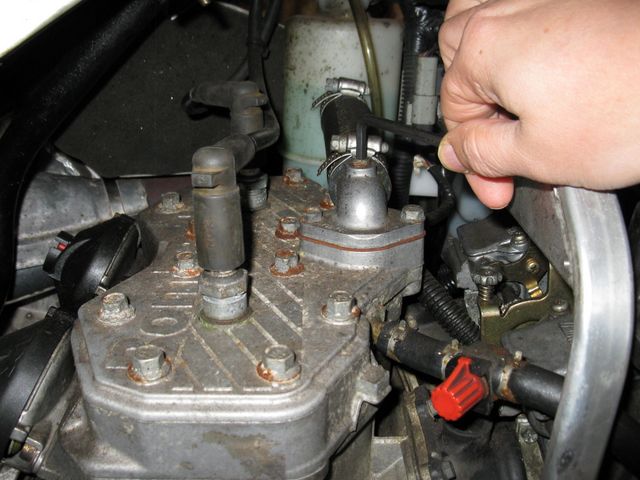
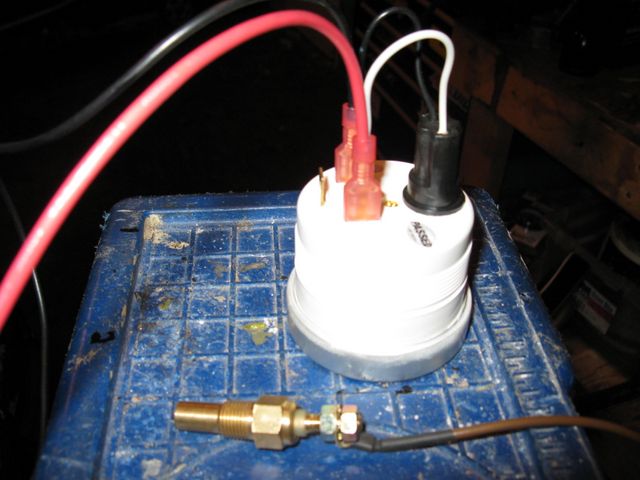
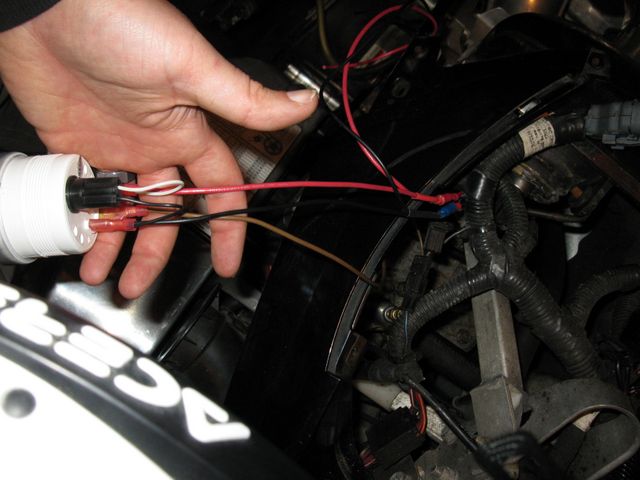
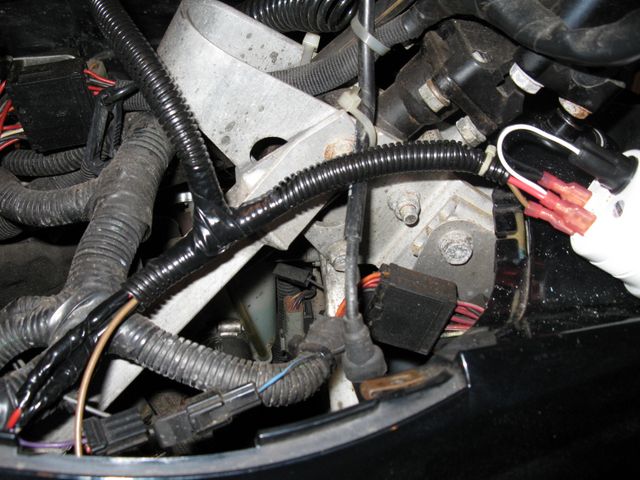
The sending unit installs in the bleeder port located on top of the motor in the thermostat housing. You will need to siphon off some coolant from the overflow bottle before removing the 5mm Allen Key fitting. Bleeding can still be performed in the future by loosening the temperature sensor instead of the Allen bolt when required.
Installation of the sending unit is straightforward, but do not apply sealant or Teflon tape to the threads. The electronic sending unit needs to be grounded to the engine through these threads in order to work. These are tapered pipe threads and will not leak when properly torqued. Do not over tighten the sending unit as it is brass and the housing is aluminum, both are easy to strip out or crack. Don't forget to top up the coolant level when finished. You will need about 30" of 18awg wire to connect the sending unit to the gauge. One kit came with a loop or push on barrel connector for the sending unit (some gauges use a spade connector and 2 locknuts), which need to be crimped with proper pliers. I soldered mine after crimping for a better connection with the vibration of the engine.
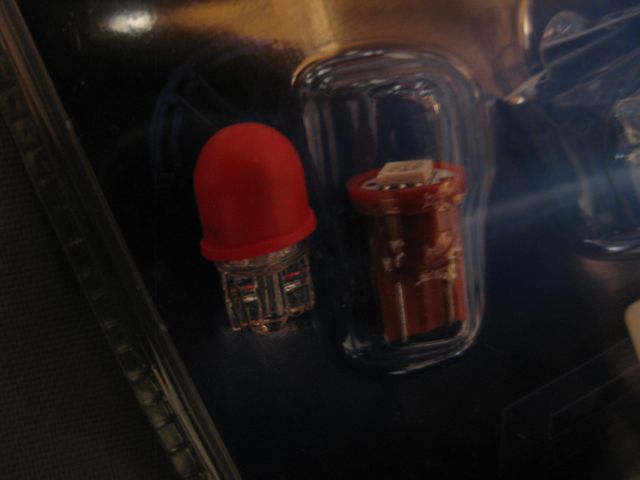
Backlighting in both of the Equus gauges is supplied by a standard clear 194 automotive bulb. The silver/white 8262 gauge came with rubber covers for the bulb, I chose the red one to match the other gauges on the sled. For the black 6262 gauge, I bought a red LED replacement 194 bulb to provide red backlighting for my gauge. Both look great when powered up.
You will need 2 pieces of 18awg wire for power, I used one red, one black, about 18" long. To keep wiring neat and tidy I twisted the positive backlight wire to the positive power wire and crimping both in one spade connector, repeating the same for the negative terminal. (The third and final terminal on the gauge is for the temperature sending unit.)
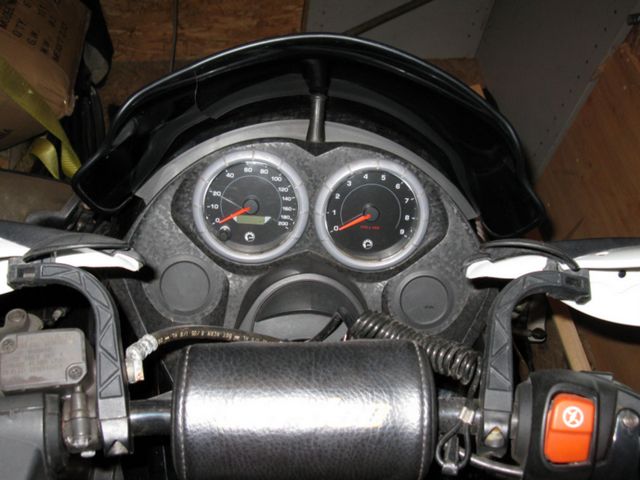
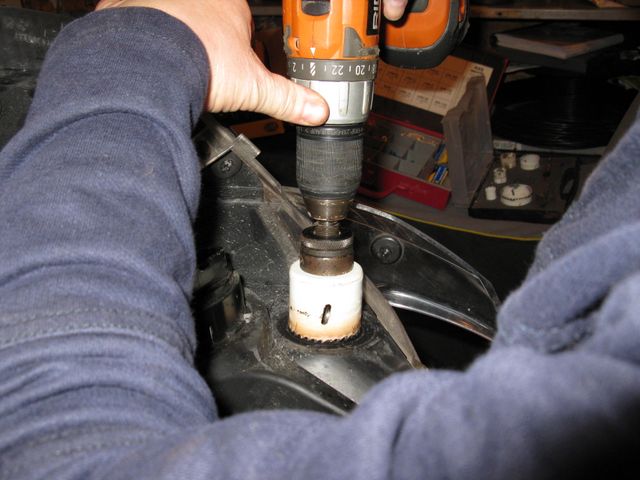
Next you can take off the gauge pod from the skidoo by removing the four mounting screws and unplugging the speedo & tach. You will need to drill a 2" hole on the left side of the gauge pod. Some pods have an indentation for center on the rear of the pod, both of the 2006 machines I worked on did not, so I had to measure and find center myself. It helps to have a buddy hold the pod while you drill. Next you can install the new gauge and tighten it with the white locking ring.
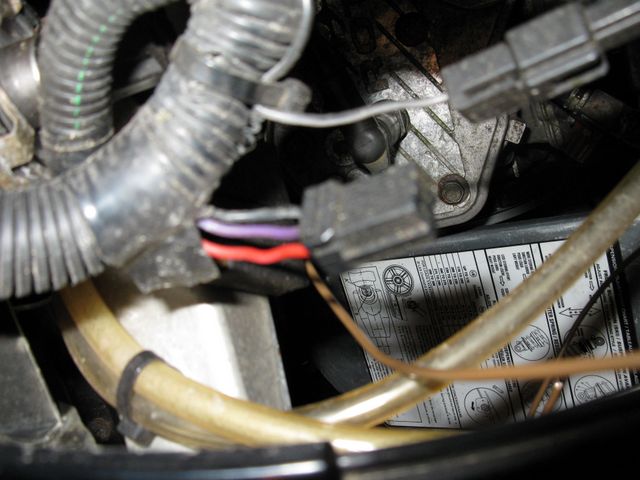
To connect the power wires to the sled, I chose to use the factory temperature gauge plug, which was tied to the harness on the left side of the machine under the gauge pod. Earlier years use a large spade style connector, and all you need to do is crimp a male spade connector to your power wires and push them into the plug.
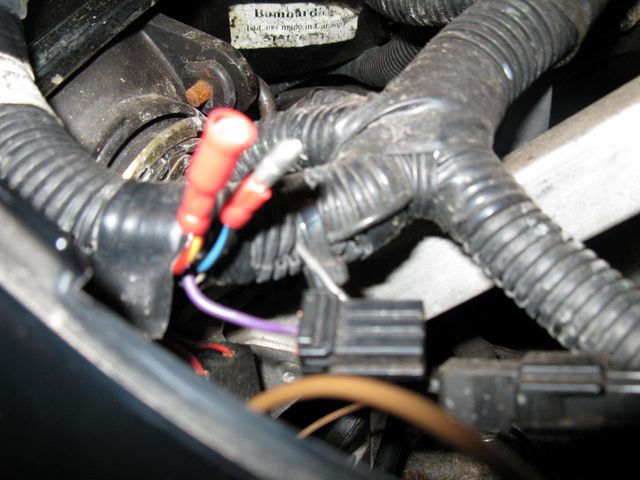
Both of the 2006 machines I worked on had small miniature pin style connectors, not having matching connectors I cut the power wires off the back of the factory plug and installed my own connectors. I used male/female barrel style connectors which will allow me to easily take apart the connection in the future should the need arise. I used a male connector on the negative side, and female on the positive side, this way they can't accidentally be reversed in the future. You may also choose to simply strip, twist, solder, and heat shrink these connections. I left the purple wire in the factory plug to keep it safe from shorting out. This wire feeds temperature signals to the optional factory gauge, but will not work to supply signal to an aftermarket gauge.
Earlier I allowed about 30" wire for the temperature sensor, and 18" for both power wires. These can now be trimmed to a more acceptable length for tidiness before crimping on the male/female barrel connectors on the power wires, and the female spade connector on the temperature sensor wire. I ended up with about 10" of wire on the positive wires, which will allow enough slack to easily unplug the gauge when removing the gauge pod in the future.
On one machine, my buddy wanted to install a voltmeter gauge on the right side of the gauge pod. Since you only need 12v power for this gauge, I spliced an extra pair of power wires into the harness for the temperature gauge and ran them to the right side of the gauge pod. The last step is my personal preference to cover new wiring in split loom to provide a neat clean factory appearance.
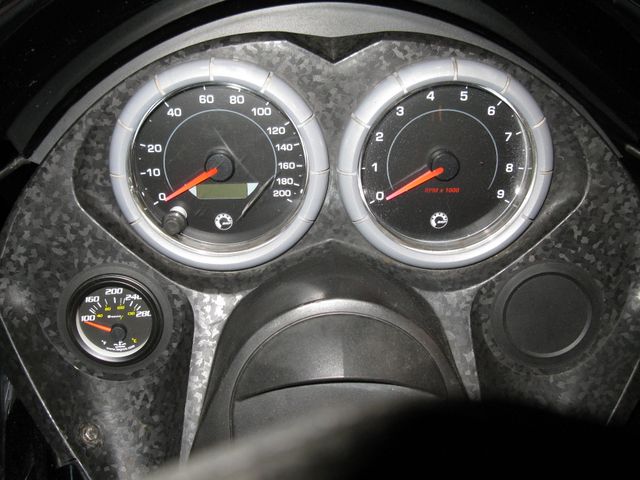
8262 Gauge installed power off.
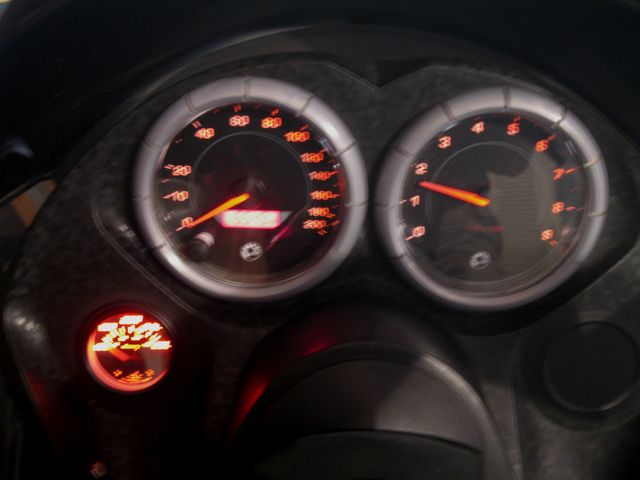
8262 Gauge installed machine running
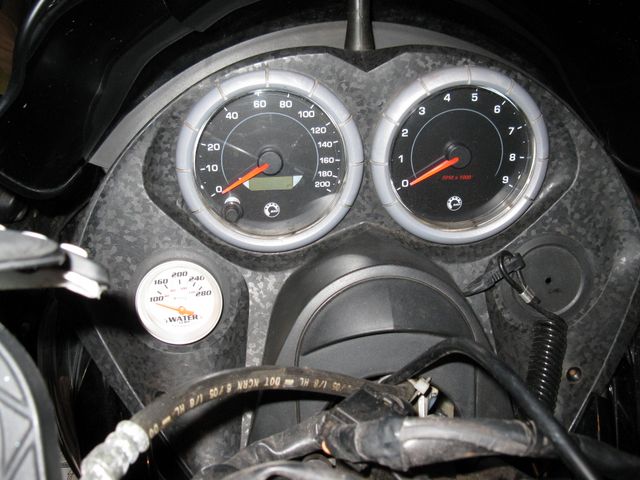
6262 Gauge installed power off
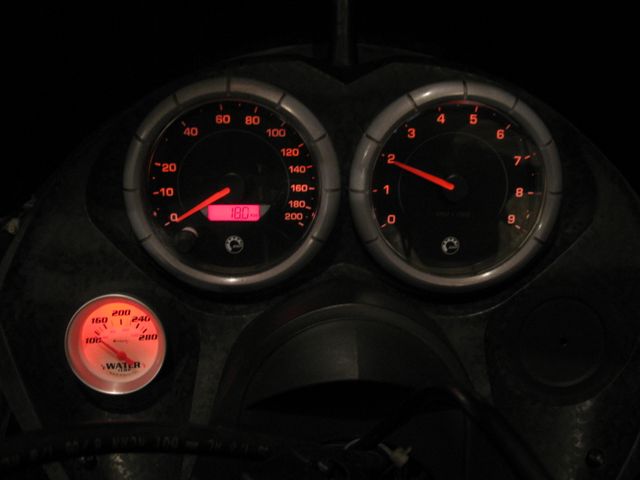
6262 Gauge installed machine running
Cheers, Mike
Copyright © 2025 Michael Smith |