| How To: Painting Successfully with Spray Cans |
|
Having your project professionally painted will realize great results, but it's not always in the budget. Sometimes a professional job is not practical for budget builds of recreational vehicles like bikes, trikes & snowmobiles.
Professionally painted or not, proper preparation of the part is critical to achieving a good result. For example, when using body filler you have to take the extra time to work the filler, sand and repeat before priming.
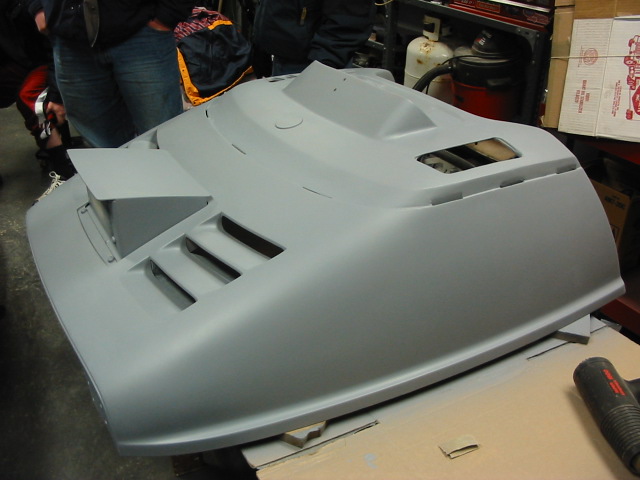
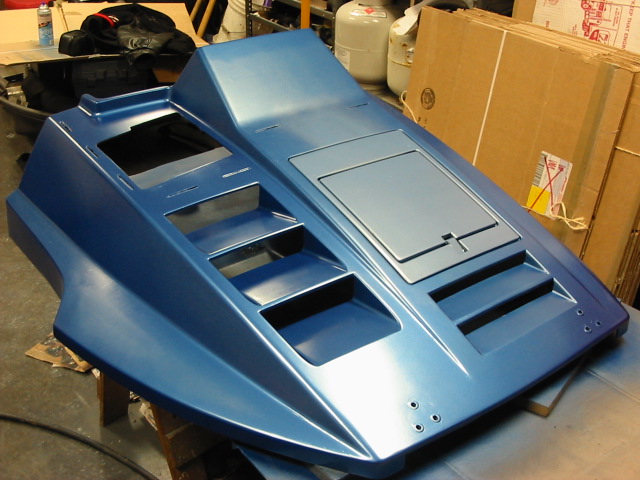
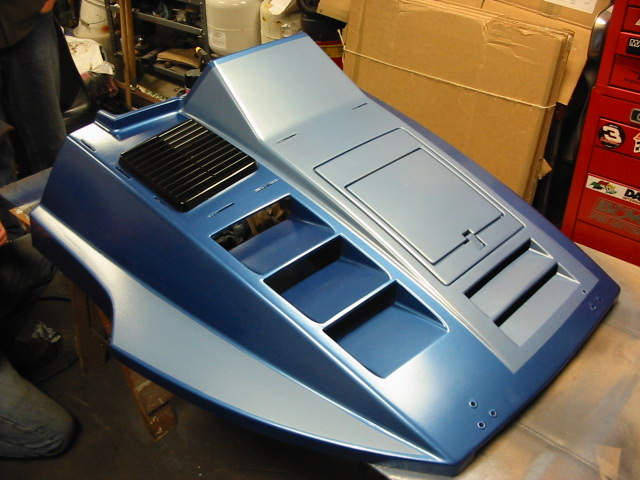
For Project Invader I had some minor body work to complete before painting the hood to fill in a few dings and scratches. All of the sanding was done by hand with sandpaper attached to a long block. Primer was laid down first, lightly sanded, tacked and the first (main) color coats laid down.
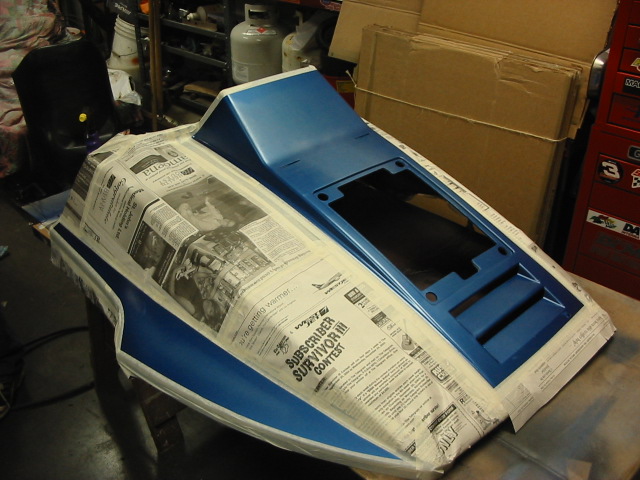
After a 24 hour cure the hood was masked off for the second color which was a light blue.
The final step on this project was clear coat. The color match paint is a matte finish and needs clear coat to add gloss and protection to the delicate paint below.
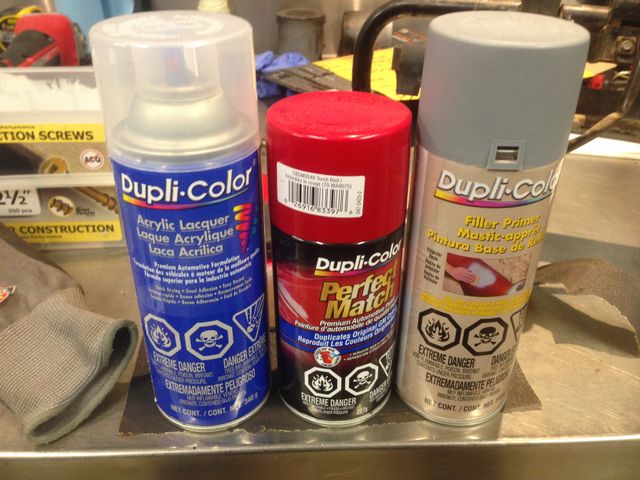
For this project, I chose Duplicolor automotive spray paint from Canadian Tire, purchasing primer, color coat (which dries matte) and clear coat to finish. Reading the directions on each can instructed which products (and part numbers) the manufacturer recommends to use together so that each layer will bond to the previous.
If you use the wrong product, the paint may peel away from the previous layer. Many Automotive Parts stores also sell color match paint in spray cans that they custom mix on site, and is usually a decent quality paint.
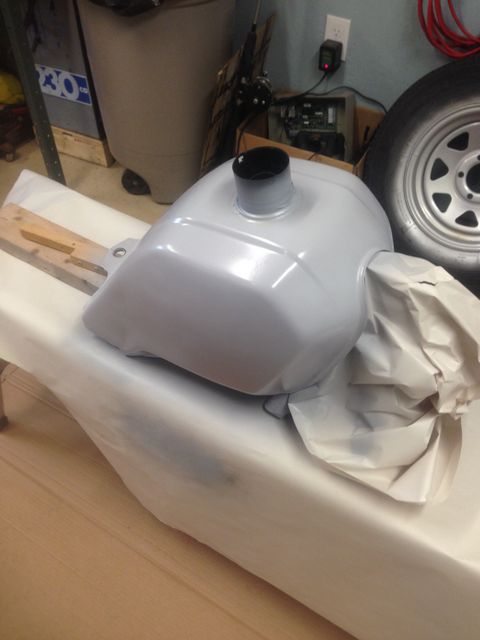
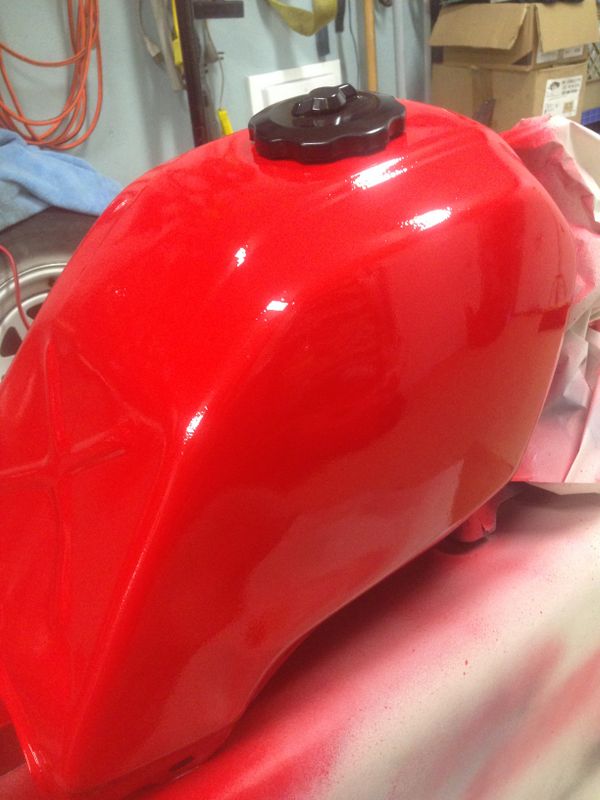
I always apply paint in light coats until a nice uniform color is achieved. Lightly sanding between each coat removes dust that settles while drying. Primer comes first, followed by color finishing with clear. I usually wait 15 minutes between coats, but I let it dry overnight when switching to Color, and to Clear coats. The end result of project invader was a relatively cheap, durable, clean paint job.
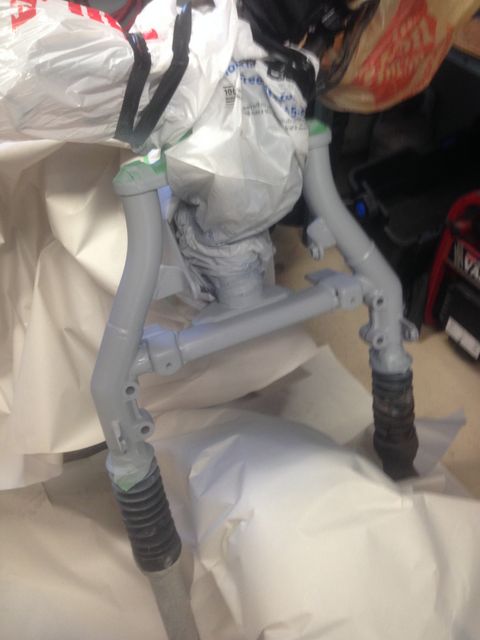
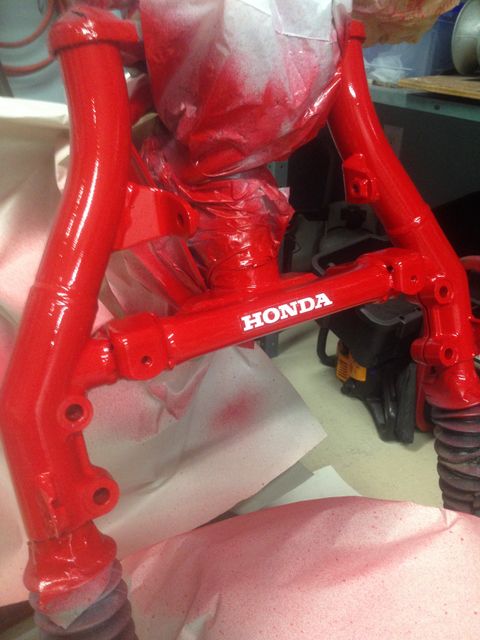
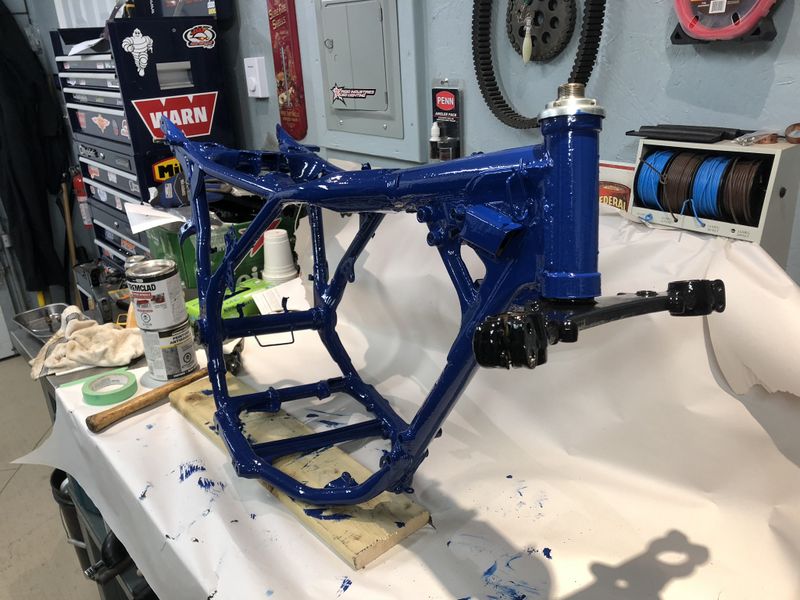
When painting miscellaneous steel parts like brackets, suspension, frame, etc, I usually use standard enamel rust paint. The parts are scraped, sanded, and thoroughly cleaned before painting. When preparation is done right the finish will last a long time. If your painting exhaust, engine, or brake parts make sure you use high heat paints applicable to what your painting.
Cheers, Mike
Copyright © 2025 Michael Smith |