| How To: Repair 2007-2013 Silverado OEM Running Boards |
|
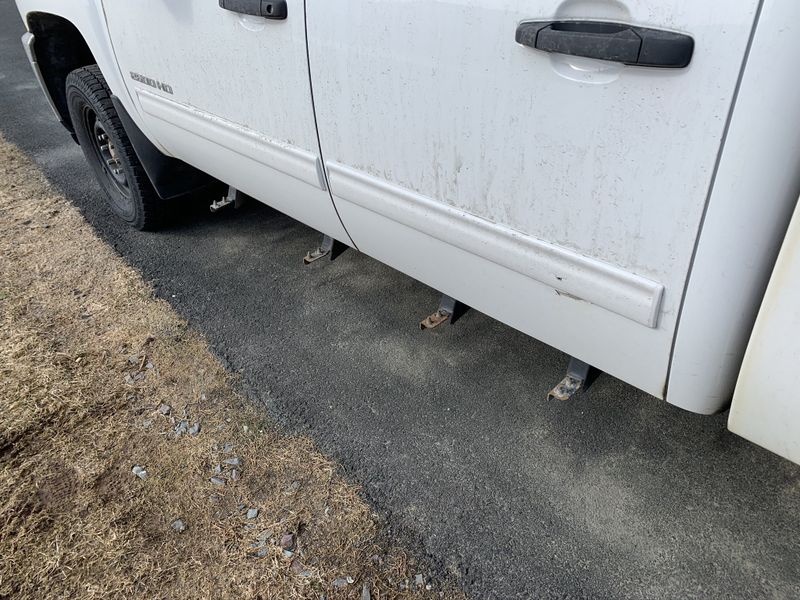
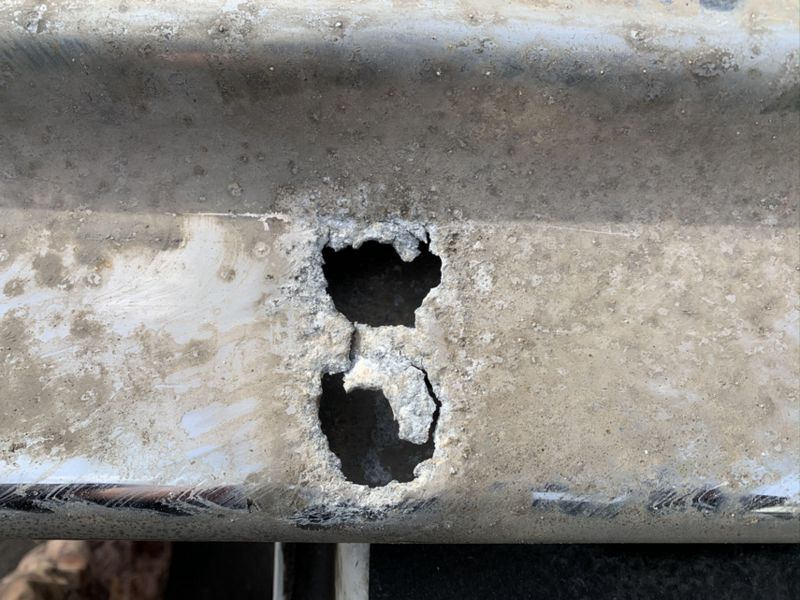
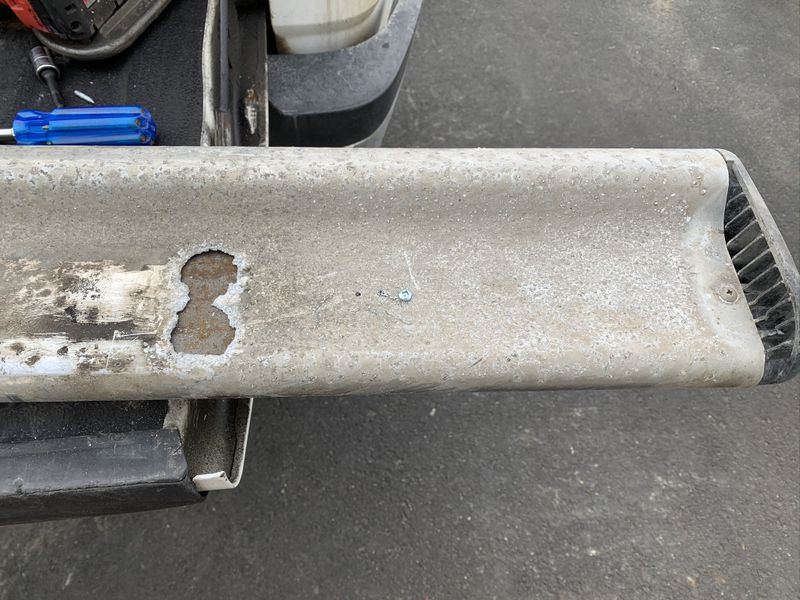
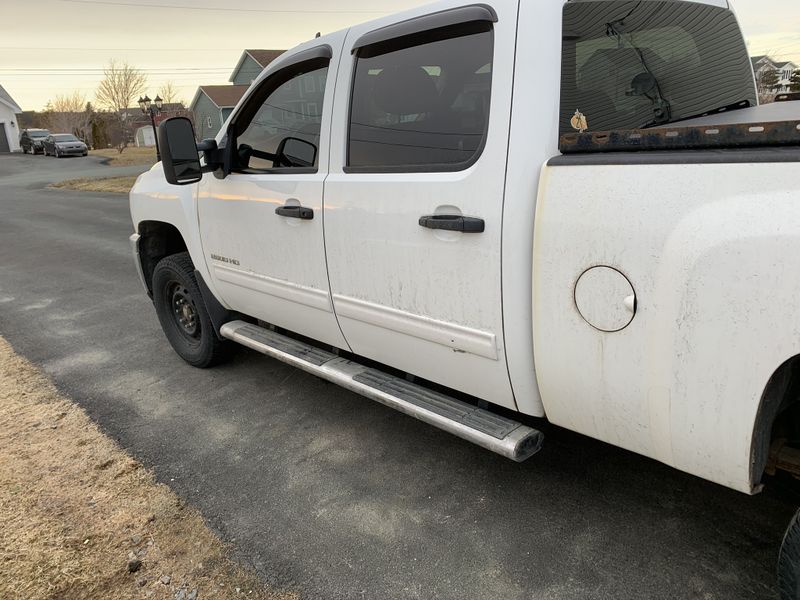
Earlier this winter in the midst of Snowmageddon 2020 and subsequent harsh snowstorms my wife and I managed to break off both running boards on my 2011 Silverado 2500HD, one each. Upon further investigation the mounting points in the running boards were heavily corroded due to galvanic corrosion between the steel threaded inserts and the aluminum running boards.
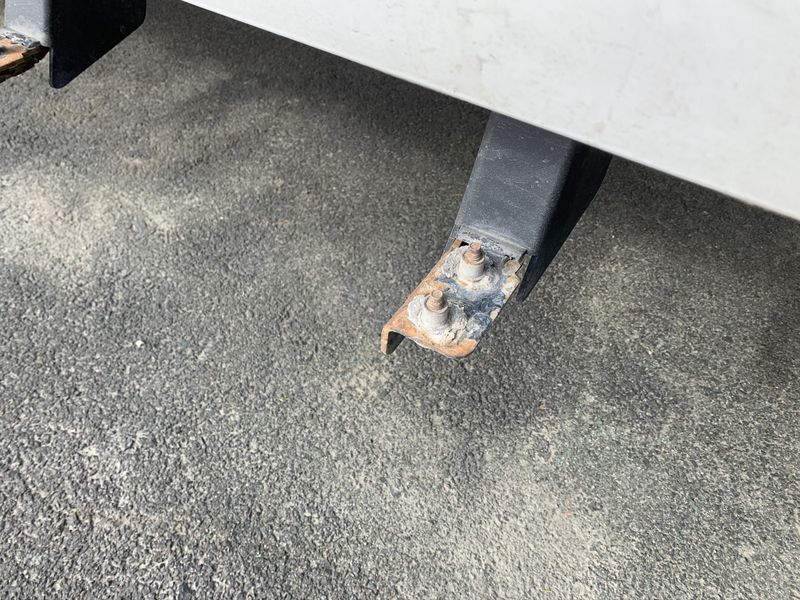
The mounting bolts and threaded inserts were still attached to the mounting brackets!
Vise Grip pliers and a 13mm socket on my M18 impact tool had the bolts removed in no time and they were still in great shape.
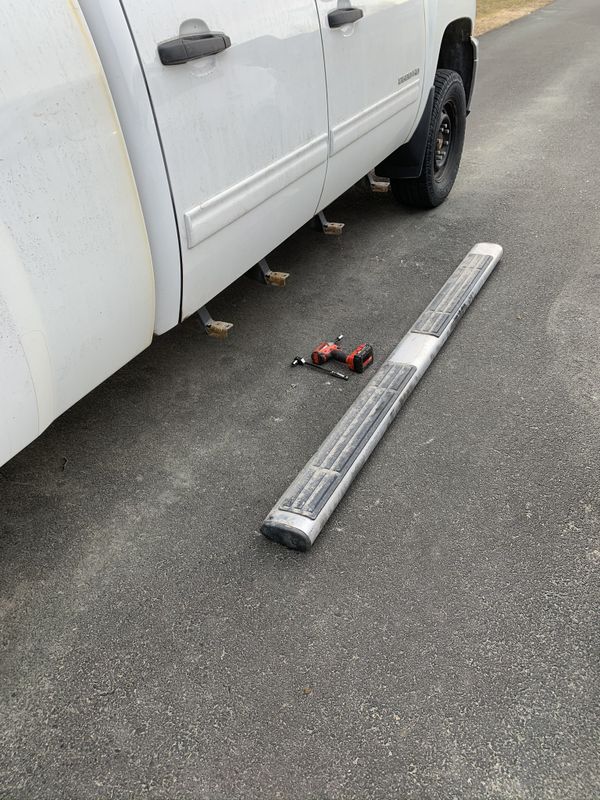
Thankfully all eight mounting brackets were also in great shape and solidly attached to the truck. This reaffirmed my plan to repair my running boards versus replacing them (at an $800-$1000 expense).
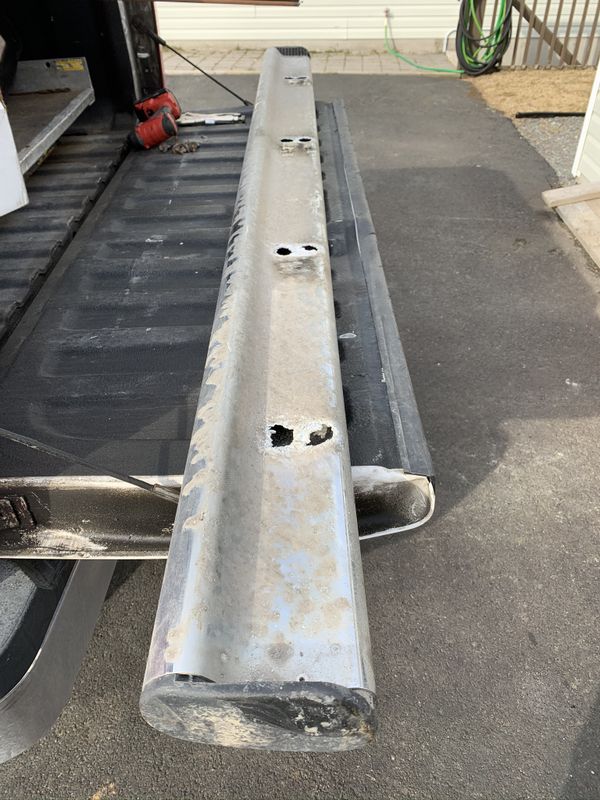
As mentioned earlier, the steel threaded inserts pressed into aluminum and soaked in a winter long bath of salt and water for 9 winters lead to galvanic corrosion between dissimilar metals.
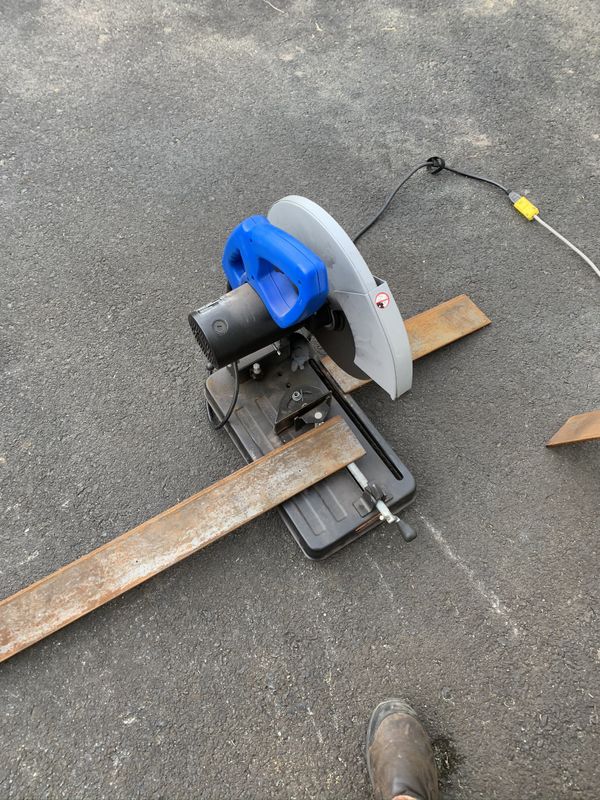
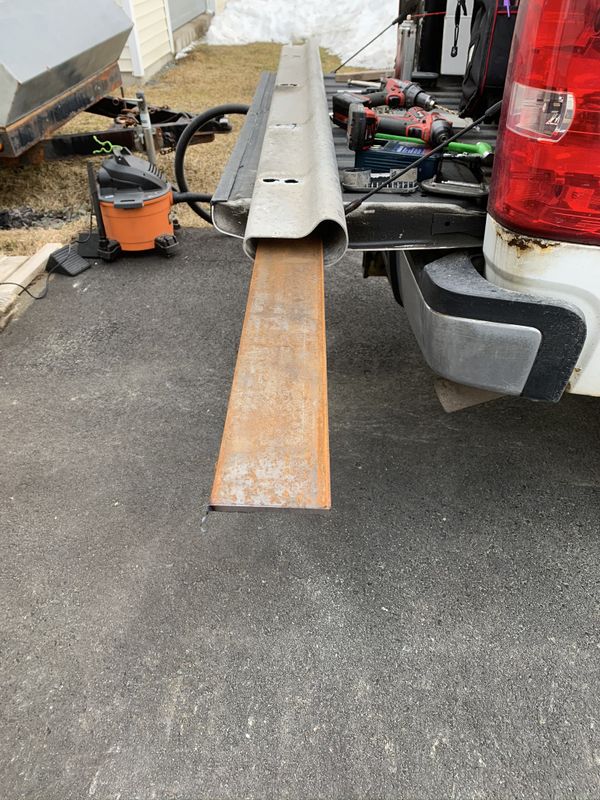
My plan was to install a piece of 4x1/4" flat bar about 7 feet long into the running board and then drill & tap holes essentially replacing the threaded inserts.
The final measurement left the flat bar one inch short on either end to allow room for the plastic end caps to be reinstalled.
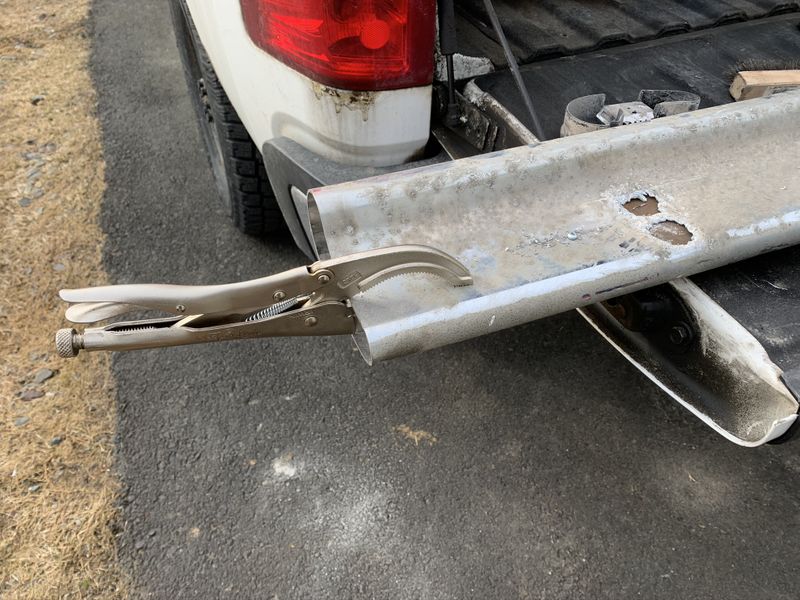
The flat bar was held in place using my duck bill Vise Grip pliers then holes were drilled to install #8 Robertson pan head screws spaced about 12" apart. This would temporarily hold the steel flat bar in place during subsequent steps. I started each hole with a 1/8" quality Walter drill bit and finished with a 5/32" bit which allowed the threads of the screw to hold tightly at least on a temporary basis.
Next the plastic end caps were reinstalled and the running board laid in place on the mounting posts on the truck to mark mounting bolt locations on the new steel.
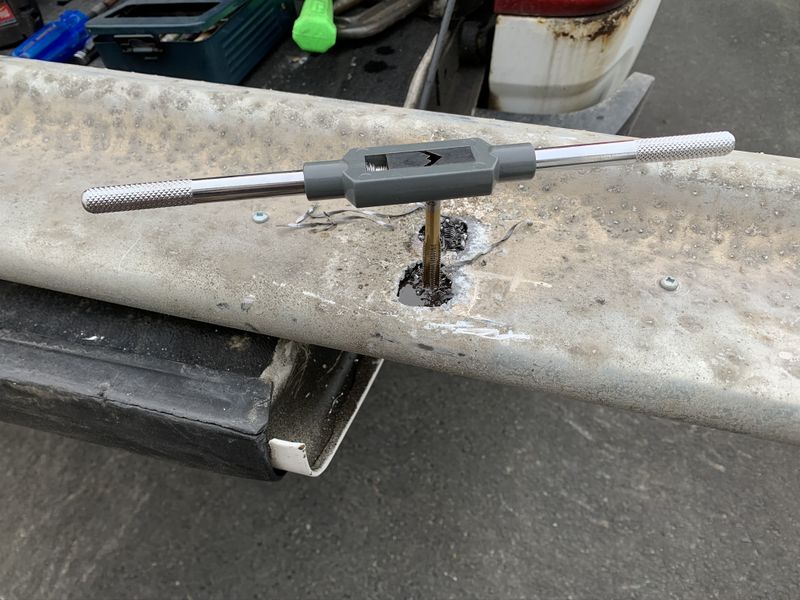
I decided to reuse the original hardware as it was still in great shape. After marking the holes I began drilling with my Walter 1/8" bit finishing with a 17/64". Next I tapped the holes with a M8x1.25 tap matching the OEM hardware. Light oil makes drilling and tapping much easier on your tools and faster overall.
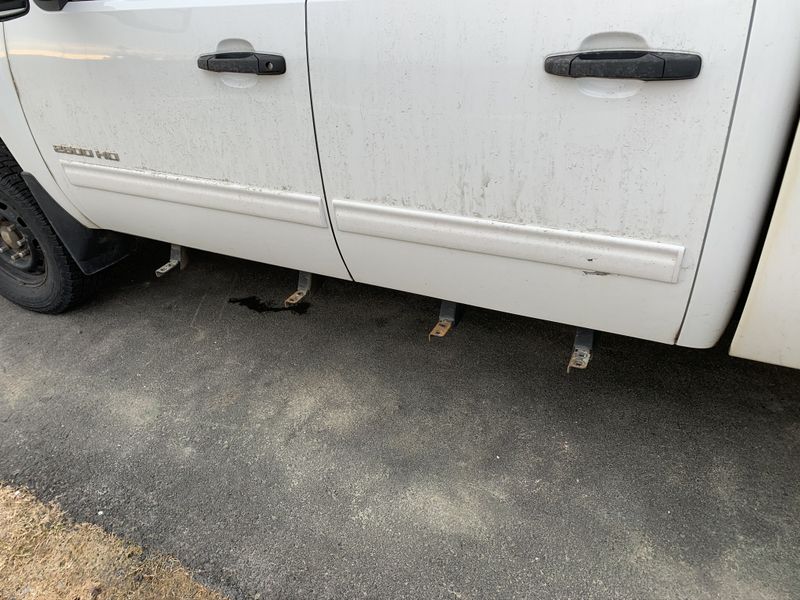
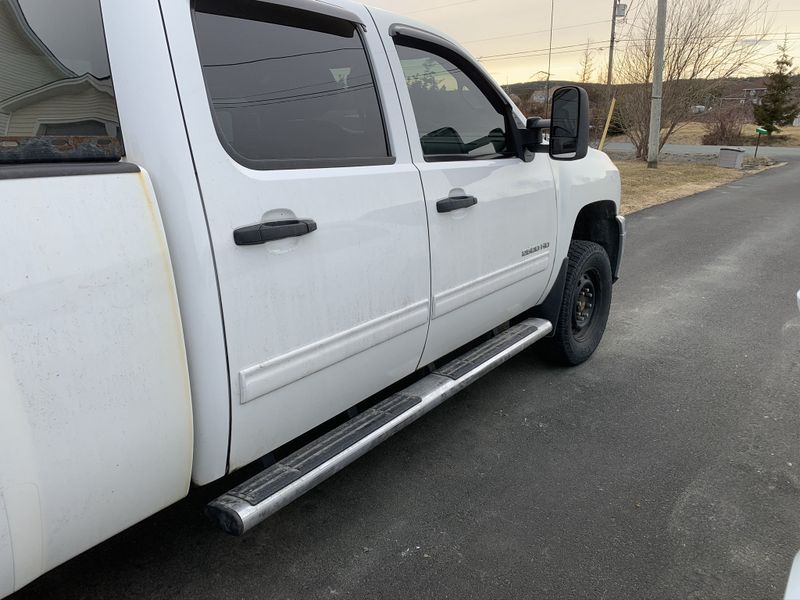
Finally the boards were laid back in place and all eight bolts started by hand. They were finished torqued using my M18 Milwaukee impact tool.
I'm very pleased with this repair. Total cost was $50 and time spent less than two hours including putting tools away. The next time I undercoat the truck I will remove both end caps and liberally apply rust proofing spray inside with the rocker panel attachment. These boards should now last the life of the truck!
Cheers, Mike
Copyright © 2025 Michael Smith |