| How To: Install an LED Light Bar |
|
Installing a modern LED light bar is a great way to upgrade lighting on your vehicle whether be car, truck, ATV or snowmobile. There are lots of products out there ranging from cheap EBay units to expensive Rigid Industries units. With light bars I find that you get what you pay for - to a point. I've had the cheap EBay units and they fogged up and stopped working (partially or fully) after about 12 months on my truck. The Rigid lights are good, but are crazy expensive. Here in St. John's we have a great local shop NL Lightbars that are fantastic to deal with, offer great warranty, excellent service and good prices. My experience with their product has been great quality, very fair prices and a great warranty (lifetime on many of their products).
First you have to choose the size and style light bar to suite your needs. I've installed a dual row 20" on my Silverado because it fit the bumper opening, a bunch of the Hyper Flood 12" bars on ATV's including my own Foreman and Dad's Can Am, plus many more.
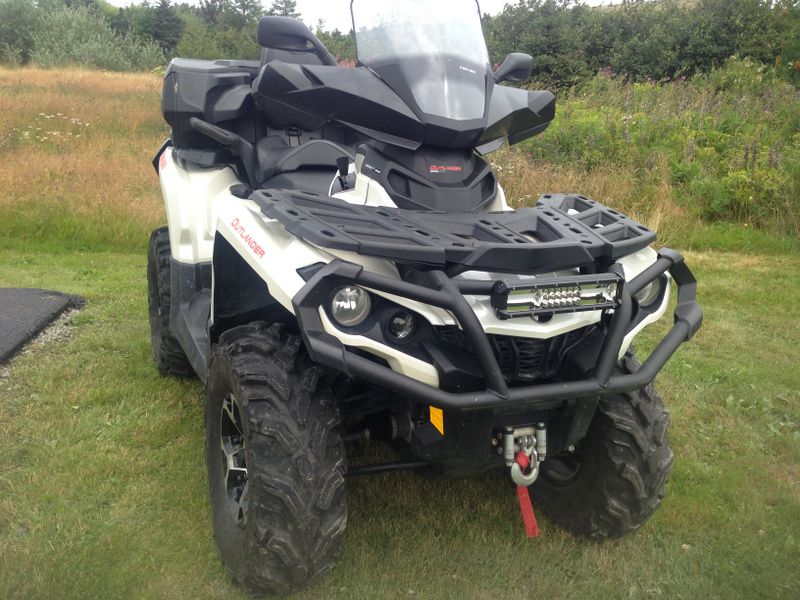
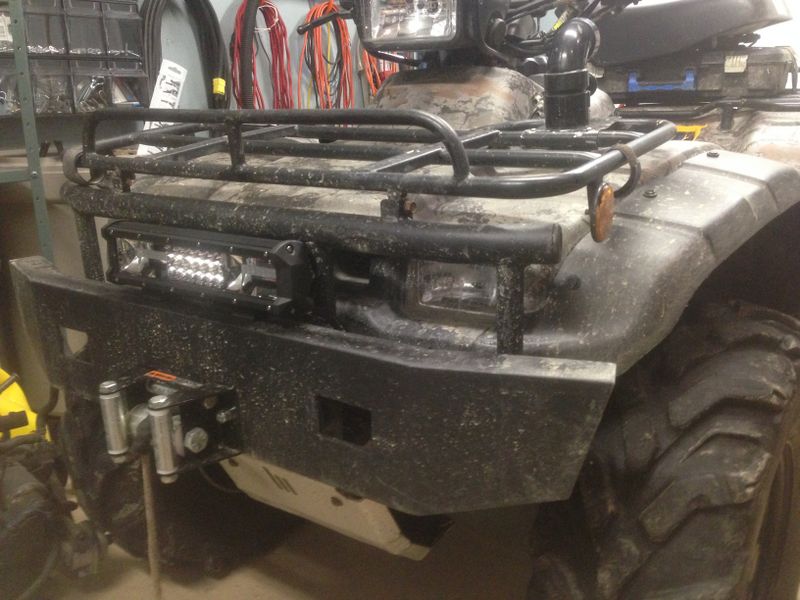
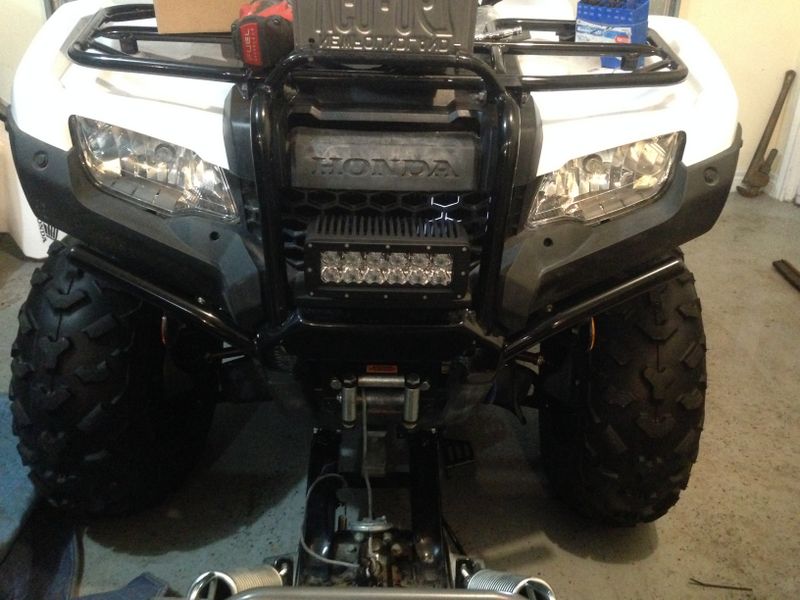
I like to mount the bar so its fairly high, does not block access to the front rack, isn't blocked by items ON the front rack, and is inset and not easily damaged by trail obstacles. On my Foreman the light fit great on my custom bumper, on Dad's Can Am it bolted cleanly to one of the front bumper tubes, on Lester's Honda 420 ATV an 8" dual row fit perfect inside the grill/rack support.
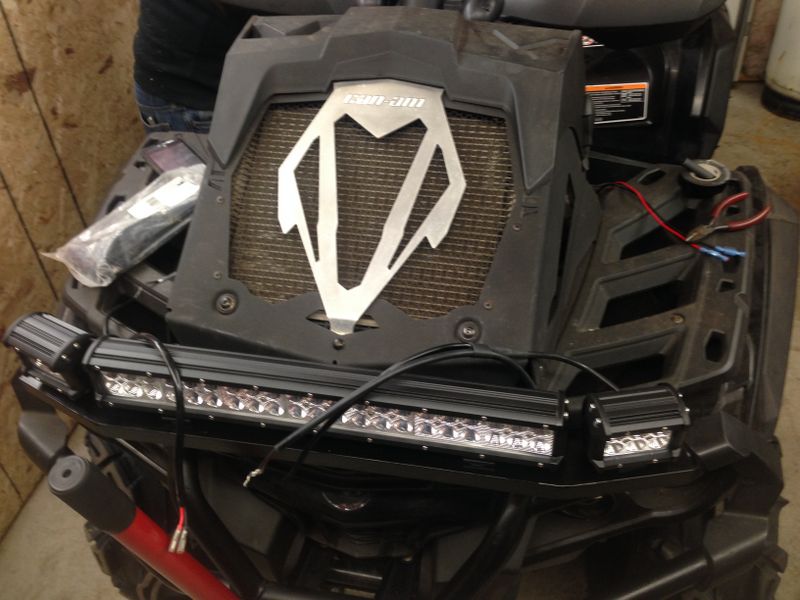
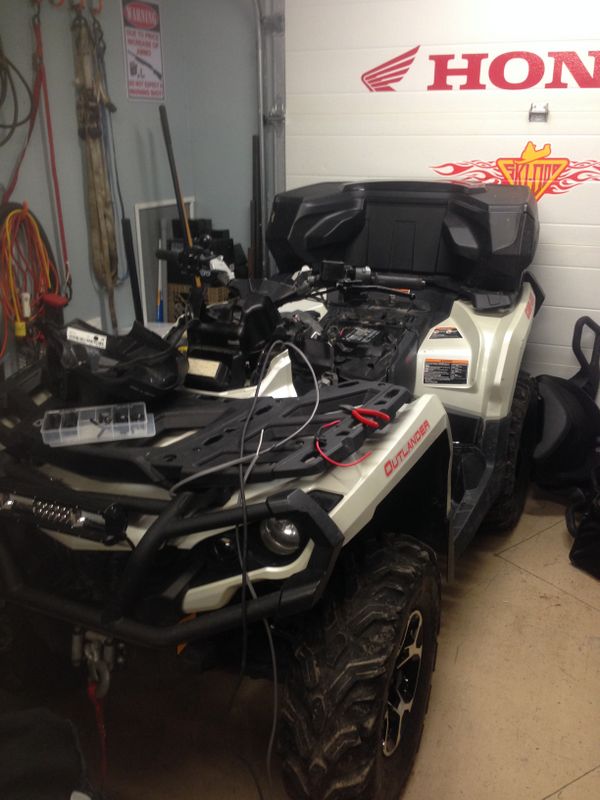
For a lot of lights sometimes you have to get creative, Maffer welded up his own custom mounting bar to attach a 30" bar and two cubes on the front of his Can Am Outlander.
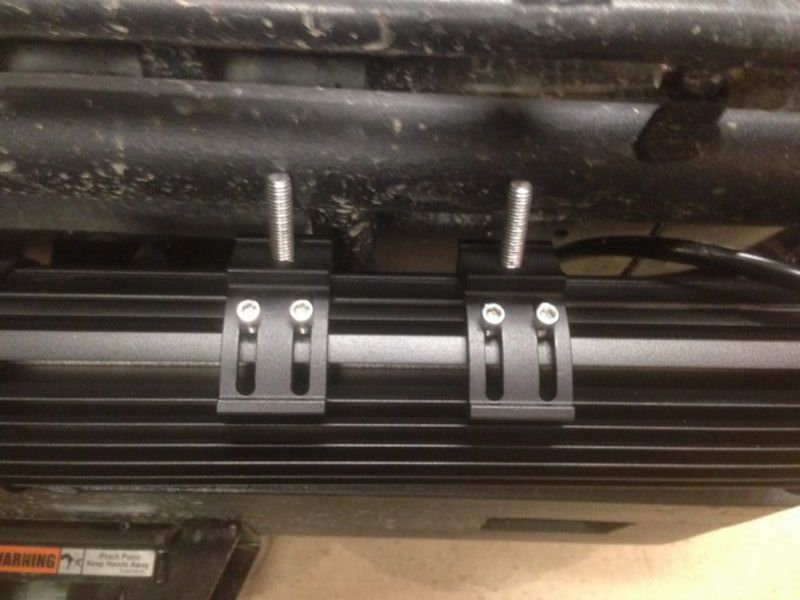
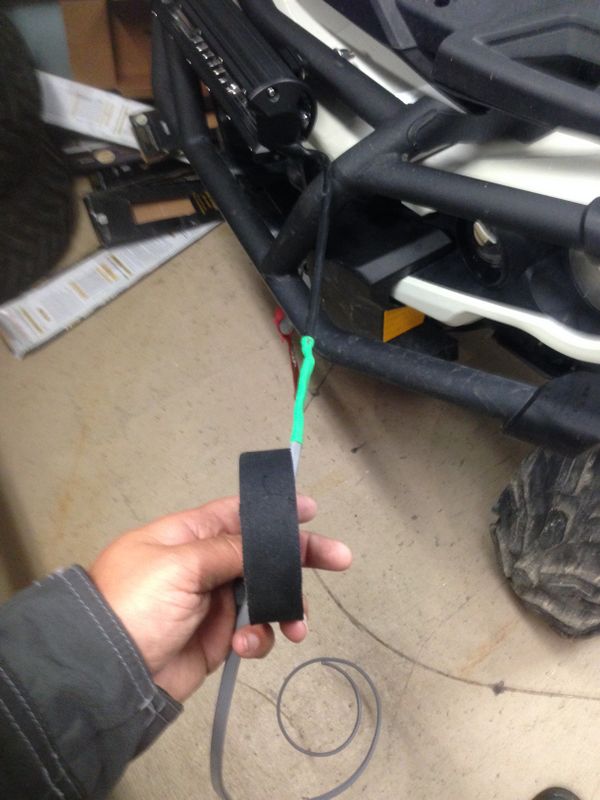
Some lights come with end mount brackets, many come with these slip brackets which are more flexible for mounting as you can move them side to side and angle the bar up or down. Keep in mind the mounting options and being able to access nuts/bolts when choosing a light bar for your project.
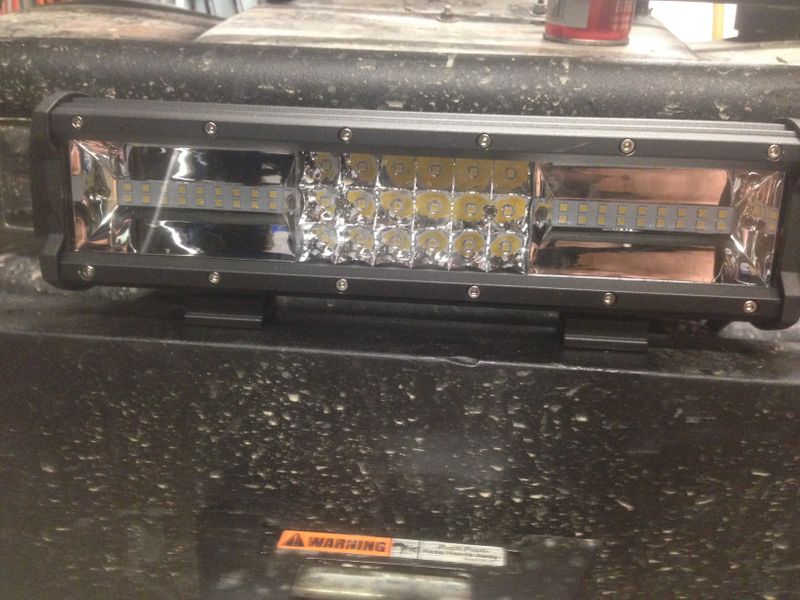
The hyper flood light bar has a triple row spot pattern in the centre of the light with a hyper flood reflector on each end which casts a lot of light immediately in front of the vehicle. I find a spot pattern great on a highway vehicle, but for an ATV which moves along the trail much slower the hyper flood illuminates all trail obstacles much better.
Next is wiring. I've used both the pre-fabricated harnesses from various suppliers, and I've also made up my own for many installations. Many prefab harnesses wire to the battery and use a switch to turn the light on/off at any time via a relay. In a highway vehicle I prefer to wire the bar to the high beam headlights via a 12 volt relay so that the light bar only comes on when high beam is activated. This means you are not accidently blinding other drivers and gives the option of not having to run a wire inside the cab for a dash mounted switch. For ATV's I also wire the lightbars the exact same way but for a different reason. On many ATV's there's little difference between Low and High beam, wiring the light bar to the high beam gives a lot more illumination and I can avoid installing the aftermarket switch. Most switches are only water resistant, plus you have to find a place to drill & mount it. My ATV's see a lot of weather & mud, wiring the bar this way saves a lot of future headaches.
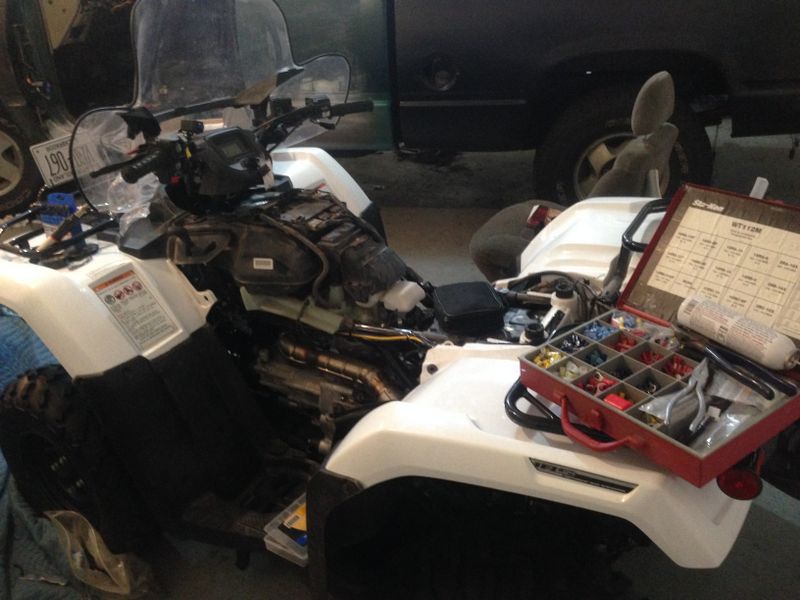
To run the wires you will have to undoubtedly remove some plastics from the bike. Remove what ever is necessary to make the job easier and so that the wires are ran well. Avoid moving parts, sharp metal edges/clips/etc, areas where the wire could get snagged by trail debris etc. Following factory wiring usually saves quite a lot of guess work.
Many pre fabricated harnesses come with a nice black vinyl jacket, if you make your own harness you want to protect the wire further than the standard wire cladding. For neatness I usually try to match what the factory uses, you can use the standard ribbed split loom, Can Am's use a cloth tape similar to hockey tape but better quality called Tessa Tape which is what I used on the harness for Dad's bike. I always solder & heat shrink all electrical splices; crimp & solder ring terminals; crimp & dielectric grease spade connectors.
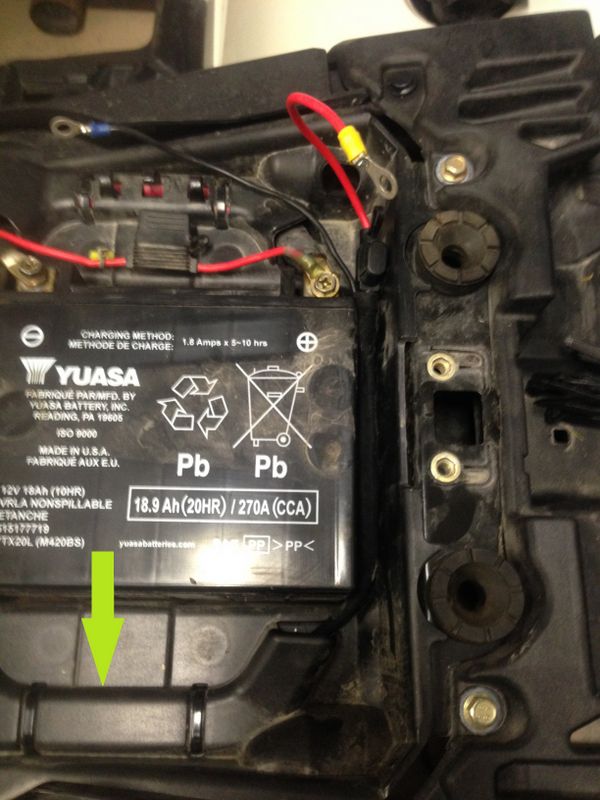
Dad's Can Am had an unused wire channel (arrow) so I ran the harness here securing it with good quality T&B ty-straps in factory locations. I always use a fuse holder on the Light Bar power feed going to the relay, I try to match the fuse holder to take the same style fuses as the bike uses. Can Am uses mini blade fuses, older Hondas use large blade fuses.
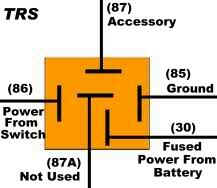
To wire a relay there are four pins some have 5 - if so you don't use the centre (87a) pin. Pin 87 is the positive wire out to the light bar. Pin 30 is the fused power in from the battery. 85 and 86 are not polarity sensitive, one needs ground, the other is the positive power from your switched source. I usually run pin 86 to the positive high beam wire and pin 85 to the negative wire at the headlight. Pin 87 is the positive feed to the light bar, I usually run the negative feed for the light right from the battery. Wiring in this manner means you are not adding extra electrical load on the high beam circuit on the bike, but just taking a signal from it to operate the relay.
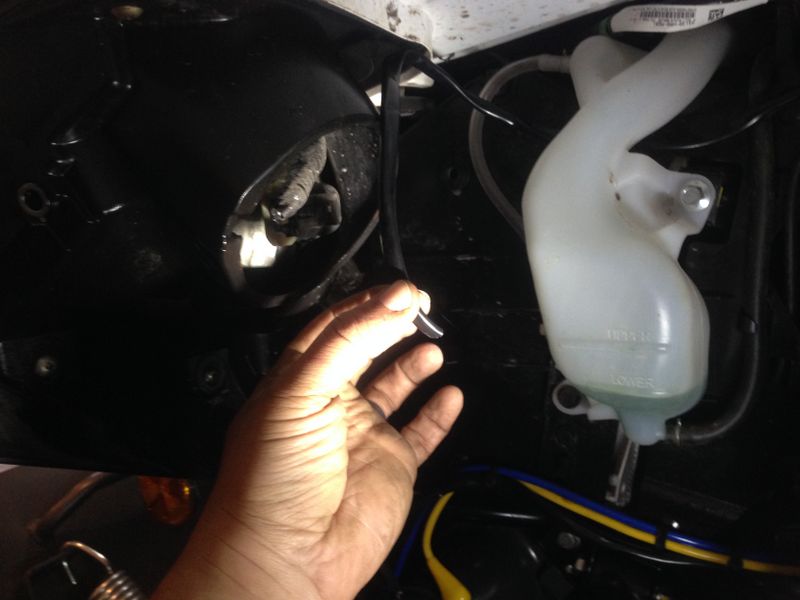
I usually pick up the headlight signal right at the headlight, depending on your application you can often pick up this signal elsewhere but sometimes means removing the front plastics to access the bike's factory harness.
When you are finished, make sure your new wiring is very secure. Trail debris, accumulation of Bog and/or Ice are all valid concerns on an ATV that will absolutely damage a poorly secured harness on the trail.
My 1998 Forman with stock Halogen triple headlights.
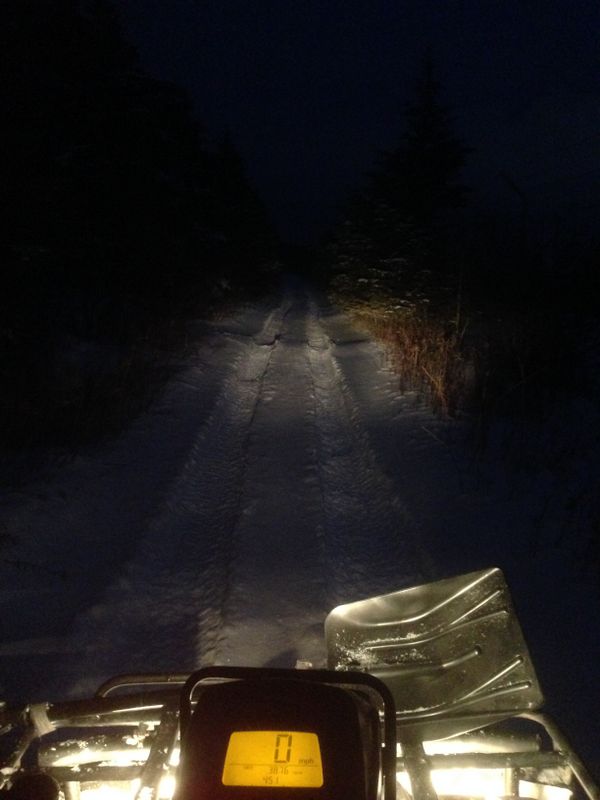
Same bike with the 12" Hyperflood light bar turned on!
Cheers, Mike
Copyright © 2025 Michael Smith |