| How To: Rebuild a Honda Snowblower Crawler Gearbox |
|
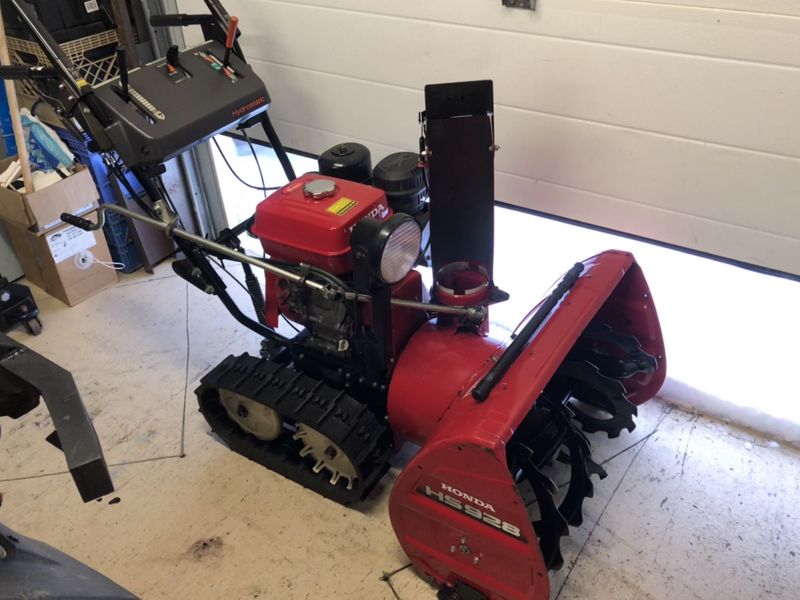
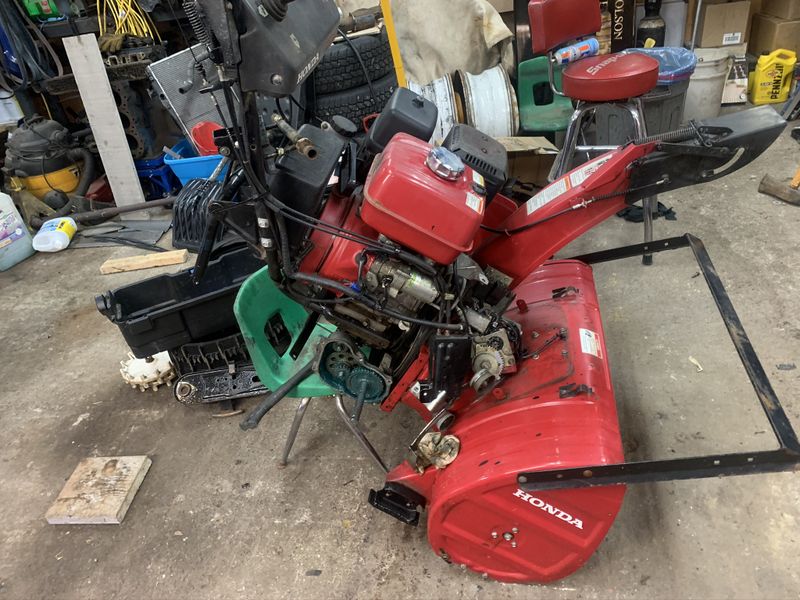
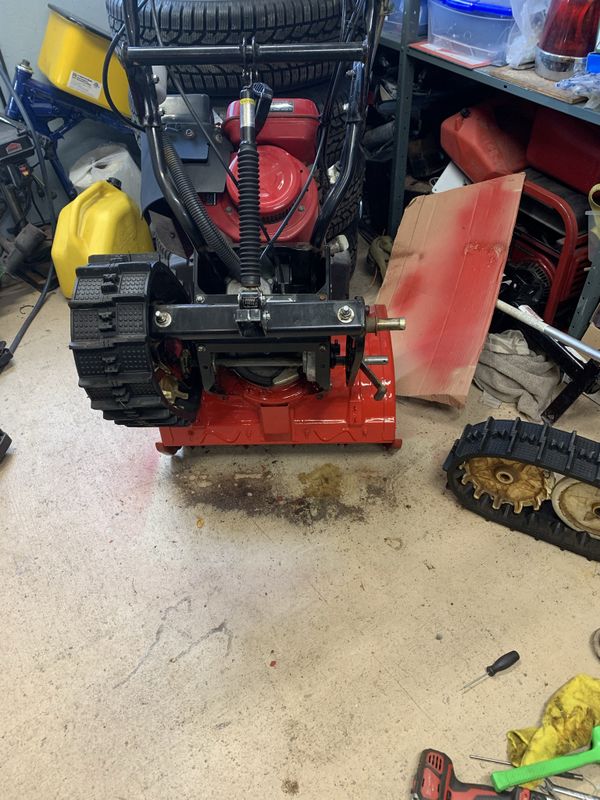
In 2017 my Honda HS928 Snowblower had been through eleven Newfoundland winters, and racked up a heck of a lot of hours. It rarely cleaned only our own driveway, I love helping neighbors especially after a major storm so my blower has quite a few hours on the clock. A well known repair on these units is the track drive final gearbox failure which will leave the machine unable to move. The drive system consists of a Hydrostatic Oil Pump which is controlled by the lever on the control panel. Power is fed to the tracks through a gear case which is grease filled and not 100% sealed. When diagnosing a possible gearbox failure, be sure to check and eliminate other easier potential issues such as the engagement lever at the rear of the machine accidentally being switched to disengaged, and inspect the pins on the left & right drive wheels to ensure they are not broken or missing.
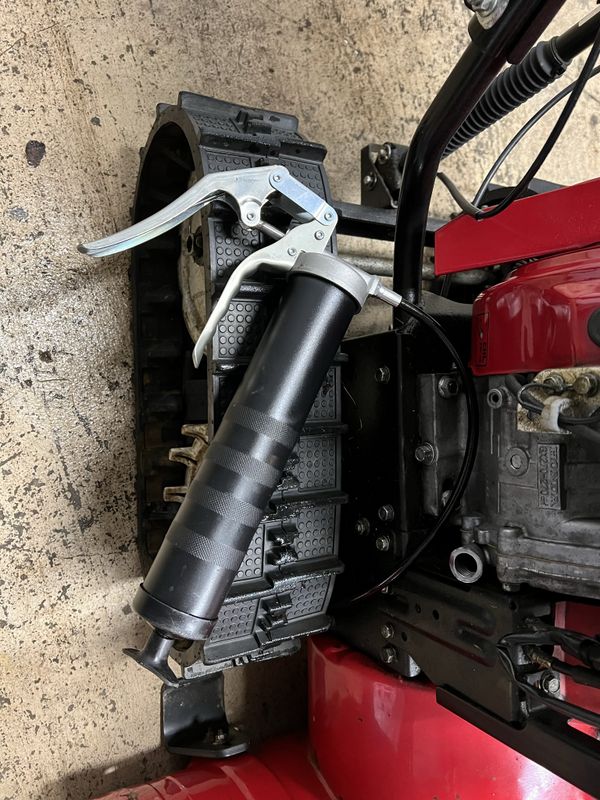
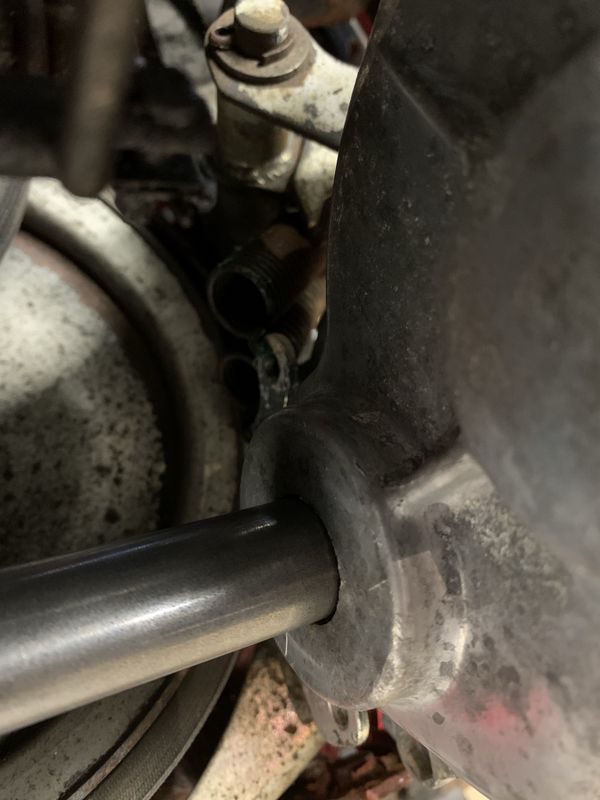
There is a grease fitting behind the right side track that isn't listed in any service literature for these machines. Greasing this fitting regularly can help extend the life of these gear cases which fail in a few different ways. Its intended to lubricate the center bushing but it will push grease into the gearbox as you over grease the fitting. Most people make this repair after the blower breaks and stops moving. I inspect my machine regularly and noticed that there was a lot of free play (6" movement) pushing/pulling the machine forward and backwards in the garage. Another way to inspect is to lift the Snowblower up and check for driveshaft endplay where the crawler drive shaft exits the gear case on the right side. Any end play here is a sign of a failed/failing lower bearing.
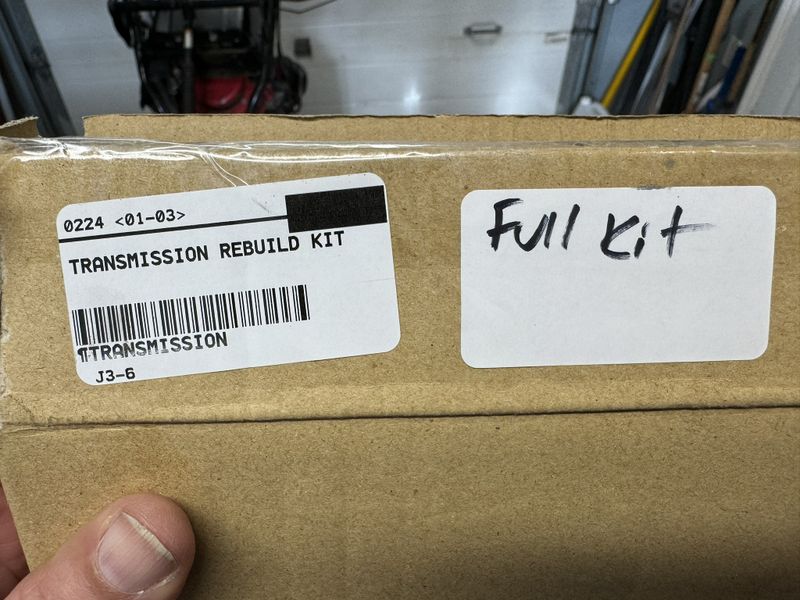
Fortunately the good folks at our local dealer Honda One in Mount Pearl, NL have put together a complete kit for properly performing this repair.
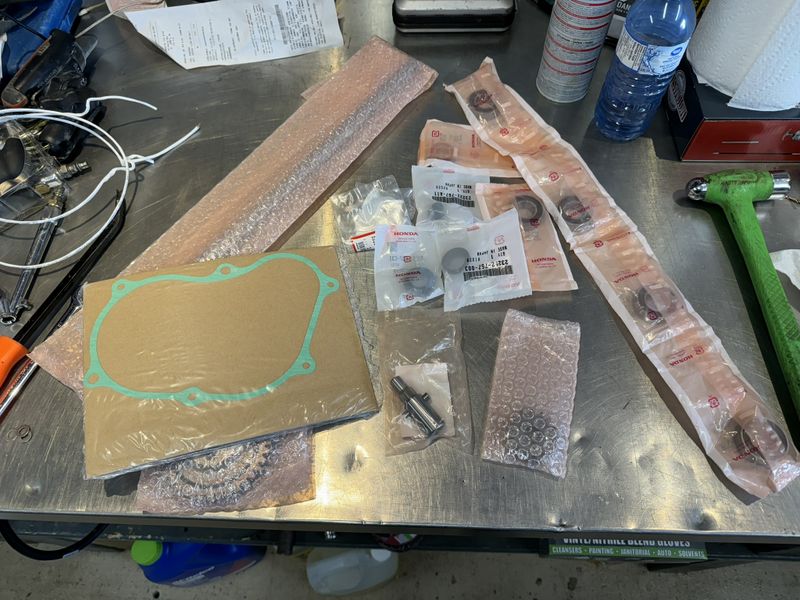
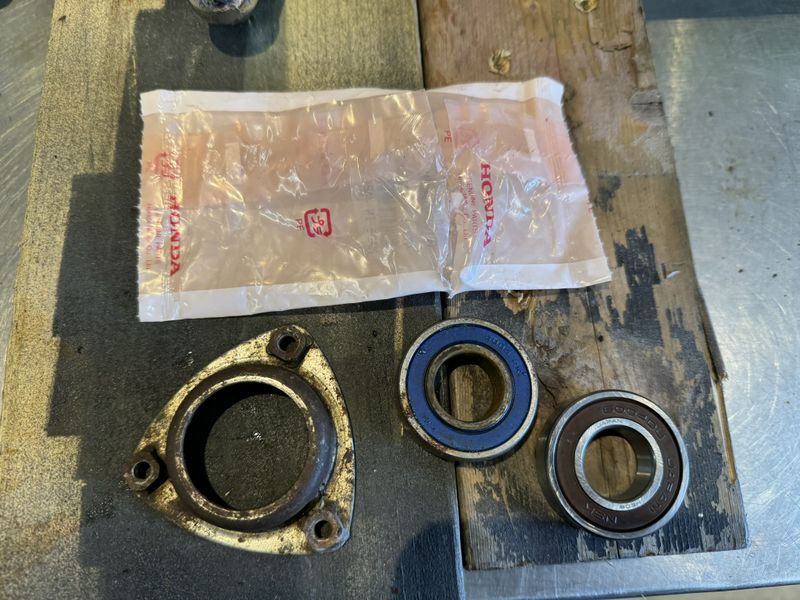
The kit includes all the parts known to commonly fail in this gearbox. The kit includes a new lower gear, centre small gear & post (the remaining gears are not known to fail), a new drive axle, and all bearings, bushings & seals inside the case. Additionally their kit includes replacement bearings for the drive axle support bracket on the left side and bearings for both track support brackets. If you take on this job, don't cheat and replace only visibly broken parts, install the complete kit to maintain reliability of the machine.
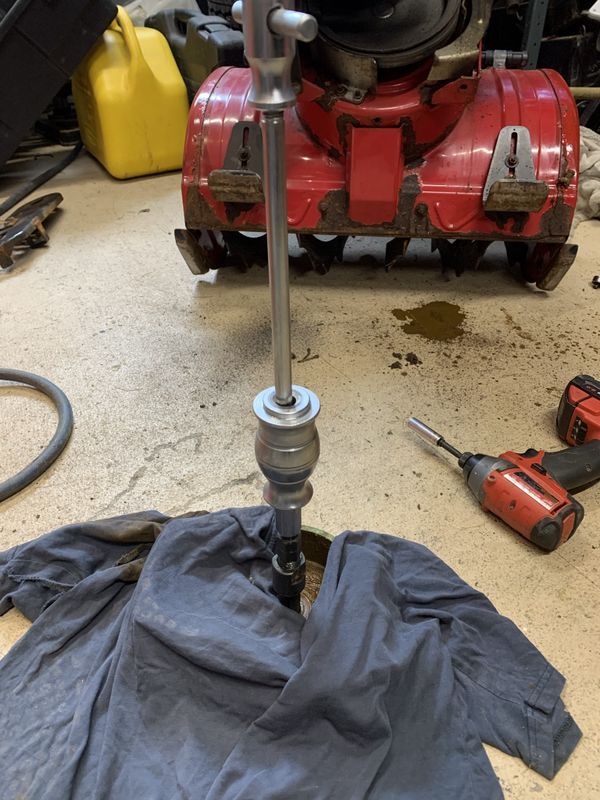
I begin disassembly by turning off the fuel switch, draining half of the fuel from the tank and all of the fuel from the carburetor, then stand the machine up on the bucket and securing the handle bars of the unit to an anchor point in the shop with a strap. Remove the pins from the drive wheel and idler wheel, both will slide off along with the track together if you pull each wheel at the exact same time.
I always keep my machine doused in Fluid Film so everything was in great shape and rust free, many customer machines I've fixed are good and rusty, which makes them harder/more expensive to work on when parts are seized.
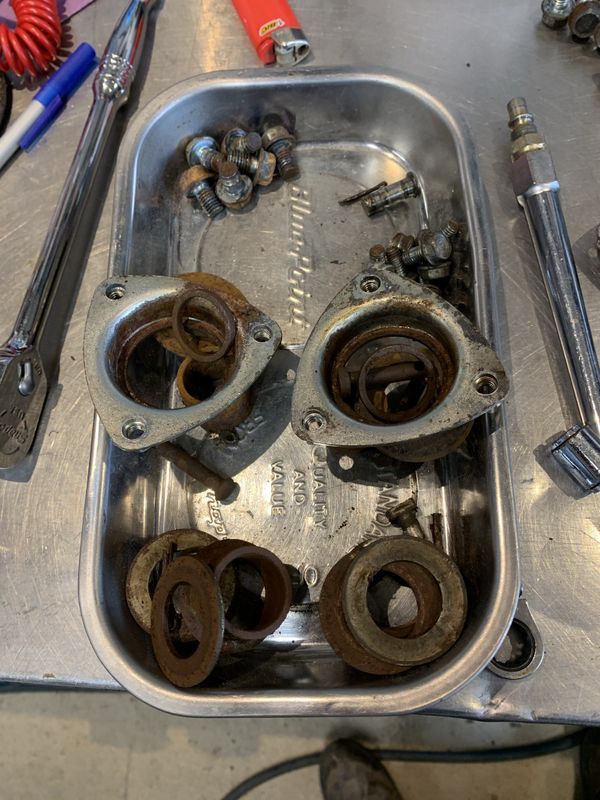
Take pictures of all the spacers and washers behind each of the wheels to use as a reference during reassembly.
Here's a quick pic of a customer's rusty machine in case you forgot! There is another spacer and Pin with one flat side behind this track support bracket.
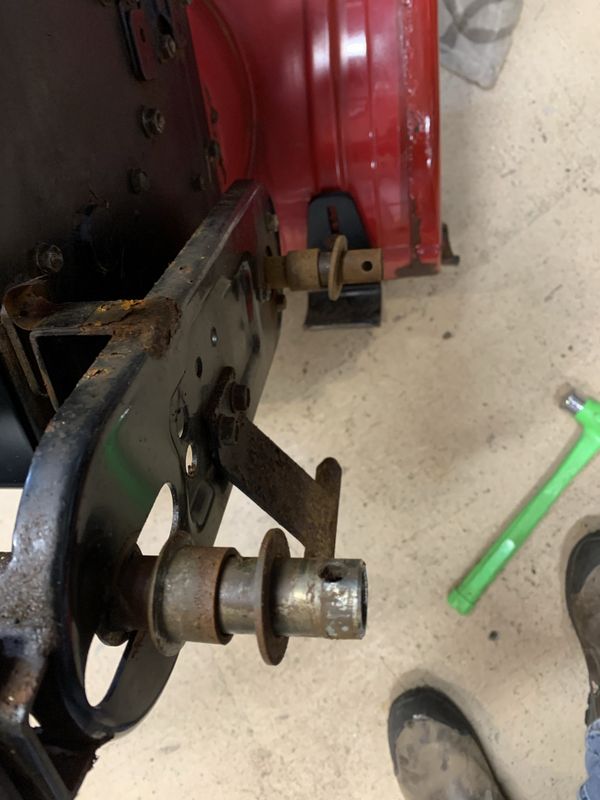
Keep your parts neatly organized! To remove the crawler drive support brackets, loosen the outer 14mm nut on the track tension adjuster, each track support bracket will slide out and come off the machine. Next I pull the top pin for the height adjuster piston, and swing the rear crawler frame and the height adjuster piston up and out of the way securing it to the handle bars with a tie strap.
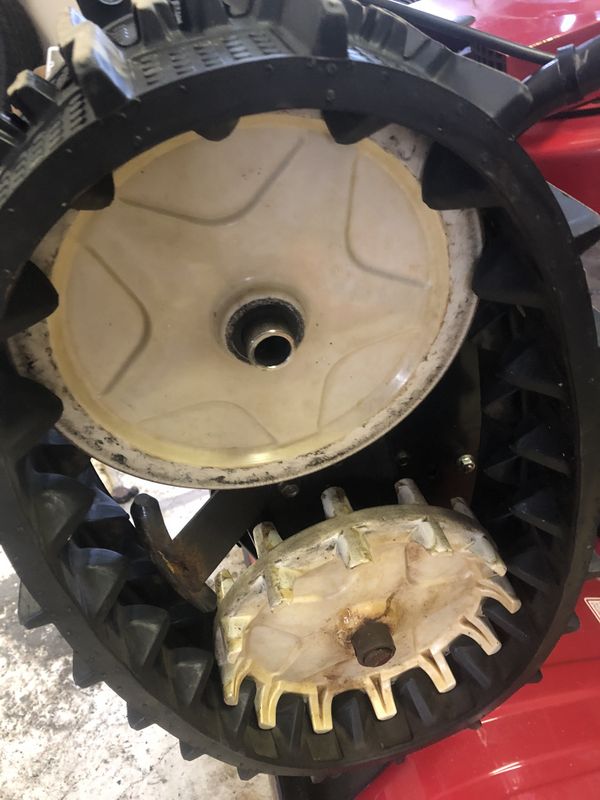
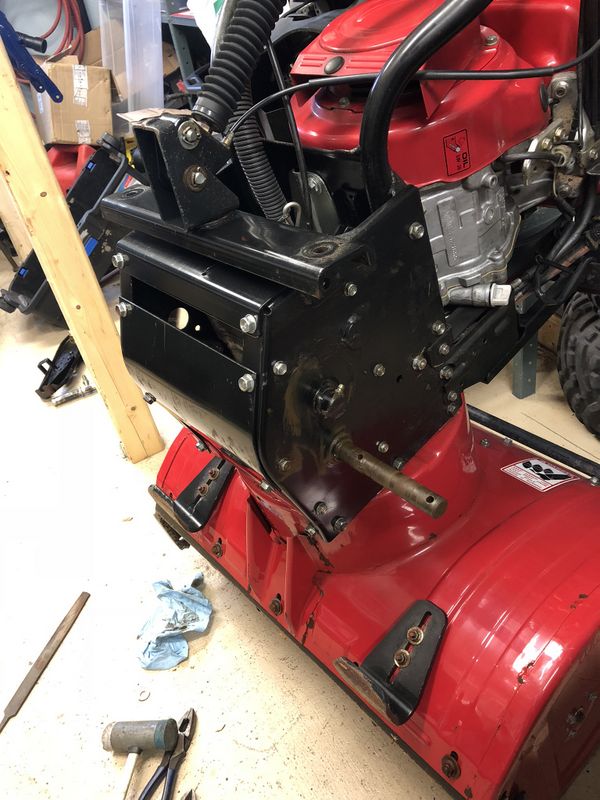
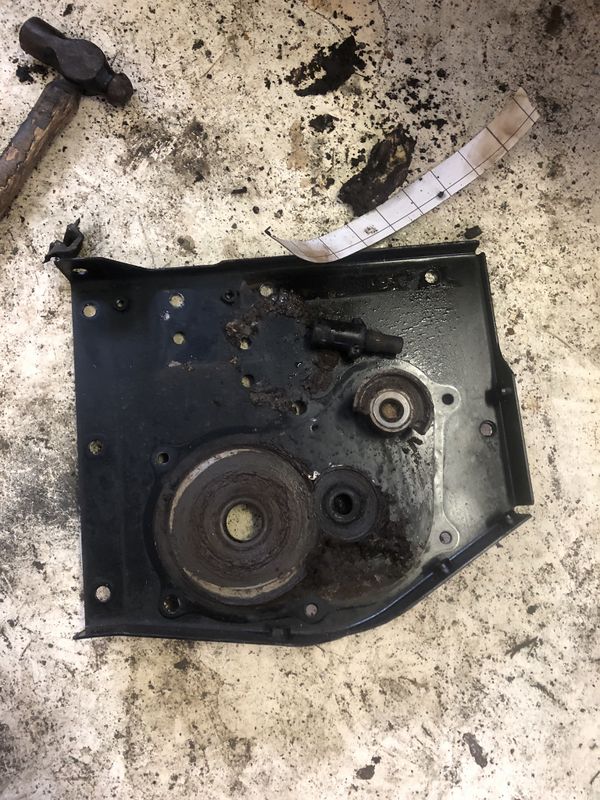
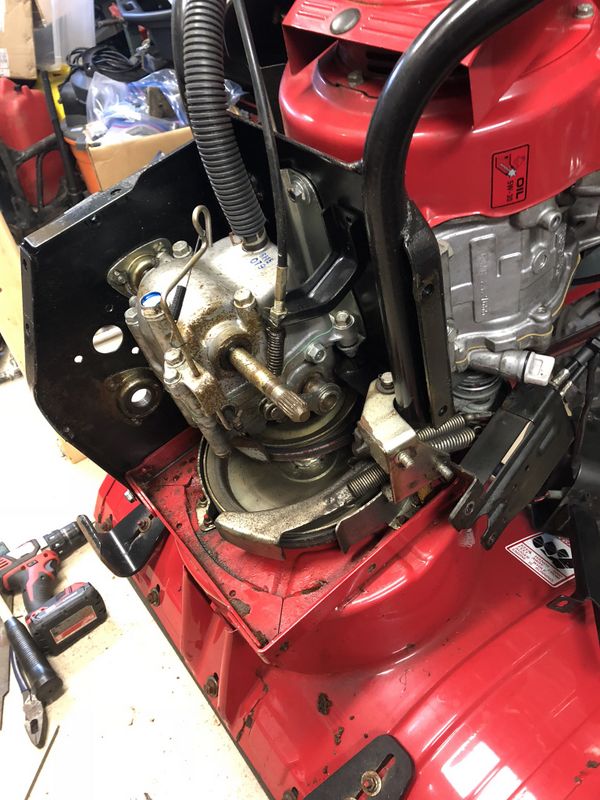
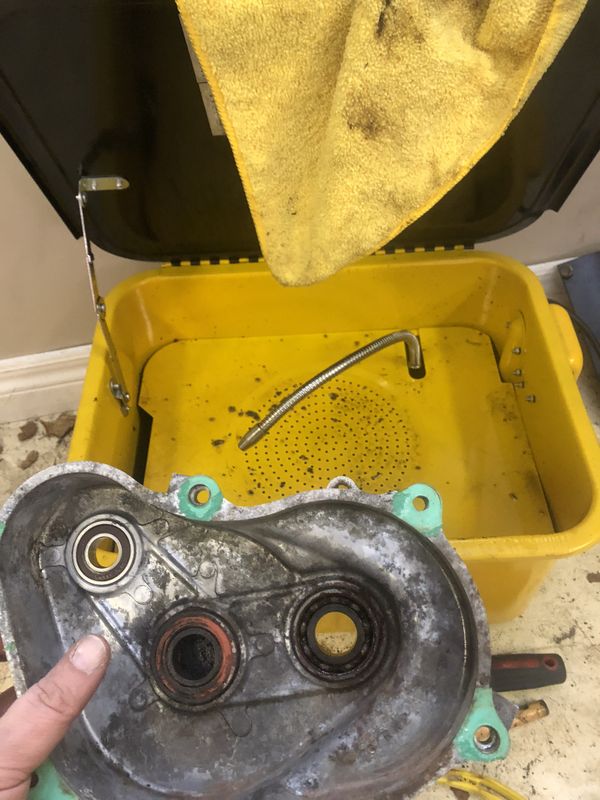
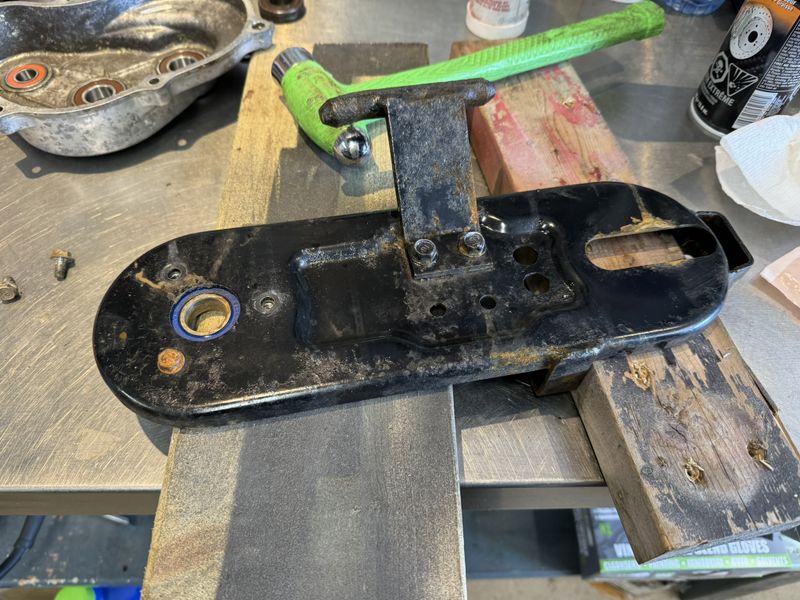
The outside cover of the gearbox is also the Right side frame plate of the Snowblower (black). Remove 12mm bolts securing rear & bottom skid plates, then remove all 12mm bolts holding the side plate to the bucket & engine mount plate (there is one on top which necessitates removing the Headlight Bracket and plastic Belt Cover). Next remove two 12mm nuts holding the belt tensioner pulley bracket, and finally all the 10mm nuts & bolts that attach the side plate to the aluminum gearbox housing. The aluminum gear case is mortised for the inside 10mm nuts so you don't need a wrench. However have your finger in place to catch them and be careful not to loose any of these nuts as they are not attached to nor pressed into the case. Note: two of the 10mm bolts are different than the rest as they have wide collars for aligning the cover & case during re-assembly.
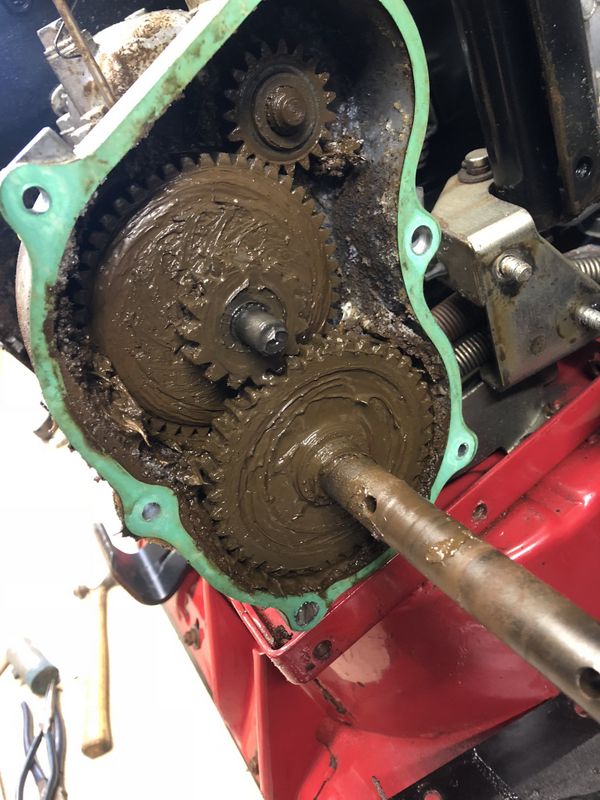
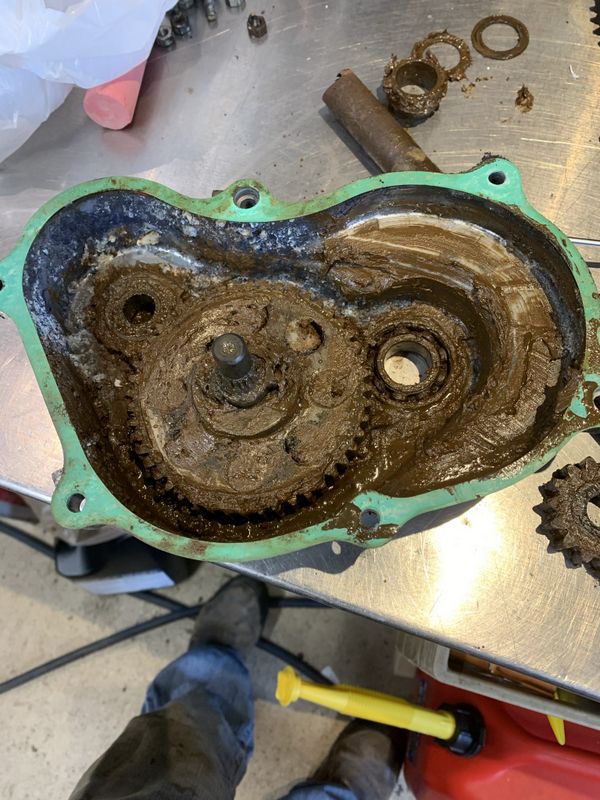
The inside of most transmissions are extremely dirty, sometimes wet, often rusty. Many I've worked on that haven't been maintained over the years have very little grease inside, I've always added more to mine through the grease nipple but since they are pretty well empty from factory it probably still wasn't enough.
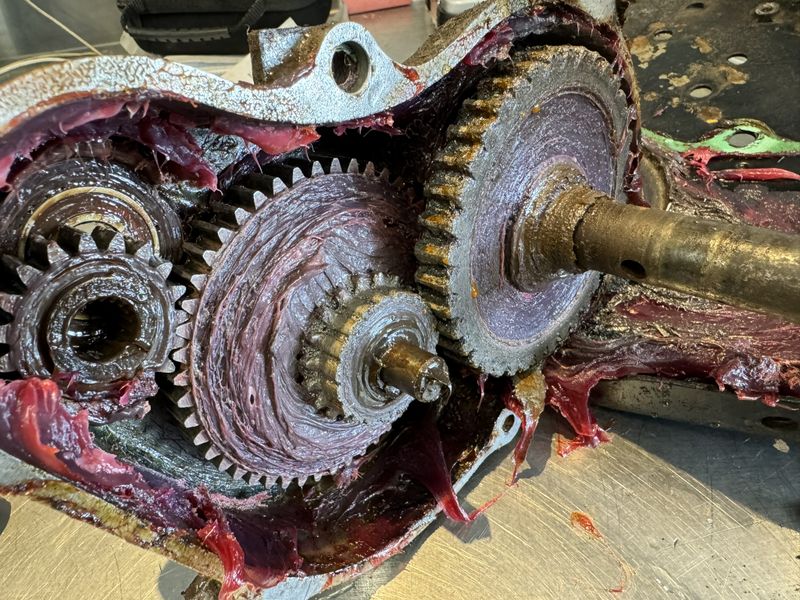
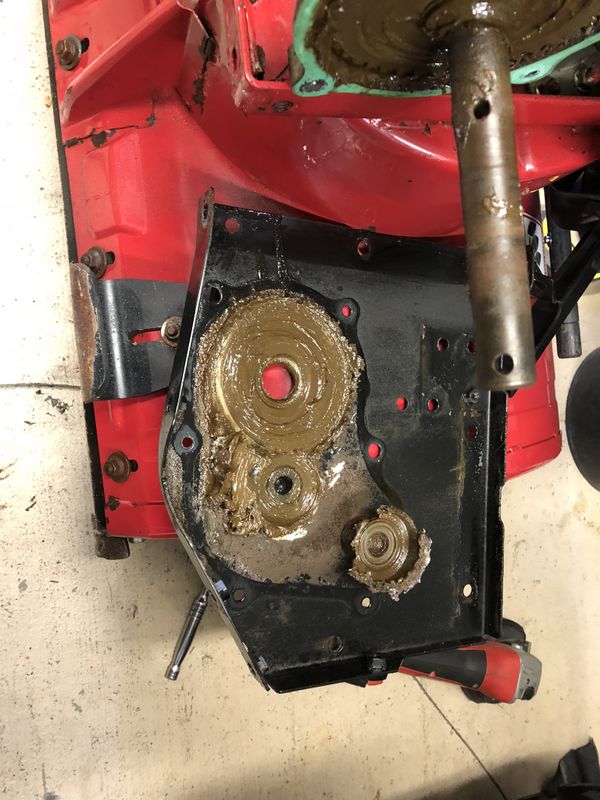
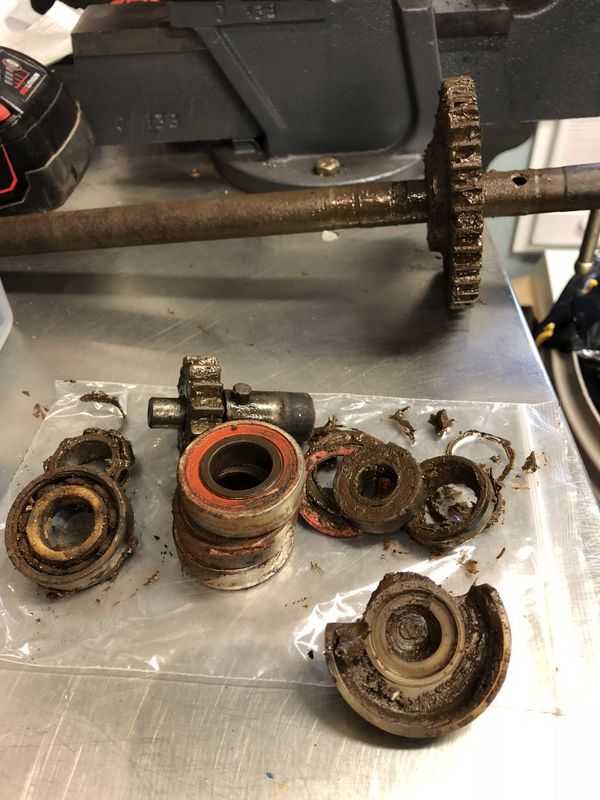
One particularly bad gear set found during just such a rebuild on a 7/24 back in February 2024. This was a case where a previous owner replaced a couple broken parts but failed to install all parts included in the kit from Honda One. A well worn (centre) gear was re-used and failed spectacularly within four times using the machine.
This is from another machine I worked on in February 2026 which saw moderate wear on the same centre gear set. The primary failure was the centre bearing and pin on the driveshaft, reusing this 'working' gear will only cause trouble later, probably sooner than later.
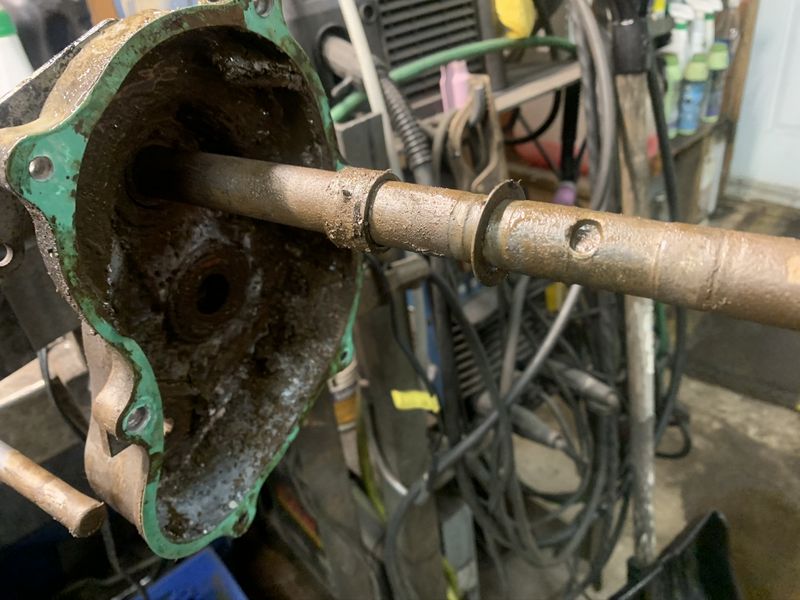
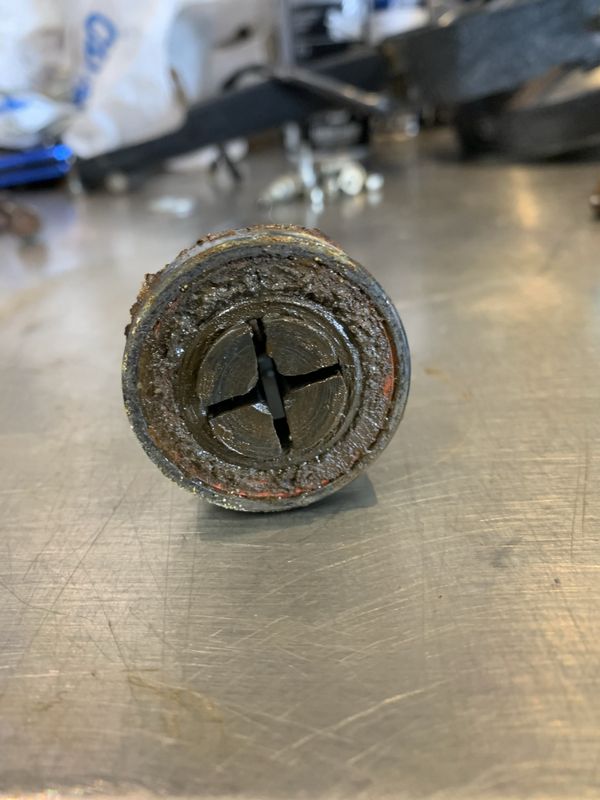
Other than bearings and gears, another common failure point is the pin on the drive axle which meshes with the bottom gear in the gearbox. This had partially failed on my own machine, and is what failed completely on Rob's machine mid snow clearing in February 2026.
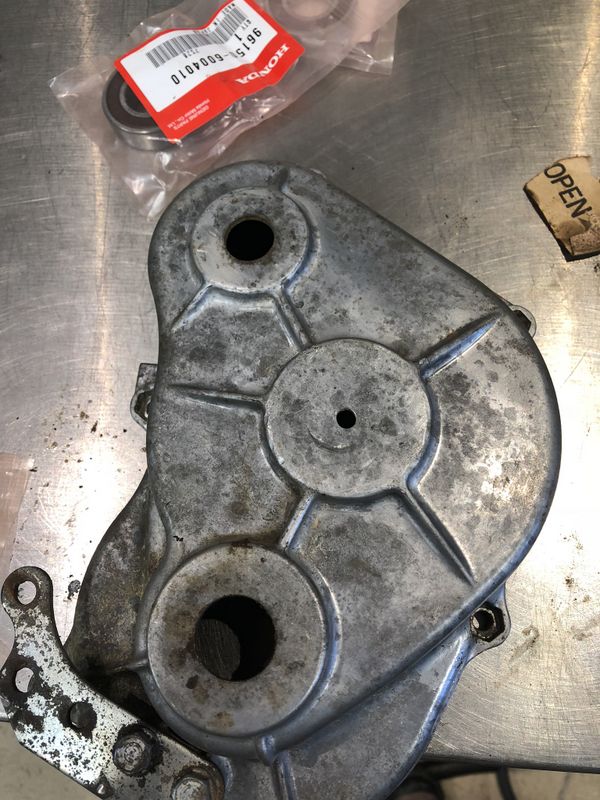
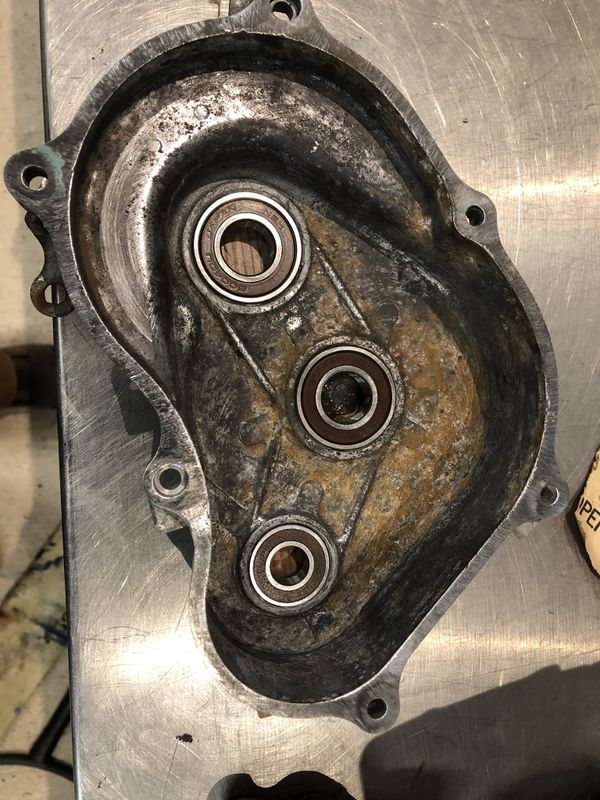
The inside of the outer cover/machine frame needs to be thoroughly washed and three new plastic bushings (included in the kit from Honda One) pushed in place. The top one should be orientated as shown above, a dab of grease holds them in place during reassembly.
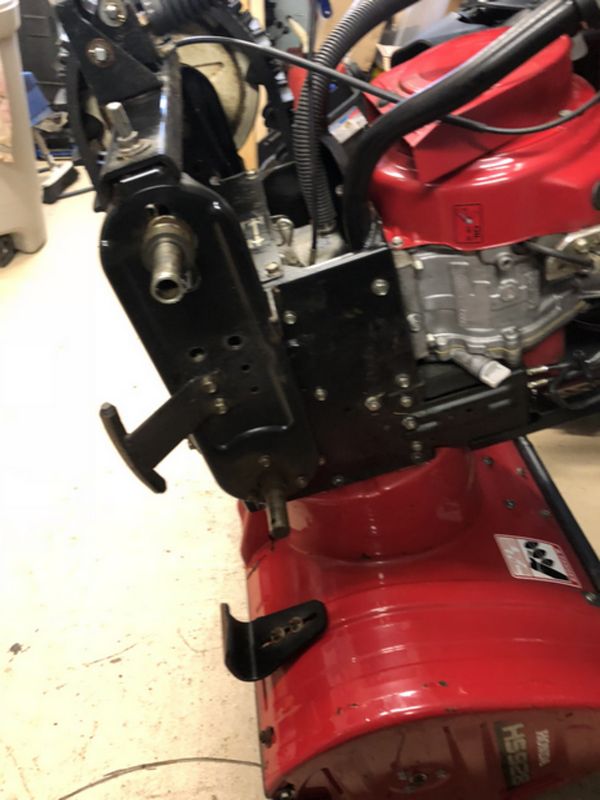
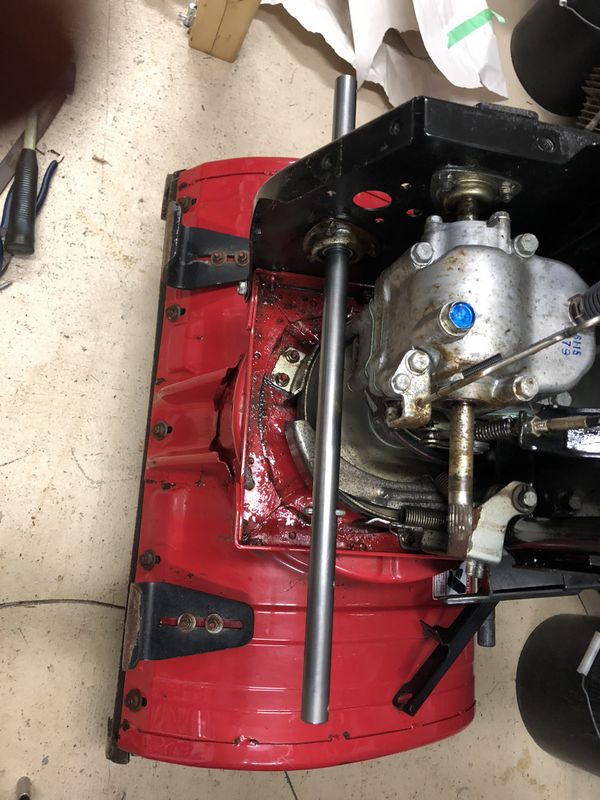
To remove the aluminum gearbox from the machine first disconnect the tension springs for the belt tensioner pulleys as they attach to a bracket bolted to the back side of the gear case. To remove the gearbox it should now just slide off the crawler drive axel and the hydrostatic pump input shaft up top. However, on some machines bearings are seized to the crawler drive axel so sometimes I have to cut the axel in two pieces between the gear case and left side frame to facilitate removal.
Taking pics of the spacers, shims and washers will make reassembly a lot easier, however I have some microfiche snapshots posted below.
More carnage!
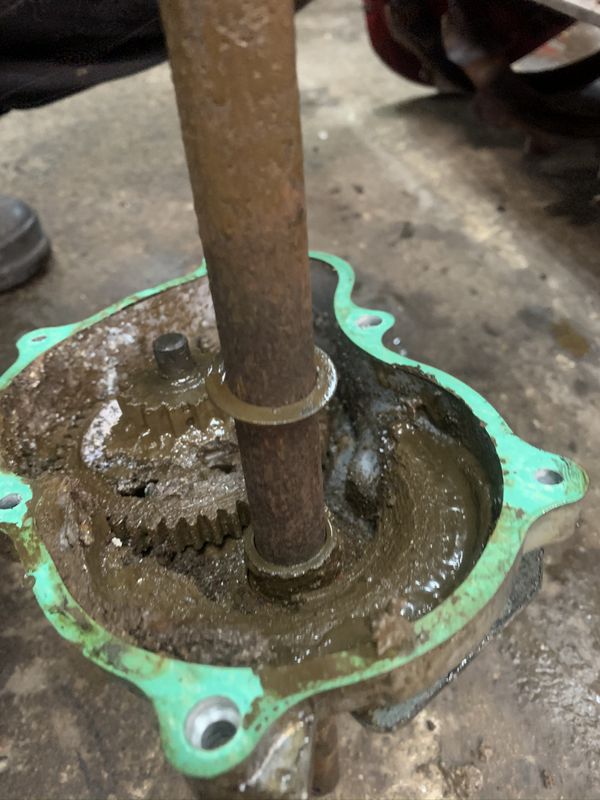
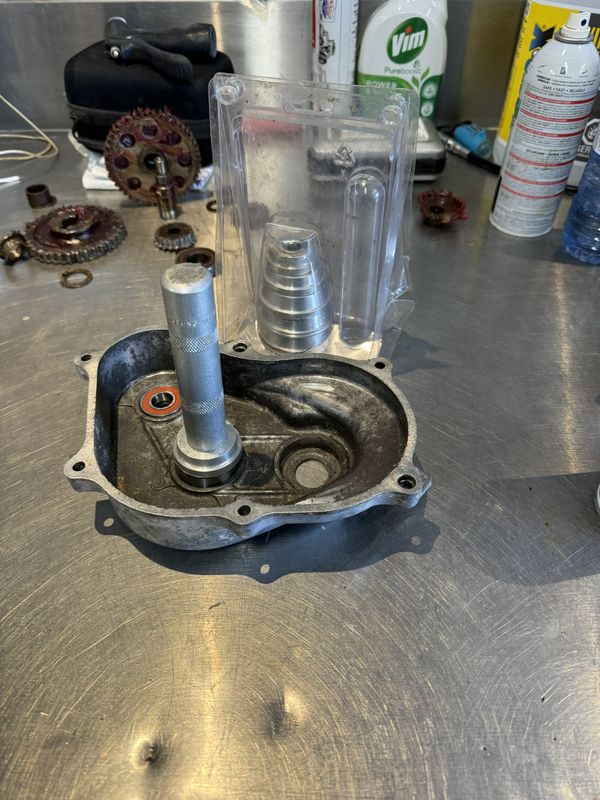
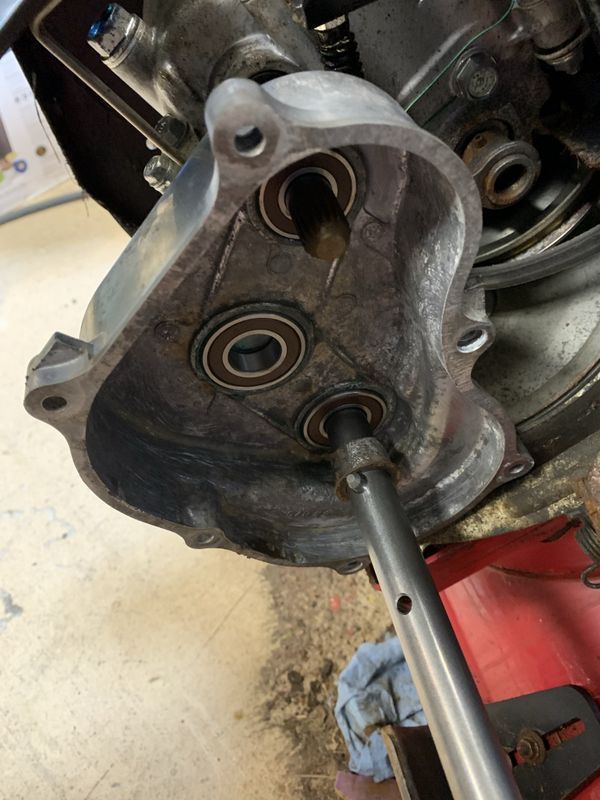
Gearbox case removed, the hydrostatic pump remains in place. It's a great time to inspect but generally un-serviced unless damaged or leaking.
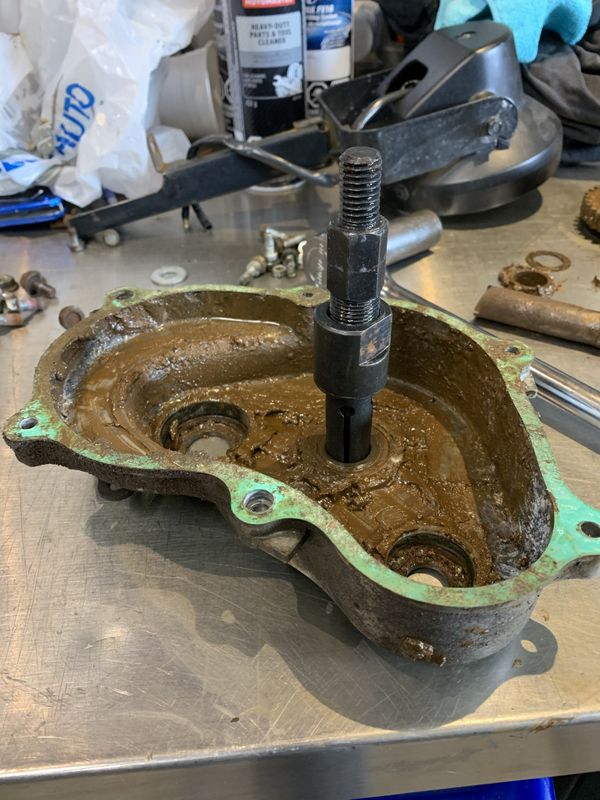
The bearings can be a PITA to remove because they are often rusted and seized in place. The top and bottom bearings can be tapped out from the back side of the gear case using a steel punch against the inside race. On my blower the lower bearing came out in pieces leaving the bearing race stuck inside the gear case. I had to very carefully cut a groove using a metal cutting wheel in my Dremmel Tool all the way through the steel race but not into the aluminum gear case, then I used a small flat chisel and hammer to loosen and eventually split the race.
The middle bearing can be difficult as it sits in a pocket with no access from the back side. On my own machine the centre post seized to the bearing so I drilled a single 3/16" hole and hammered it out with a round punch, luckily the shaft and bearing came out at together. In the past I've drilled two small holes right behind the outer bearing race for the centre bearing and popped it out using a small round punch. Before reassembly fill any drilled holes with silicone automotive gasket maker.
Since then I've purchased a Blind Hole Bearing Puller & slide hammer which makes the job much easier. You choose the right size puller, place it inside the bearing all the way. Use two wrenches to expand the jaws so they grasp the inner side of the bearing.
Next I place the transmission case on the floor with a rag, stand on it and run the slide hammer to pop out the bearing without damaging the case.
The aluminum case, outer cover, all re-used gears, shims and hardware are thoroughly cleaned in a parts washer, rinsed with brake parts cleaner and wiped dry.
Installing new Bearings.
In the top of this pic you can see where the track drive gear was rubbing the aluminum case due to the failed bearing. Many people let this go for so long that the gear wears clean through the aluminum housing meaning it would also have to be replaced. Catching this repair early can save you money!
Next new bearings are installed in the left and right side crawler drive frames.
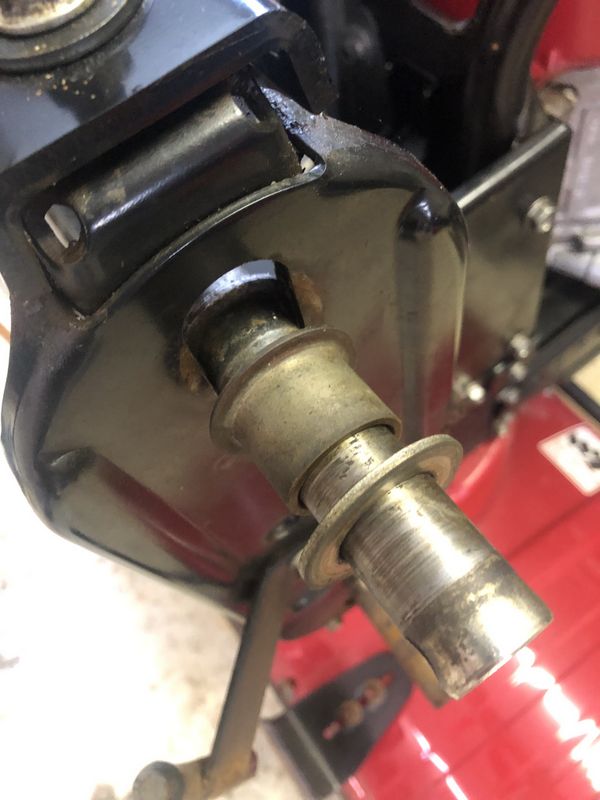
New bearing to support the crawler drive axel on the left side chassis, I leave the three 10mm bolts holding this in place loose until the axle and gear case are fully assembled, this helps greatly with alignment. Axle is in place just for picture purposes and was removed to begin reassembly.
This microfiche is a great guide so that washers, shims and spacers are installed properly.
To reassemble the machine first slide the crawler drive gear box over the output shaft of the hydrostatic pump. Next slide the washer and spacer over the crawler drive axel and then slide it in through the transmission case then on through the left side frame support bearing. Spacer and washer pictured above.
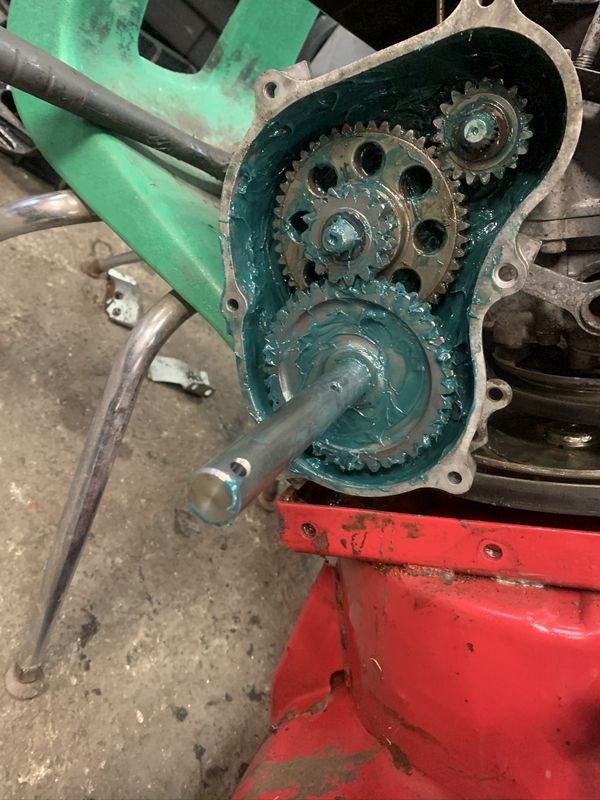
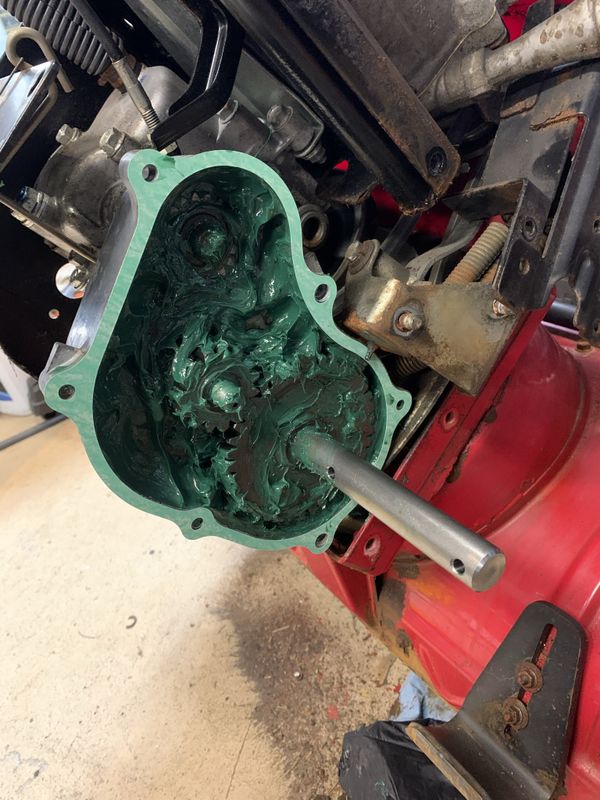
Next install the centre shaft, spacer washers and gears, then the bottom gear and lastly the top gear. The small centre gear can be placed incorrectly, the shoulder milled out on the inside splines faces in. This is where the exploded diagram is handy to get the location of spacers/washers correct. As I reassemble I always use lots of grease making sure everything is coated and voids filled. This can often use up most of a tub or tube of grease. My current grease of choice is Lucas Red-n-Tacky or Lucas Green Heavy Duty. My mindset is that if the gear case is full, when I add grease from my grease gun through the nipple on the centre shaft, new grease should be pushed down protecting the lower bearing.
Don't forget to install the new paper gasket on the gear case, a little grease will hold it in place. When installing the black outer cover/machine frame plate I like to attach it loosely to the machine with at least one 12mm bolt on top by the engine and one on the bucket, loose not fully tight. Next reinstall the two 12mm nuts that hold the pulley tensioner bracket in place, its easer to reach inside to align them at this point.
Install and snug the two 10mm nuts & bolts with the alignment collars to align the cover to the gear case. Now install the rest of the 10mm bolts, then install the remaining 12mm bolts that hold the side cover to the frame. I loosely snug bolts as I go and fully torque them once they are all installed.
With these bolts reinstalled & tight, reattach the return springs for the belt tensioners to the gear case bracket. A spring tool for installing snowmobile exhaust springs is quite handy for this tortuous task! Finally install the new drive axel seal which goes over the drive axel onto the side (black) plate behind the right side cogged wheel.
The rest of the machine is reassembled in reverse order of disassembly.
The old parts are usually in pretty hard shape, the kit from Honda One is perfect and economical in that it replaces everything you need while reusing a couple of the gears that are not prone to failure.
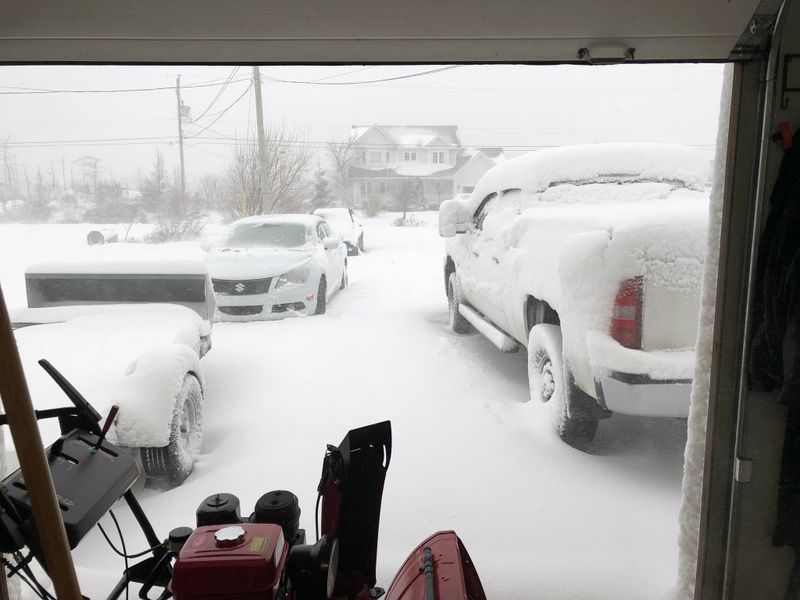
Don't forget on future services that there is a grease nipple on the crawler drive gearbox cover behind the right side track that will allow you to add grease to the gear box. I got my machine back together just as the first Blizzard of the 2017-2018 Winter season arrived!
Cheers, Mike
Copyright © 2025 Michael Smith |