| How To: Rebuild Honda Big Red Forks |
|
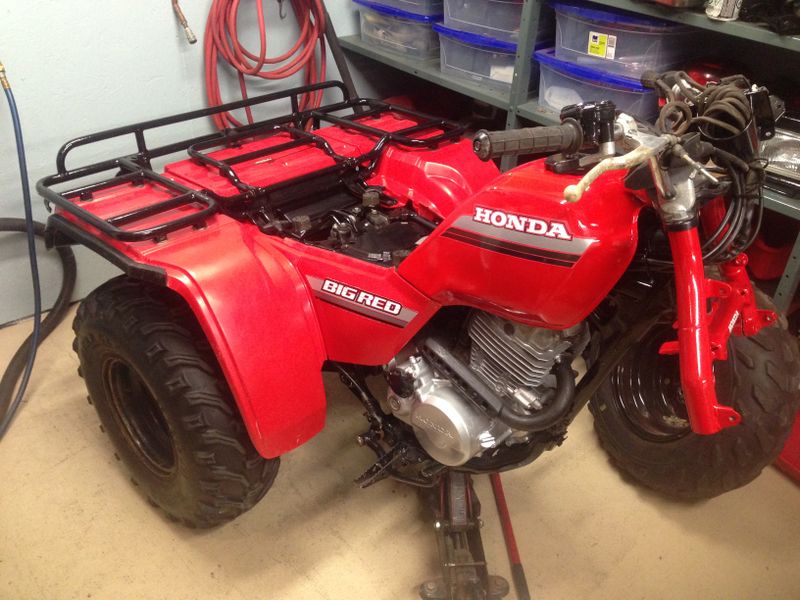
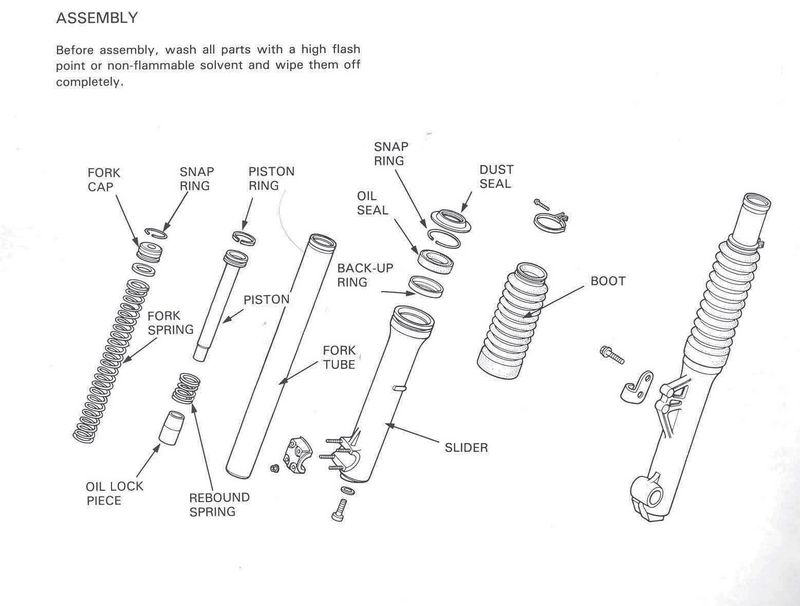
Rebuilding the front forks of most Honda ATC's is pretty straight forward with basic Hand tools and a few tricks I've come up with. Having a service manual for fluid type, amount, and torque specifications is also important. The first step is to support the vehicle and remove the front axel, tire, brake assembly, and front fender. Removing the four pinch bolts will release the forks.
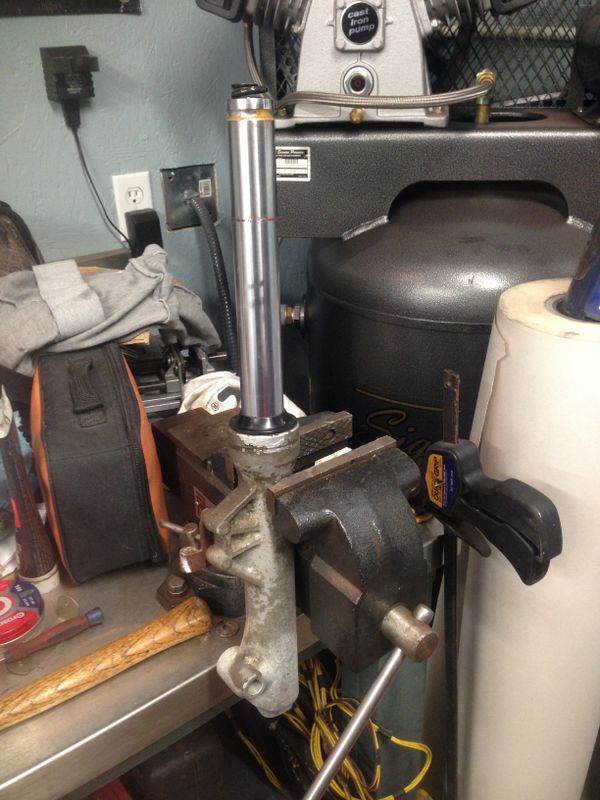
With the fork bottom secured depress the fork cap and pop out the snap ring, this is under spring tension so be careful as you complete this.
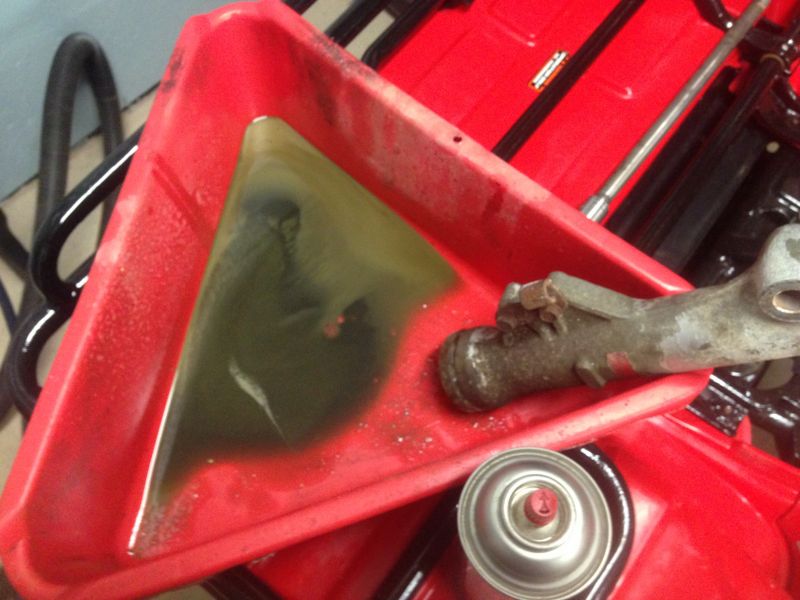
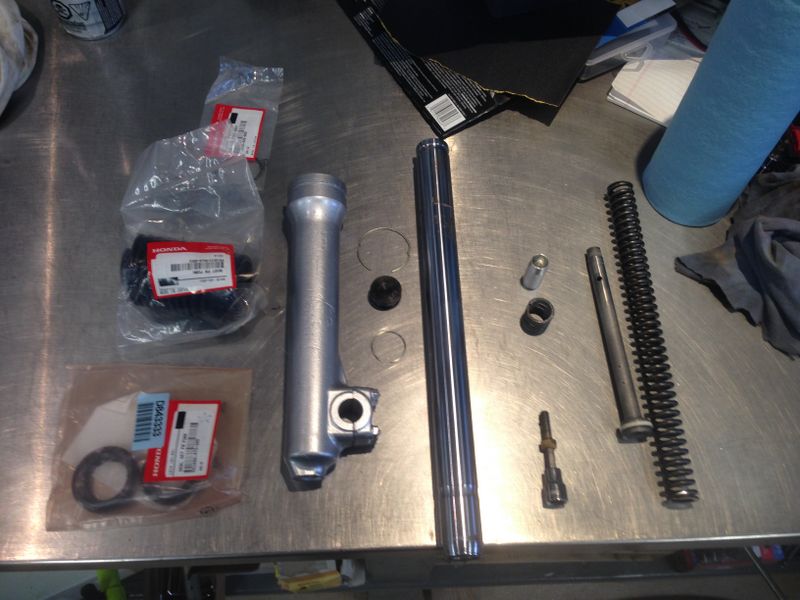
Drain out the old fluid from the fork assembly, the main spring will come out now as well. Next remove the hex head bolt from the bottom of the fork. This will let you remove the fork tube, piston, rebound spring, and oil lock piece.
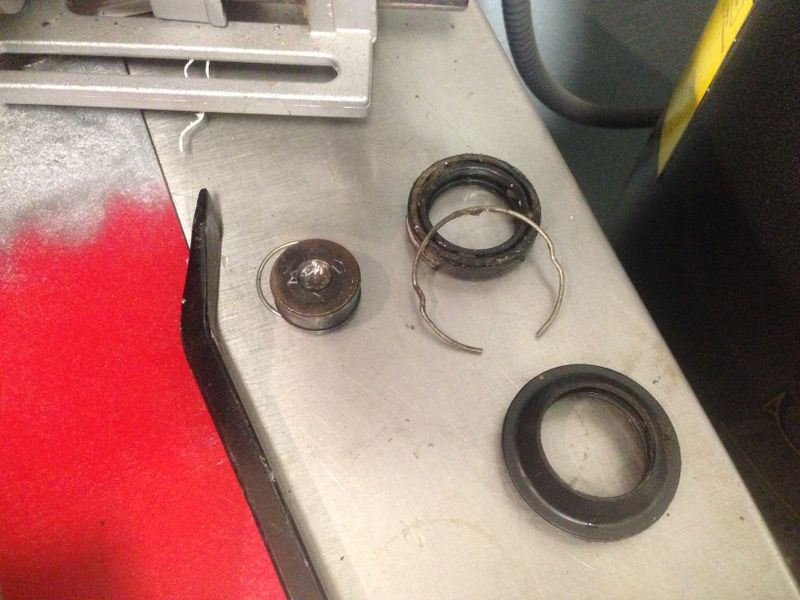
Next pop out the old dust seal, snap ring, and oil seal from the fork bottom.
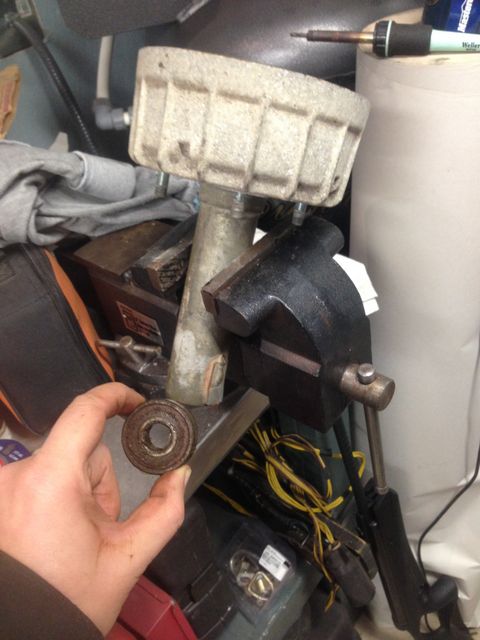
Most important is to thoroughly clean all parts. I made up a parts washer with a shallow Rubbermaid container and mineral spirits, then gave all parts a final wipe down inside and out with brake parts cleaner. As my fork bottoms were pretty rough I decided to prime and paint them.
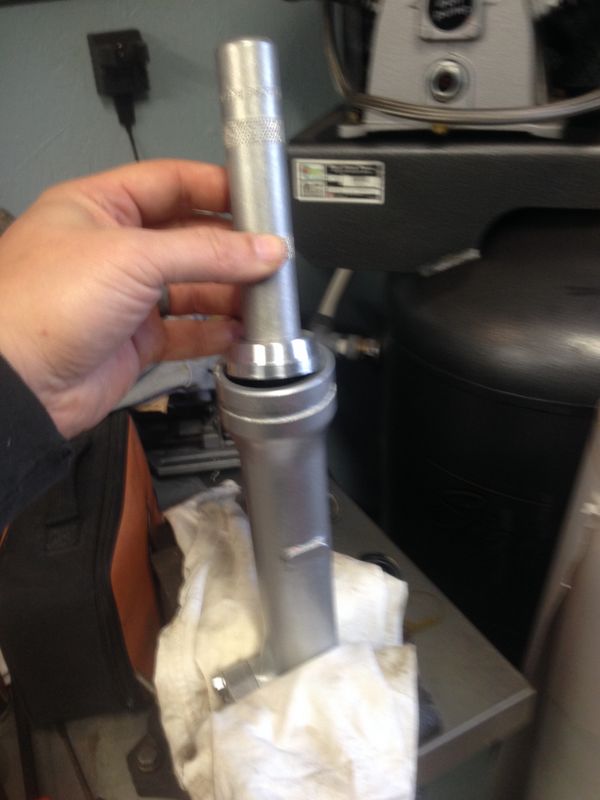
I popped in the new oil seal using my bearing/seal driver tool and a rubber mallet. The snap ring was next followed by the dust seal.
Reverse is the opposite of disassembly starting with the rebound spring, piston, oil lock piece and fork tube all laid back into the fork bottom. The hex bolt was installed with blue lock tite and torqued to spec. With the fork tube installed drop in the main fork spring.
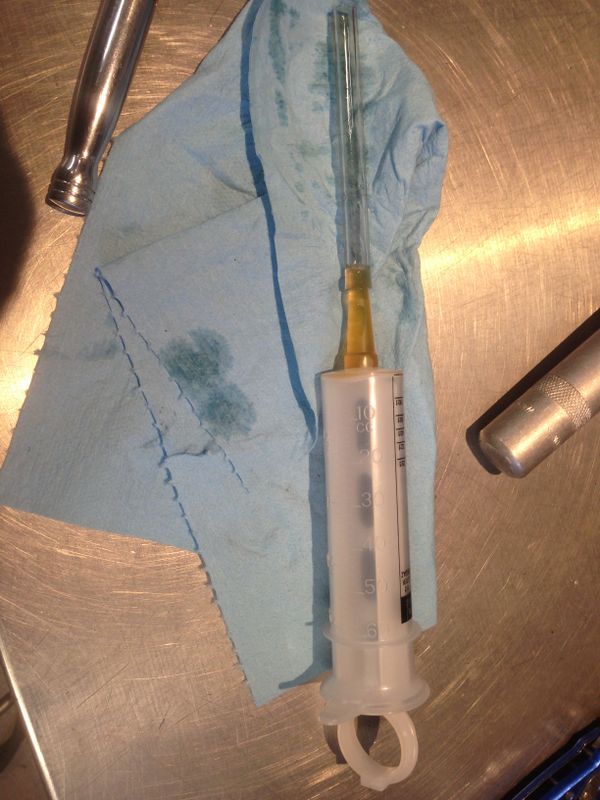
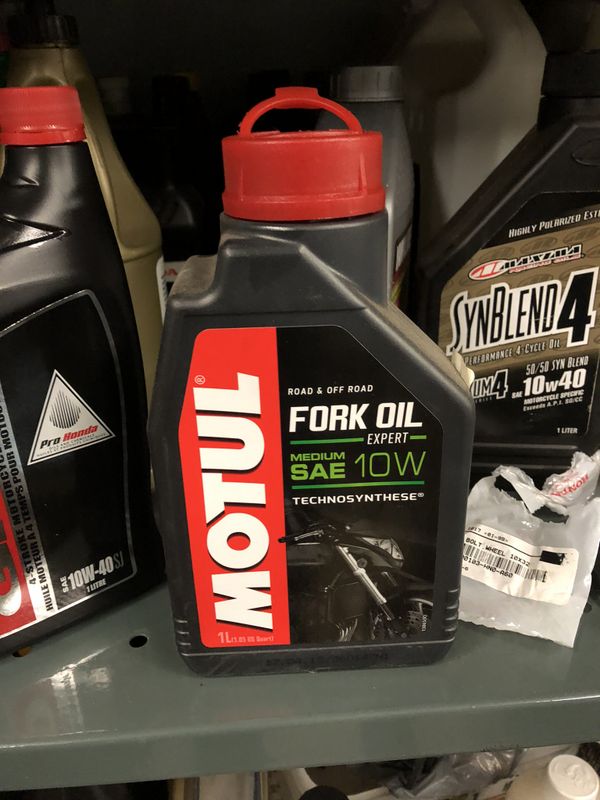
Next you need to add your fork oil, I used Motul 10w Fork Oil from a local supplier. The spec for these forks is 3.73 to 3.91oz, I used a mixmaster syringe (designed for measuring two stroke oil) to measure and add the correct amount, it was clean, tidy, and easy to use.
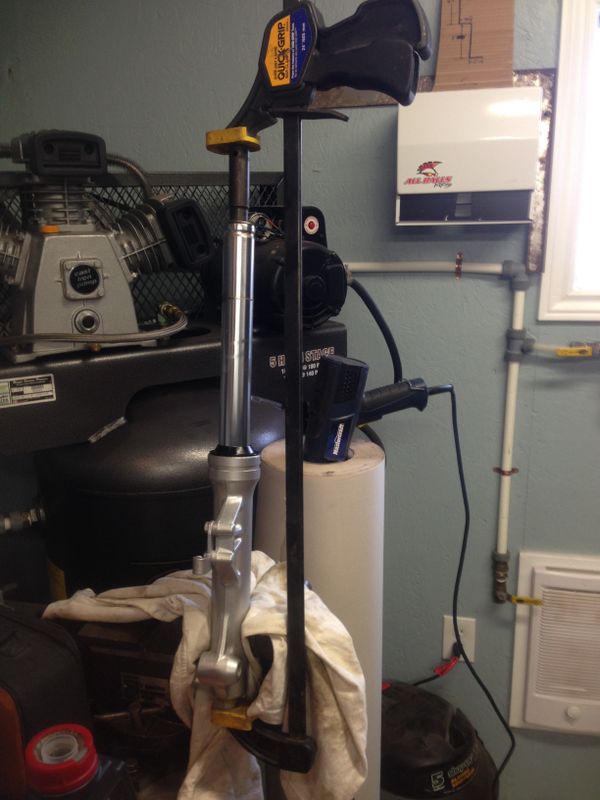
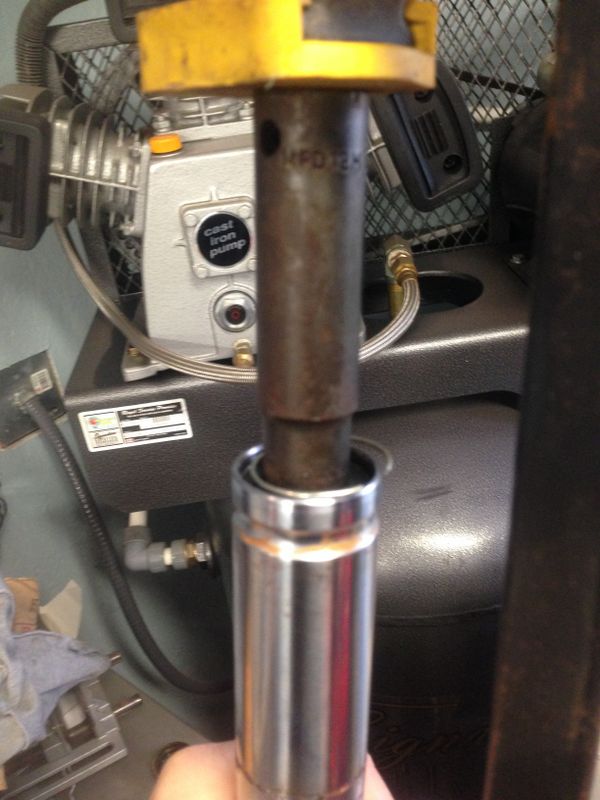
To complete the assembly you need to install the fork cap and snap ring, its under spring tension and can be a PITA to hold together while assembling. Using a large clamp and a socket really helped.
The socket was large enough to hold the cap down against the pressure of the main fork spring but small enough to maneuver the snap ring in place.
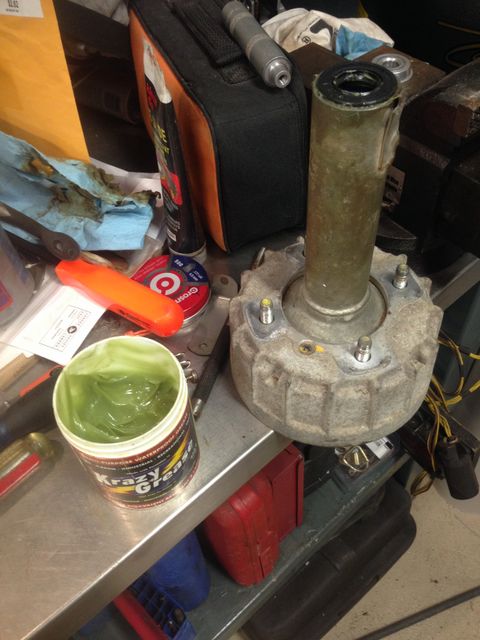
While the front axel was out of the bike I checked the front bearings and found them to be in hard shape.
An All Balls front axel bearing & seal kit was picked up and installed along with fresh grease.
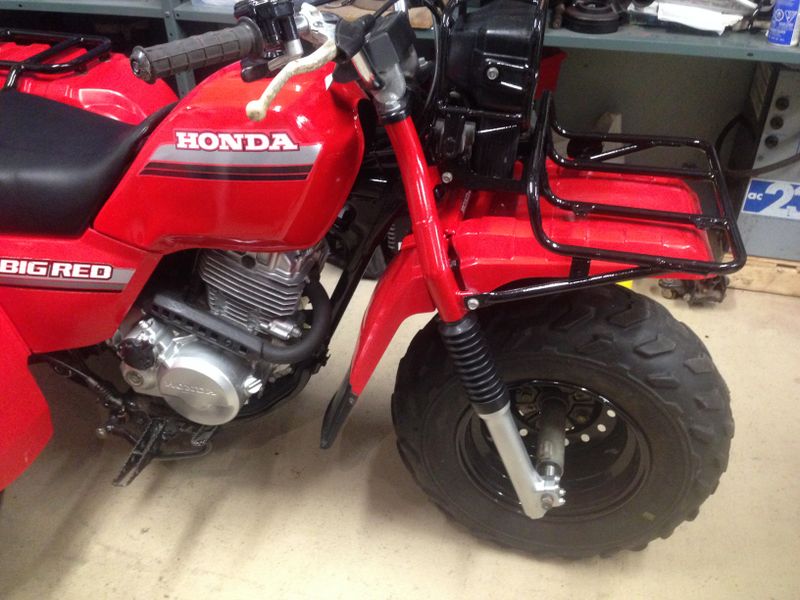
The last step before putting the forks back in the bike was to install the fork boots. The originals were dry rotted so a fresh pair was sourced from our local dealer and installed with new clamps.
Cheers, Mike
Copyright © 2025 Michael Smith |