| How To: Basic Fiberglass Techniques |
|
My introduction to Fiber Glassing came a few years ago when I built fiberglass subwoofer boxes for my 2000 Grand Am. I wanted to free up as much space as I could so I decided to fit them in the corners of the truck behind the tail lights. Since then I've completed a few fiberglass projects including repair of fiberglass snowmobile bonnets, lining plywood ATV trailer boxes and the fabrication of a few small parts using moulds.
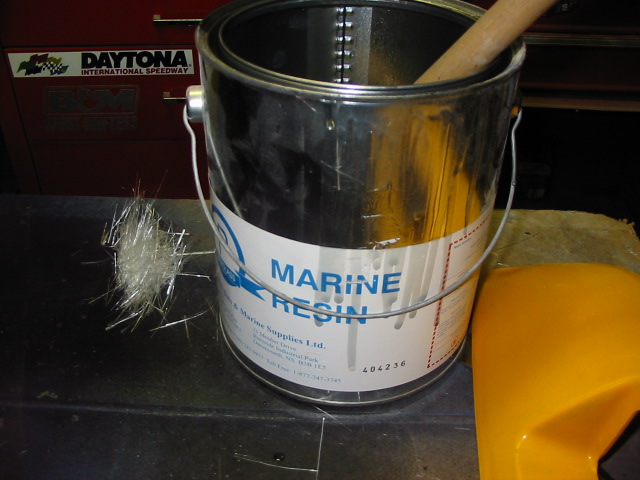
Note, the mixing of fiberglass resin is a chemical reaction between the resin and the activator. When they mix a lot of harmful fumes are released so good ventilation is VERY important. Use of a respirator is also recommended by professionals. Using too much activator can also cause a lot of heat during the curing process which can also be dangerous. There are different kinds of fiberglass products on the market, what I will touch base on here is the use of liquid resin (mixed with activator) and fiberglass mat as sold by the foot like fabric. I use chopped mat often depending on the project, woven fiberglass mat is also available. To begin, I always plan out my project and begin cutting the matt to fit what I'm building. I often use chopped mat because I find it easier to work with. For example, when patching a hole I'll cut the filler pieces with scissors to fill the hole exactly, using multiple pieces to stack to the correct thickness. Support layers are made bigger then the repaired area to over lap the old and new material, and are usually used on the inside. The same is true for large projects, have the mat cut to the right size before you begin. When working with a curved surface, I find it easier to tear the mat into strips about 2" wide and as long as needed. I tear the pieces by hand as opposed to cutting them as the feathered edges are easier to blend together on the project for a neat, clean finished product. Before I actually start mixing resin I find its easier to have all my tools ready to go, once you mix your resin the clock starts ticking until it sets up beyond a workable state. A good stiff bristle brush, an aluminum fiberglass roller, latex gloves (I find the heavy duty ones great), and your pieces of mat cut to fit and laid out ready to go. Also have a container of Acetone and some rags ready for quick cleanup of spills and for cleaning your roller and brush. When mixing resin and activator, consult your fiberglass supply store to learn the basic formula for the product you've purchased. Once you understand the basic formula, adding more activator causes it to set up faster or may be needed if its cool in your workspace (too much and it will set up too fast, crack and create a lot of heat, too little and it will take forever to set up). When mixing, make sure you are thorough and scrape all sides of the container, if not your project will be contaminated with sticky resin that never properly sets up. The next steps are very project dependant so I'll outline a few of my own experiences:
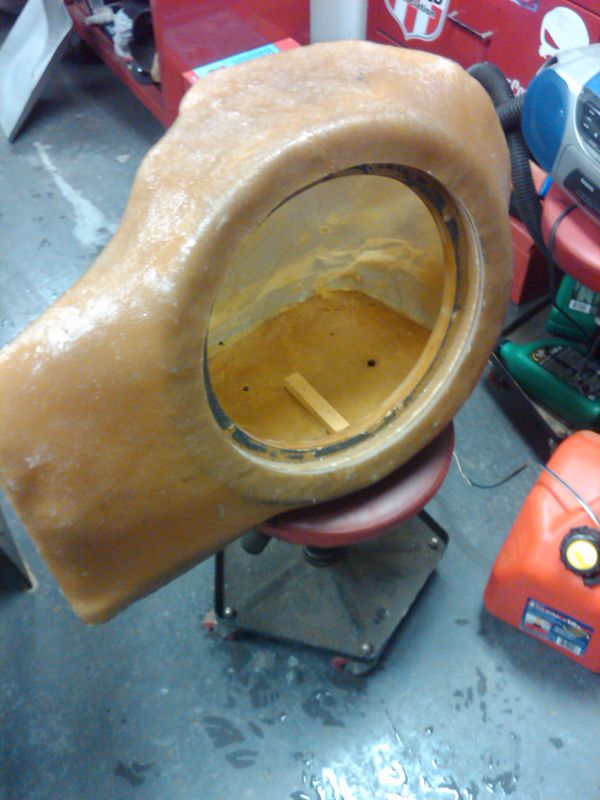
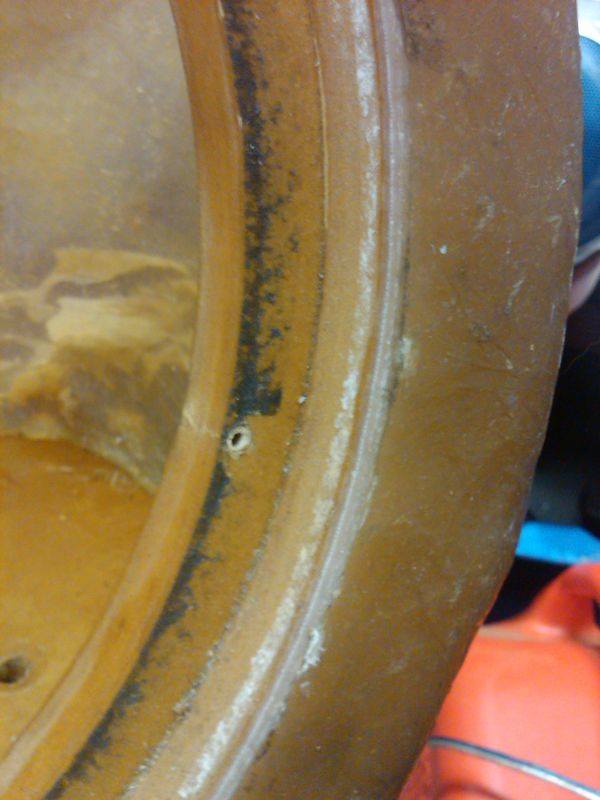
Fiberglass Sub Woofer Boxes: For this project, I wanted to maximize the useable space in the trunk of my car and tuck the boxes into the rear corners of the trunk. After taking measurements to determine the shape needed to get the right volume of air for the box, I cut and fit a base for the box of 3/4" MDF board. Next I lined the entire working area of the trunk in heavy duty tinfoil held in place with Foil Tape (used on duct work), and then coated it in paraffin wax. The wax will help the project release from the "mould" later. The first 2" strip of mat was stapled to the wooden base and then laid in place in the trunk. Then I worked from the bottom to the top brushing resin onto the mould and laying strips of mat in place (overlapping as I went) until I reached the top. Don't worry about making the back larger then you need as it will all be trimmed later and leaves some room for mistakes (and changing your design as you build!)
When applying strips of mat in a mould like this you have to soak it well in resin, lay it in place and then work out all the air until the piece of mat is clear. Any air left in the matt will make the part weak and prone to crack. Once the first layer was completely cured, the project was removed from the car and the tin foil taken off on the bench.
With the thickness of mat I used I needed a total of 7 layers to achieve the thickness I wanted for the project (about 1/4" finished). These additional layers were added one at a time on the bench and applied to the inside of the box so that the outside shape would still fit in place in the trunk.
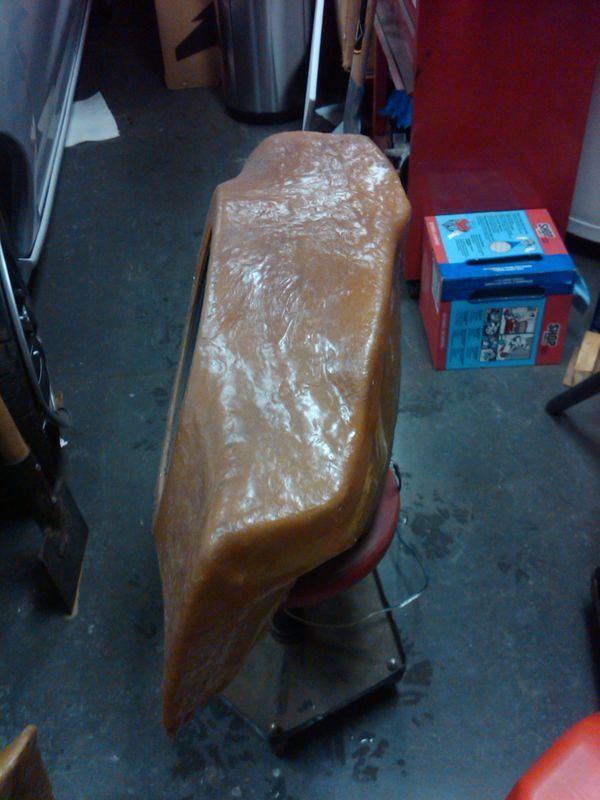
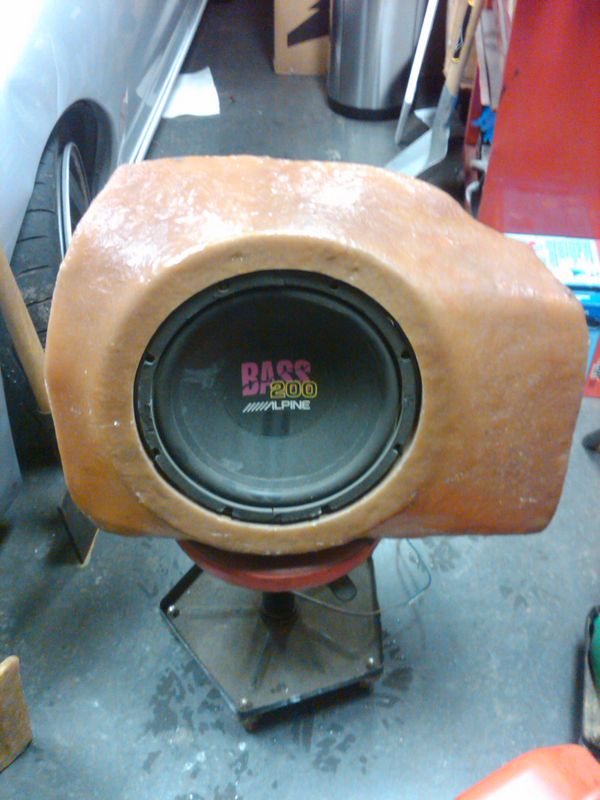
Once all the layers were in place and well cured, I cut the back with a Mini Rotary Tool to make the shape I wanted once the front was attached. Next a ring of MDF board was cut to provide a mounting surface for the speaker. This was mounted so that the speaker was tilted in at the top and angled to towards the middle of the trunk. It was temporarily held in position with Dowling and scraps of wood secured with hot glue (these would later be removed once the box was finished to prevent rattles). The Front of the box was made with white Fleece fabric and stretched over the project to close it in. It was attached to the wooden base with staples and to the fiberglass back with masking tape.
Once in place the entire fleece front was thoroughly soaked in liquid resin, which soaked through the material permanently bonding it to the fiberglass back and MDF base/speaker ring. The nice thing about fiberglass is that when you apply new resin to an cured piece it chemically bonds to it. To make the front of the project strong, layers of matt were added in the same manner as the back to build the thickness to spec.
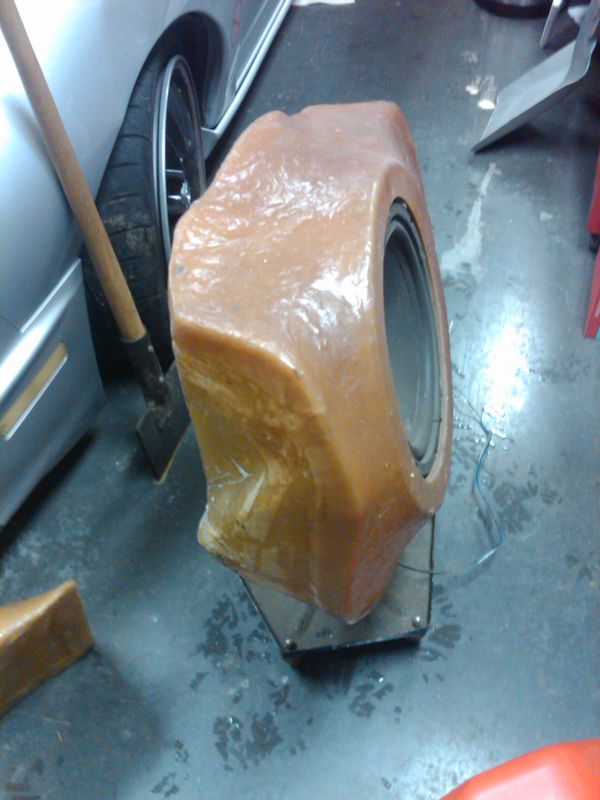
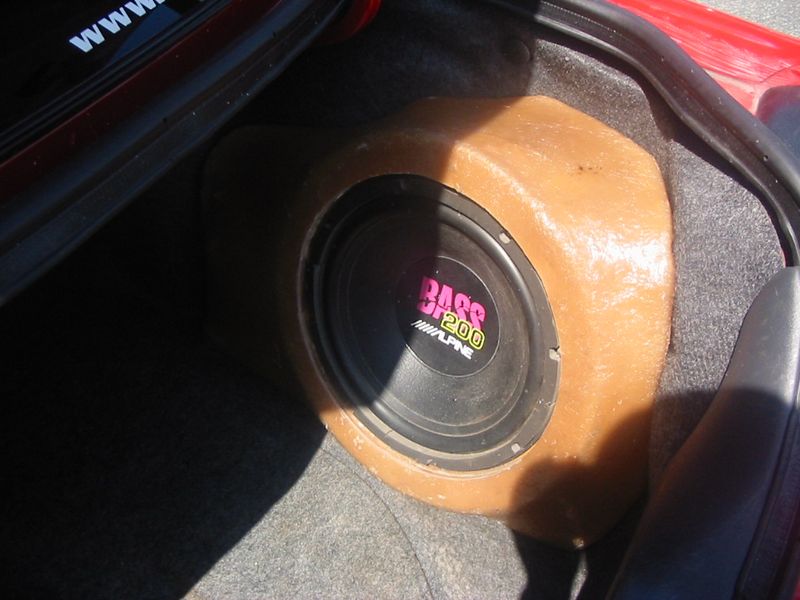
Once cured the project is pretty well complete, I used a router to cut the hole in the front fiberglass to follow the edge of the ring for the speaker. If you were neat and took your time the finish should be fairly flat and free of bumps and lumps. Finishing the project further can be done in many ways.
Some cover with fabric or vinyl, some paint with a textured paint, some use auto body filler and work the surface to a defect free glossy finish.
Repairing holes/cracks:
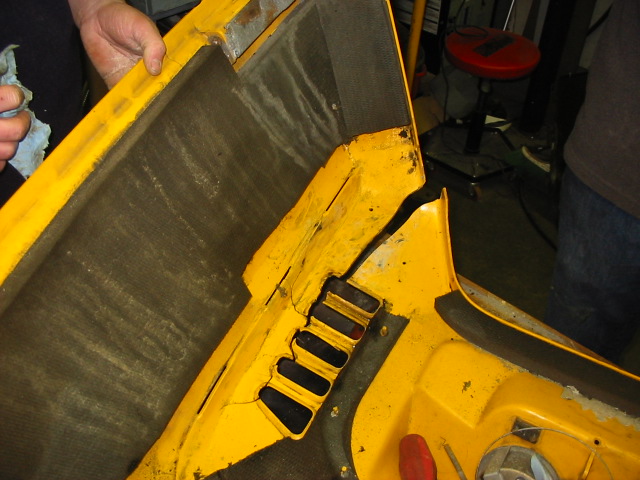
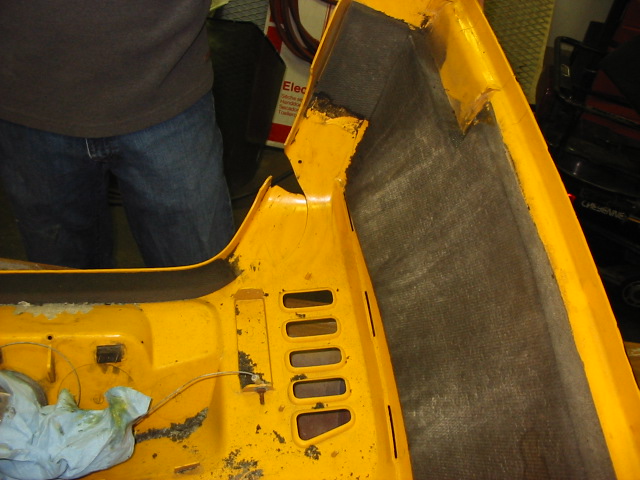
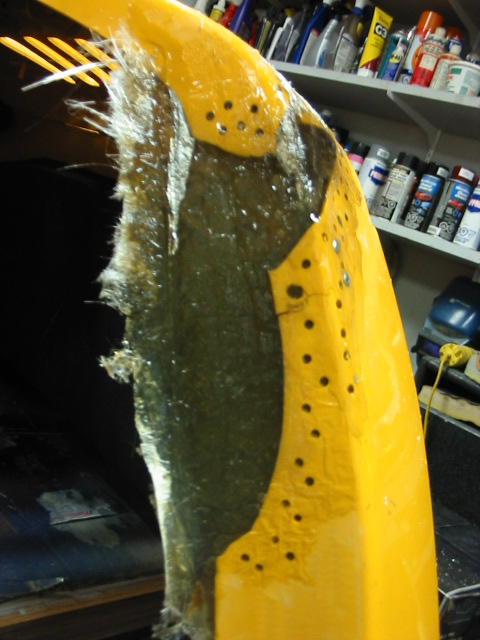
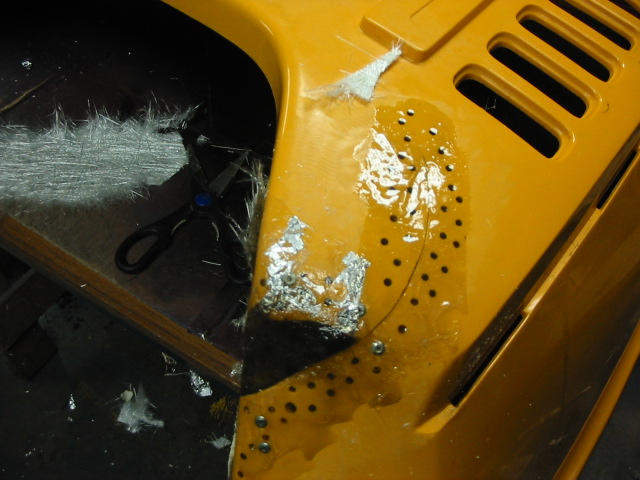
On Project Cheyenne I had to repair a few holes and cracks where there were pieces missing from the hood which was made from plastic that resin did not bond well to. The basics of fiber glassing are similar to above with the exception that I had to match the thickness of the surrounding material. To help the fiberglass bond to the plastic I drilled 9/64" holes surrounding the repair area to trap resin and lock the repair to the plastic.
I started by cutting pieces of fiberglass mat to fit the shape of the hole exactly. If its near an edge leave extra material on the outside edge to trim off later. For that project I believe I used 4-5 layers to match the thickness of the existing hood (don't forget that once the mat is wet with resin it will compress and become thinner!)
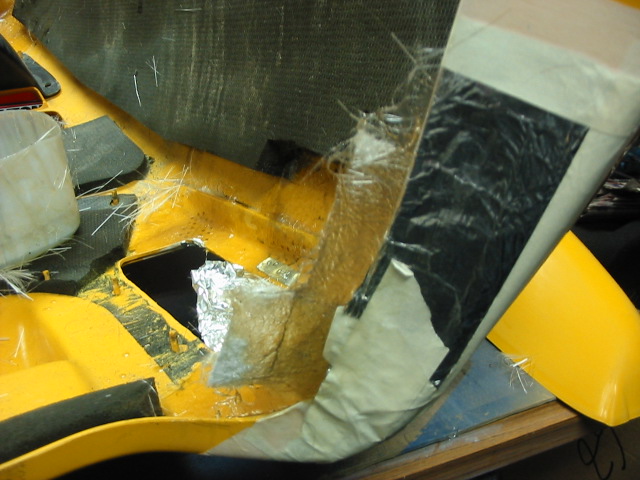
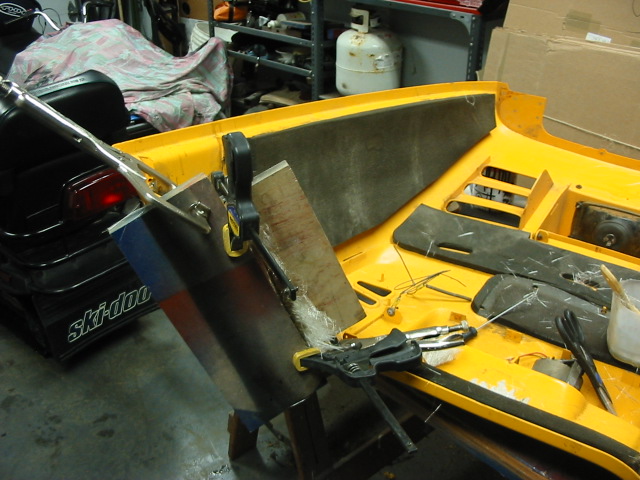
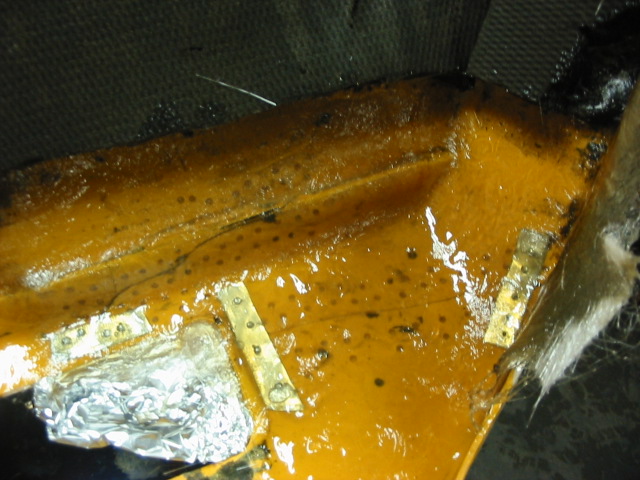
Since the surface in question was flat, I used a scrap of wood wrapped neatly in tinfoil (you could also use mold release wax) to support the repair on the inside during assembly and curing.
Once the mat was soaked in resin and laid in place, I used another piece of tin foil wrapped wood on the outside and compressed the entire area with clamps during the curing process.
Once cured I removed the clamps and the repaired area was exactly the same thickness as the surrounding plastic.
For extra strength I added one layer of matt to the inside of the repaired area made large enough to well overlap the old and new area.
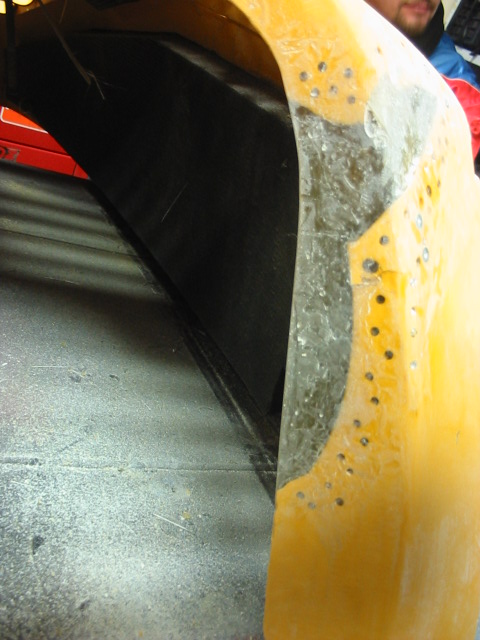
If the project is on an outside edge, all that is left is to trim with a Rotary Tool. Finishing the project is a simple matter of body work and paint.
Fiberglass over Wood:
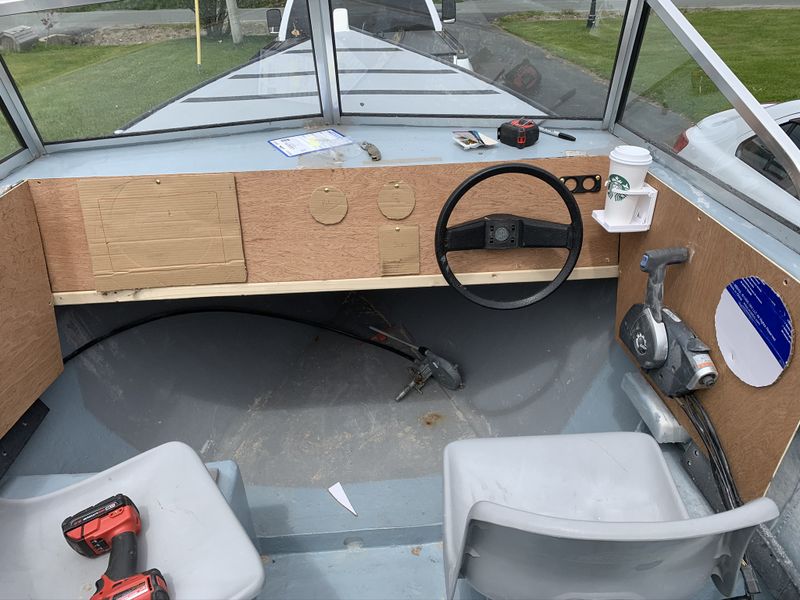
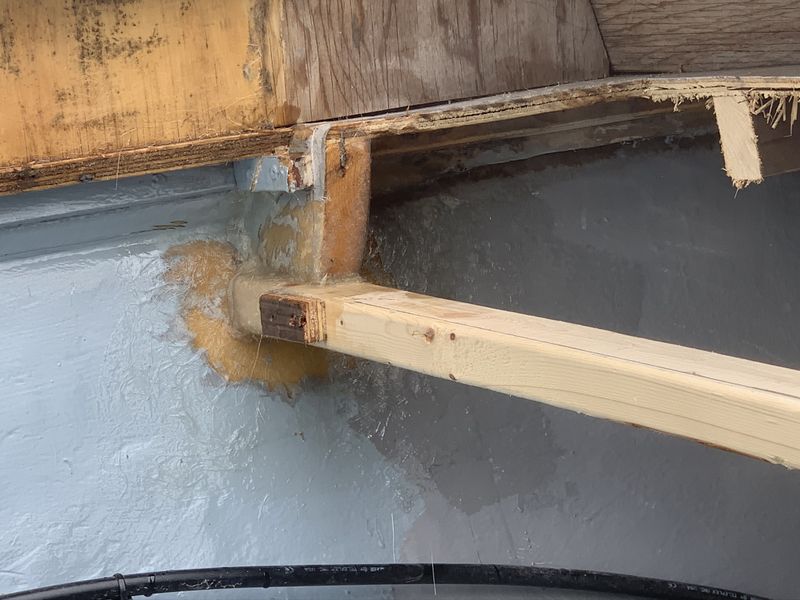
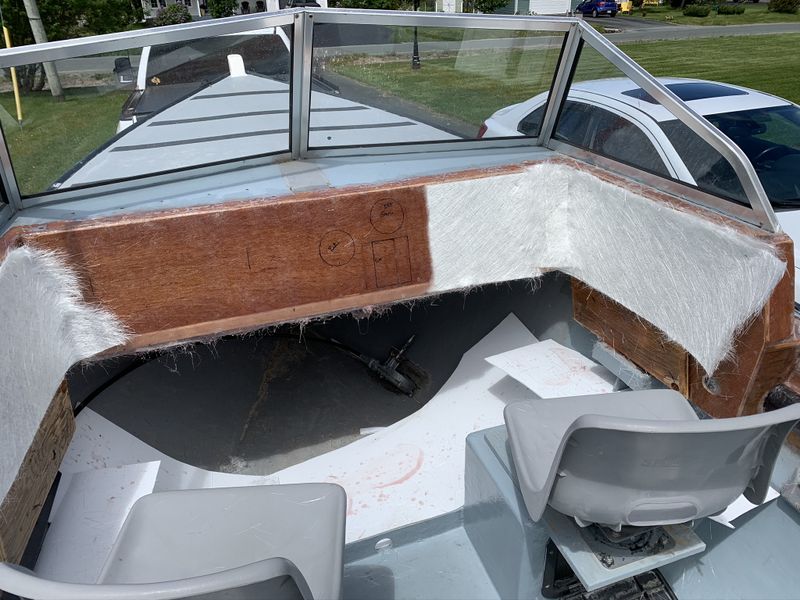
In 2019 I took on the project of replacing the crude existing dash in Dad's 19' boat. Once all the old material was cut out I began reframing and building the base of the new dash from 1/4" plywood.
Another beautiful quality of fibreglass is that new fibreglass & resin will chemically bond to old fibreglass provided that it's sanded down to bare resin. This made bonding the new framework of the dash to the existing hull much stronger than mechanical fasteners along.
Multiple layers of mat were cut, laid in place and thoroughly soaked in resin. Once one layer cured another was added for a total of four layers on this project.
The 4" ABS (split in half) wiring cavity I installed along the right side of the boat was glued in place with PL Premium 12x Strength and later covered with a layer of fibreglass matt & resin.
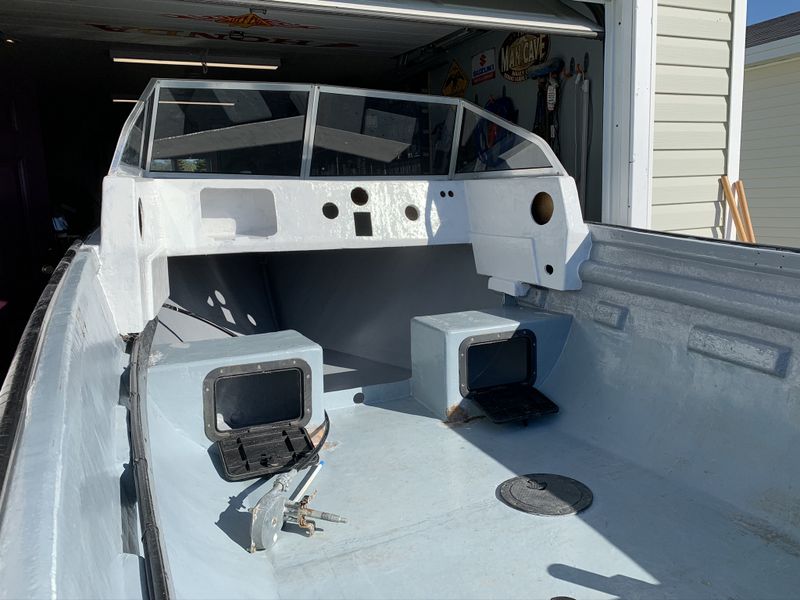
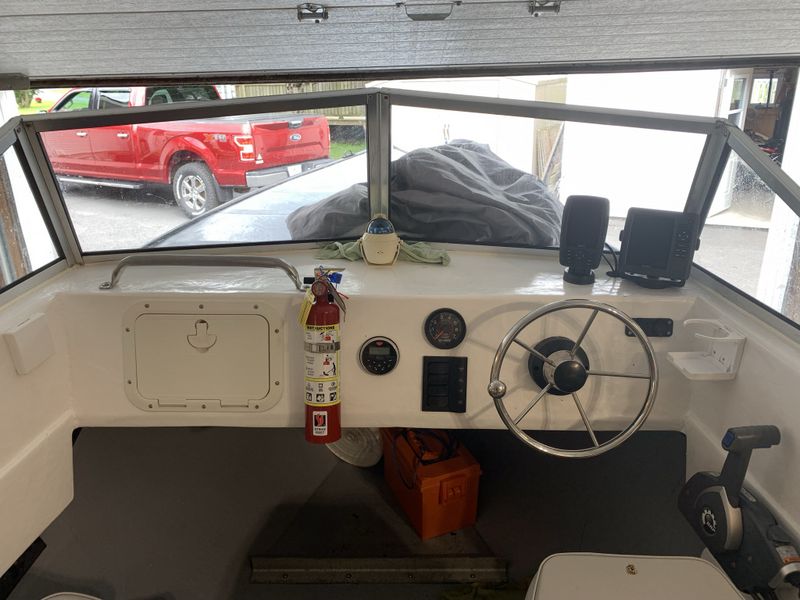
After the openings were cut in the dash I mixed up a small batch of resin and painted the bare edges of the plywood structure to seal it from water. The entire dash was painted with white oil based fisherman's paint.
The final steps included installing all of the electrical, gauges and accessories. Any hole or screw that was made in the dash was sealed with marine grade silicone to ensure water never rots out the wooden structure of this dash.
Cheers, Mike
Copyright © 2025 Michael Smith |