| How To: Replace Disc Brakes (Photos - Mike Smith & Ron Power) |
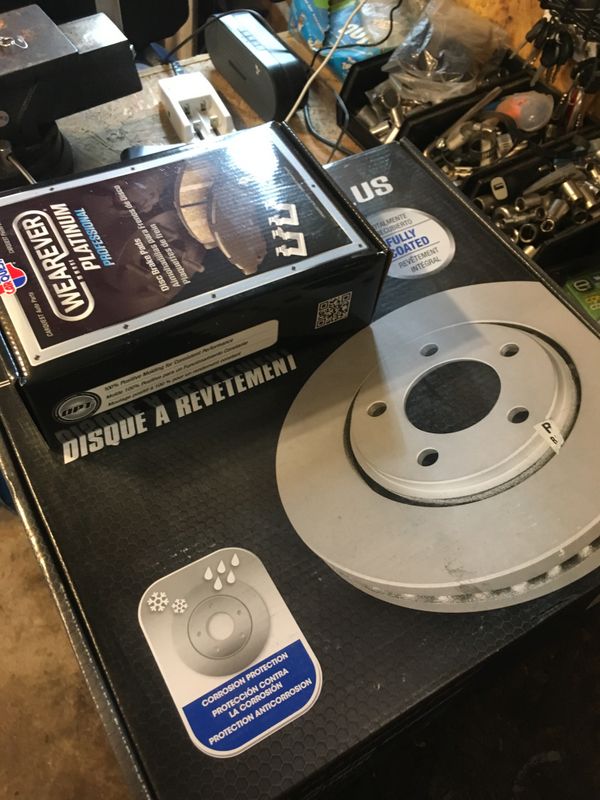
Recently Ronnie tackled the dirty job of replacing the Front Disc Brakes on his Dodge Ram Pickup. It's a pretty straightforward job but it has to be done right. Ronnie started off by purchasing high quality replacement parts including Coated Rotors which resist rust, and high quality replacement brake pads.
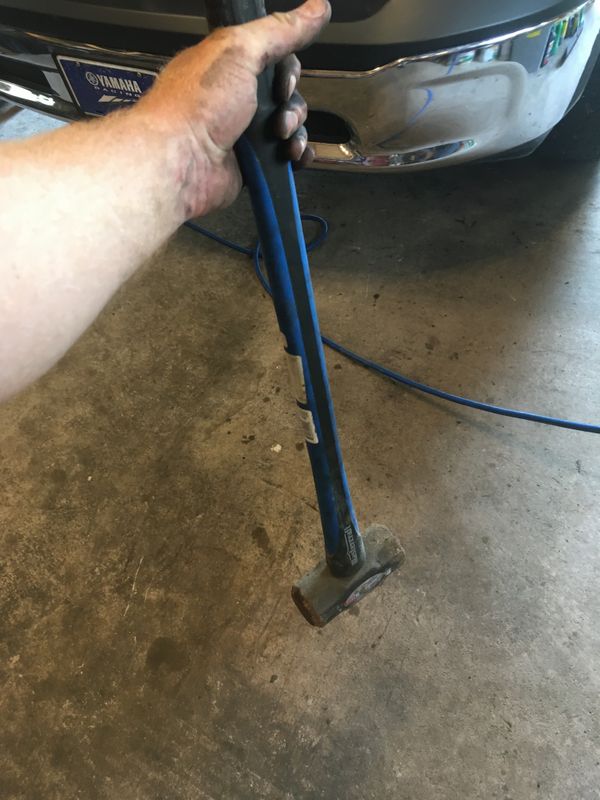
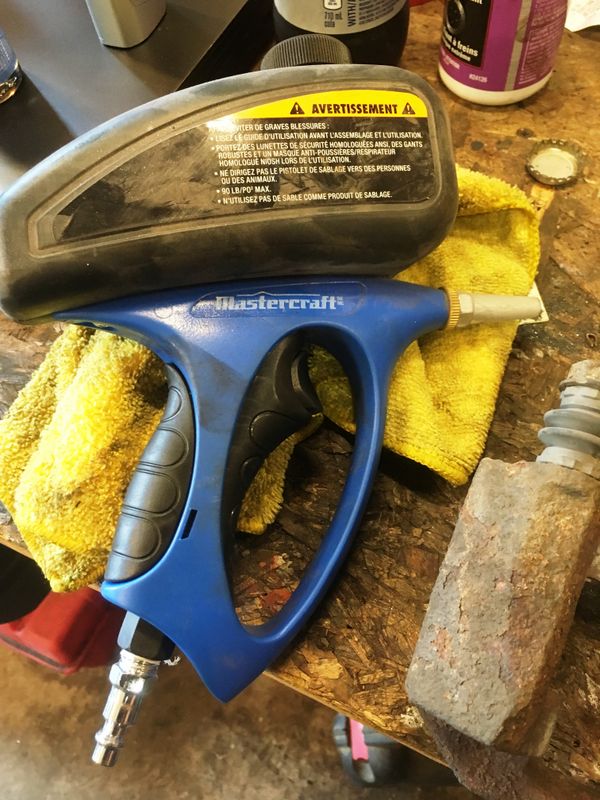
Ronnie's Newfoundland Brake Rotor removal tool! With the wheel removed I begin by removing the two bolts for the brake caliper, remove the caliper and hang it with a hook or tie wire. Don't let the loose caliper hang by the brake hose. Next remove the 2 bolts for the caliper bracket and remove it along with the brake pads. Next check to see if there is a screw holding the rotor in place, if so remove it, if not proceed to take off the rotor, sometimes hammering the face of the rotor between the wheel studs is necessary to break it free from the rusty crusties.
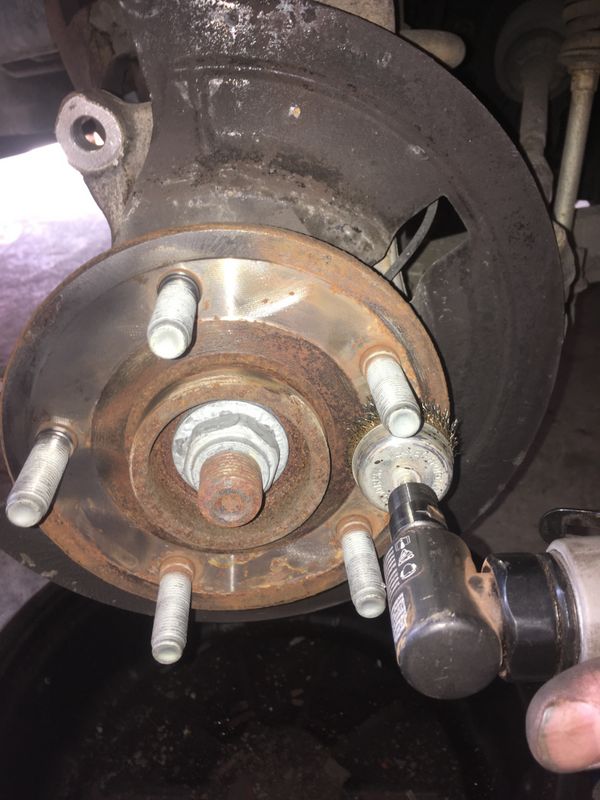
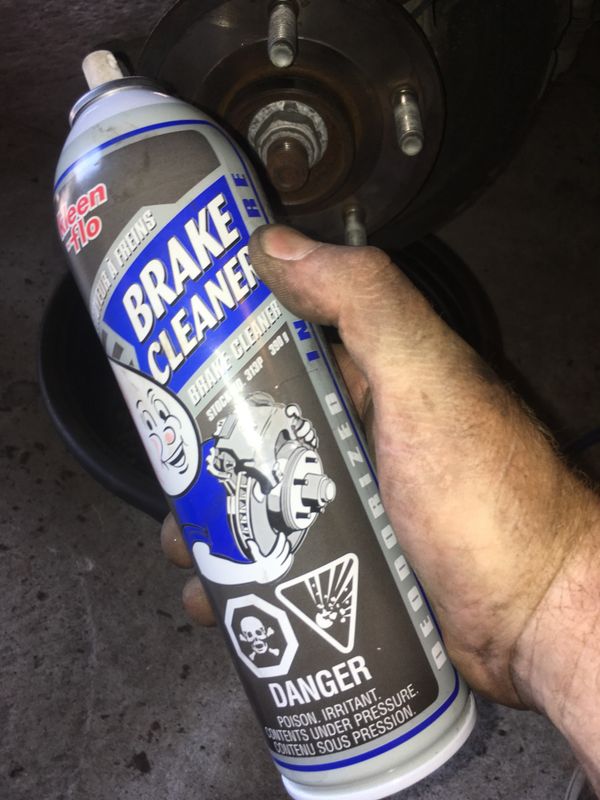
Next I push back the pistons in the caliper with a piston tool or C-clamp, slip jaw pliers, etc. After that the face of the hub should be thoroughly cleaned to make sure the new parts fit flat and true.
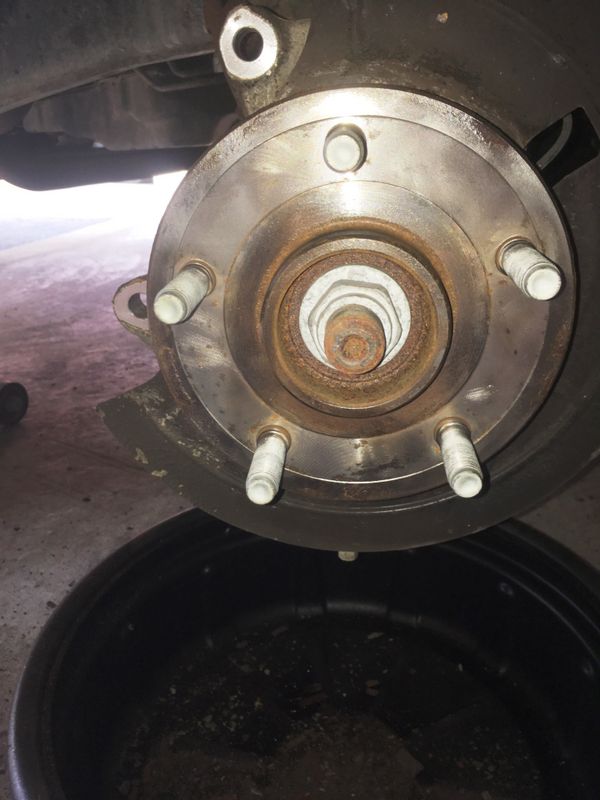
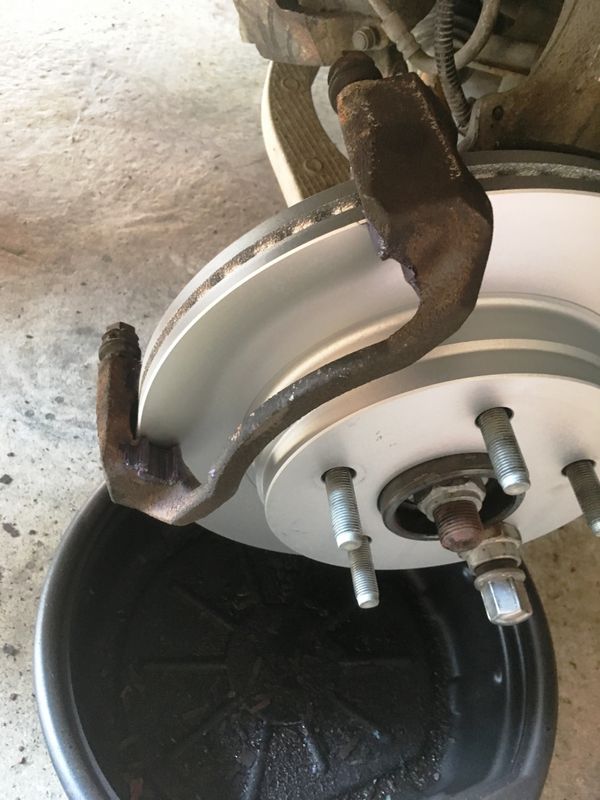
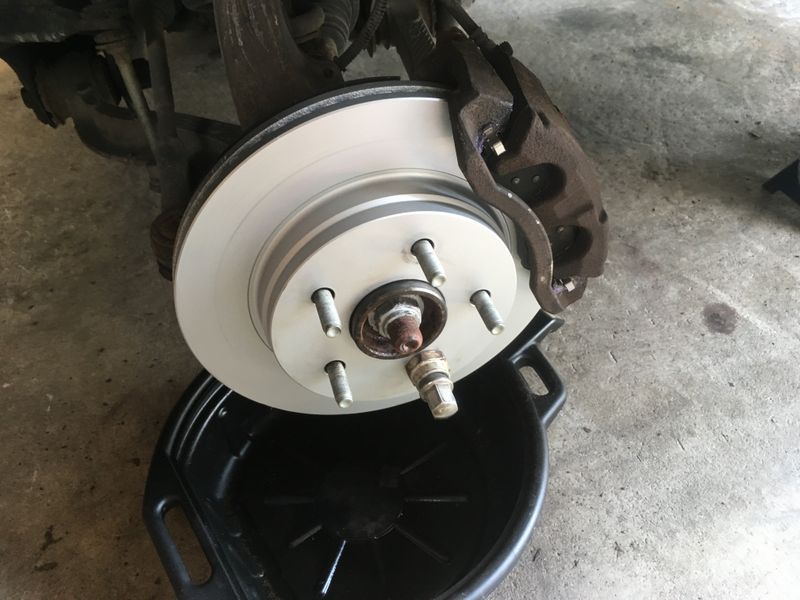
Once cleaned with the good stuff-brake parts cleaner- I spray the face of the hub with Fluid Film to prevent corrosion and the new Rotor seizing onto the hub. Now the new Rotor can be installed. Top tip, after slipping the rotor on, installing a lug nut will help hold it in place while you reinstall the caliper bracket, pads & caliper. If your rotor uses a screw to hold it in place you can skip this step.
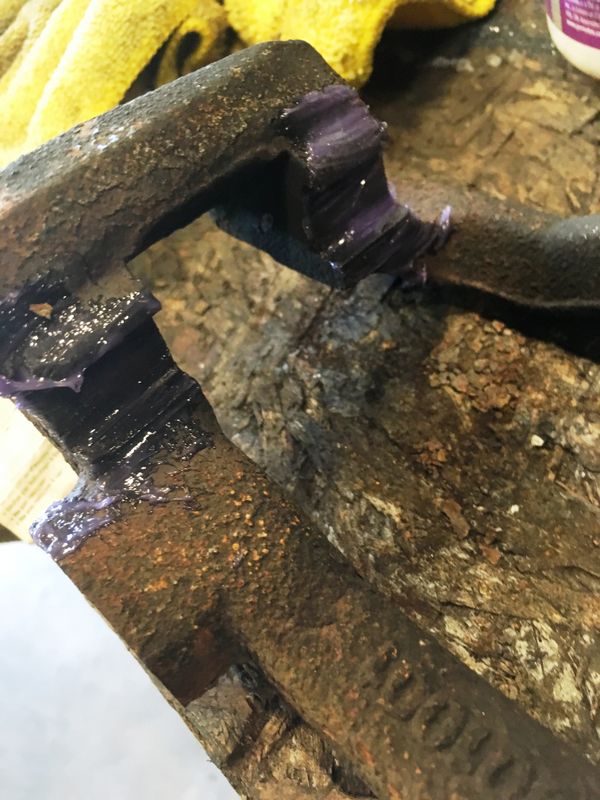
Next pop out the old stainless brake pad hardware, then the caliper bracket needs to be thoroughly cleaned where these clips sit. Rust jacking occurs which presses out on the hardware causing the pads to seize in the bracket and wear prematurely.
Always clean the bracket and never grind down the ears of the brake pads to get them to fit. Ronnie used a sandblaster which works great but a wire wheel & file will get the job done too.
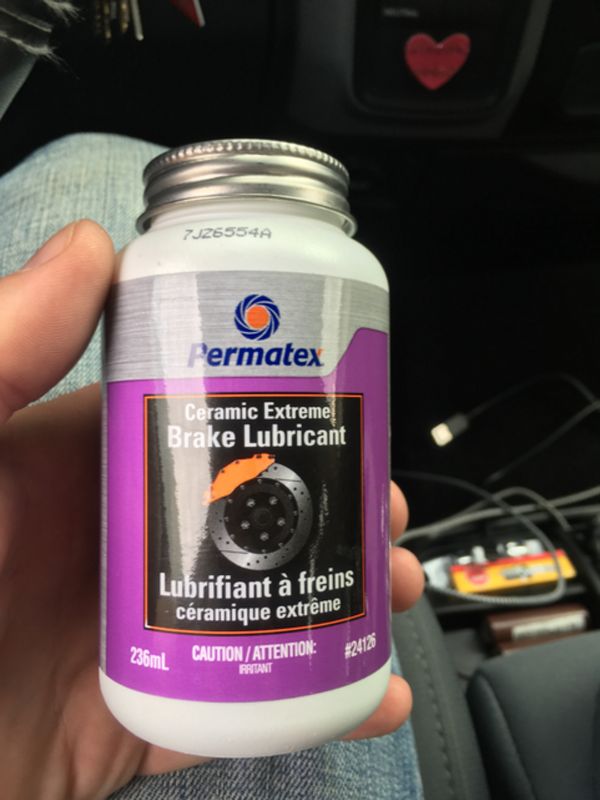
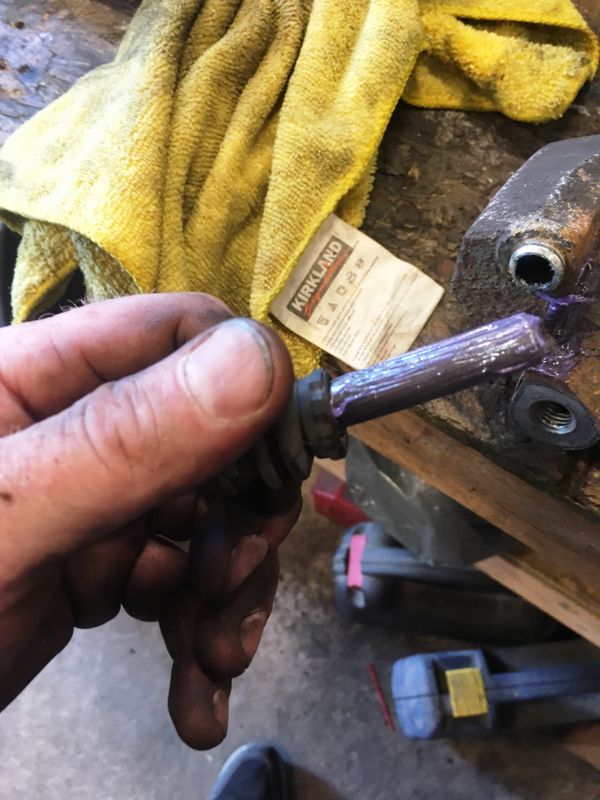
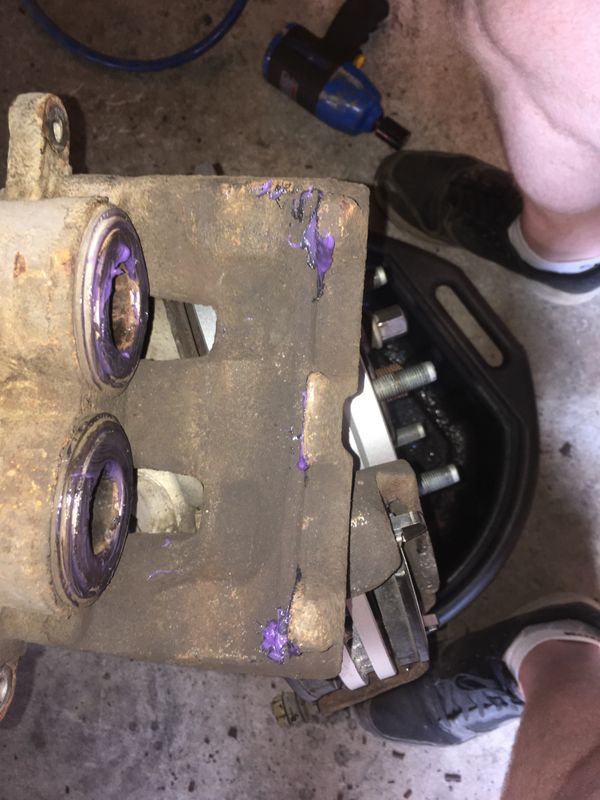
A coat of quality high temp disc brake lubricant applied to the recently cleaned caliper bracket will help prevent rust & rust jacking of the new brake pads. it's not only used for lubrication.
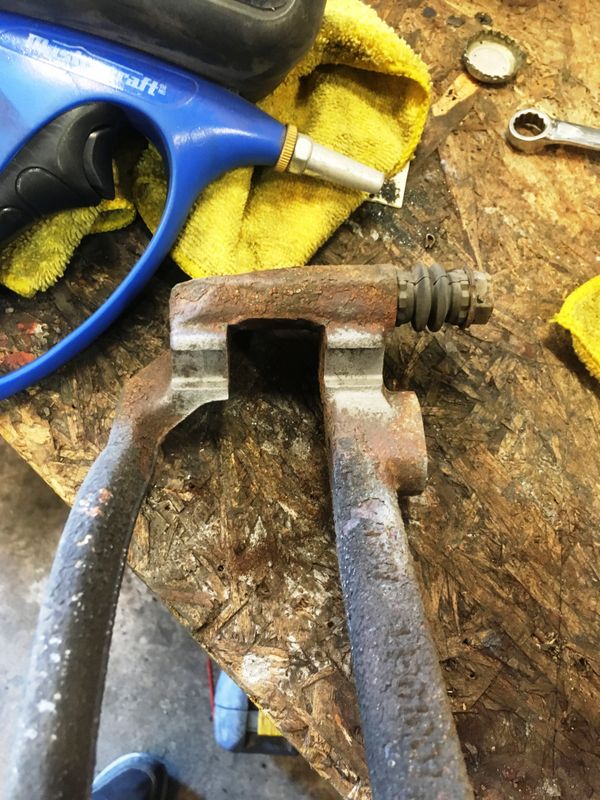
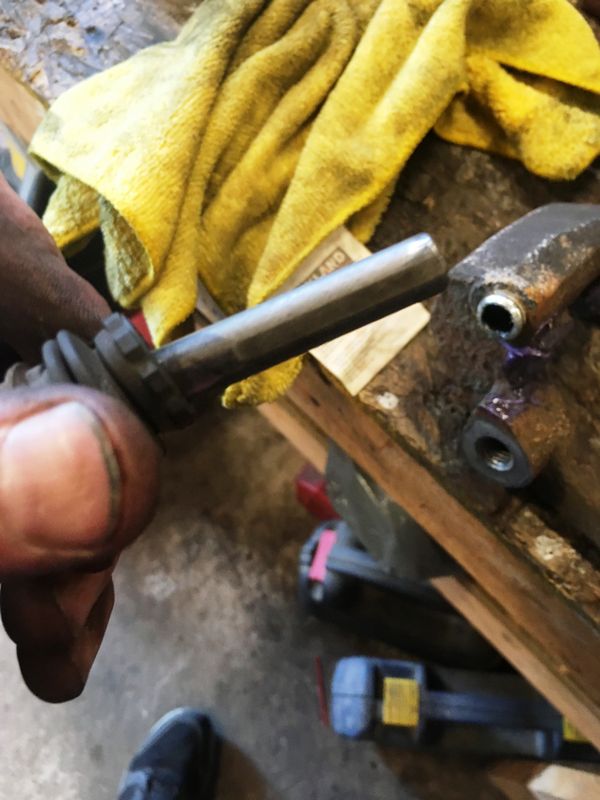
The two slide pins & their rubber boots should be cleaned, inspected for wear/tear then coated with quality high temp brake lubricant.
Now the bracket can be bolted back to the truck, the new stainless hardware clipped in place and new brake pads installed in the Caliper Bracket. I don't use brake lubricant between the pad & stainless hardware, I find it traps road grime/sand and causes more problems than it will solve. Make sure you clean the rotor with Brake Parts Cleaner to remove any oils used by the manufacturer of the new parts.
With the brake caliper pistons pushed back earlier in the job, I apply a coat of high temp brake lubricant to the piston faces & ears for the outside pad, this reduces squeaking and creaking in the brakes.
Now the brake job is complete. Double check to make sure all hardware is torqued to spec. I always coat the steel ring of the hub that protrudes through the rotor and all the wheel studs with anti-seize, this really helps prevent aluminum wheels from sticking in place. Make sure you pump up your brakes BEFORE moving the vehicle or you will be going for a ride with extra pucker factor! Whenever I reinstall wheels I torque the lugs to spec with a torque wrench, go for a 5-10 minute drive and re-torque the lugs again. Remember readers if Ronnie can do it, you can do it.
Cheers, Mike
Copyright © 2025 Michael Smith |