| How To: Install Argo XTV Tracks (13" Plastic & 18" Rubber) |
|
Important Note: Please use this article as a general guide. Google Search a free copy of the Argo track installation manual for your machine as directions may vary for different years, models and different track types.
Tracks add a lot of versatility to an Argo, some people use them year round but for our crew and our terrain we like to run them in the winter. This way we can enjoy a softer ride & more maneuverability especially on rough trails running the machines on tires for most of the year.
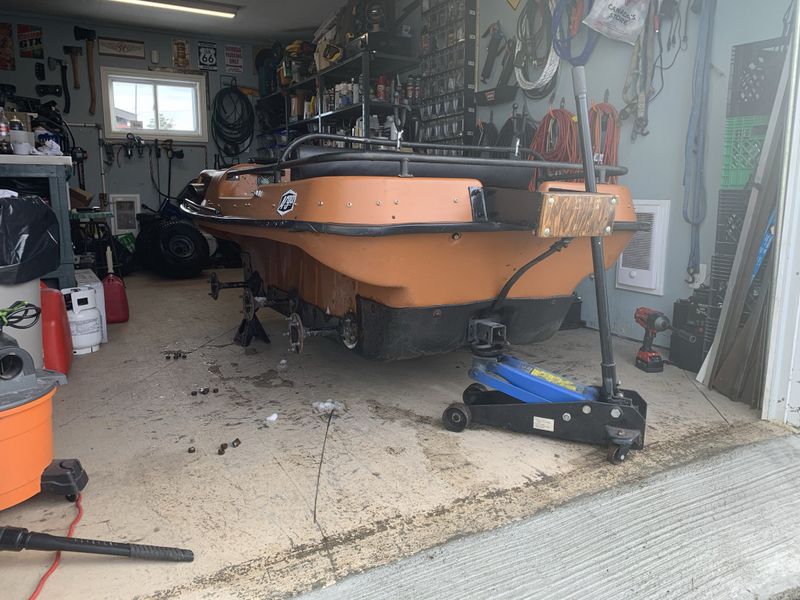
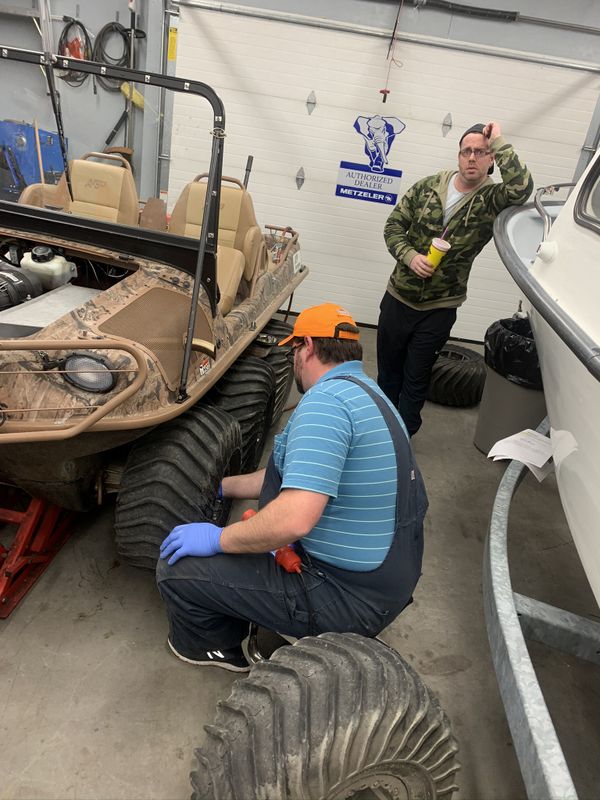
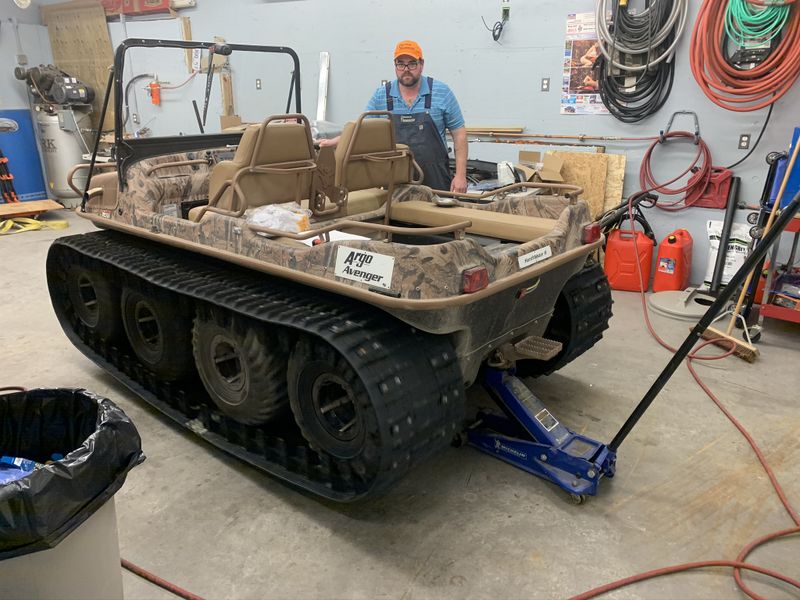
When installing tracks you need to fully support your machine because the next step is removing all tires from the machine. We find that an ATV/Motorcycle jack under the engine and a standard automotive jack under the trailer hitch works well. A set of jack stands on the axles will work for swapping tires around but will get in the way of installing tracks.
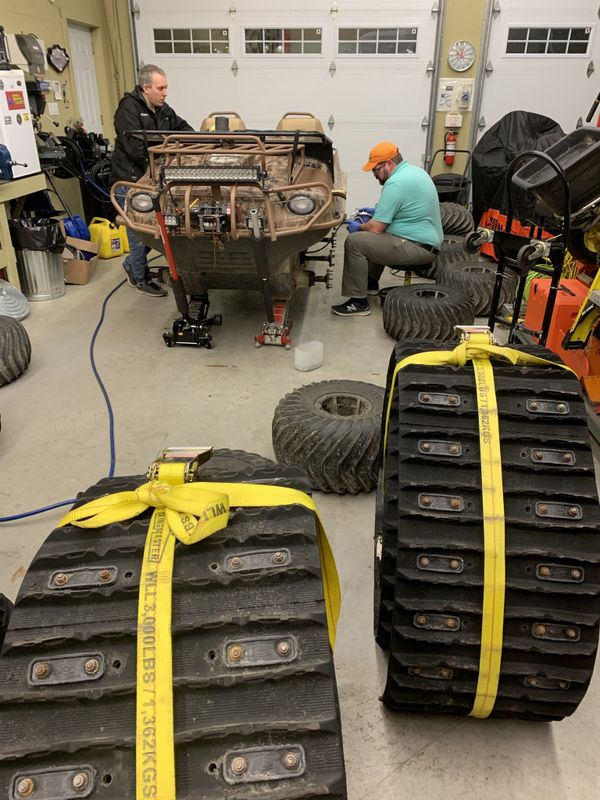
Now we remove all wheels and tires from the machine.
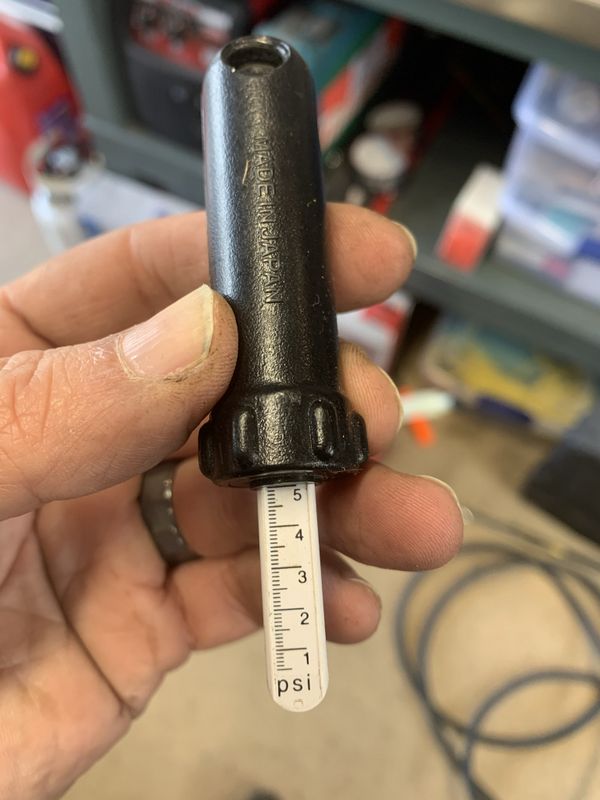
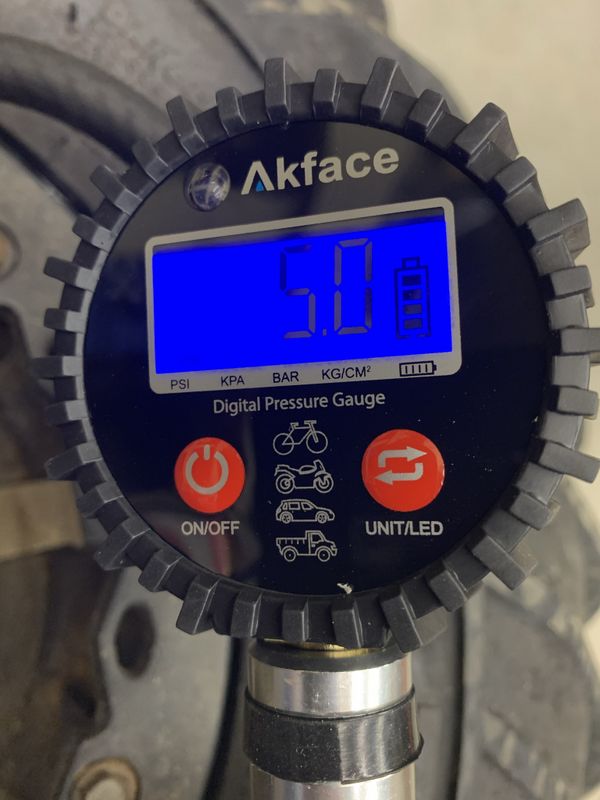
All tires were carefully inflated to precisely 5psi.
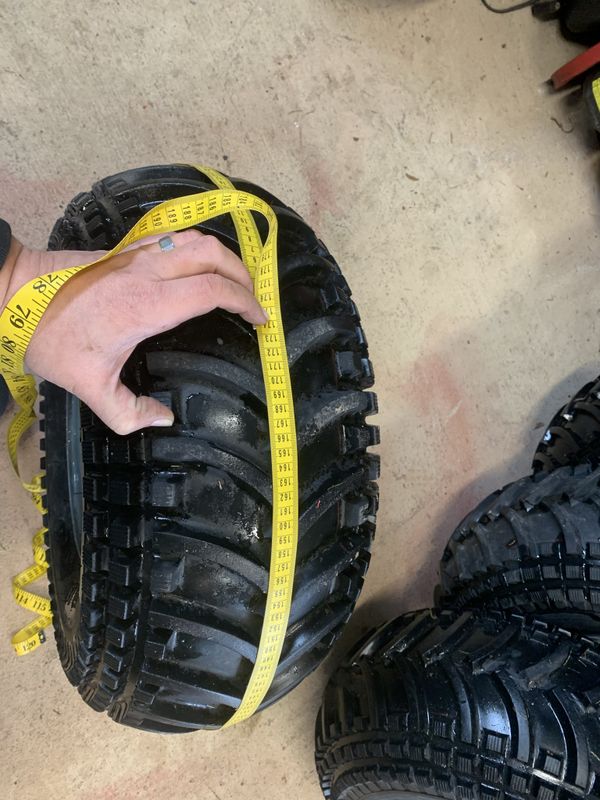
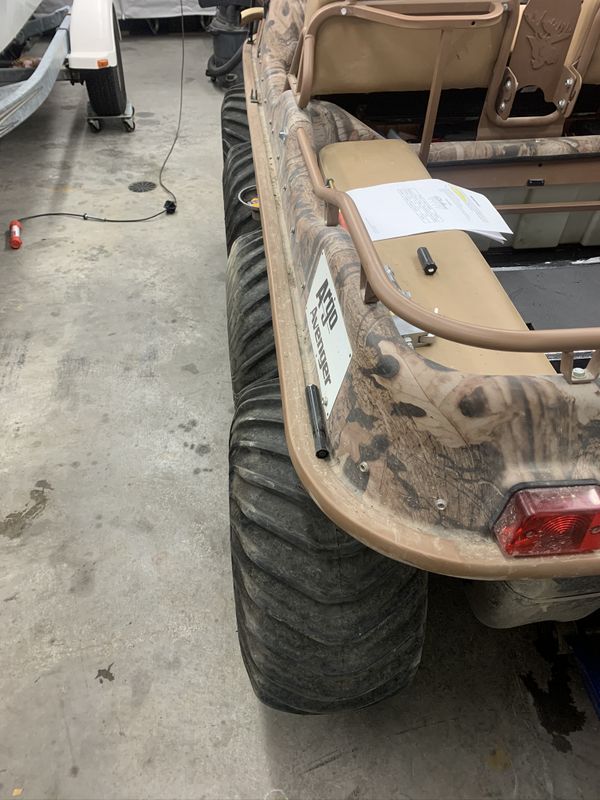
Now we measured the circumference around the centre tread recording the information on each tire with a sharpie.
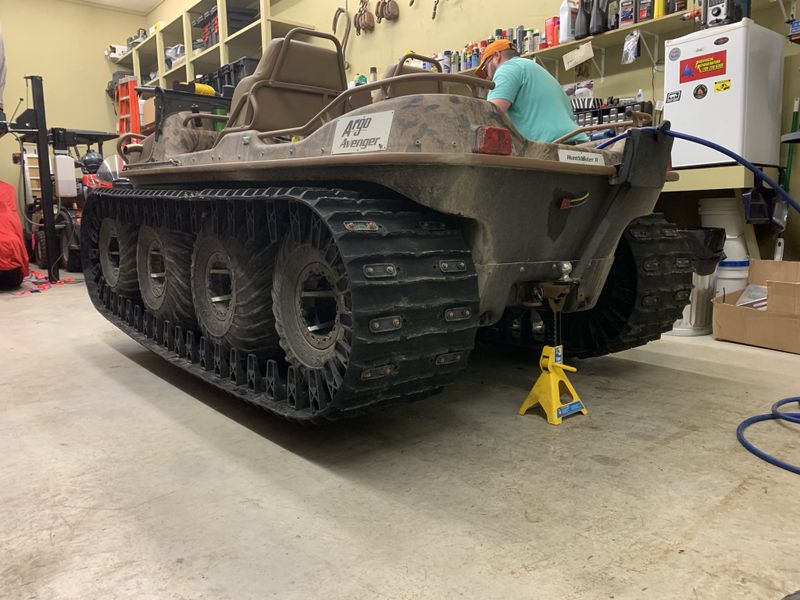
On French's 2017 Avenger 8x8 with 18" rubber tracks the tires are re-installed as follows:
On my 1989 6x6 with 13" plastic tracks the tires are installed as follows:
It's extremely important to follow these steps as well as the upcoming tire inflation guide, if not chain wind up can occur as the tires don't slip or spin inside the tracks. This can lead to broken chains or damaged axels.
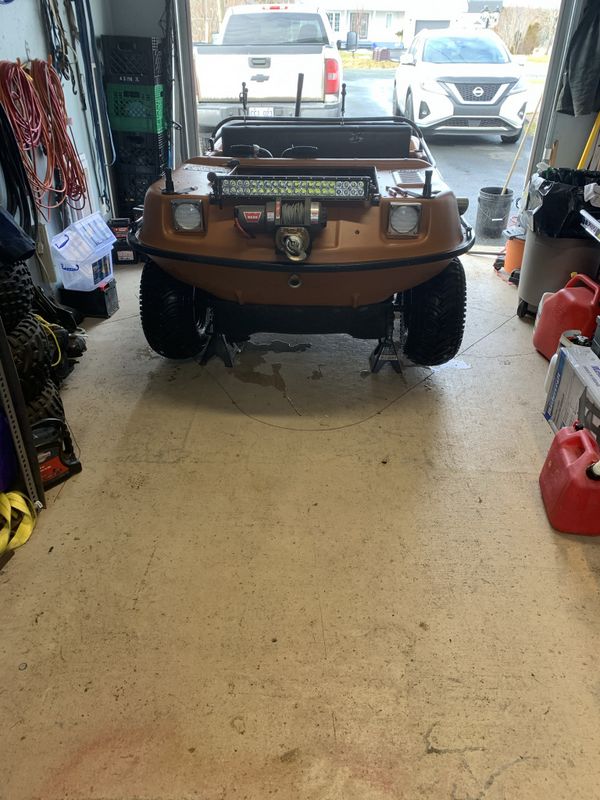
When properly installed, offset rims / wheel spacers make the tires stick out quite a ways!
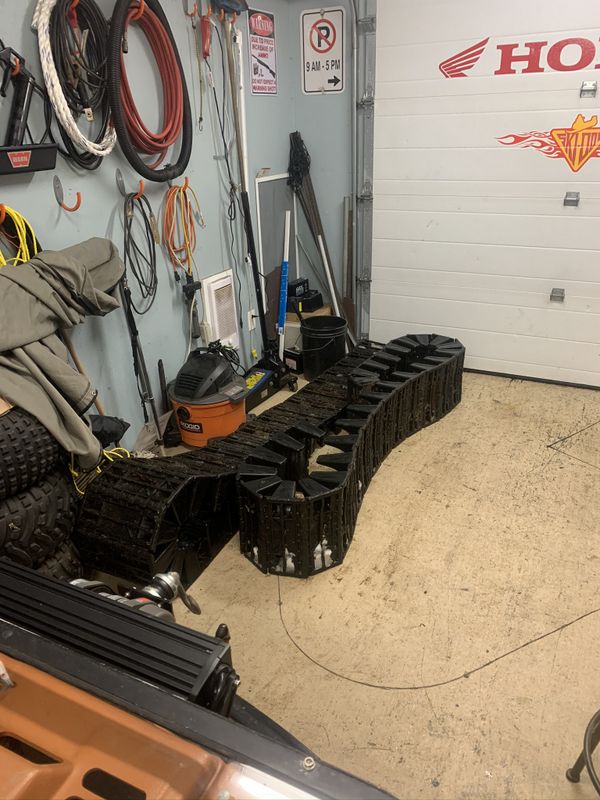
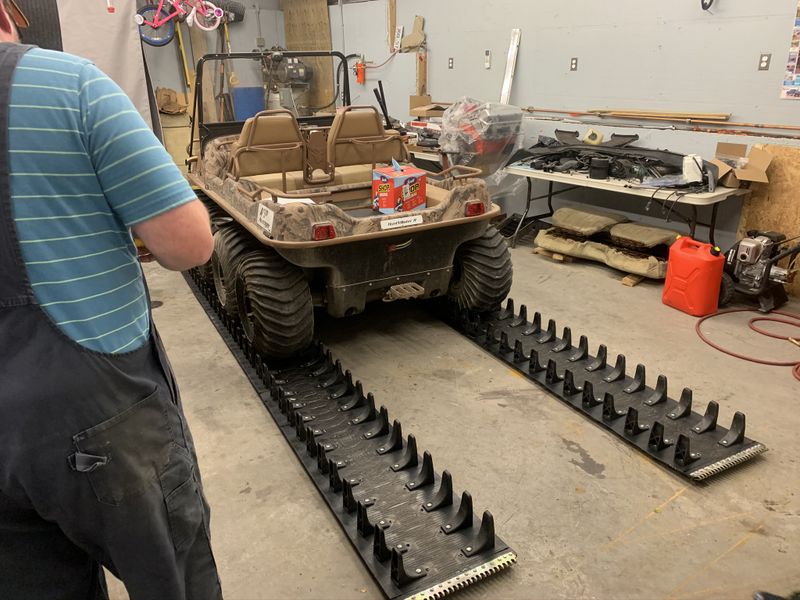
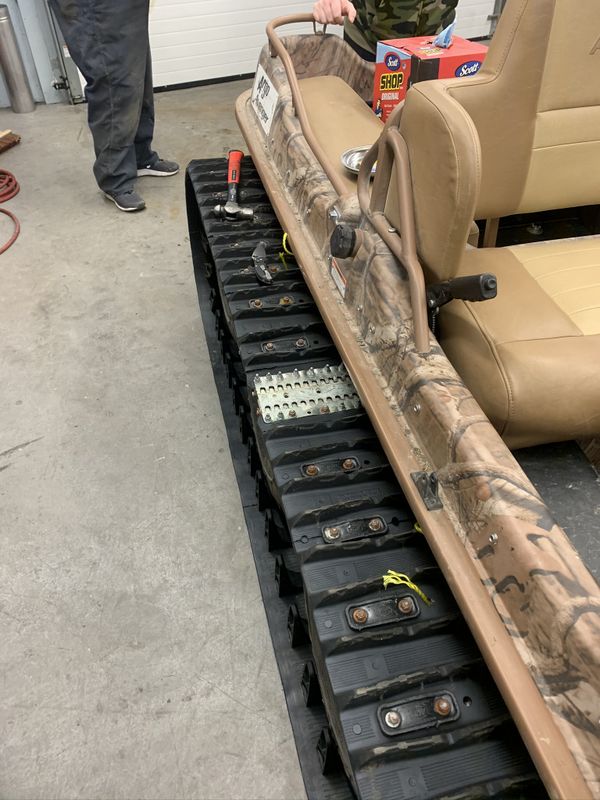
Next we laid out the tracks then drove the machine up on them, or slide the tracks under the tires while the machine is still supported on stands then lower it down.
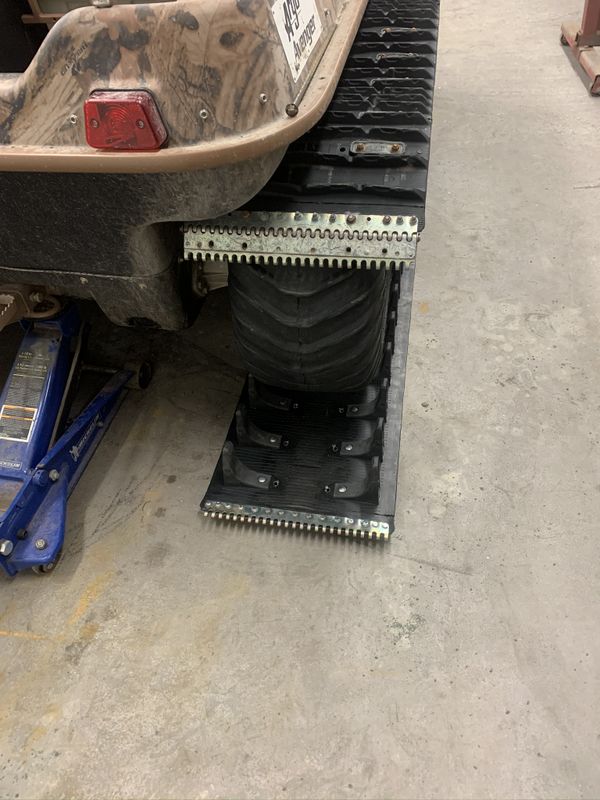
To close that gap at the ends of the tracks we let the air out of all tires by removing the valve cores. On Mark's rubber tracks we temporarily installed a piece of 1/4" rope to help pull the track ends together and install the hinge pin. Pulling on the rope helps collapse the tops of the tires and closing that gap for installing the pin. Marks pins have one end welded and the other with a removable clip. The pin should be installed with the welded end facing outside so that if the removable clip ever fell out, the rod will work its way away from, instead of into the body of the Argo.
On my 6x6 with 13" plastic tracks I also let air out of the tires, used a pry bar to align the track ends, then installed the final hinge pin. My hinge pins are slightly different and have a locking collar and set screw in the middle of the pin. Blue Locktite should be applied to the set screw to prevent it form working loose.
Top Trick: I also squat the air out of each rear tire & reinstalled the valve core (to prevent it from self re-inflating), this helped keep more slack in the tracks and made it easer to pull the ends together (very helpful if installing the tracks by yourself).
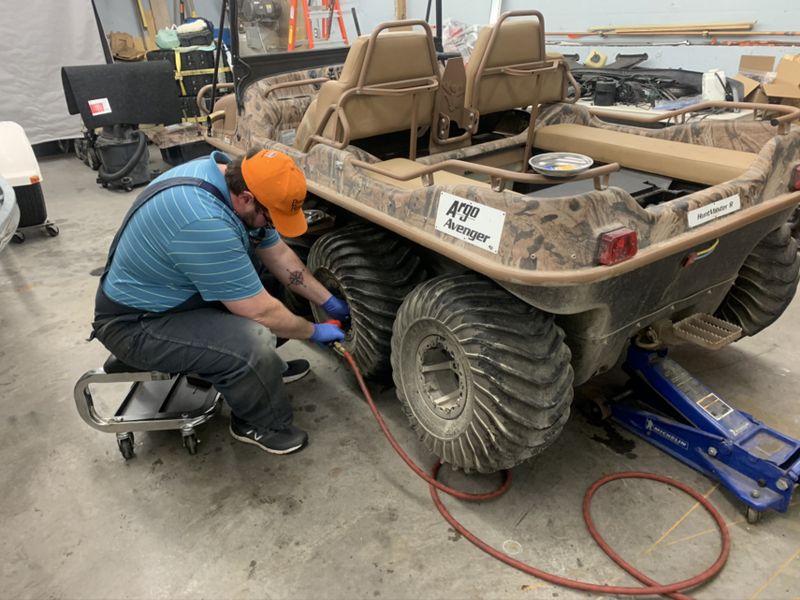
Next re-install all tire valve cores and air up your tires to set track tension. Tire pressures according to the Argo track installation manual is as follows: Mark's 2017 Avenger 8x8 with 18" Rubber Tracks:
Mike's 1989 Argo 6x6 with 13" Plastic Tracks:
On the Avenger 8x8 with Rubber tracks you need to jack up the machine to check track deflection after you air up your tires. When correct there should be 2"-3" of sag between the bottom of the 2nd or 3rd tire and the inside surface of the track. If you have side entry steps you want to be closer to 2". To add or remove slack you need to maintain the tire pressure ratios between each tire as listed above and/or as listed on the chart in the installation manual.
On my 6x6 there is no official deflection measurement for track deflection but they seemed to have enough slack and the tires don't slip inside the tracks. If tracks are installed too tight on an Argo, serious damage to the axels, axel bearings, and even the frame can occur.
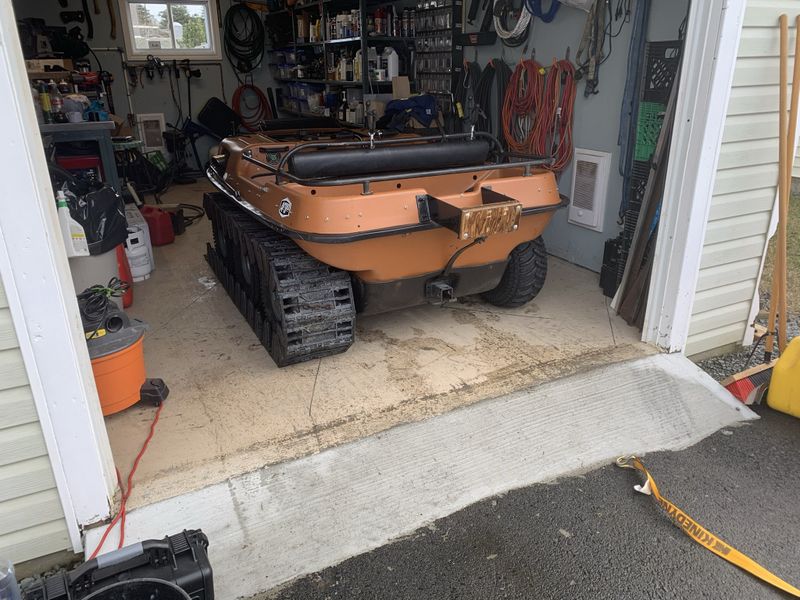
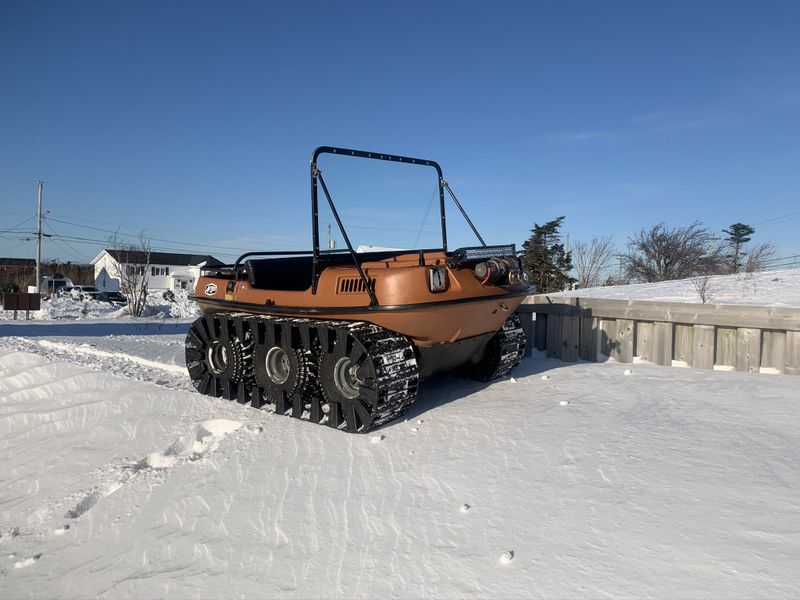
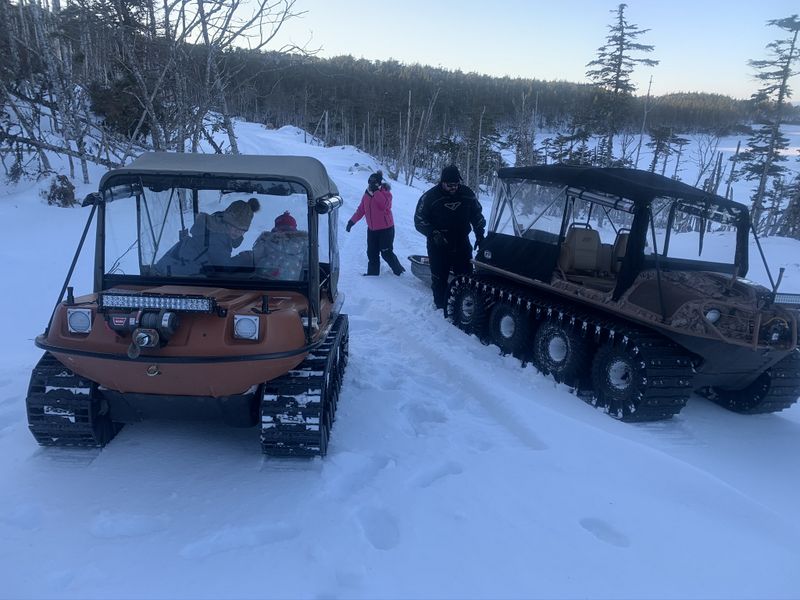
These machines work absolutely amazing on tracks. I've done a lot of snowmobiling, and it had been a long time since I last drove an Argo on tracks and I forgot how forgiving they are in terms of getting stuck when exploring trails in deep snow. They are a lot of fun for taking a crowd or a bunch of cook-up and ice fishing gear in the woods for the day.
Cheers, Mike
Copyright © 2025 Michael Smith |