|
Area 51 Project - Pietro's 1997 Fourtrax 300 4x4: |
||||||||||
|
Machine Specs:
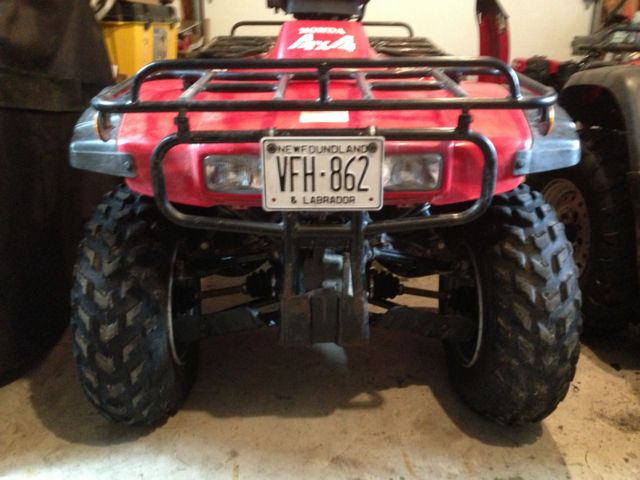
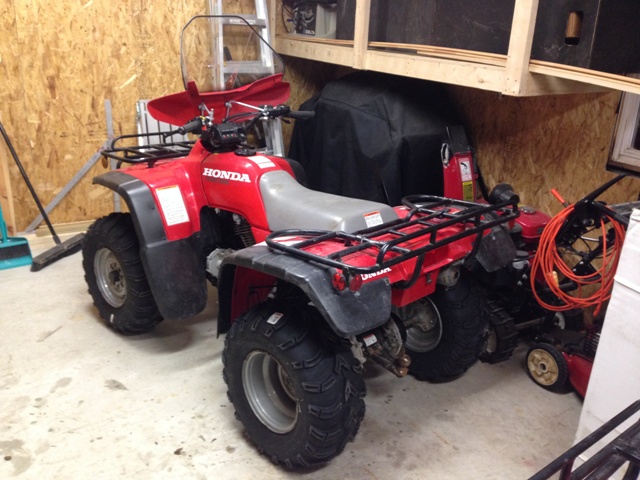
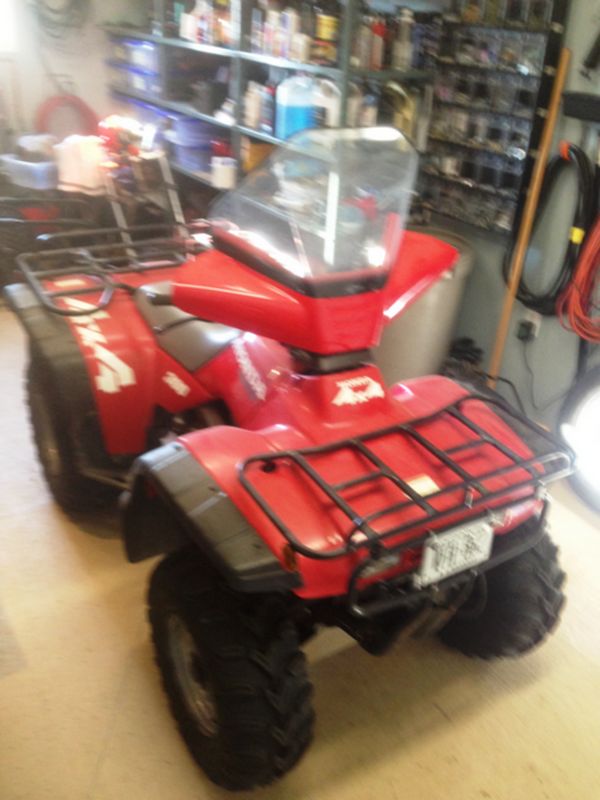
A few years ago Andrea went on the hunt for a reliable 4x4 bike that would be easy for his father Peter to ride on our annual Moose hunting trips. This 1996 Fourtrax was once owned by NL Hydro as a supervisors unit and was very lightly used and in fantastic shape and even sported the original tires. The only repair necessary at first was painting the bottom of the metal gas tank, years of riding caused the paint to wear through.
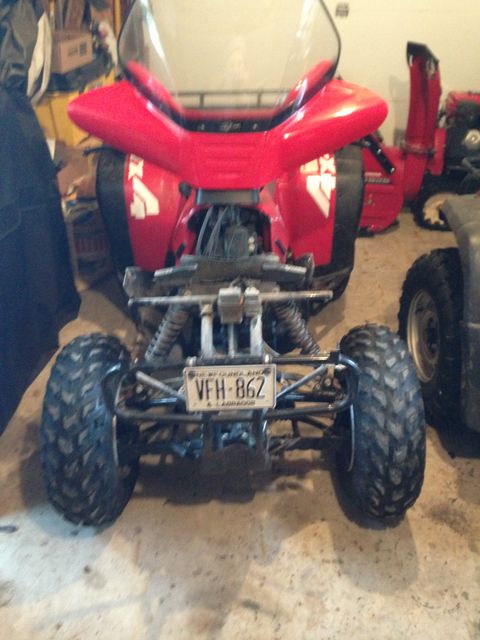
A Windshield was installed at Peter's request to protect him from cold during our annual November Moose Hunts.
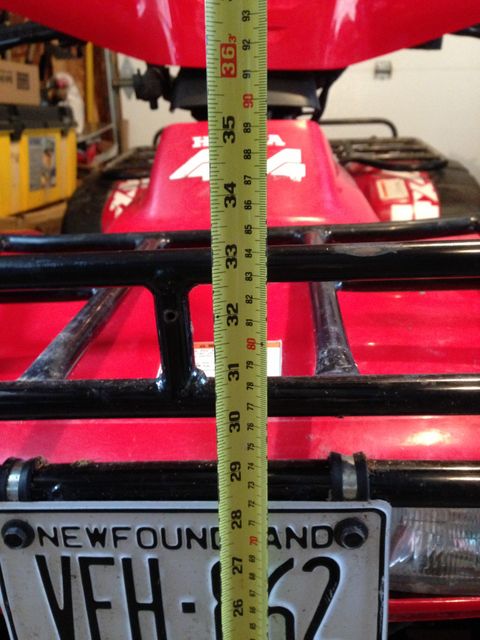
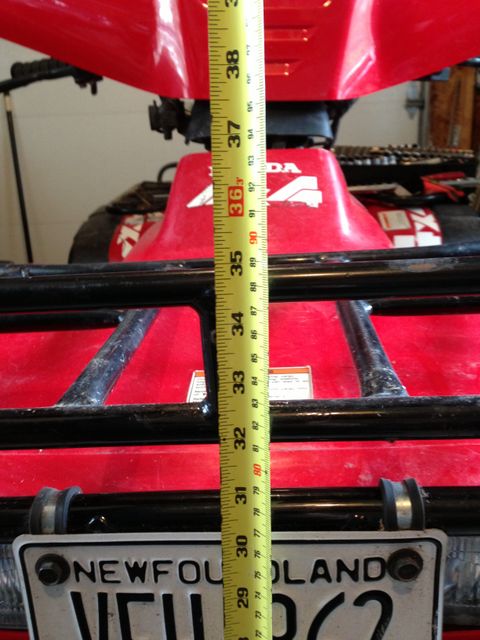
Stock Suspension & tire height.
New 1.5" Lift kit installed and ready to ride.
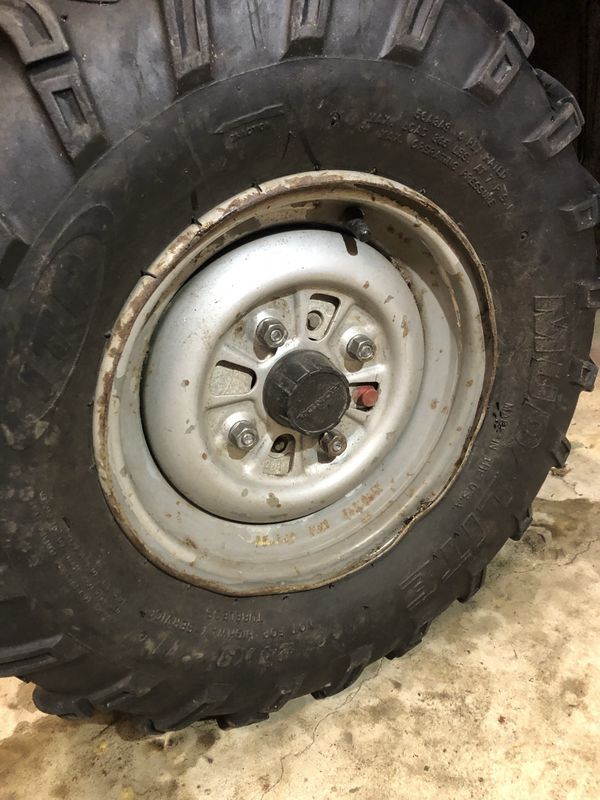
Andrea installed a 1.5" EBay Lift kit which measured up to its advertisement. Another inch or so was gained after the stock tires were swapped out for larger 25" ITP Mud Lites.
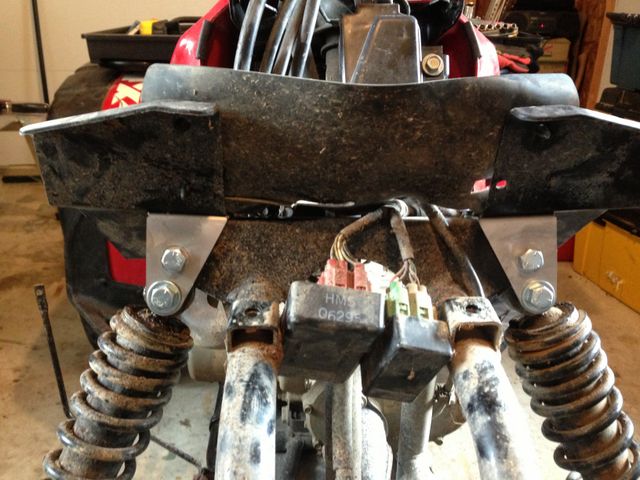
Rear lift bracket bolted in place.
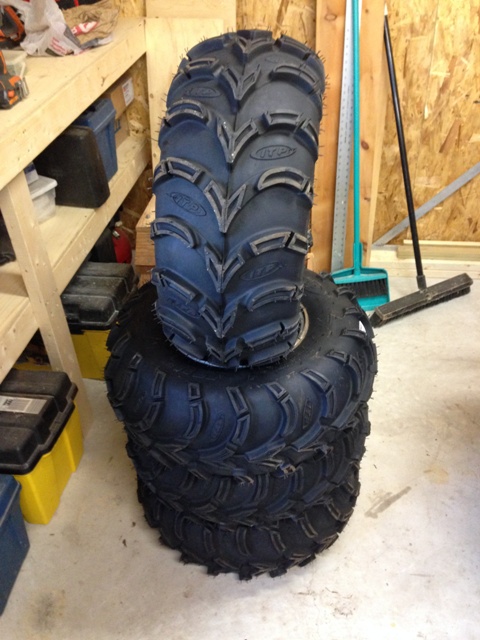
New Tire Day. The stock Good Year tires were swapped out for a set of 25" ITP Mud Lites which gave more ground clearance and much better traction in mud & bog. They were a very welcome upgrade!
Honda's Fourtrax 300 is a long proven reliable workhorse and this one has lived up to that reputation. Having hauled out a number of moose over the last couple years, it certainly earns its keep.
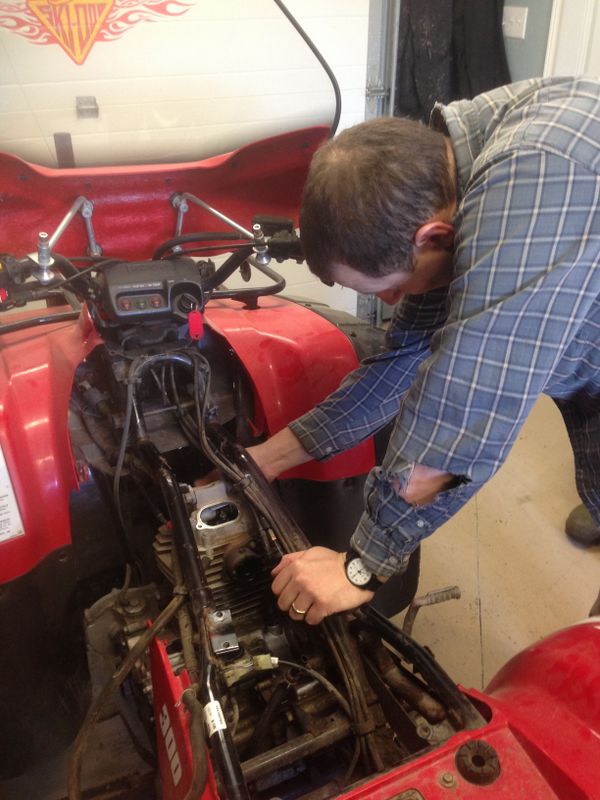
Peter's Fourtrax has been working very well never letting us down on any of our Moose Hunting trips, which is really the only time it gets used. Last year we noticed the bike seemed down on power so we figured it was time for a thorough maintenance.
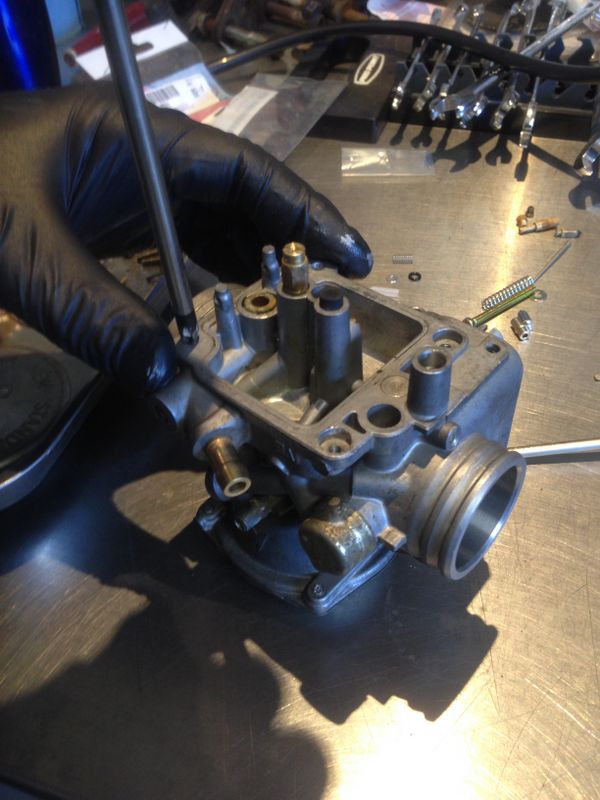
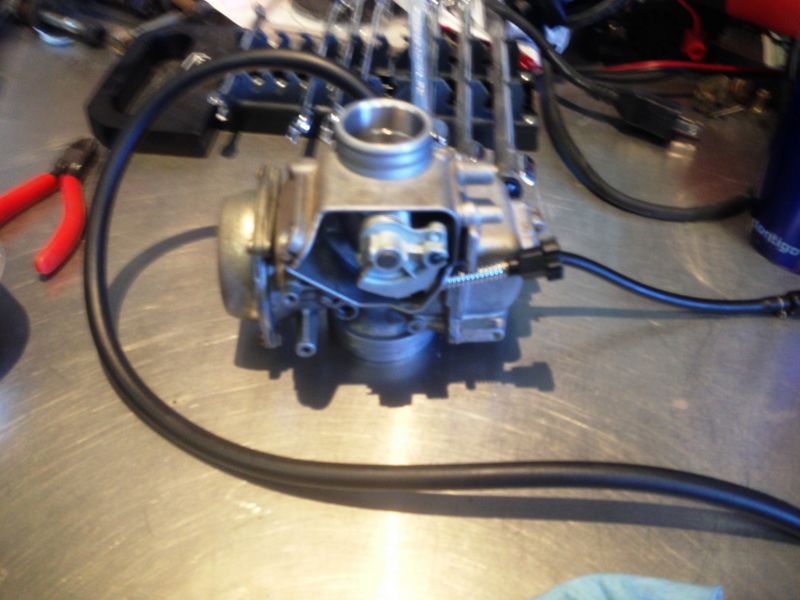
We started with the carburetor which was slowly seeping gas from the bowl gasket so a rebuild kit was purchased at Honda One in Mount Pearl. We found the mid range jet plugged almost completely full of gunk. All the jets, needle, float and gaskets were replaced with those from the kit.
The original fuel line had been replaced at some point with aftermarket clear line which was hard as a rock. We picked up a couple feet of Honda Fuel line installed and trimmed to length.
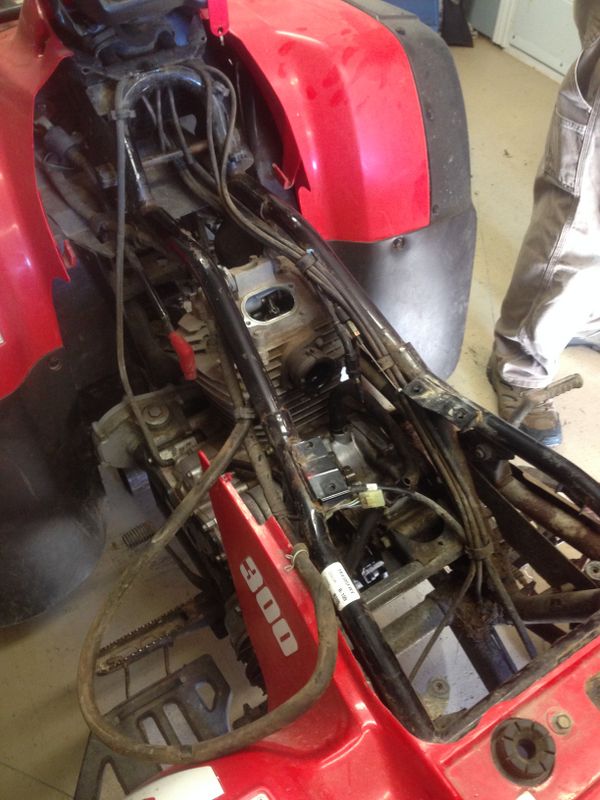
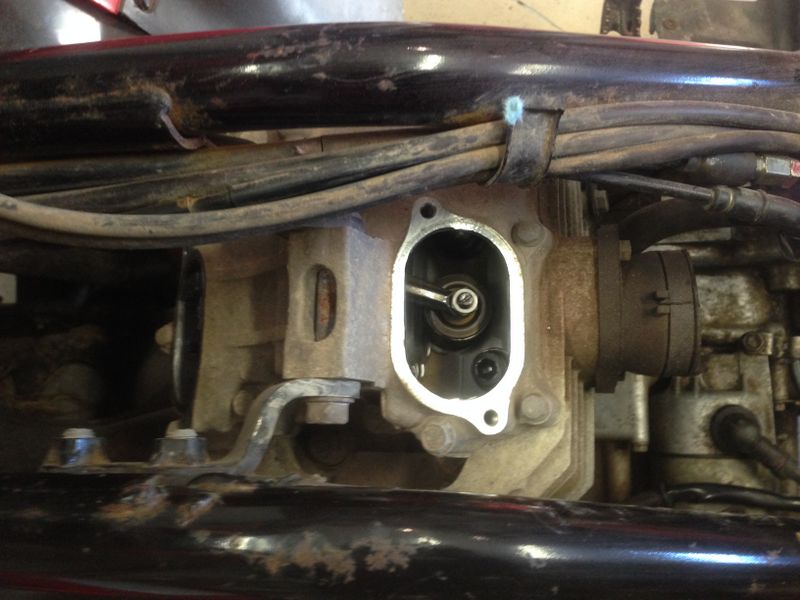
Next we did an intake & exhaust valve adjustment as they were worn out of spec. Valve adjustment is very important on Honda Bikes to keep them running their best.
After the valves were adjusted we replaced the spark plug, adjusted the clutch, and changed the engine oil & filter.
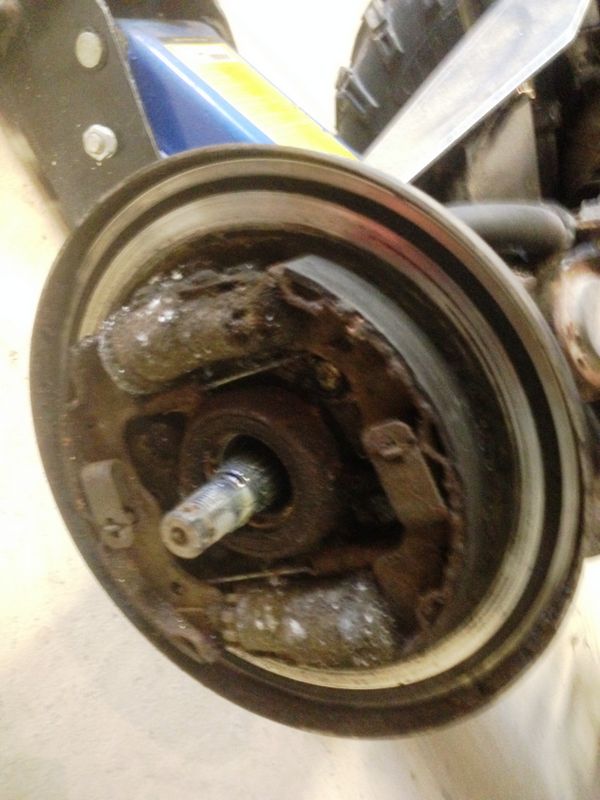
With the bike running well it was on to the front brakes which were lacking in stopping ability. It doesn't appear they had been opened up at all in the last 20 years, but surprisingly they were in decent shape. Far from perfect, they just needed a thorough cleaning, lube and adjustment.
The drum was in decent shape, the brake surface was sanded with course sandpaper and cleaned thoroughly with Brake Clean.
The brake shoe adjusters were very stiff but were quickly freed up, cleaned up, and coated with anti-seize and high temp brake grease before being reinstalled in the brake drum.
Much better after a light cleaning! Although I forgot to take more pictures, the backing plates were further cleaned with brake clean & a stiff brush and polished with steel wool, they looked brand new when finished. The hold down kit was cleaned and coated with anti-seize, the pads were cleaned and sanded with course sandpaper and wiped down with brake clean. One very important step with Honda drum brakes is to clean, then repack the outer drum rubber seal with grease. The factory uses a white lithium grease, I prefer the same water resistant marine grease that I use in ATV wheel bearings.
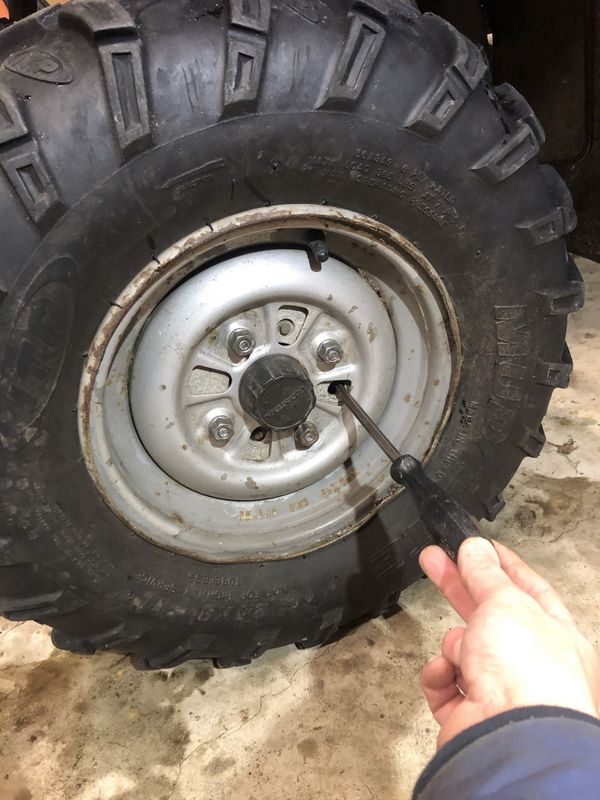
Adjusters cleaned and ready for reinstallation. Once the brakes were reassembled they had to be adjusted. Since this bike is 4wd I hung the back of the bike from the ceiling and kept the front jacked up as you need to rotate the wheels to adjust the brakes. With the wheel installed I removed the red plug from drum and rotated the tire to access each of the two adjusters on each side. I tightened the shoe until they dragged then backed off one click. This gives a great brake feel without causing any premature wear of the shoes.
Once the bike was put back together Bassan and I took it (and project Foreman) for a test ride. The bike now runs really well and stops better than it ever has since Peter purchased it a few years ago.
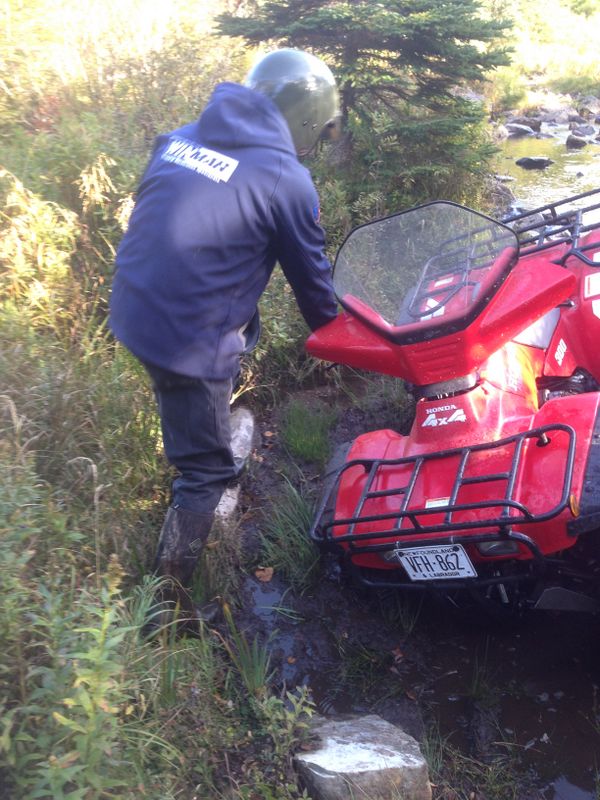
Submitted By: Andrea Bassan My father Peter left his 1997 Honda FourTrax in Trepassey a couple of years ago after a successful moose hunt so he could take it trouting and hunting. Its been a couple of years since any maintenance was done on the bike so I brought it home this past fall for a checkup and some basic maintenance. At first glance I figured an oil change, new spark plug and maybe a front and rear differential gear oil change would do. However, that list grew as the maintenance work progressed.
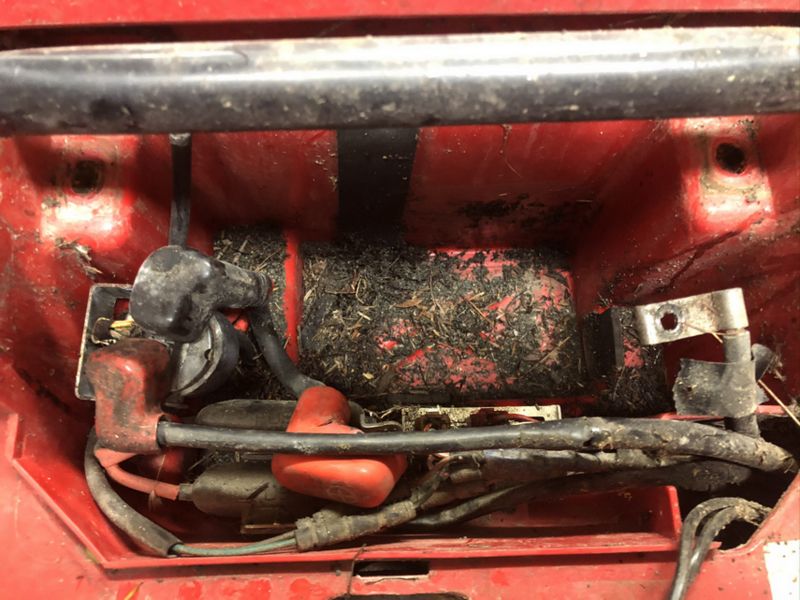
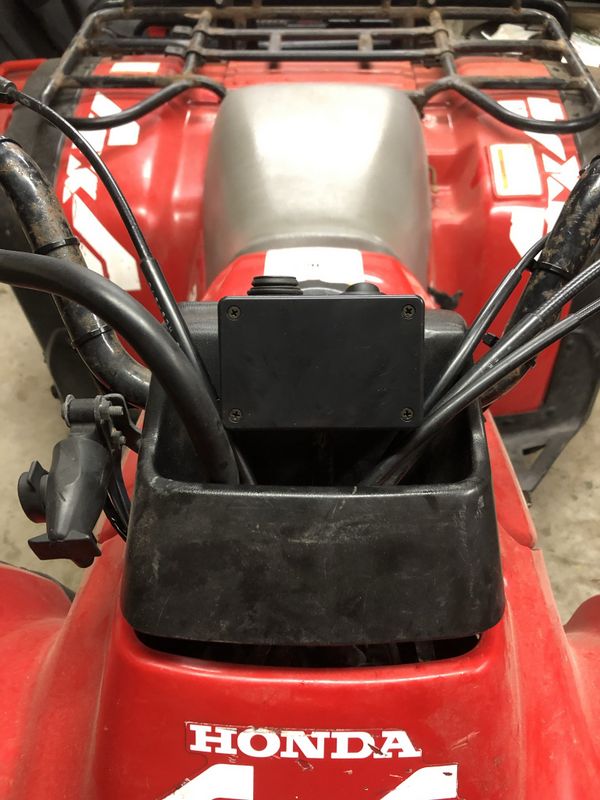
The battery would no longer hold a charge so it was replaced with a new BS battery from Honda One. The BS batteries are a little cheaper than the OEM Yuasa and have been getting good reviews. Before installing the new battery, the battery box and battery cables were given a good cleaning.
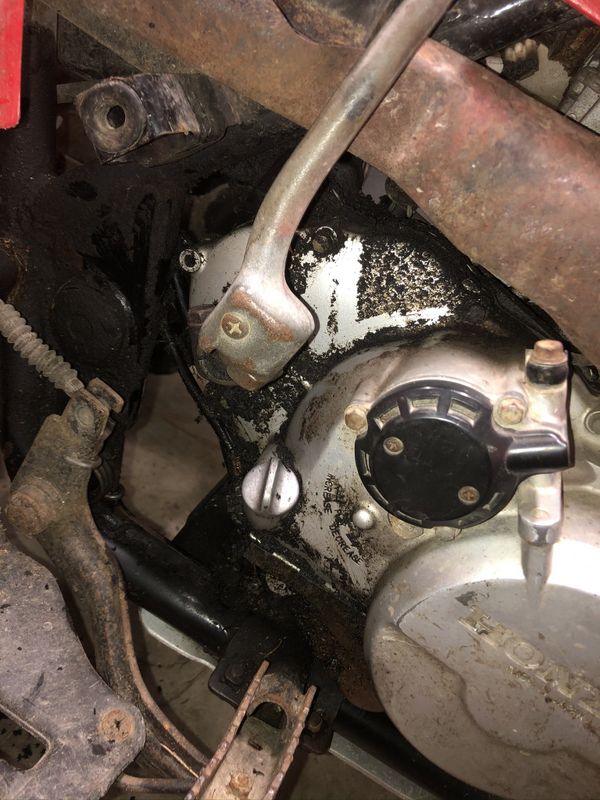
Next, there was an oil leak that had to be looked after. Mike quickly noticed that the right side engine case cover was missing a bolt. Luckily, installing a new bolt and tightening the remaining bolts took care of the leak. I then did an oil and filter change and installed a new spark plug. The area was thoroughly cleaned and the bike ran to check for leaks and we found none, but its something we will keep a close eye on from now on.
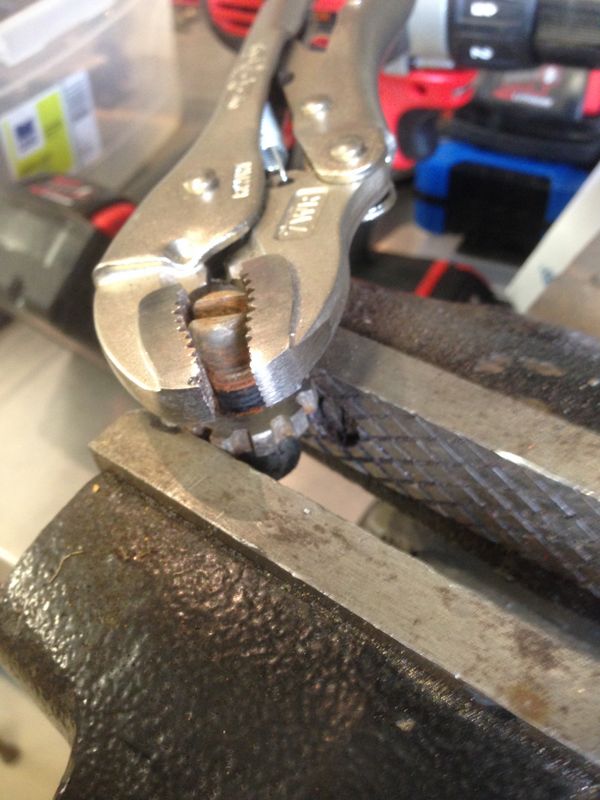
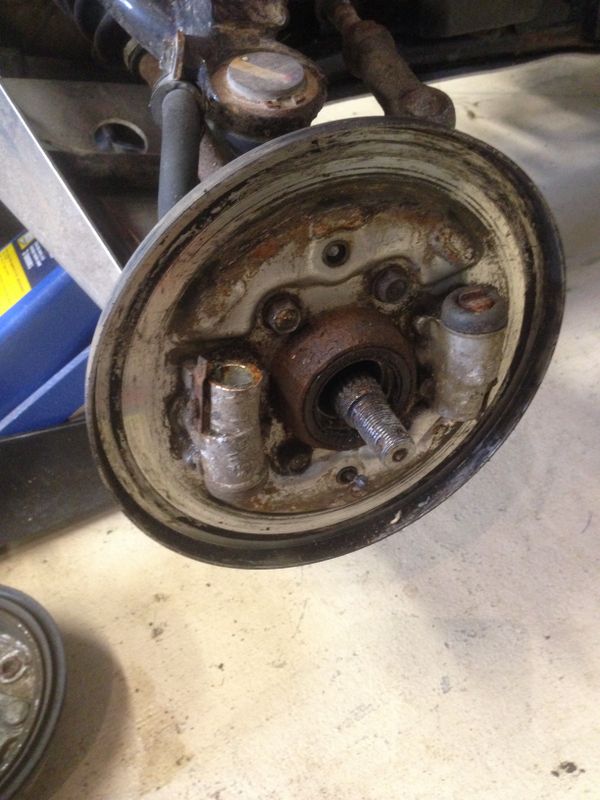
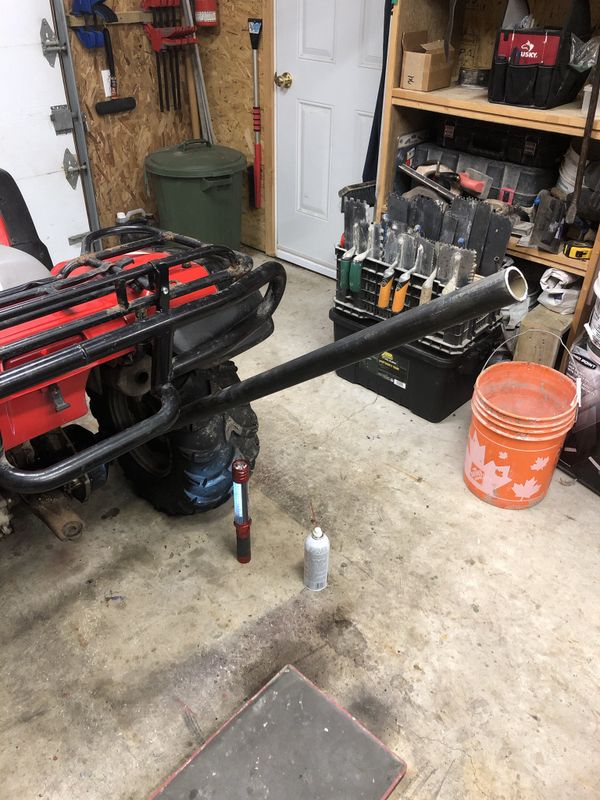
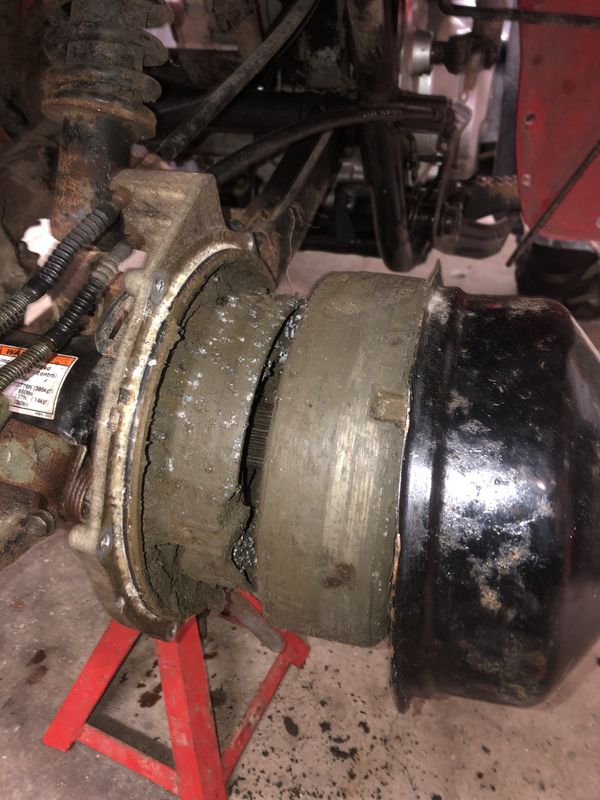
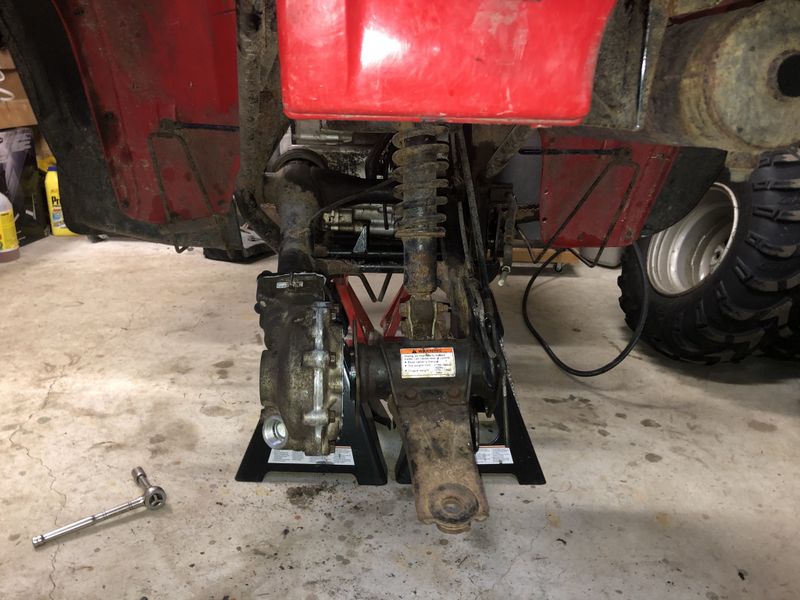
The rear brakes were next on the list as they were not functional at all. The cables were not working freely and the rear brake cam wasn’t seized but was pretty stiff. The rear axle also had a lot of play on the brake panel side which is a good indication that the wheel bearing was toast. To remove the brake drum cover, brake drum and brake panel for a closer inspection, the two axle lock nuts need to be removed. These axle nuts can be difficult to remove. A four foot length of pipe on an adjustable wrench and a week of applying penetrating oil barely moved the nuts.
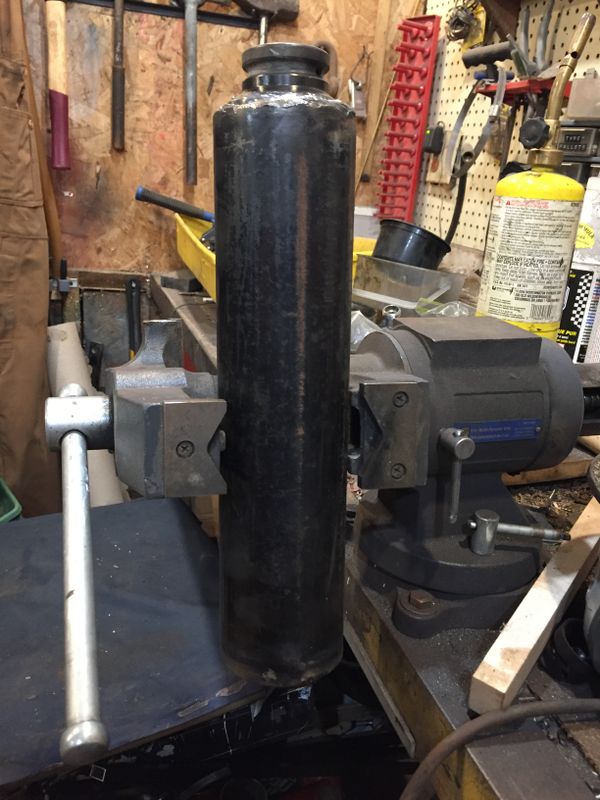
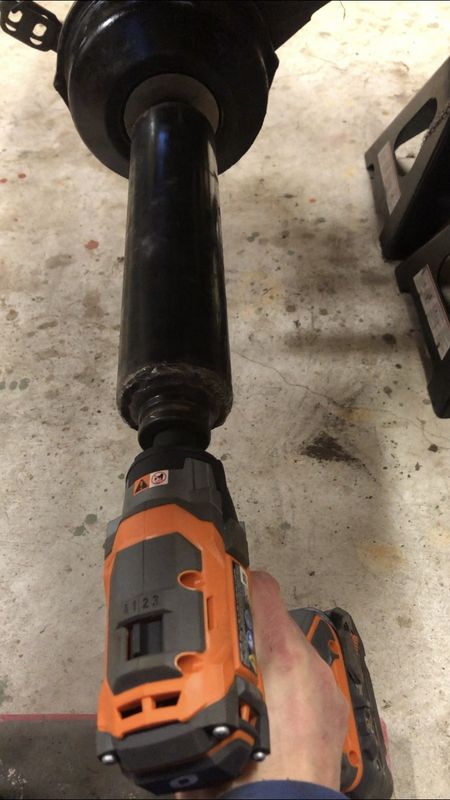
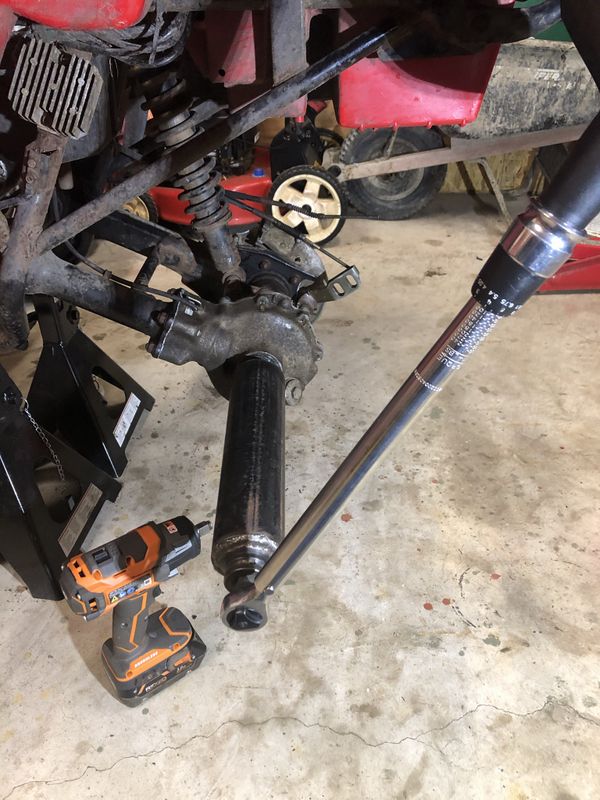
This custom fabricated 41mm x 12" deep socket that Troy made for me (see custom tool write-up) and a 1/2" impact wrench finally made quick work of removing the axle nuts.
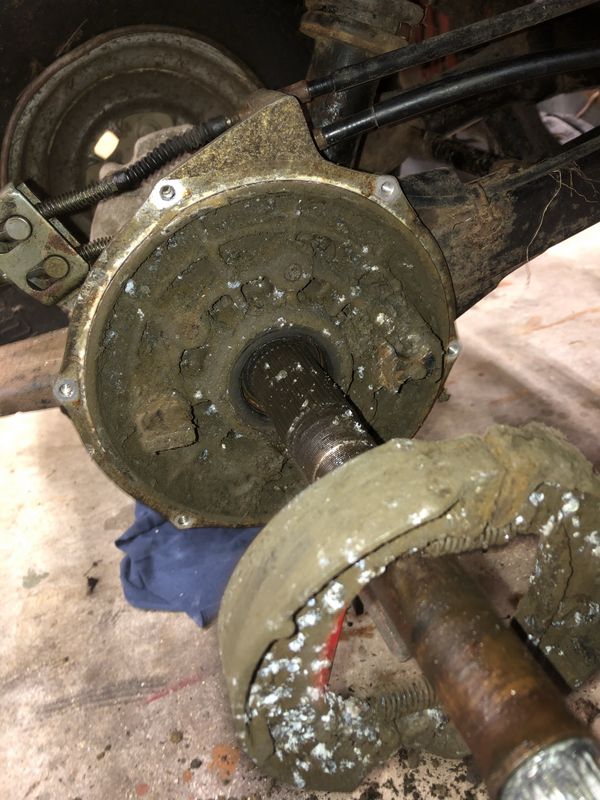
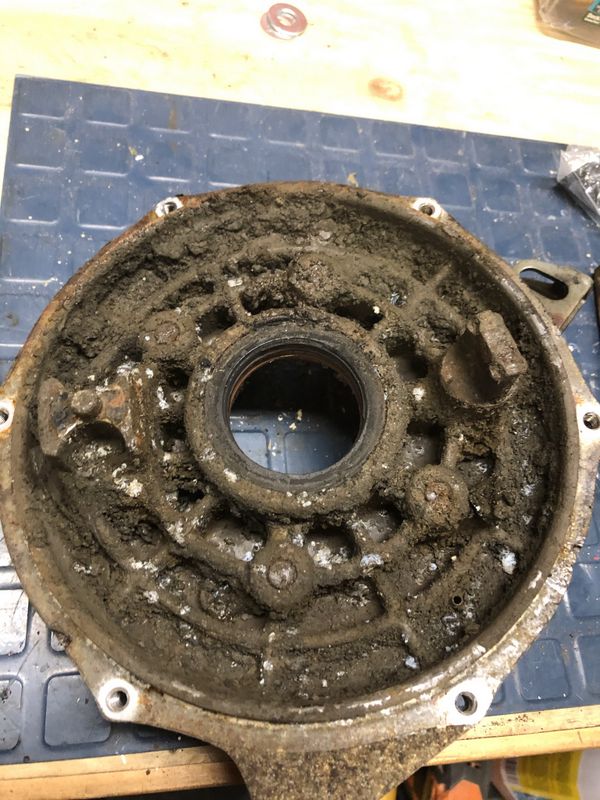
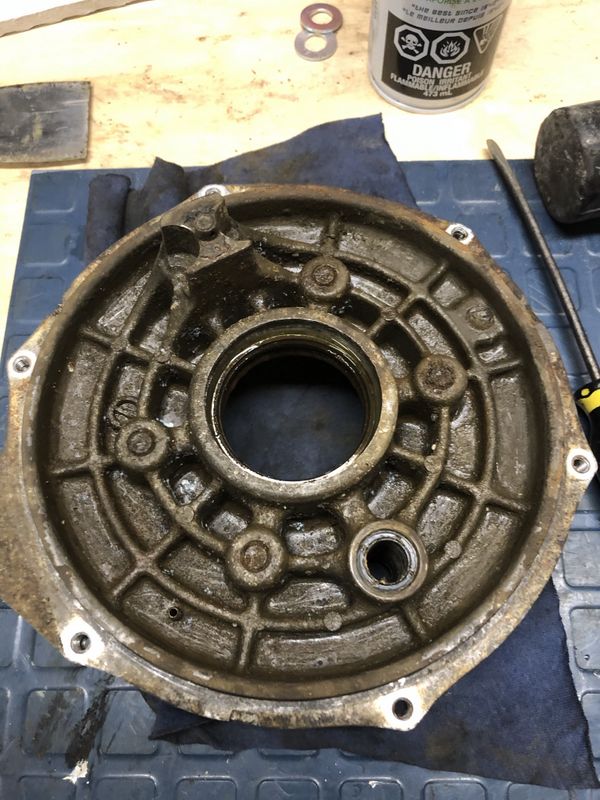
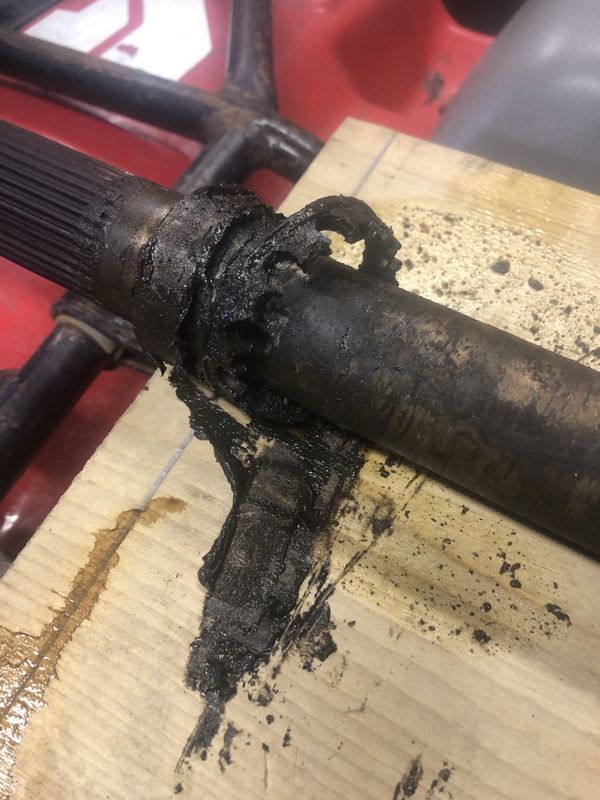
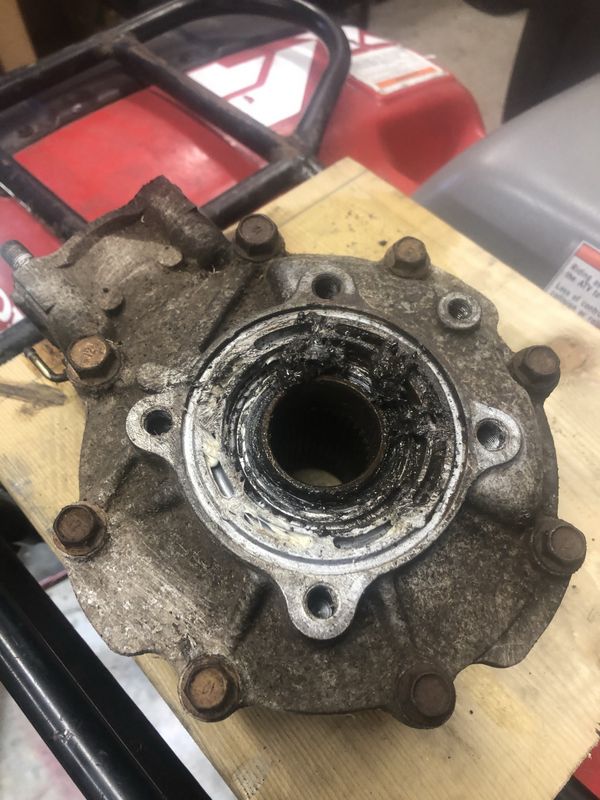
With the brake drum cover removed it was clear that the brake shoe lining had separated from the brake shoe and ground itself into a thick greasy mess. The wheel bearing was shot and seals destroyed. It looks like water also entered the brake panel through cracks in the rear brake panel breather tube.
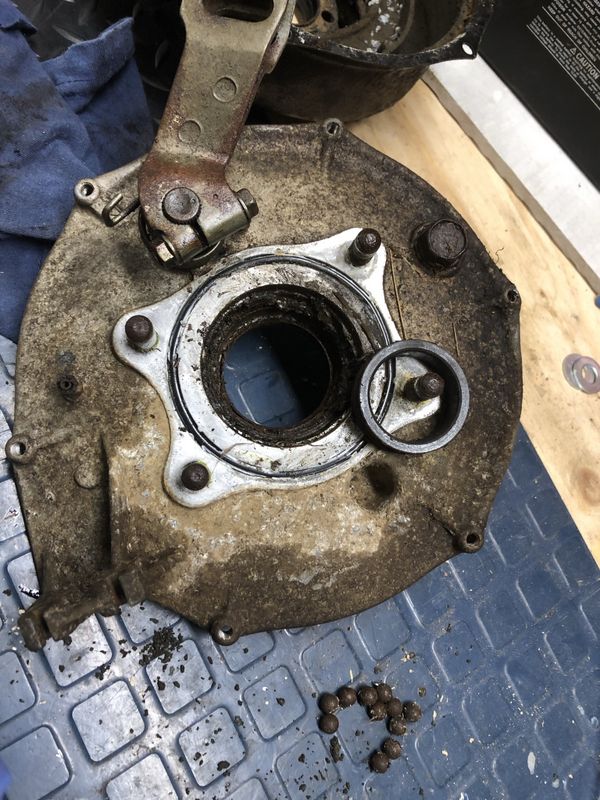
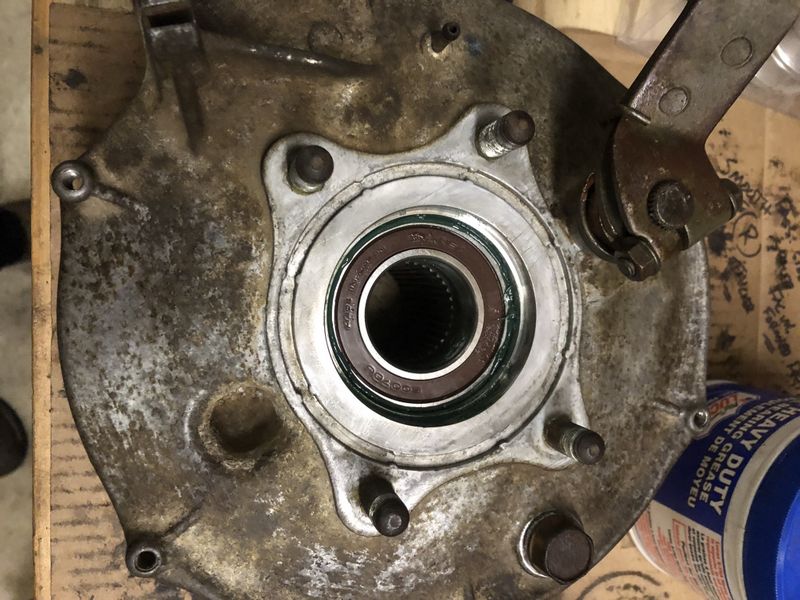
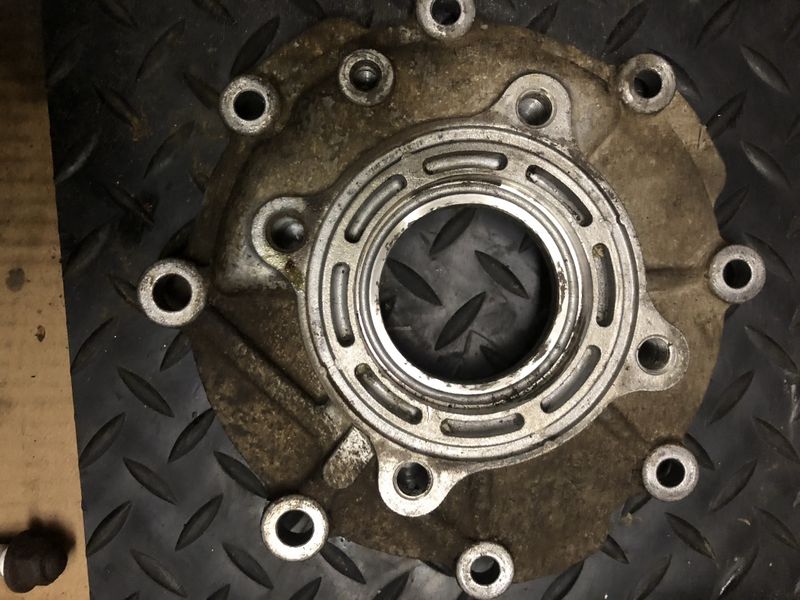
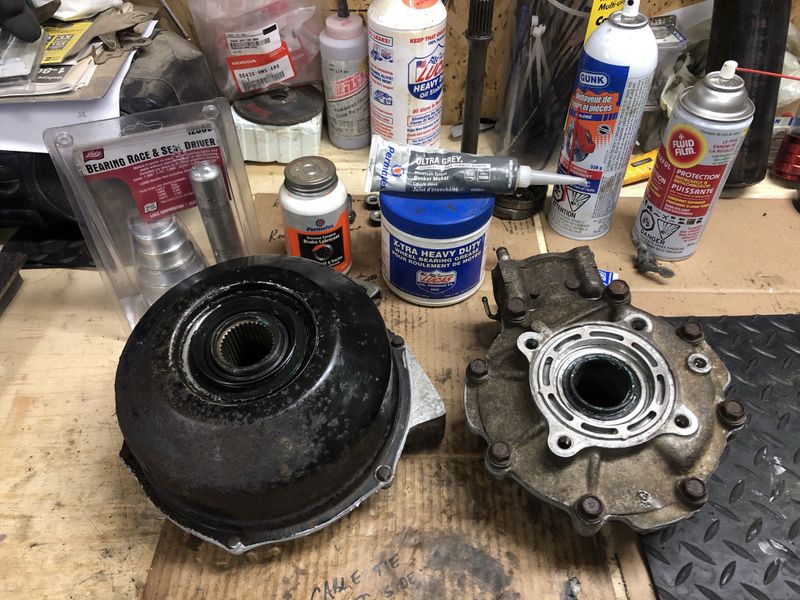
The rear brake panel was cleaned and degreased before new brake shoes and wheel bearings were installed. I also replaced all the seals – drum cover, wheel bearing and brake cam seals. High temperature silicone brake lubricant was also applied to the brake cam to keep it from seizing up.
A new brake panel o-ring was used but before installing the brake drum cover, I also applied a thin bead of permatex ultra grey silicone gasket maker on the brake panel. This was done to help seal the drum cover to the brake panel and keep water out.
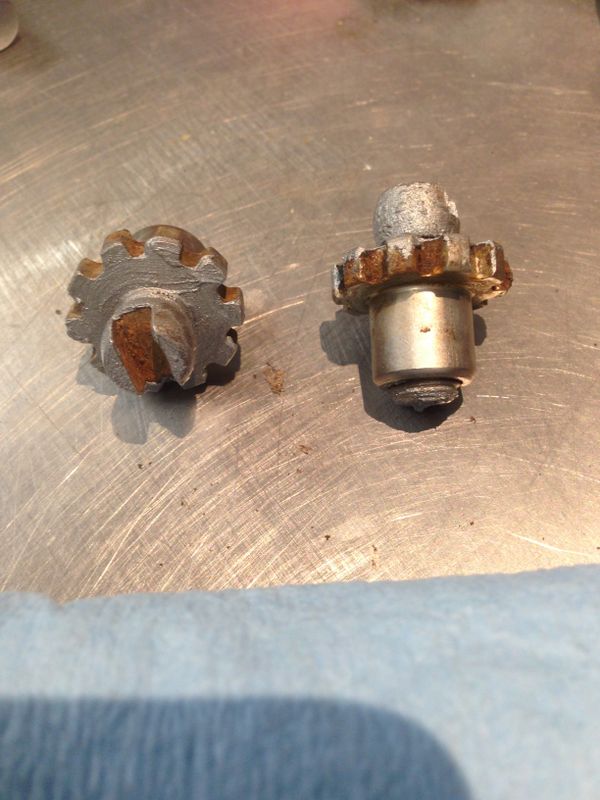
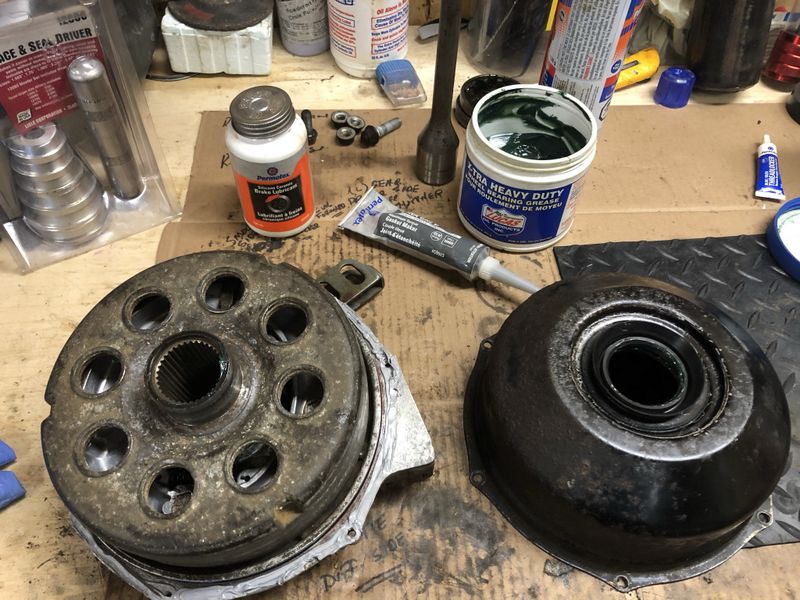
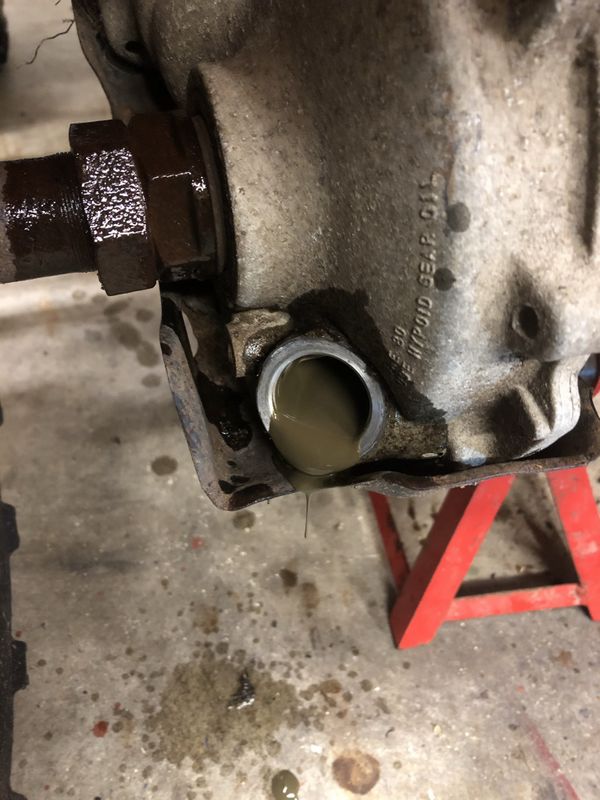
From the look of the rear differential gear oil, water had gotten in so I decided to remove the rear differential and axle for a closer inspection.
The seals were obviously leaking so the rear differential was rebuilt with new bearings and seals. The pinion bearing and seals were fine so I did not replace those. The axle and ring gear were also in good shape and showed no signs of excessive wear.
With the rear differential cleaned and degreased it was reassembled with the new bearings and seals. A thin coat of grey silicone gasket maker was applied to the rear differential case halves before reassembling. From the info I found on the atv forums, the permatex grey silicone gasket maker is the closest thing to Hondabond sealant but much cheaper.
Before installing the rear differential and rear brake panel to the axle tube and swing arm, new o-rings were used and a thin coat of the grey silicone gasket maker was also used on all mating surfaces. The new o-rings provide a tight seal and the silicone gasket maker adds a second layer of protection to help seal the rear end and keep water and dirt out.
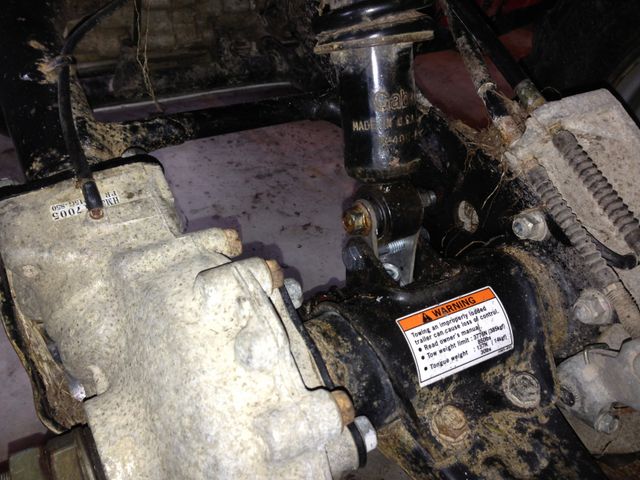
The custom deep socket also made it possible to torque the rear differential and brake panel to the proper torque settings. FYI – it’s much easier to reassemble the rear end with the trailer hitch removed.
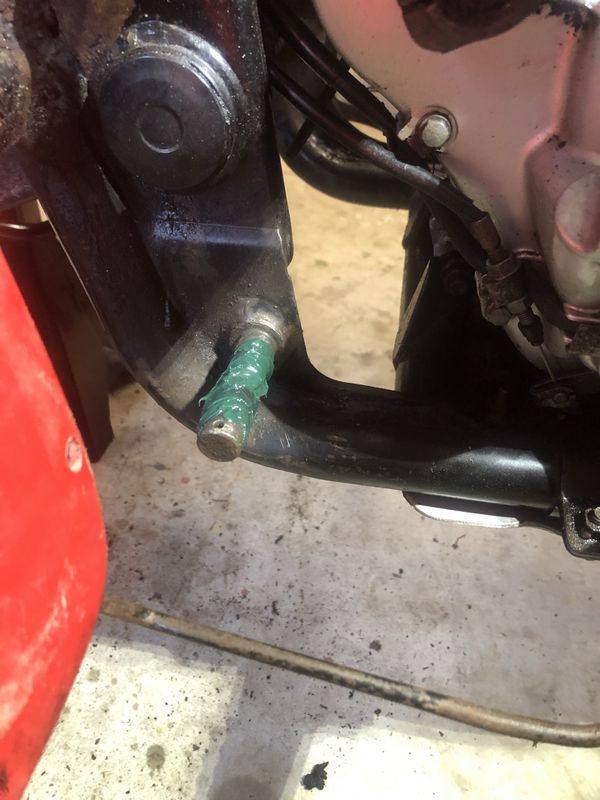
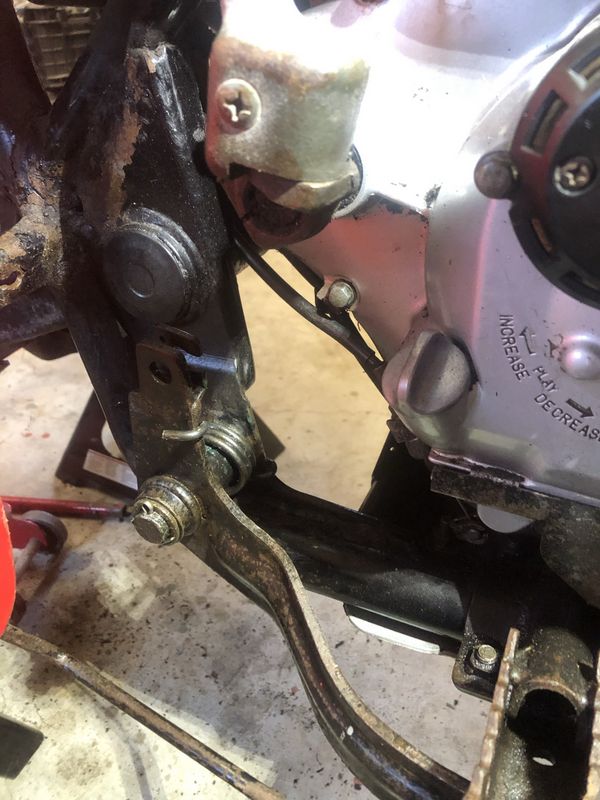
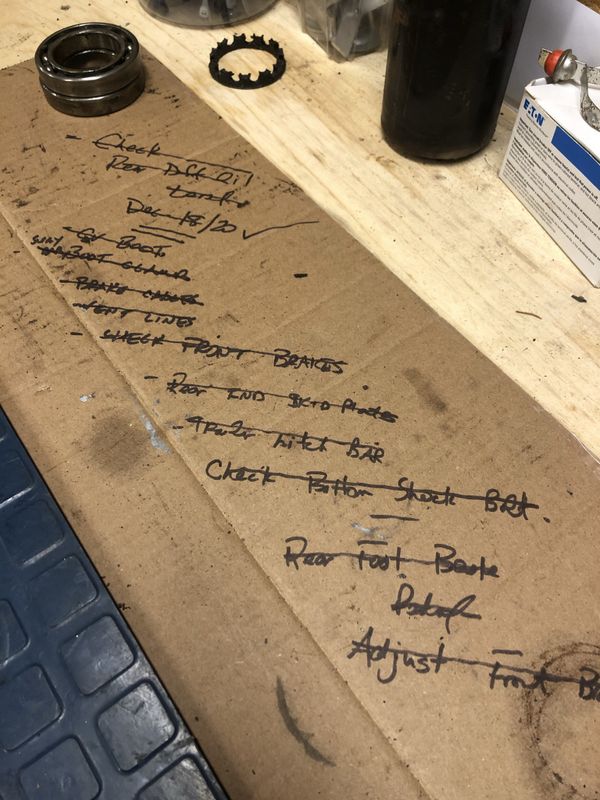
To complete the rear brake repair, the brake cables were lubed with red rust check using a cable lubricating tool. This product will drive out water from one end to the other and fill the void to help prevent future water from getting in. The last item to tackle was a CV boot replacement. Thanks to Mike for helping with that repair. I haven’t disassembled a CV joint before so it was great having Mike around to do that repair. I had bought an aftermarket CV boot kit not knowing that the bands included aren’t as good as the OEM Honda boot bands. Luckily, Mike was able to reuse the OEM boot bands. That’s it for the FourTrax repairs for now. The bike is still on jack stands while I tackle the next maintenance items – a sticking rear brake pedal, front brake maintenance (adjust brakes and replace brake fluid) and a custom front skid plate build. Thanks to Mike for his help completing these repairs. I’m no expert ATV mechanic but I can manage to tear things down, rebuild and handle most repairs. However, it definitely helps having someone around to call for those moments when you’re stuck.
Project Fourtrax February 2022 Update Submitted By: Andrea Bassan
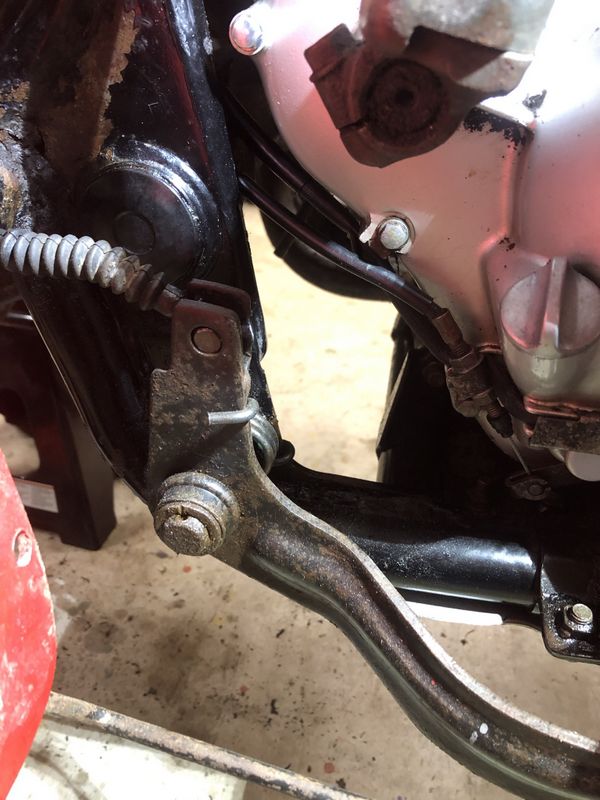
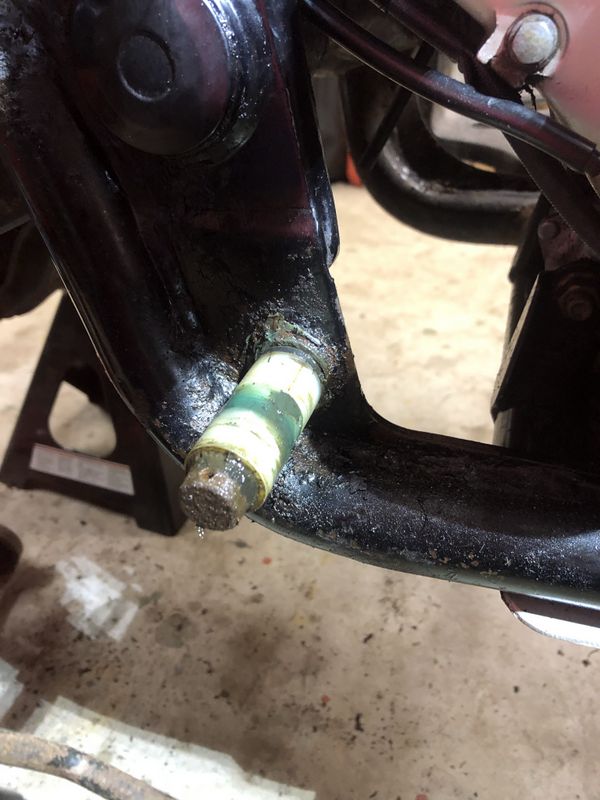
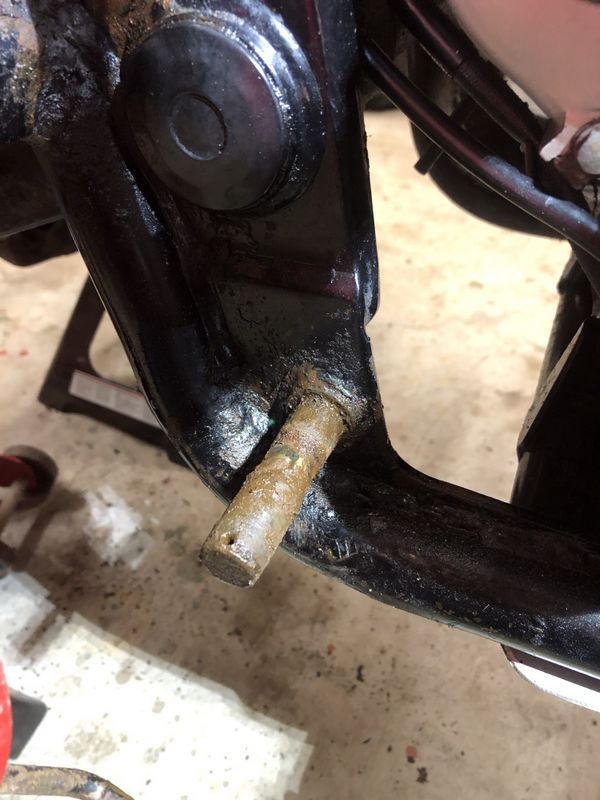
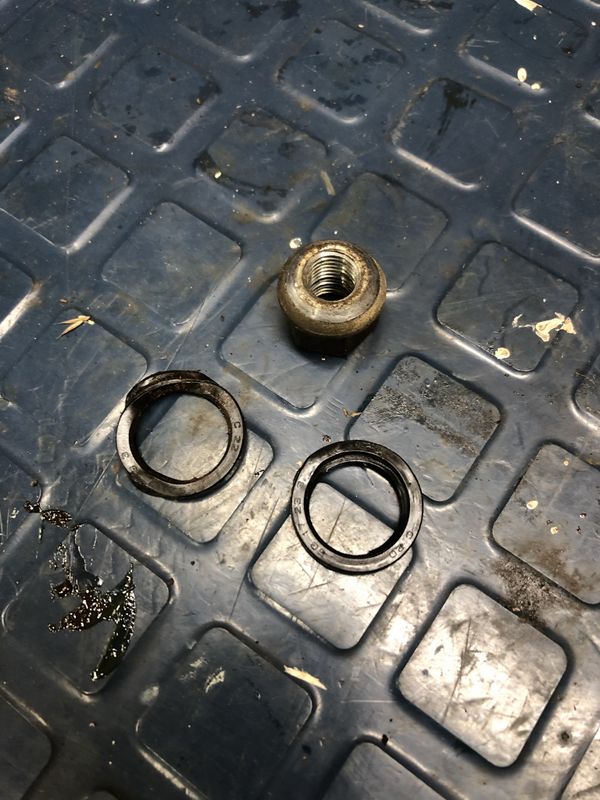
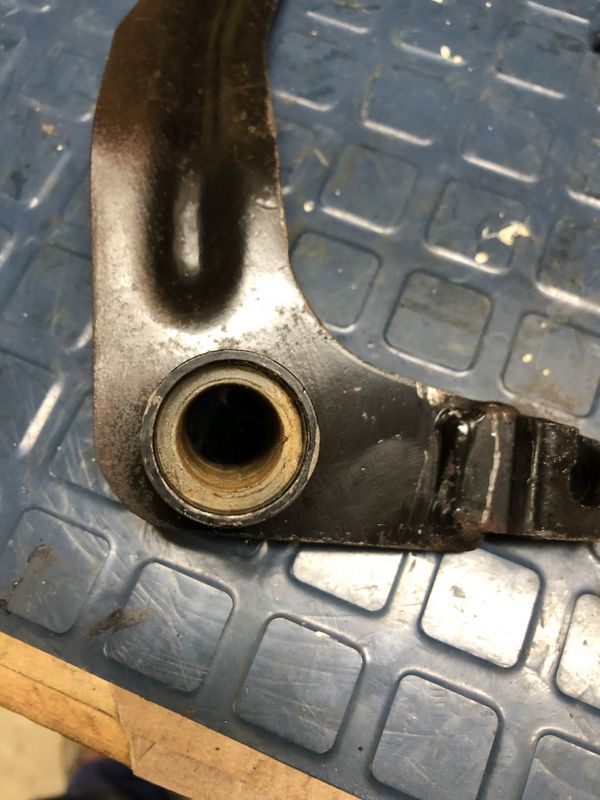
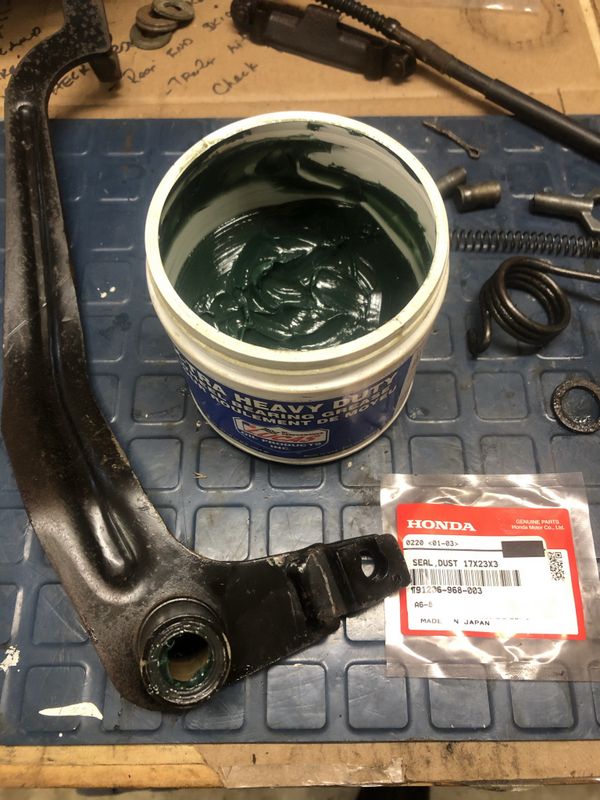
After comparing the brake pedal to the shop manual diagram, I realized that the Teflon bushing should rotate on the shaft. My initial thought was that the brake pedal rotated on the Teflon bushing. It looks like the seals on the brake pedal failed which allowed dirt and mud to get between the Teflon bushing and brake post, preventing the brake pedal from moving.
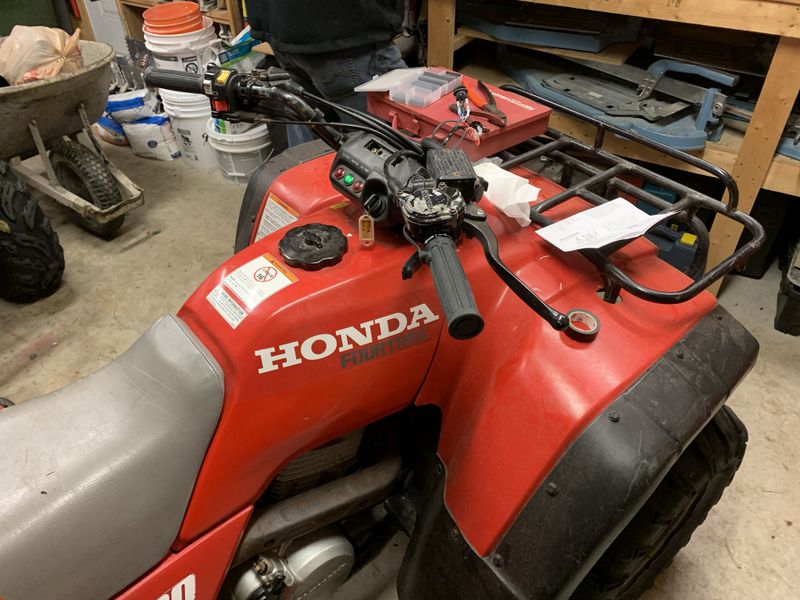
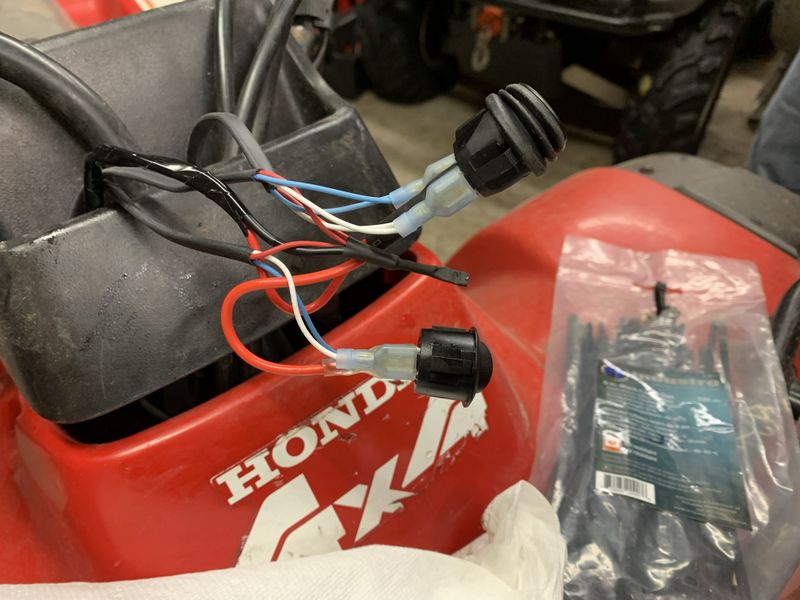
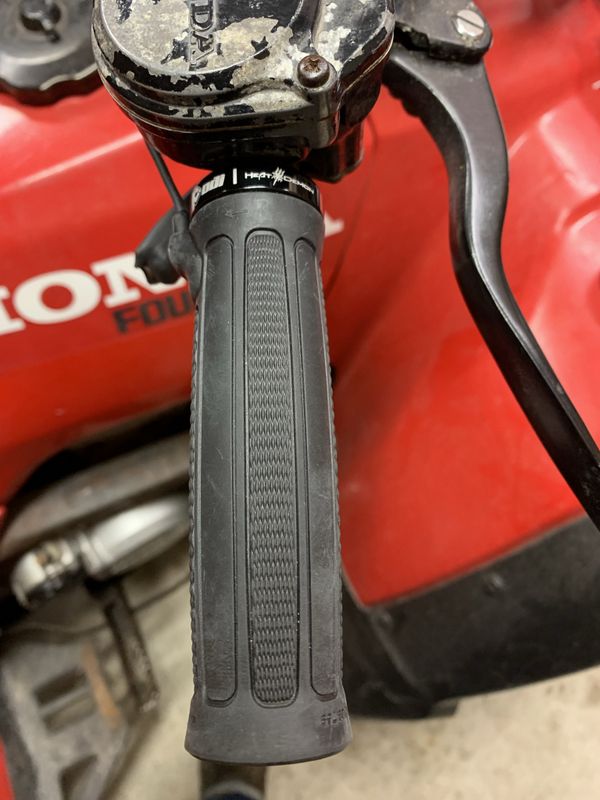
The Fourtrax has a factory auxiliary power source that’s located on the right-side of the handlebars. This plug is an ideal power source for the heated grips because it’s fused and only powered when the key is in the ON position. Mike took care of the electrical work by tapping into the factory wiring harness with soldered connections and heat shrink tubing to protect the new connections.
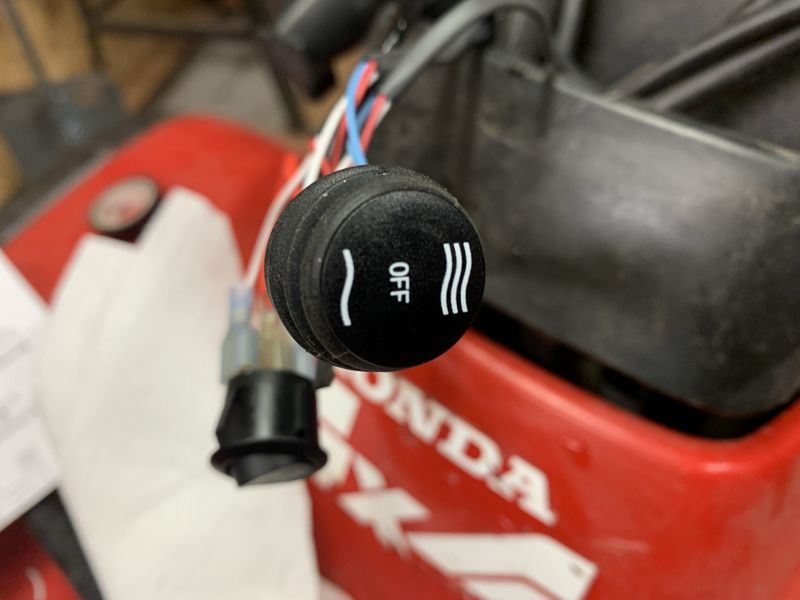
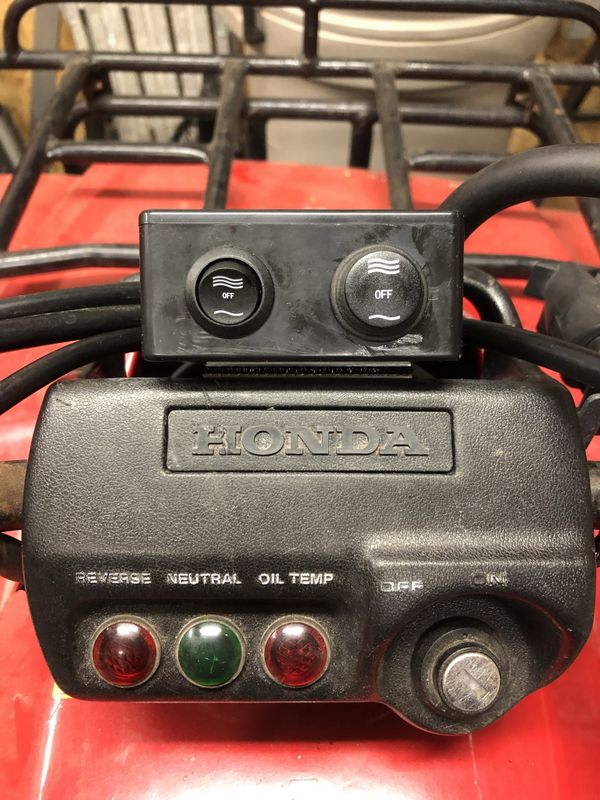
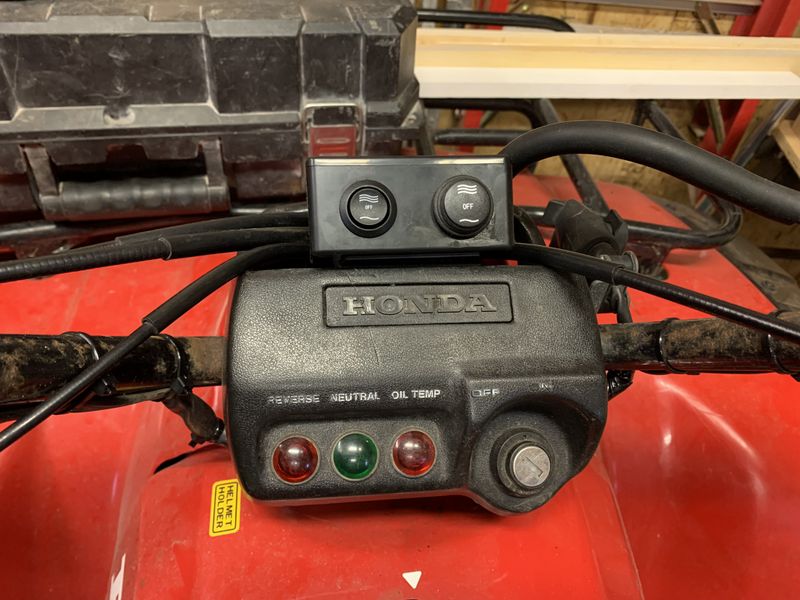
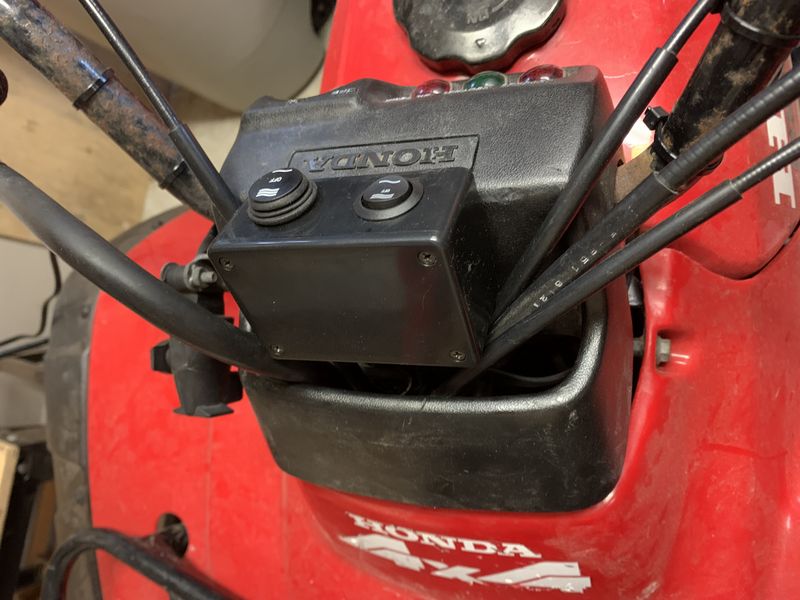
There isn’t a lot of placement options for the switches on the handlebars and after some thought, Mike suggested a small hobby or project box to house the switches. I found a good selection of project boxes at a local electronics store and found a size that would work for this application.
Two holes were drilled in the bottom of the box for the wires with rubber grommets installed to protect them. Two holes for the switches in the edge of the box completed the switch installation. The switch box was attached to the centre handlebar console using 3M Velcro tape. If the Velcro tape doesn’t hold, I’ll re-attach with small screws.
Cheers, BASSAN
Copyright © 2025 Michael Smith |