|
Area51 Woodworking Project - Mike's Rummoli Board: |
|
Although I haven't taken on many woodworking projects other than construction (garages, fences, decks, etc) and a bunch of shotgun racks for the Gun Club, Sandra wanted a Rummoli Board and couldn't find anything to buy that she liked. This got ideas flowing, I searched online for ideas but couldn't find anything close to what I had in mind so I set to work.
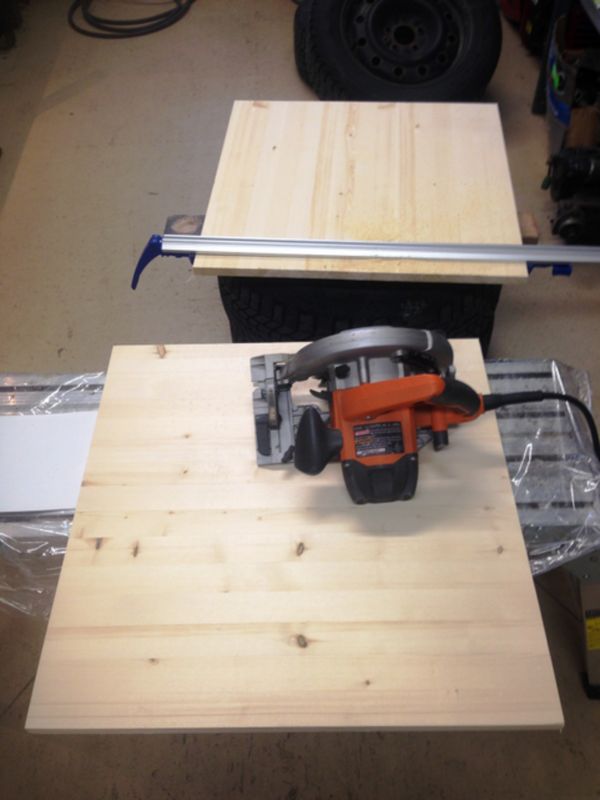
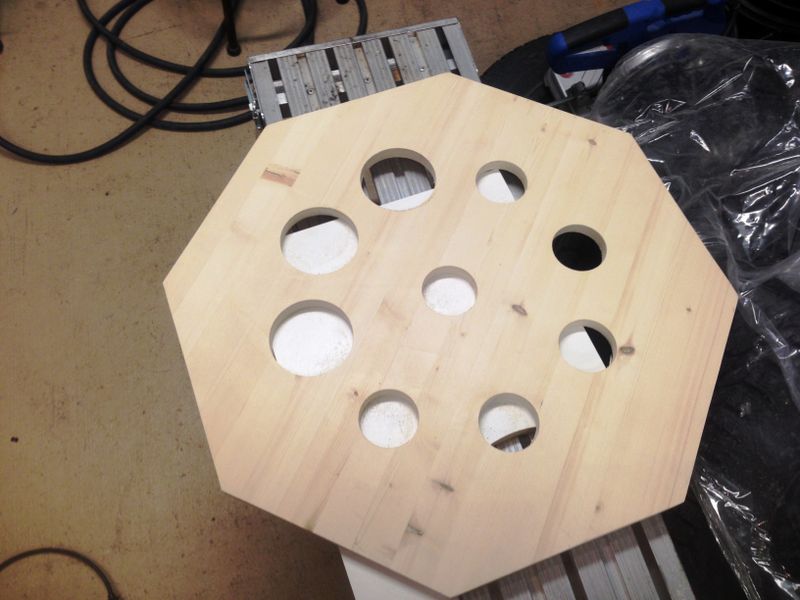
My wood of choice was laminated pine which looks better than the plywood most people make these from, should be fairly stable against warping and is easy to work with. I don't have a surface planer so I picked up a prefabricated piece 24" x 48" at Kent's.
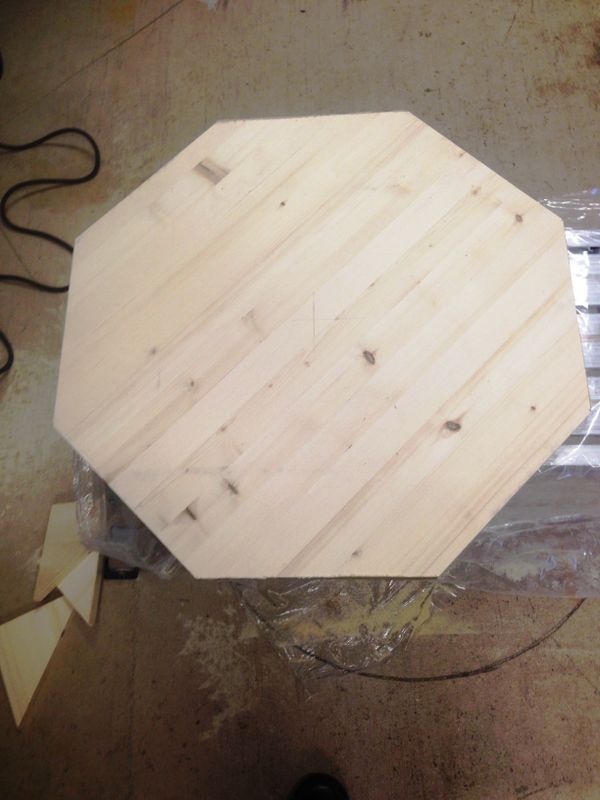
Marking the centre of the board I used an online trick for measuring and marking the octagon cuts completing them with my skill saw.
Next there was a lot of thinking, designing and laying out where the cups and board markings would go. Sandra of course had final say and approval of the design!
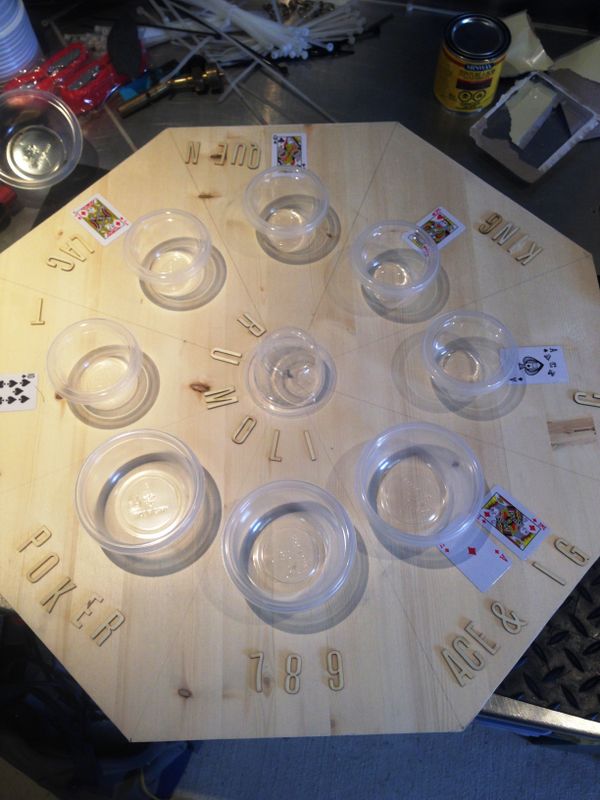
One of our first ideas was to use mini playing cards but would still need letters to denote the Sequence 7-8-9, and Poker pots. Testing found that the playing cards curled when polyurethane was applied and overall didn't look great.
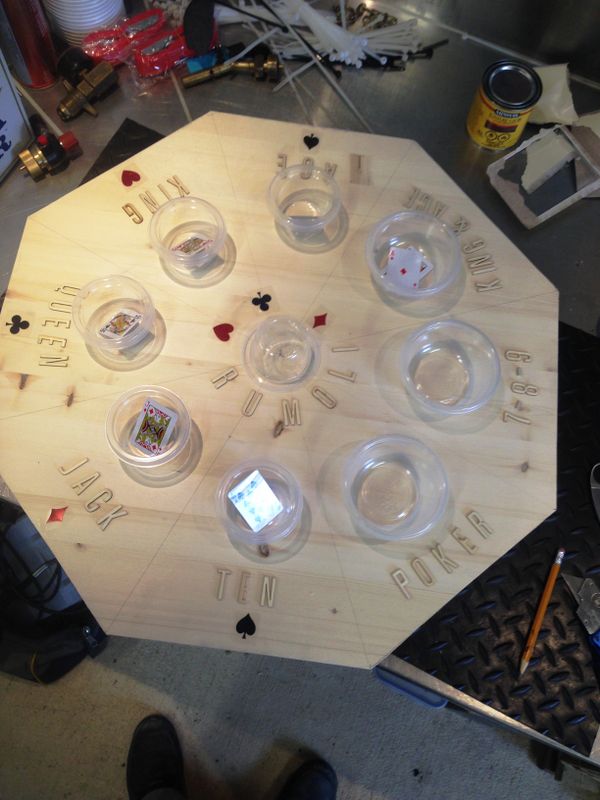
My final plan was to use wooden letters which would give a clean appearance, enhance the theme of a wooden Rummoli Board and overall look much better than the standard vinyl sign shop letters that many people use. I picked up the letters pre-cut at a local craft store for a reasonable cost.
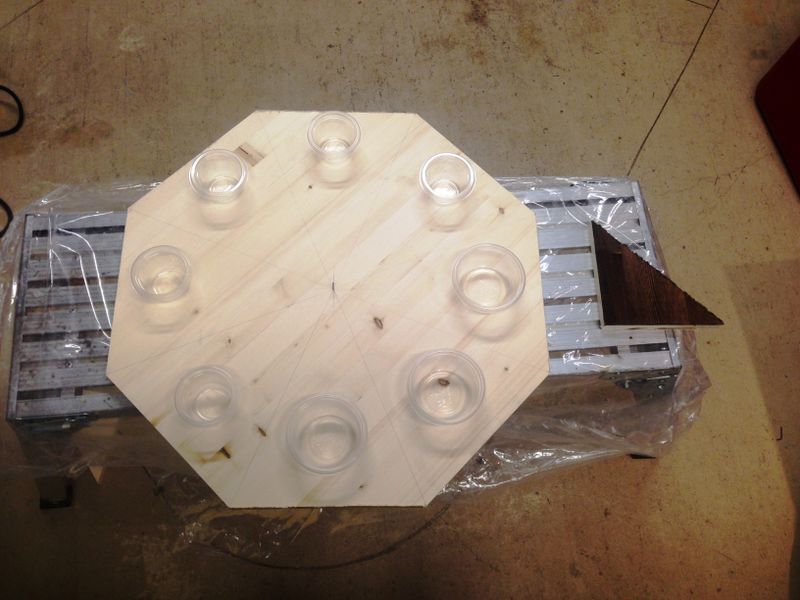
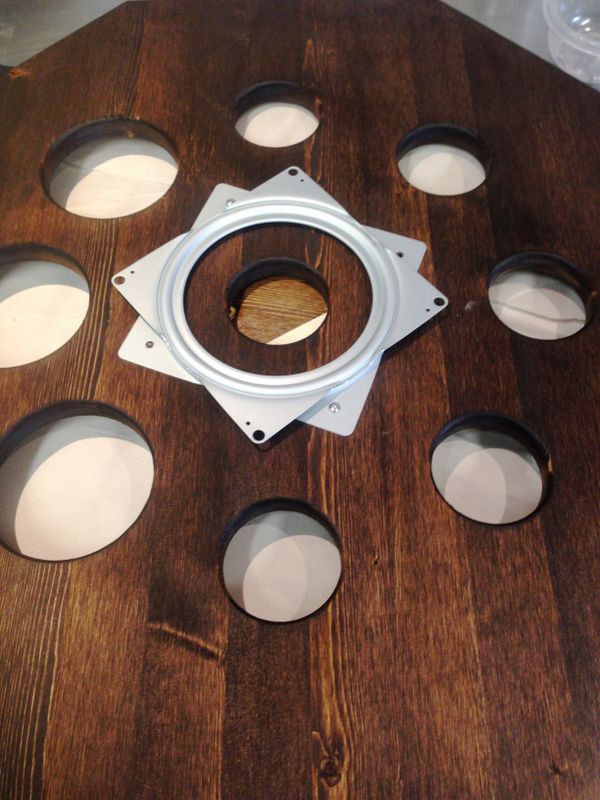
After more careful measuring I placed the cups where Sandra wanted them then went to work making sure all of the holes were perfectly aligned making the cuts with my hole saw kit. We decided to use 2 different size cups, not because small cups were hard to come by, but when playing we always find the 7-8-9, Poker, and Ace-King of Diamonds cups fill to overflowing so we chose larger cups for those three pots.
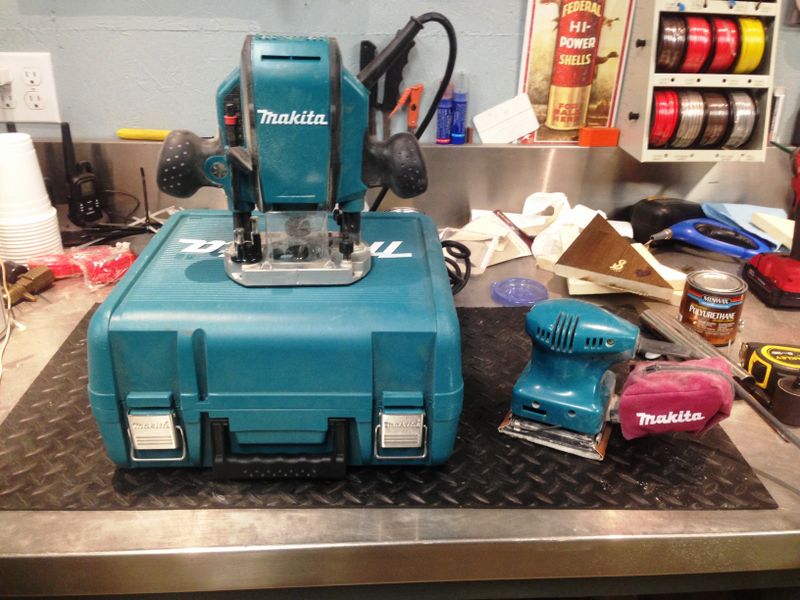
Once the holes were cut I used a roundover bit set very shallow to relieve less than a 3/16th's rounded edge on all sides and around each of the holes which made the piece much cleaner. Next it was onto sanding!
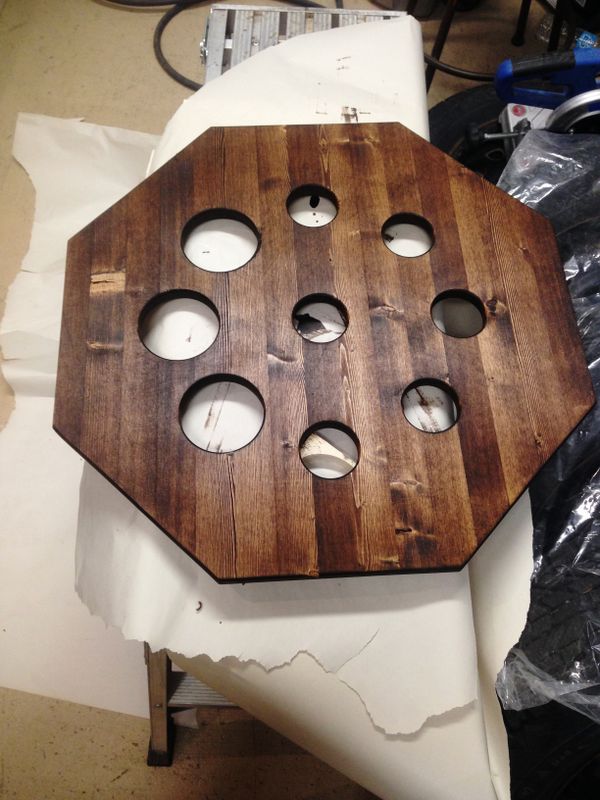
With sanding complete I applied a nice dark stain to the entire piece. Once dry I applied a coat of water based oil modified satin finish polyurethane to the back side and edges, sanding everything perfectly smooth and gave the piece two more coats.
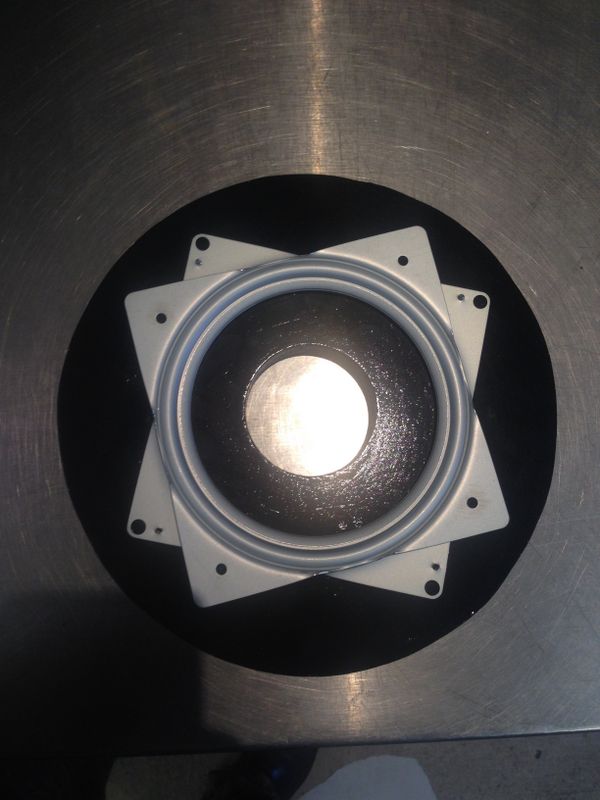
With the back complete I mounted the Lazy Susan to the bottom of the board.
The base was cut earlier from a piece of 3/4" particle board and painted black. I made it round so the cups would not hit as the board rotated. The Lazy susan attached to the Rummoli board first, the base is attached with sheet metal screws counter sunk into the base as per the instructions.
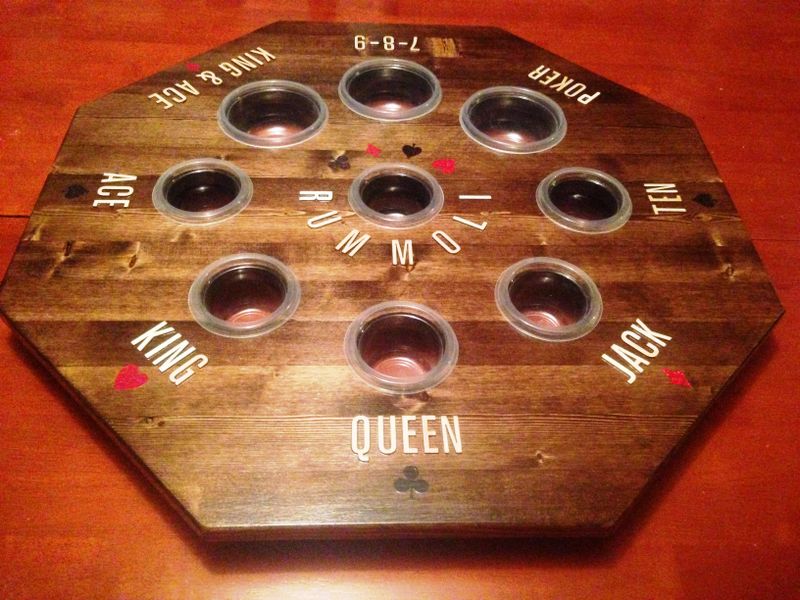
Next it was on to permanently installing all of my wooden letters using standard wood glue. I made a guide out of bristol board to make sure all of the words were centered, perfectly straight, and equidistant from the edge.
Once the glue dried I applied a coat of Polyurethane, sanded the piece, added vinyl playing card suits and applied two more coats to finish the piece.
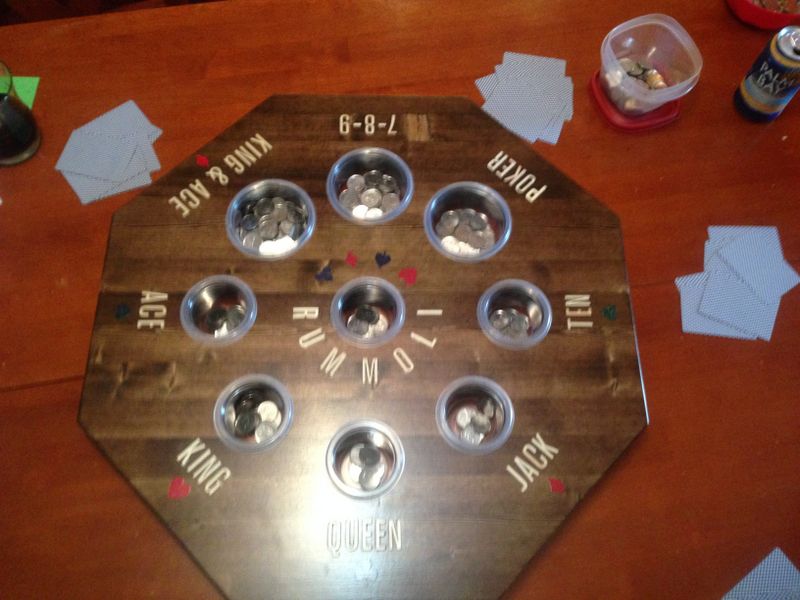
Overall Sandra and I are very pleased with how the board turned out, it was my first piece of finish carpentry and it looks & functions better than anything we've seen locally for sale. Now its time to break in the board and win back some of our expenses to make it! LoL
Cheers, MIKE
Copyright © 2025 Michael Smith |