|
Area51 - Mike's Miscellaneous Projects 2019: |
|
2019 ended up being one of the busiest to date, first with a major overhaul of an existing project machine, then the unexpected, unplanned arrival of a truly historic epic project as you will see below. It was a ton of work but so absolutely rewarding to get this machine up and running and in the fleet!
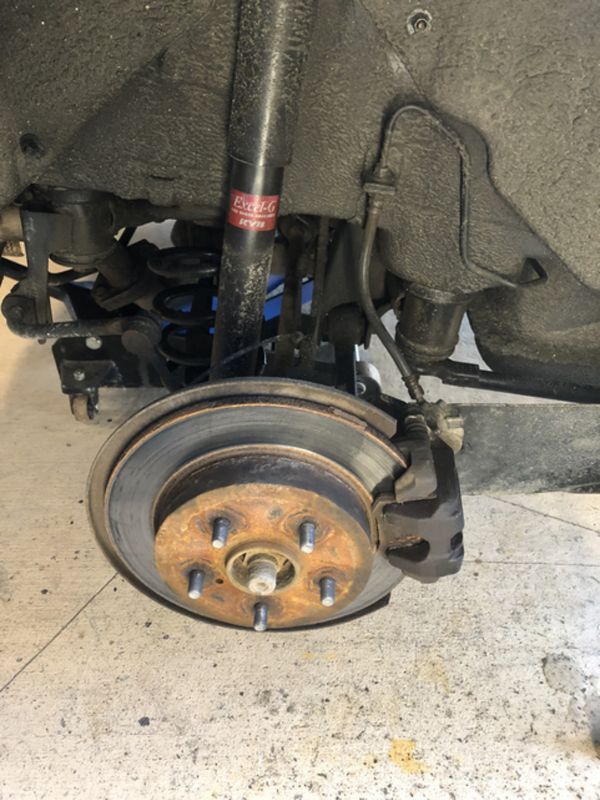
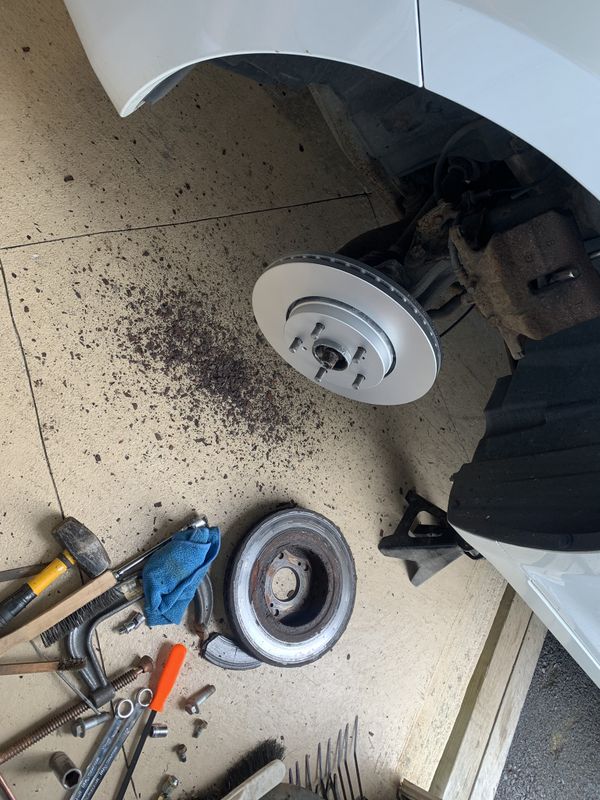
Another year is here already, 2018 was busy in Area51 which is probably why it seemed to pass by so fast! The first project on the list for 2019 came in January when I took advantage of a mid winter mild spell to replace the rear brakes on Sandra's Suzuki Kizashi. My garage is relatively small and overfull, I can only pull in half a vehicle at a time but it sure beats working out in the driveway!
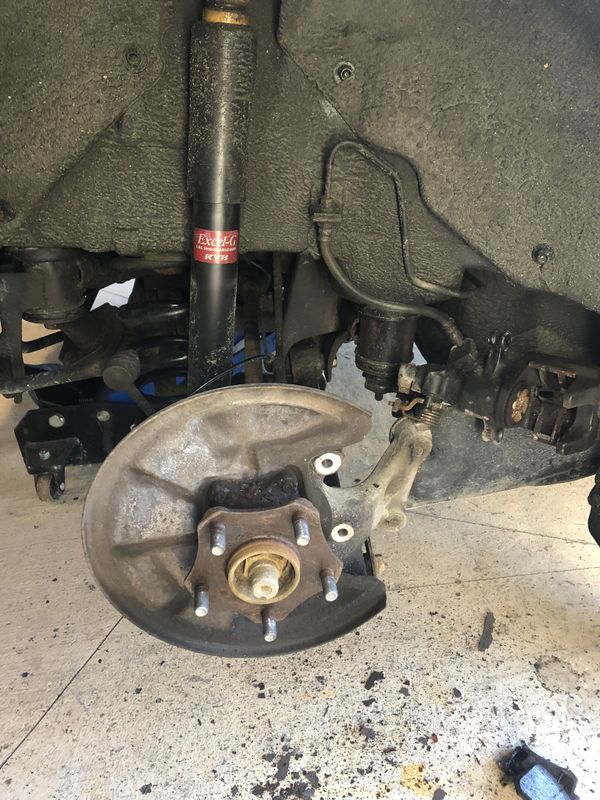
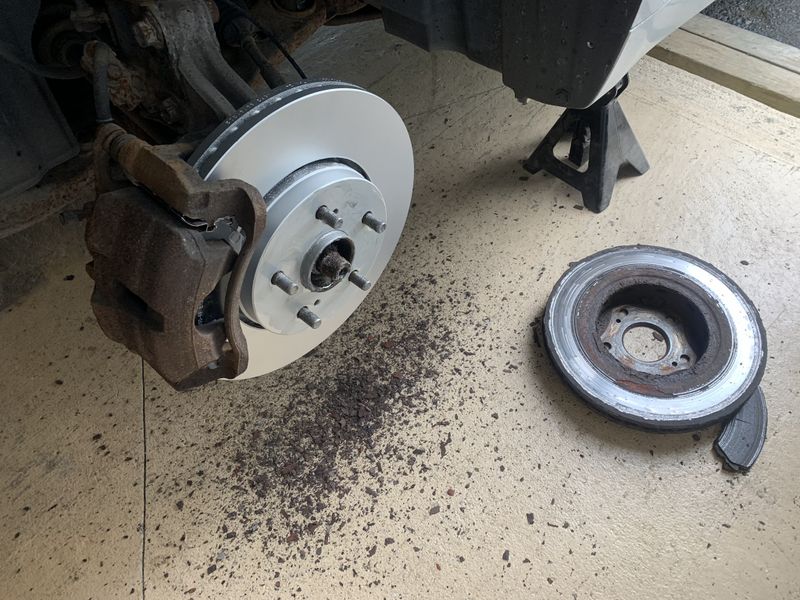
With the old rotor removed the hub face was thoroughly cleaned to make sure the new rotor sits perfectly flat.
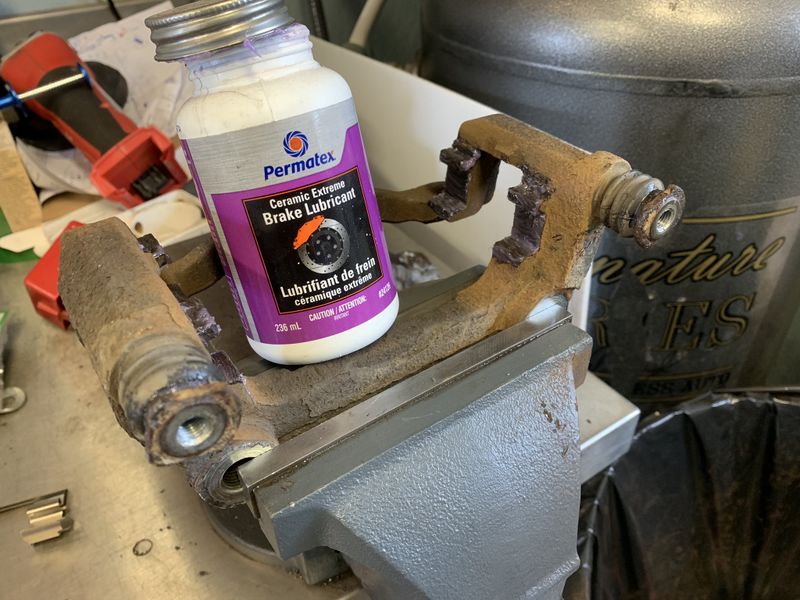
Although the dealer replaced one of the rear calipers last fall they didn't check the slide pins as I found all four rear sliders seized solid. Luckily with some penetrating oil and patience I managed to free them, thoroughly clean them & re-lube with quality Permatex purple disc brake lubricant.
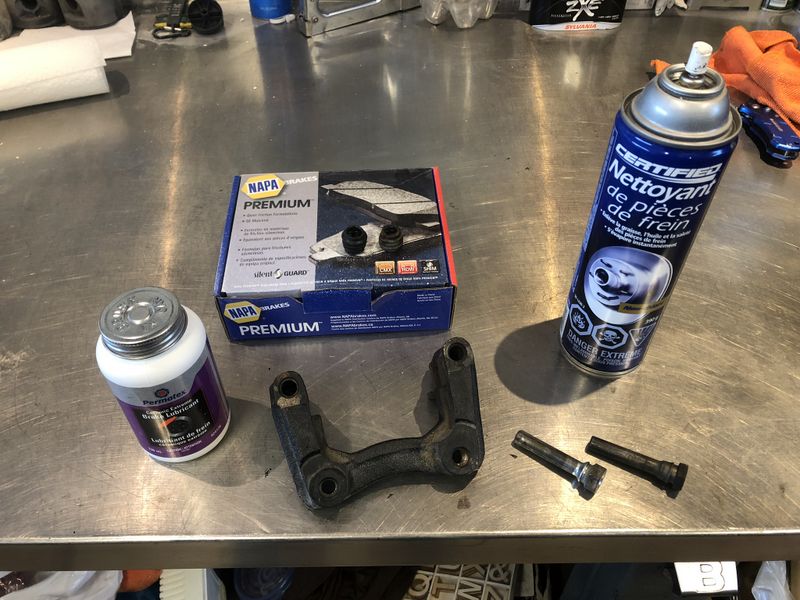
The caliper bracket was thoroughly cleaned where the stainless brake pad hardware sits. If this area is not surgically clean to shiny steel the new pads will not fit and move freely in and out causing premature wear and squealing brakes. A coat of Permatex purple brake lube was applied here before the stainless pad hardware was installed to slowdown rust jacking of the new pads over time.
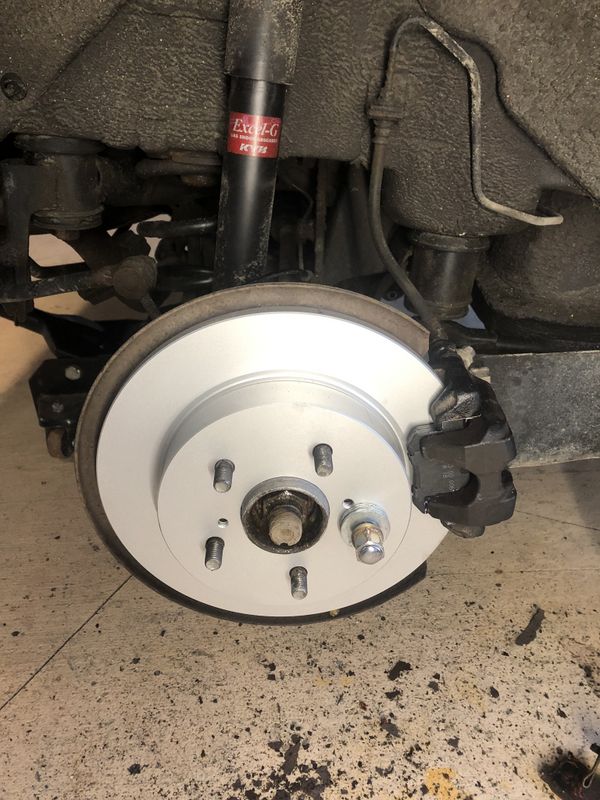
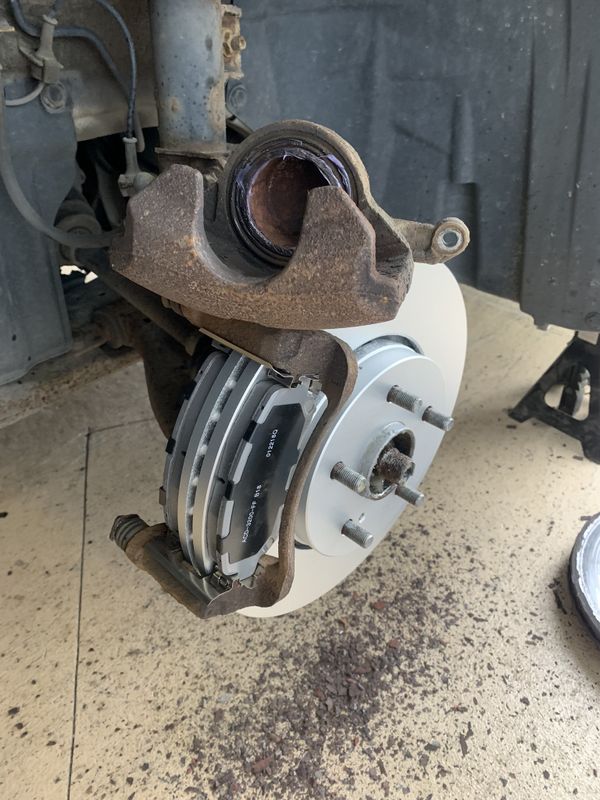
NAPA premium coated rotors replaced the rusty rotors and were accompanied with premium pads. Some anti-seize on the hub face and lip prevents the rotor and aluminum rim from sticking.
Working in the garage is made much easier with a few new specialty tools!
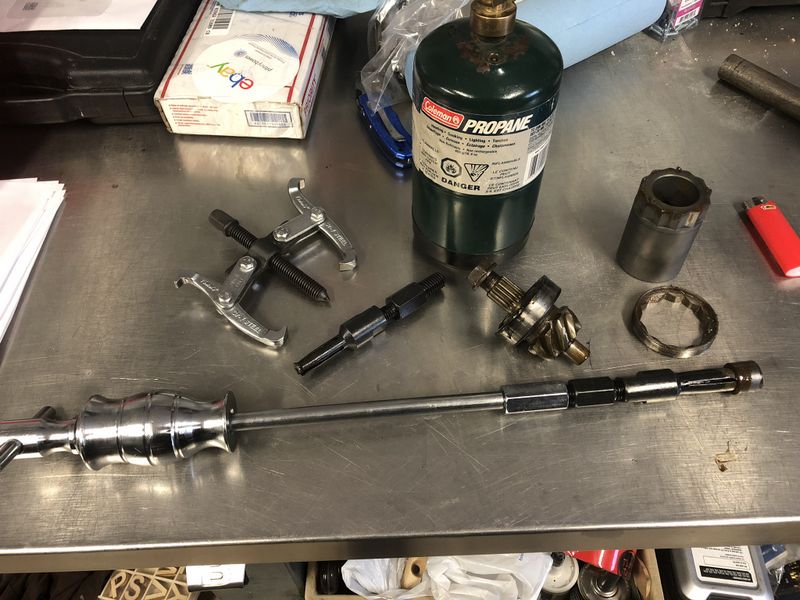
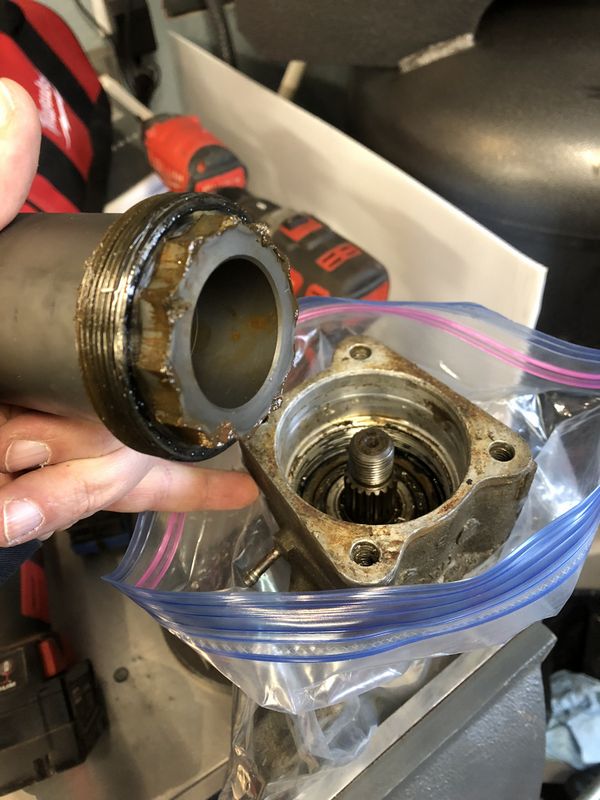
In late January some new tools arrived from EBay which will help kick start Project ATC 250sx later this year. First is this special socket for removing the pinion bearing retainer ring inside the rear gear case. This specialty tool is really the only way to remove that retainer in order to replace the severely worn out pinion bearings.
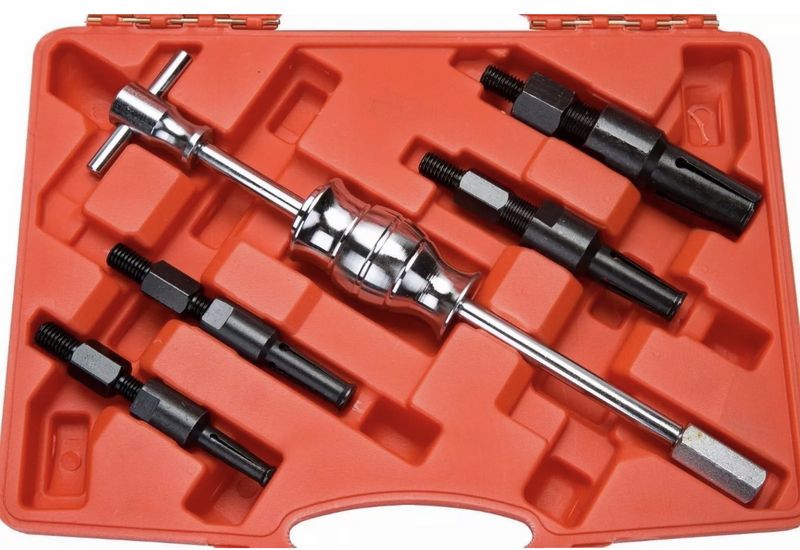
Next to arrive was my new blind bearing/seal puller kit. This kit includes 4 pullers that you place inside a bearing or bearing race usually set in a pocket with no access from the back side. You then tighten to expend the four jaws, attach the slide hammer to hammer out the defective part. I used this to remove the bottom (small) pinion bearing on the 250sx gear case, and it will help make Honda Snowblower transmission repairs much faster.
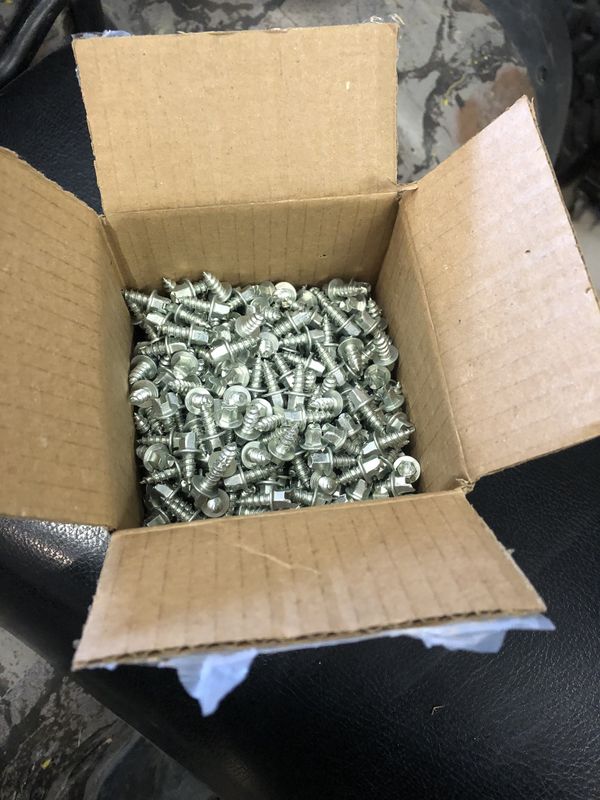
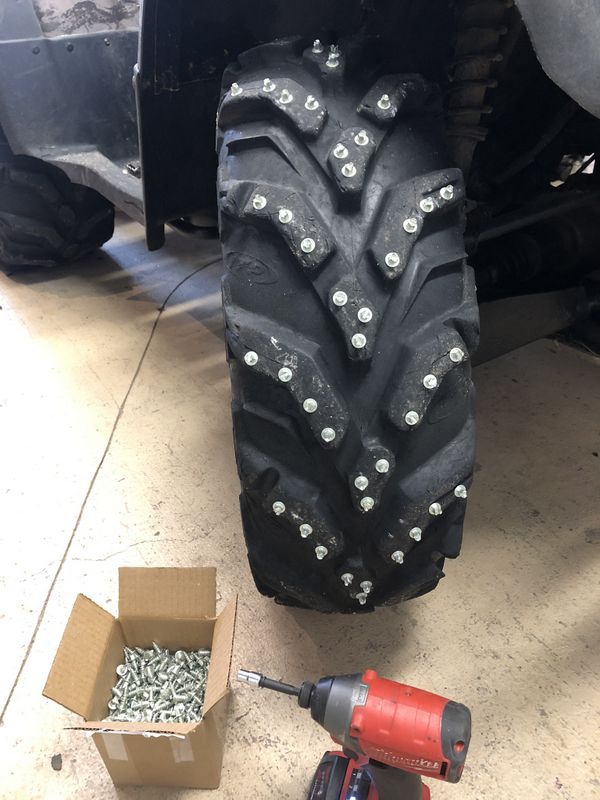
In February just before the Annual Winter Cabin Trip I decided to pick up some dirtbike studs for the tires on Project Foreman. Although winter 2019 started out great in January we presently have no snow, but thanks to cold weather we have lots of ice.
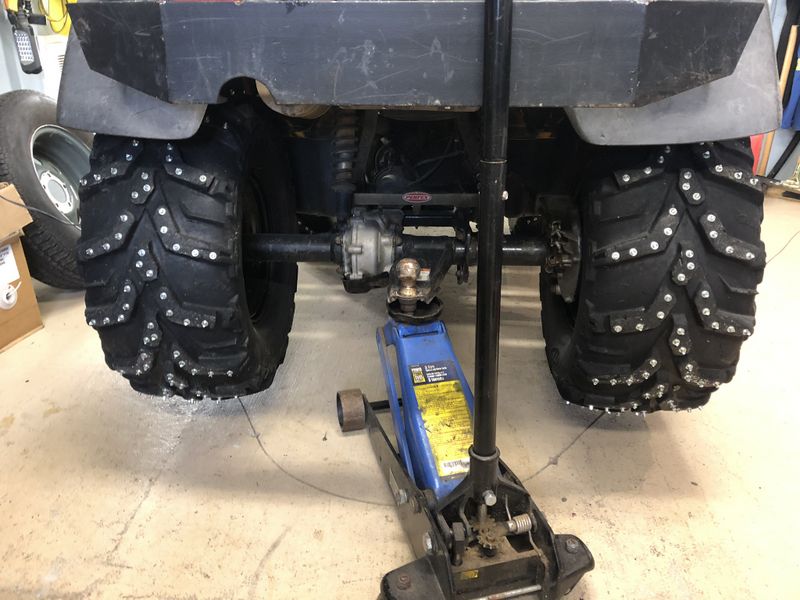
Icy covered trails around Sooley's cabin are pretty treacherous so the added traction of studded tires will be a welcome addition for trail riding and hill climbing. Using my Milwaukee Fuel M18 impact driver I quickly installed 700 1/2" studs in the four tires.
The studs worked phenomenally well on trail rides here in Torbay and at our annual Winter Trip. With no snow all of the trails are covered in slick slippery ice. The studded tires grabbed on and provided fantastic traction! These tires will remain studded and plan to buy a fresh set of XTR's and a 2nd set of rims for summer use.
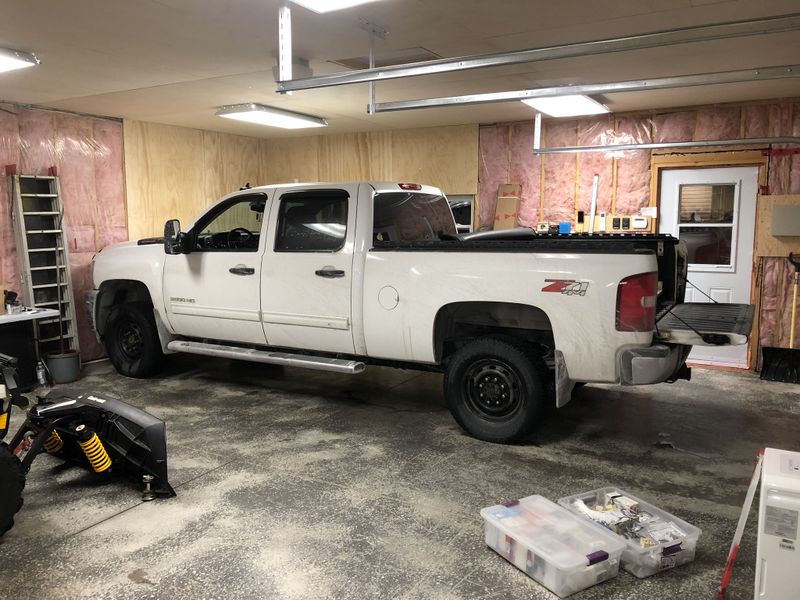
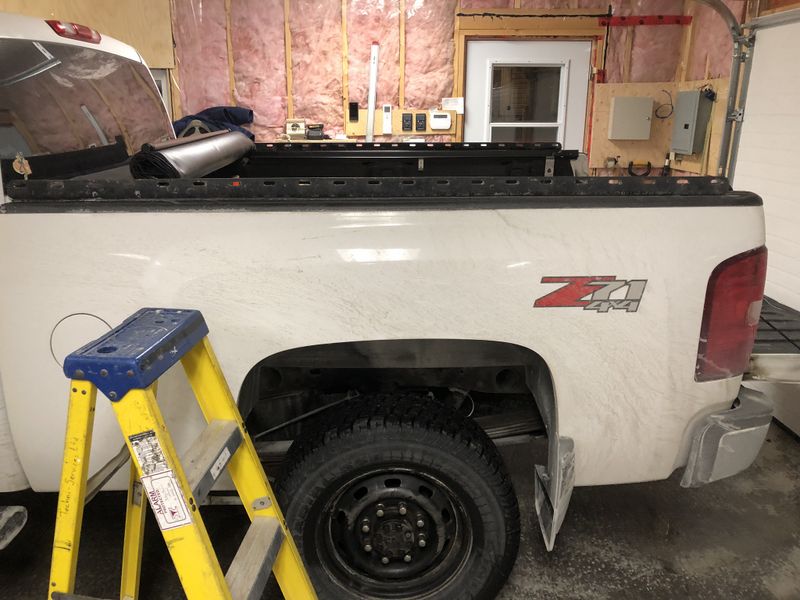
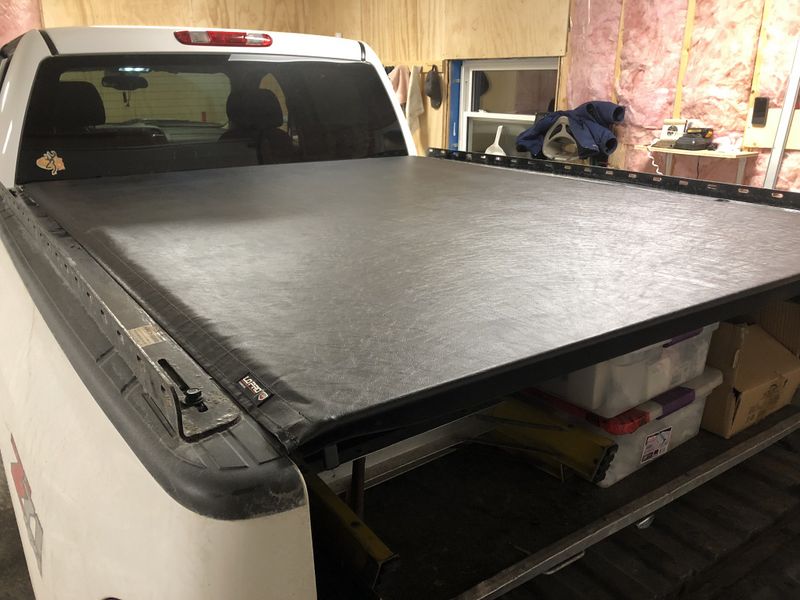
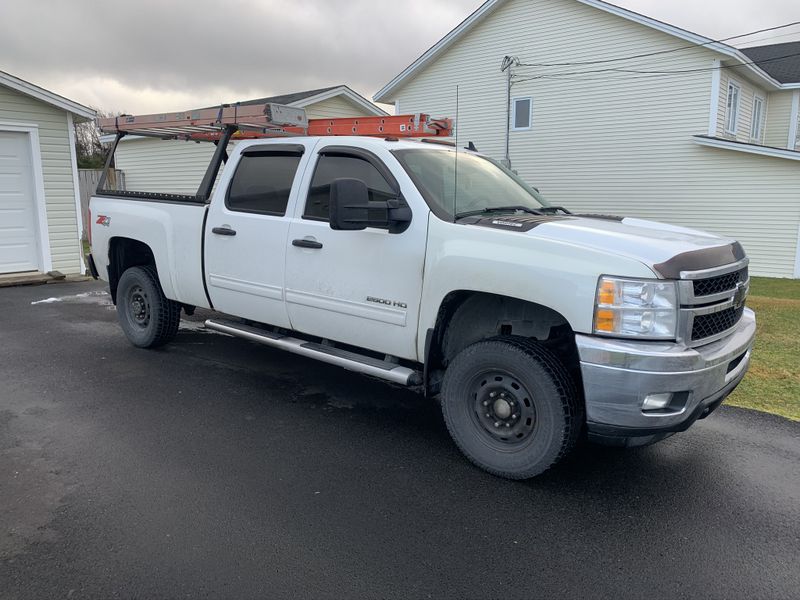
In March my new soft roll up tonneau cover arrived at Action Caps. The old one was original to the truck and just plain wore out, most problematic was that it was no longer water proof.
I was visiting Dad in Bay Roberts and took advantage of his large heated garage to get my cover installed in the warm and dry!
The side rails simply mount in place with six low profile truck-cap clamps, you just have to make sure they are installed at the right height and are even front to back.
The new cover seems to be great quality, it fits well with my ladder rack kit, is lower profile than the old one, and has a better latching mechanism.
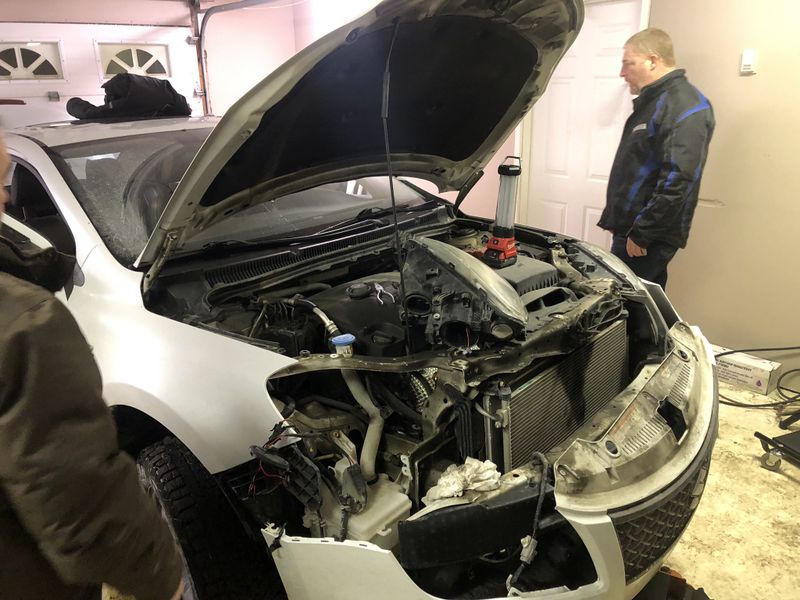
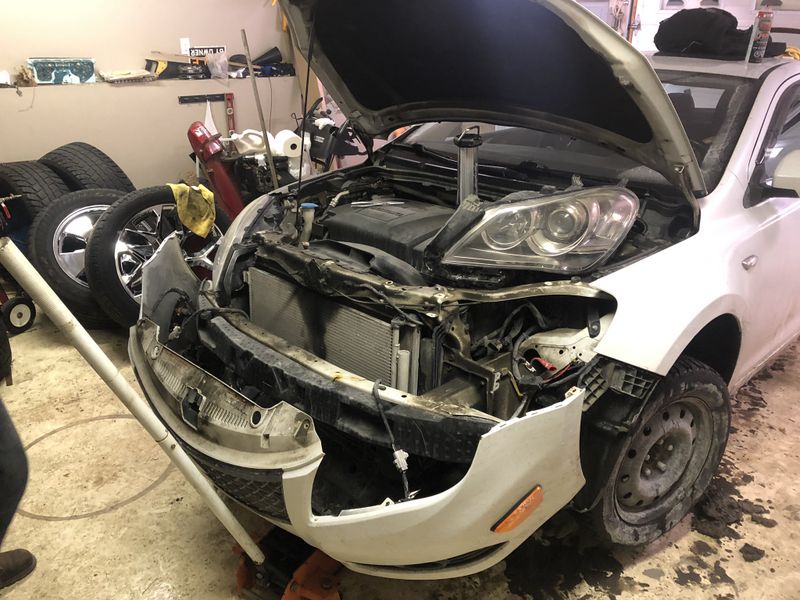
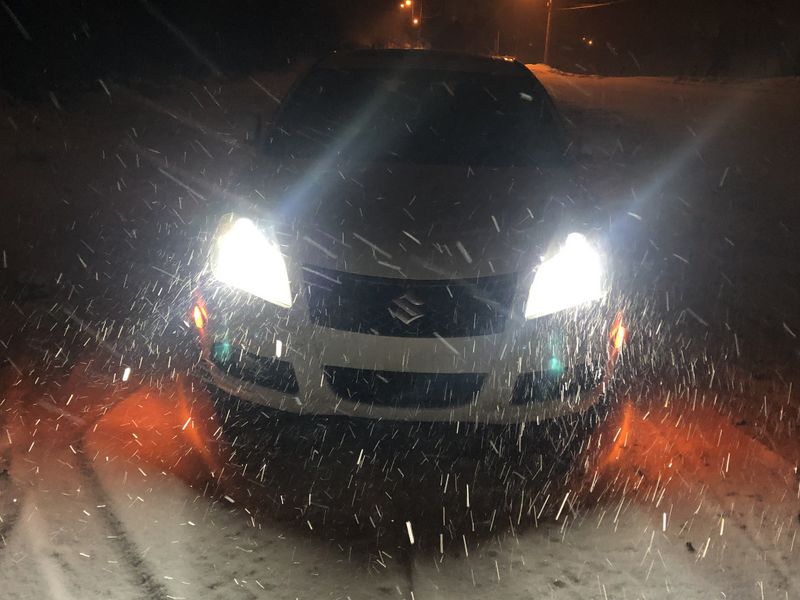
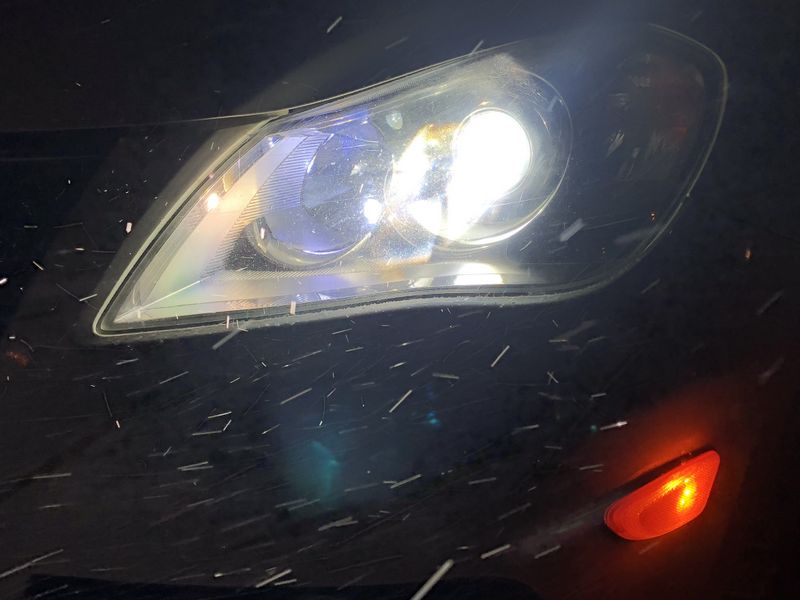
The following week I noticed Sandra was down to one working low beam headlight, one high beam/daytime running light, and no fog lights on her car.
It's a real PITA to replace headlights on a Suzuki Kizashi as you have to remove the front bumper cover, followed by 5 x 12mm bolts per headlight housing.
I installed a fresh set of 35watt HID headlights in the projector housing low beams, a set of Sylvania SilverStar Halogen bulbs in the high beams and SilverStar again in the Fog lights.
I also installed LED peanut bulbs to replace the incandescent city lights in the headlight housings for a nice clean appearance that better matches the HID headlights.
Warm weather cleanup!
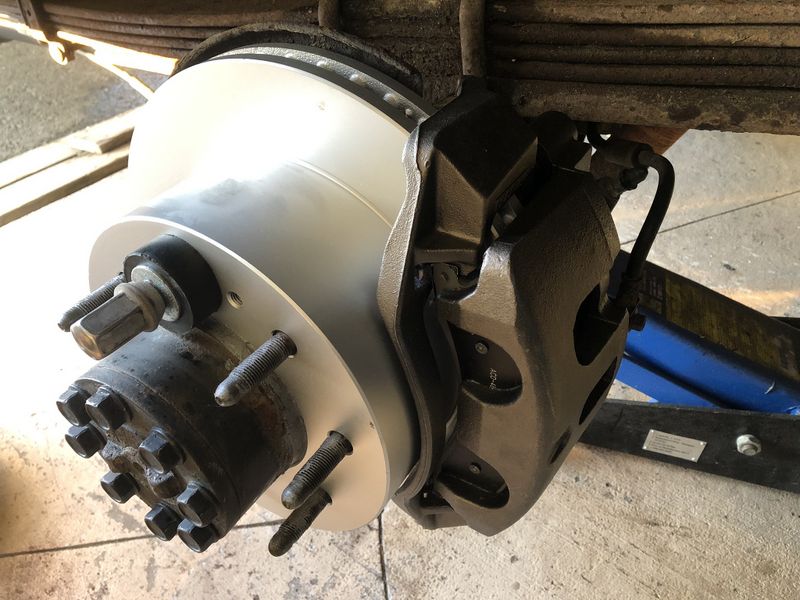
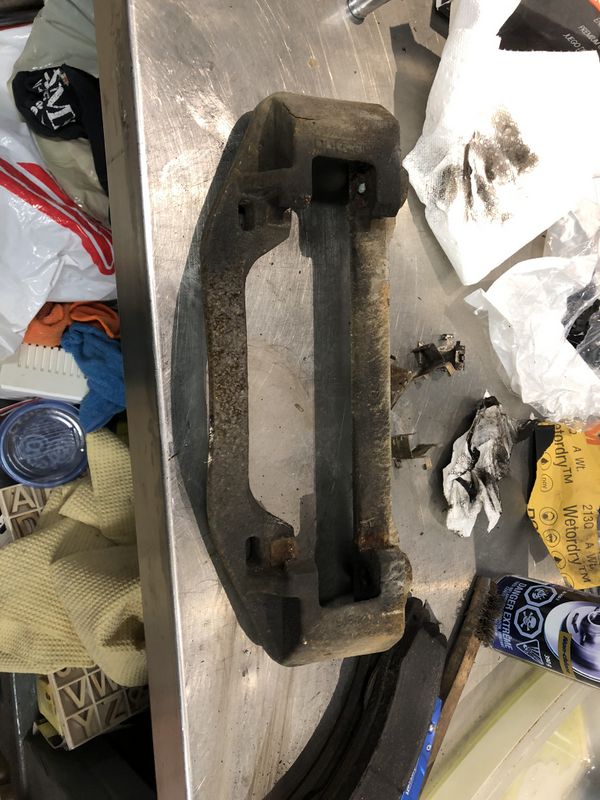
Later that month when the weather finally warmed up I tackled replacing the rear left brakes on my truck. I had to replace the right rear caliper last year as the piston stuck in the bore, now I had the same problem on the driver side. A brand new premium coated rotor, new caliper assembly and new commercial grade pads were installed.
On the right side I removed the caliper, cleaned the mounting bracket and installed new pad hardware and brake pads so it matched the left side. The rotor and caliper were less than one year old and were reused.
My magnetic 4' shop light is very handy for working on stuff like this! It also makes a great under hood light.
In April I decided to swap over my winter tires & steel rims for my pretty 20" aluminum rims and BFG All Terrain tires. If we get any snow the All Terrains are still an excellent snow tire and I'll keep salt washed off the rims.
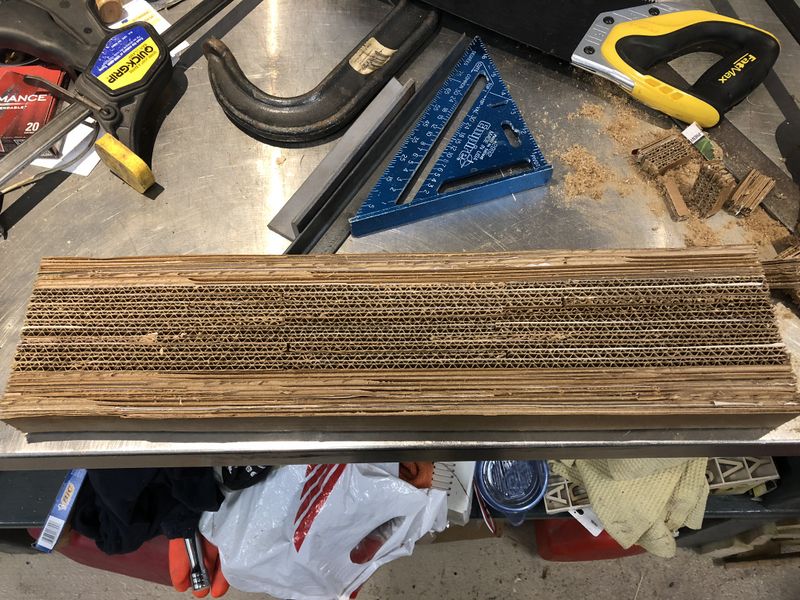
We have a new cat in the house, Boomer who was Sandra's Mom's cat. He is two years old, coal black and among other things loves to scratch. I made this scratching pad out of a couple Costco boxes, cut into strips and joined with wood glue. I clamped it over night then trimmed the ends with a hand saw. After sprinkling a little cat nip on it little Boomer loves it and finally leaves our furniture alone!
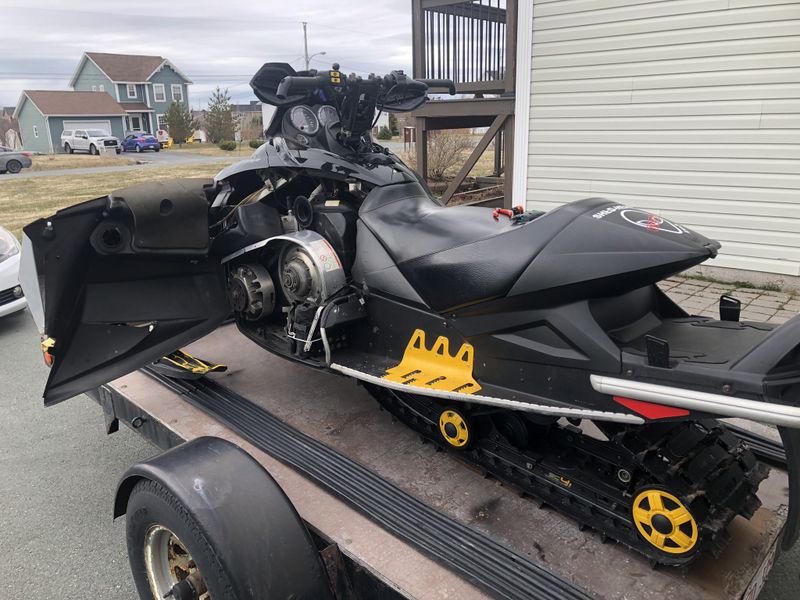
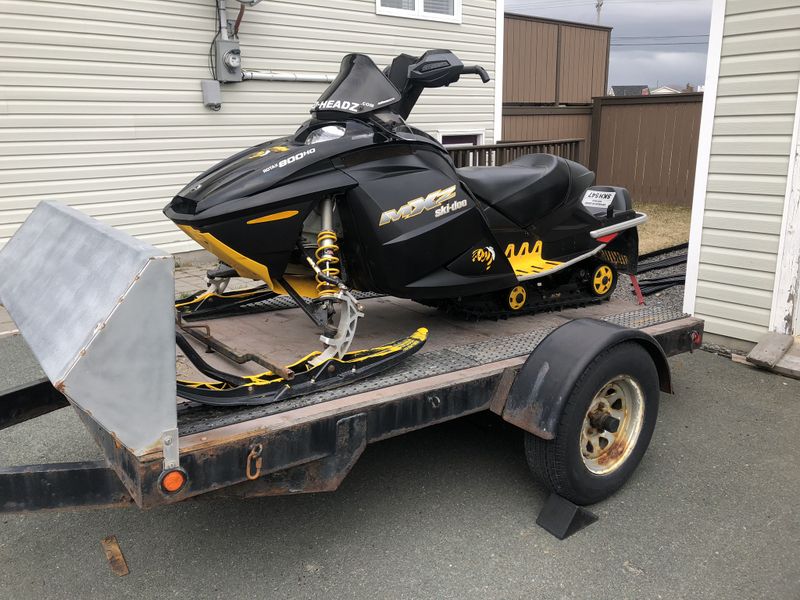
In may I gave Ronnie a hand to bring AJ's snowmobile to Sooley's cabin for summer storage and I decided to bring Project Powertek REV home to do a few repairs and get it into more secure storage. First up was an inspection and full grease of the suspension and driveshaft bearing.
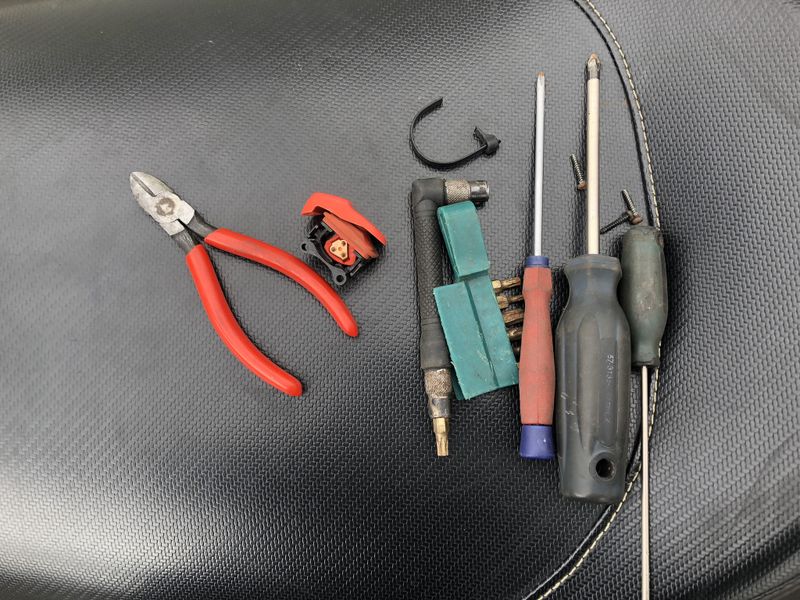
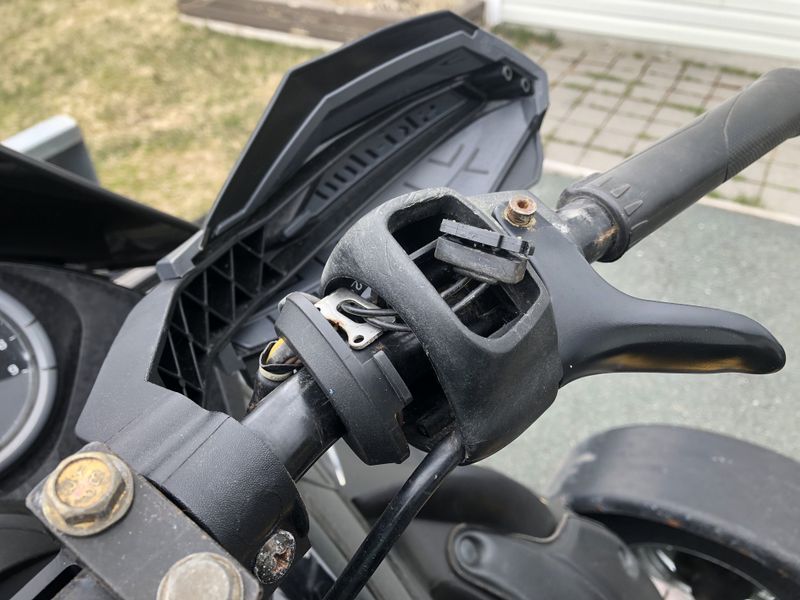
The kill switch had been acting up recently so I took it apart for a look as they often corrode and need to be cleaned. This time the black plastic on bottom of the switch was all cracked up and no longer holding the switch properly in place. I will have to replace it later.
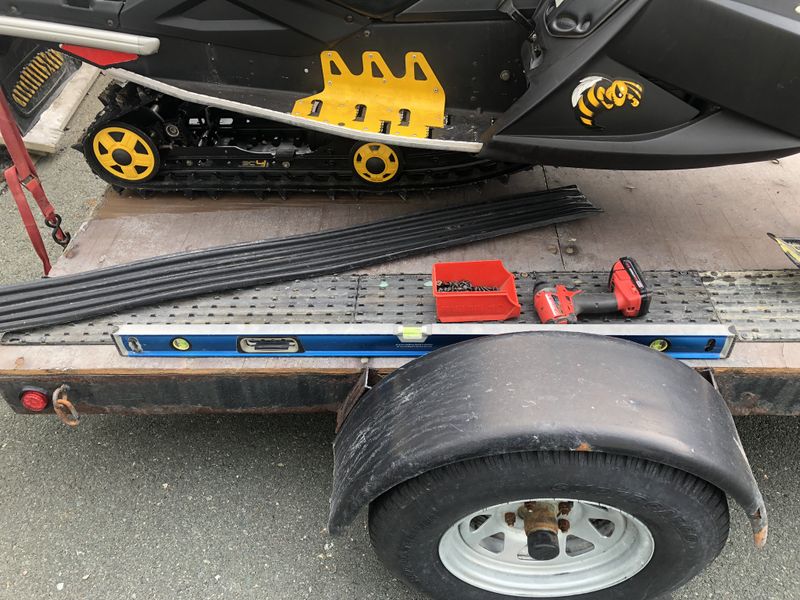
I also took the time to install my new ski guides on my trailer deck. These will replace my good ol' cut up truck box liner which worked well but these easy glides work much better.
All cleaned up and ready for summer storage. Next year I'll replace the kill switch and install a new Battery as the old one (original to the machine) finally kicked the bucket.
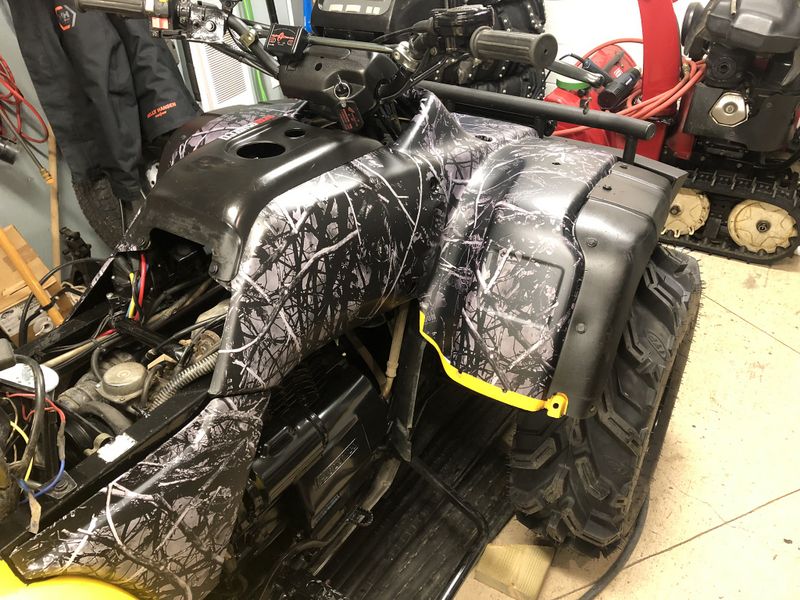
Next on the project list was cleaning/restoration work and a complete appearance transformation on Project Foreman for its 20-YEAR ANNIVERSARY! I went right though the bike mechanically then installed an awesome new wrap. Check out all the details of the 2019 Repairs as well as a special 20 year anniversary gallery on the Project Foreman page.
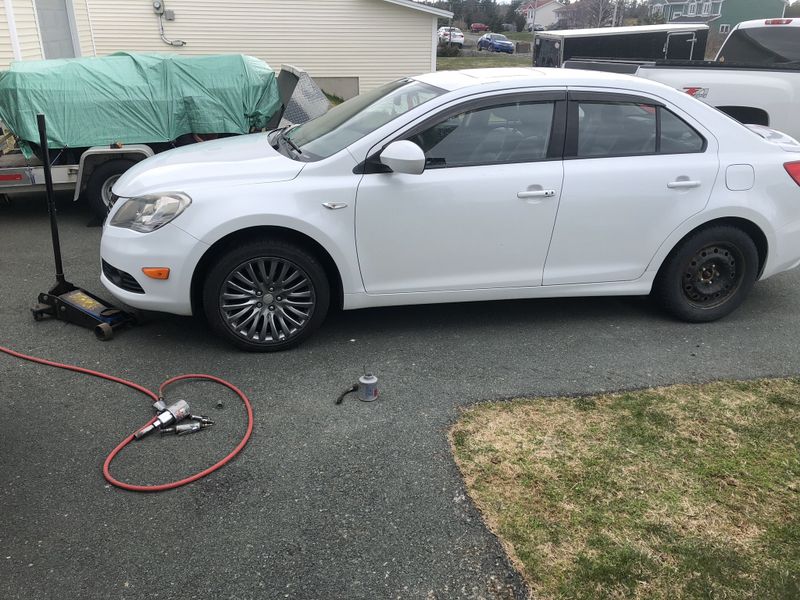
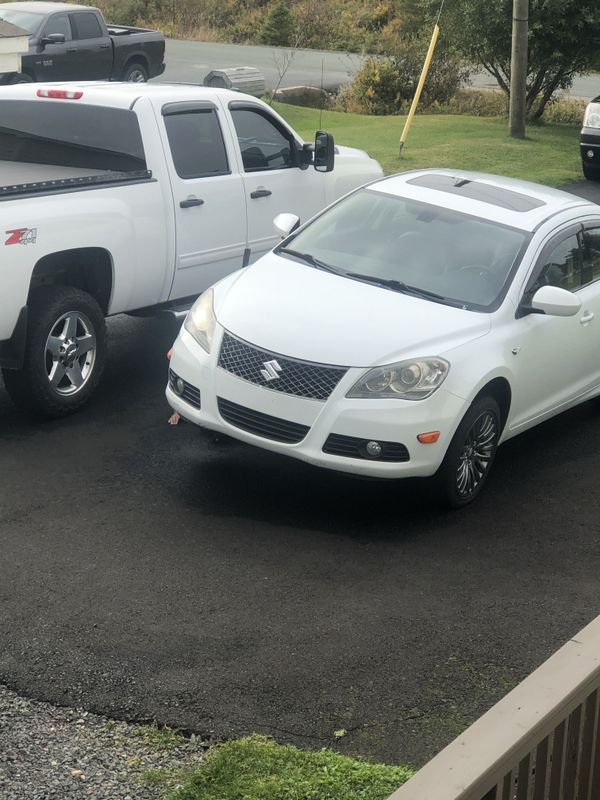
Also in May it was time to swap over Sandra's summer & winter tires. I leave her car a little later in the year as her summer tires are not all season (no all seasons are good in winter in NL and hers definitely are not) Also in the background you can see my latest super exciting upcoming project, so exciting it just bumped my '85 250sx ATC project back indefinitely!
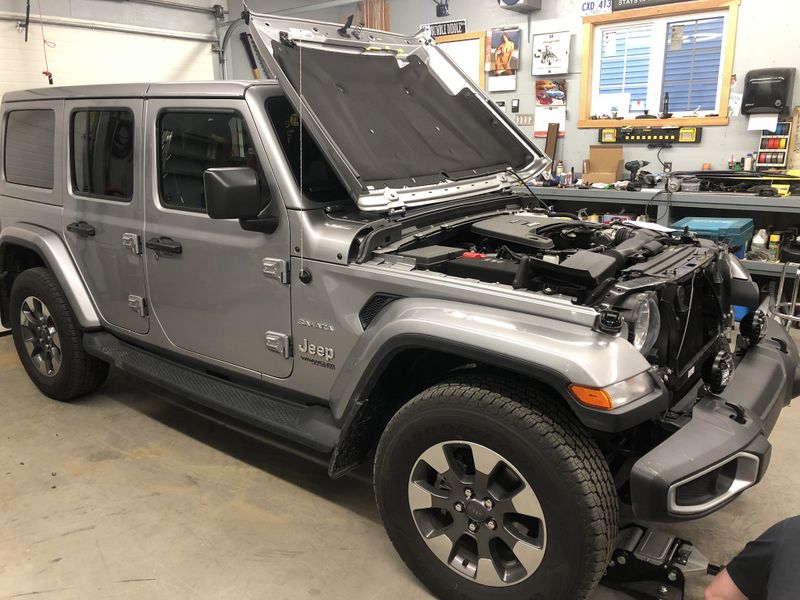
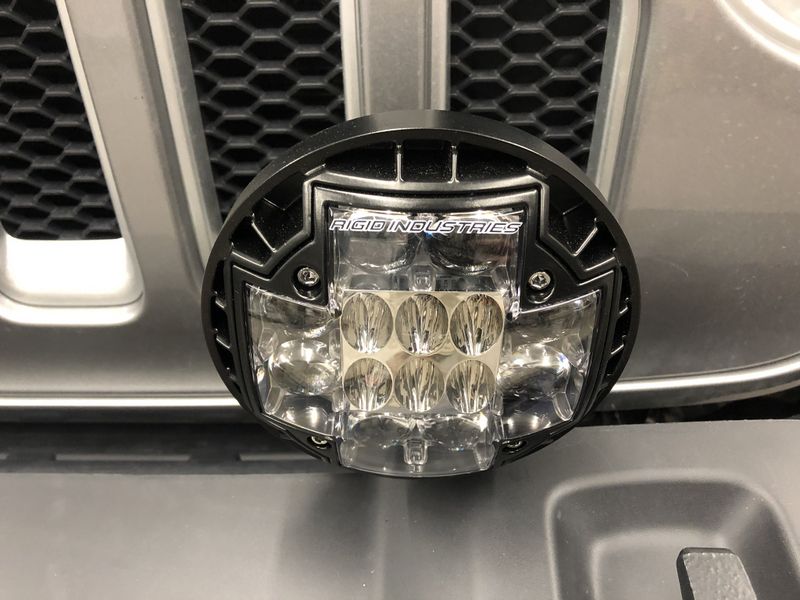
Later that month French needed a hand to install a set of driving lights on their new 2019 Jeep Wrangler.
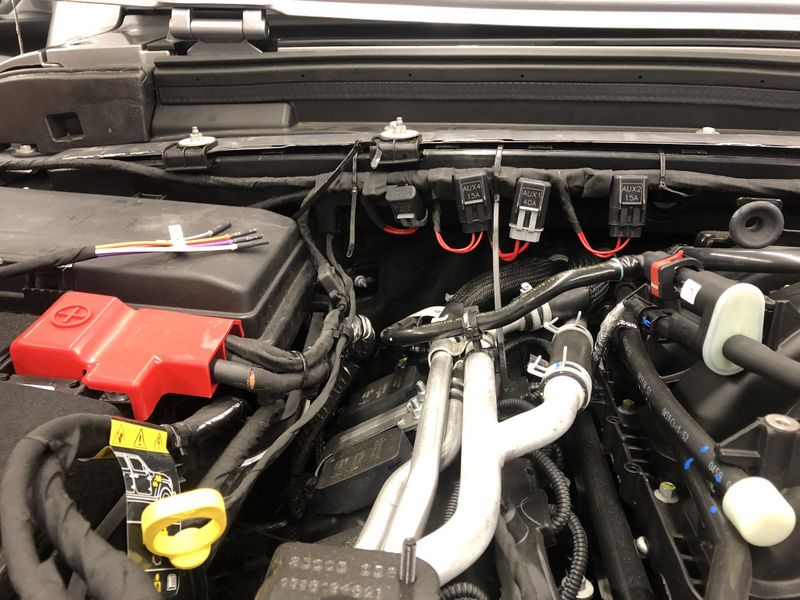
French picked up the Jeep OEM accessory switch & relay kit at the dealer and we installed it according to the instructions. Running the wires was a bit of a task but we got in done in a tidy professional, clean & reliable manner.
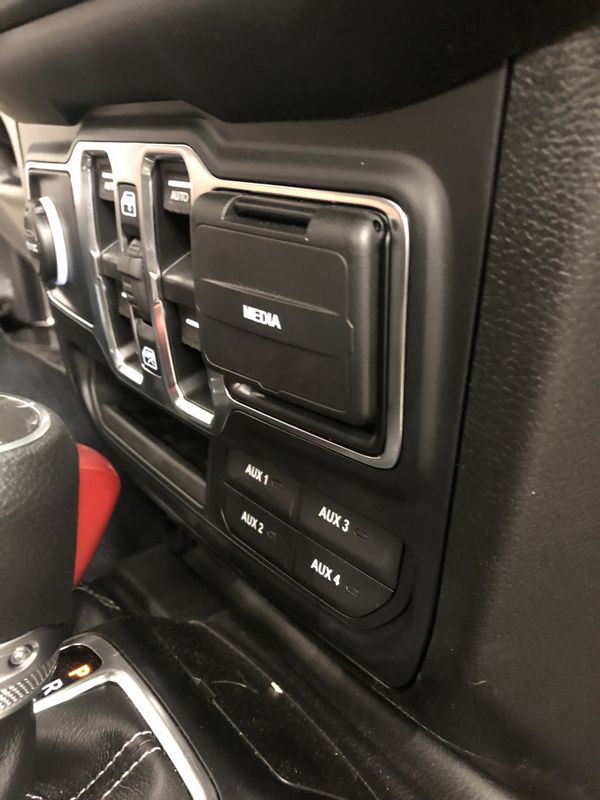
The switches fit right into the dash opening replacing a small storage cubby.
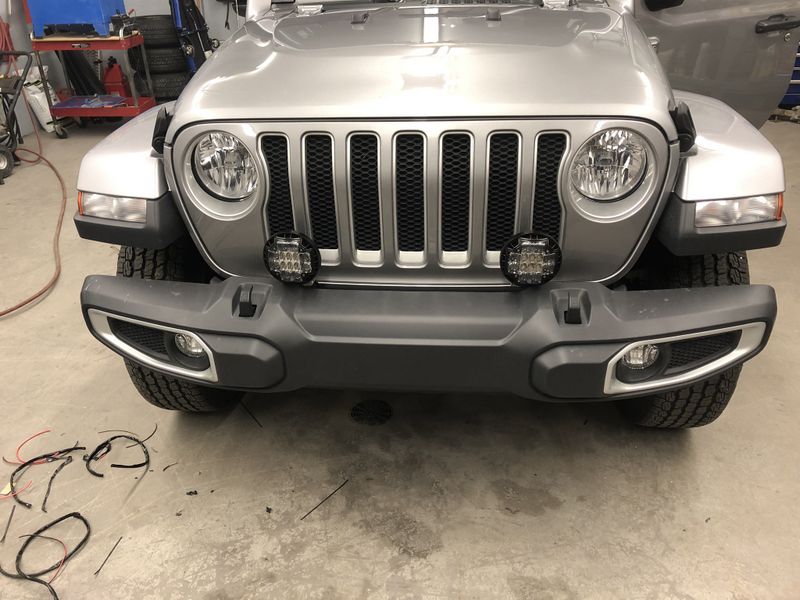
These new Rigid round LED lights are incredibly bright. Like most Rigid stuff they are not cheap but they definitely work very well!
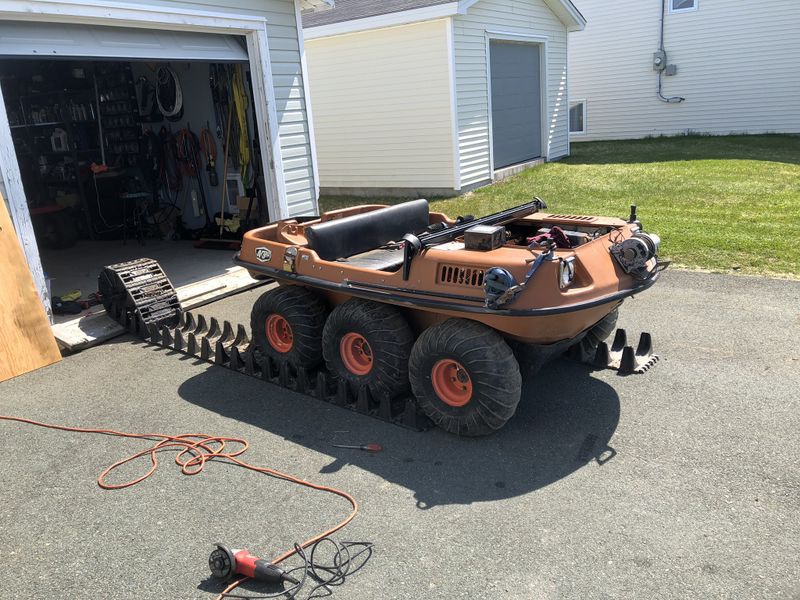
At the end of May I finally revealed my exciting new project. I purchased Dad's old 1989 Argo which he sold 5-6 years ago out in central Newfoundland. It was in Lewisport, not running and needs some TLC but all the main parts are there including tracks, windshield and convertible top. Check out the Project 6x6 page for the epic rebuild from beginning to end.
In June the original OEM muffler finally gave out on my Silverado 2500HD 6.0L gas. OEM mufflers are expensive so I went a route that was cheaper and gave me the sound I always wanted on this truck. I had a stainless steel Magnaflow muffler installed at NL Lightbars and I'm super happy with the new sound of my truck. It's not too loud or obnoxious and does not cause any in-cab drone, it really wakes up when you get on the gas.
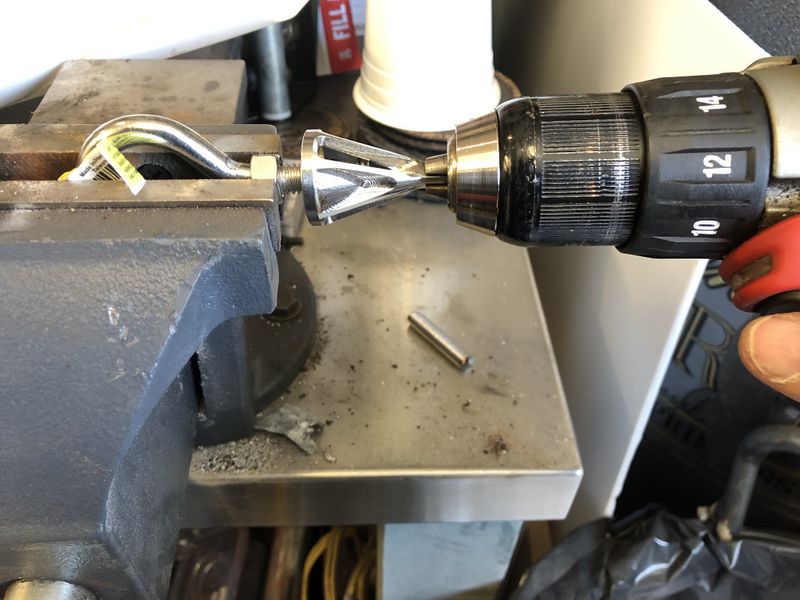
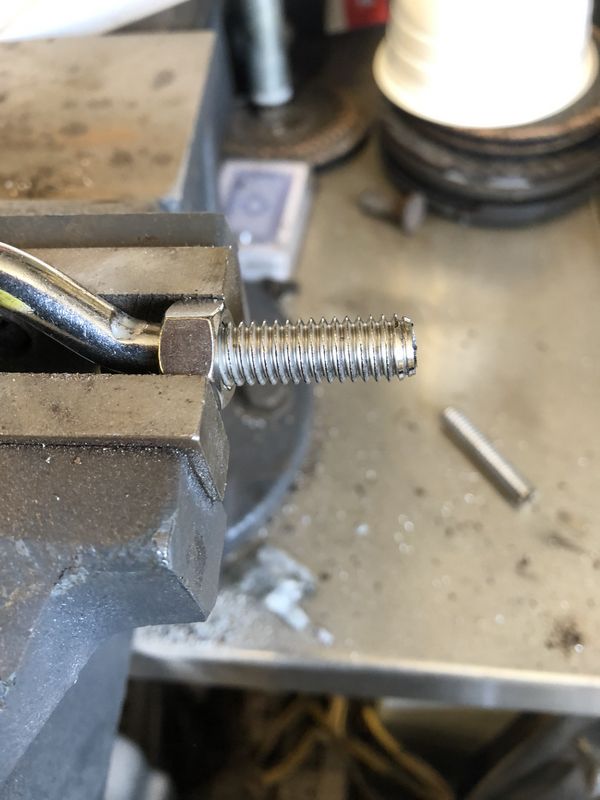
This handy eBay tool showed up earlier this year and is designed for chamfering the ends of cut off bolts, threaded rod or round stock.
It's very quick and easy to use!
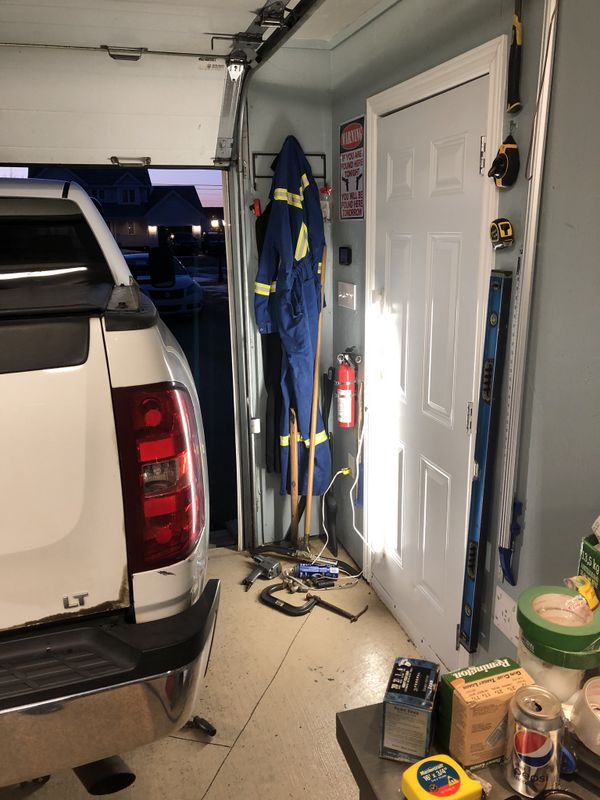
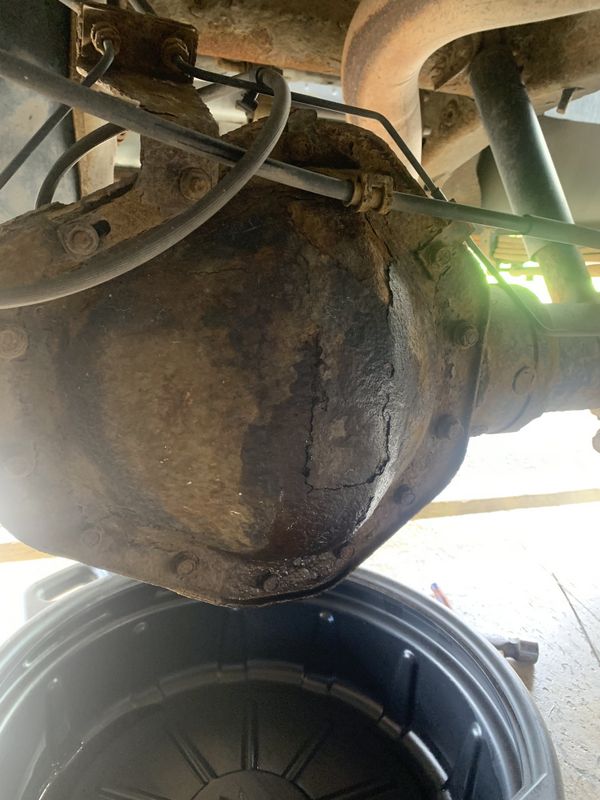
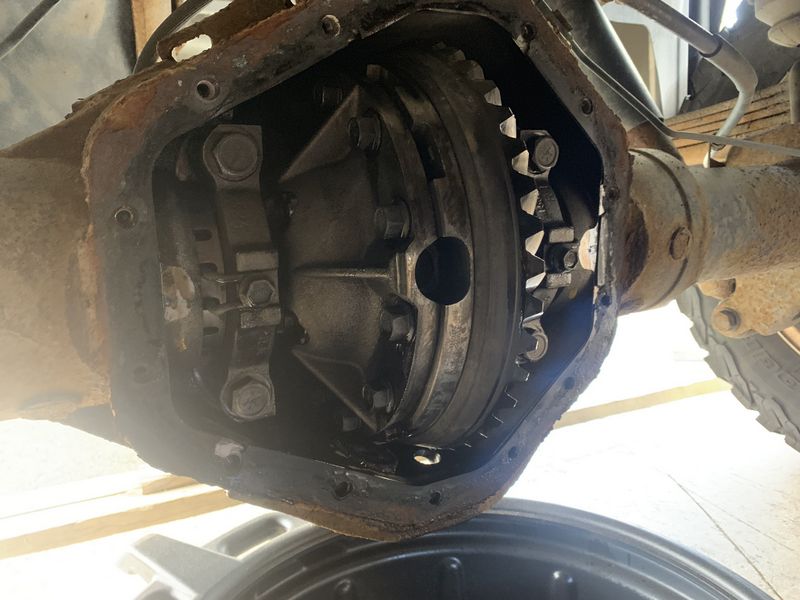
In July the rear differential cover started leaking on my Silverado. I sourced a new one at the dealer and amazingly it was the most economical price in town and the part fit perfectly unlike one I tried from another local auto parts store.
Surprisingly both the drain and fill plugs came out with no trouble at all. I took my time and broke loose all the cover bolts by hand and never had any of those break either!
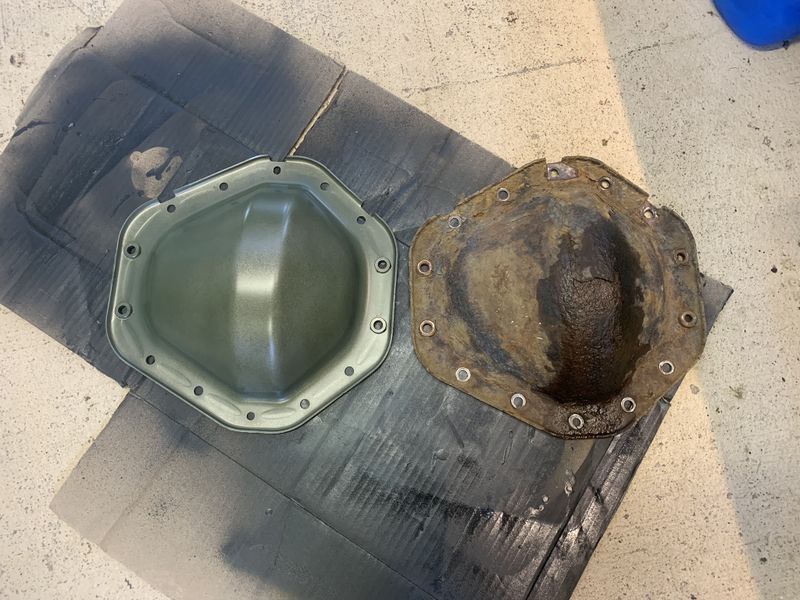
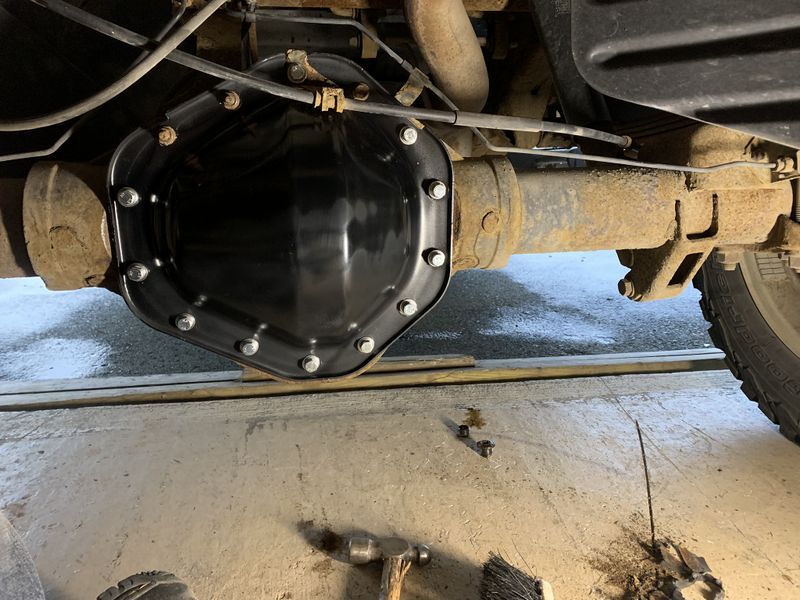
The new cover was bare metal so I cleaned it, hit it with etch primer then a nice coat of black paint.
Next up was cleaning the gasket surface prior to installing the new cover and new gasket.
New cover installed with new bolts and torqued to spec.
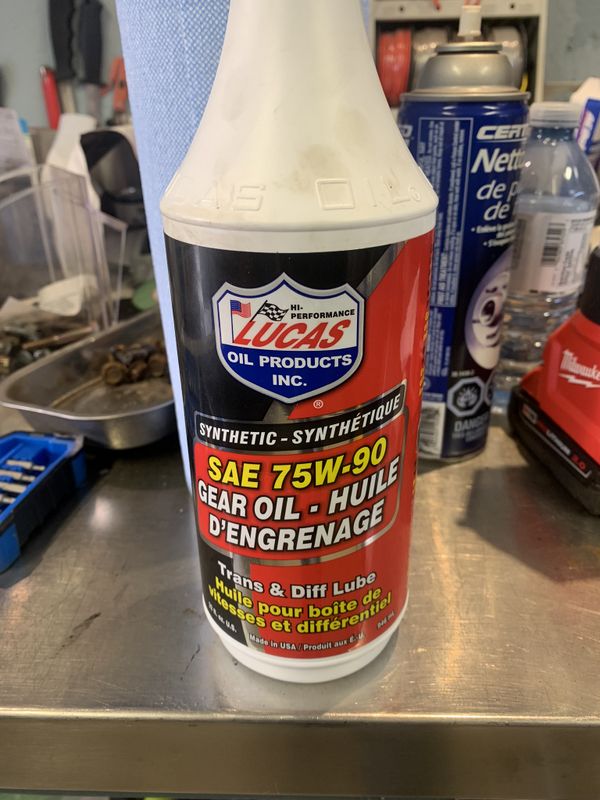
Quality Lucas gear oil was used to make sure the rear end keeps working well.
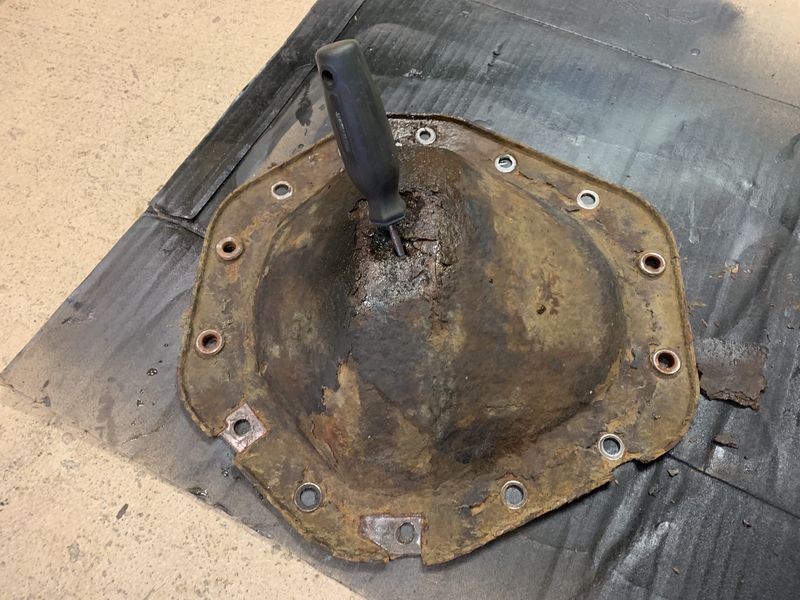
With the new cover installed I did a little test to see just how bad the old cover was. It wasn't pretty! LoL
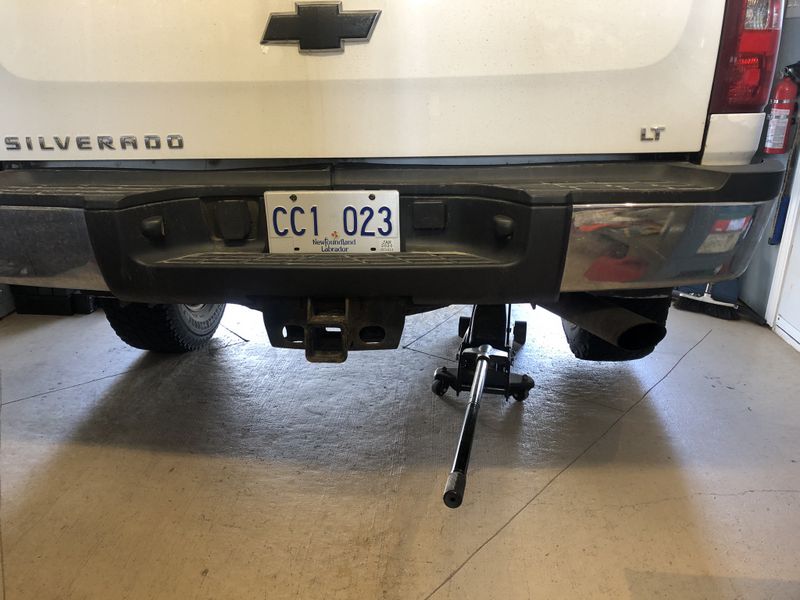
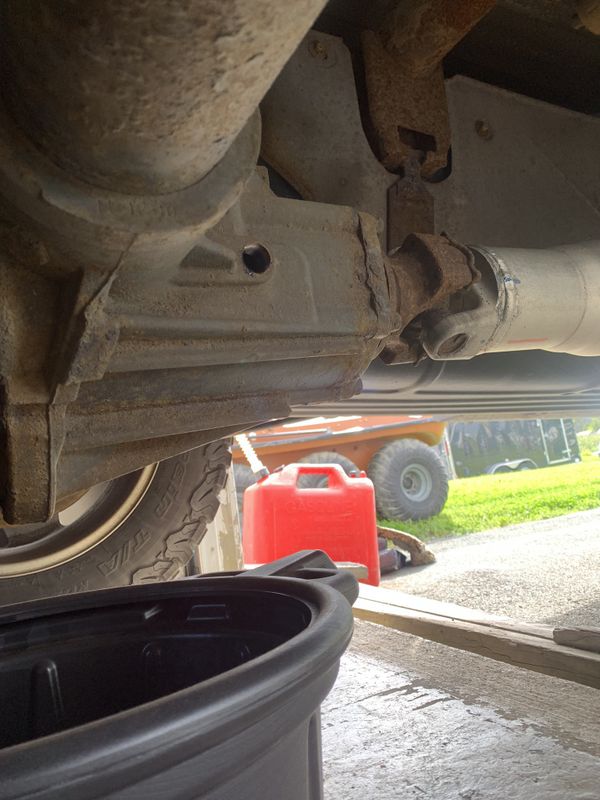
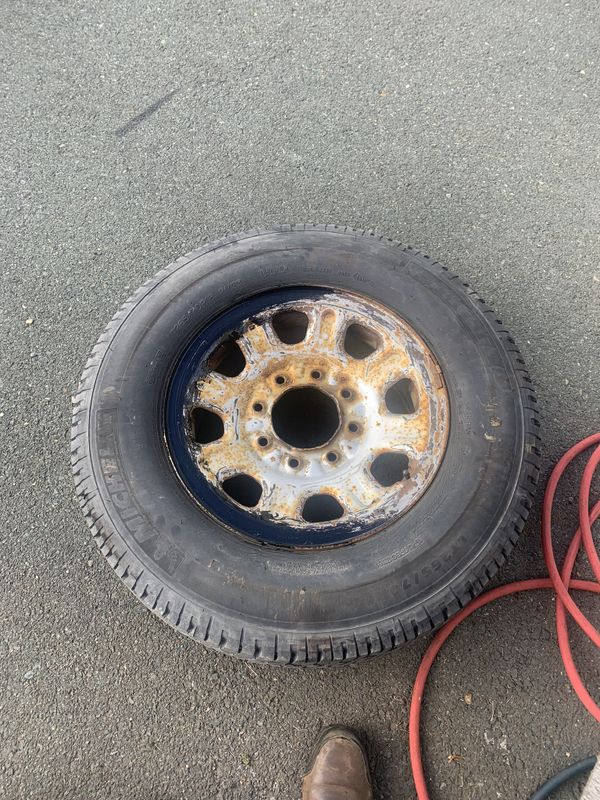
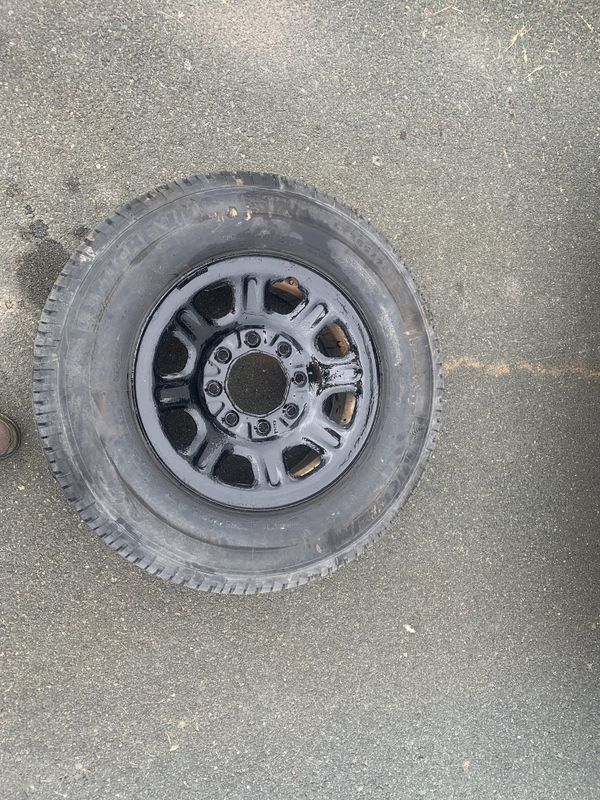
I had taken the spare tire down to make the rear end cover job a lot easier. While it was down I greased and lubed the spare tire holder cable and gave the rusty steel wheel a coat of paint.
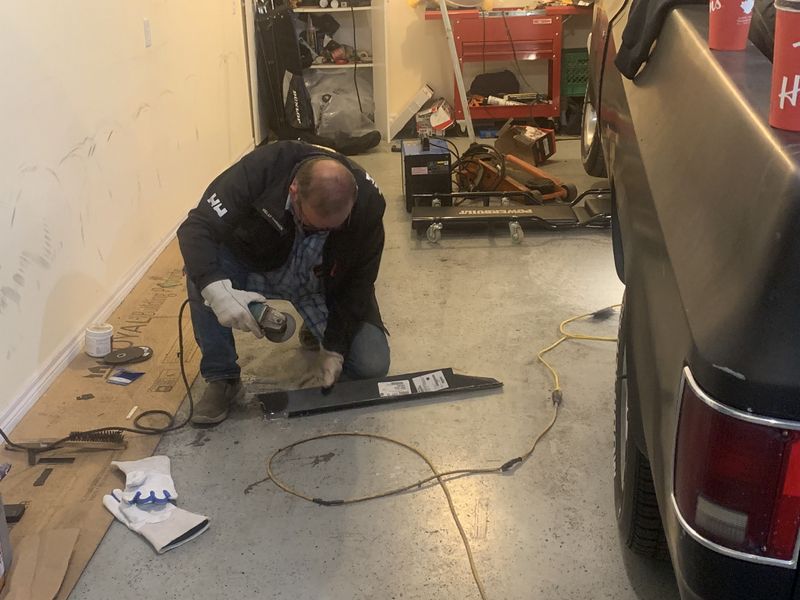
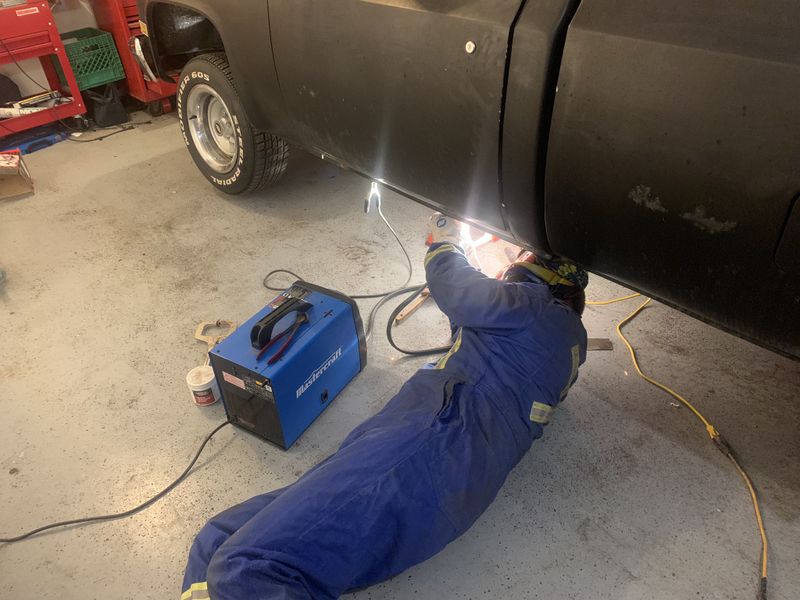
Later that month we had a garage night up to Lester's as he and Ronnie fitted a new inner rocker panel to his 1983 Chevrolet Pickup project truck.
Ronnie did an excellent job with his 110v wire feed welder.
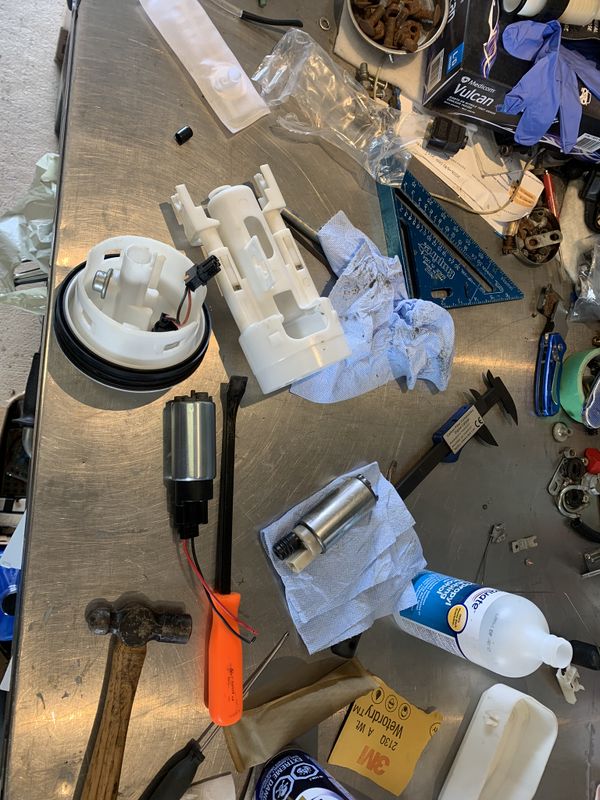
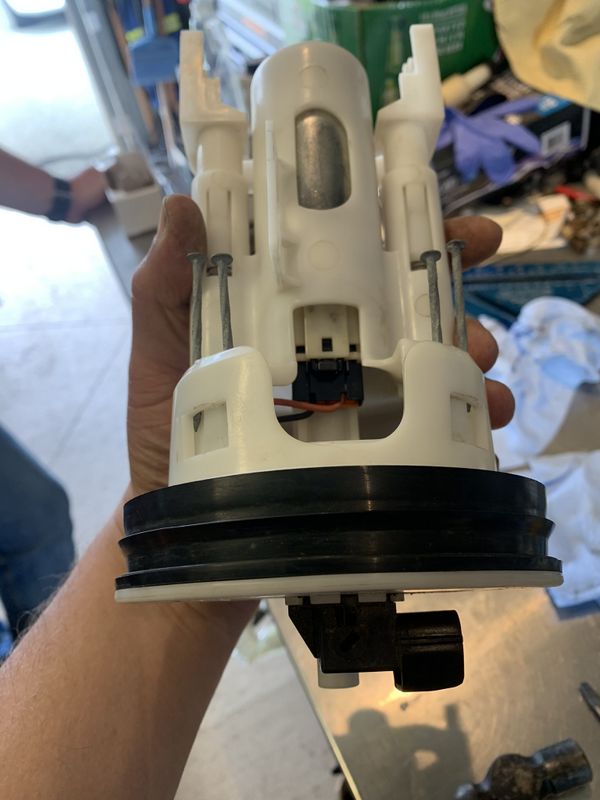
One afternoon while working on Project 6x6 my neighbor came over for some help working on the fuel pump on his Suzuki King Quad ATV. The fuel pump was testing bad, a common problem on those bikes so he picked up a new replacement unit on Amazon.
There's probably a special tool at the dealer for separating the sending unit, we found that 8 common nails kept all the lock tabs in and allowed us to separate the two pieces no sweat. The new pump & pickup sock were installed and Dan had the bike back together and running in no time! His little fella is super stoked to be able to go on more ATV rides with his dad!
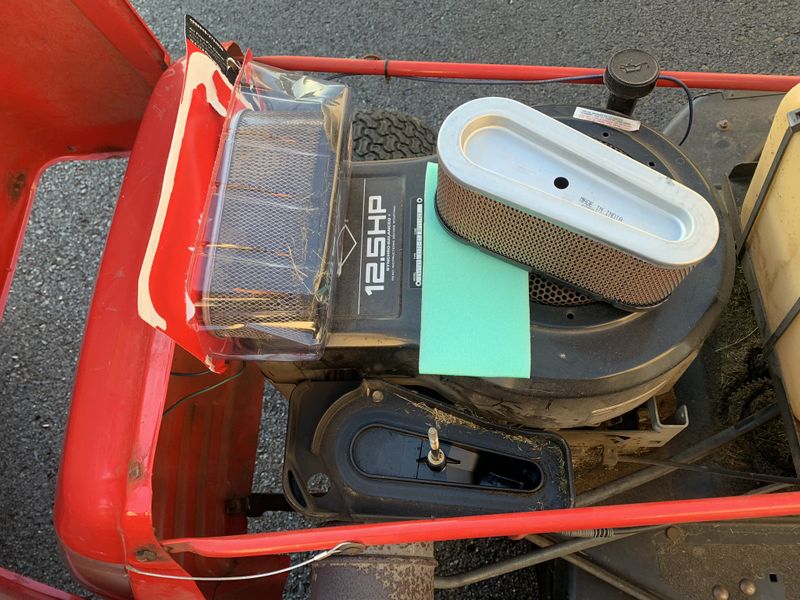
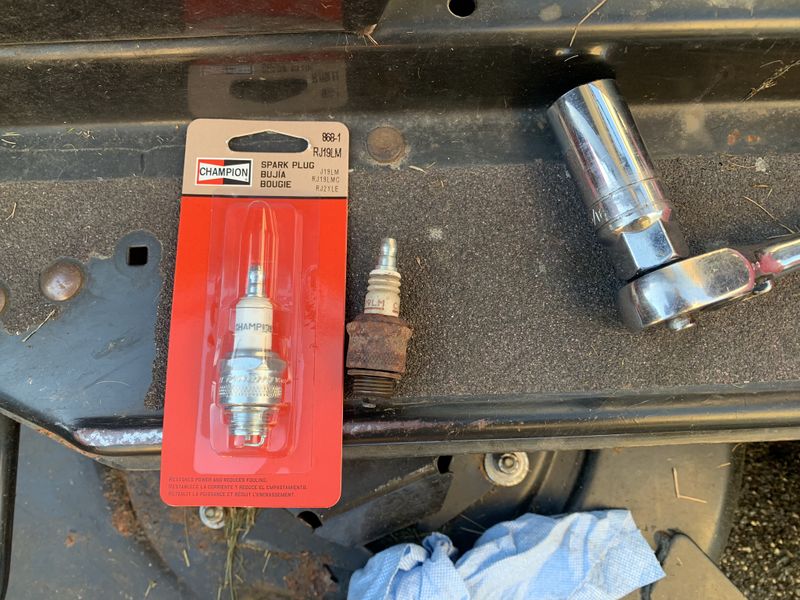
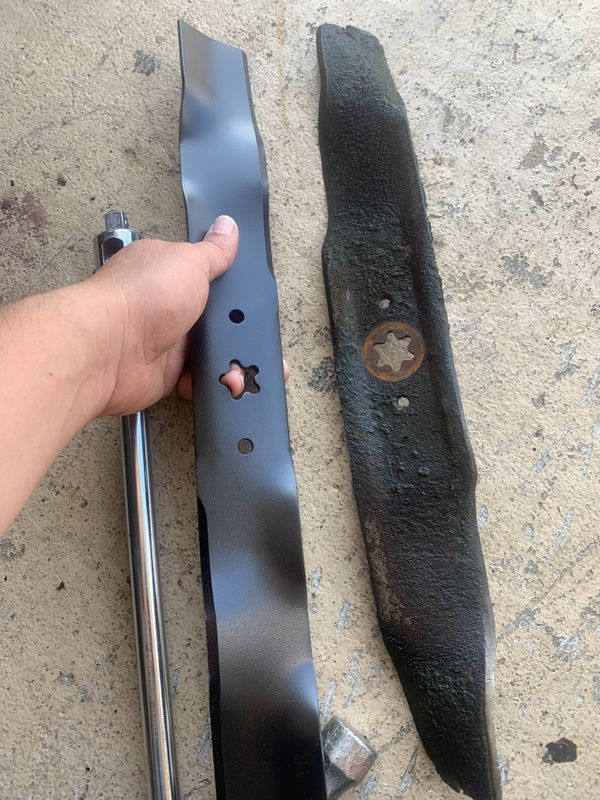
In August I did some routine maintenance and repairs on my trusty 1992 12hp Lawn Tractor which is still running strong. I changed the oil, then replaced the air filter and spark plug, the latter two have been in the machine since before, probably long before I acquired it.
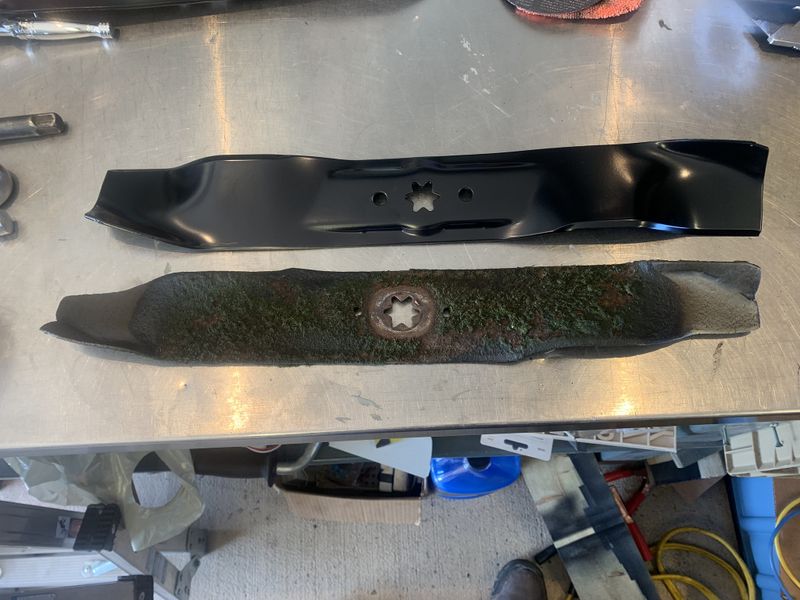
Next I was going to sharpen the blades but realized that they were in hard shape, very hard shape when compared side by side to the replacement blades!
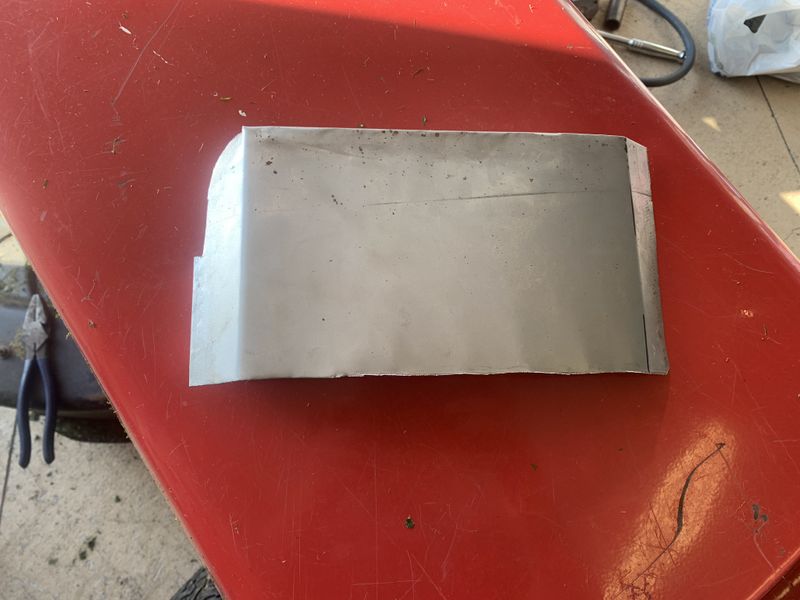
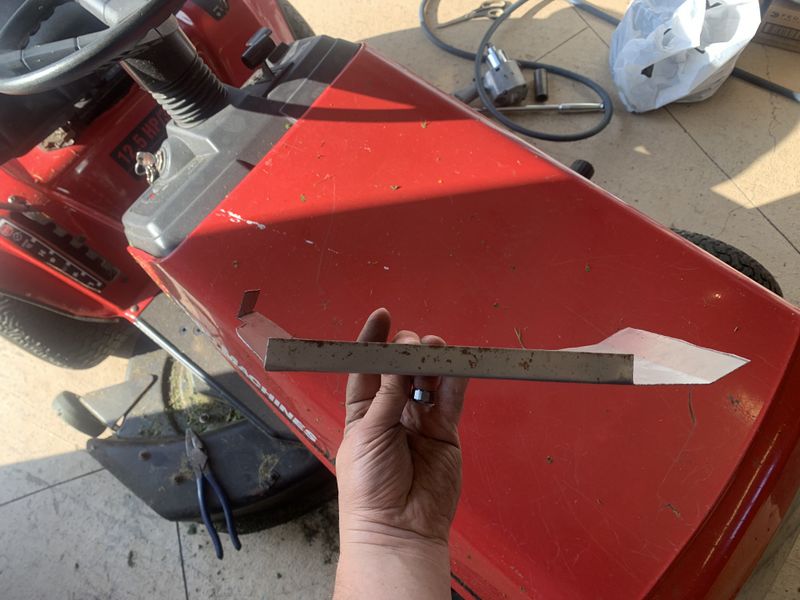
As the new blades are also mulching blades, I decided to fabricate a block off plate to turn my side discharge deck into a mulching deck. At one time MTD made a kit to do this so I just replicated that design. It should work well now that I have the right blades.
I drilled a few holes and pop riveted the new piece in place. This can be easily reversed if it don't work out. The mulching set up works awesome provided I don't let the grass get too high and mow at least once a week.
Having replaced the rear brakes on Sandra's car back in January, it was now time to tackle the fronts as they were just starting to get noisy.
The key to a quality brake job is cleaning & properly lubing the slide pins, and surgically cleaning these surfaces where the pad hardware sits. I always use quality Permatex purple brake lube behind the pad clips to prevent rust jacking from pressing out on the pads seizing them in place.
Coated rotors and quality pads were used, I also coated the surface of the piston and both caliper ears that contact the pads with Permatex purple to prevent annoying brake noise later down the road.
Anti-seize on the hub face and lip will prevent the rotor from sticking later down the road. Coating the lip also prevents aluminum rims from seizing in place in hub centric applications like this. I've always cleaned & lubed this lip and have never had a rim stick on a vehicle steel or aluminum.
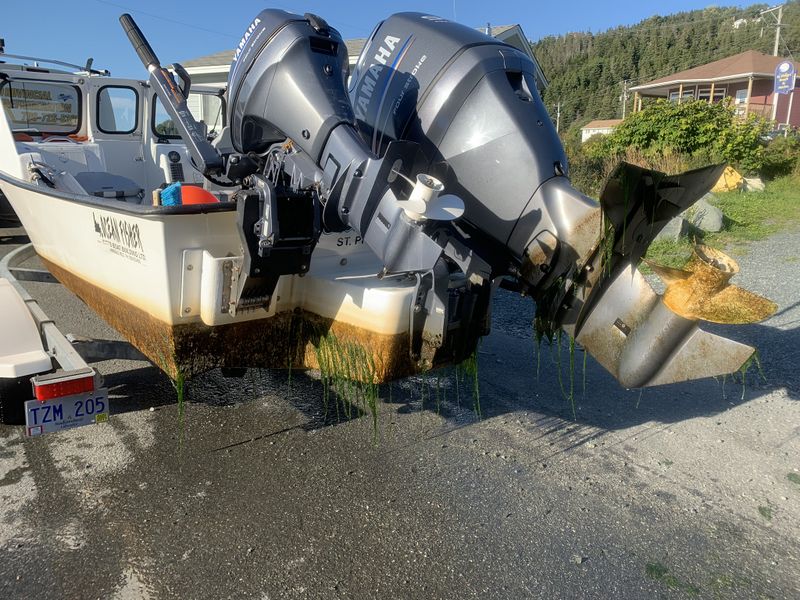
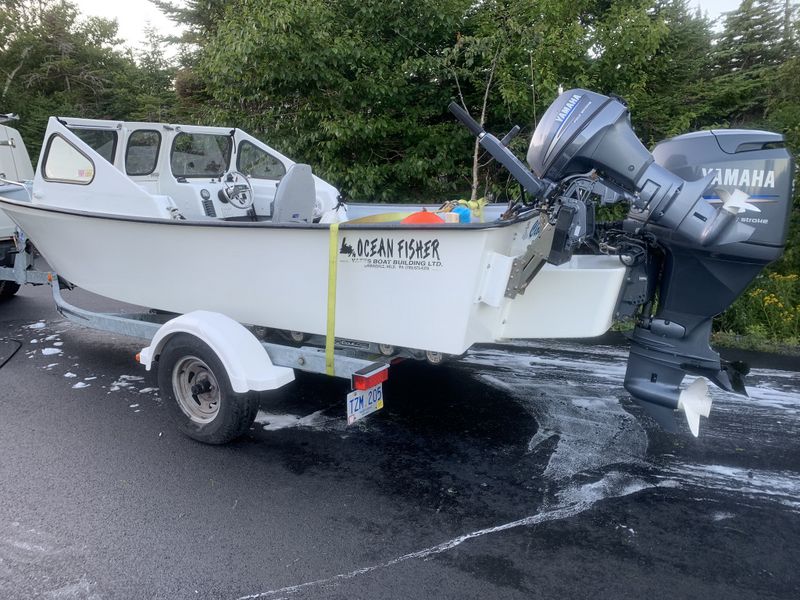
In September French and I hauled his boat out of the St. Phillip's Marina for the season. Of course this means it has to be immediately cleaned or the sludge will weld itself permanently to the boat and motor.
First we hit it with his gas pressure washer, then sprayed a super strong hull cleaner which broke down and removed all remnants of sludge from the boat with a final pressure washing.
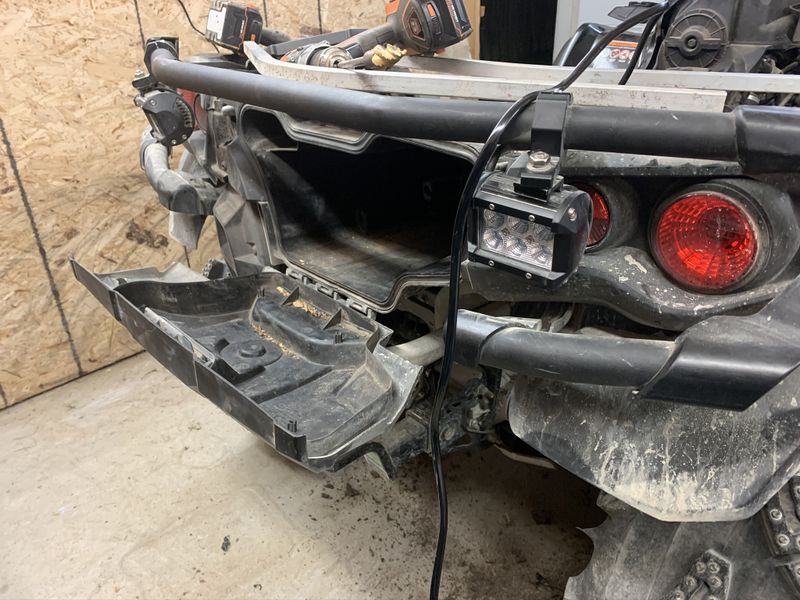
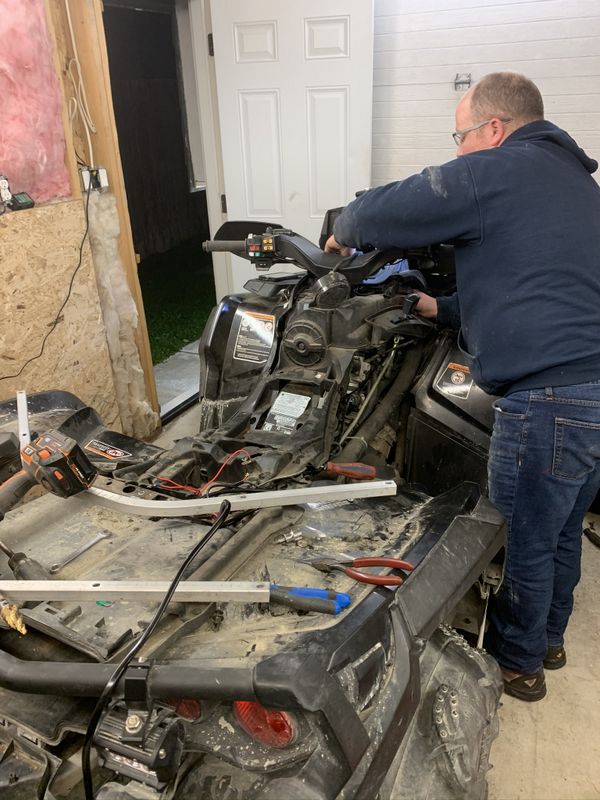
Another evening I headed over to Burton's house to give him a hand wiring up a pair of LED cube reverse lights on his Can Am Outlander.
I took my time and did a tidy job hiding the wires running them to ensure they would not get chafed or damaged by trail obstacles. We installed a new switch on the handle bars next to the one controlling his front light bar array.
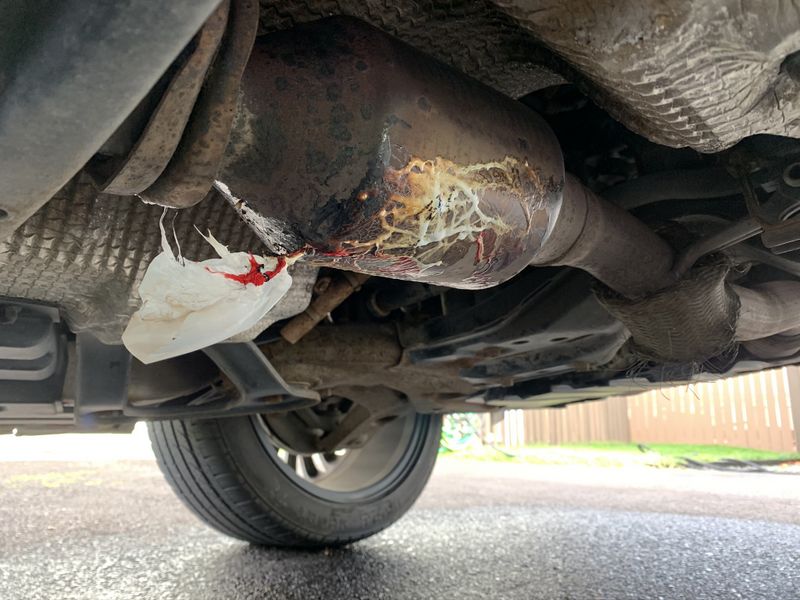
In October we were getting a weird plastic burning smell in Sandra's car. Fortunately we didn't find a fire just a plastic shopping bag melted onto the catalytic converter.
I managed to scrape most of the residue away and the little bit that remained burned off in a day or two.
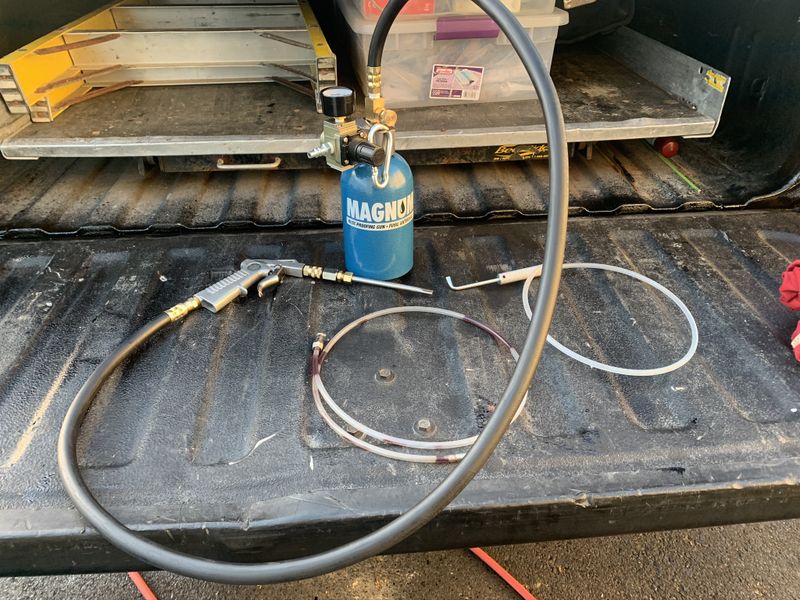
Tired of paying high prices for undercoating jobs that were not done the way I'd like, I picked up a professional Magnum Undercoating Kit from Automotive Supplies. It came with a pot where an air hose connects, a separate wand and a bunch of quick change attachments including the one for coating inside doors, panels and rockers.
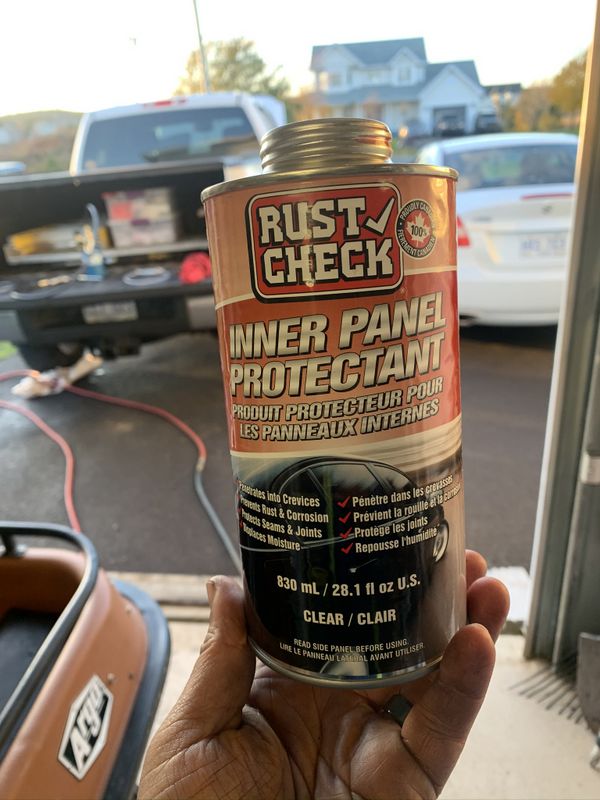
Inside doors and rockers I chose Red Rust check as it runs and creeps very well plus I've been touching up my original 2013 Krown undercoating job every year with aerosol can red Rust Check inside the doors & rockers.
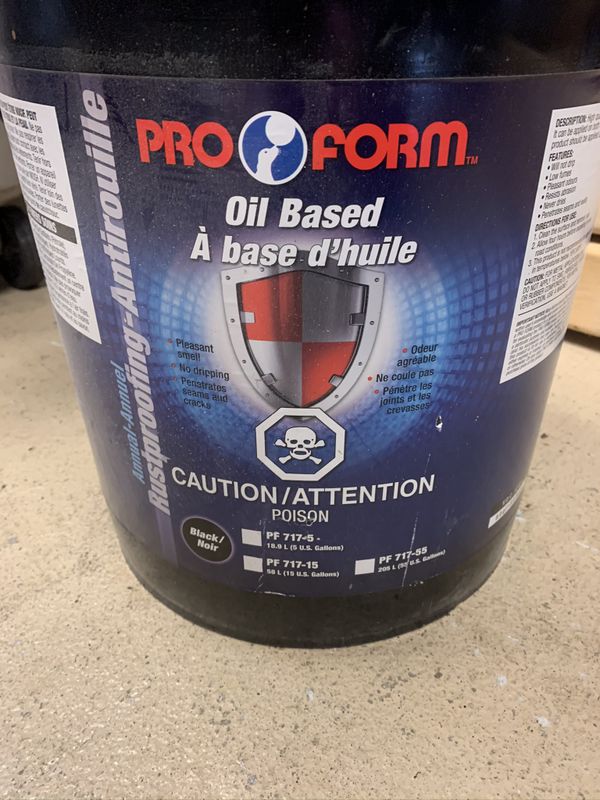
For the underside of the truck I picked up a 5 gallon bucket of Proform Oil Based rust proofing in black. This has the constancy of pudding and in my own experiment lasted waaaaay longer on the chassis and underside of my truck then Krown, Rust Check or any other runny liquid product. The gun I purchased has an adjustable regulator and adjustable pick up tube to easily adjust for thick vs runny undercoating products.
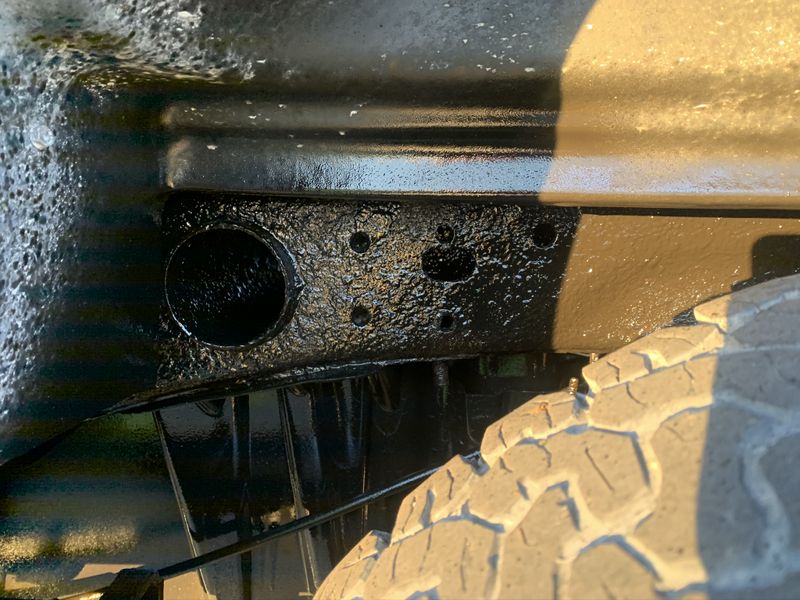
I chose the black product to give the chassis a great look. Although visible around the tailgate and underside I don't care that I can see a black product vs amber. This product does not cure like the wax based proform which can dry, crack and trap moisture against the frame.
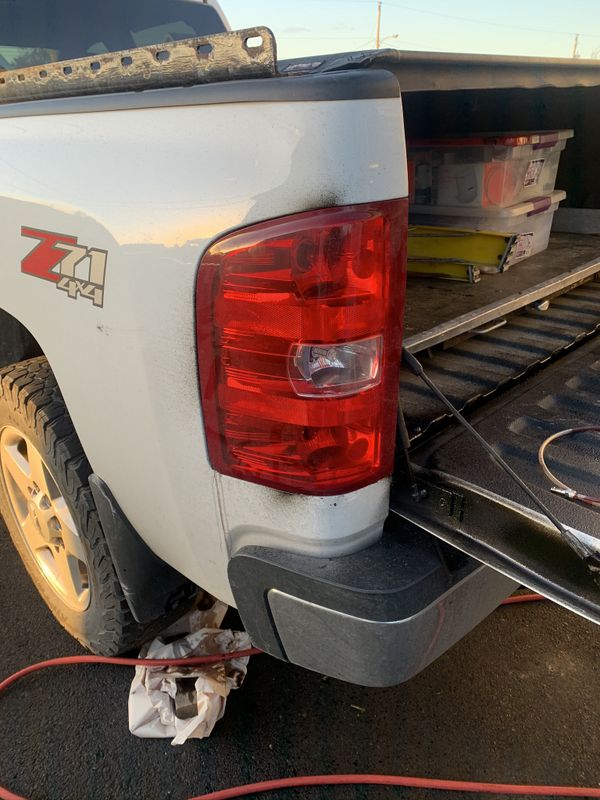
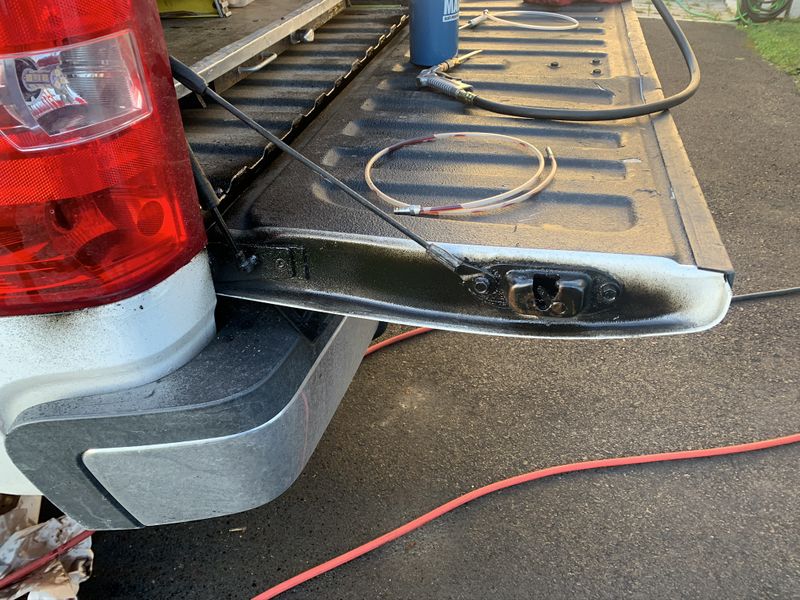
Doing the job myself I was able to remove the tail lights, grill, headlights and more to make sure I was getting product everywhere I need. The product creeps well and will look dirty all winter as I won't wash my truck again until spring. This will let the product form a cocoon protecting my truck from the harsh effects of our salty winter roads.
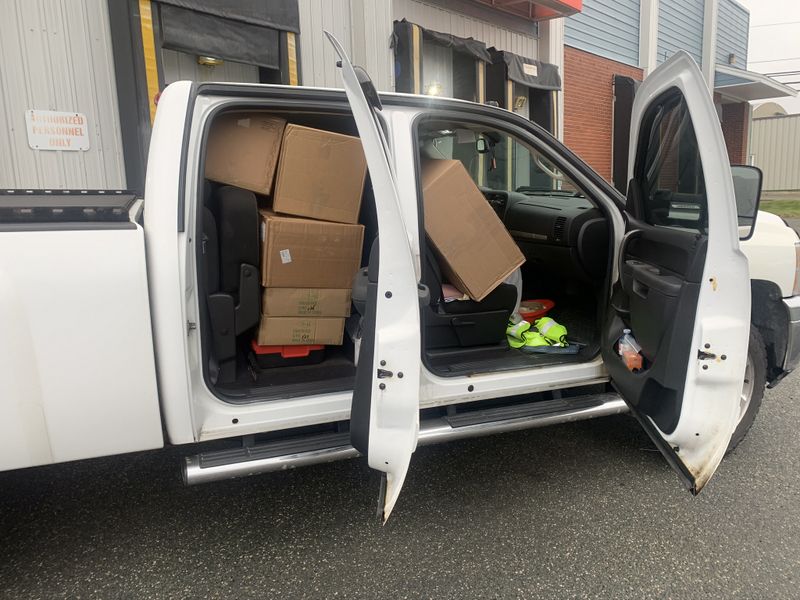
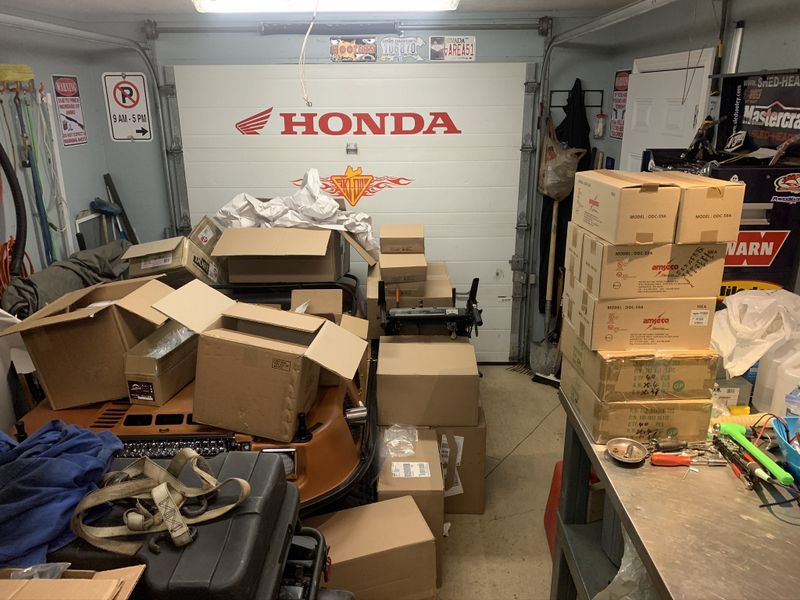
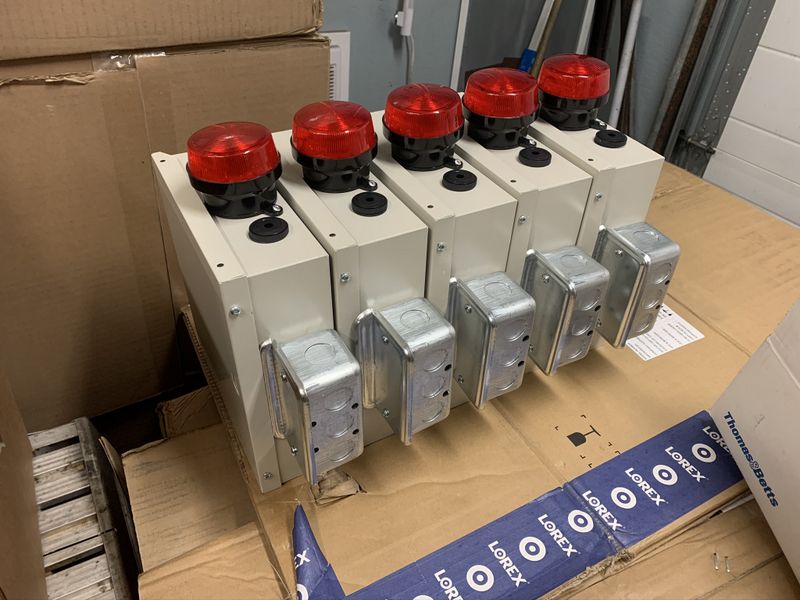
Later in November my first large equipment order arrived for a special project I'm working on for French's company.
I am building custom, commercial grade door left open alarms which will be installed by his company in freezers all across the island.
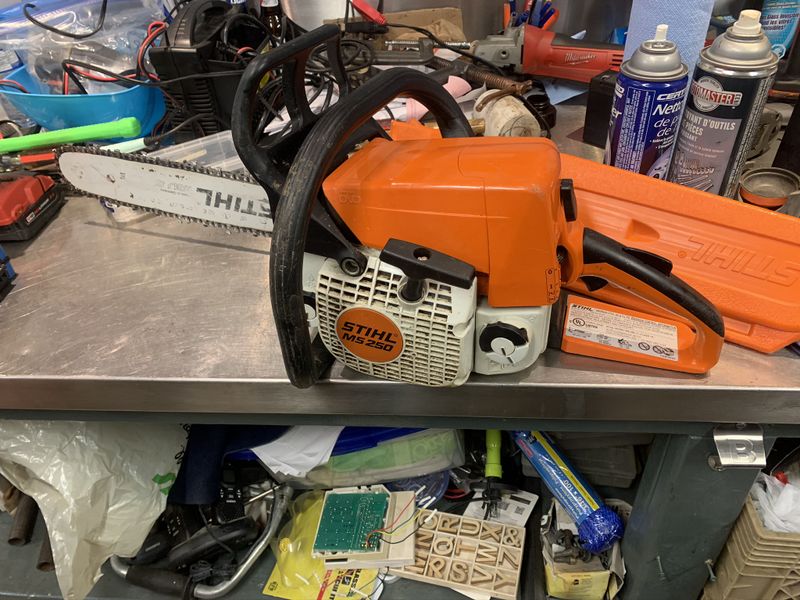
Just before our November woodcutting trip I found an excellent deal on a used Stihl MS 250 chainsaw to replace my crappy Princess Auto Poulan. This is a great 45cc saw with a 16" bar & .325 pitch chain. I picked up a spare chain, new spark plug and a new air filter at my local Stihl dealer and it runs really well!
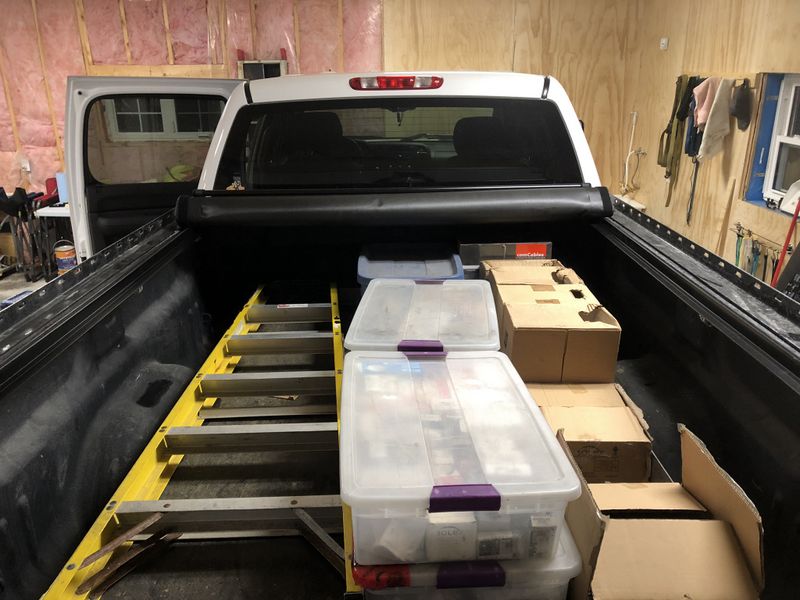
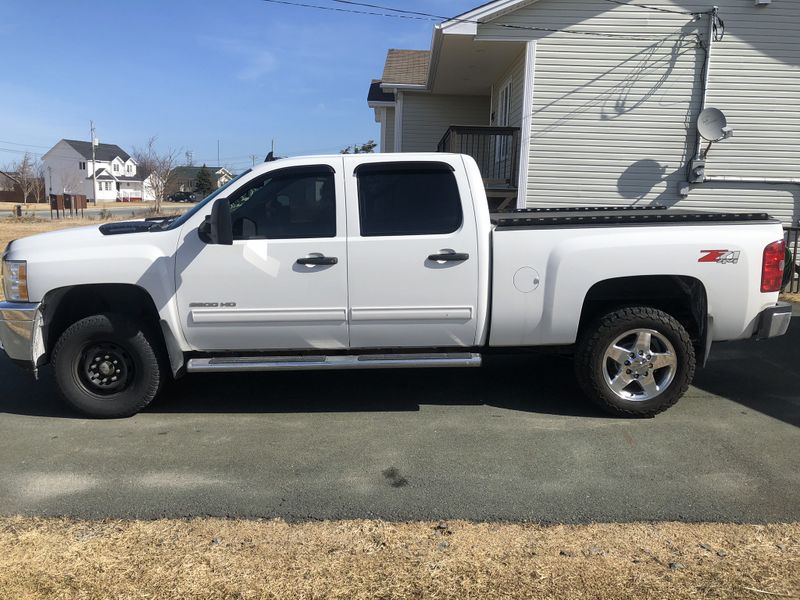
People often ask what the box side rails on my truck are for. They are for attaching my Adarac Ladder Rack System. I don't keep it on the truck all the time as it catches wind and changes the look of the truck. However when I need to carry my long ladders or pick up long length of board it's very handy and installs in less than 10 minutes with 8 bolts.
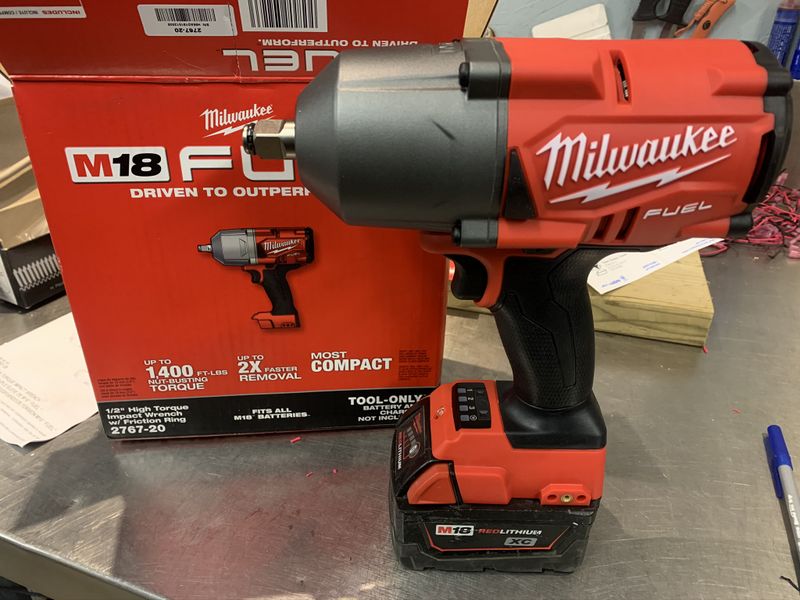
December turned into new tools for the garage month as I took advantage of Christmas season sales and parted ways with some of my hard earned tile job $$$. First up is this kick-ass Milwaukee 1/2" Hi-Torque Impact Wrench to replace my well used and tired pneumatic Campbell Hausfeld Impact Wrench.
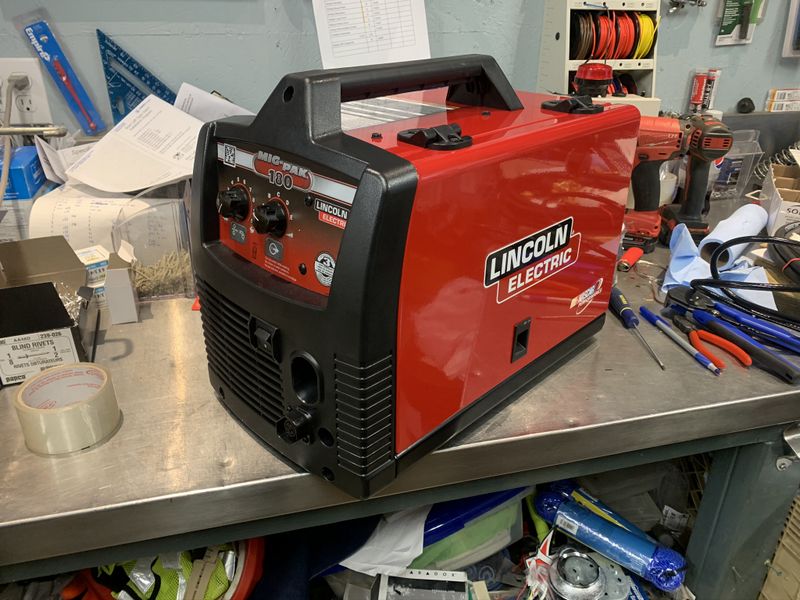
Next I got a great Christmas sale price on a new welder which will mostly replace my old Mastercraft 220v stick welder. This Lincoln Mig Pack 180 Welder is a 220v machine that can weld gauge steel (something my stick really can't do very well) all the way up to heavy steel. It can be run on flux core wire but I plan to properly set it up on gas with the included regulator and hook ups.
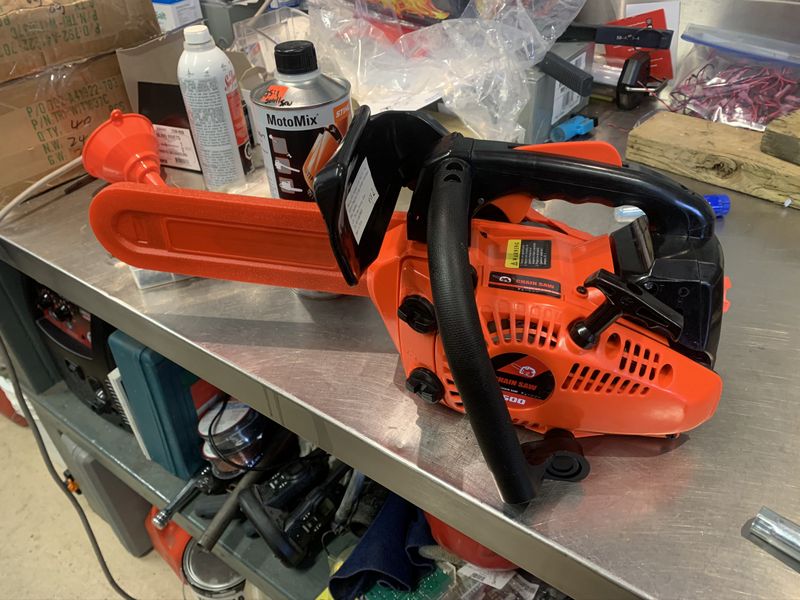
Lastly (for now) as you may have seen in my Project Foreman & Project Argo pages is my new CS 2500 mini chainsaw which I can easily carry on the bike or in the Argo. It's a $150 direct from China 25cc saw with great reviews online, locally and on YouTube. It runs very well and has already come in handy removing trees blown over blocking ATV paths.
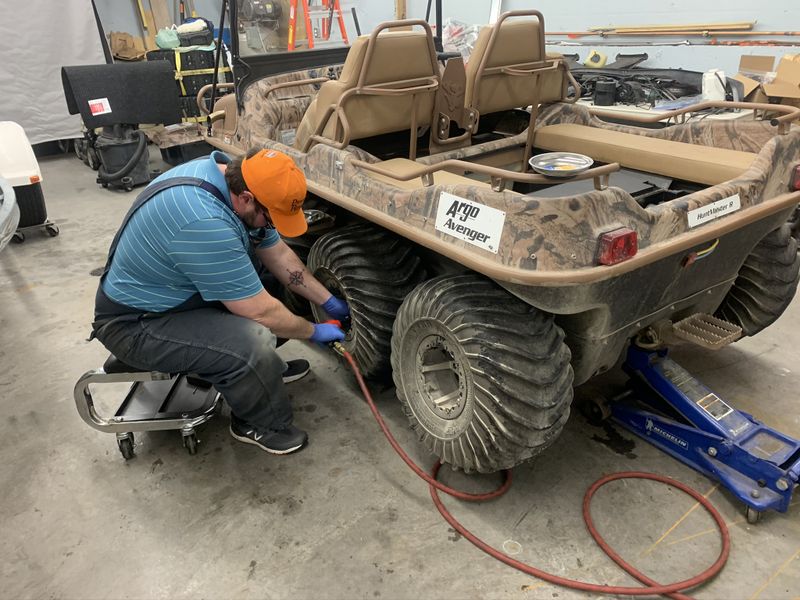
Later in December I headed over to French's house to give him a hand installing the tracks on his 2016 Argo Avenger. Check out my new article How To: Install Argo XTV Tracks on the Projects in the Shed page.
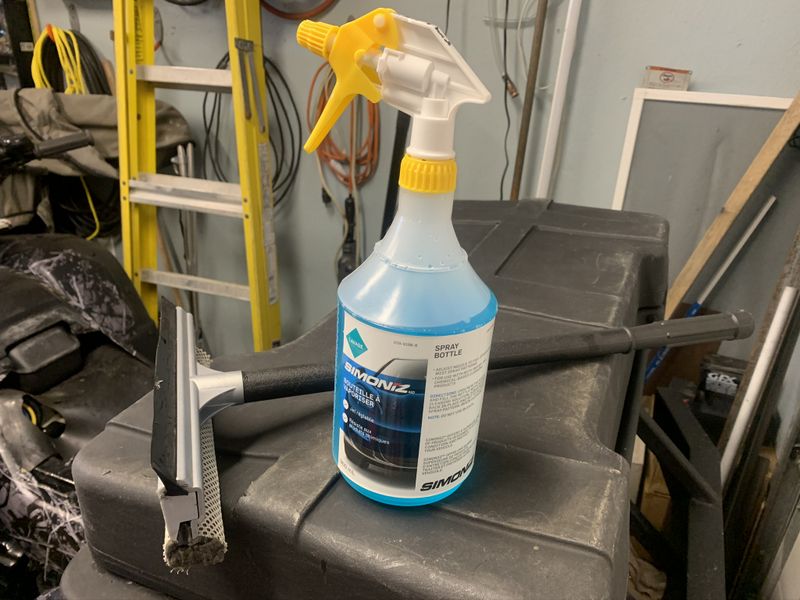
Lastly, it may seem simple or hardly noteworthy, but when driving a truck with tow mirrors they quickly get covered in salt and crap in the winter. Side windows and headlights get equally dirty making it hard to see especially at night. I found a simple solution in a spray bottle, a 4L bottle of blue windshield washer fluid, and a squeegee all from Canadian Tire. It's quick, efficient, and very effective.
Cheers, MIKE
Copyright © 2025 Michael Smith |