|
Area51- Mike's Around the House Repairs 2025: |
|
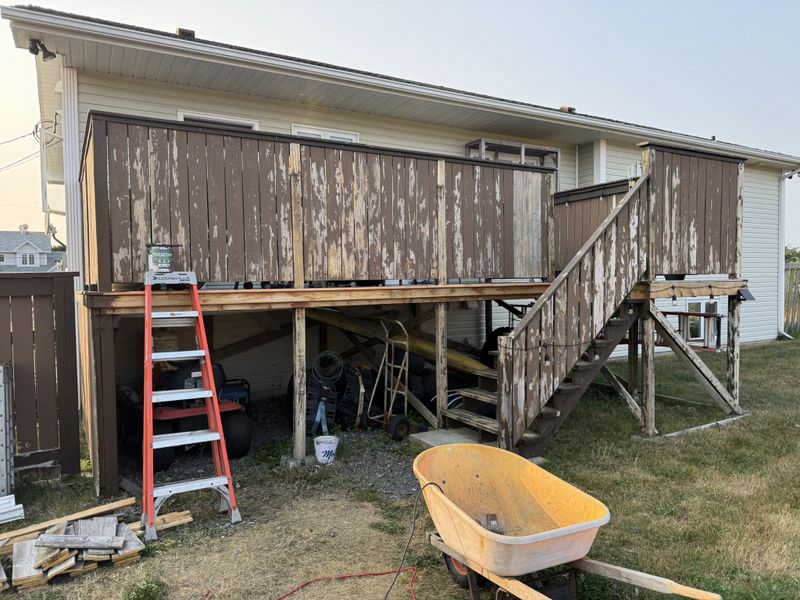
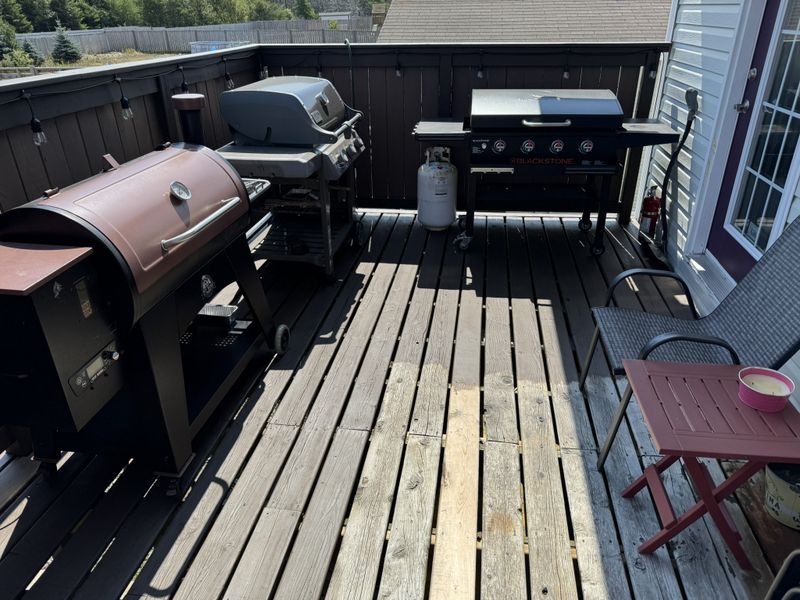
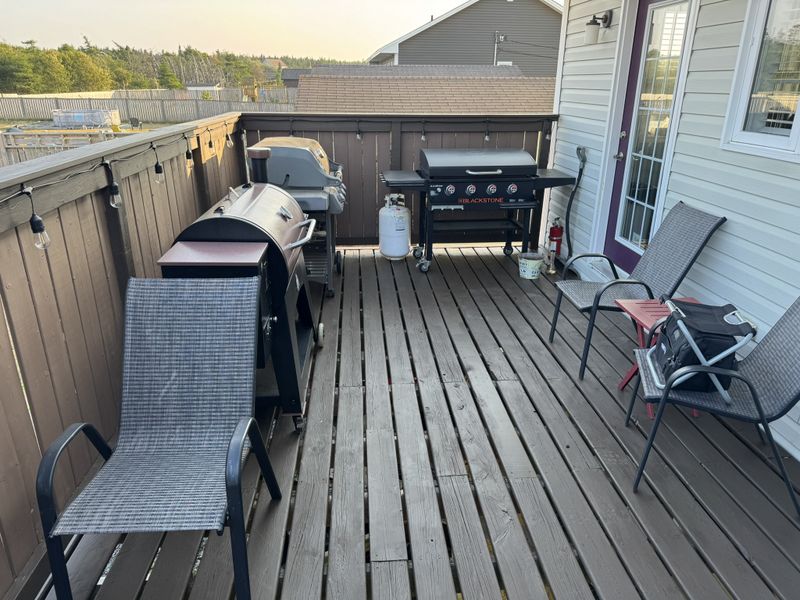
Work outside the house has been pretty laid back for the last few years. This is partly due to most things being in a good state of repair coupled with procrastination of a few projects I wasn't ready to take on just yet! With an early Spring this year, work around the house began April 18th as I discovered some severe structural repairs were needed on the back deck.
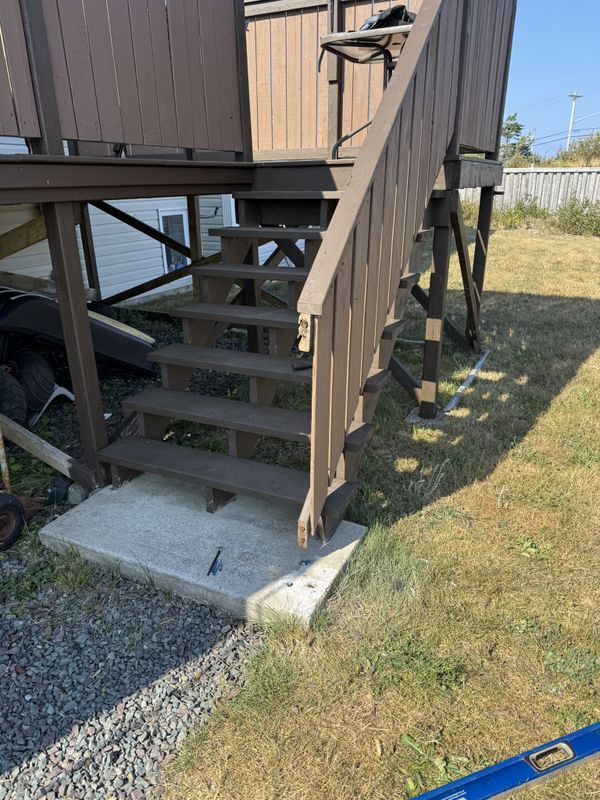
I've made many previous repairs to our 10'x20' back deck, in 2016 I rebuilt all the rails and palings and poured the concrete pad at the bottom of the stairs. In 2021 I completely rebuilt the stairs with all new lumber and incorporating a third stringer for extra support.
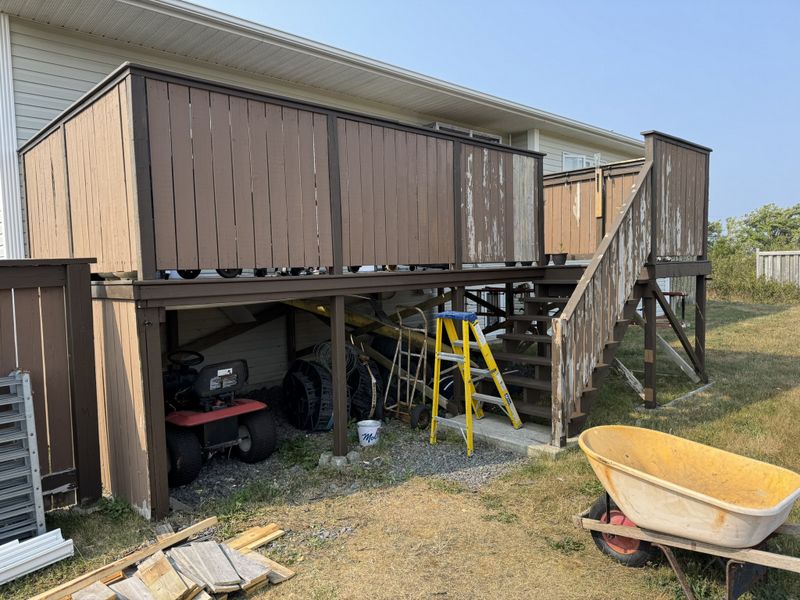
I noticed from the paint line on the middle post that the deck surface had dropped 3/4". Further investigation found the outside rim joist was completely rotted out with pretty well no structural support left at the post!
I did a thorough inspection of the rest of the frame and with the exception of three joists everything else was in great shape, a welcome relief with the cost of lumber these days!
I put together a plan and a materials list and set to work immediately on Easter Weekend as we use our deck every single day.
Argo powered cutting station/work bench!
Using scrap lumber from our old fence I screwed together a temporary doubled up 2x6 beam and two 4x4 support posts and used my hydraulic jacks to support the joists before cutting out the first section of rotted rim.
With the dilapidated lumber removed I cut out 4' of the one rotted floor joist in this area, sistered a new full length joist and stitched in a replacement section. The joists were sistered with PL Premium and 3-1/2" galvanized nails.
Next the deck was jacked up level and true by operating the hydraulic jacks.
The new rim joist was cut to length and nailed in place with 4" galvanized nails which was all that was done with the original.
I chose to add proper joist hangers on all the joists for extra strength and support.
With so much rotted wood around I fired up my trusty fire pit and got to work burning the old materials before the pile became home to critters and bugs.
All end cuts were treated with end cut sealer to greatly extend the life of this expensive new lumber!
At the end of day one I had three joists repaired/sistered with new lumber and about 16' of rim joist replaced.
Project 6x6 was put to work as a tool caddy, I conveniently loaded up all my hand & power tools and parked the whole works in the garage for the following day.
The next morning repairs continued as I replaced the section at the top of the stairs and the final piece from the corner of the stairs to the far end of the deck.
Next up was replacing a couple rotten deck boards and screwing off the rest to the new sistered joists.
The last deck boards run outside the rails and are purely decorative giving a nice clean tidy finished look to the project.
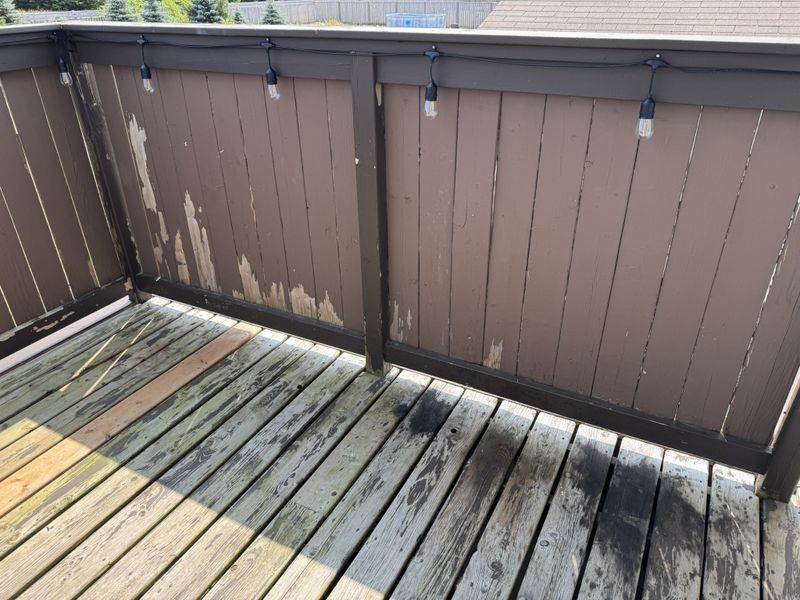
Sandy came home from Costco with a couple of these solar powered accent light kits, although the deck isn't painted yet I threw them up anyway and they look great!
The front flower planter needed some attention next, the lower two rows of 4x4 lumber on the West end were severely rotted out.
I dug back the soil doing my best not to disturb the dormant perennial plants and tore out the rotted lumber.
I laid down some road gravel and used a short length of 4x4 post to compact, level and true the bed for the first tier of planter box.
I chose to re-use the old top tier which was in decent shape for the new bottom tier saving the fancy new lumber for the upper more visible tiers.
I even managed to reuse the 8" galvanized spikes which were still in perfect shape after all these years. I matched the existing design alternating rows of 4x4 post with 5/4 x 4" deck board.
Once painted we'll never know it had been repaired!
Easter mode on the Govee holiday lights I installed for Christmas last year.
The following week I found a few left over balusters from the front deck rebuild I did in 2017. These were advertised as galvanized dipped and powder coated, needless to say I'm disappointed at the shape they are in today!
I pulled apart the rails, during construction I screwed everything together so it all came apart relatively easy.
I had four new replacement balusters so I pulled out the four worst ones and replaced them with new.
This time I sprayed the insides with fluid film to see if that helps prevent corrosion on the replacement pieces.
Since this went well, over the summer I'll pick up more balusters and begin replacing the rest.
Lime and moss control fertilizer went down in May.
The next job started on May 3rd when I finally tackled rebuilding the interlocking brick planter which has been getting worse and worse every year since we moved in. I've been procrastinating this long enough!
When I removed the top layer, laid it out in the driveway to determine the proper diameter as the old planter has spread apart so much over the years.
I was surprised to find a third layer of bricks well buried under the old toppled upper layers and a lot of soil. Not surprisingly was how unlevel it had become.
With all the bricks pulled out I added more sand, levelled and compacted it. This raised the whole planter by a few inches and exposed all three tiers of bricks. I pulled out the last row of walkway paver bricks to level them as well, this is another project that will hopefully continue this summer.
For the rebuild I decided not to make the planter round as it never fit the space very well. Instead, I chose to start and end it at the wooden planter box which we think looks a lot better. Each brick was brushed clean of soil and carefully laid back in place leveling and adjusting as necessary.
Overlapping the next tier by half I cut the starter brick to fit using a diamond wheel in an angle grinder.
Job complete! It looks so much better now and drastically cleaned up the first appearances of the house as you walk up to the front steps!
I still have more to do this year so stay tuned for updates!
Nothing too crazy to update but we have made some improvements to our front flower planter. We added a couple new plants and top dressed the soil with fresh potting soil.
Other than that all of our perennials have come back strong and beautiful!
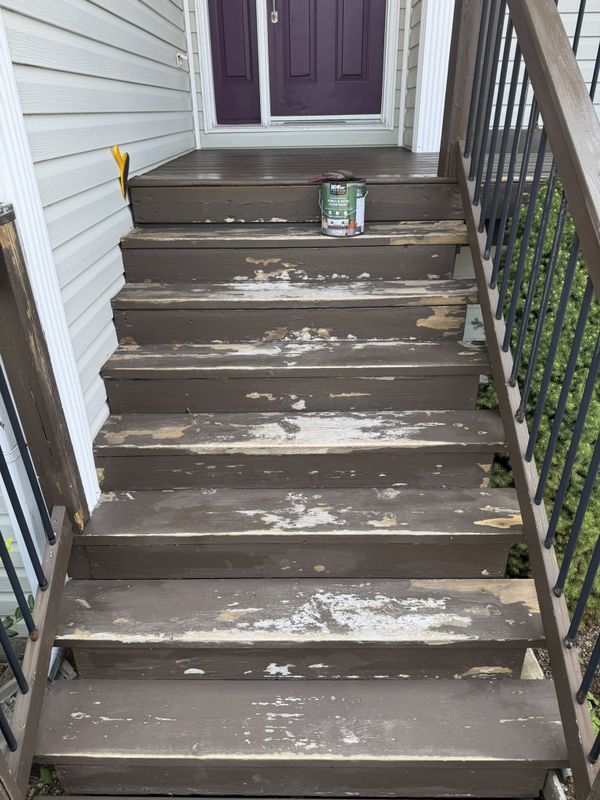
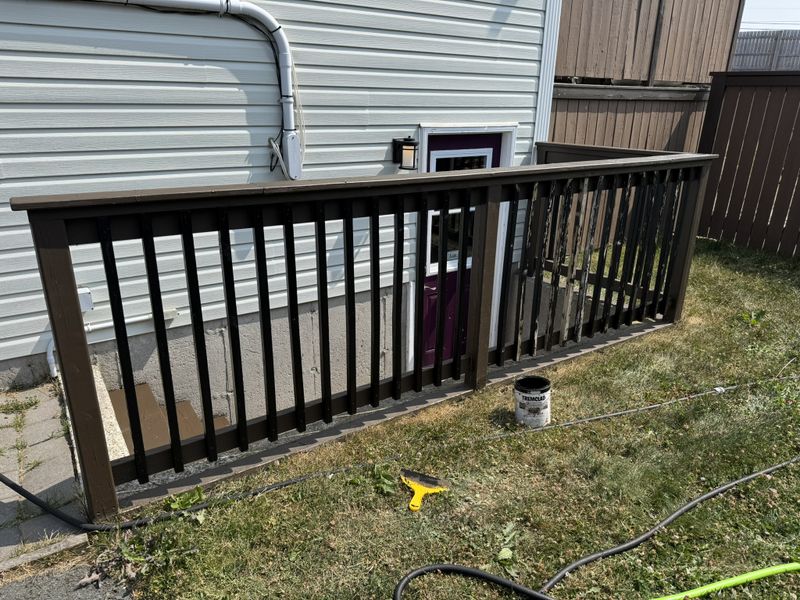
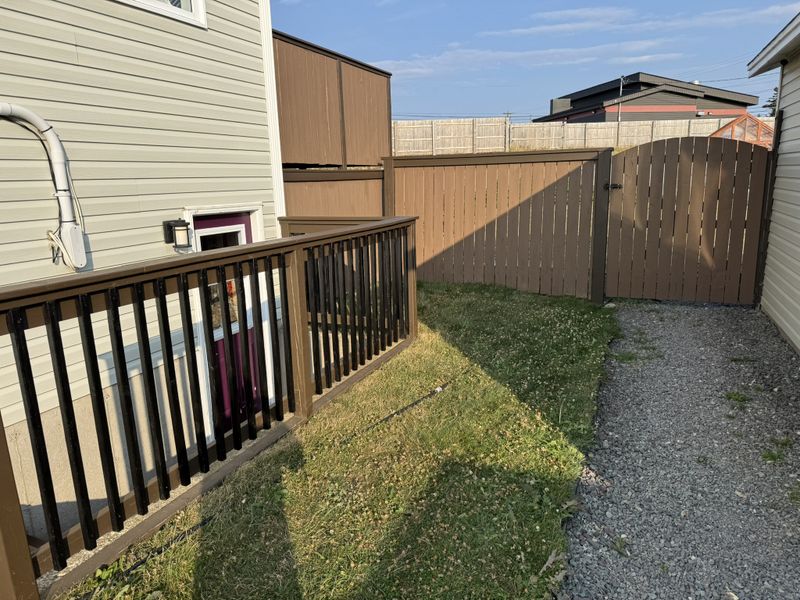
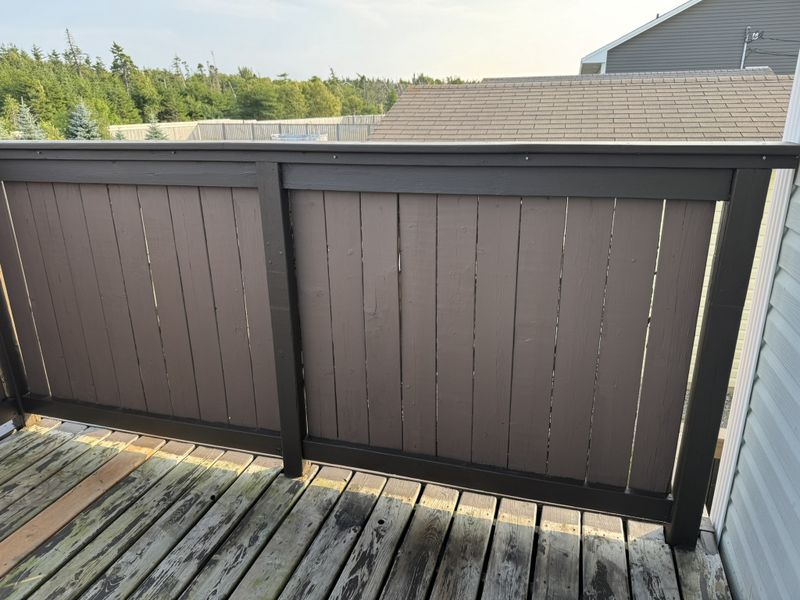
After an incredibly hot June and July, conditions were finally prime by August to take on a daunting but very rewarding task, outdoor painting. It's not a fun job and was a lot of work, but the results made such a huge difference in both curb appeal and enjoyment of our outdoor spaces.
As in previous years I once again chose BEHR outdoor paint products to complete this job, I find these products hold up well and the color match is always spot on.
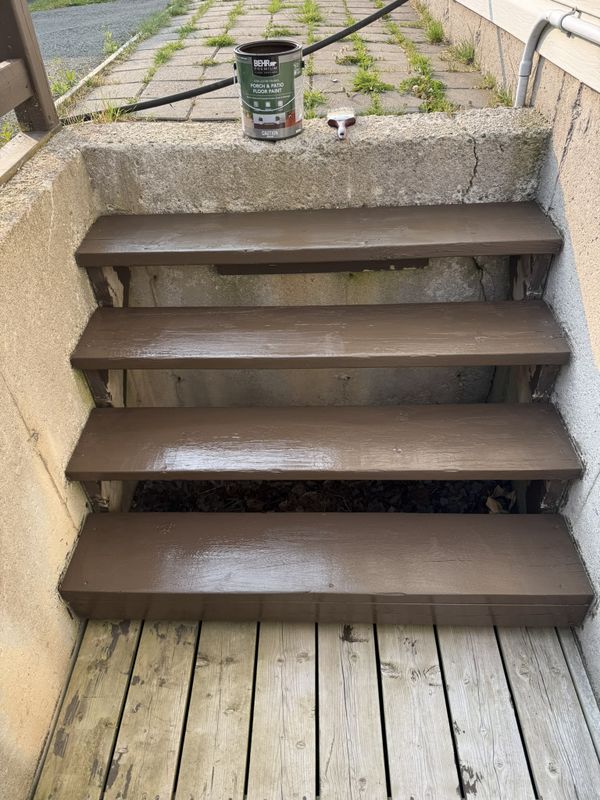
Basement stairs and stairwell.
One exception was using Tremclad water based Gloss Black to repaint the spindles around the basement stairwell.
The other was using tinted Thompson's water seal left over from our greenhouse project on the floor of the basement stairwell.
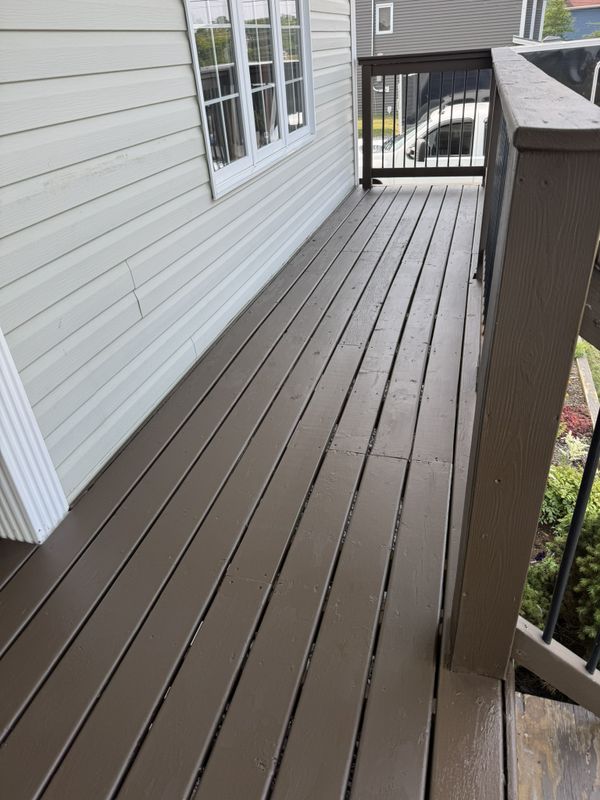
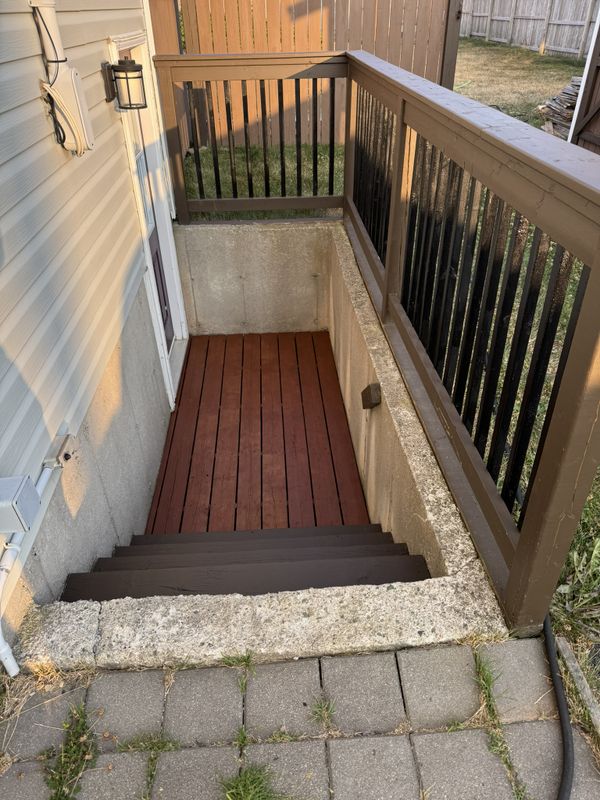
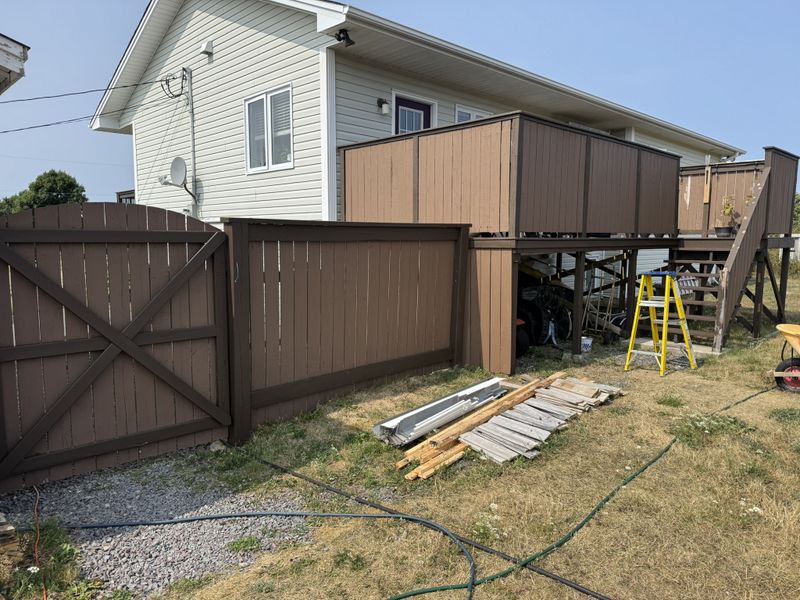
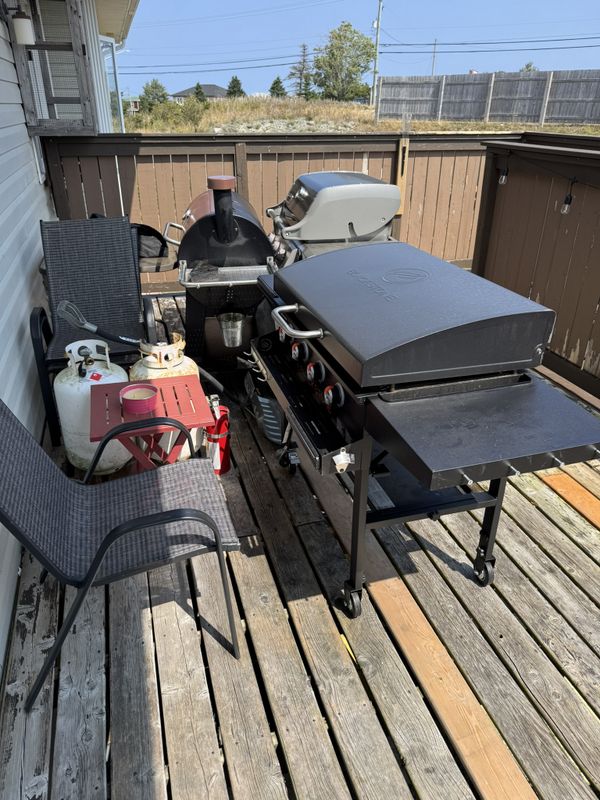
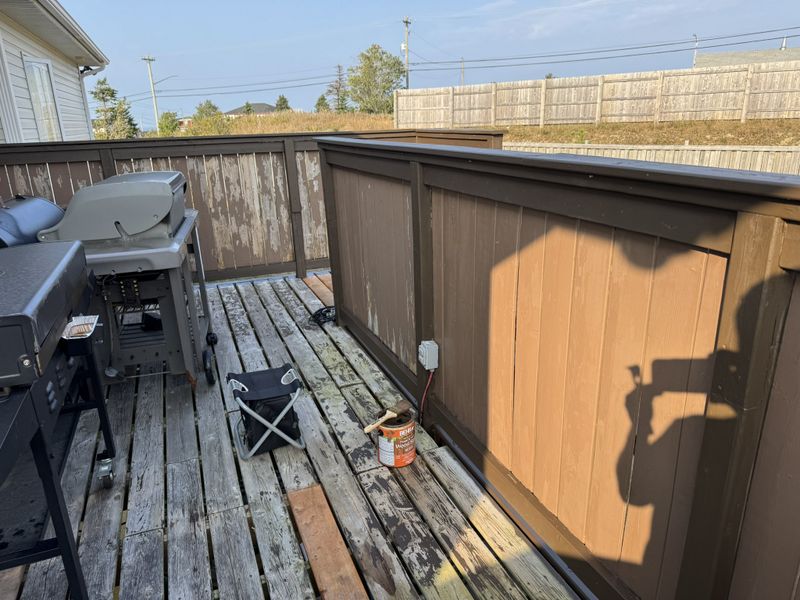
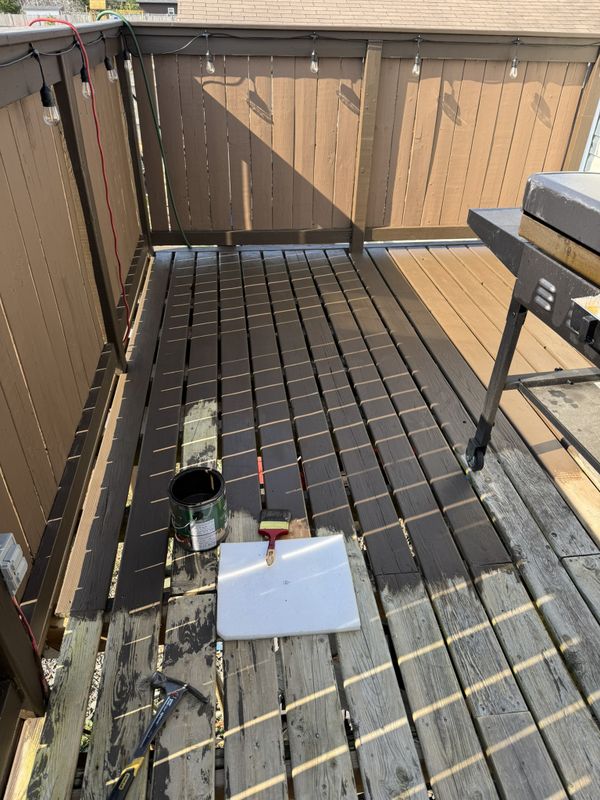
The largest and most daunting task was the rear deck. It's 10'x20' plus the stairs and it needed to be thoroughly prepped and fully painted inside and out. Preparation was key and definitely took the most amount of time, we began this process a month ago by pressure washing the deck.
I started out manually scraping away loose paint and eventually settled on a combination of blasting away loose paint with compressed air and finishing with a paint scraper. Next I sanded the surface with a random orbit sander and 80 grit 3M pads. I discovered a few year ago that the more expensive 3M pads last way longer than cheaper hardware store ones which makes them more economical to use.
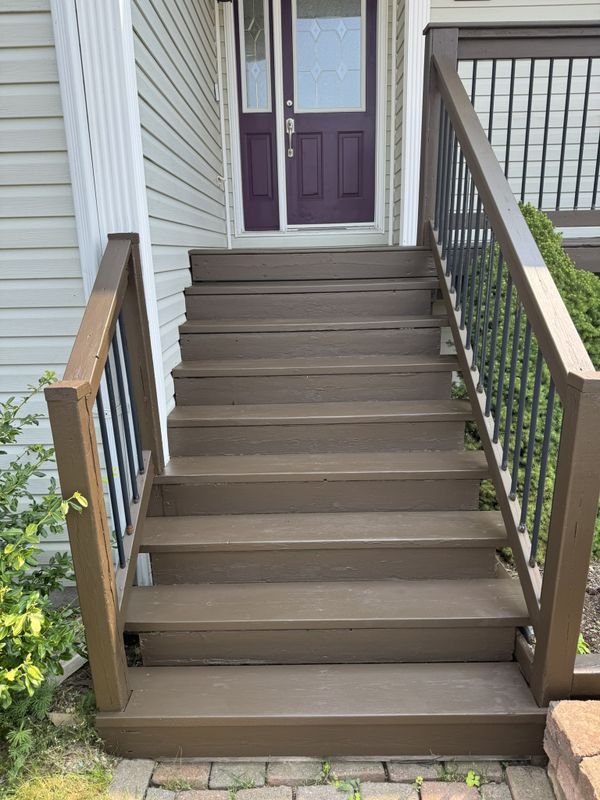
All in all this job took me approximately 3.5 days & long summer evenings to complete but the results really cleaned up the house which is finally back to looking great!
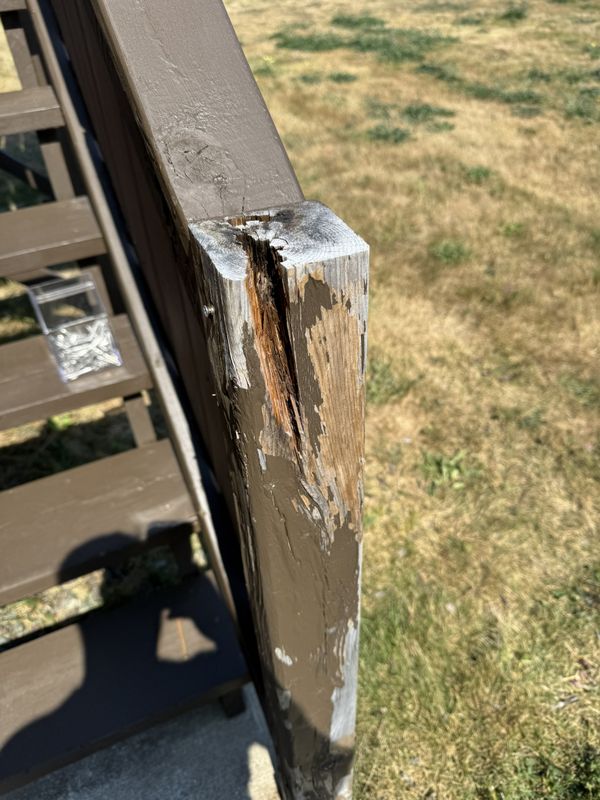
The final little job was replacing the rotted out handrail post and loose anchor plate.
The new post was secured in place with a fresh composite anchor which was tap-con fastened to the concrete pad. I even added a decorative post cap to deflect water and add a nice finished touch.
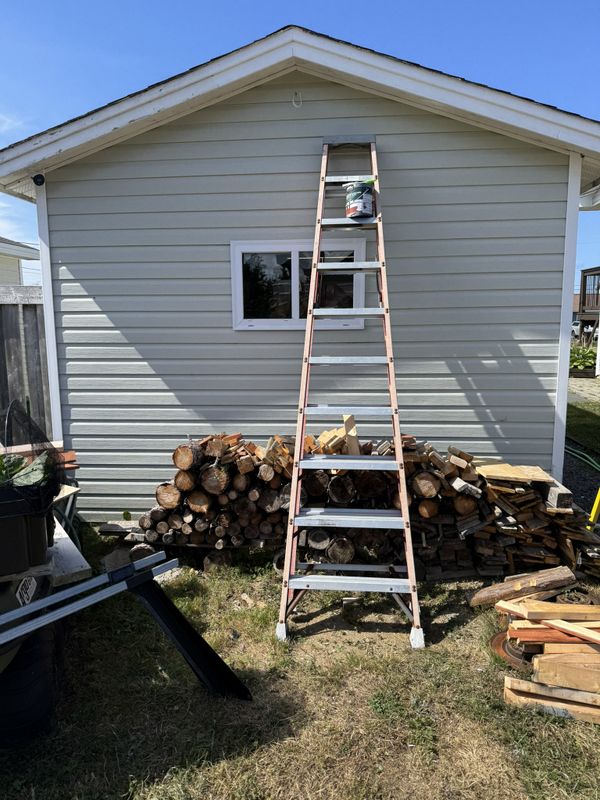
Quick clean up of the eave boards on the garage.
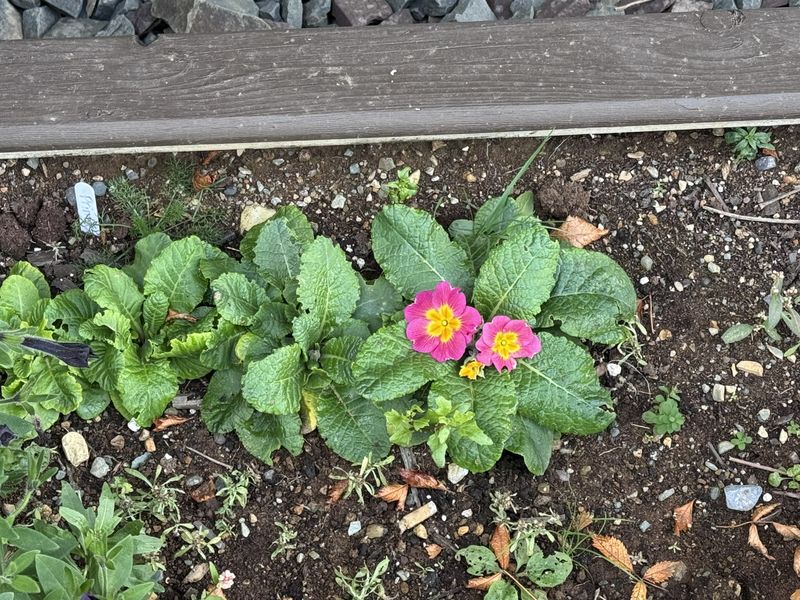
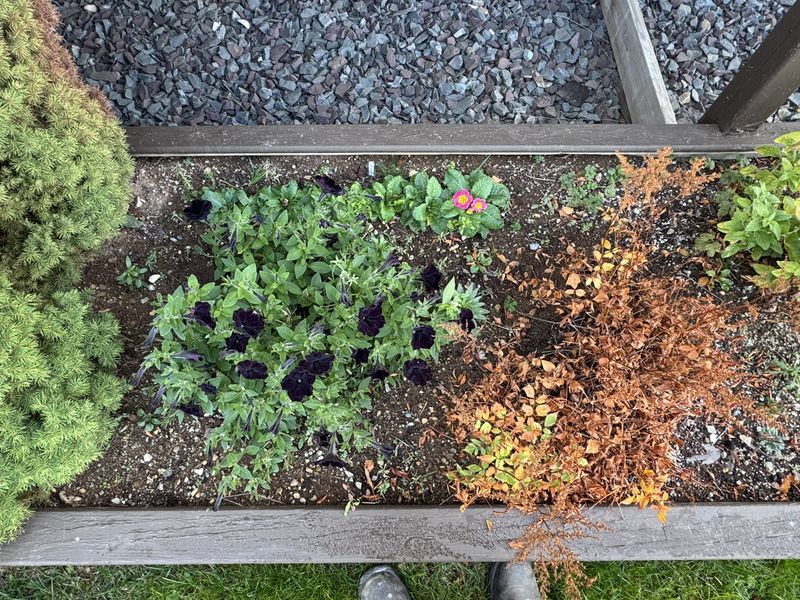
I planted these Primrose plants from seed back in March transplanted them in June, and on Halloween they finally flowered!
All in all a very busy summer around the house but we got a lot of very important jobs knocked off the to-do list. Be sure to check out the Greenhouse and Vegetable Garden stories to see what else we've been up to this summer!
Cheers, MIKE
Copyright © 2025 Michael Smith |