|
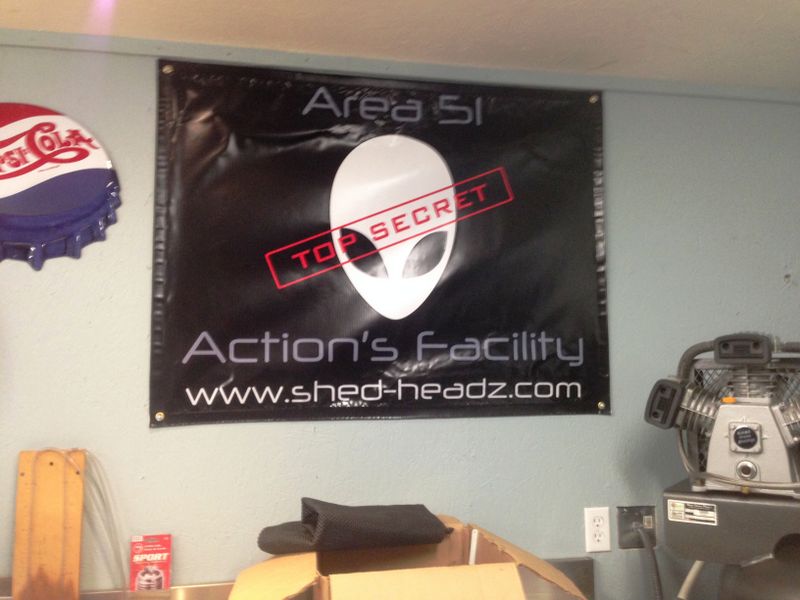
Area51 Location Mike's New Garage: |
|
In 2014 Sandra and I bought and moved into our first house having rented the last number of years to save up for our down payment. The property included a 12x20 garage completed on the outside including window, door and overhead door, and some basic electrical lighting and plugs inside. The rest was a blank canvas just waiting to be finished.
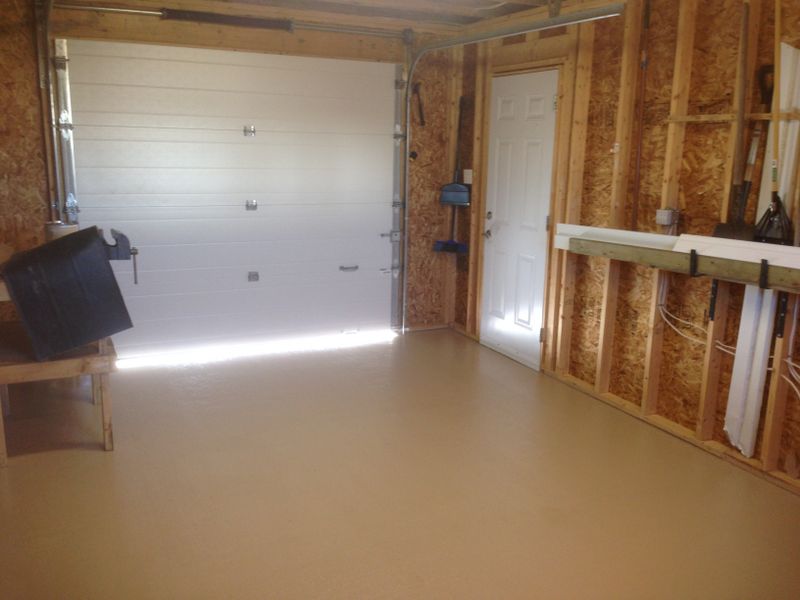
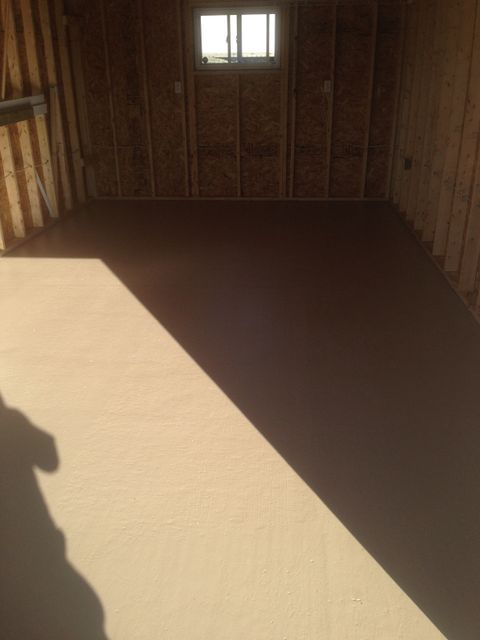
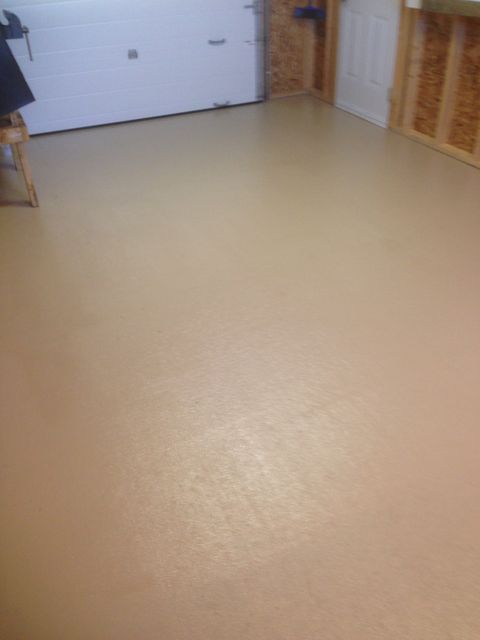
It has been a super summer moving into and renovating our house here in Torbay. First when we moved in I painted the rough concrete floor with a two part epoxy paint to cover rust spots and make the floor easier to sweep & clean. It was a great time to do so before I started storing tools, ATV and lawn equipment inside.
Once dry I used the garage all summer but left the majority of my tools in storage so the garage would not be too cluttered when it came time to finish it.
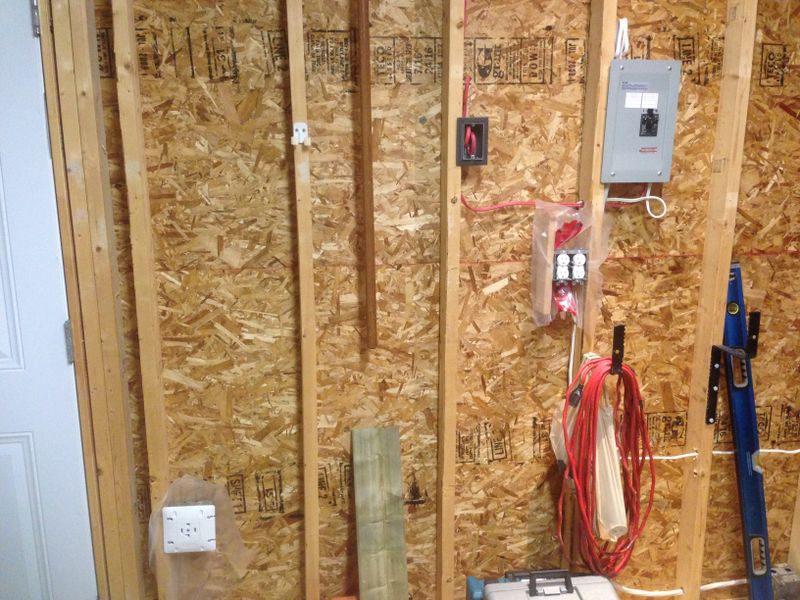
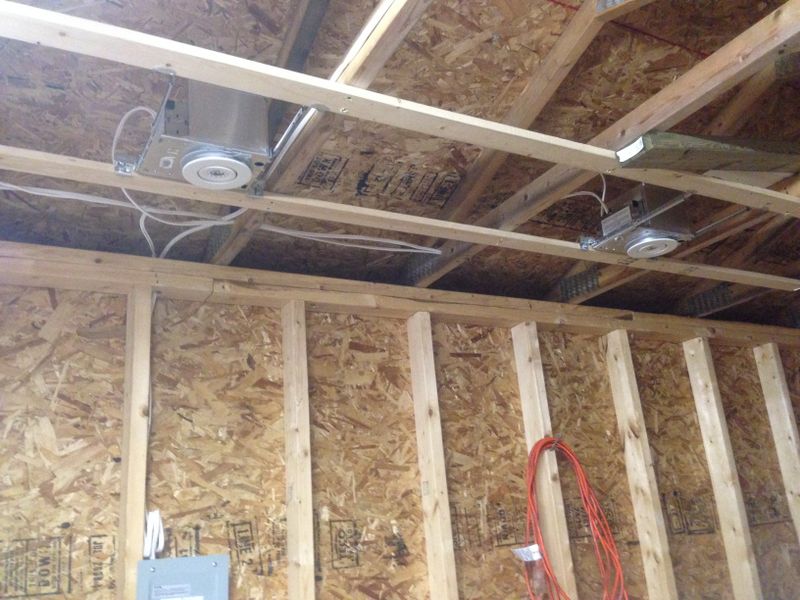
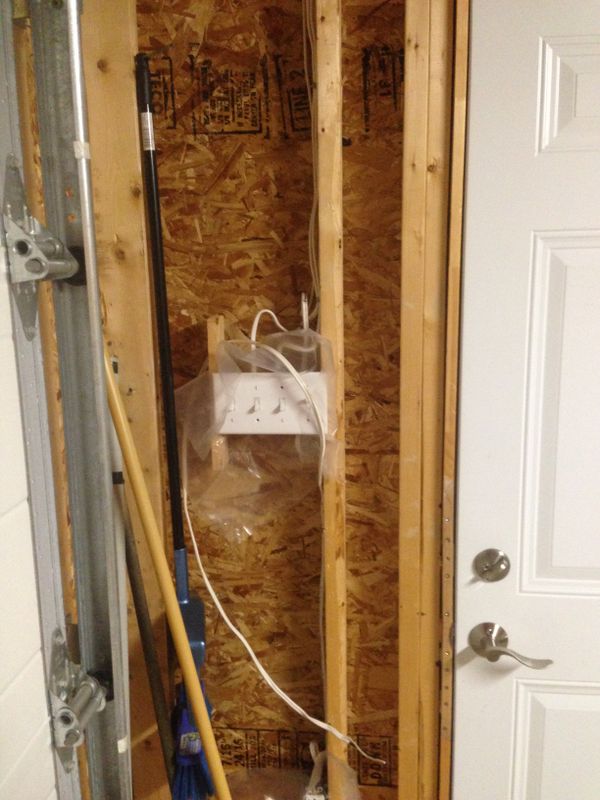
Over the summer I picked and poked at different projects inside the garage. I started pre-wiring new electrical as what was there wasn't done well.
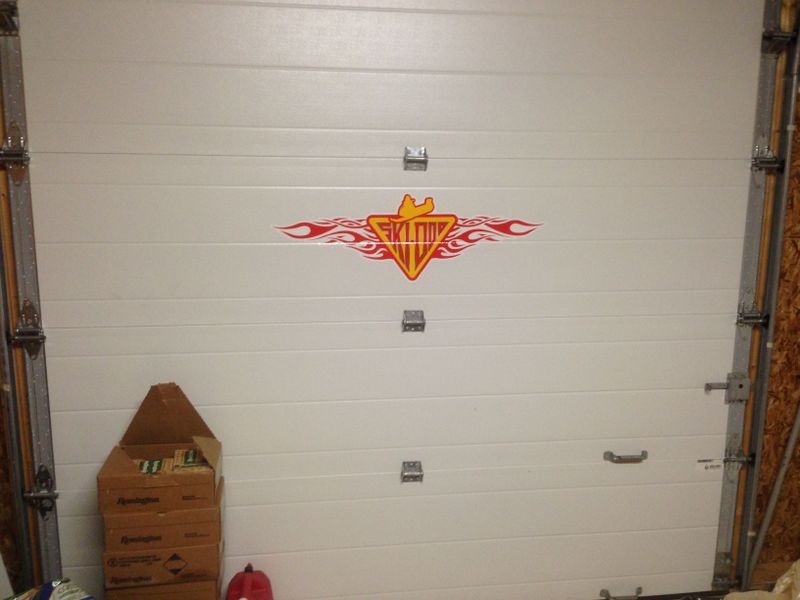
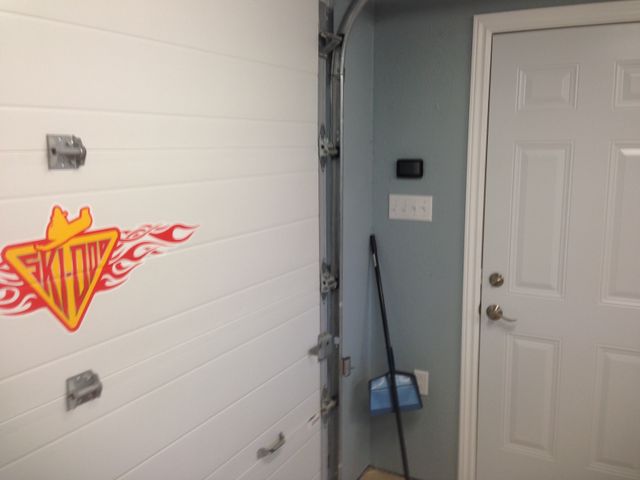
First decal on the overhead door!
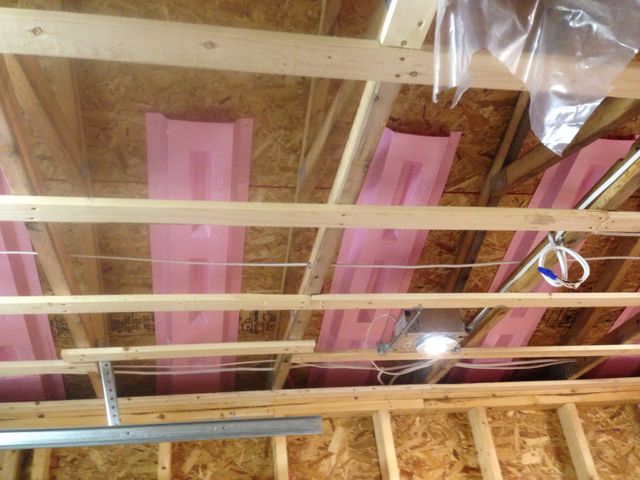
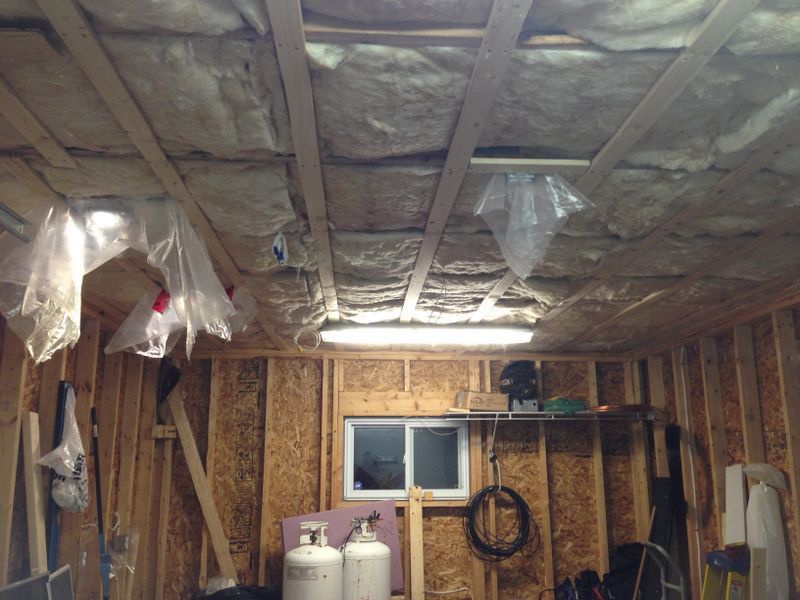
I installed a pair of roof vents near the peak, vented soffit, and Styrofoam through vents along both eaves which will let the attic breathe.
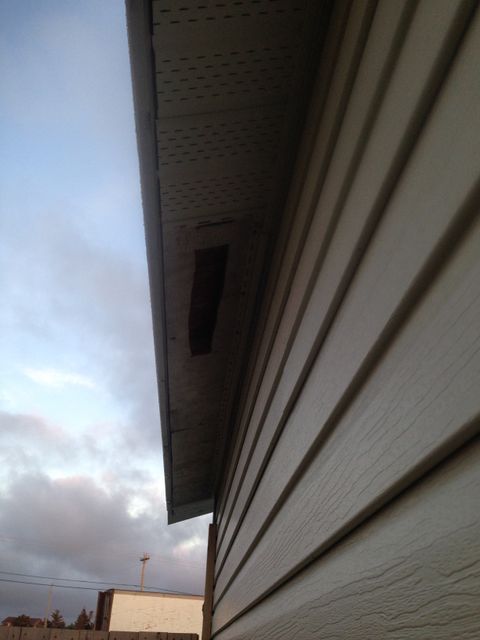
Outside, large holes were cut in the old plywood soffit then covered with proper vented soffit.
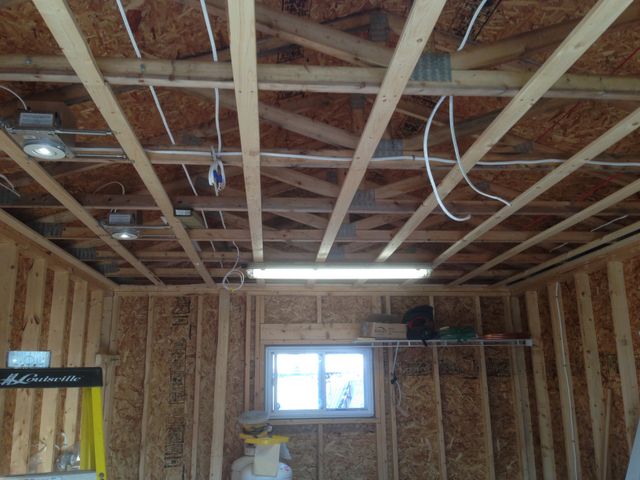
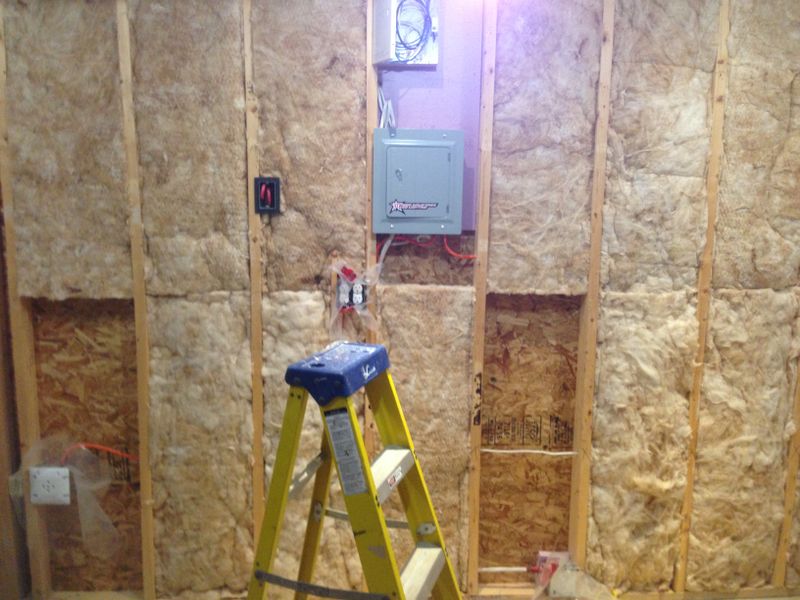
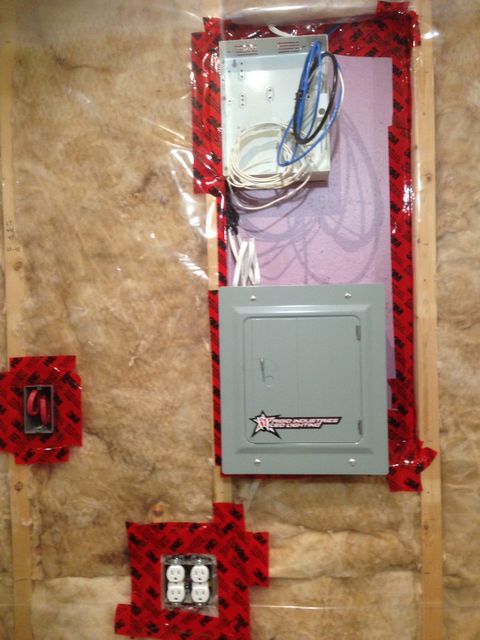
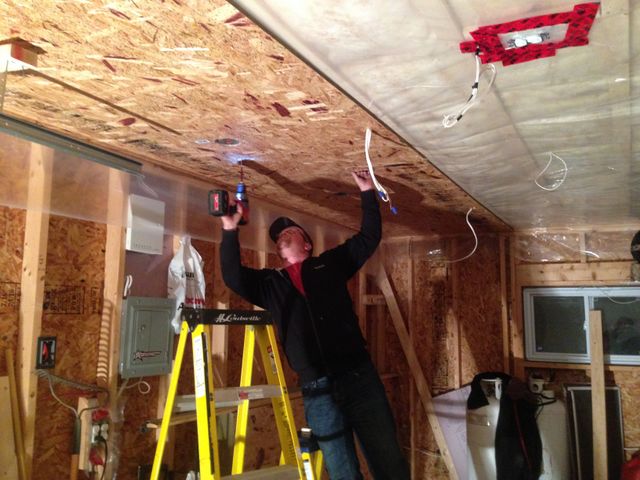
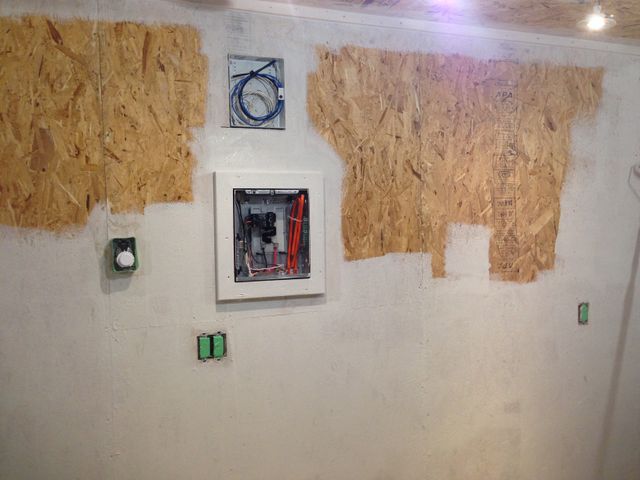
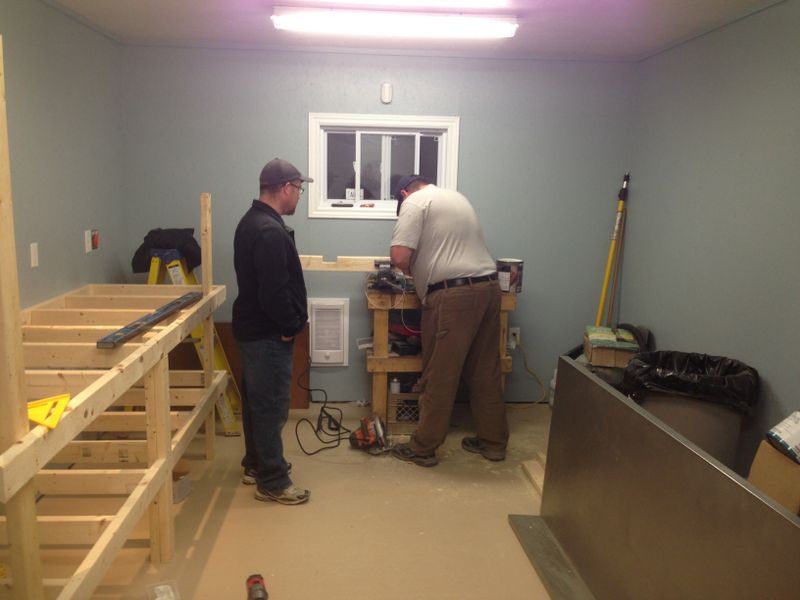
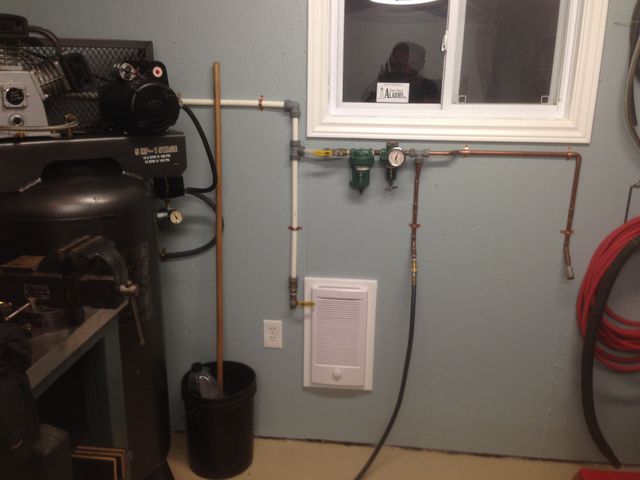
In September with my house projects finally complete I got the green light to continue work on my brand new Area51 location. With a floor plan in mind I finished rewiring the shed. I added an extra 4' fluorescent fixture for a total of three weatherproof style fixtures and installed a pair of 4" LED pot lights over the workbench, there is nothing worse than working in a shadow at the bench. I prewired a bunch of power outlets around the garage, one outside, a welder plug , a compressor plug, Burglar Alarm and some outdoor security cameras.
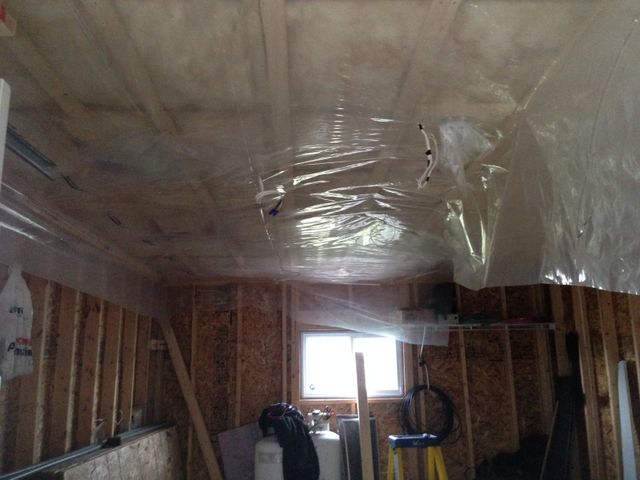
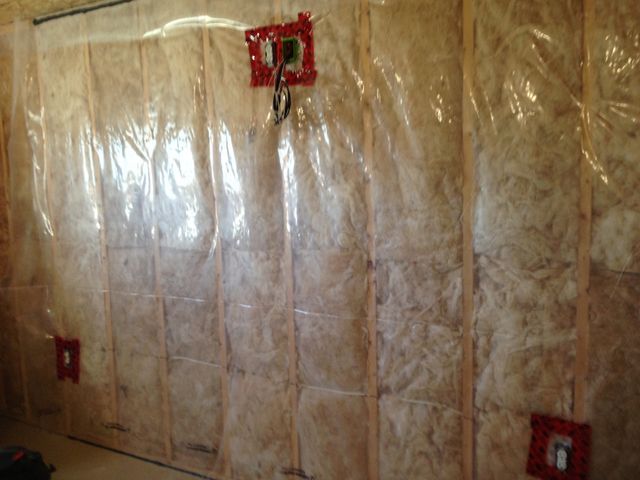
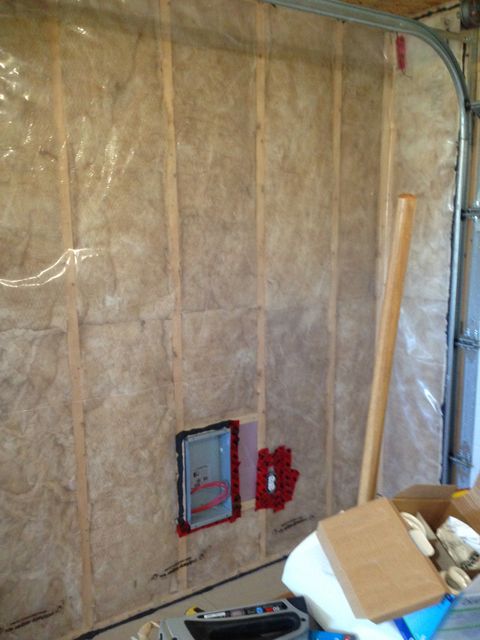
With this complete I installed strapping, vapor barrier and R30 fiberglass insulation in the ceiling and R12 in the 2x4 walls.
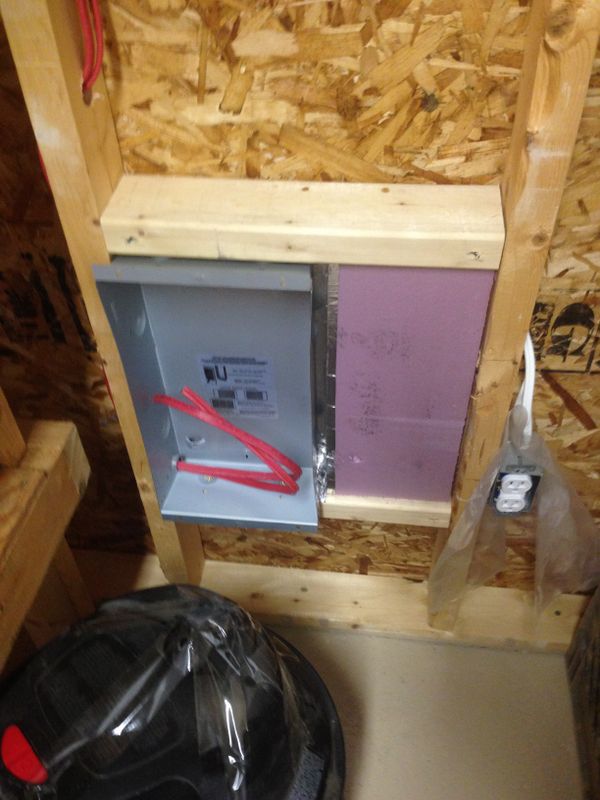
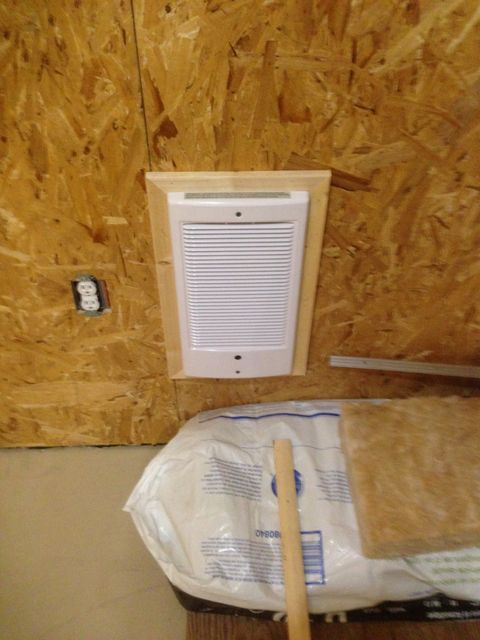
I stepped my wall heaters & electrical panel out an extra 3/4" to fit 1.5" SM foam insulation behind these larger boxes. This is the disadvantage of 2x4 walls vs. 2x6, if these panels are flush mounted there is no insulation behind them. In the end it worked out well, I have no drafts and I later trimmed out each device with strapping so that the covers still fit nice and flush.
For heat, I installed two fan forced wall heaters, one at the front of the garage and one in the rear. This gives me 4000w (combined) of quiet, even, efficient heat as I'm heating both ends of the garage at once.
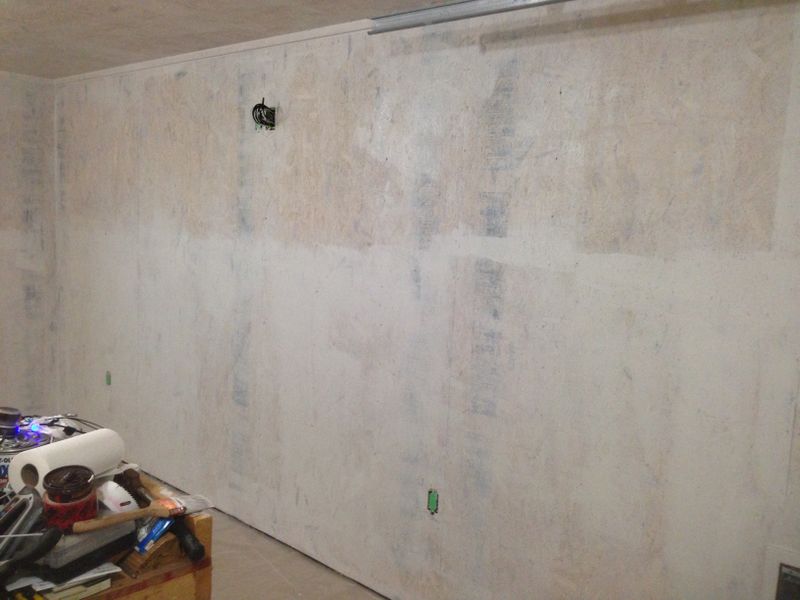
With vapor barrier installed I was on to sheeting. I pondered for awhile of what to use, drywall is way to delicate, plywood would be a nice fairly smooth finish but at $20+ per sheet it was quite a bit more than 7/16 OSB at $10 per sheet. After seeing how well the paint in Long's garage turned out last year using OSB that's what I settled on. Maffer and I started first with the Ceiling.
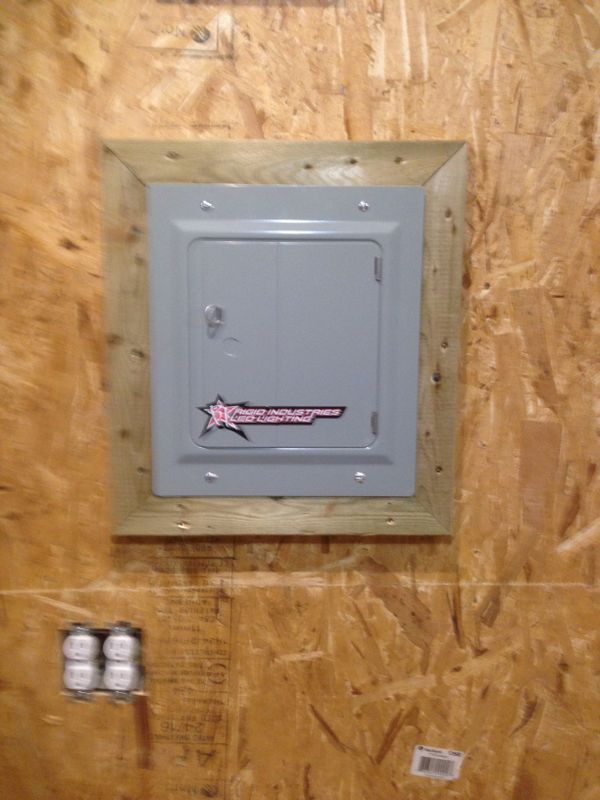
Next I installed nice Pine door & window trim, spruce heater & electrical panel trim, as well as a crown molding made from 1x2 strapping, then latex caulked all seams for a clean look.
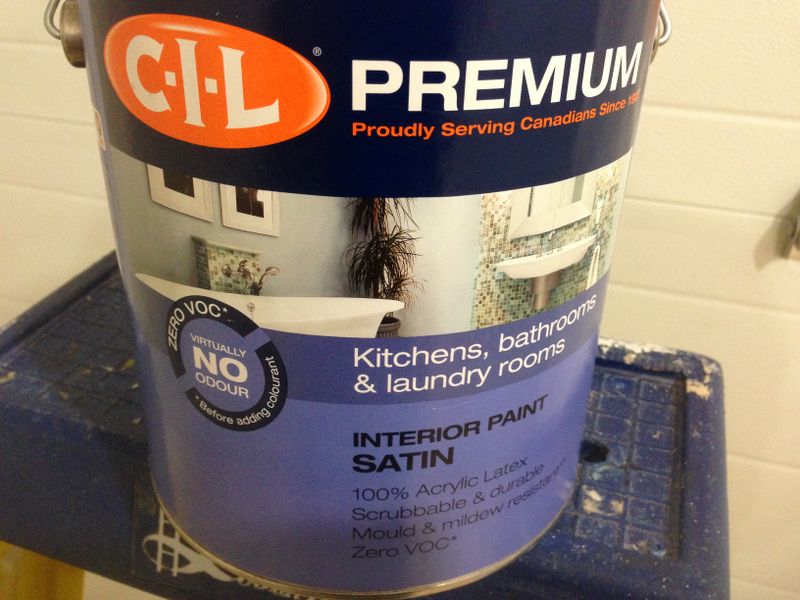
Then I was on to paint, I picked up a five gallon bucket of decent quality primer from Hickey's Building Supplies and rolled on about five coats, eventually using every drop in the bucket. The OSB soaked up a lot of paint, but by the 3rd coat I was getting a nice even finish.
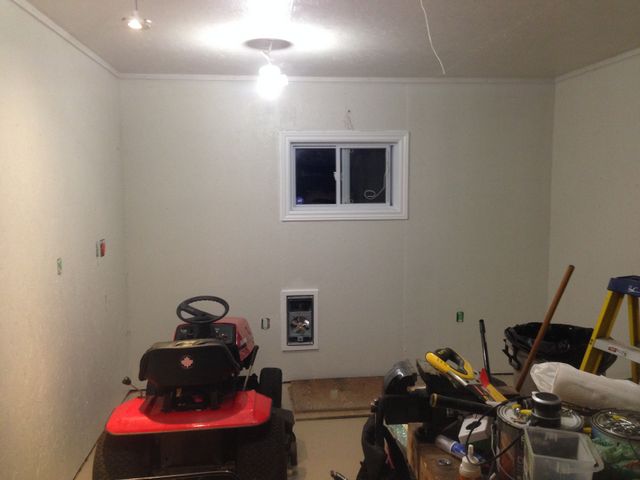
The ceiling was left primer white which is white enough for a garage, the trim was painted a durable satin white, while the walls were finished with CIL satin kitchen & bath latex in Canadian Sky color which is a blue/grey.
I was really impressed with this CIL paint for the color coat, it covered perfectly in one generous coat, it's certainly a quality product.
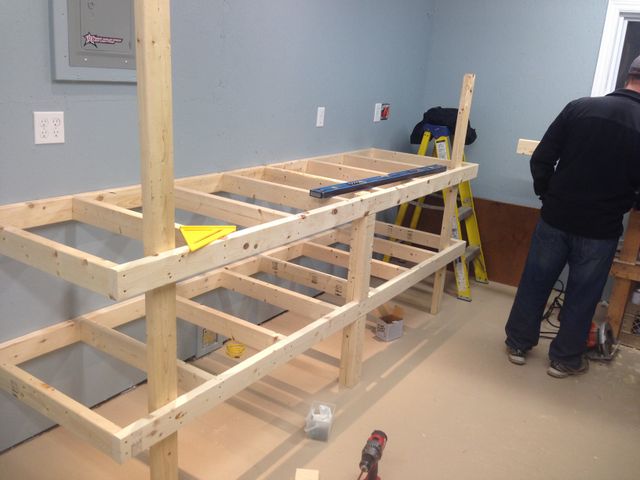
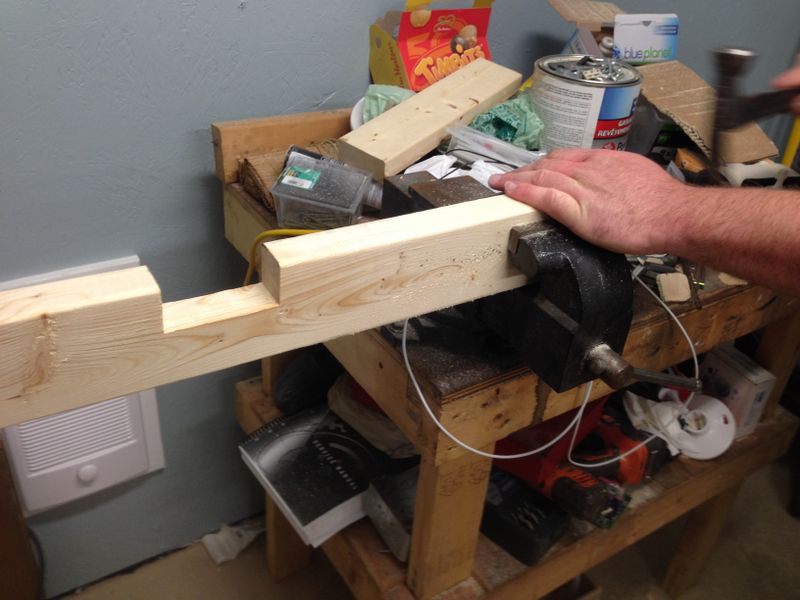
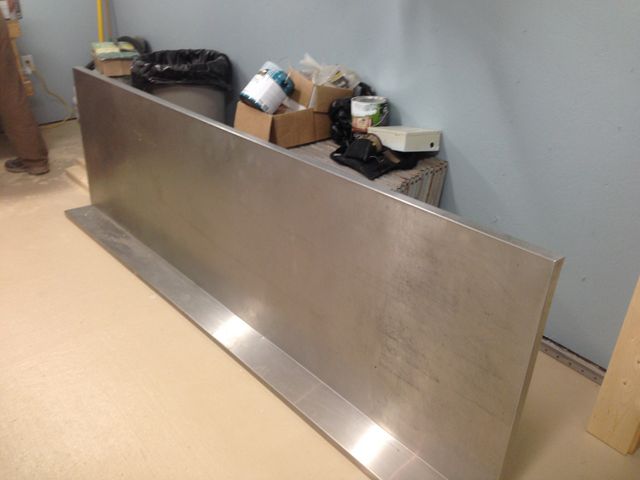
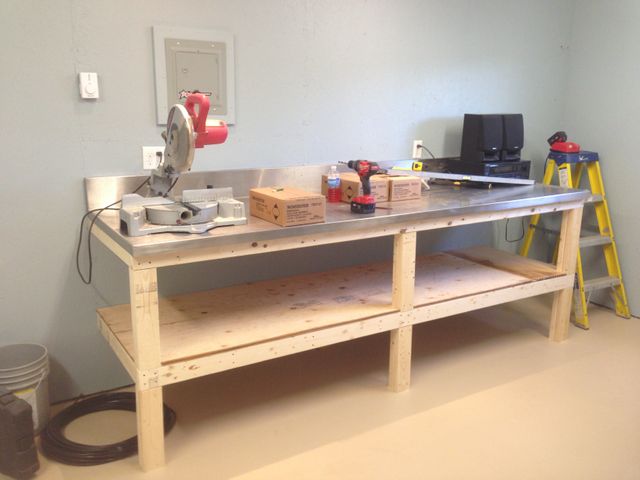
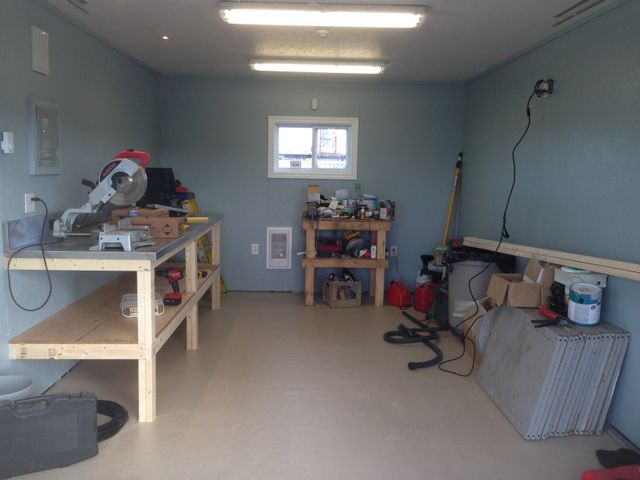
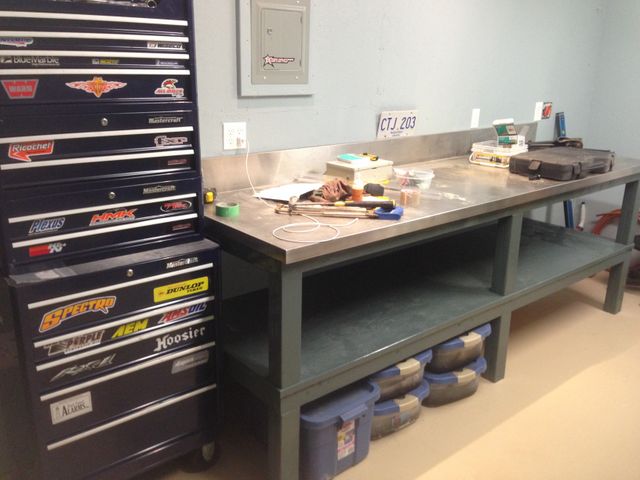
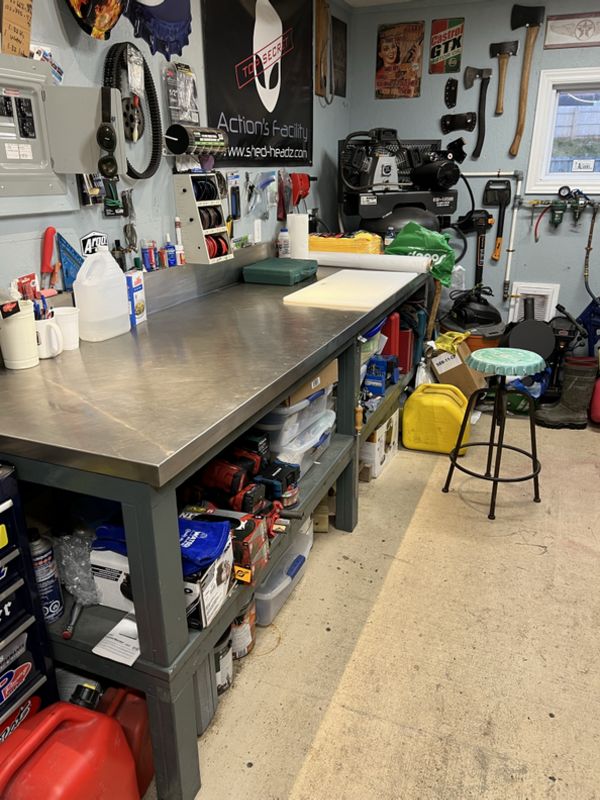
With Painting complete I began building a frame for my 9' Stainless Steel bench top (thanks Mark French!). The bench is sturdy and consists of two frames, one for the top, one for a shelf. It was screwed to the wall studs in the back and supported by three 4x4" posts in front.
The top was covered in 3/4" plywood left over from my trailer rebuild and finally topped with my fancy stainless counter top.
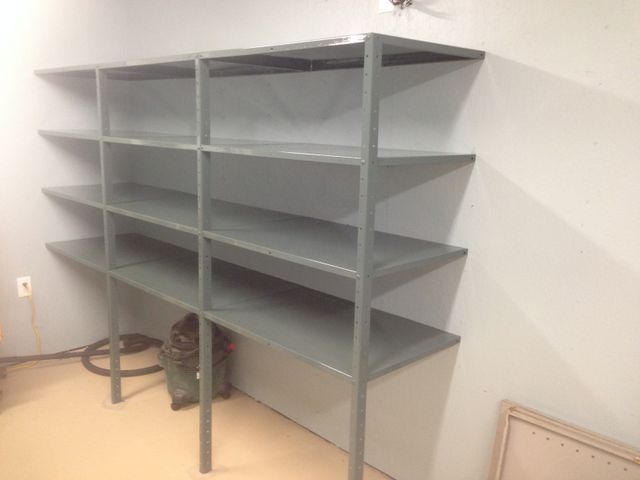
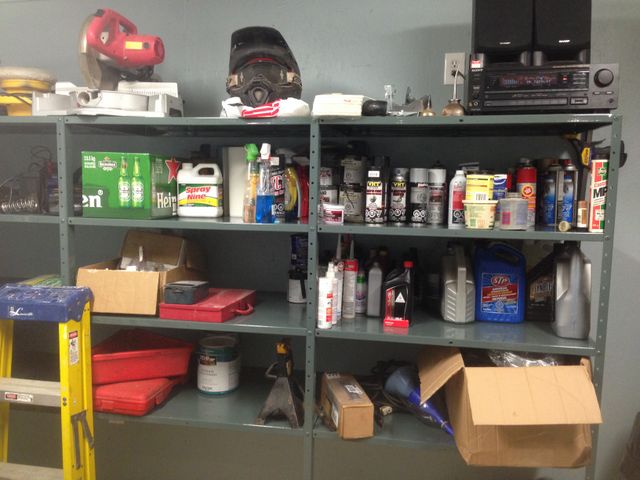
With the construction work finished I assembled steel shelving removed from my old shed which originally came from our old office. Once completed I painted the shelving and the frame of my bench dark grey.
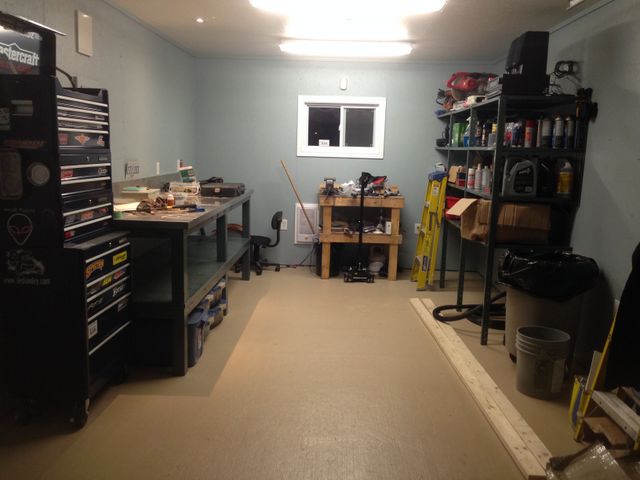
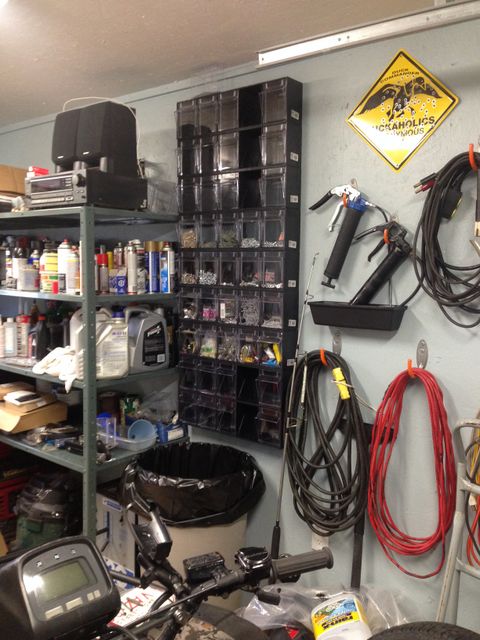
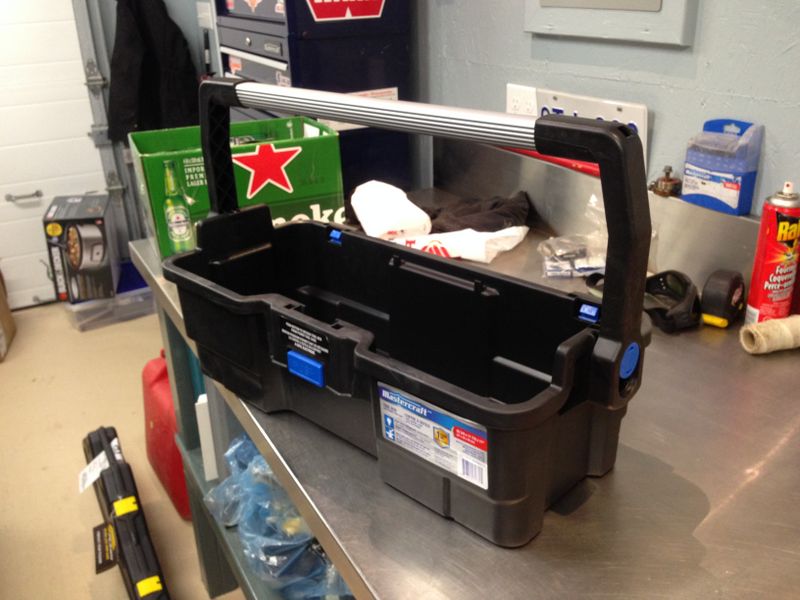
Next my rolling toolbox was brought over from storage and set-up at the end of my workbench keeping all my mechanical tools within easy reach even when the garage fills up.
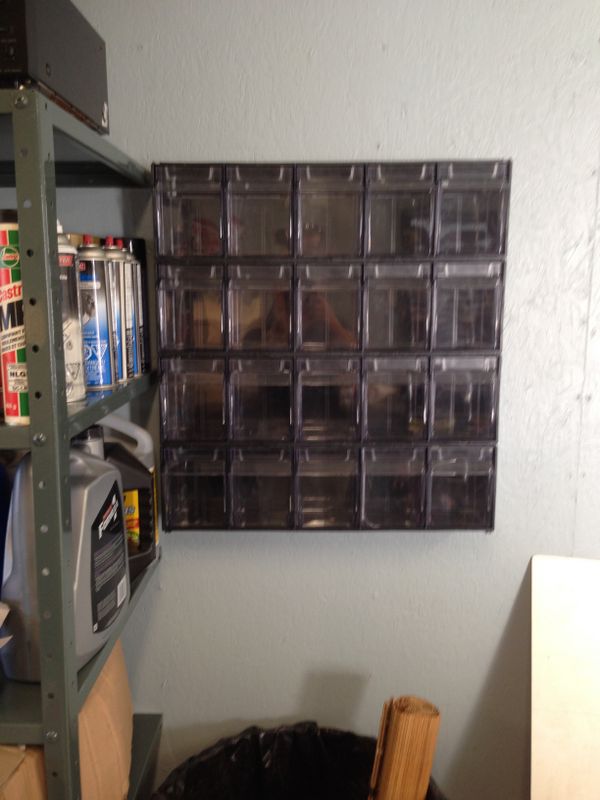
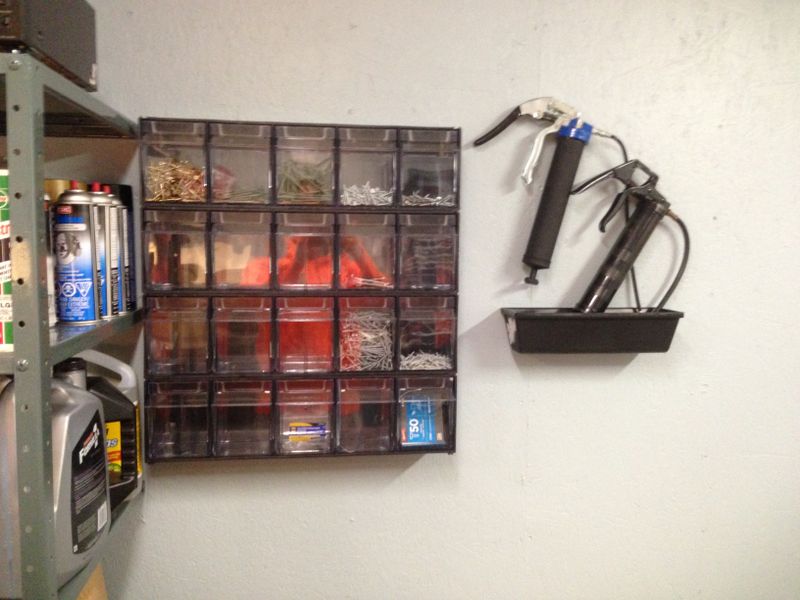
I installed a series of tip out bins on the wall next to my shelves to store small item such as screws, nuts, bolts, nails, springs, etc.
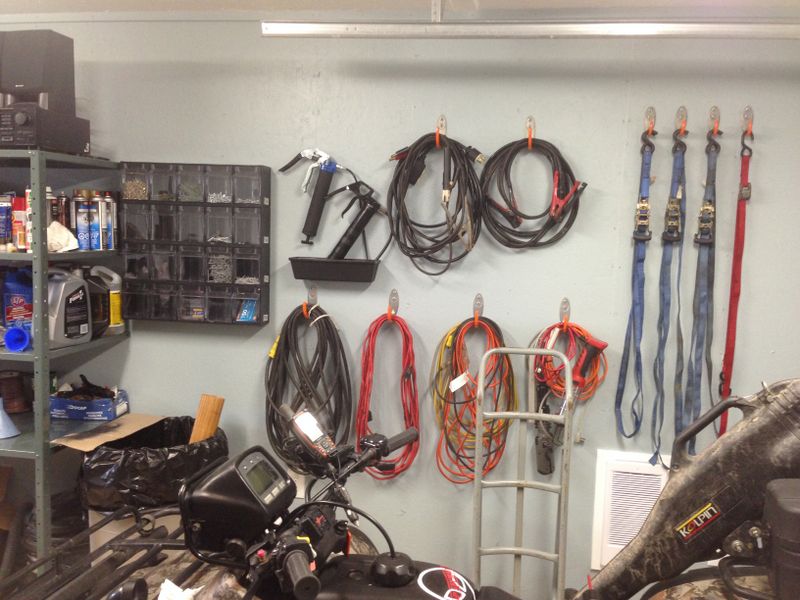
I also came up with a tidy storage solution for my grease guns which always seem to leak a little grease/oil. I mounted two hooks on the wall, and directly below installed a plasterer's mud trough which looks great and does a perfect job of catching the drips, preventing a mess on everything below.
Next I set about installing nice heavy duty hooks for storing extension cords, straps, etc.
The tip out bins worked so well that I purchased more to have easy access to every small part, fastener imaginable!
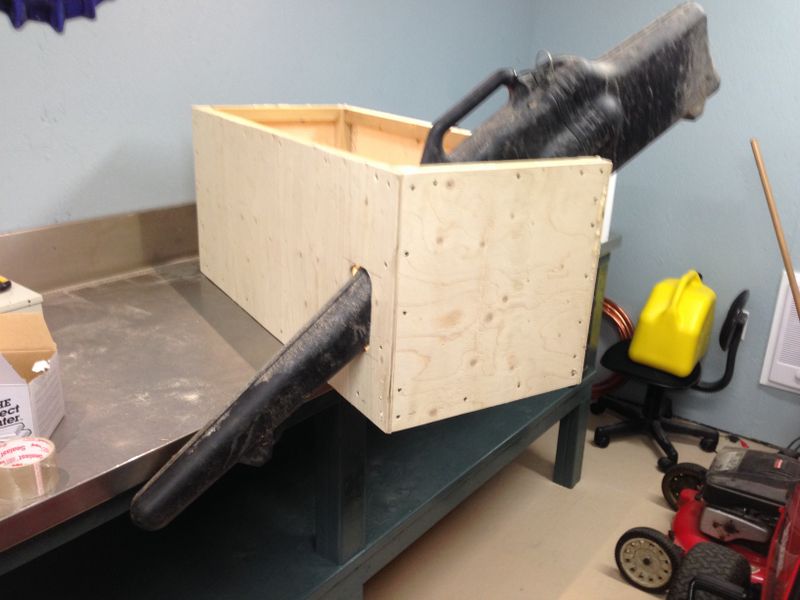
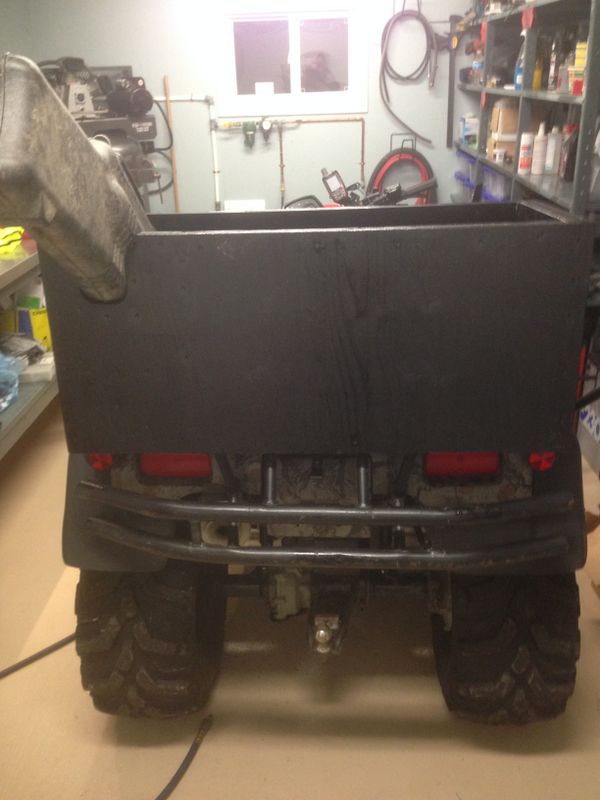
First little job in the mostly complete garage, finishing and painting a Moose Carrying box for the bike that Bassan made for me!
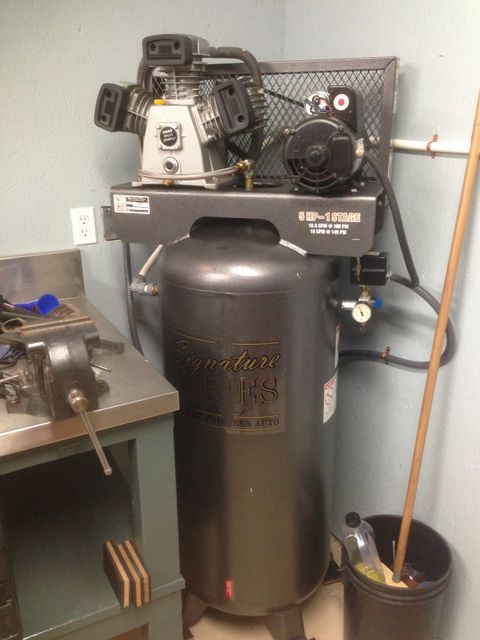
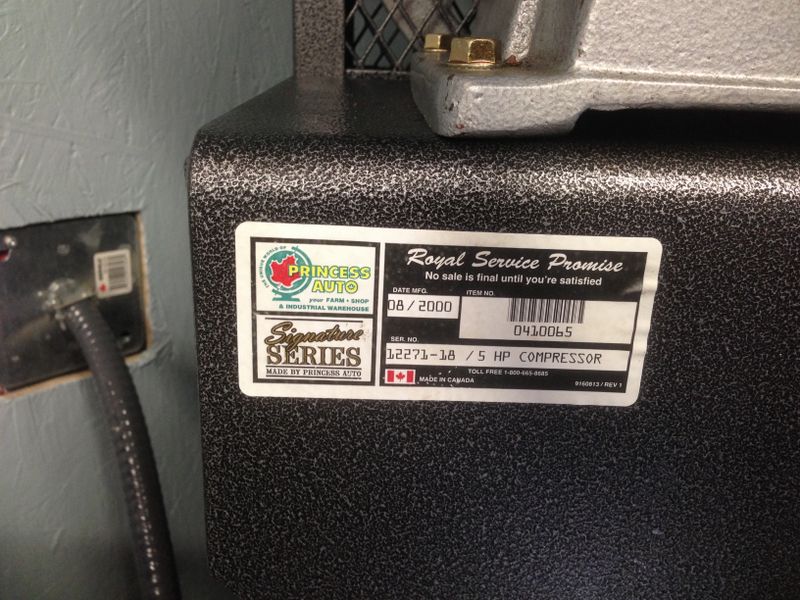
Finally I went to the storage unit to pick up my 60 gallon air compressor.
This is a 220v, triple cylinder model that pumps out a blistering 18.5 CFM, it was previously installed at Mom's house, my very first Area51 location 15 years ago.
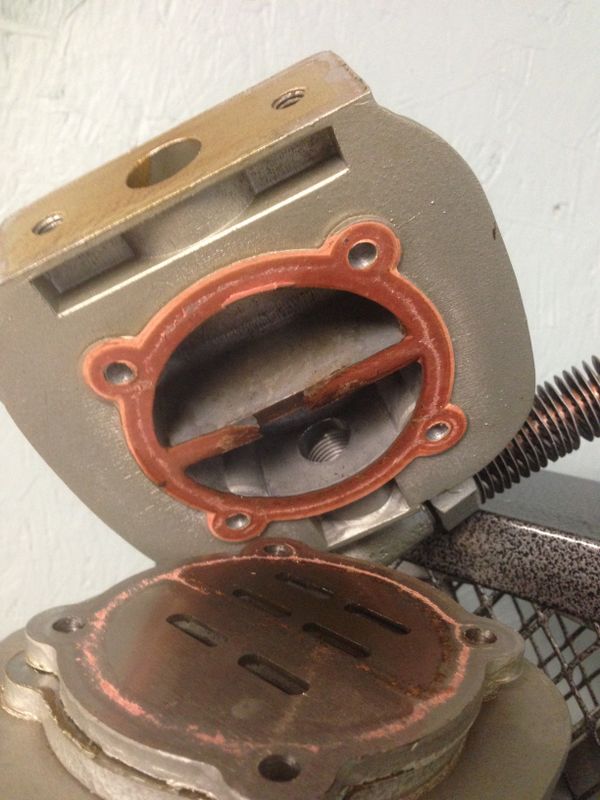
I had to make some minor repairs to the compressor, but once plumbed in it ran fantastic!
The compressor would not build air pressure, I found one of the head gaskets had failed. I sourced replacement gaskets locally and replaced them on all three cylinders. Now the machine works perfectly!
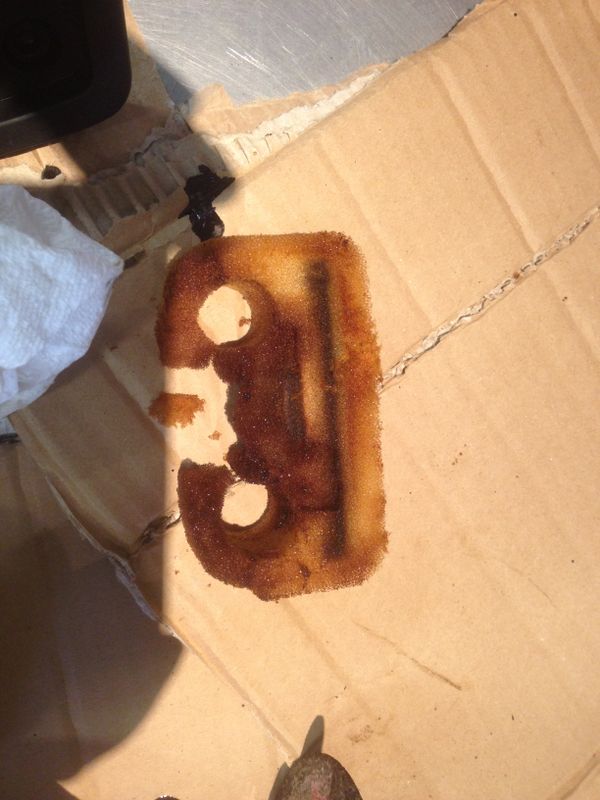
I made up a replacement air filter for the failed cylinder, the rest were cleaned and reused.
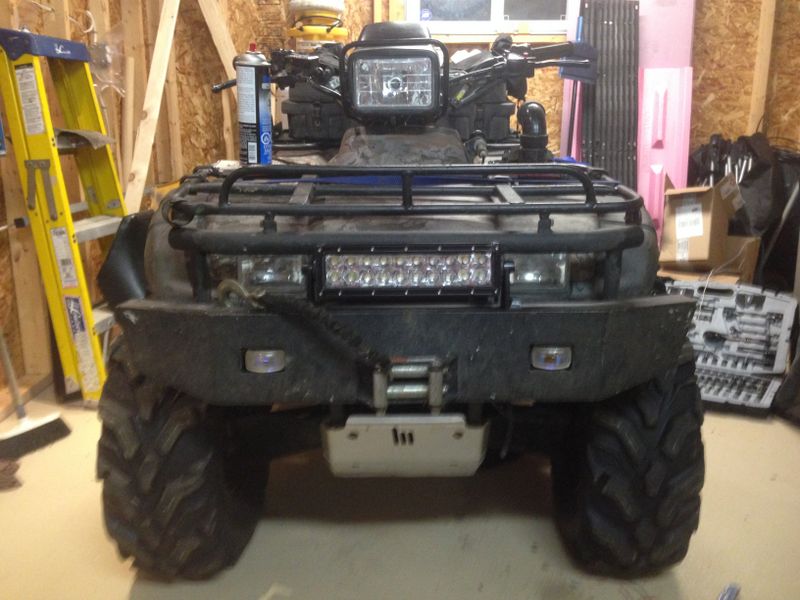
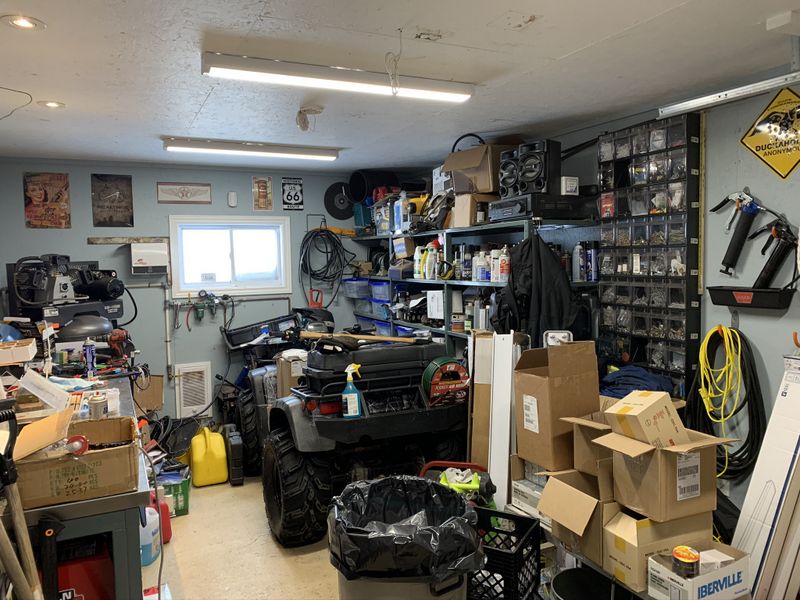
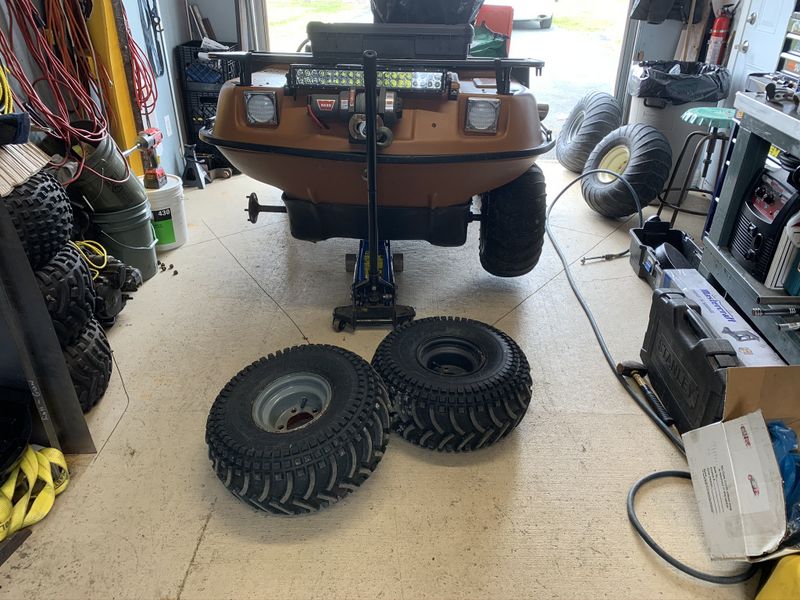
Now that my new Area51 location is complete I am able to easily access all my tools, operate air tools, weld and be warm & dry while making repairs.
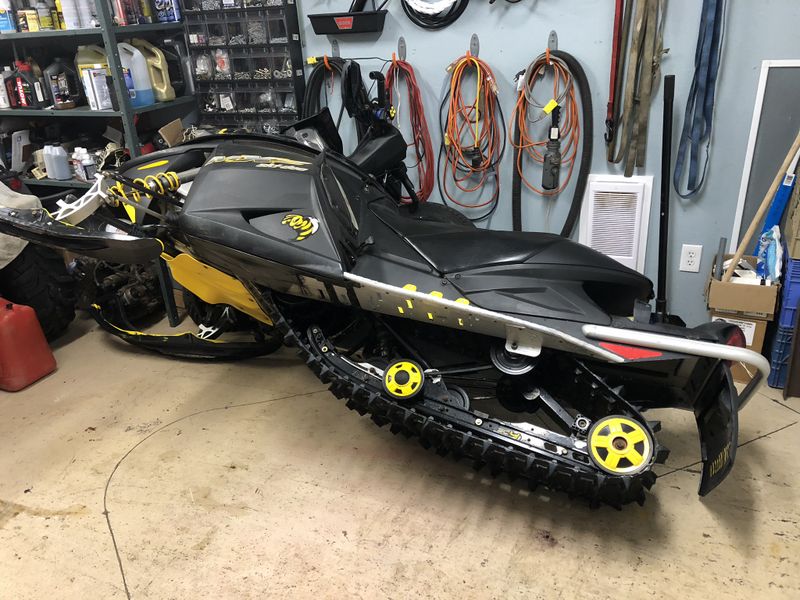
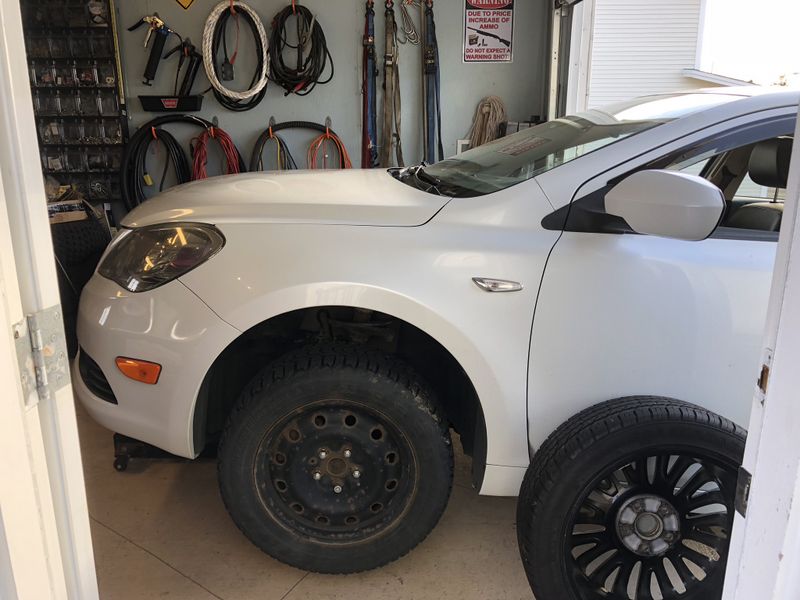
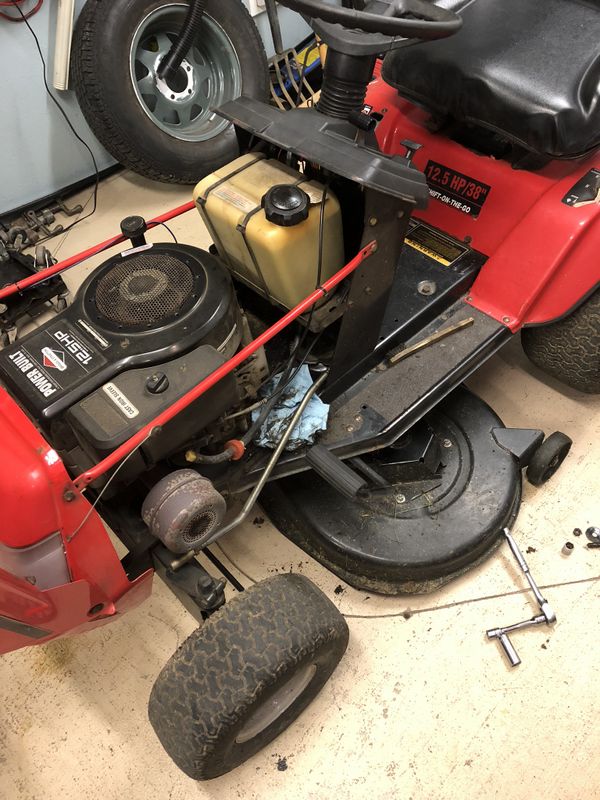
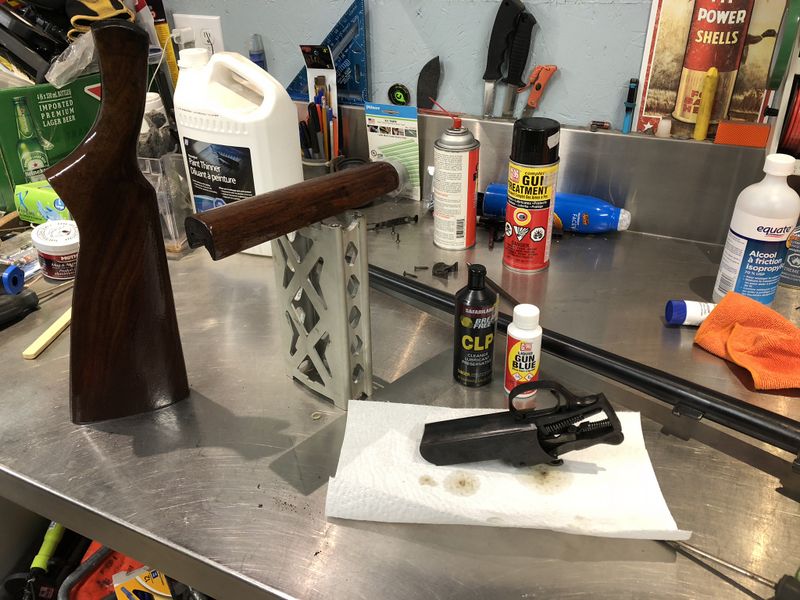
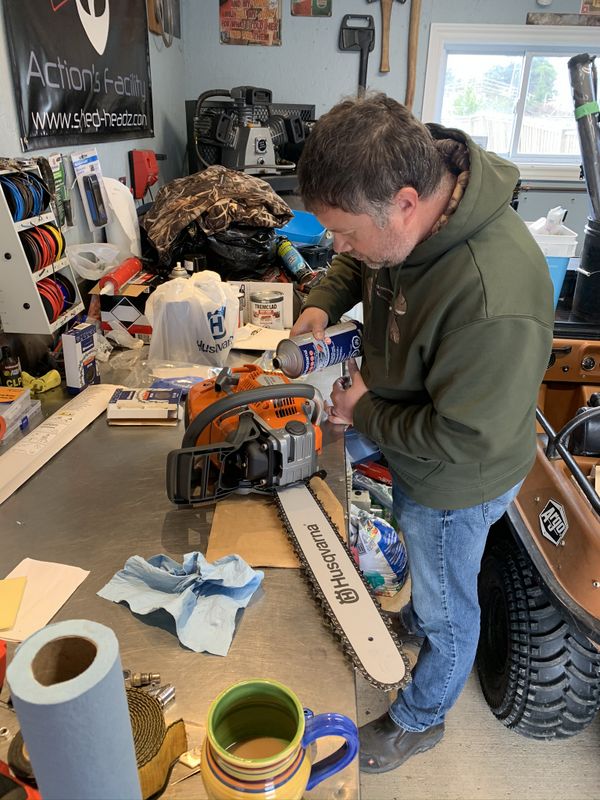
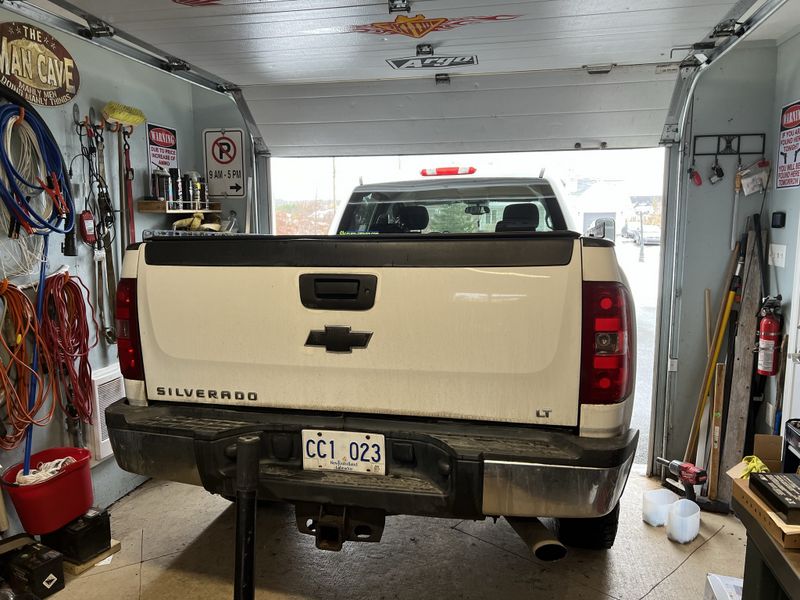
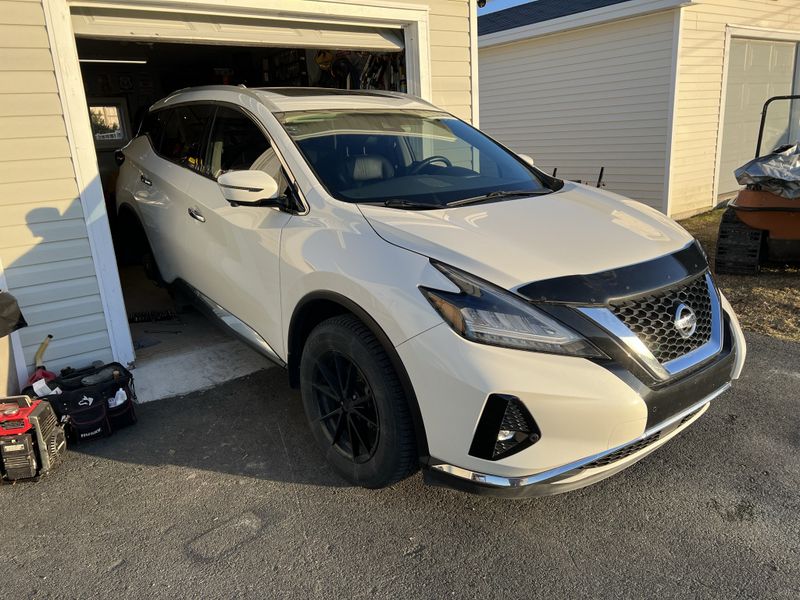
Shop in Action Pics:
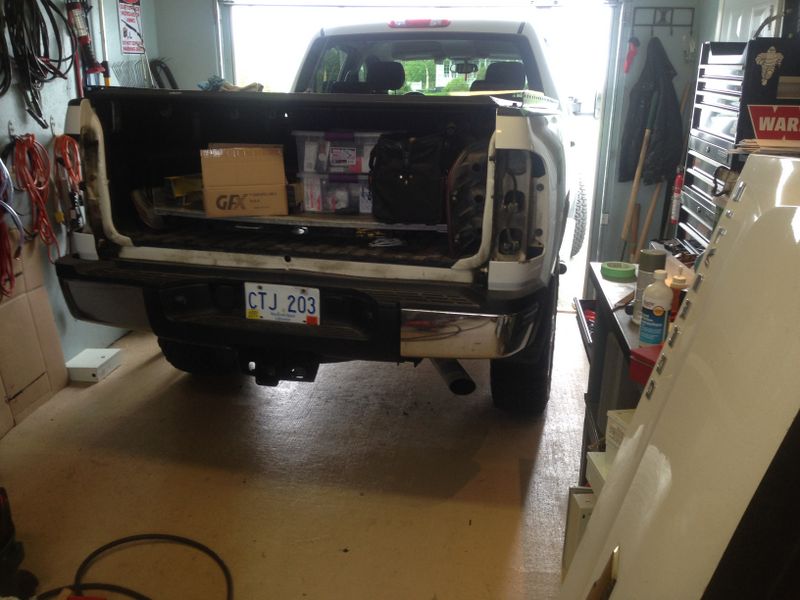
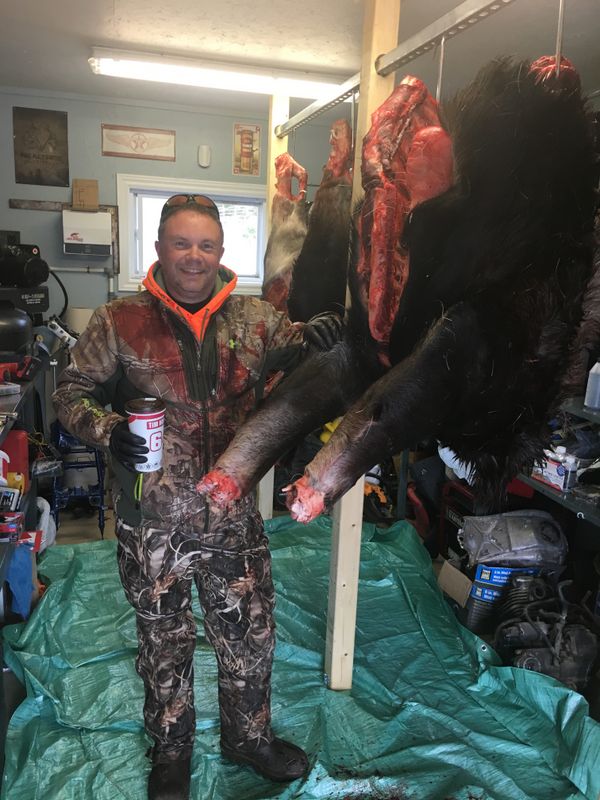
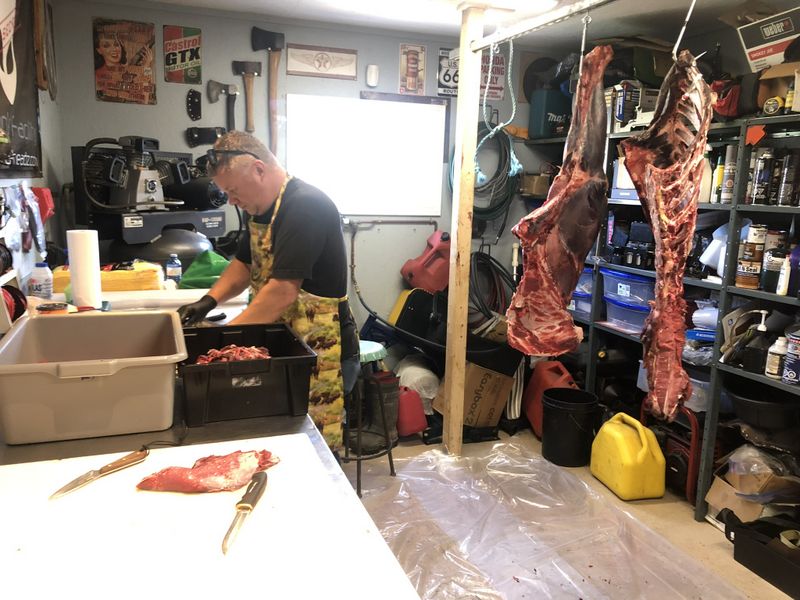
Garage turned moose processing facility!
2020 Update:
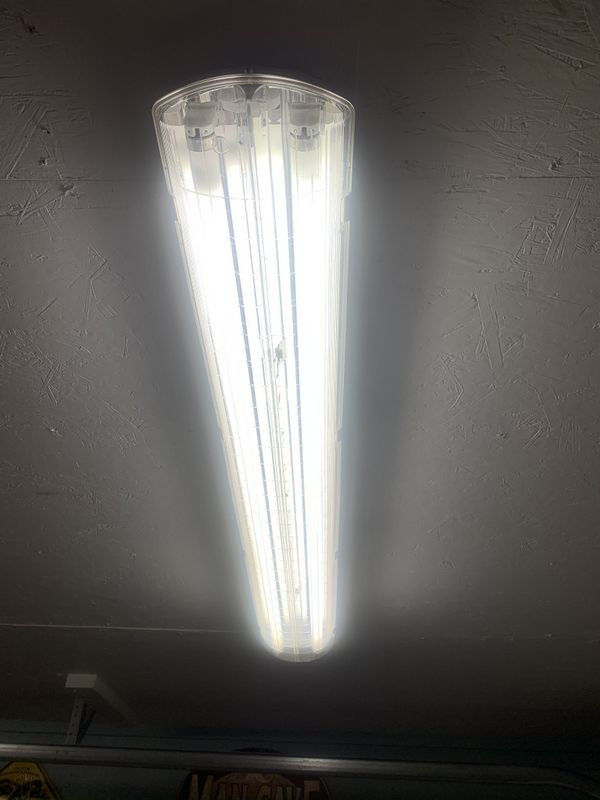
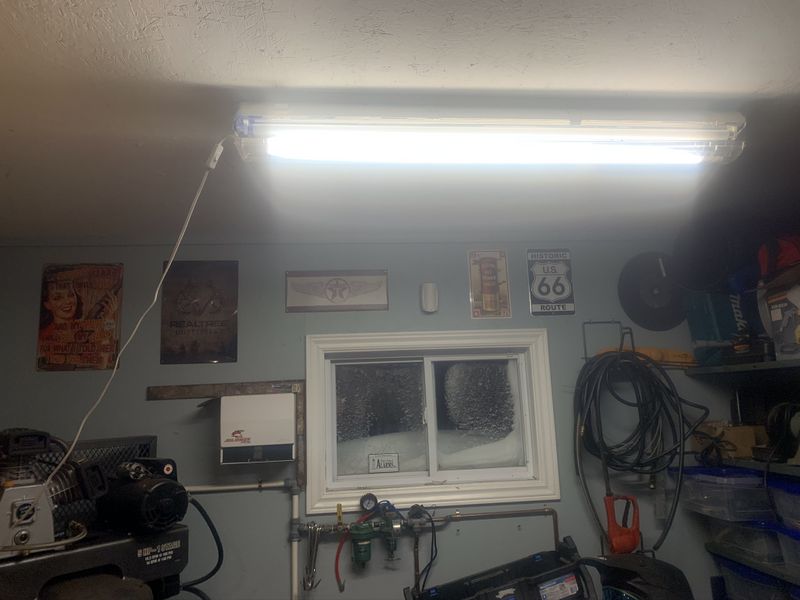
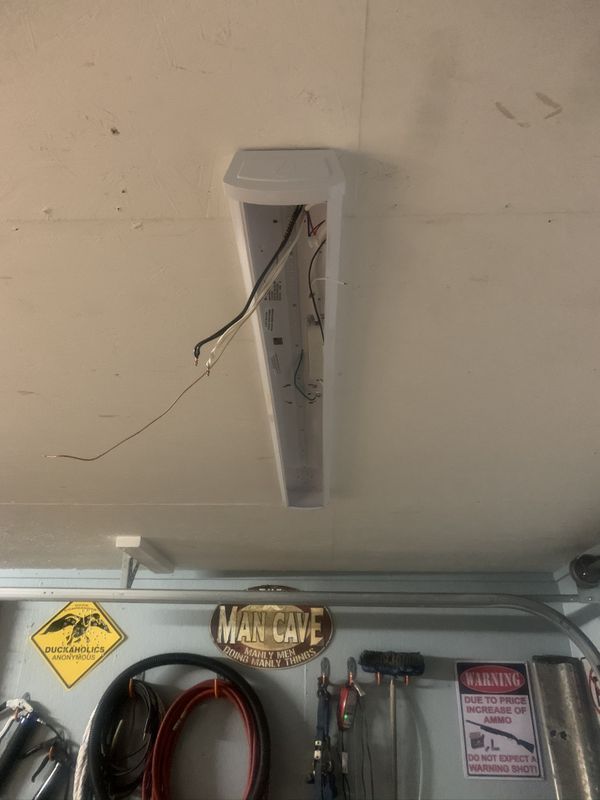
In mid February my fluorescent shop lights started acting up. One was intermittently flickering, and the rear fixture failed completely. These fixtures are of unknown age and appeared to be recycled, they were already in the shop when we bought the house six years ago.
For a temporary solution while working on Alarm Boxes I popped open the housing and threw in my magnetic 4' LED under hood work light which provided a surprising amount of temporary lighting.
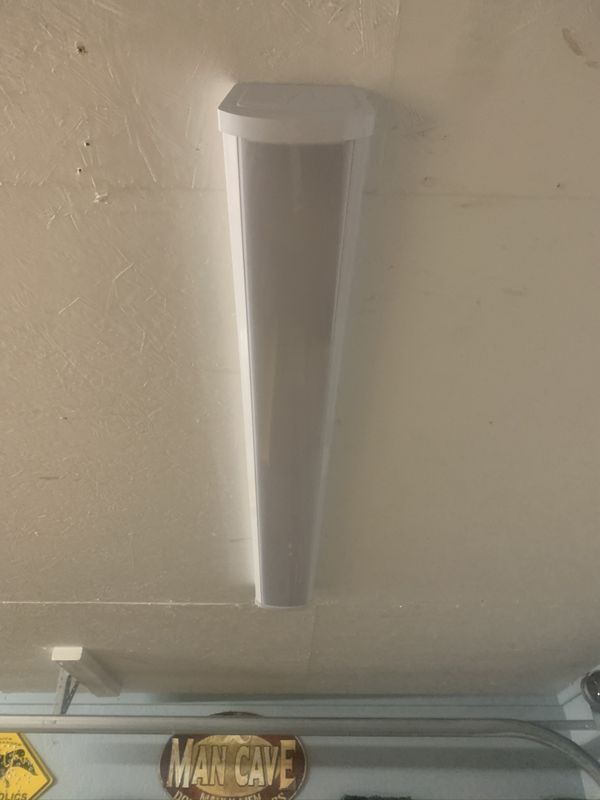
The new LED light fixtures I chose came from Home Depot and are the same ones Bill installed in his garage a couple years ago. They are a beautiful design and we found them extremely bright in his garage.
The garage is much brighter now and it was already pretty decent with my old light fixtures. A bright garage makes working on stuff much easier.
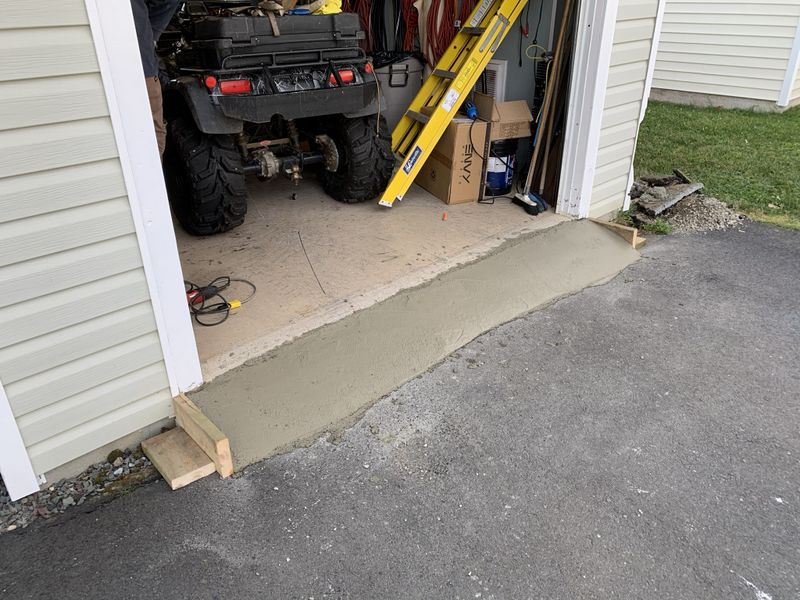
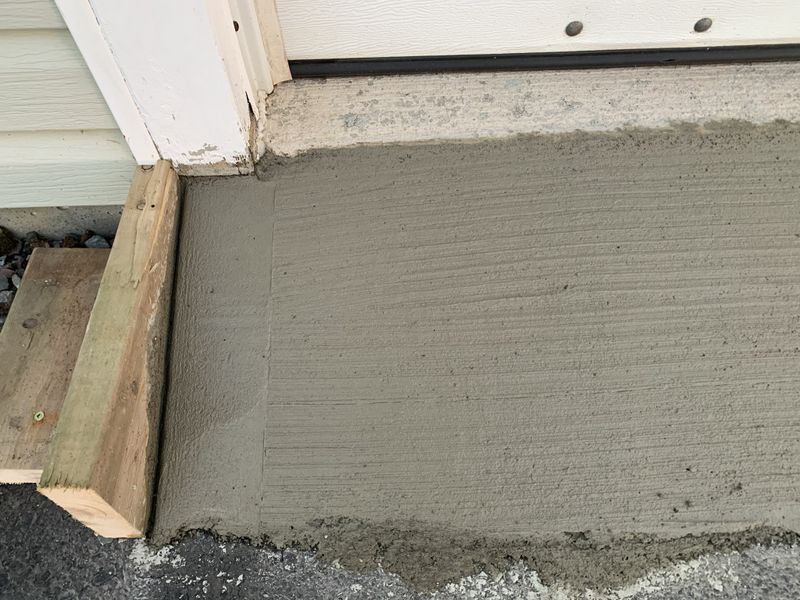
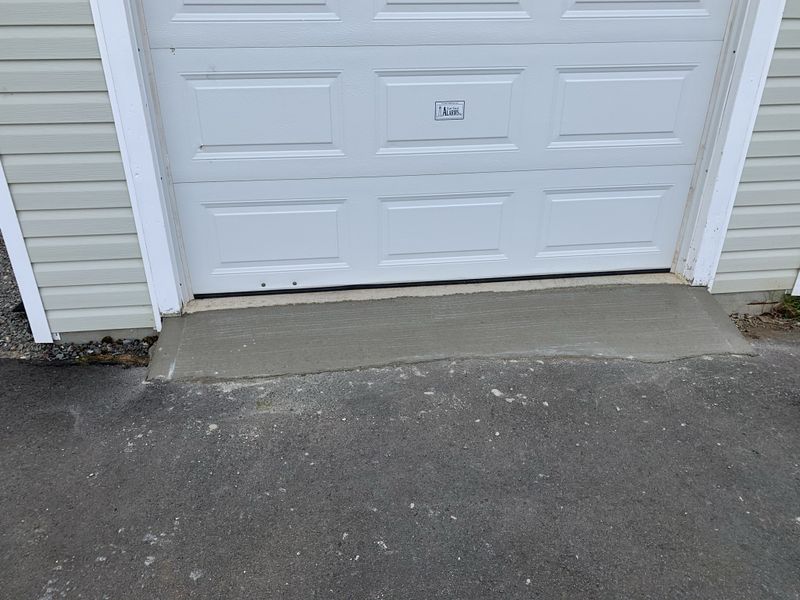
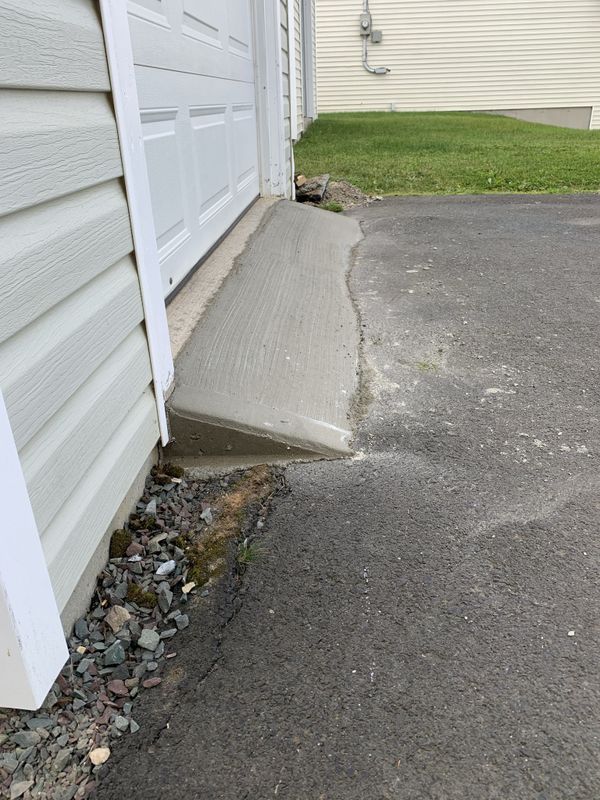
In October Bassan and I had a nearby concrete slab pour where we knew we would have some left over cement. (In some cases it's cheaper to over order on the load rather than pay a partial load penalty from the concrete supplier).
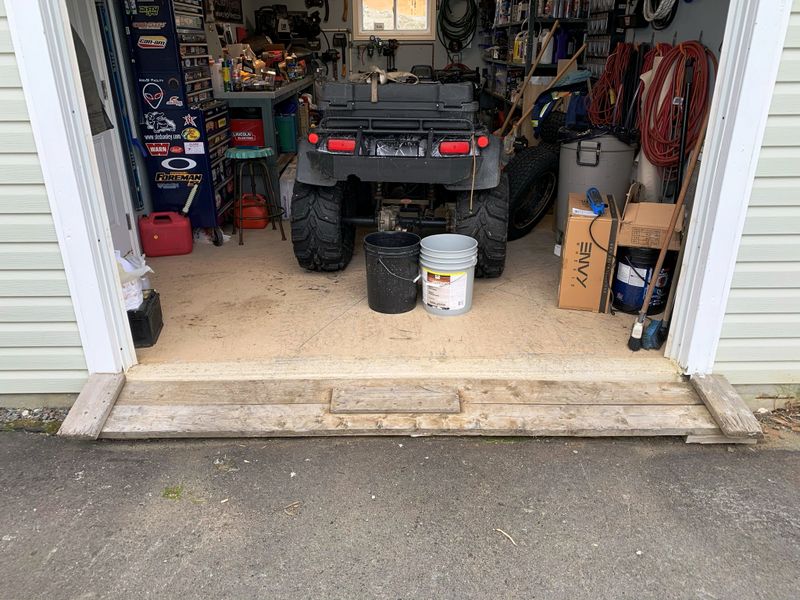
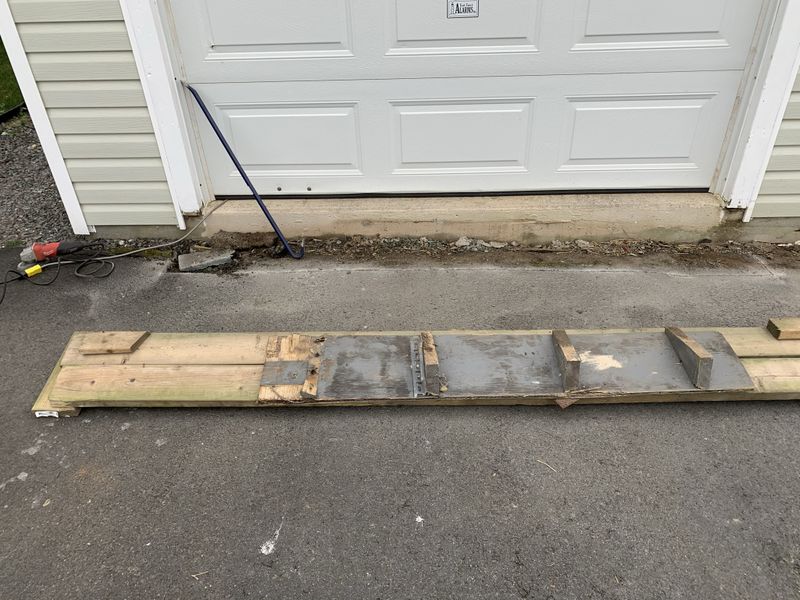
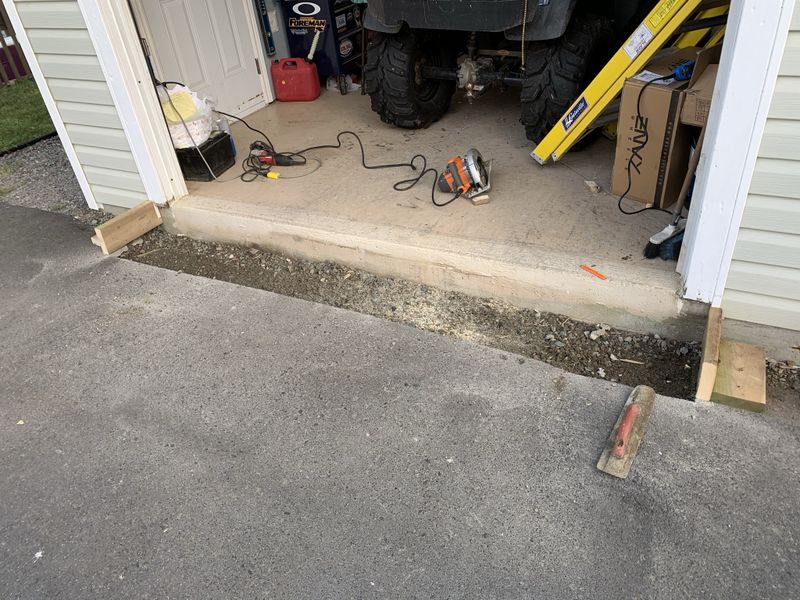
This gave me an opportunity to finally replace the Janky wooden ramp thrown together when we moved to Torbay in 2014. Before leaving for the slab pour I removed the old ramp and cut the asphalt using a diamond cut off wheel in my angle grinder. The edge of the asphalt would become part of the form for the new ramp.
Bassan did an awesome job finishing the new ramp. The driveway isn't perfectly flat, the asphalt is thin and pushed up here and there which is why the leading edge of the ramp doesn't appear straight.
The finished job turned out great and is much stronger & smoother than the old, it even makes snow clearing much easier now that the ramp is solid and doesn't have Janky wooden braces!
Cheers, MIKE
Copyright © 2025 Michael Smith |