|
Area51 Project - Shed Teardown and Camp Site Decks 2020: |
|
Covid-19 Social Distancing restrictions are finally starting to ease and that's a great thing because there is a lot of work to be done! Regular work is slow or non-existent for some people as businesses slowly start to reopen however the shed-headz crew will be hard at work with many upcoming projects this summer.
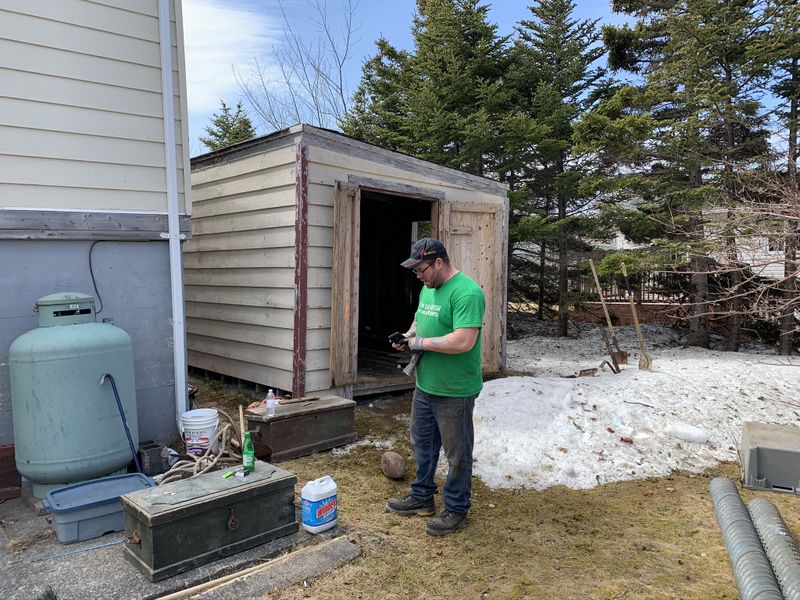
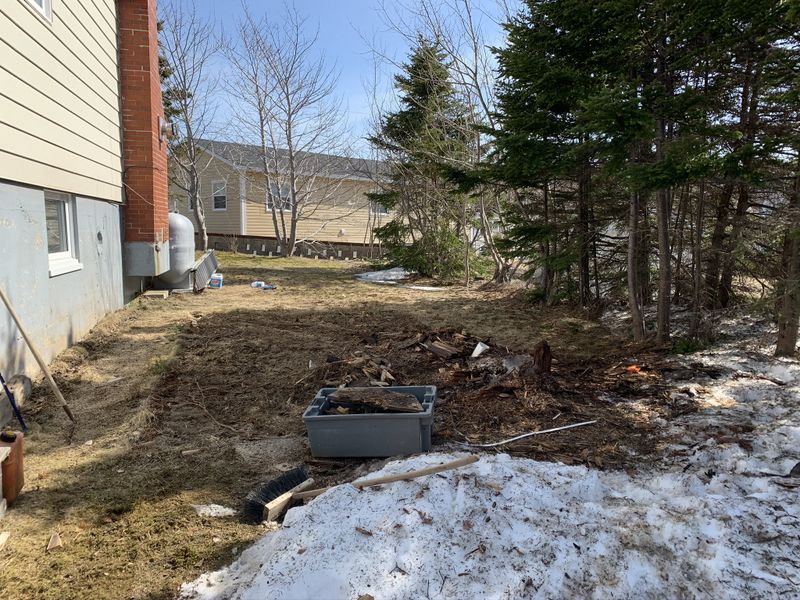
To start the construction season we actually began with a shed deconstruction at Mark and Justin's grandmothers house a few weeks ago. The 40 year old shed was showing its age as overhanging trees really did a number rotting out the south side of the building.
Justin and I arrived early and began emptying the shed putting good stuff aside and tossing the rest in a large commercial dumpster Mark had delivered to the site.
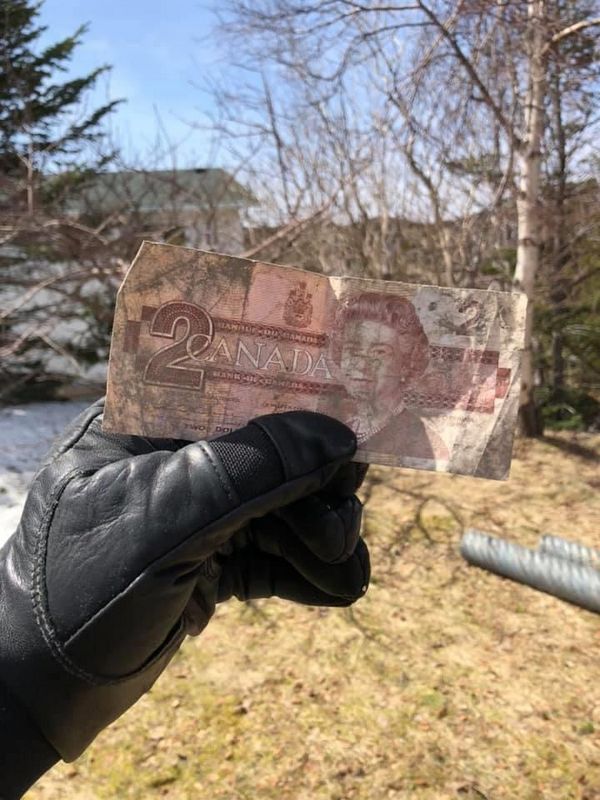
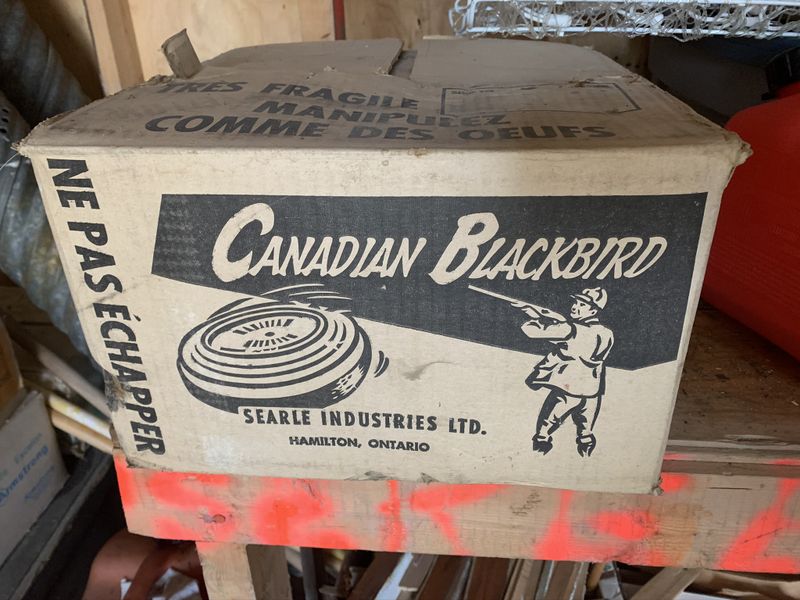
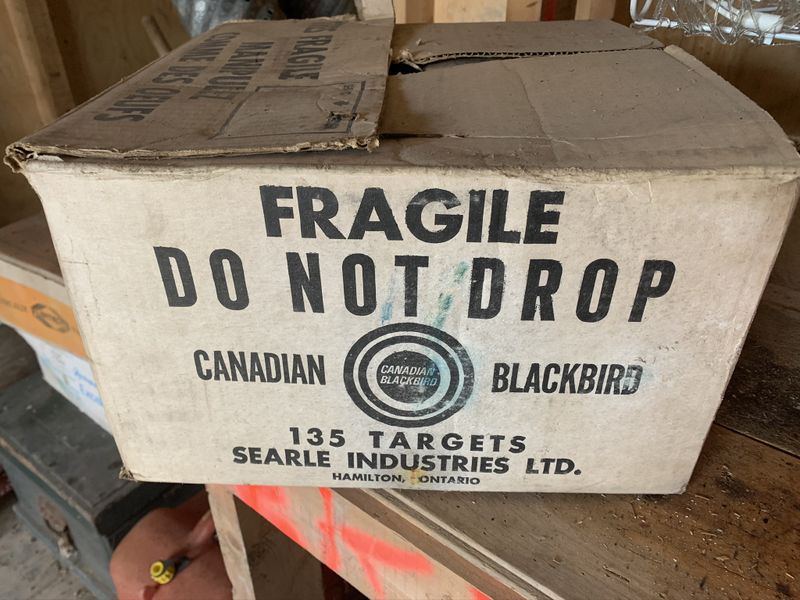
We found some pretty cool old stuff including hand tools, and ancient box of clay targets, and an old two dollar bill.
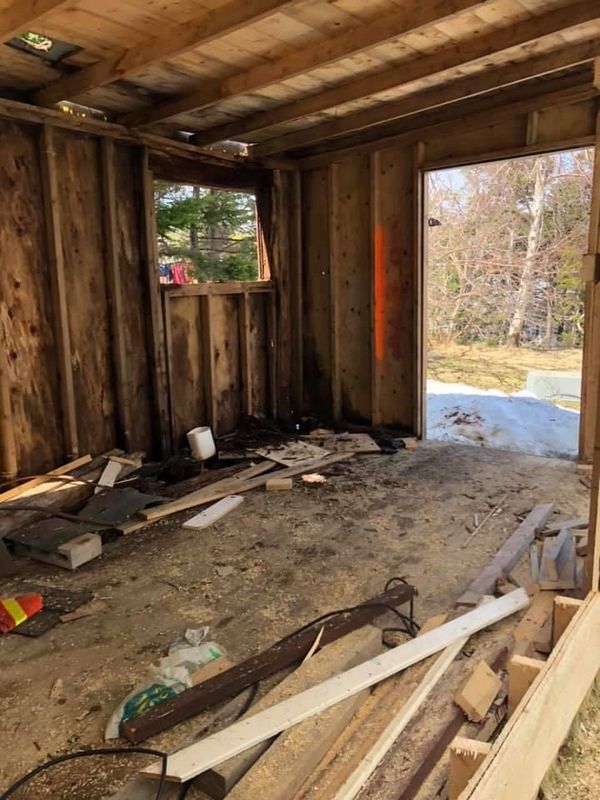
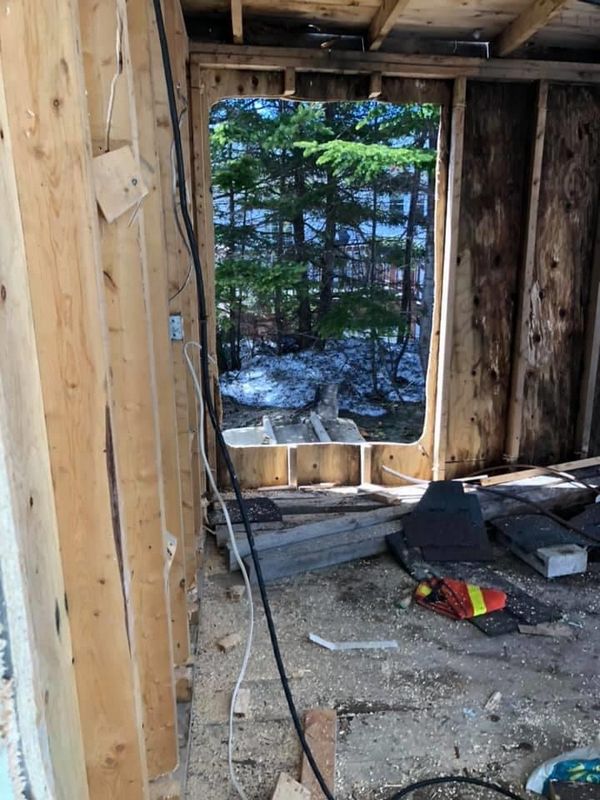
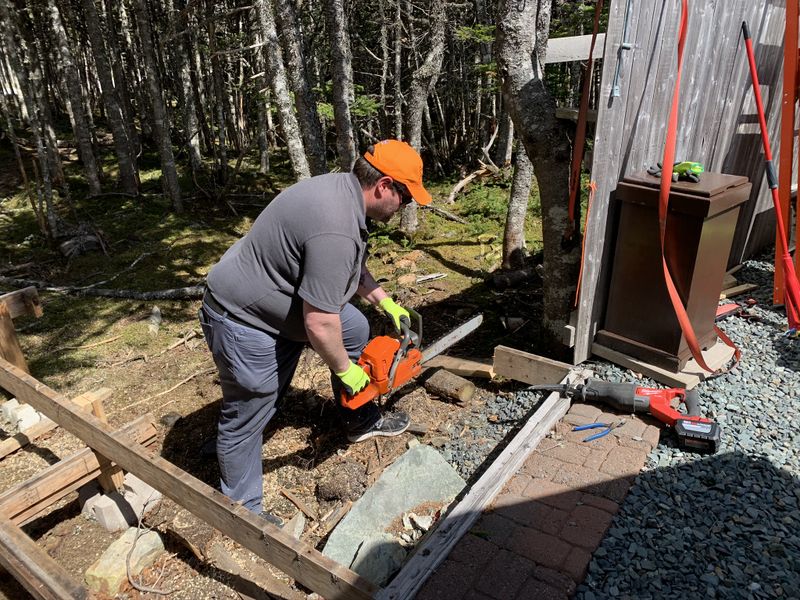
We started taking out sections of wall to remove strength but not enough so the shed would collapse on top of us. Next I used my trusty mini Chinese chainsaw to notch the corners and rear wall studs like a bunch of trees ready to be felled.
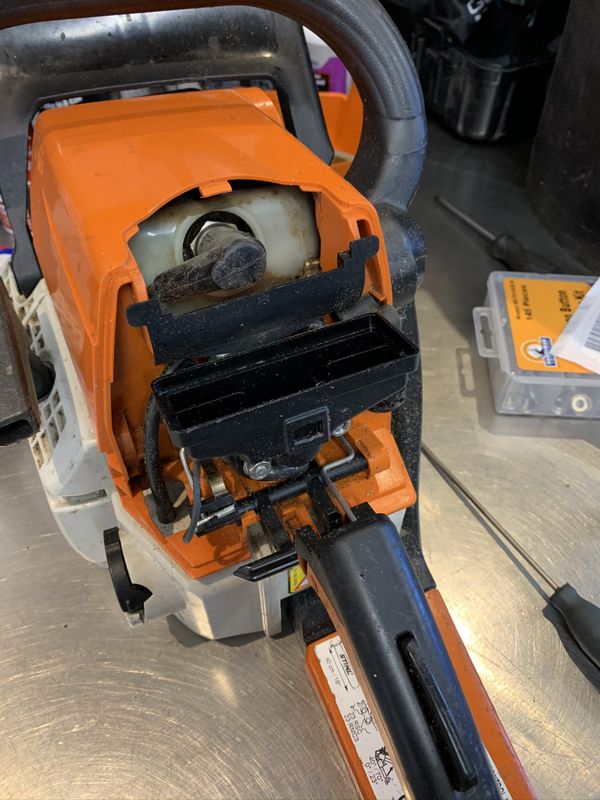
With enough wall sections removed we ran my Stihl MS250 chainsaw around the bottom wall plate from the outside until the saw stopped and wouldn't stay running. Mark finished the job with his trusty Husqvarna 359.
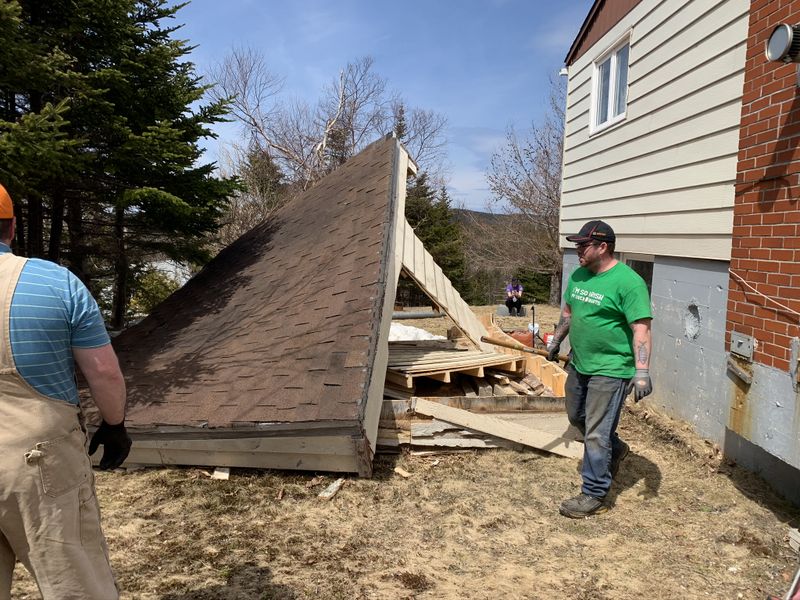
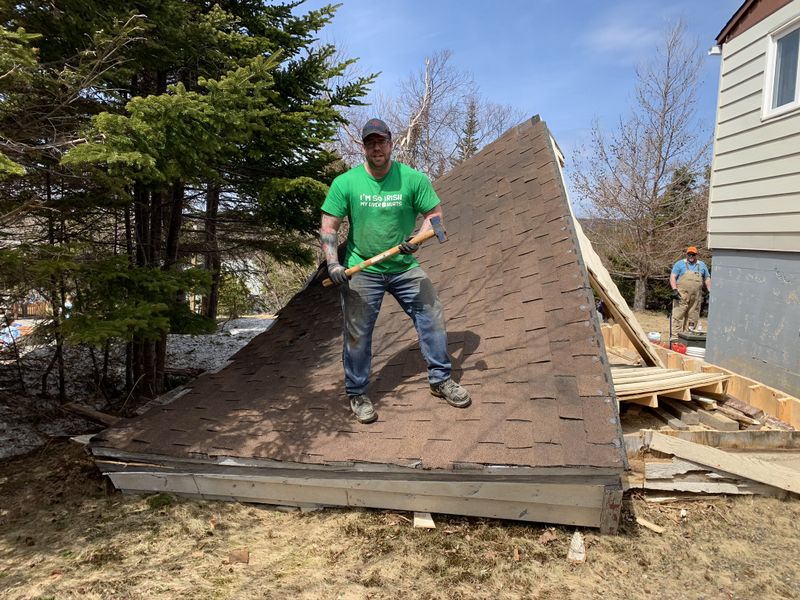
With the wall cut it was a pretty easy push and the shed toppled over like a deck of cards.
A couple hours of cutting the shed remnants into smaller pieces and a lot of lugging we had the whole unit in the dumpster.
I initially thought my saw needed a carb kit as the malfunction was pretty sudden. I installed a kit to no avail, it appears that I lost one or both of the crank seals. I have a kit on order so look for a saw rebuild project later this summer.
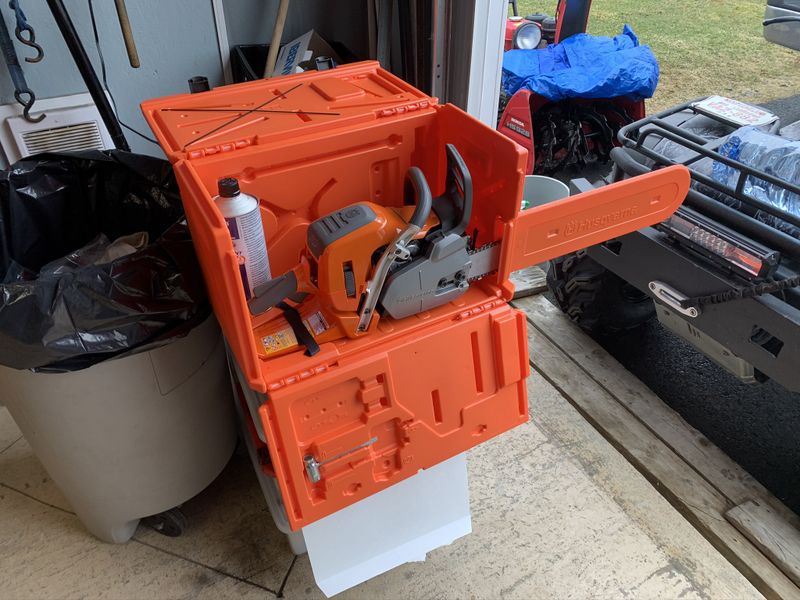
With my saw broken I had an amazing offer to purchase a fresh unit so I picked up this brand new Husqvarna 550xp Mark 2 from Parkside RV in Pouch Cove. This is an amazing pro grade 50cc saw that puts out more power than a lot of 60cc and larger chainsaws. They also had an awesome deal, with the purchase of 3 tins of pre mixed fuel (which I use regularly anyway) I would receive a total of 5 years factory warranty. Look for a full review on the Outdoor Lifestyle Product Review Page soon.
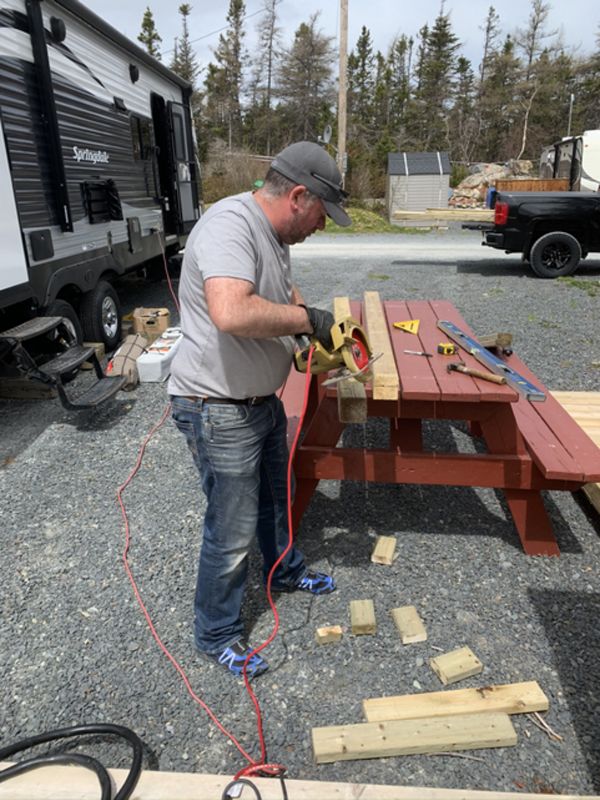
With shed destruction complete a few weeks later I gave Janes a hand to build a small addition onto the patio deck at his campsite in Trinity Bay. They recently purchased a newer larger camper and needed the deck extended to fit.
We framed up the 4'x12' extension on the flat existing deck and moved it into place in one piece. We affixed the new frame to the excising deck matching the height of the framing then levelled the outside edge on concrete patio blocks.
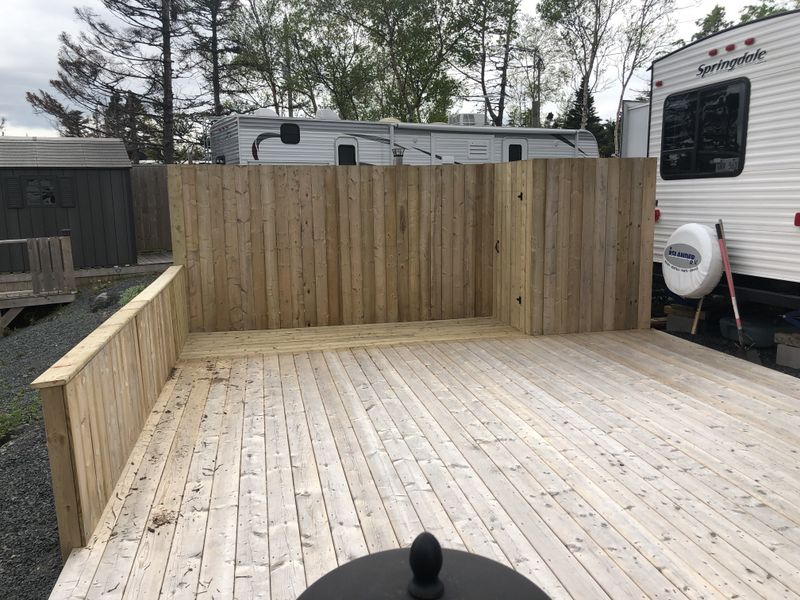
Janes worked on notching posts which would support the privacy fence while I began installing deck boards.
We nearly had the fence complete before the forecasted rain arrived a little earlier than expected.
As the re-purposed posts are a little short Janes will simply drop the upper fence rail down to the lower height on his next trip out.
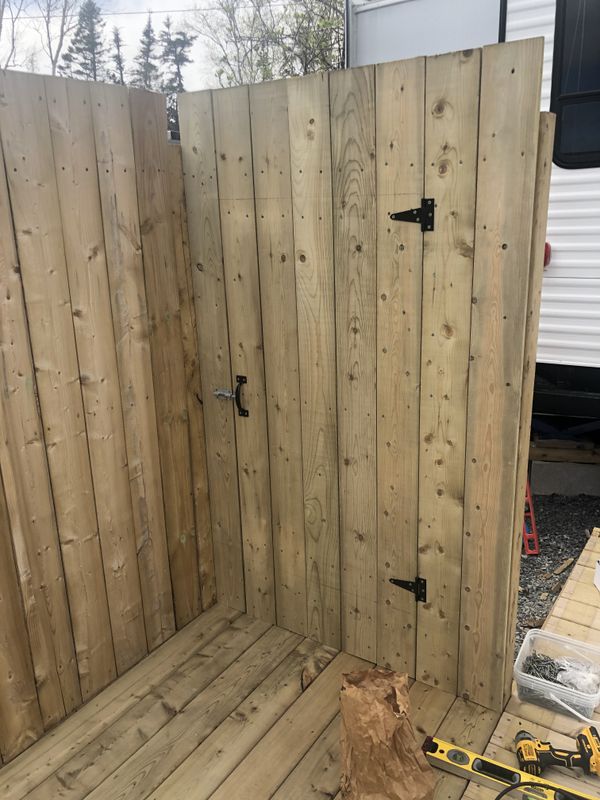
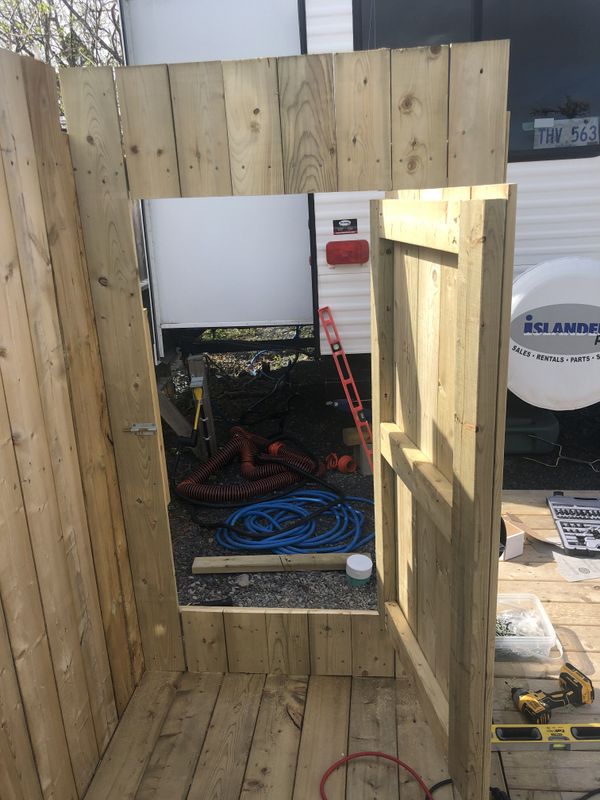
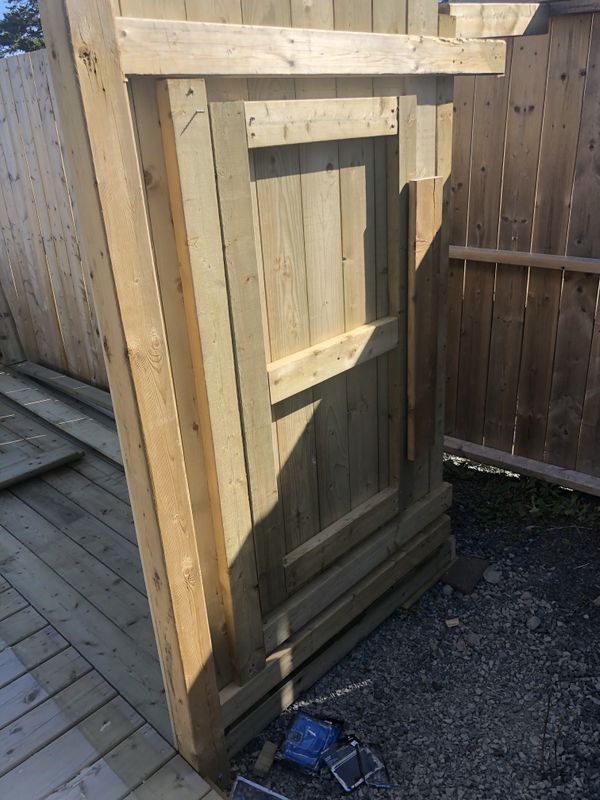
On his next trip Janes finished the remaining work on the long side of the privacy fence and began work on the next section which would include a gate for easy access to his water and sewer services.
Job complete and he even took time to install a top board on the patio rail for a beautiful clean tidy finished job.
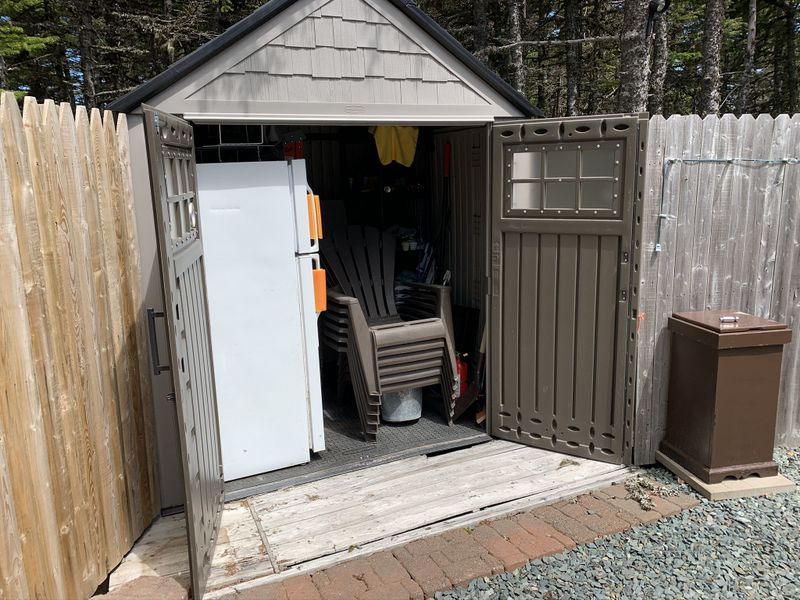
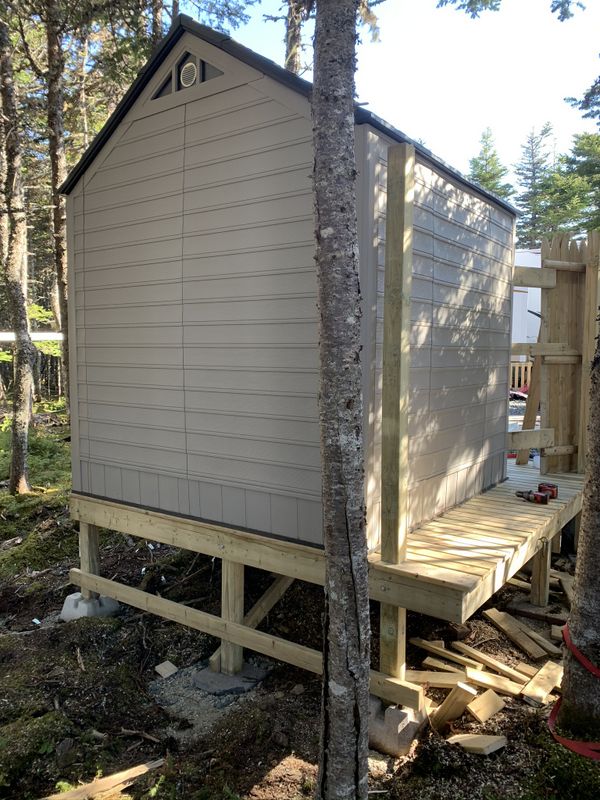
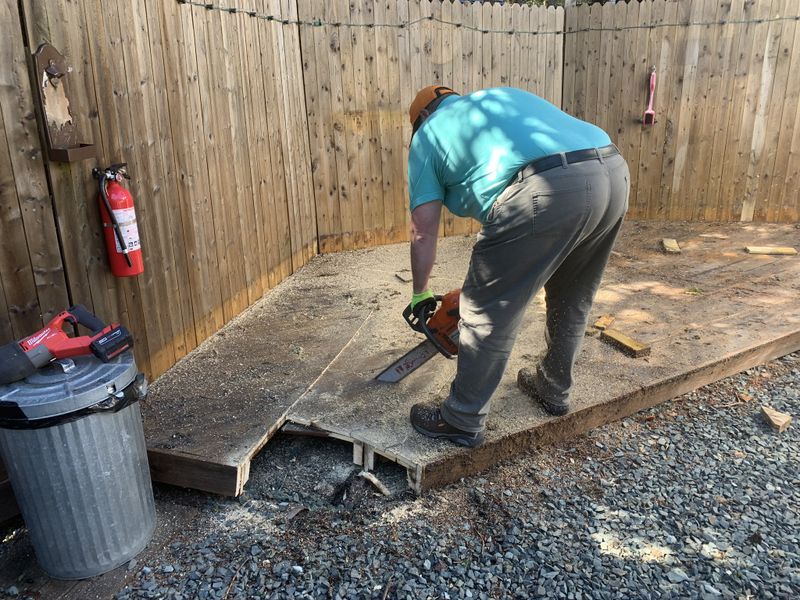
Next up was replacing a seriously rotted out deck under the storage shed at French's camp site in Pouch Cove. First up was emptying all the contents of the shed then sliding the lightweight unit out of the way on 2x4 boards.
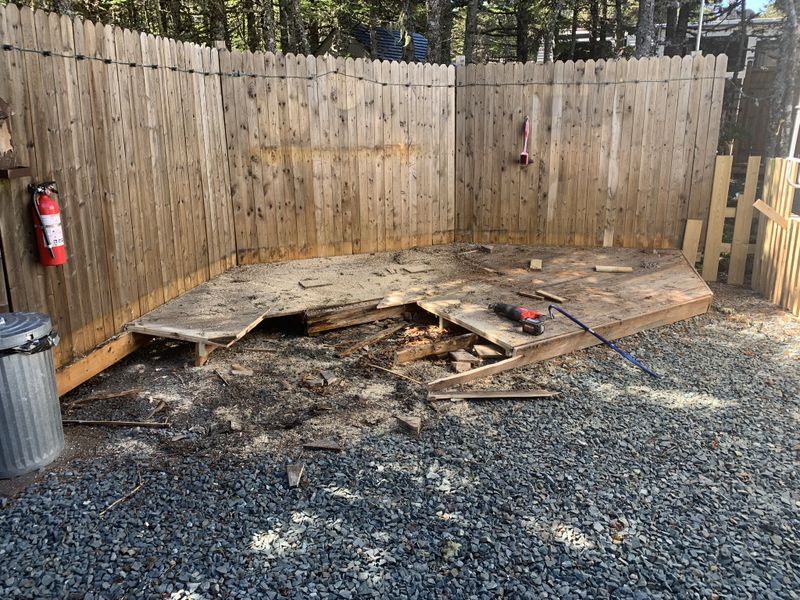
Next we unscrewed the rotted out decking (which was actually thin fence palings) so we could inspect the framing. The framing was just as bad as the rest so French broke out his trusty husky 359 and set about demolishing the frame.
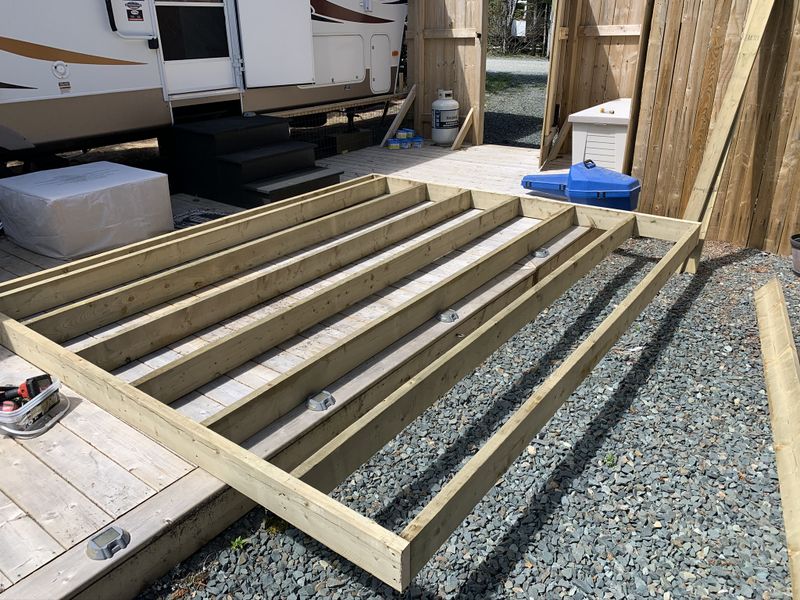
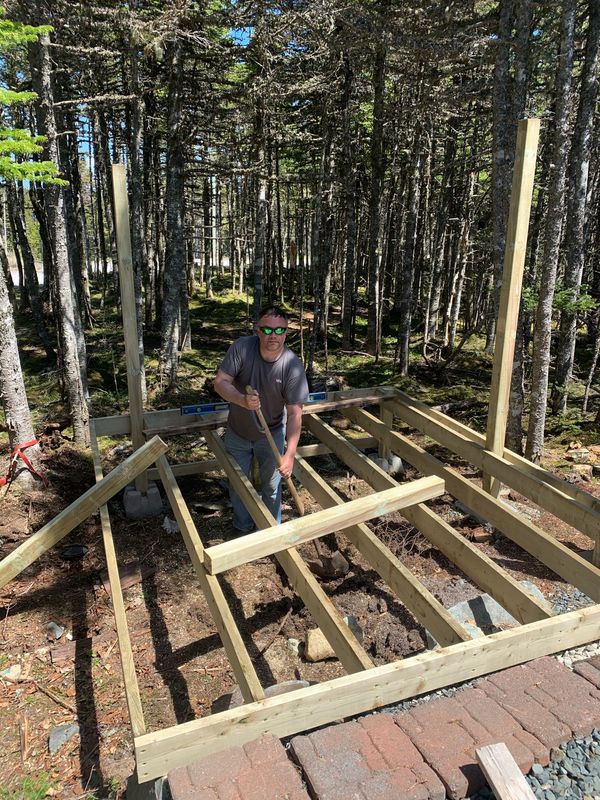
Next we used another existing deck as a flat work platform to frame out the new 8.5'x10' frame from 2x6" pressure treated lumber.
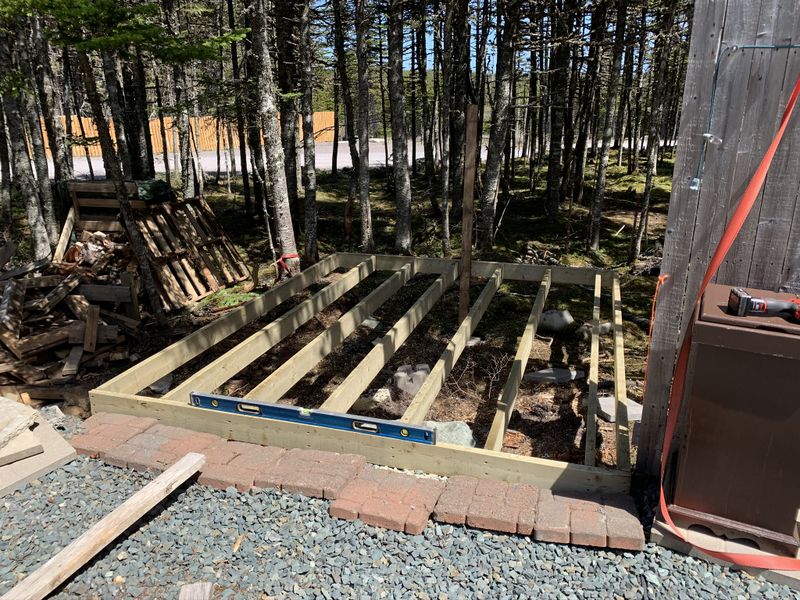
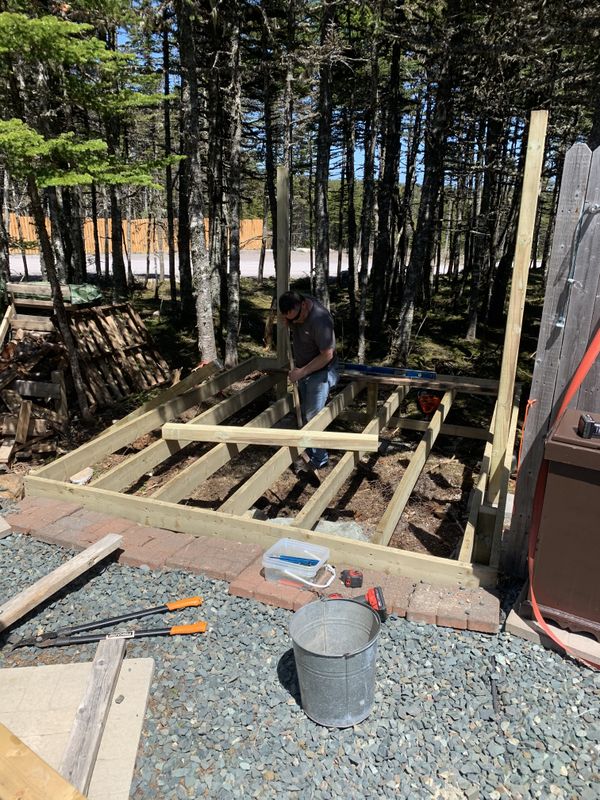
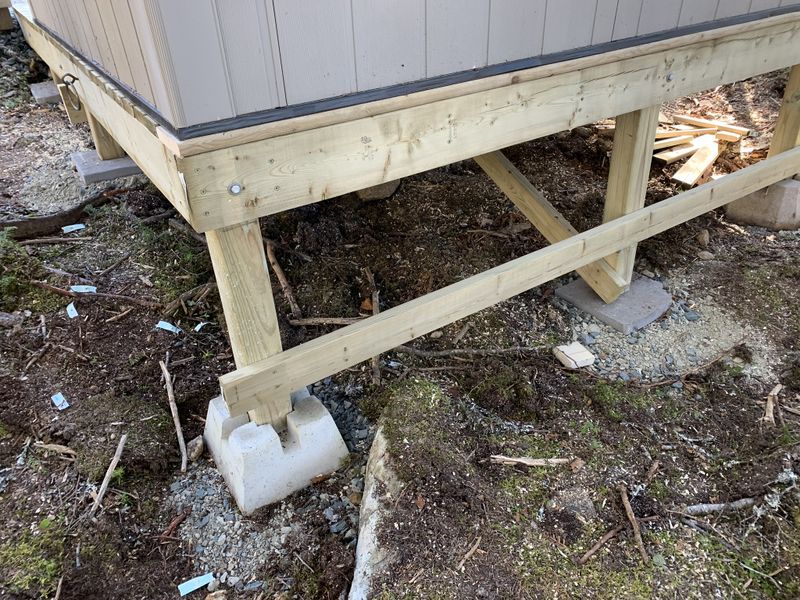
The front of the deck rests in place where the old one sat and the rear raised and temporarily supported with an old stick of lumber from the old deck. The first step was to level the front edge of the deck by rearranging stone below. Then we started counter clockwise installing 4"x4" support posts, the first about 18" back resting on a concrete pad set on crushed stone.
The two rear corner posts were supported in moulded concrete deck blocks which were the only parts of the old deck reused. Most of the support posts were cut level with the frame while two were left long to later attach privacy fencing.
Lastly we installed a stringer across the middle with an extra post in the center of the structure. The frame was initially attached to the support posts with #10x3.5" screws but was further secured with 5" lag bolts.
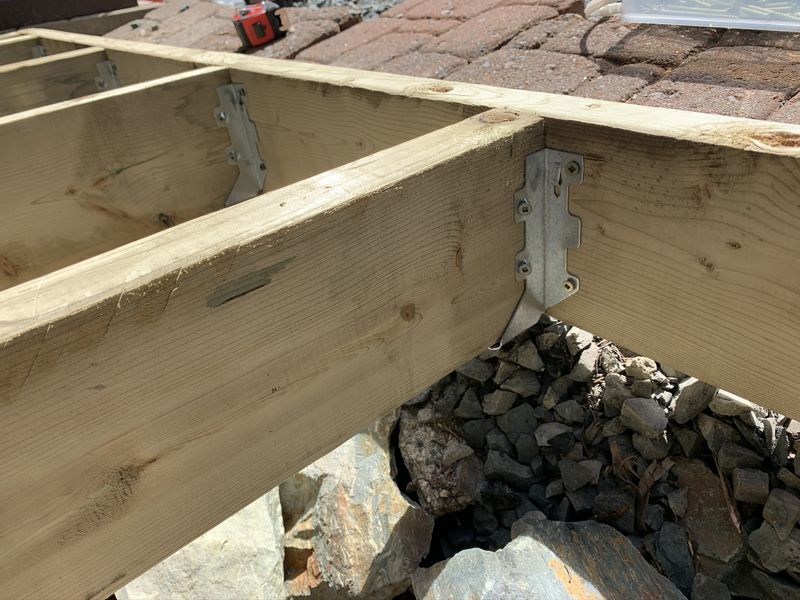
We also installed proper joist hangers for extra strength and long term reliability.
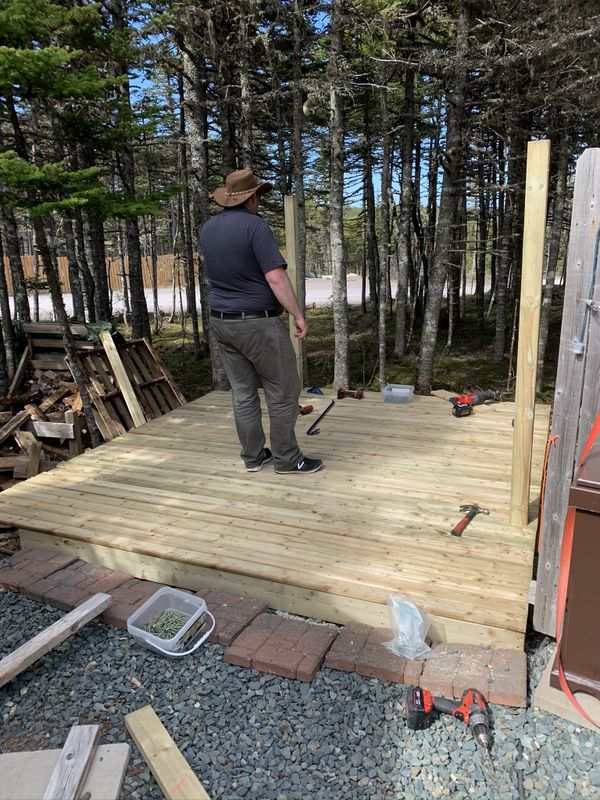
Next 4"x5/4" deck boards were installed, lined up neatly on one end and overhanging the other. We didn't picture frame the ends as this deck will be covered by the shed.
Mark said I didn't need to bring my skill saw to trim the deck boards and he did a pretty decent job with the 359.
Next the shed was slid back in place, screwed to the deck and reloaded with all its contents.
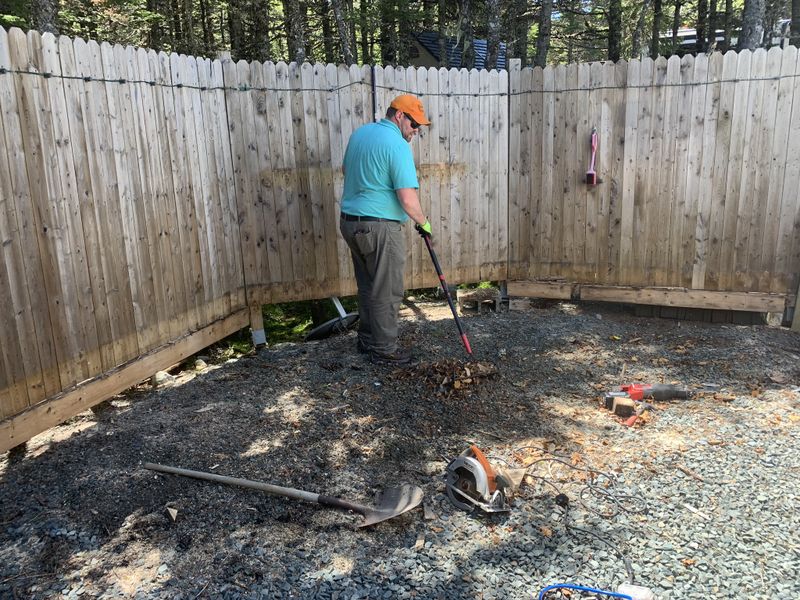
The last steps included reinstalling the privacy fence to keep the dogs in, pulling out the single row of red patio blocks, raking in crushed stone, and re-installing them level with the new deck.
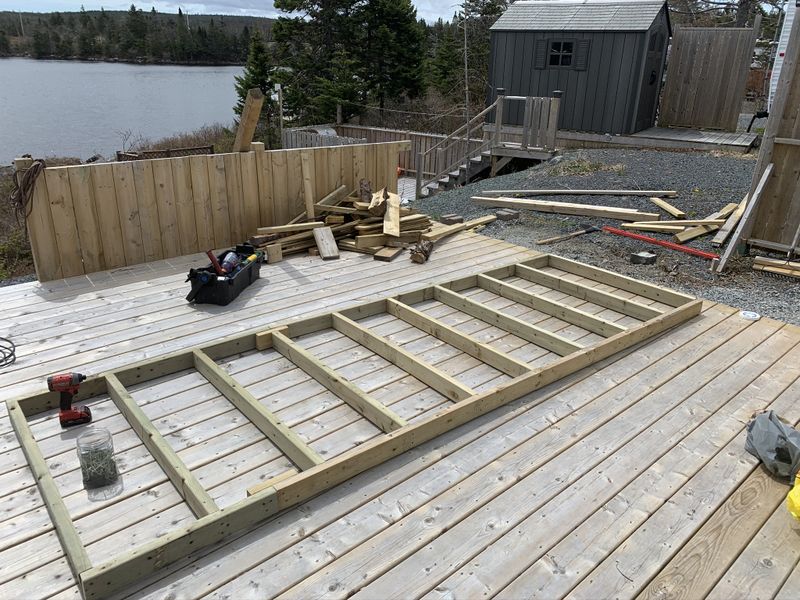
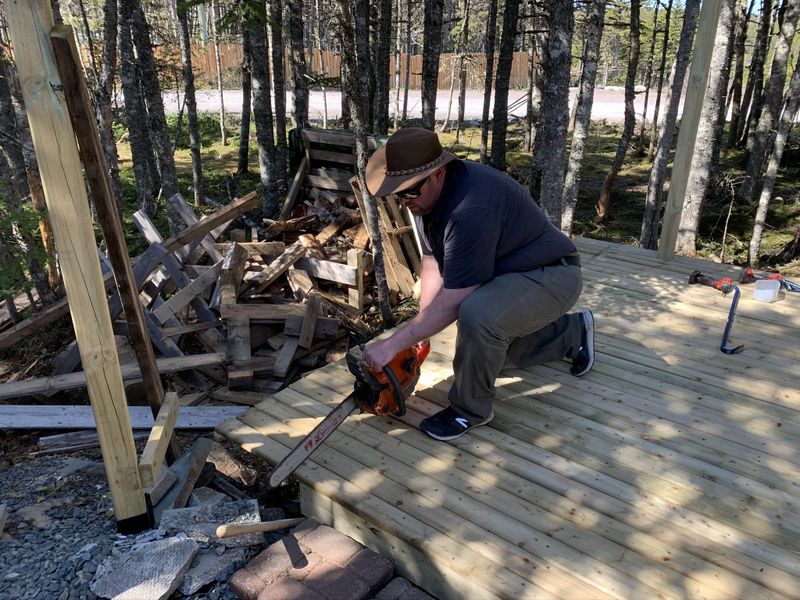
The following Friday we tackled the next project at French's camp site, replacing the seriously dilapidated and terribly unlevel BBQ deck.
This was a job in itself as there were multiple layers of deck boards and framing running a zillion different ways. It was a tough job that did a job on a few recip saw blades, one skill saw blade and an 18" chain on Marks chainsaw.
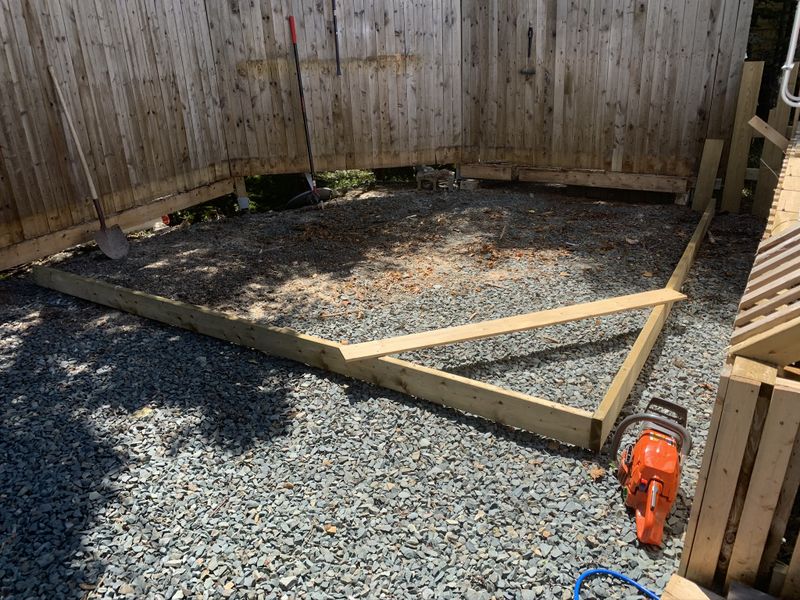
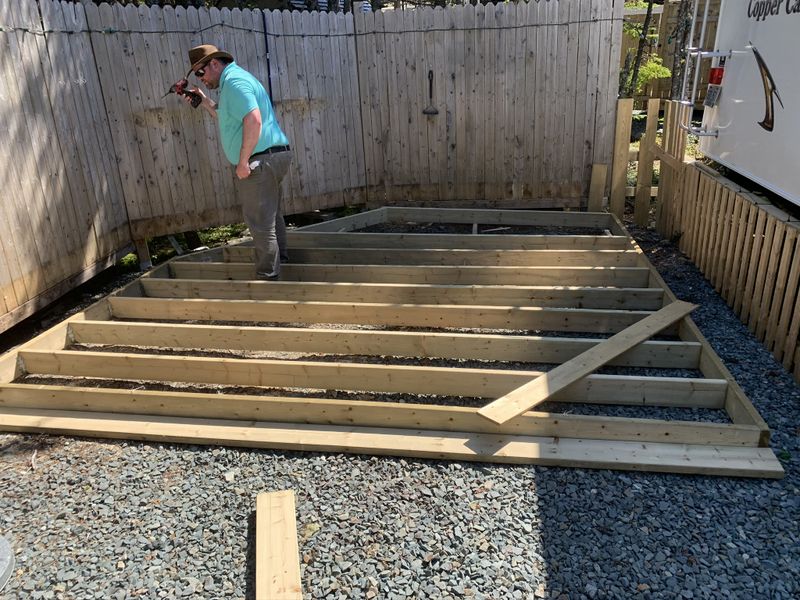
French decided to build the new deck square and 12'x12' with a small 45 degree notch to match the fence. The initial two sides of the frame were squared using the 3-4-5 rule for squaring corners.
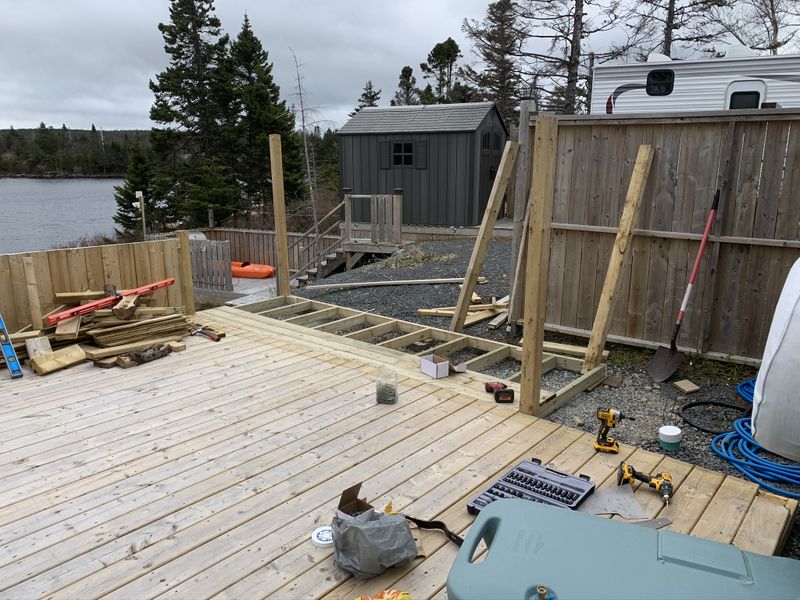
Next we cut the two short sides and began installing 12' joists on 16" centres. I installed new joists while French came behind me installing joist hangers.
I used a double starter joist spaced 6" centre to center to support the picture frame end board (allowing a 1/2" overhang), then a row of blocking was installed to strengthen the middle of the deck. Next we started at the highest point laying patio blocks in place to level the deck using 7 around the outside edge and one directly in the centre of the row of blocking.
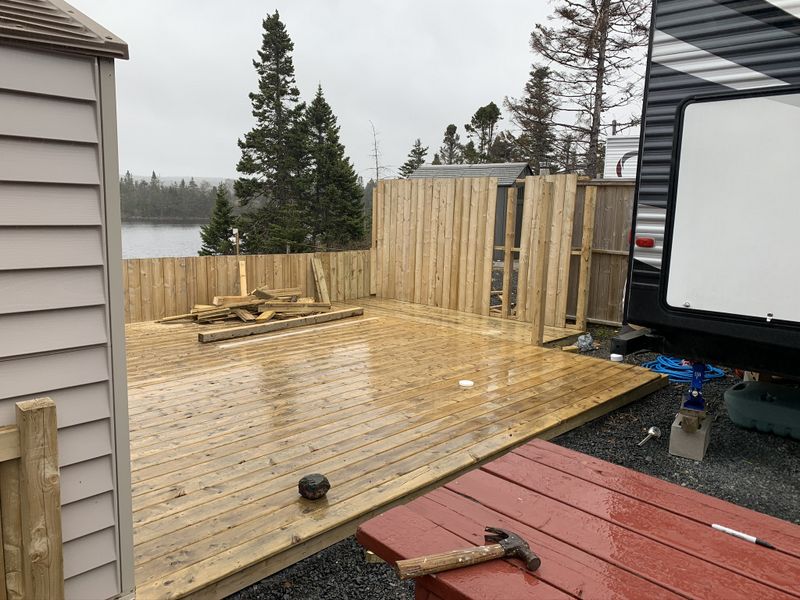
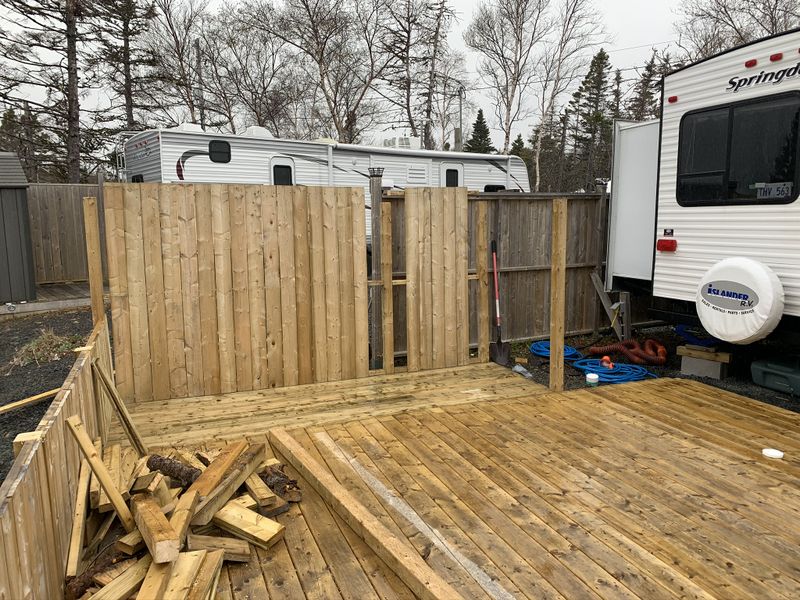
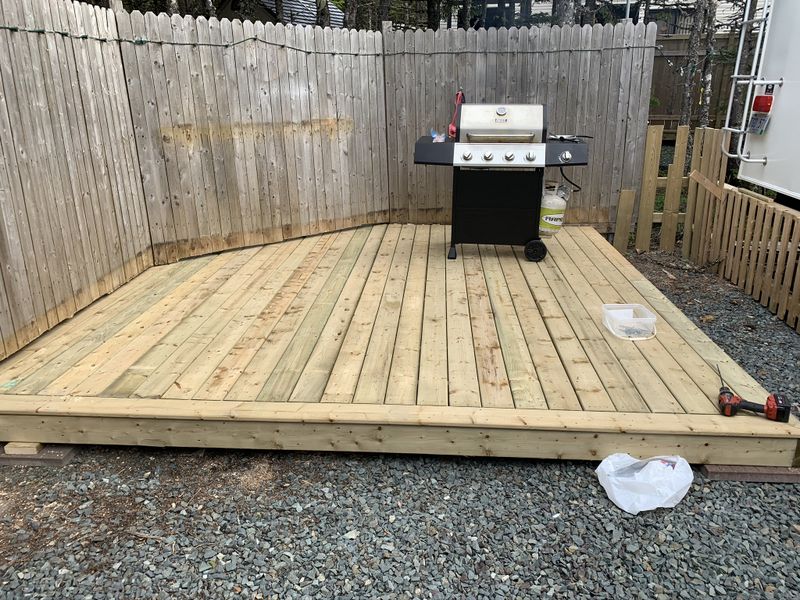
With framing complete it was on to deck board installation. We started first by setting the picture frame boards. Normally the picture frame end board is fitted and removed, decking installed, then trimmed to length to fit the picture frame board back in place. However as the fence was not built on a true 45 or 90 degrees we trimmed the palings and ran some of the decking out under the fence to cover the gap from our nice square frame to the old fence.
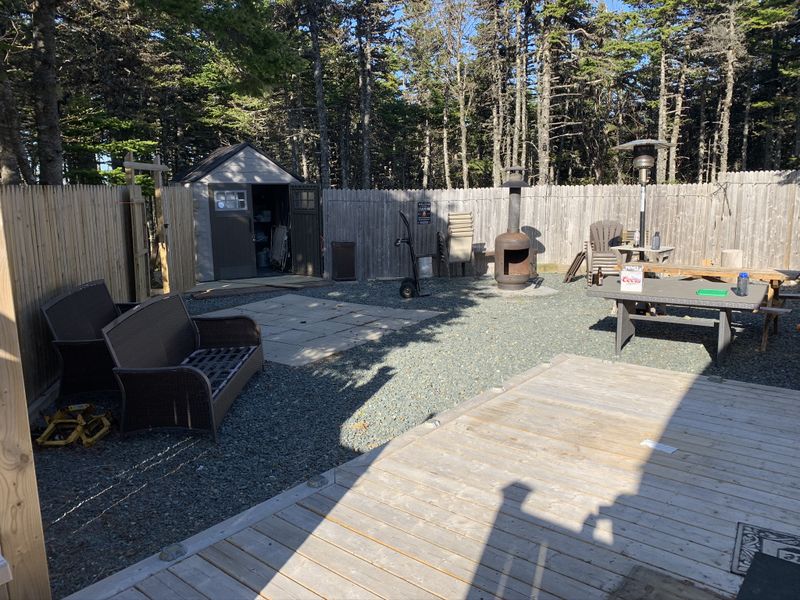
Lastly after this photo was taken we re-installed a row of horizontal trim along the bottom of the fence for a nice clean finished appearance. The new deck is sturdy, much safer than the old, and finally French will no longer have to contend with hot dogs rolling off the BBQ!
Cheers, MIKE
Copyright © 2025 Michael Smith |