|
Area51 Project - Randy's 2011 Yamaha Venture Multipurpose: |
||||||||||||
|
Machine Specs:
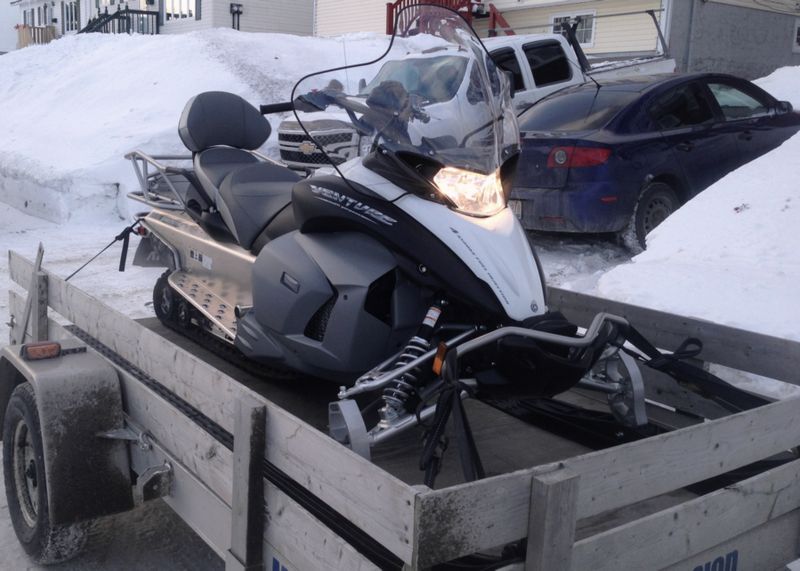
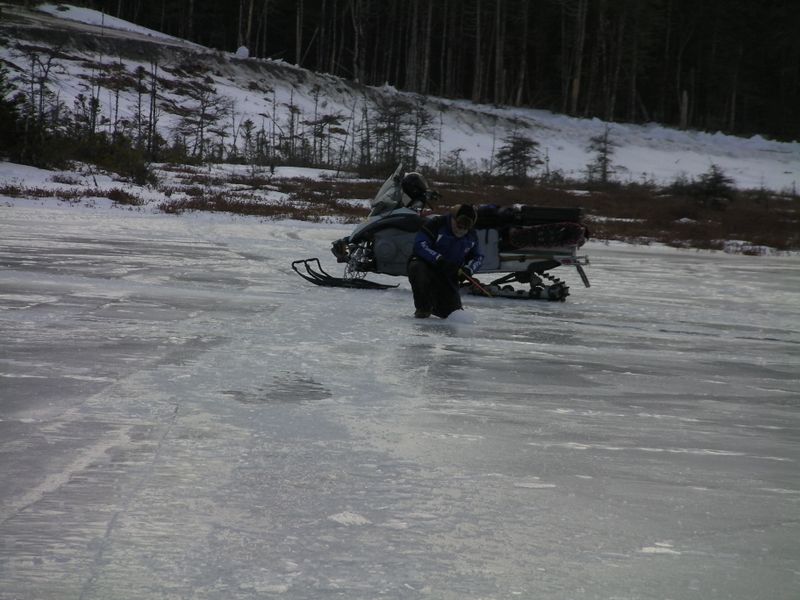
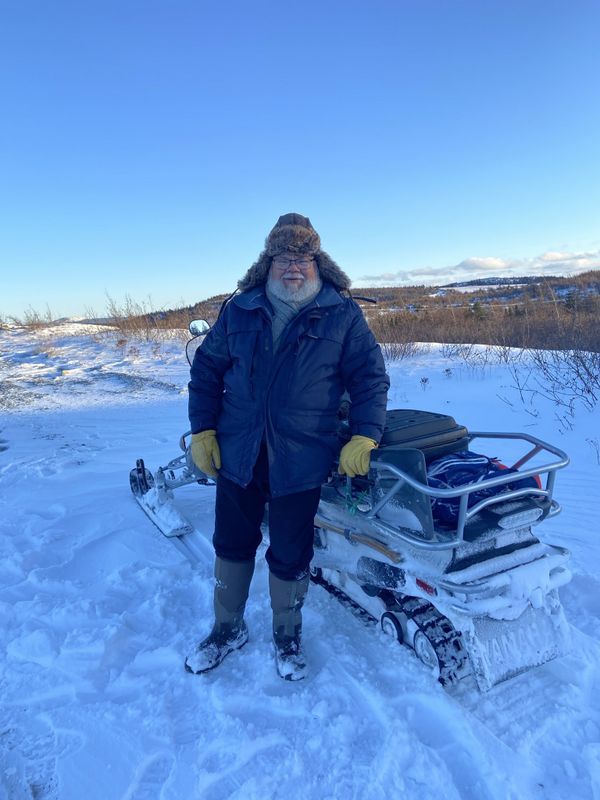
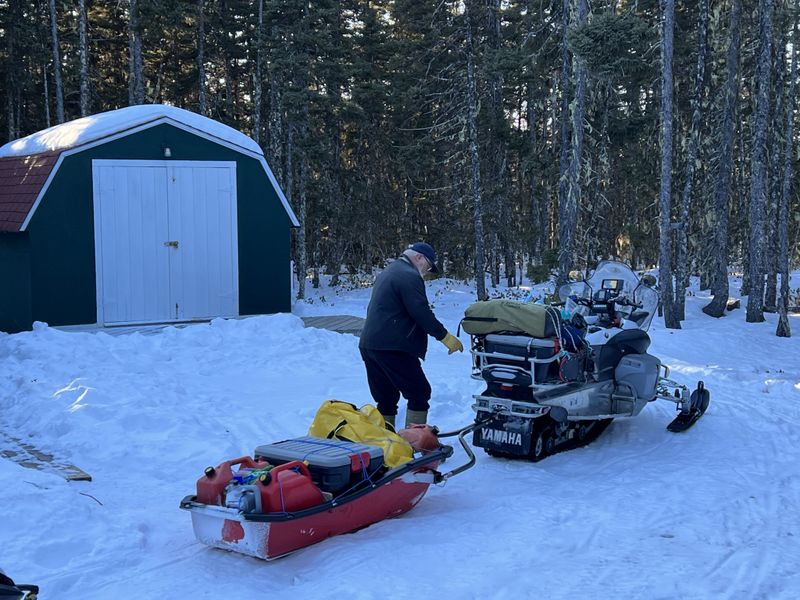
In January 2014 Dad was in the market for a new or good used snowmobile capable of taking him reliably into the country ice fishing, rides with the byes and carrying gear back and forth to the camp in Indian Bay.
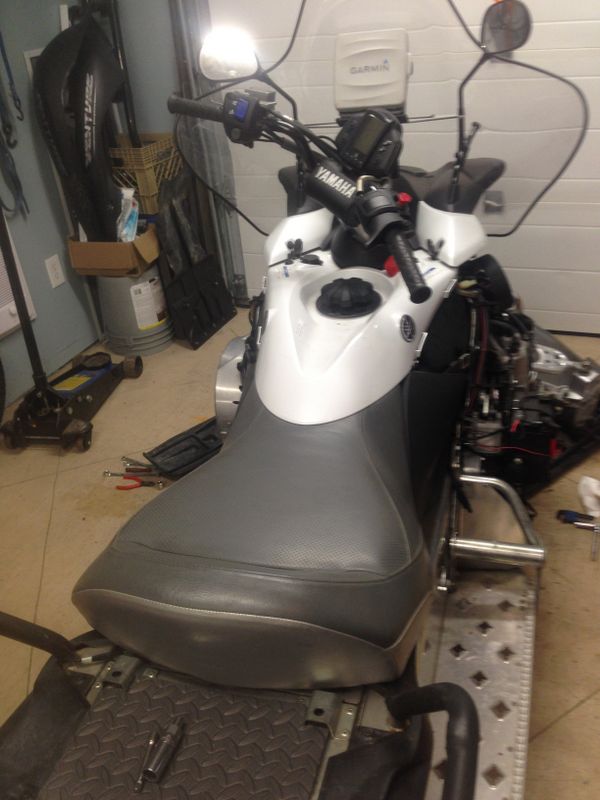
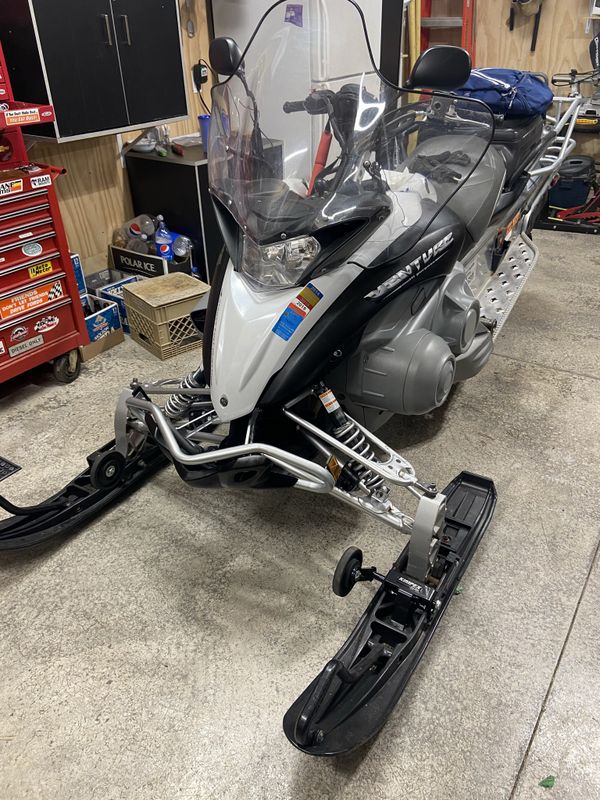
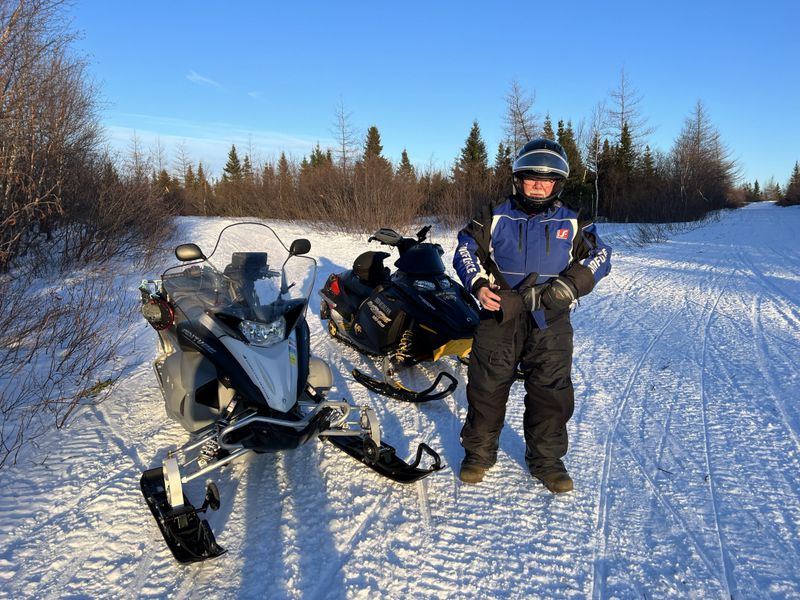
I came across this left over 2011 Yamaha Venture-Multipurpose which was brand new right out of the crate. It was three years old and therefore heavily discounted to sell but still came with full factory backed warranty. All in all it was a fantastic deal and suited Dad's needs perfectly. They also had a similar deal on a 2011 Venture-Lite so his buddy John picked up that machine at the same time.
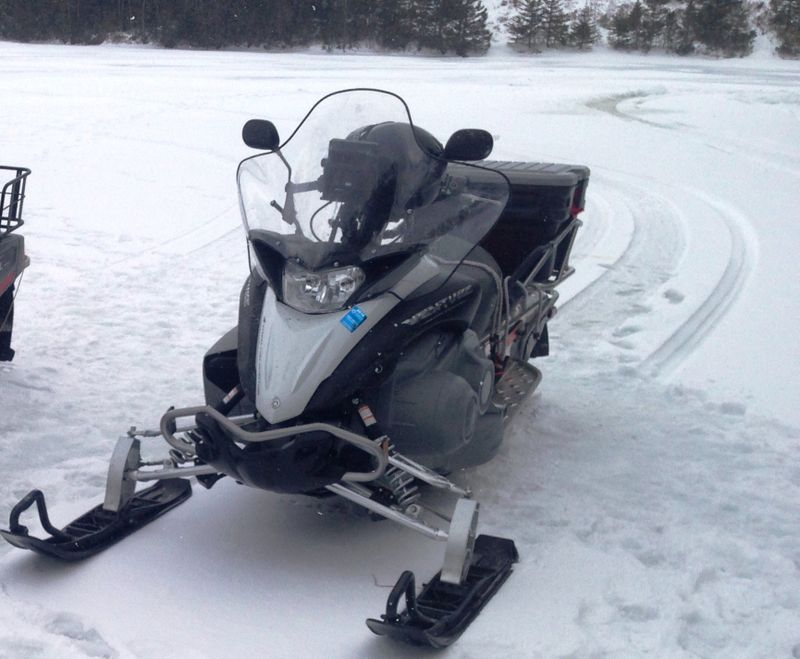
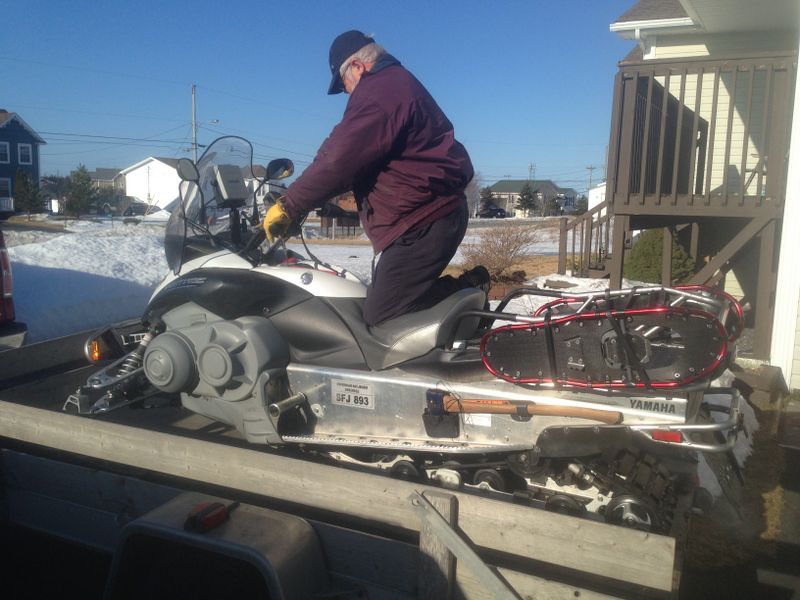
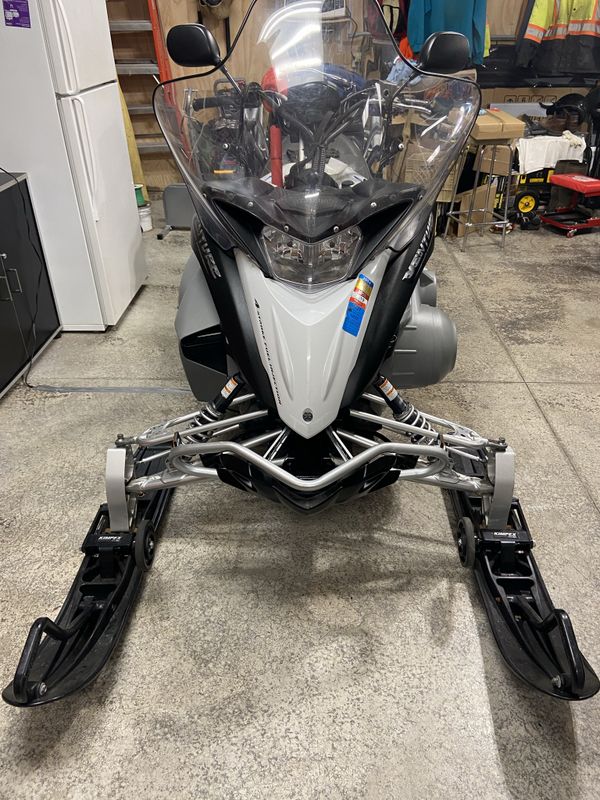
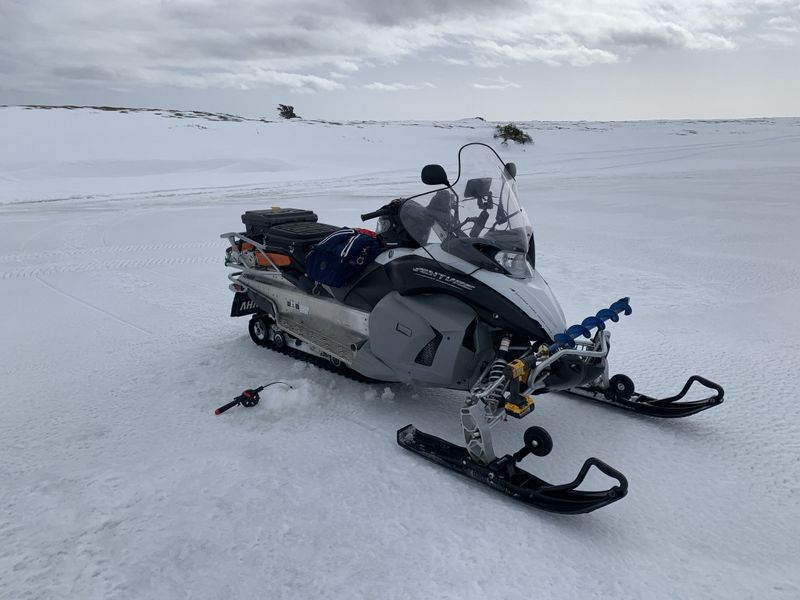
The machine has a great suspension for a smooth ride, an extra long and wide track (144x16x1.25") for less chance of getting stuck, and a reliable, quiet, clean, 500cc twin cylinder 4 stroke engine which has lots of snap and sips fuel.
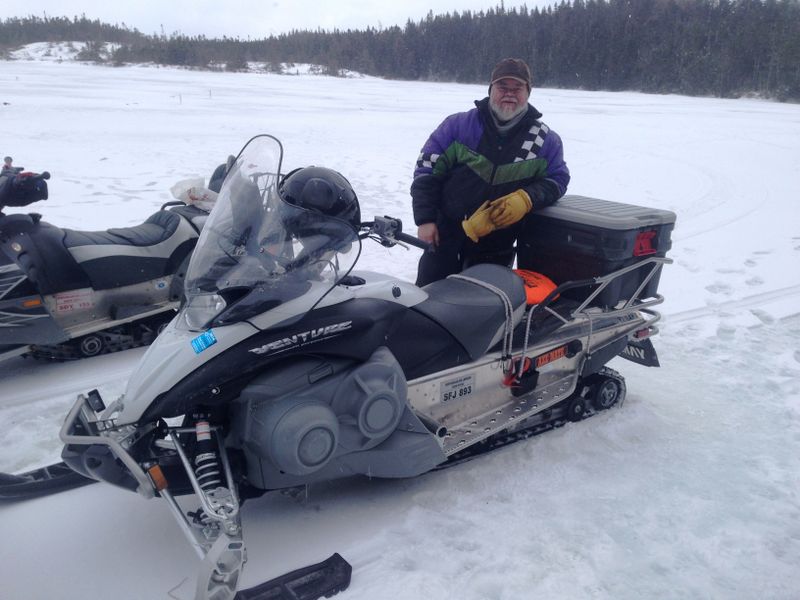
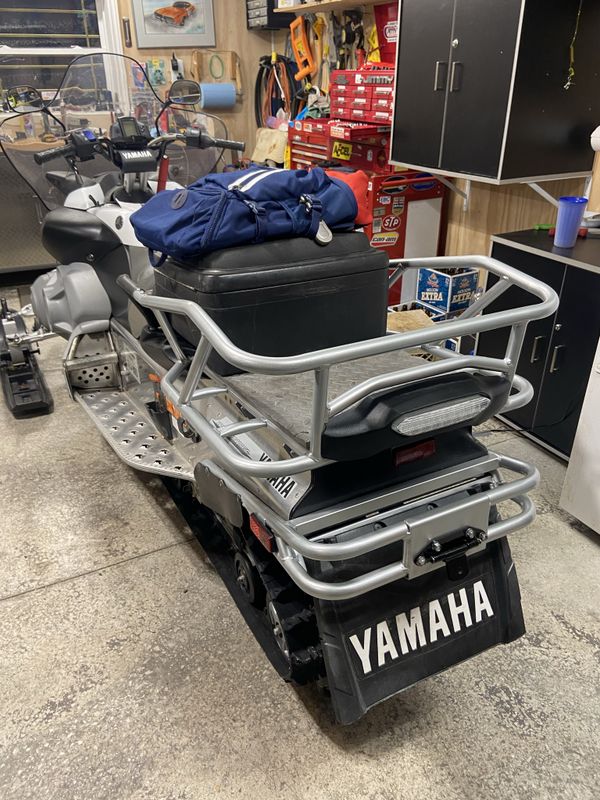
The sled has a great rear rack and a removable 2-up seat for even more carrying capacity while riding solo. Dad set up his machine to use a small action packer with the 2-up seat installed or a larger one with it removed. He also found a great deal on a Yamaha Accessory lockable storage box which is handy for trail riding.
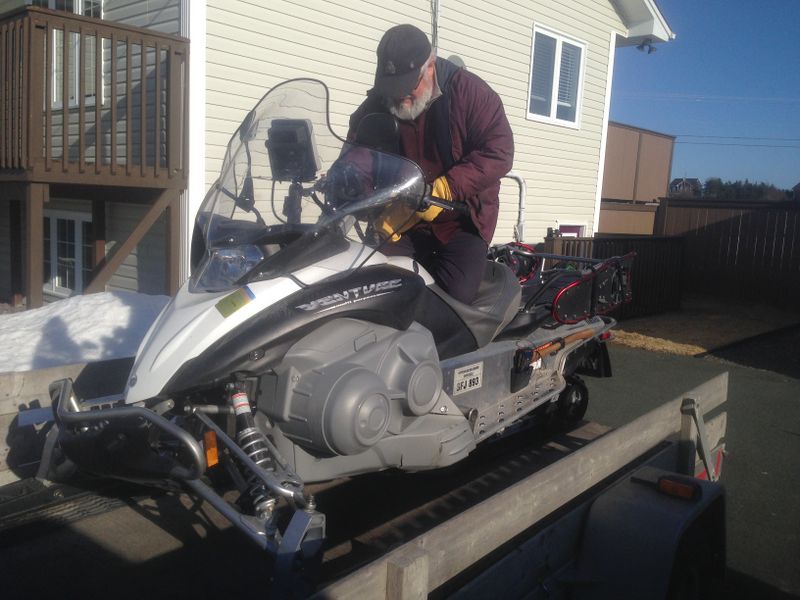
Dad had the first service done at the dealership and this year in February 2017 I went through the machine as he was soon due to leave for the West Coast on a week long snowmobile adventure.
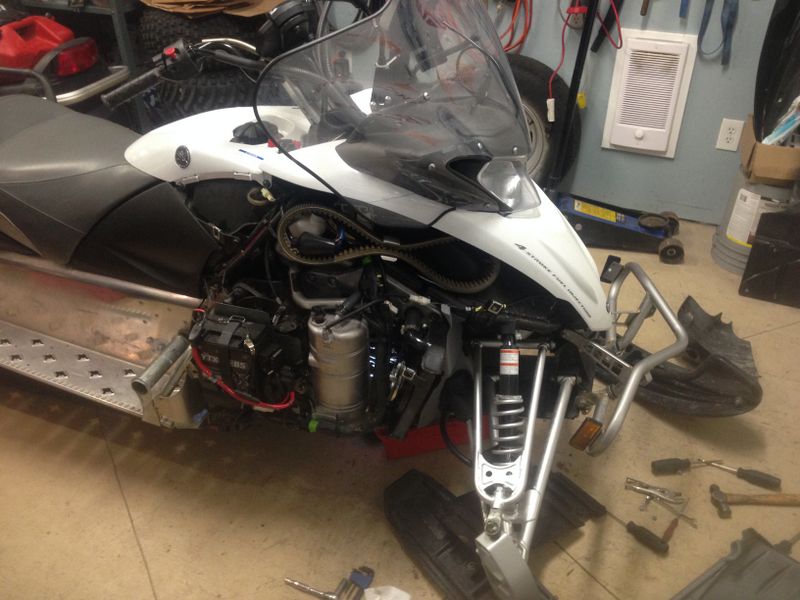
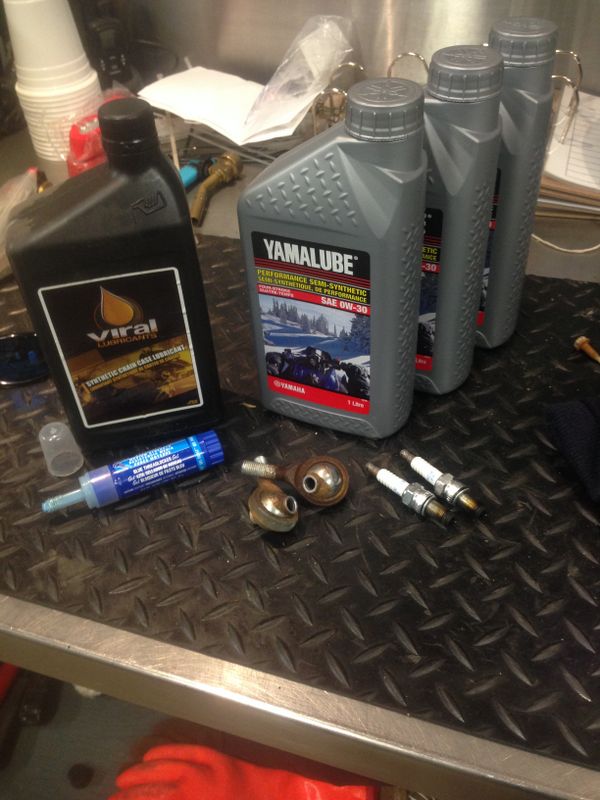
I inspected the front end and found a lot more wear on all the moving parts than I expected for a 3 year old, 2000km machine. The most important (and only parts in stock at the local dealer) were the outer tie-rod ends which had a lot of play and could be dangerous if they failed on the trail. The lower ball joints, A-arm bushings, top shock bushings and top steering stem bushings will all need to be replaced later.
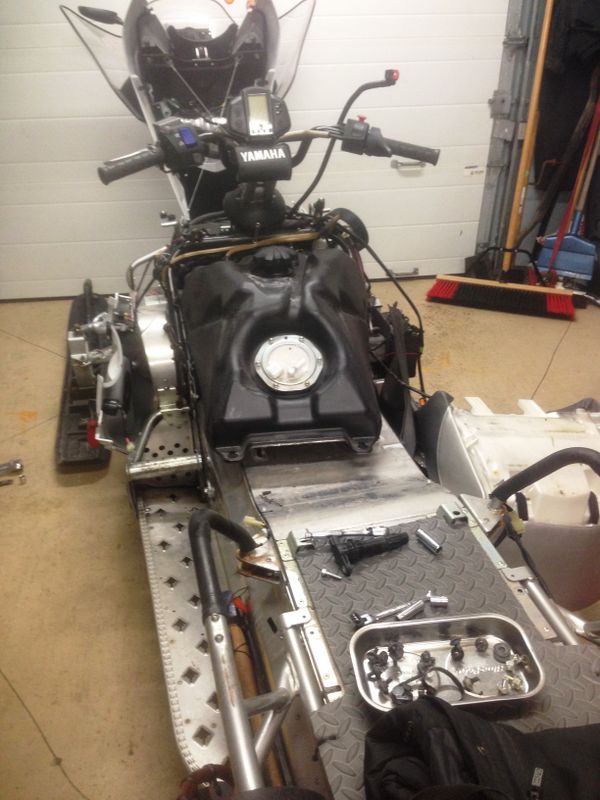
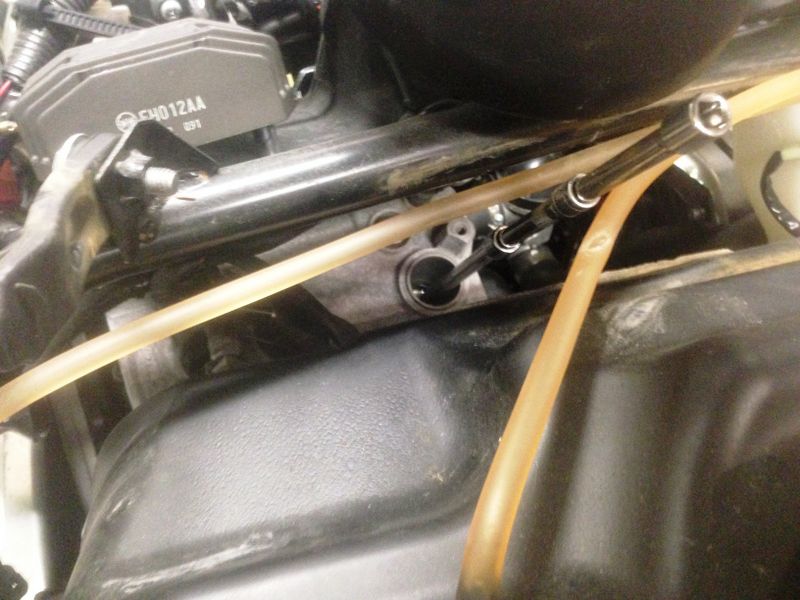
Earlier this winter Dad had trouble starting the machine in Indian Bay after inadvertently putting in a can of old gas they had stored at the camp. They eventually got the sled running but he wanted to change the spark plugs fearing they may be fouled. To inspect/change spark plugs you have to remove the black trim pieces between the seat & rear rack, remove the seat, remove black trim either side of gas tank, disconnect electrical and fuel lines and remove the gas tank to access the spark plugs! This was after removing the side plastics from either side of the sled and the white console over the fuel tank.
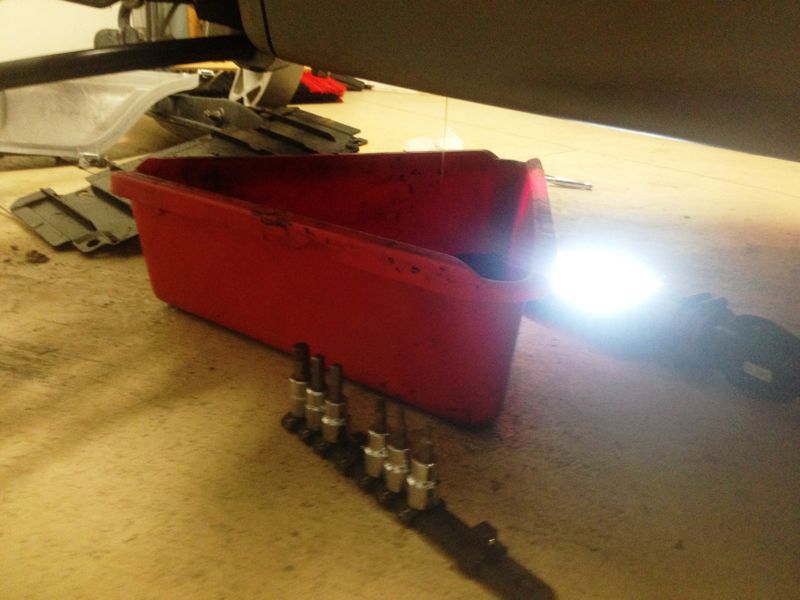
To remove the tank you also have to disconnect the fuel return line which is a PITA so I pulled the tank back and removed the coil packs & spark plugs with an assortment of extensions.
All done and partially reassembled, I used Blue Locktite on all fasteners as they have a tendency to vibrate loose over time on these sleds.
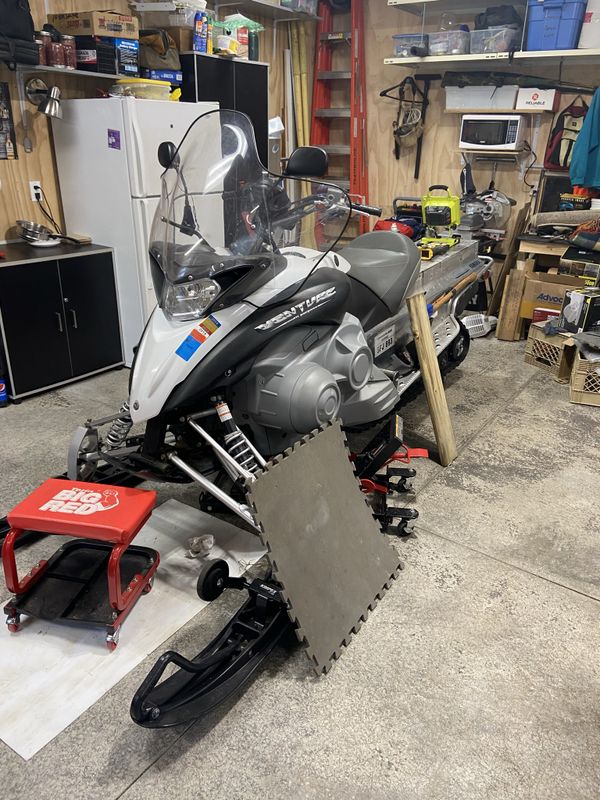
Next it was on to an engine oil change. To access the drain plugs you have to remove the lower grey plastic on the Right side, the Yamaha Accessory full skid plate, the stock smaller skid plate to access the drain bolt on the engine.
The drain bolt is a metric hex bolt closer to the Left side of the motor. While waiting for oil to drain I went through the rear suspension and checked all the bogy wheels, suspension components and hyfax and found all to be in good shape. Next I greased all the grease fittings with proper low temp snowmobile rated grease.
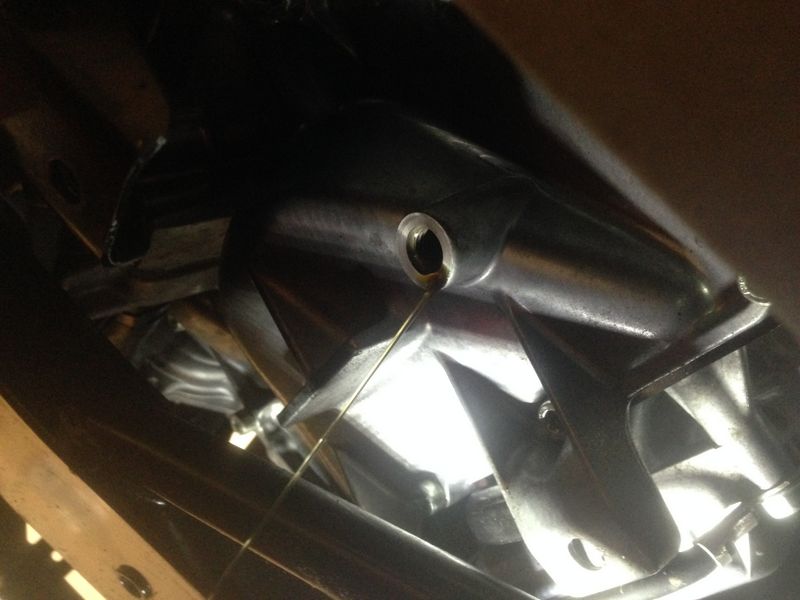
With the engine drain reinstalled and torqued, I drained the remote oil tank which is a 12mm nut on bottom of the tank.
The dealer replaced the oil filter after the initial break in first oil change and they along with the owners manual recommend changing the filter every 12-20,000km, so I didn't change it at this time. To refill you remove the dipstick (which has a low oil warning connector on it) and refill to the full mark. Important to note, you check the oil level while NOT screwing in the dipstick. Once full you start the engine and run for about 5 mins, shut off, wait, and recheck level. When I did this I put in about 2L of oil the first go-round and 0.5L on the second and the oil level remained at the top of the full mark after that.
While refilling the engine oil I drained and replaced the Chain Case oil using a synthetic chain case lubricant, this multipurpose takes about 0.25L of this fluid.
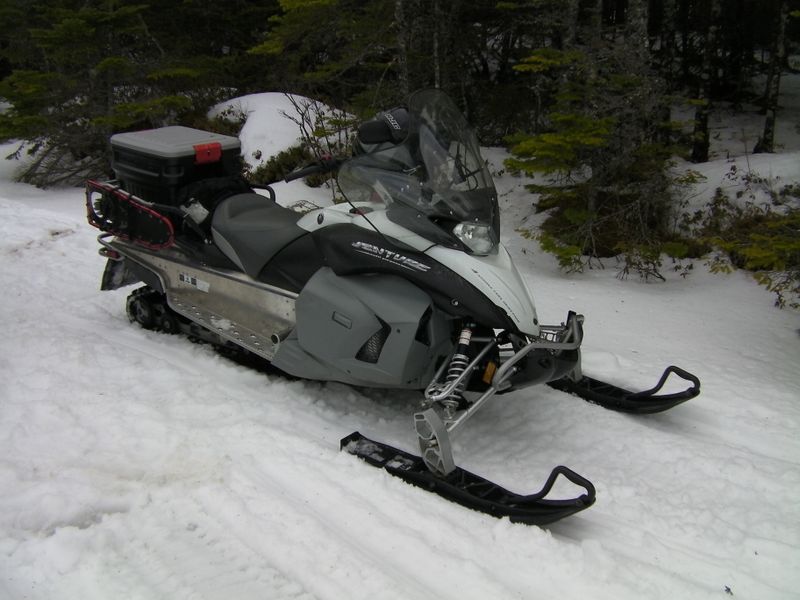
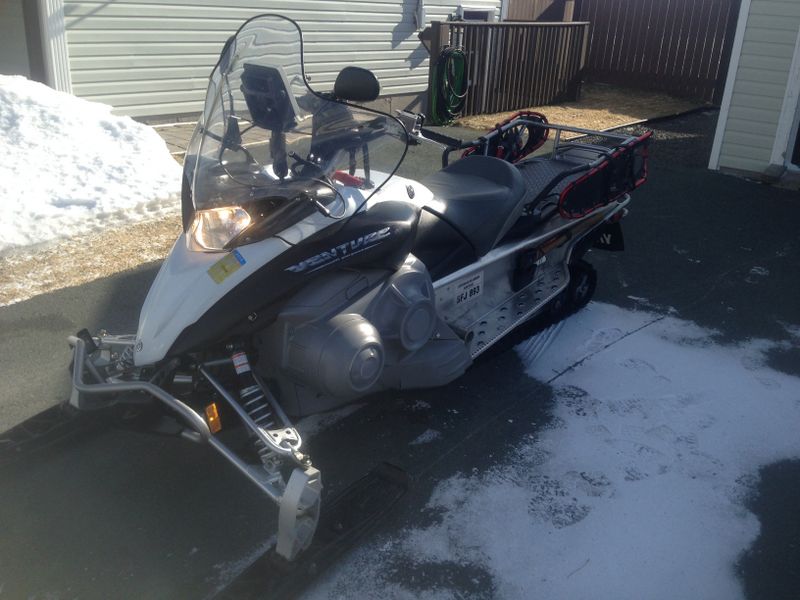
All finished, cleaned, polished, and ready for the next adventure!
February 5, 2021 Update:
As mentioned at the beginning of this article, Dad's machine is a 2011 but was purchased brand new in 2014 at the dealer. It's seen lots of adventures and continues to run well with regular maintenance and really not many repairs.
In January Dad and his Buddy Kevin removed the bumpers and rear racks to sand out any rust and scratches and prep them for a fresh coat of paint. This will keep the sled not only looking great but protected from the harsh winter elements as well.
All the parts were primed, coated in color match paint and topped with clear coat for maximum protection and a lasting finish.
The sled runs great and looks awesome as well!
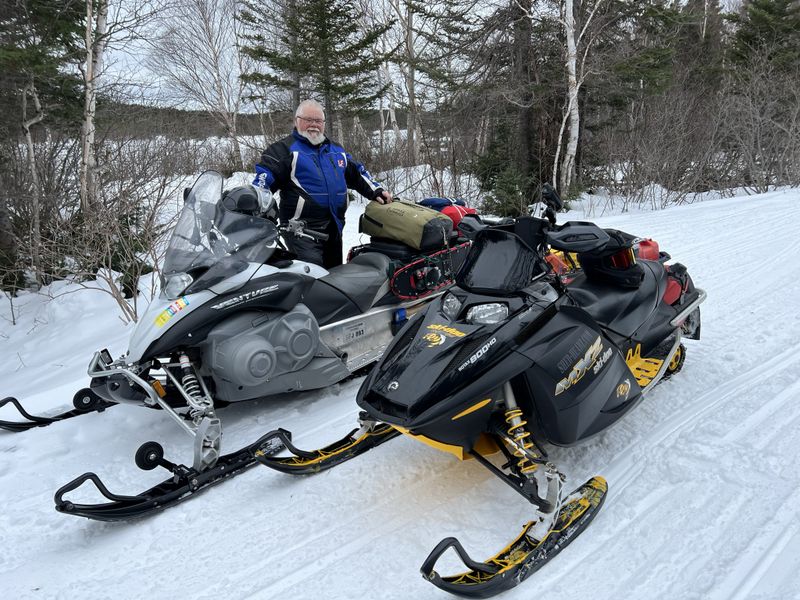
March 5, 2021 Cape shore Ice Fishing trip with myself and Mark French.
March 2023 Indian Bay trip with me.
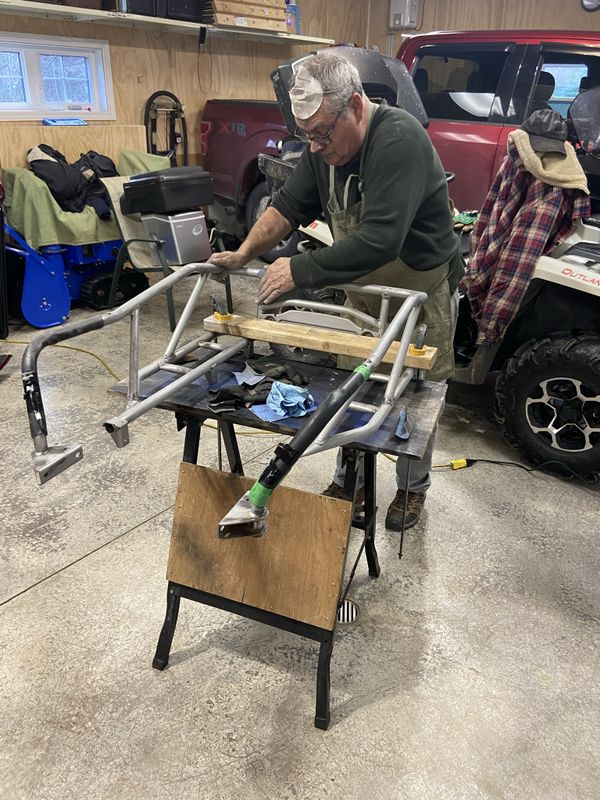
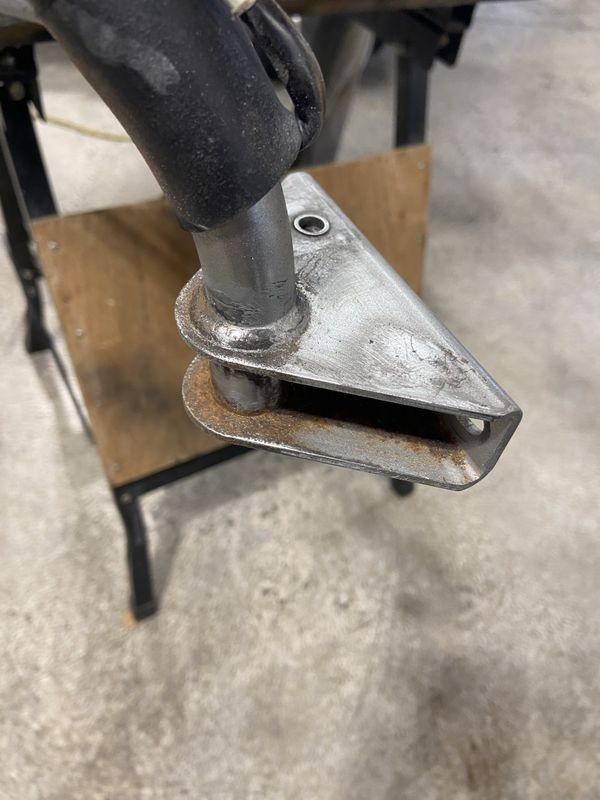
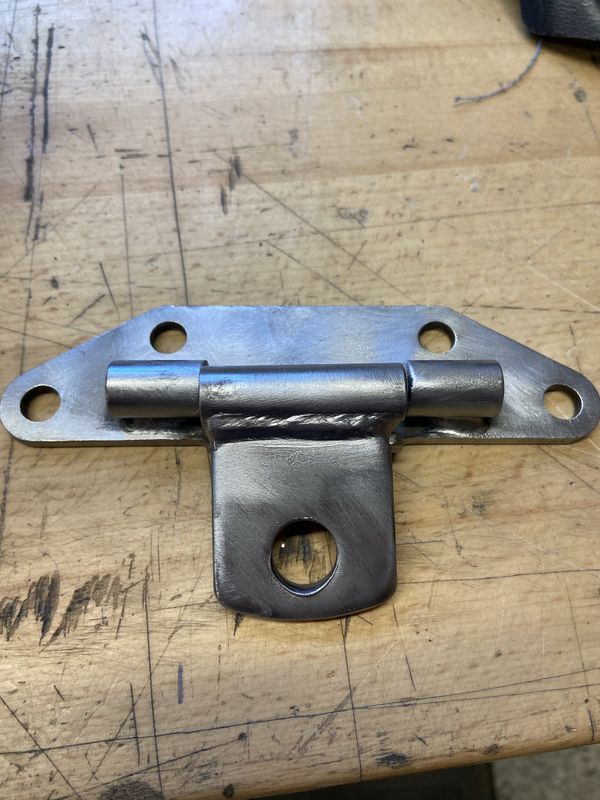
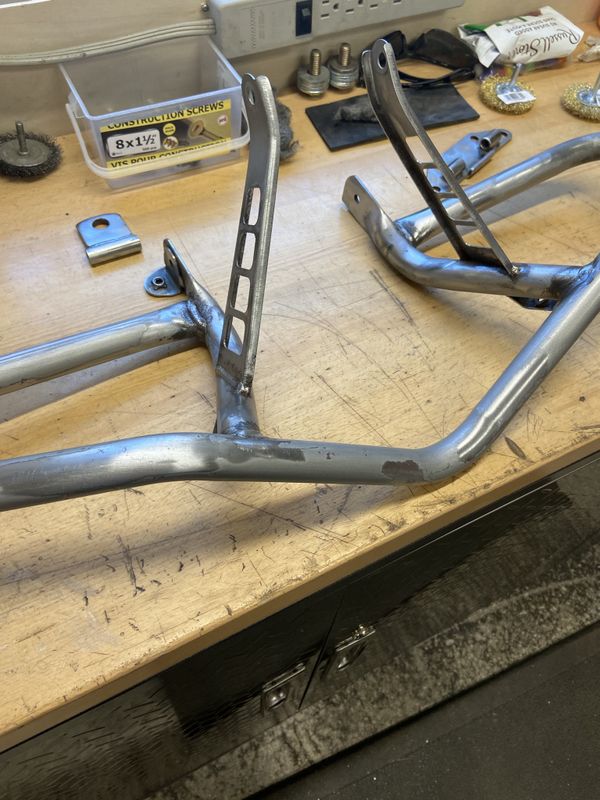
March 2026: Dad's Multipurpose is still running strong. The only issue he had this year was a cracked off snow flap mount from having gotten stuck on one of his rides. His buddy did a fine job welding and making the mount even stronger than it was.
That's one large muffler!
Fresh paint and its good as new! Only thing left is to reinstall the snow flap and trailer hitch.
Dad logged another 500 or so km on the clock this winter having taken advantage of these great snow conditions as often as possible!
Cheers, MIKE
Copyright © 2025 Michael Smith |