| How To: Ice Fishing 101 Beginner to Proficient Fisherperson |
Ice fishing is one of my favourite winter activities, as well as being one of my favourite ways to catch trout. A well frozen pond; gully; or lake will give you access to fishing areas not accessible in summer without a boat or long walk around the shoreline. It's as simple as it sounds, you make a hole in the ice, suspend bait in the water and either leave it stationary or actively jig it to attract attention of your quarry. This article is not just a how to, but more of a how I did it from starting out years ago to where I am now. Many people have many different approaches to the sport, this was and is mine.
Ice fishing can begin with two feet, a heartbeat and some minimal equipment which I will get into in Level 1 below. If your new to the sport it's great to chat with people local to and familiar with the area you would like to fish. They may pass on knowledge of dangerously thin ice conditions, what kind of fish to expect, bait to use etc. They may even invite you to tag along to learn the sport, although don't expect a whole lot of knowledge sharing on their favourite fishing hot spots!
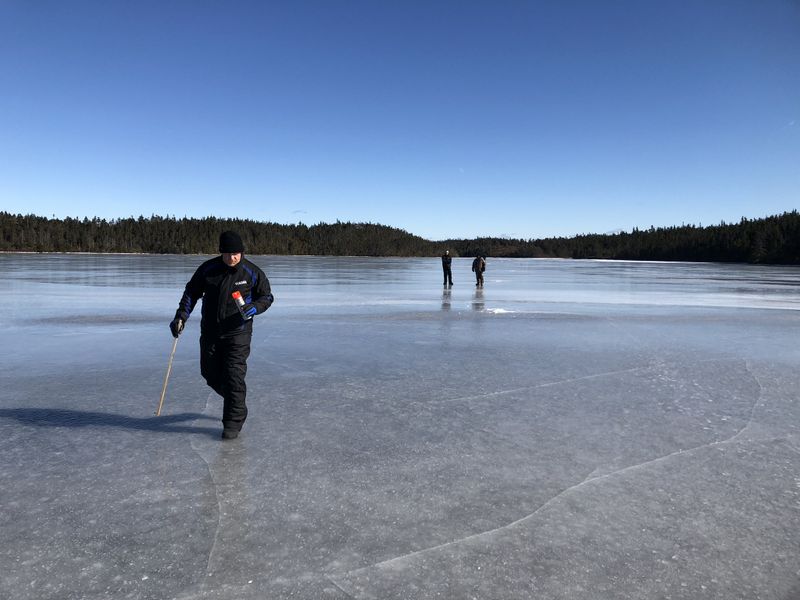
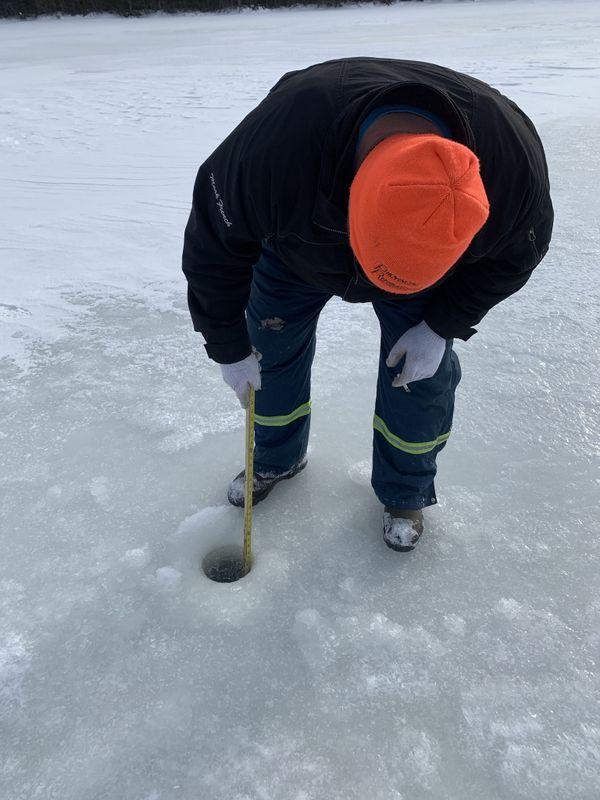
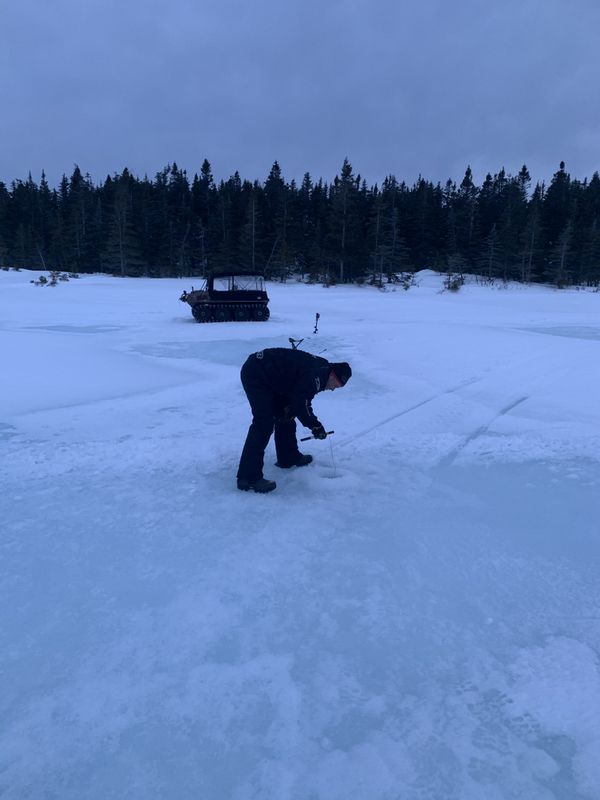
Most important when you set out, before doing anything else, is to CHECK ICE THICKNESS EVERYWHERE YOU PLAN TO TRAVEL on the body of water. This is especially important here on the East Coast where ponds often don't freeze well.
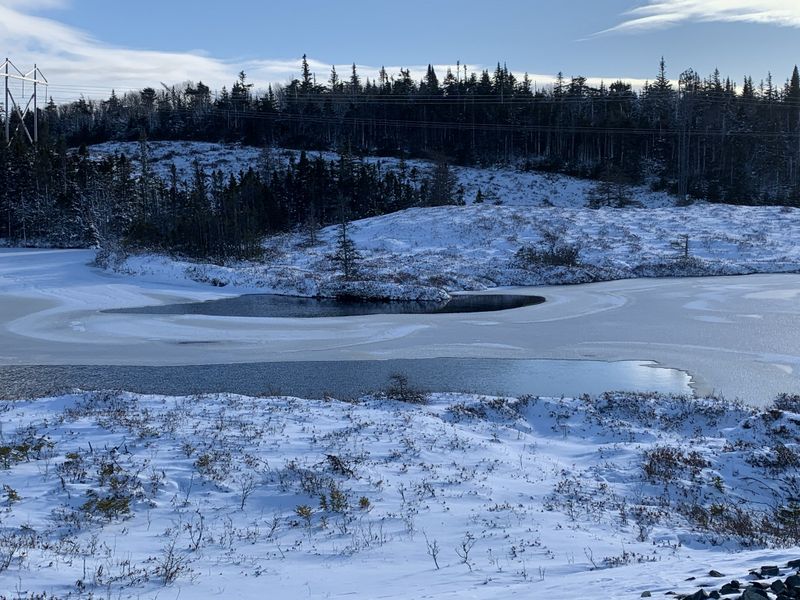
Ice is never consistent especially here in Newfoundland where temperature swings drastically throughout the winter. Ice thickness will change from the centre to edge of a body of water, from pond to pond, week to week and year to year. These open areas of water appeared after a brief mild spell in February 2021, they may appear frozen a week later (especially deceiving if there is fresh snow cover) but ice will be dangerously thin here, so CHECK ICE THICKNESS OFTEN when you venture out.
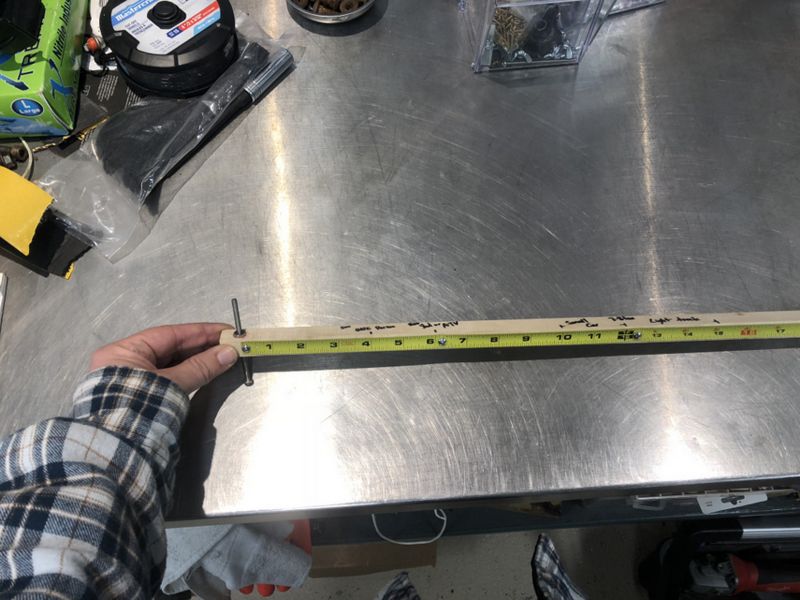
I made this simple ice measuring stick, it has a hook on the bottom to easily grab the bottom edge of ice after drilling a hole, a regular measuring tape will also work to get an accurate reading.
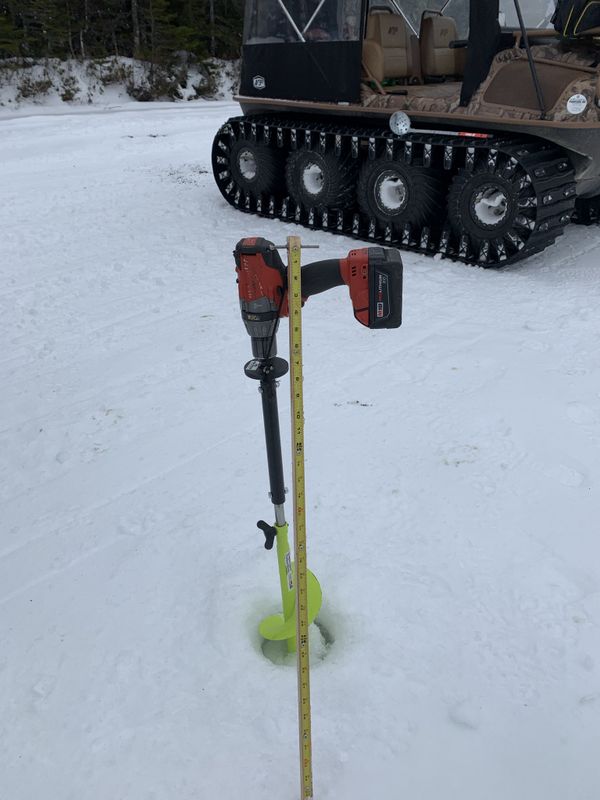
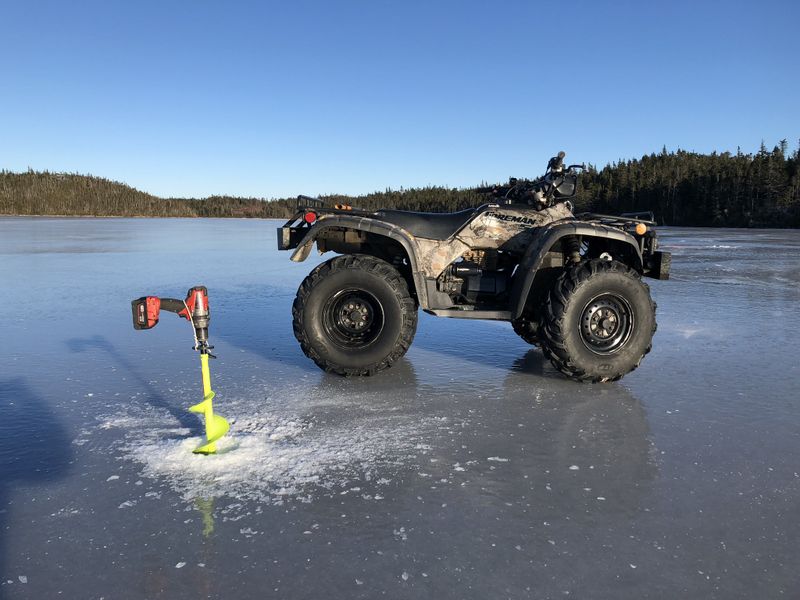
When drilling a lot of safety test holes a cordless drill adaptor for your Ice Auger makes the job effortless. Check out this highly recommended upgrade later under level 4.
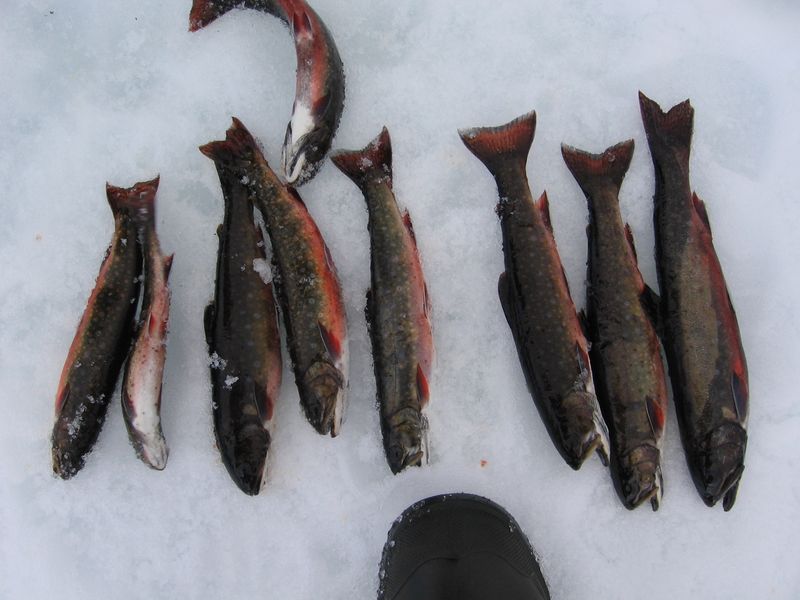
It should go without saying, winter is cold so DRESS WARMLY. You don't need a super fancy brand name snowmobile suit, dressing in multiple layers with an outer wind breaking shell will suffice. However, having spent many years in the country, take my advise and invest in a great pair of insulated waterproof winter boots. Blundstones and plain old work boots aren't going to cut it for a full day standing on ice, frostbite is real. I've had great success and comfort with Dunlop ThermoPlus boots, and Winter rated Lacrosse Alphaburly Pros. You can check out my reviews under CLOTHING/FOOTWARE on the Outdoor Lifestyle Product Reviews page.
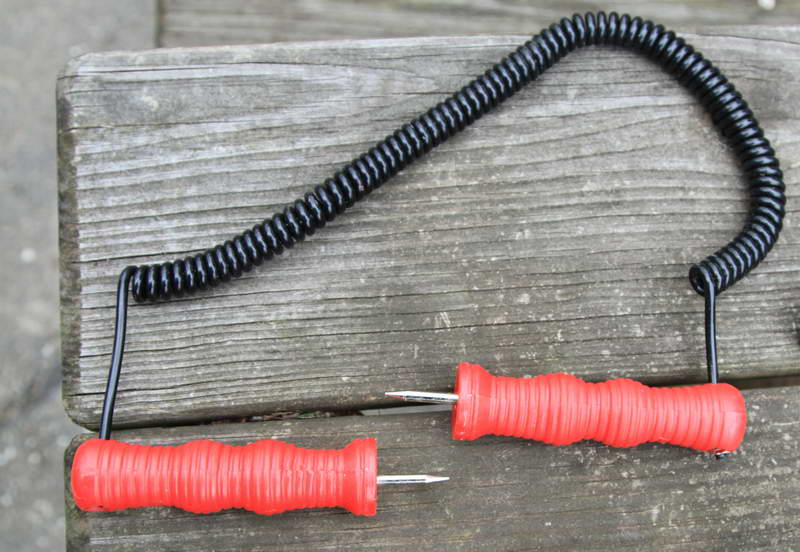
Ice picks should be the first piece of safety equipment you purchase (or fabricate) before wandering out onto the ice. Wearing these around your neck will give you instant access should you fall in, holding these and jamming them into the ice will make it so much easier to pull yourself up out of the water. Please check out this link to CBC-NL and the Rovers Search and Rescue Ice Safety Demonstration. It could save your life.
Ice is slippery especially when wet, a pair of slip traction aides that over your boot are very helpful especially when the ice has no snow cover.
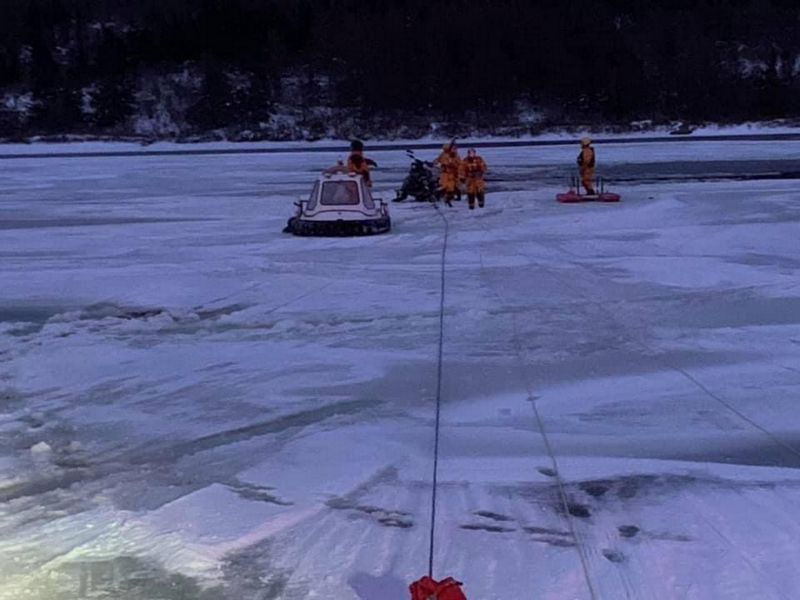
Stay safe and DON'T TAKE UNNECESSARY RISKS and have to call these guys, or worse a coroner.
Level 1: Necessary Basics - Getting Started
Before you set out on your maiden adventure you are going to need to make some lines and pick up some bait. There are 1000 schools of thought on bait that vary greatly from person to person and region by region. Here in NL the most popular is the good ol' tub of worms available at most gas stations. Other popular options are frozen mini shrimp, fat back pork, salt pork, corn, raw moose and more.
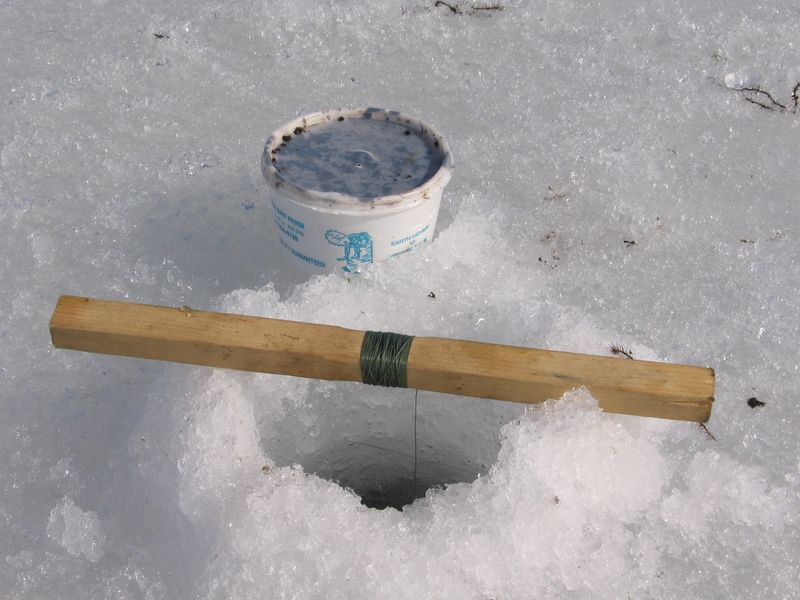
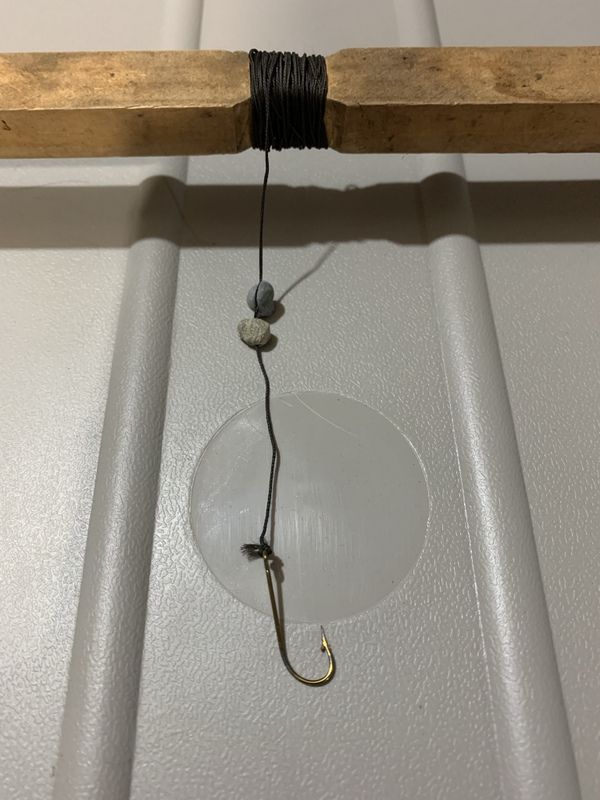
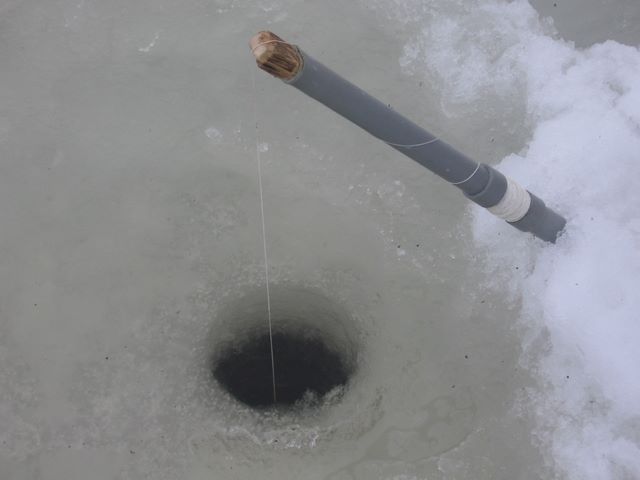
Ice fishing lines can be cheap and easy to make. I cut down strapping to make square dowels 3/4"x3/4", some people use round dowels from a hardware stove, wood splits from the woodstove, PVC pipe and more. Length is anywhere 12"-18" long. My original lines were centre wound, (I whittled the centre of the stick slightly to hold line) the line tied firmly to the stick, then I wound about 20' of black ice fishing braided line which should work every pond I plan on fishing. If you fish deeper water you'll need to install more string. Ice line needs to be strong & durable as it will freeze into the hole throughout the day. Finally I attach a simple hook using a fisherman's knot and 2 lead weights to make the baited hook sink.
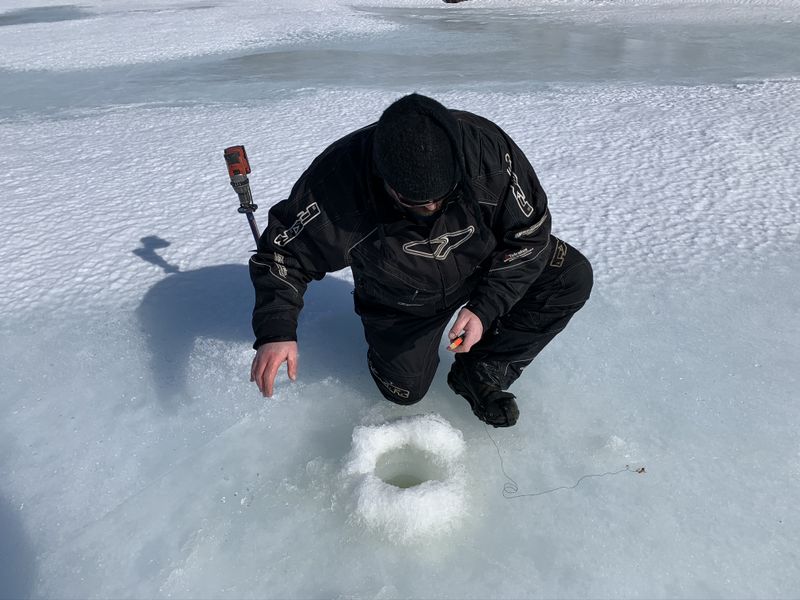
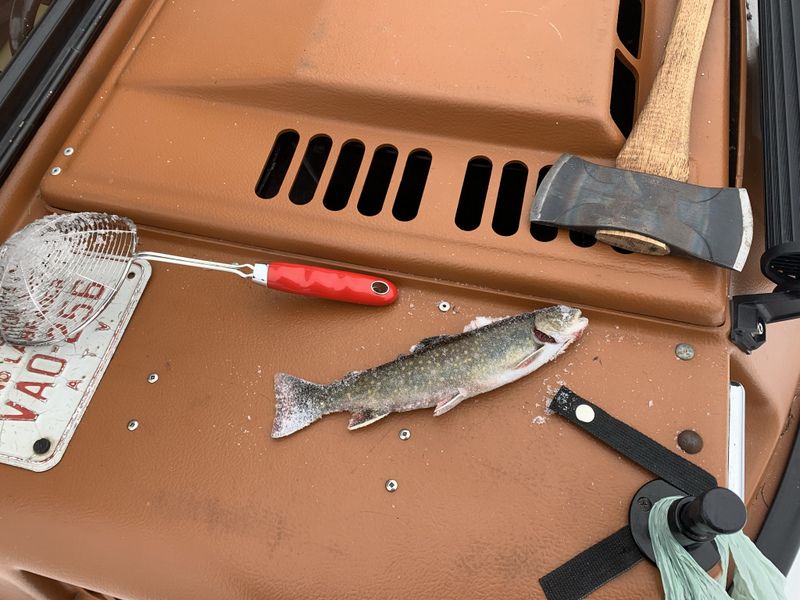
Now that you've suited up, determined that the ice is safe, and have travelled to your desired fishing location, you are ready to start fishing. The first thing you will need to do is make a hole. Many people start out with an axe or hatchet, but let me save you from that torture and misery. First, it requires a lot of effort, you end up with a huge hole on top especially if the ice is thick. Then as soon as you break through the bottom the hole fills with water and you end up soaking wet trying to widen the bottom of the hole big enough to get a hook down & fish up.
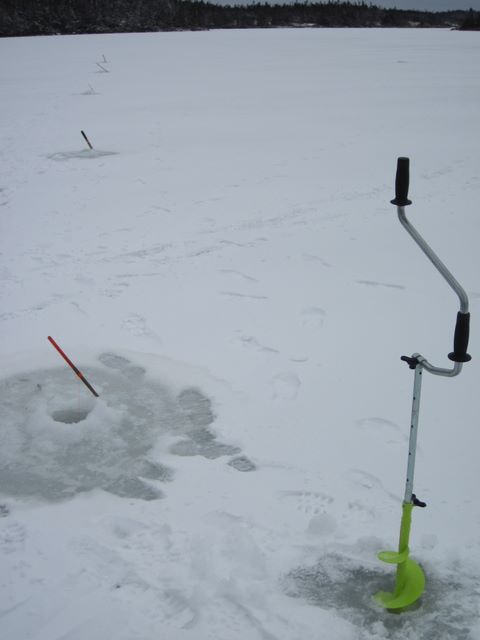
Get a loan of, pick up used at a yard sale or purchase up a new Ice Auger, and make sure the blades are razor sharp or it will be quite more difficult to use. I started out using my father's 4" ice auger, but I find 6" much better as the hole freezes up a lot less and it's easier to clean out when it does eventually freeze.
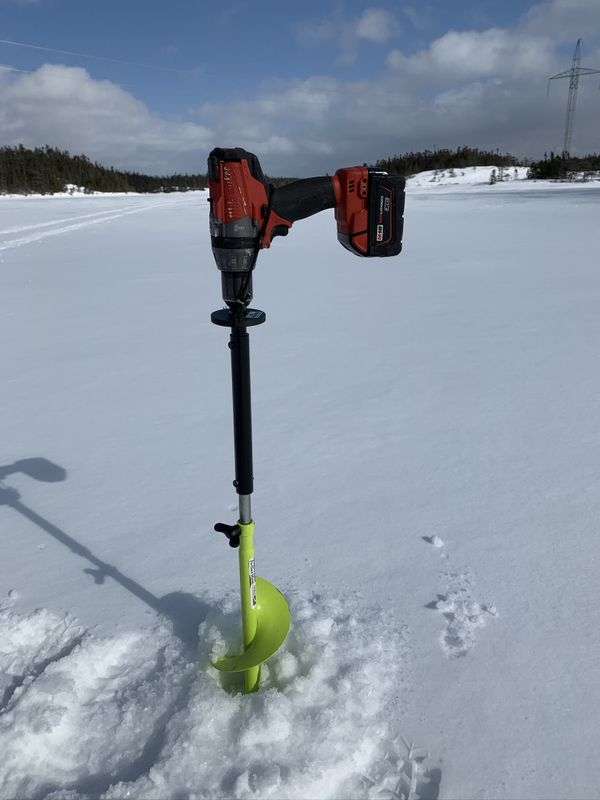
I had an old (orange) 6" auger which had to be sharpened as it did not have replaceable blades, I later upgraded to my current (lime green) MORA 6" auger which has replaceable blades and a folding handle for easier transport.
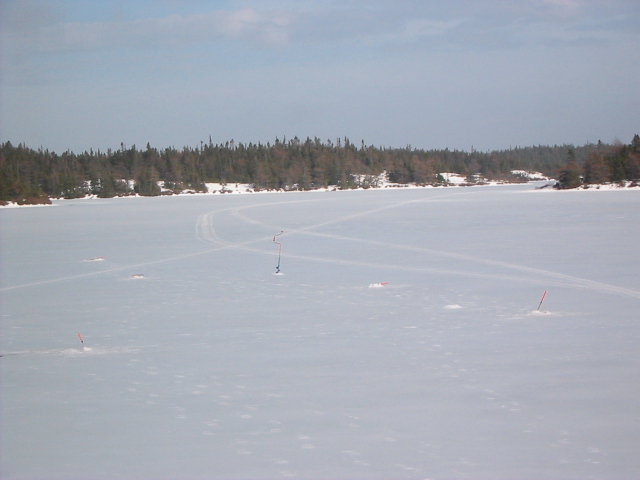
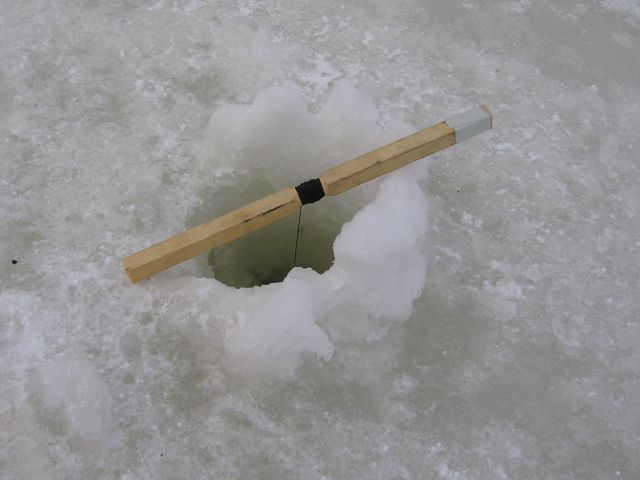
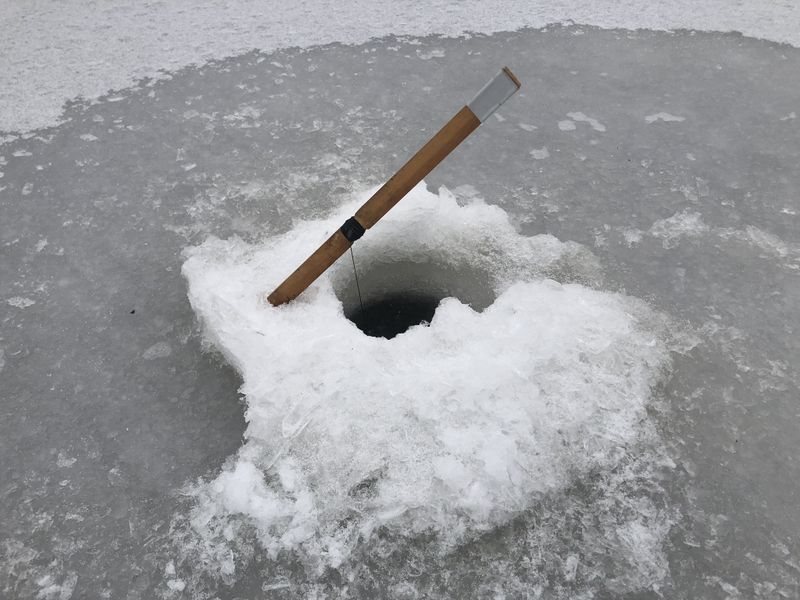
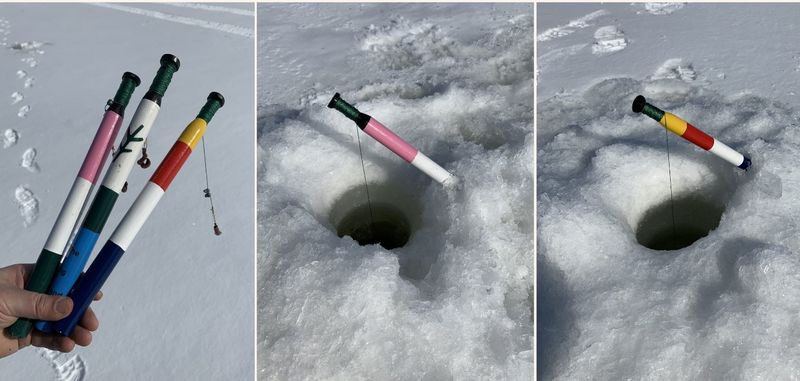
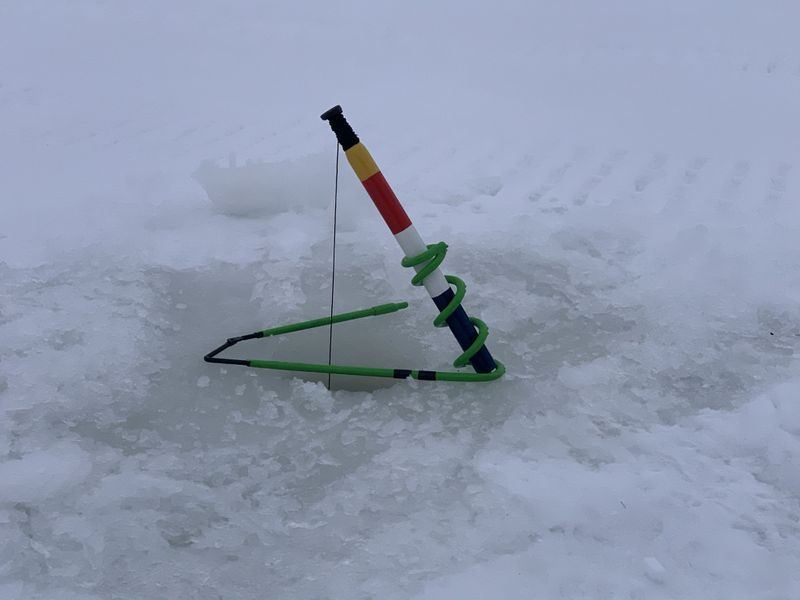
When setting lines everyone has their own method. Mine is to let out line until it goes slack (bait on the bottom of the pond), then I wind up the slack, then wind up another 6"-12" so the bait rests above the bottom with the stick laid across the hole.
Some people like to dig one end into the frozen slush but that's personal preference.
Different designs no wrong answers, some people build some pretty unique sticks and sometimes paint the end with a bright colour.
Here in NL we are allowed three ice fishing lines per person and they have to be closely tended while they are set. You can cook up a lunch, but you can't take off for a long hike or snowmobile ride leaving the lines unattended.
Bring spare lines, inevitably at some point one will break. Maybe it gets stepped on, maybe (and this is the story you tell your buddies) a big ass fish took the bait and snapped the stick!
Very important: check local fishing regulations for daily bag limits and possession limits (if your staying more than one day on a trip), they vary by area and also vary by species.
Level 2: Enjoying the Sport - Additional Equipment
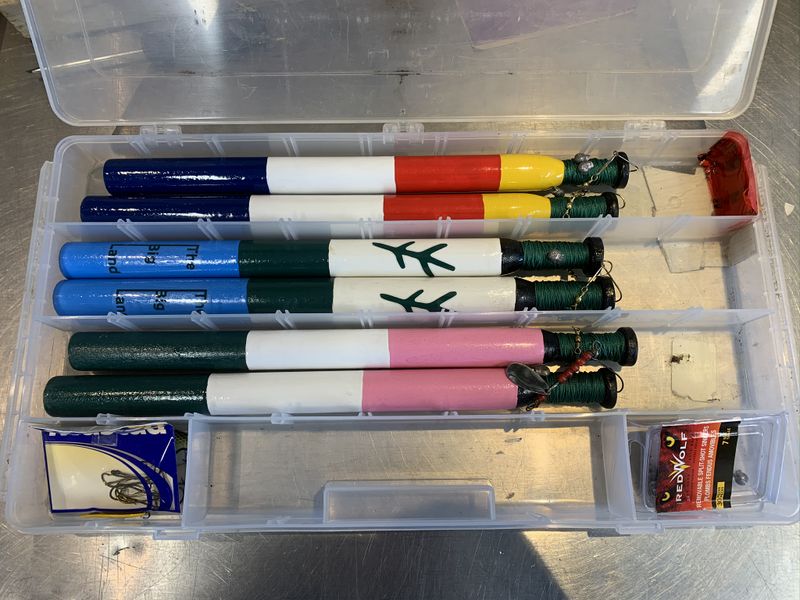
One of the first additions to my ice fishing arsenal was a simple storage case to keep fishing lines organized, tangle free and prevent them getting lost particularly during the off season. On some lines I substitute the hook for a swivel to swap between a plain hook or a favorite spinner if I decide to sit and actively jig a line.
After a few trips of freezing your hands scooping ice chips out of the hole you'll want to invest in a scoop. This can be one "borrowed" from your home kitchen, or purpose made and purchased at your favourite outdoor supply store.
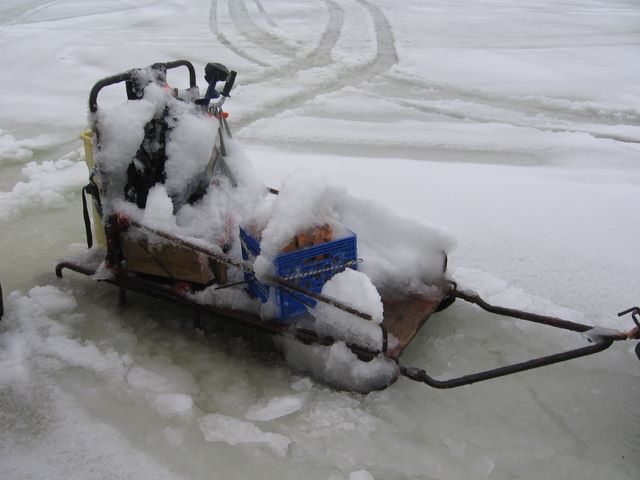
A tow behind sleigh can be very beneficial to ease the burden of carrying ice fishing gear into and across the pond, especially if you have a long hike. Stow your knapsack, lunch, auger and maybe even a folding chair and tow it with ease rather than carry it all on your back.
Level 3: If You Don't Like to Walk, Ride
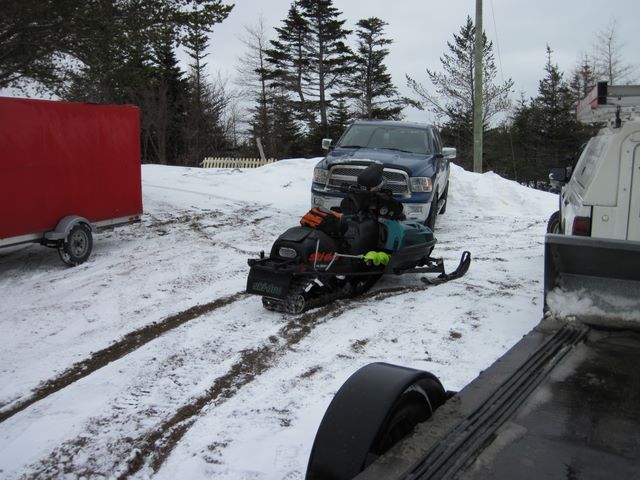
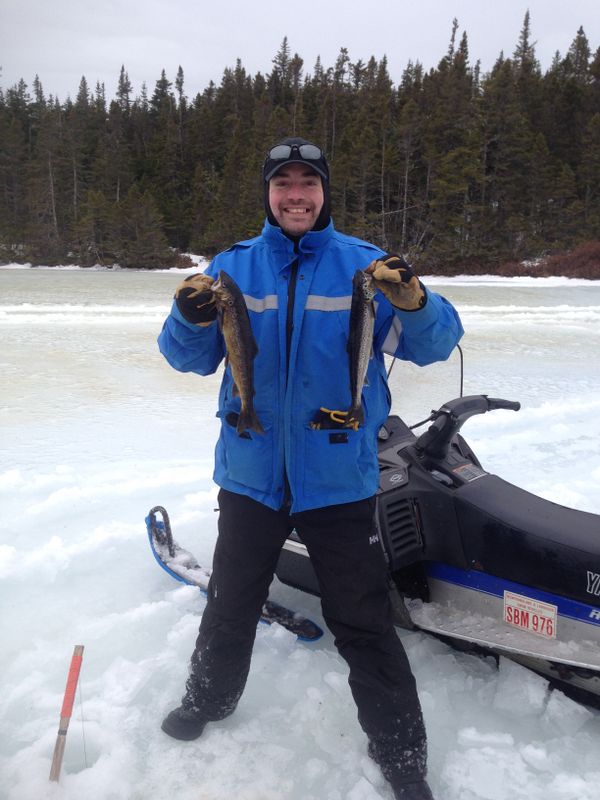
My boots were made for walking but my body was built to ride! Quite simply, if you develop a love for the outdoors Snowmobiling or ATV riding is a lot of fun all by itself. However it also makes travelling to your favorite ice fishing destinations with all your gear much faster and easier.
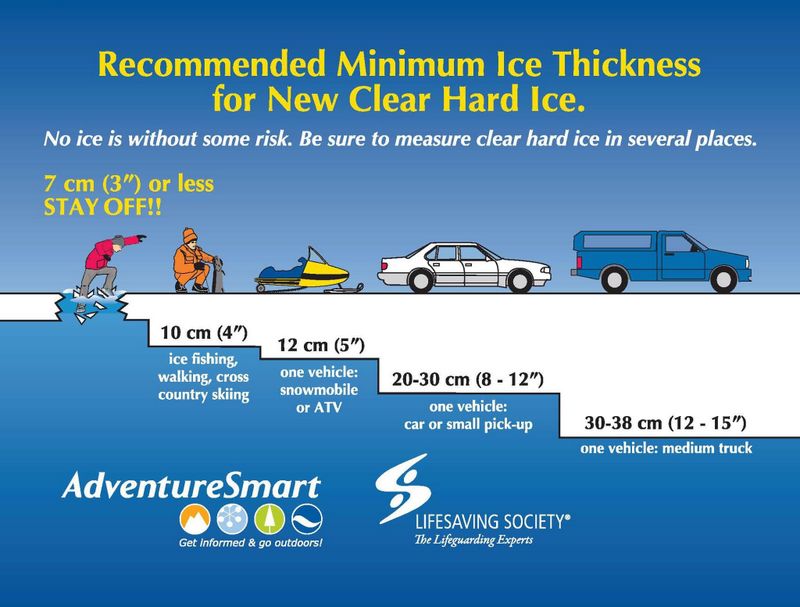
Of course this also adds a layer of risk in that ice must be much thicker to support the weight of a machine (see Adventure Smart Chart above).
These vehicles can be expensive, but they last a long time if you take care of them. I purchased my Honda Foreman brand new over 20 years ago and it still runs strong. If your mechanically inclined, picking up a used machine to repair on your own can come at a great cost savings. You can read up on my Honda Foreman, Skidoo REV snowmobile and Argo 6x6 projects on the Projects in the Shed page.
If you really enjoy the sport, or wisely prefer working smart before working hard, I highly recommend investing in a Cordless Drill Ice Auger adaptor, especially if you already have a cordless drill. My Milwaukee M18 Fuel drill makes short work of drilling 6" holes, easily making 60-100 holes (depending on ice thickness) on a single fully charged battery. I recommend taking a spare battery with you and using low range. Hold the drill firm with the battery pack wedged against your leg in case the auger bites into hard ice. Check out my full product review and additional information on this inexpensive accessory HERE on the Outdoor Living Product Reviews page.
Level 5: New Prettier Lines and a Handy Upgrade
In January 2020 I came across these beautiful locally handmade ice fishing lines at my favorite outdoor supply shop, Outdoor Pros in Mount Pearl. Craftsmanship is 2nd to none, they come painted in colours representing the Labrador & Republic of Newfoundland Flags, I even modified one painting it to represent the colours of the modern Newfoundland Provincial Flag! Check out my review and a couple modifications I made to them HERE on the Outdoor Living Product Reviews page.
Later I picked up these very inexpensive HT rubber coated ice stick holders (at Canadian Tire) which work perfectly for my newer ice fishing sticks which are top wound (as opposed to centre wound like my old sticks).
Level 7: Automatic Hook Setters
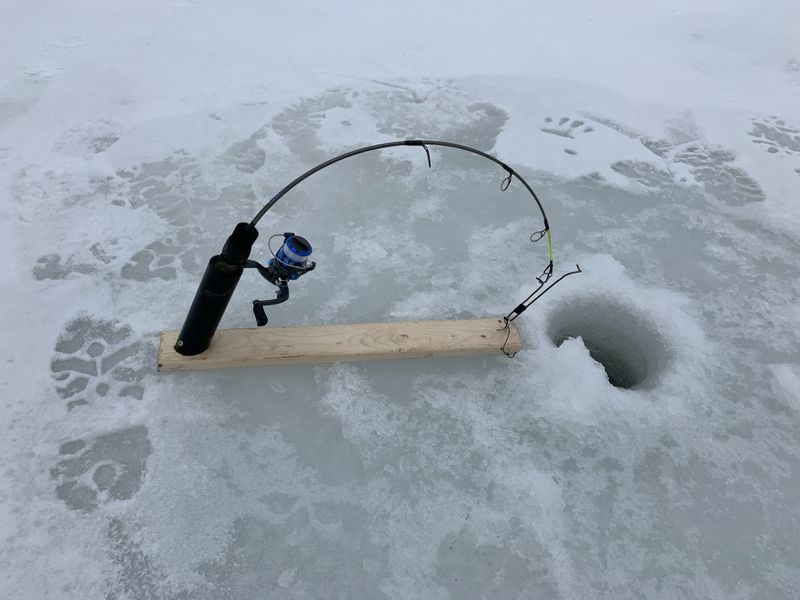
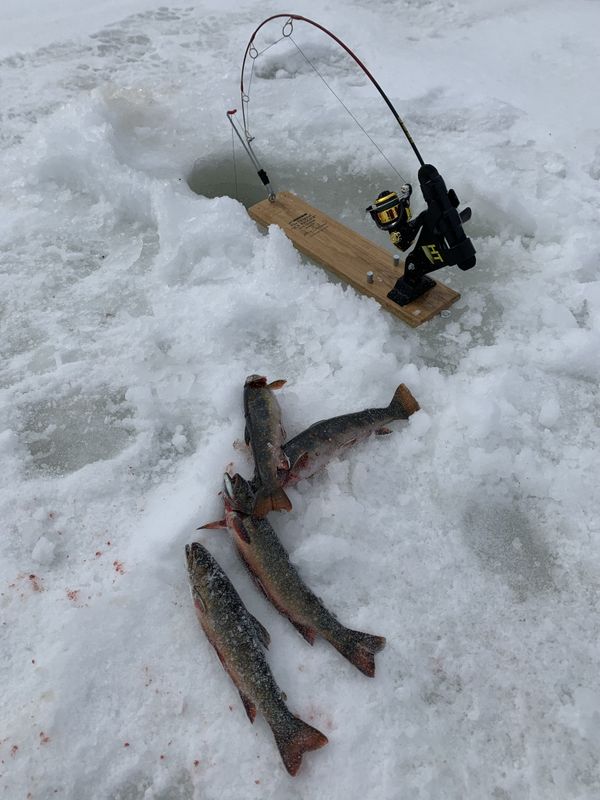
This equipment upgrade is beyond Next Level so I skipped a whole level in this ice fishing guide! I recently joined an online Facebook group Newfoundland Hunting and Angling Junkies which has been an invaluable resource for tips/tricks and a great place to share pictures and stories with fellow outdoor enthusiasts. One of the articles I came across was of people building these automatic hook setting rigs, also referred to as a Jaw Jerker. They're made from a 28" Ice Rod/Reel combo and an HT ice fishing tip up rig, modified with a custom bent metal rod - the hook setter. It basically holds the rod tip down spring loaded like a mouse trap. Check out my complete How To: Building Automatic Hook Setters on the projects in the shed page.
One of my buddies decided to make his own rig using a piece of ABS pipe, cut on an angle and screwed to a 3" board. It works equally well for even less money.
We've been using them on every trip for the 2021 winter trouting season and they work amazingly well. No more bait pulled off the hook and missed fish!
I even picked up this soft shell case at Canadian Tire to store my two automatic rigs and some traditional lines. This keeps all of my equipment protected, organized and all in one place.
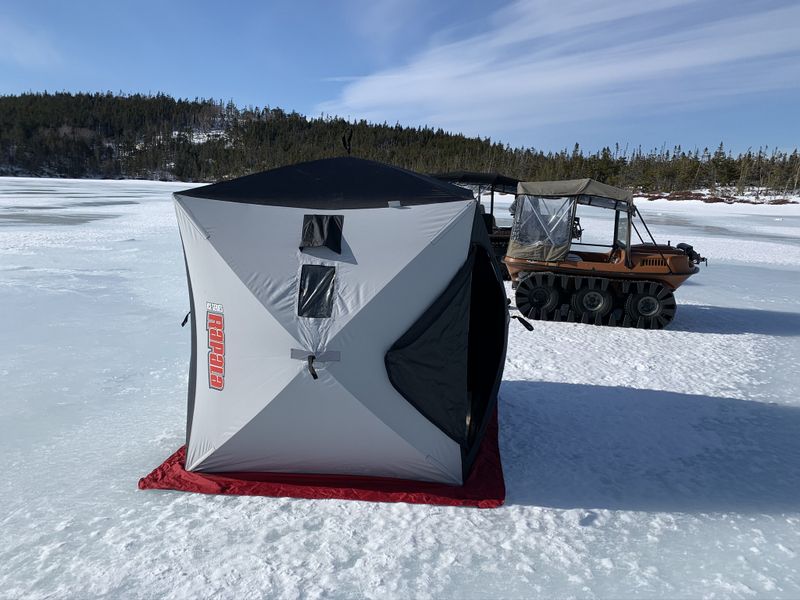
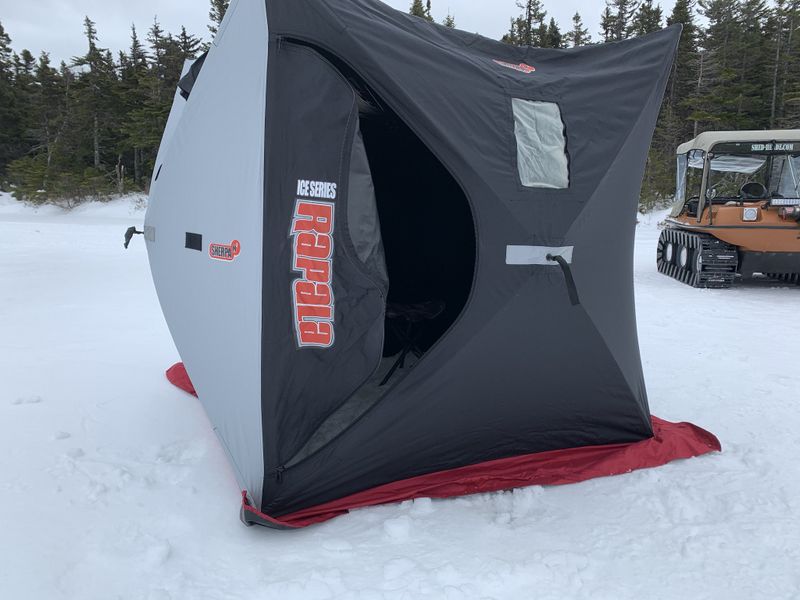
Another purchase I made in 2020 was this quick set up Ice Fishing Shelter, I've actually used this more than I thought I would. It sets up easily in about 2 minutes and makes it very comfortable to fish in particularly on windy, cold, and/or snowy days on the pond. This was actually a lightly used unit from local classifieds which I picked up for a great deal.
They come in all different sizes ranging from this Rapala M2 unit which has a floor space of 6.5'x6.5', up to 8'x8', and onwards to double units 6'x12' and bigger. Some have insulated fabric which is great in real cold areas, mine has a standard single layer.
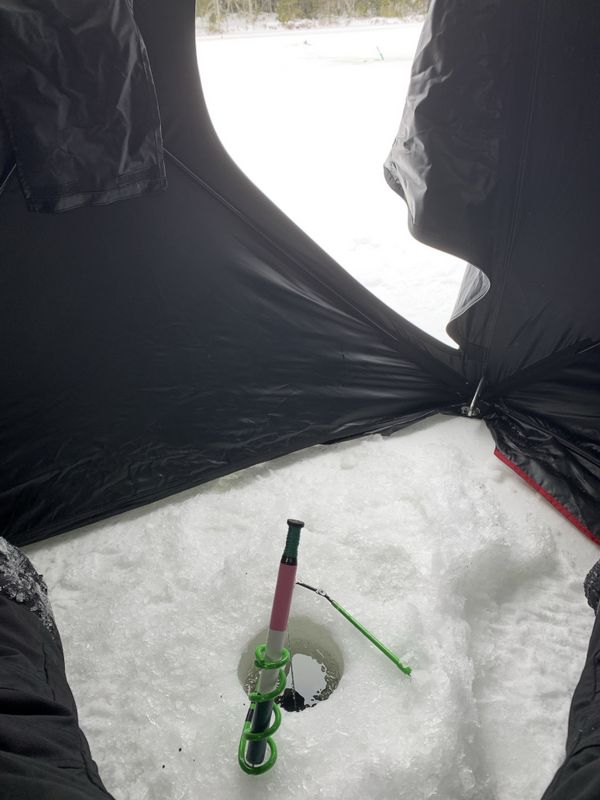
The difference in comfort afforded by these shelters is amazing. Even at -10, protected from the wind in a single layer shelter with no heat source I am able to sit comfortably with no hat or gloves.
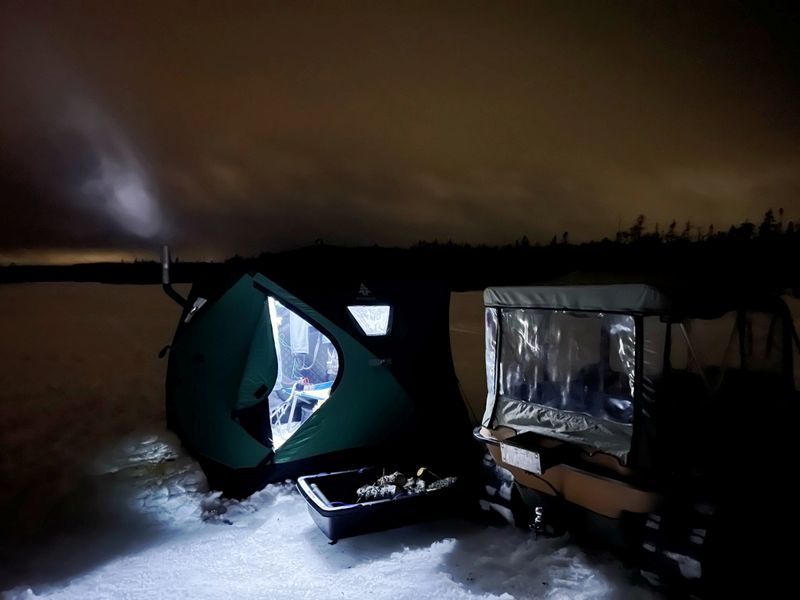
I've also started watching a YouTuber in Labrador who has converted a couple of these into hot tents with a small wood stove for overnight ice fishing/camping right on the lake! A whole new level of outdoor adventure!
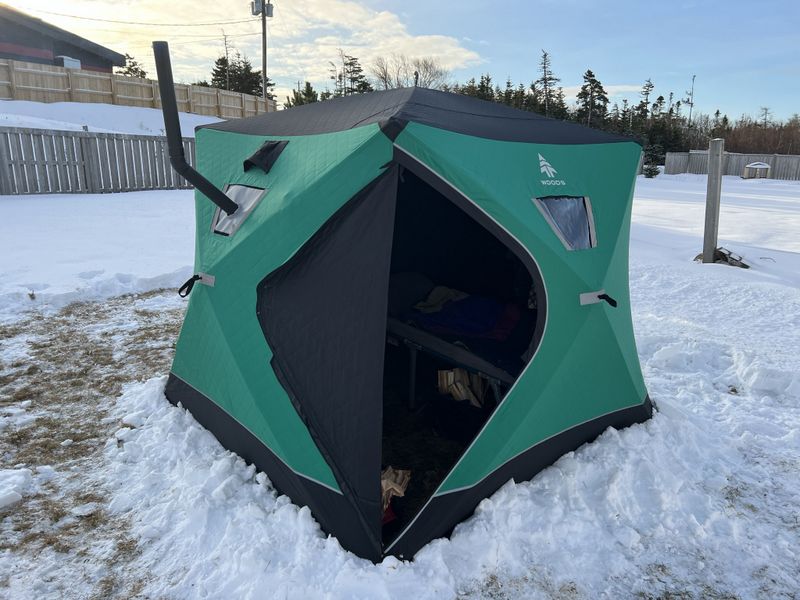
In 2022 I upgraded mu shelter to a larger and insulated Woods four person unit. This size will allow me to fit a campcot inside for overnight camping adventures.
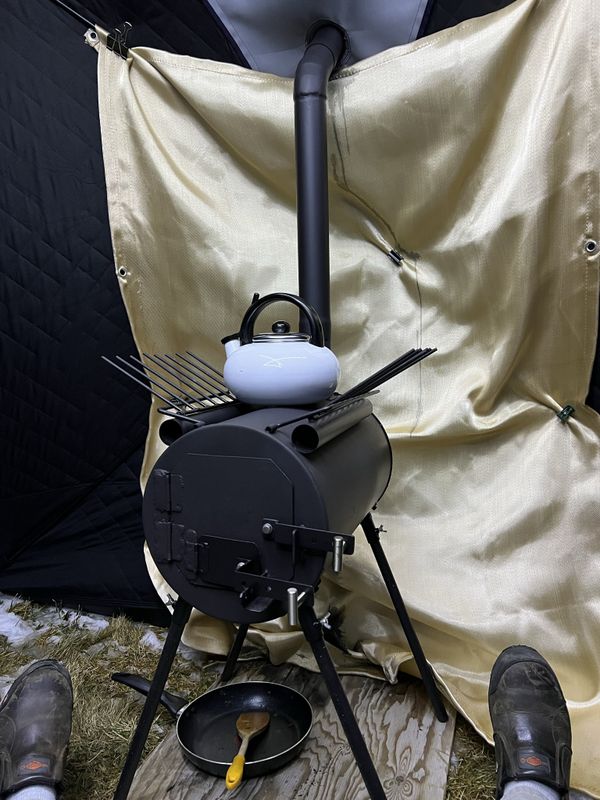
I had a custom stove jack made to replace one of the windows then set up this woodstove for heat. The stove works well but is a little smoky inside when you open the stove door to add/check wood.
First overnighter March 2023.
In 2026 I upgraded my heat source to a Vevor diesel heater which just works phenomenally well. Heat is consistent, requires no chain saw, dry firewood or constant re-stocking, it's also very efficient on fuel burning just 3L in a 12 hour very cold and very windy day on the pond.
Level 9: So Much Gear - How did it come to this!?
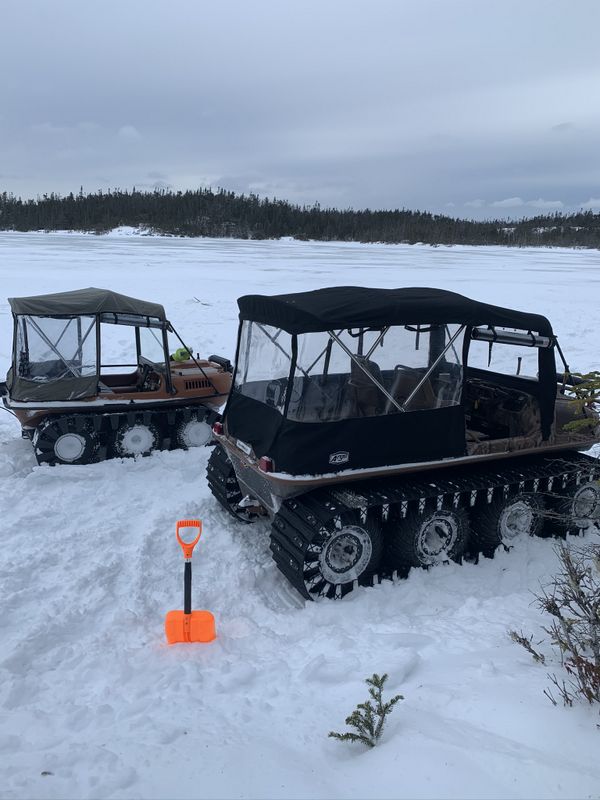
At this point of my life with well over 30 years in the woods I've accumulated quite a hoard of "necessary" equipment for ultimate comfort and convenience while ice fishing and other outdoor activities. Auger, knapsack, a box full of cooking gear, grub, shelter,, heater, tools and more adds up quick. Our Argo's have become invaluable in recent years as they are a lot of fun to operate and can carry a lot of gear a long way with ease. You can check out the rebuild and restoration of my 1989 Argo 6x6 also on the Projects in the Shed page.
Not saying everyone needs an Argo, you can get creative strapping stuff onto a Snowmobile or ATV like we did for many years, even adding a tow behind sleigh for some adventures.
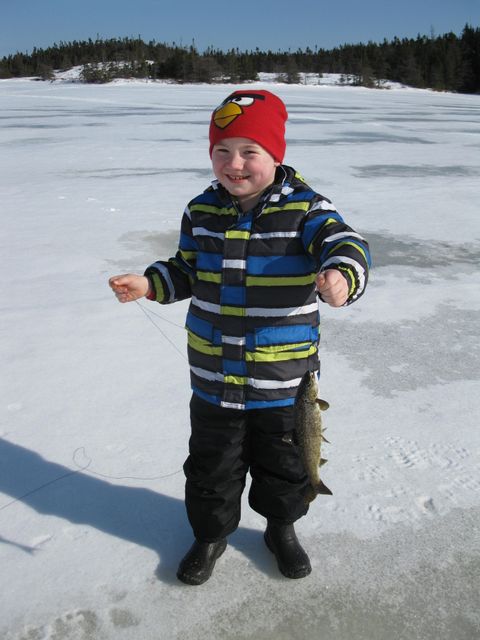
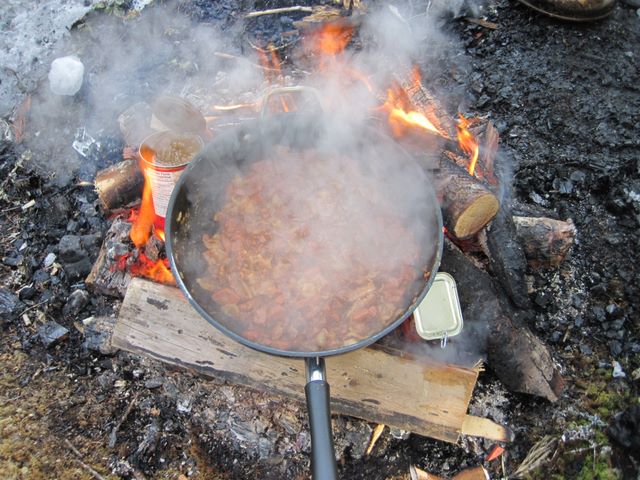
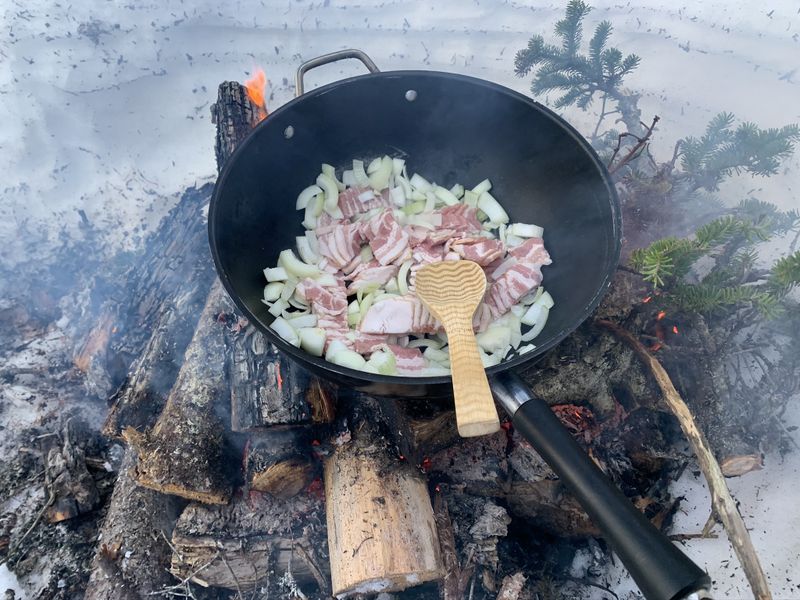
If fish aren't on the bite it can get a little boring stood up on the ice all day so having another activity to come back and forth to is a great way to enjoy the day. We almost always get a fire going after our lines are set, and spend the day back and forth checking lines and tending the campfire on shore. It's a great way to stay warm, especially if you have younger kids with you.
A cook-up is definitely the most enjoyable part of the day for me, there is nothing quite like a warm lunch on a cold winters day. Some of our go to meals include fried bacon, onions and a couple cans of beans; moose sausages; bottled moose and rice; or my personal specially marinated moose, mushrooms and onions with french onion rice. Salt fish or salmon wrapped in tin foil or frying up some of your day's catch are all great meals too!
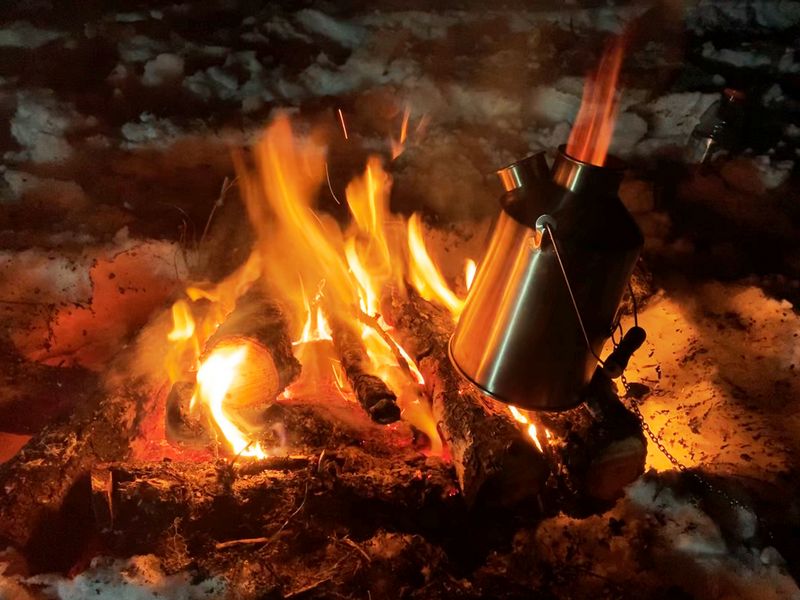
A hot cup of Coffee, Tea or Hot Chocolate is also important!
Check out the entire Outdoor Living Product Reviews page to see what products I've accumulated over eth years for outdoor cooking, outdoor camping, hunting and more.
Cheers, Mike
Return to SHED-HEADZ Main Website
Copyright © 2025 Michael Smith |