|
Newfoundland Grillers Smokers & Boil-Ups Guild |
|
How To: Bottling Moose with the All American Pressure Cooker |
|
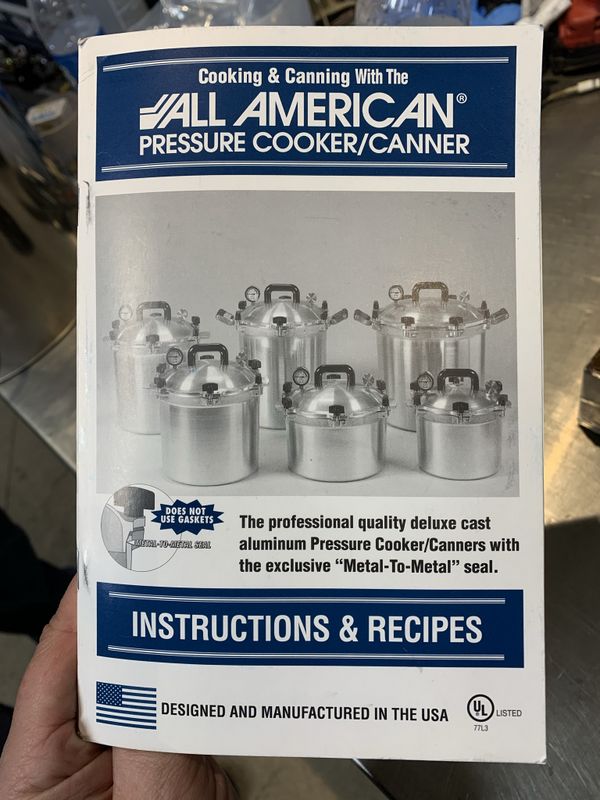
About a year ago Mark French got an awesome deal on a large All American Pressure Cooker/Canner at an online auction posted by our favorite outdoor supply shop Outdoor Pros in Mount Pearl. Mark did a successful run of bottled moose last year and this past week we got together and did another 22 bottles, my first ever.
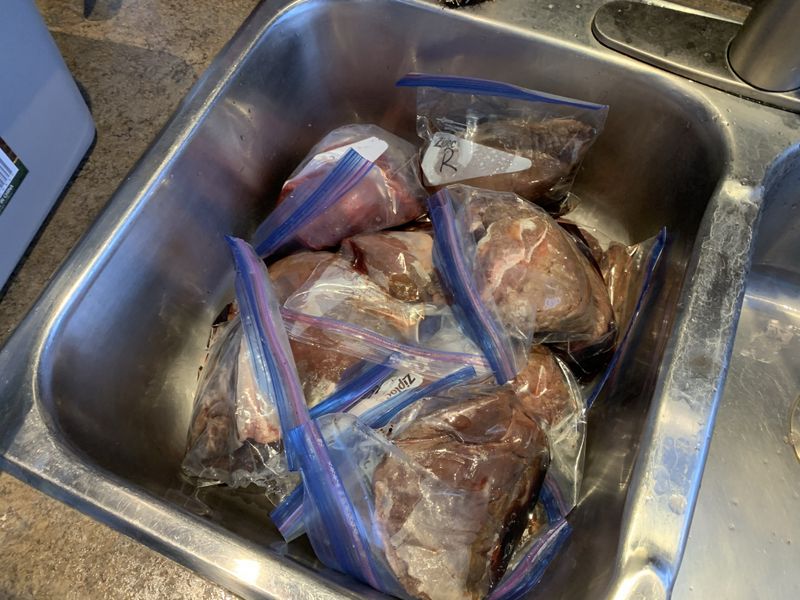
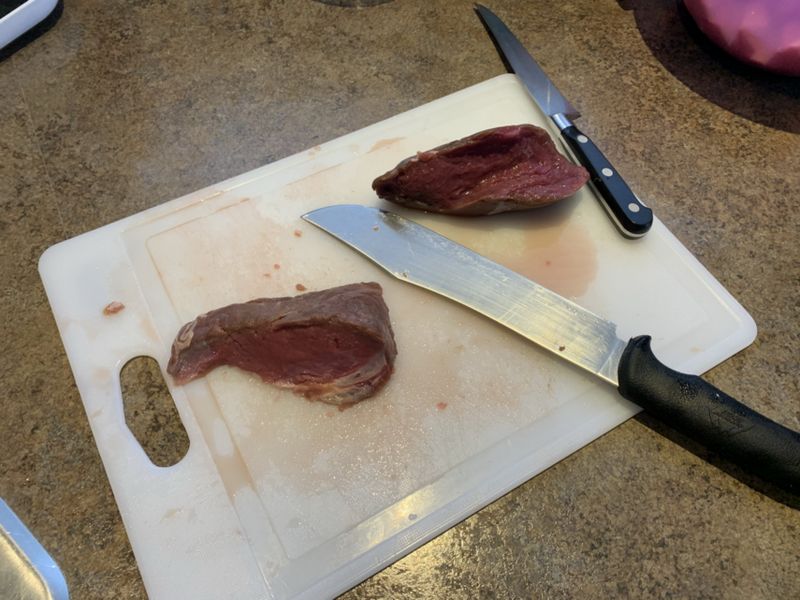
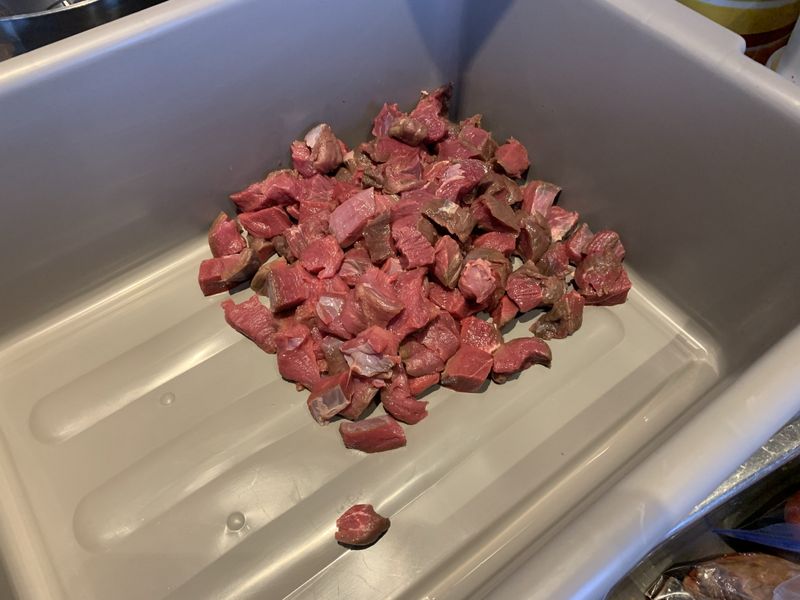
I thawed out a bunch of last years left over moose roasts overnight and got to work trimming and cutting the meat into cubes about 3/4" square.
My 50lb meat totes from Princess Auto once again came in handy, I use these regularly when we process multiple moose each fall as well when we make our own moose sausages.
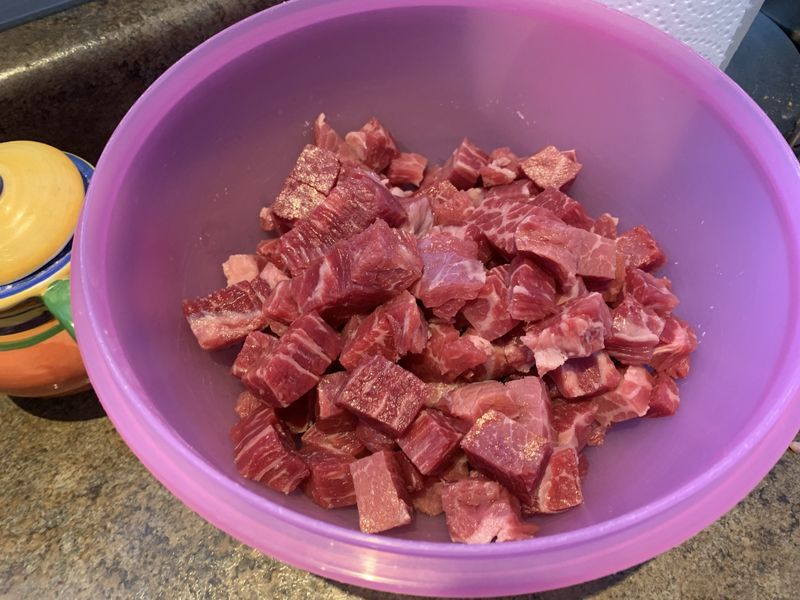
Meanwhile Mark cubed a Costco Pack of salt meat.
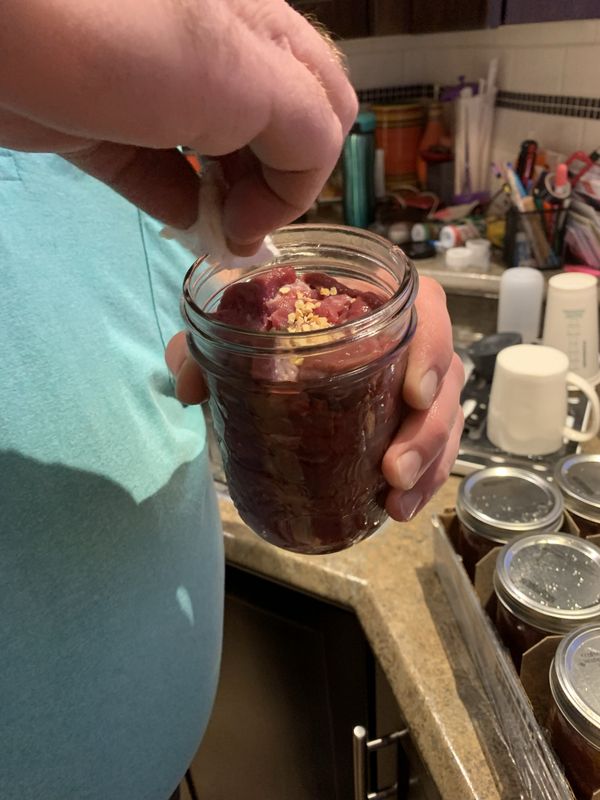
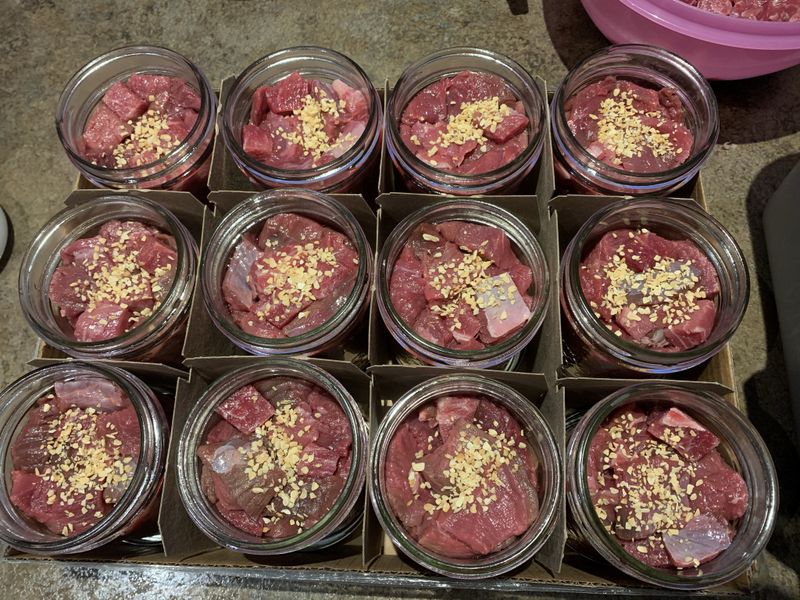
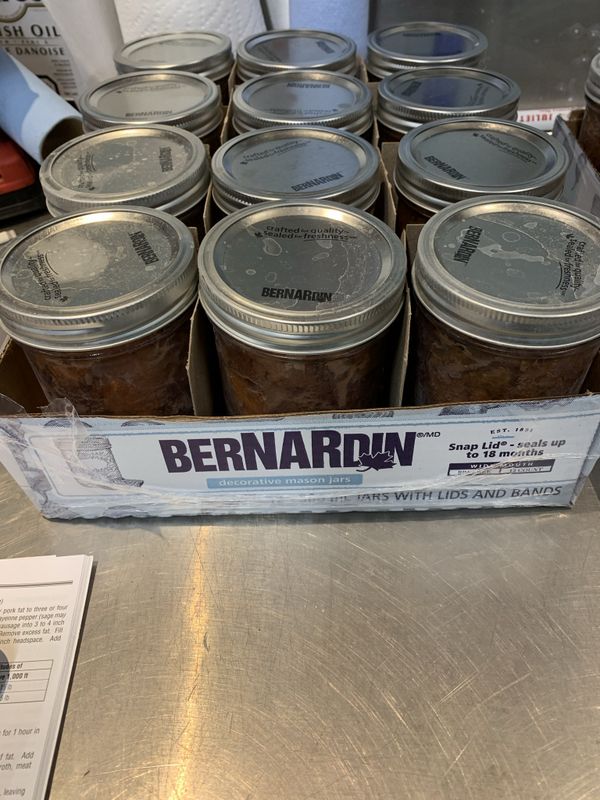
For this batch we used 500ml (one pint) wide mouth mason jars. All jars were thoroughly washed, then 3 cubes of salt beef added, and filled with moose to within 3/4" from the top of the bottle. Three more pieces of salt meat were added on top of the moose as well as a 1/4 tsp of dry minced garlic. No salt was added.
Next the bottle tops were toughly wiped with paper towel to have a perfectly clean surface for the seals. Seals were laid in place and rings installed loose-snug.
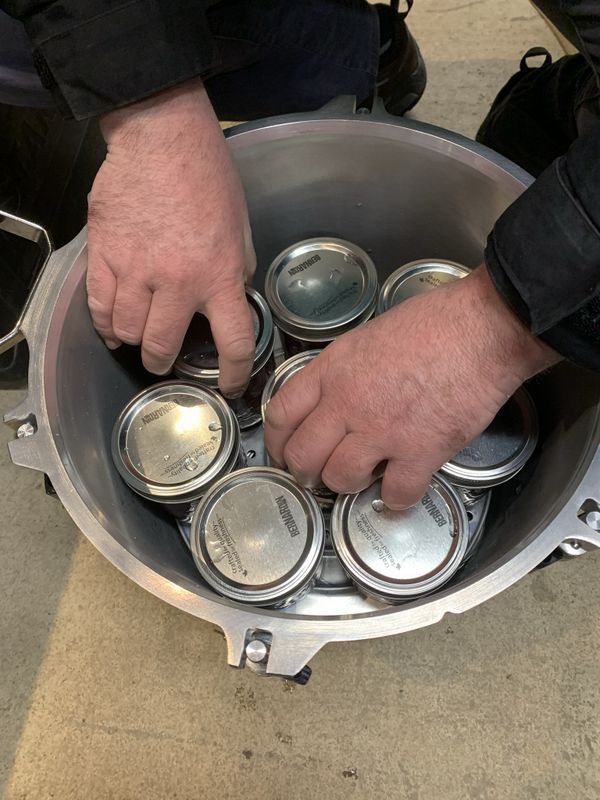
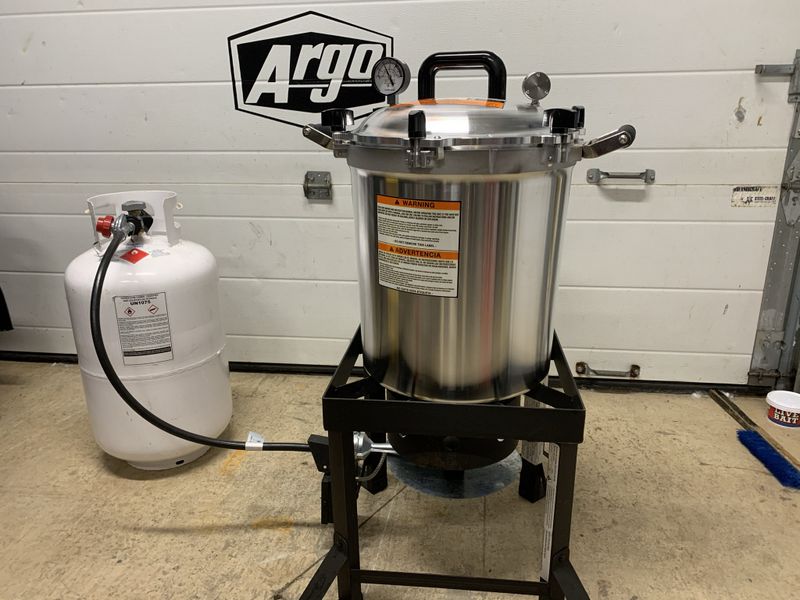
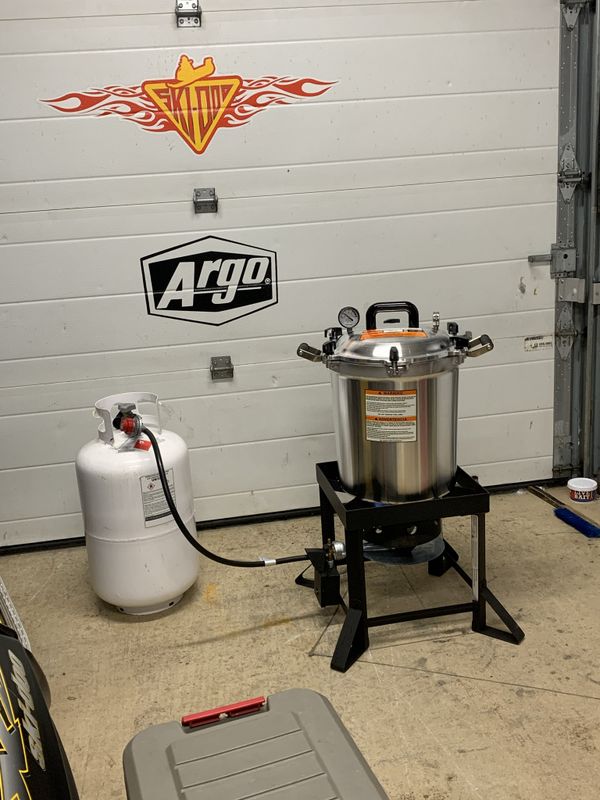
We set up the Pressure Cooker on my propane burner in my garage as it was cold and windy outside. We raised and blocked the overhead door a couple inches, opened the rear window, and had a fan & CO gas detector running the entire time.
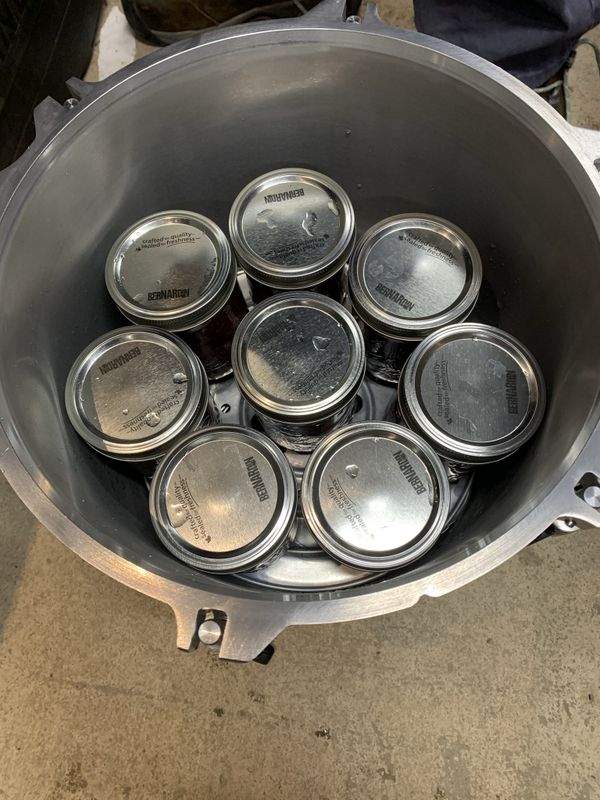
Two inches of water was added to the cooker, then the bottom rack, followed by a layer of 8 bottles, the next ring followed by another 8 bottles all laid in place and not touching. The top tier of bottles was staggered from the bottom layer to promote even cooking.
It's extremely important to read the manual when your using a pressure cooker. There is a lot of important information on what pressure you need to use, how to operate the cooker to maintain pressure, and how long to cook for. For our application at sea level, using cubed raw meat and 500ml jars we needed to cook at 10 PSI for 75 minutes.
We turned my burner on high to get the unit heated up, next you need to see a steady stream of steam from the vent for 10 minutes, at that time you place the regulating weight over the vent (round piece on opposite side of handle from pressure gauge) and your cooking time begins when you place the regulating weight on the unit.
As you cook you will gradually turn down your heat source so that the regulating weight rattles a few times a minute and not constantly. This means is releasing a little pressure to keep it precisely at 10 PSI. Don't turn down heat too much too fast or you run the risk of a pressure drop and having to start the timer all over again.
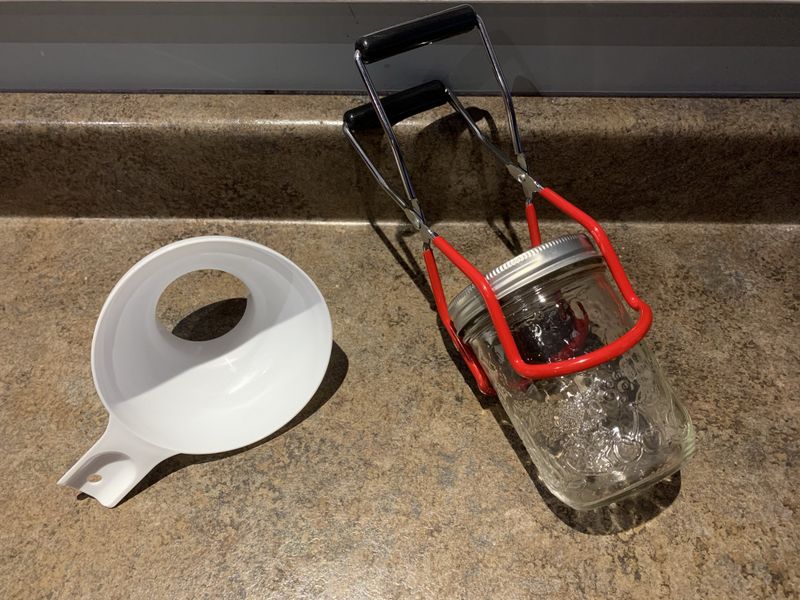
Couple handy tools to have, this bottling funnel was found at Dollarama and helps prevent mess when loading standard mouth bottles, and this silicone coated bottle grabbing device does a great job pulling extremely hot bottles out of the pot when cooking is complete.
When time is up turn off your heat source and let the unit cool down and pressure drop before first removing the regulating weight. Then open the unit and remove your bottles. We laid ours in the dry cardboard box so they wouldn't be shocked and potentially split on my cold workbench. Don't forget, if I can manage to do it, you can do it too!
Cheers, Mike
Copyright © 2025 Michael Smith |