|
Shed-Headz Grill Masters Mike's First Pit Boss Cooks November-December 2021
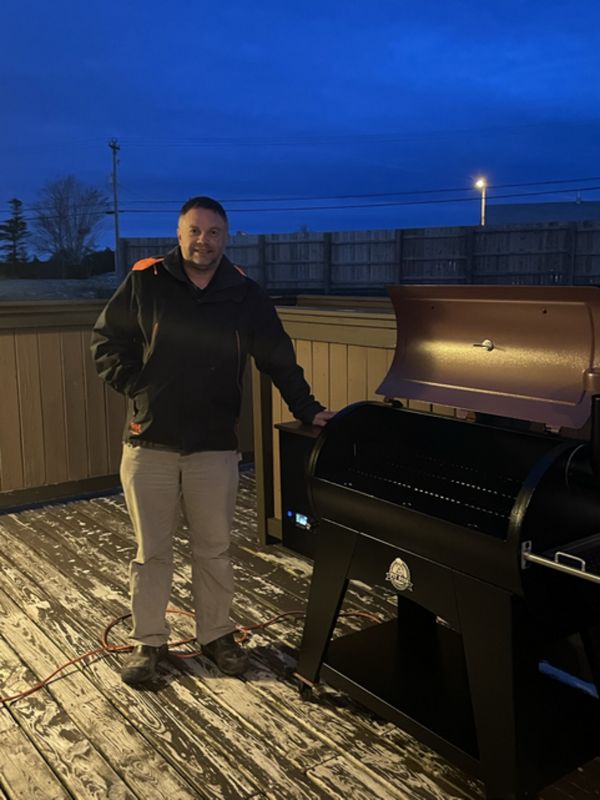
I was pretty excited this fall to take the opportunity and start creating real wood fired BBQ. I have been a regular all season all weather Propane BBQer all my life and dabble periodically with charcoal. Having heard how great pellet grill/smokers were I was eager to try one out.
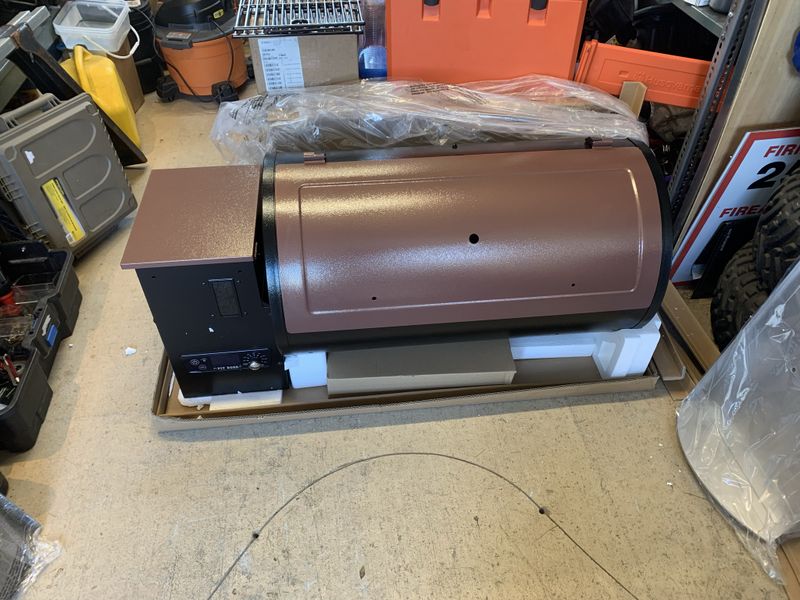
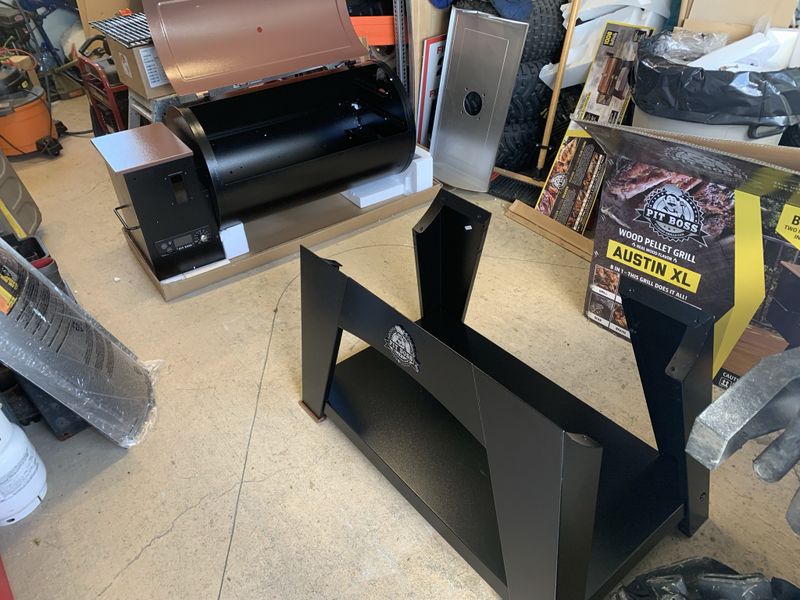
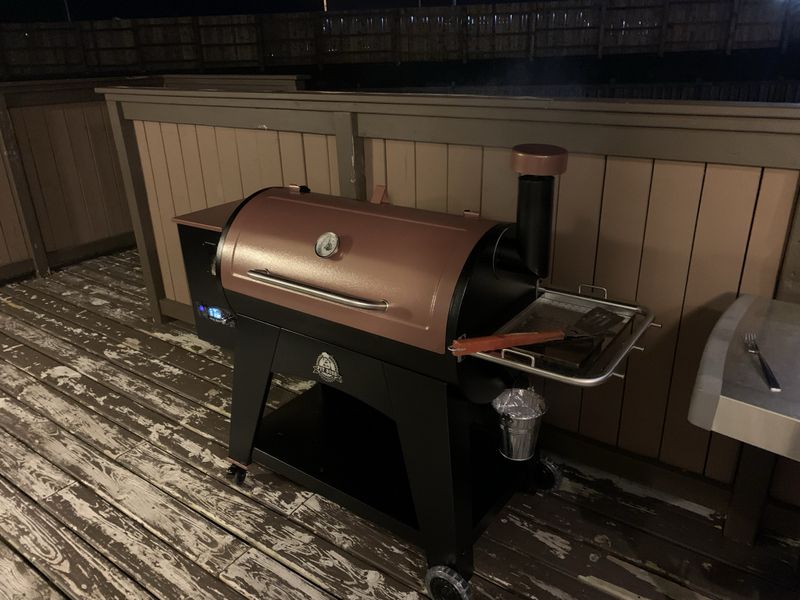
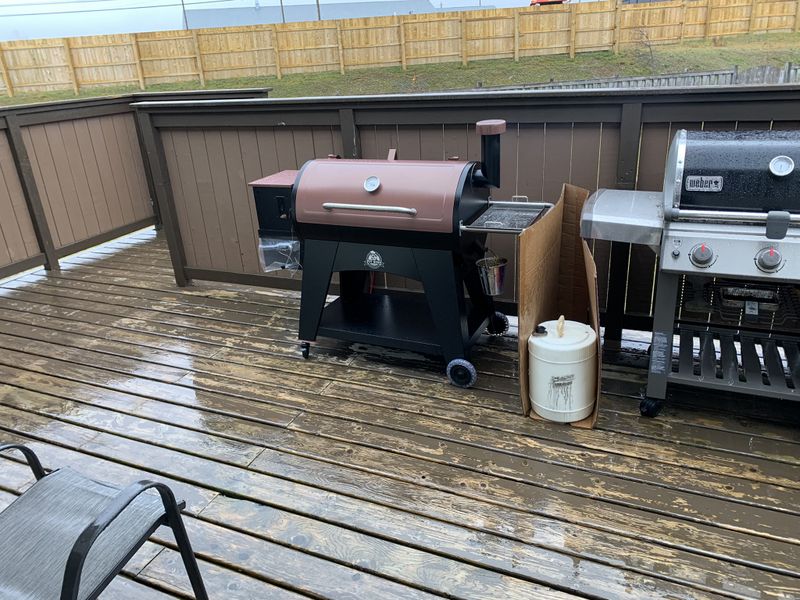
Opportunity called and Wal-Mart of all places were clearing out their inventory of Pit Boss Austin XL Pellet Grill/Smokers for half price! This $700 unit was on sale for only $349.00. At the end of the sale Matt French, Mark French, Michael Stroh and I all had one picked up!
I was pleasantly surprised at the build quality. The whole unit is constructed of heavy gauge steel, heavier than the much more expensive Trager pro units! Fit and finish was on par with all other similar units I looked at as well.
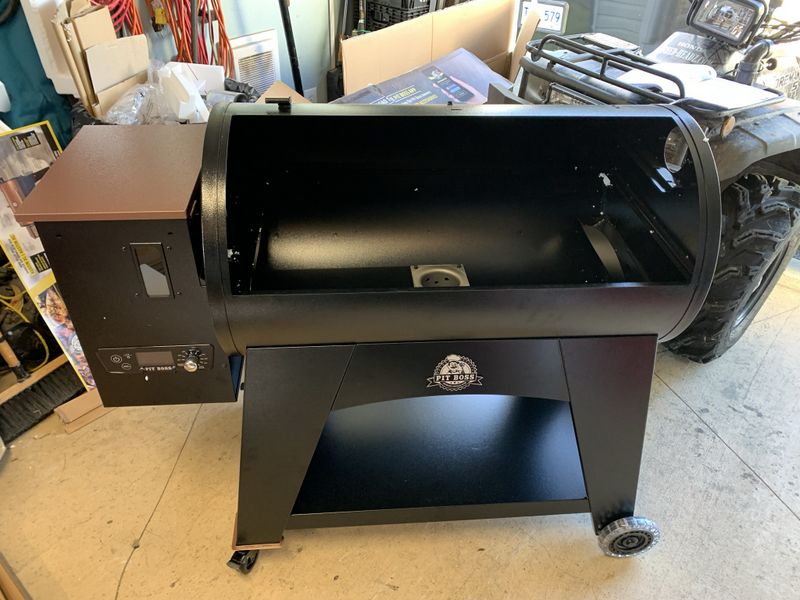
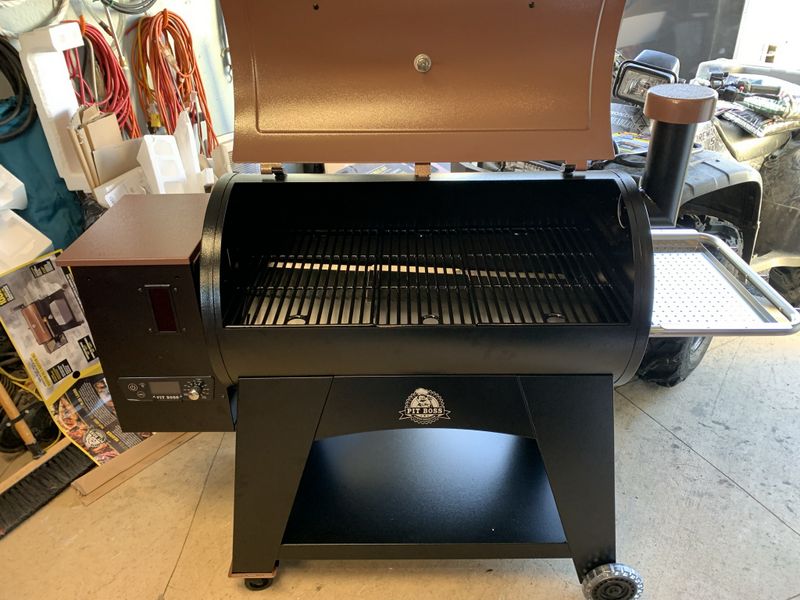
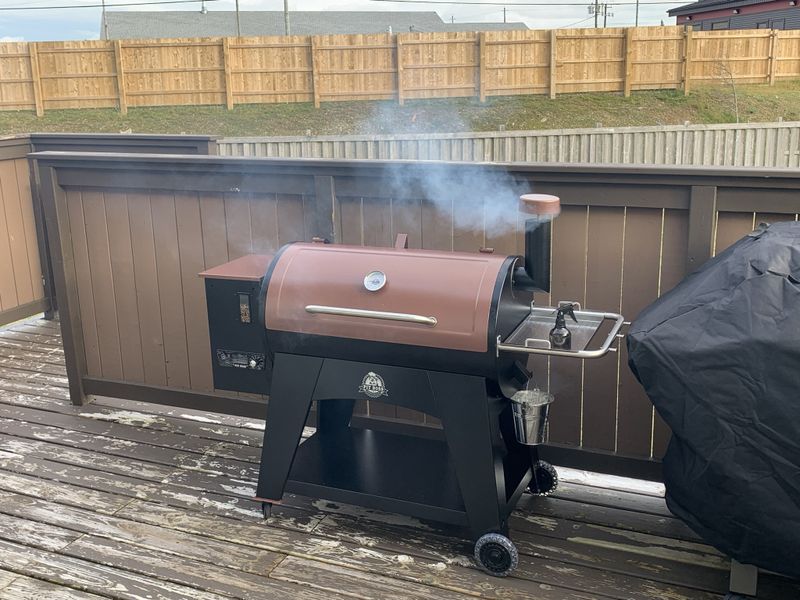
This unit features a 20lb pellet hopper, electronic controller, over 1000 square inches of grill space and requires a 110v ac supply to run the electronics, igniter and combustion air fan. These units can smoke at low temperatures of 140F to 190F through 8 different smoke programs, and bake/grill at temperatures of 200F to 500F. There is also a sliding searing plate to pre or post sear over open flame from the fire pot.
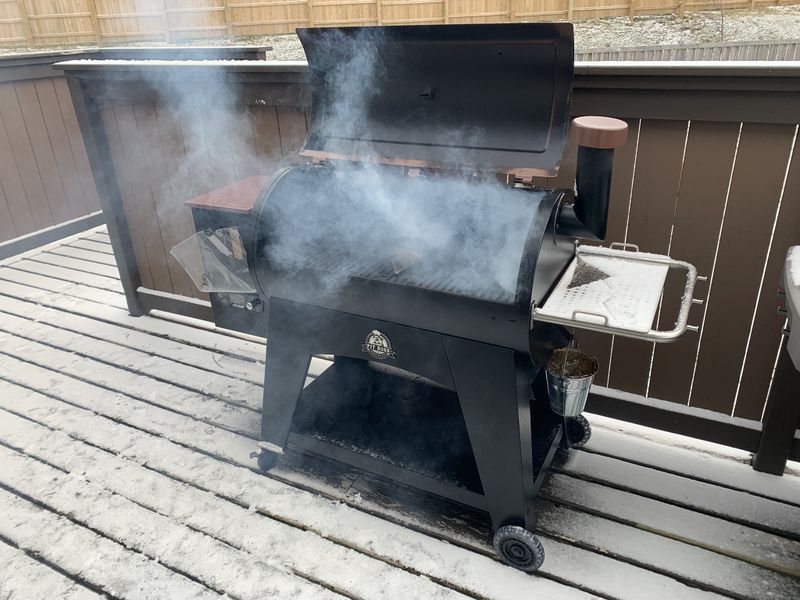
The big benefit of a pellet grill (for me) vs. an offset, stick burner or charcoal grill is the set it and forget it system of maintaining temperature. The pellet grill monitors the grill and automatically adds pellets to maintain your smoke or heat setting. You should check on it periodically but you don't need to build a fire and babysit it which is a big time/stress saver on a 8-12 hour brisket cook! I can have the grill going and get stuff done around the house occasionally popping out to check on the cook.
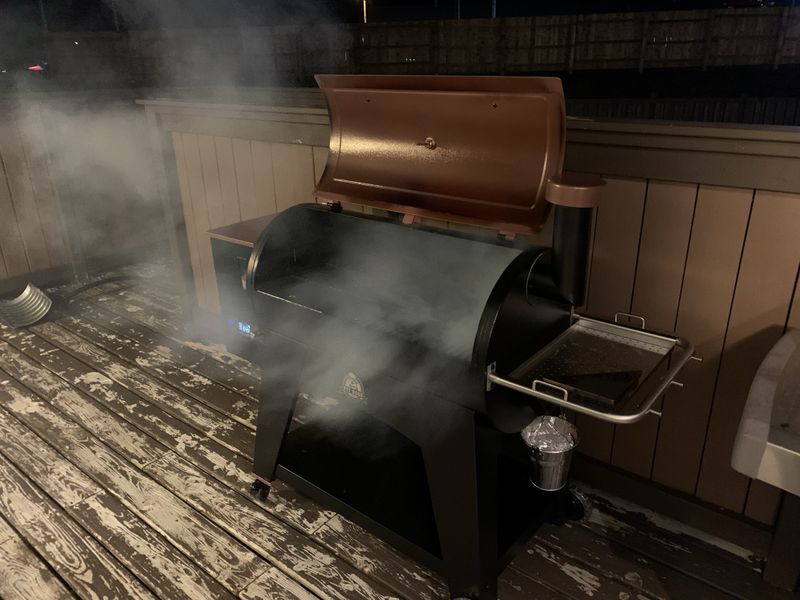
The Pit Boss is quite easy to light, you simply set the dial to smoke setting, open the lid and hit the power button. It will automatically feed pellets and heat up the igniter. Once the heavy white smoke of ignition clears up you close the lid and set the temperature you need to cook/smoke at. Time wise to get to grilling temperature is similar to heating a propane grill.
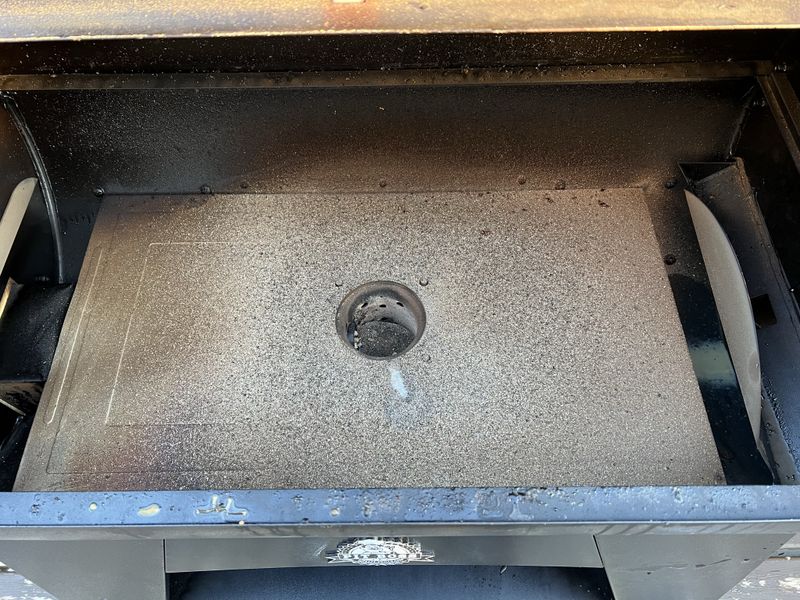
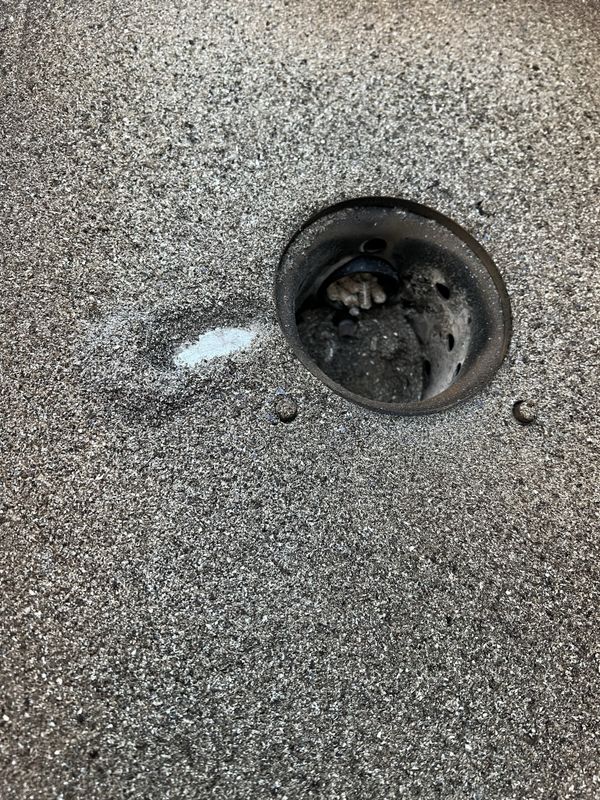
Other than changing liners on the grease bucket, the only other regular maintenance items required are:
I usually vacuum mine out every 3-4 cooks or every 12 hours of run time.
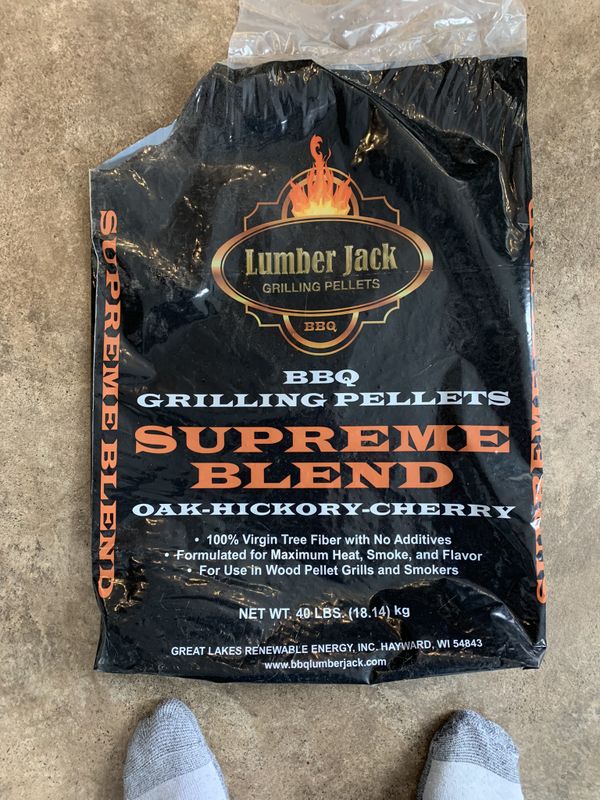
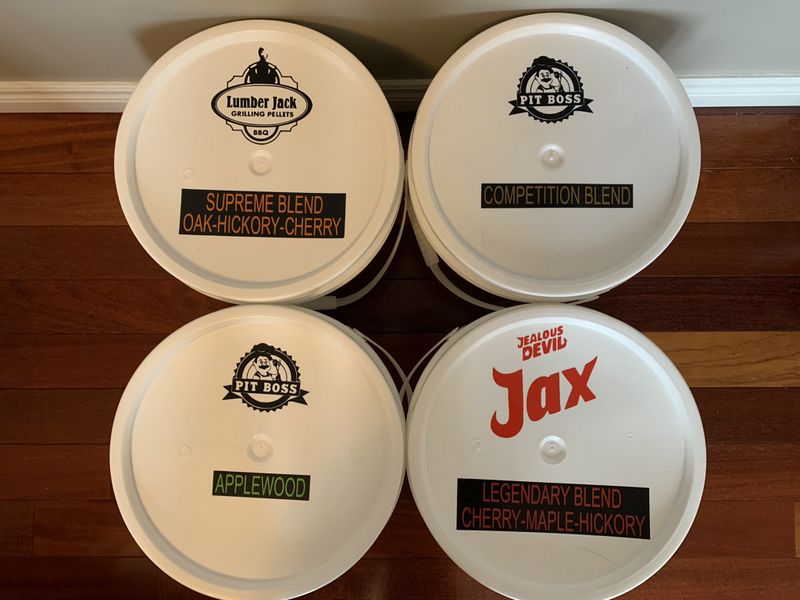
A local store Clearwater Pools has been a great source for top name pellets such as Furtado Farms and Lumberjack, and stocks a huge variety of spices, rubs, BBQ sauces and Glazes.
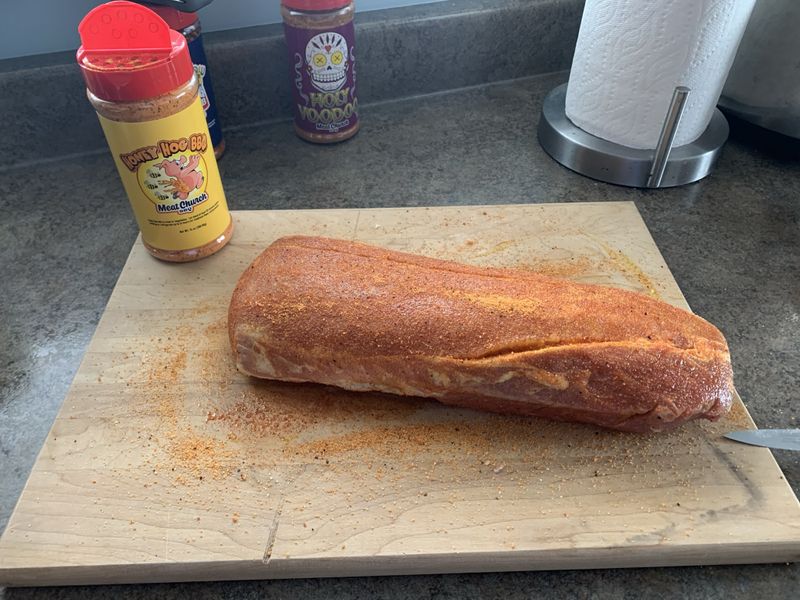
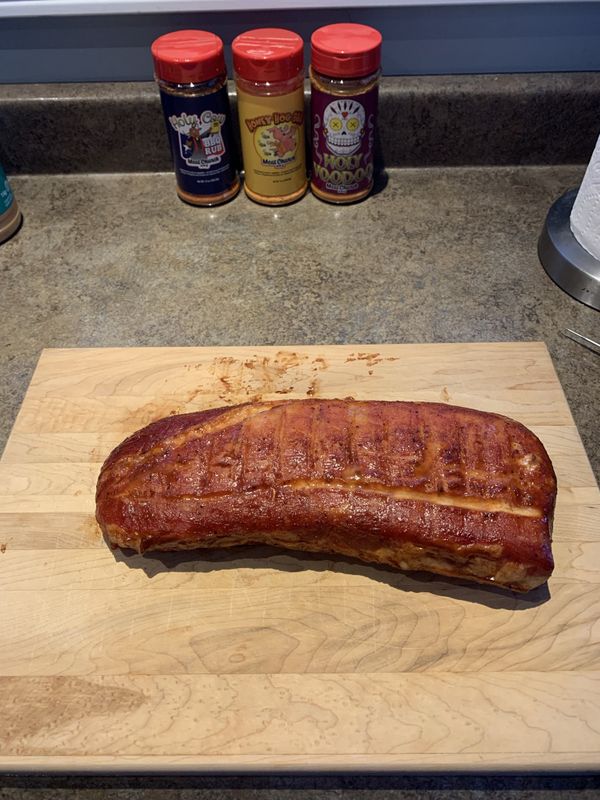
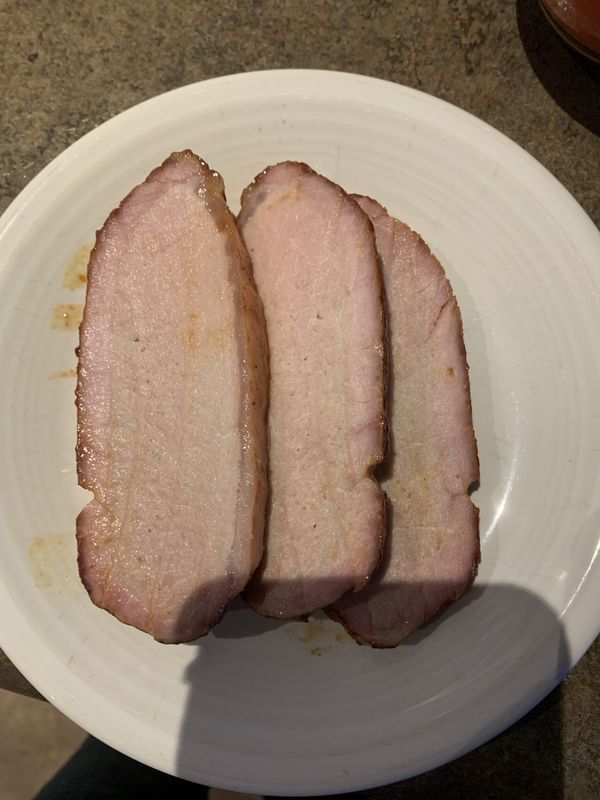
My first kick at the (smoker) cat was a pork tenderloin already in stock in our freezer. I picked up a lot of tips from watching top YouTube BBQ channels including How to BBQ Right and Mad Scientist BBQ. I figured there's no better way to learn than take advise from professionals!
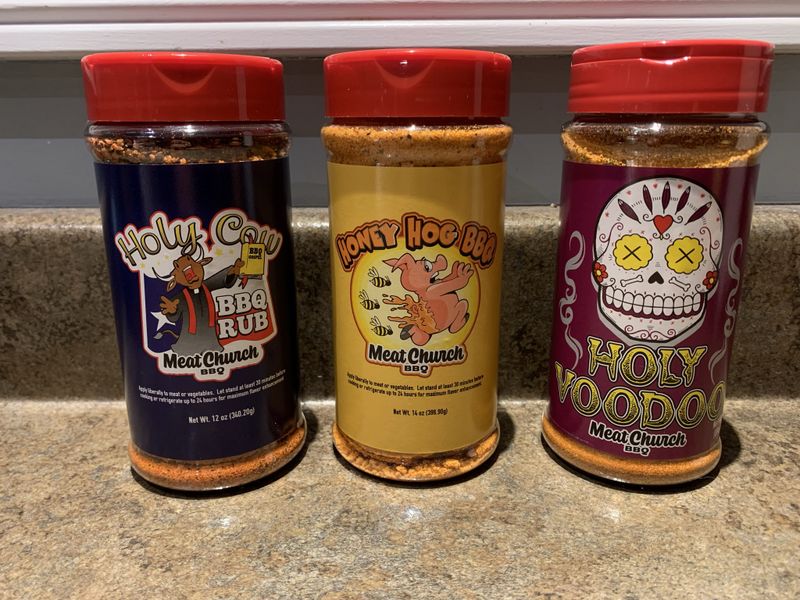
On this cook I seasoned with Meat Church Honey Hog BBQ rub which I was told isn't spicy and had a sweet/bbq flavour.
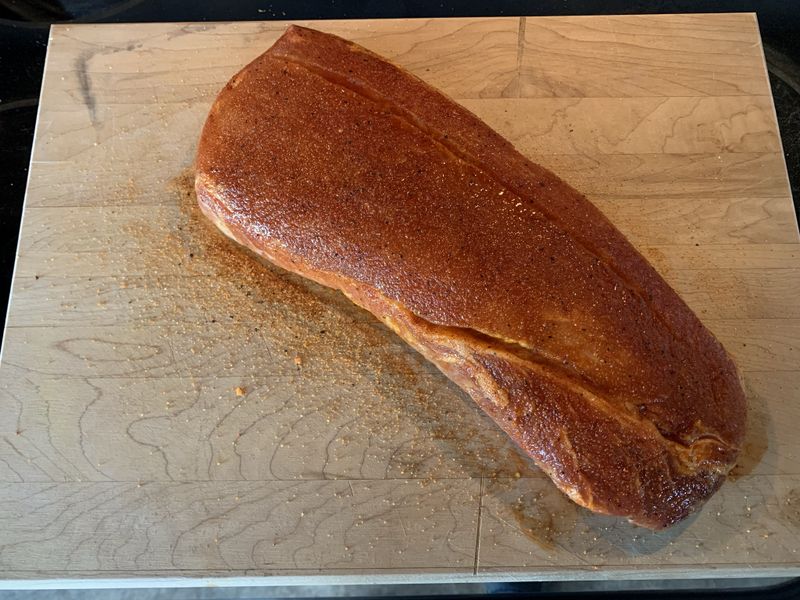
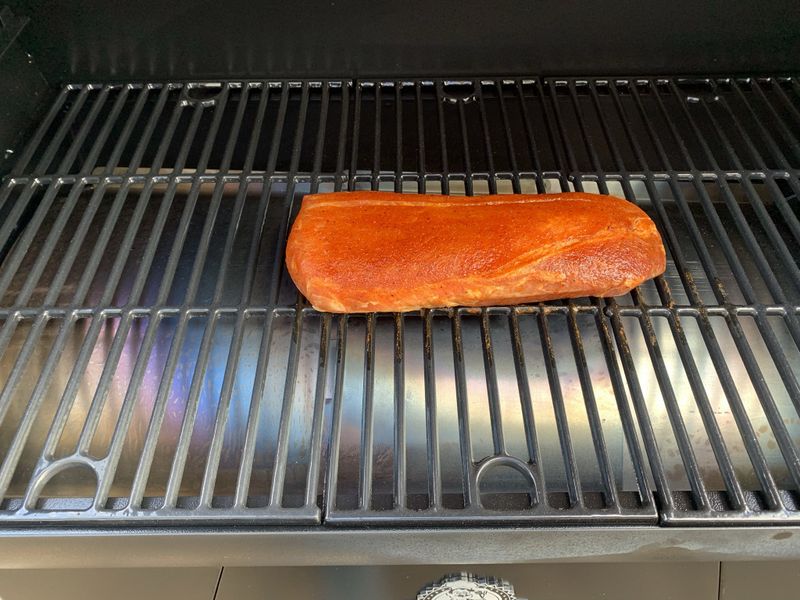
I believe the cook took around 3 hours starting on smoke setting P4 and increasing to 225F finishing with an internal temperature of 160F.
I was quite pleased with my first ever wood fired cook and the pork was delicious.
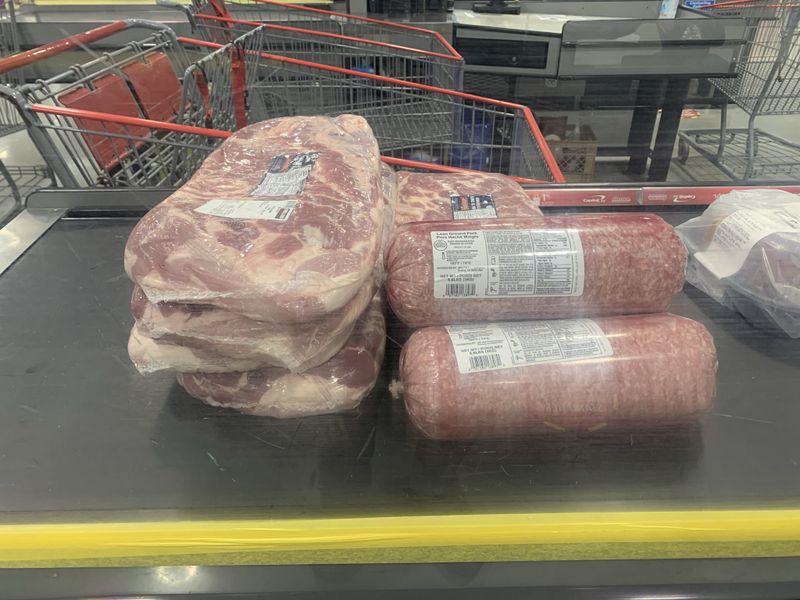
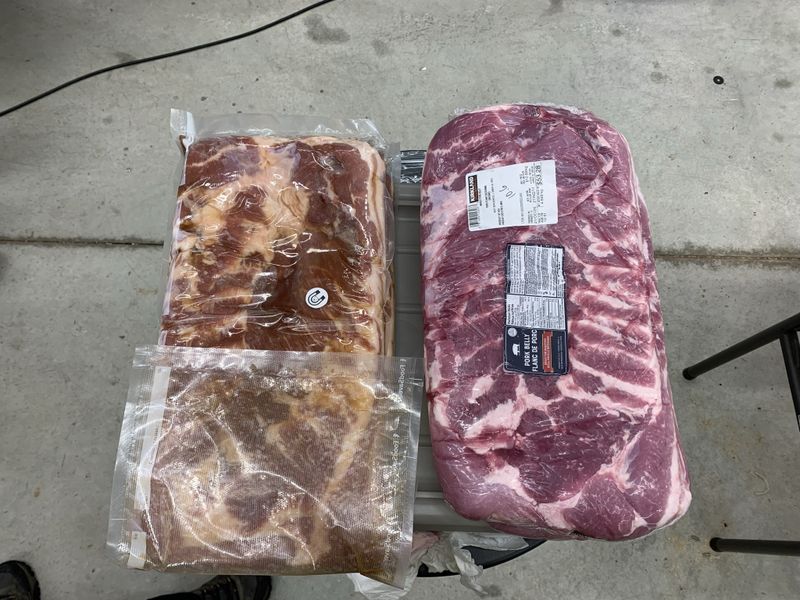
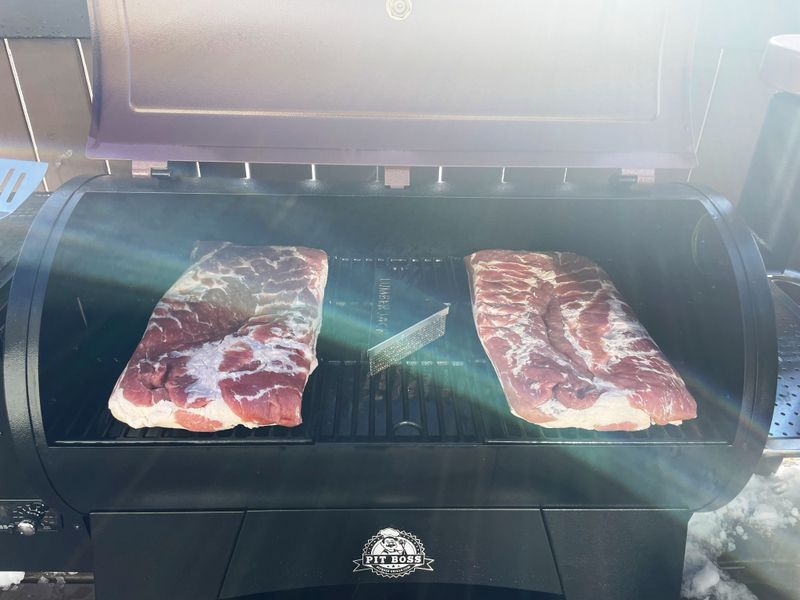
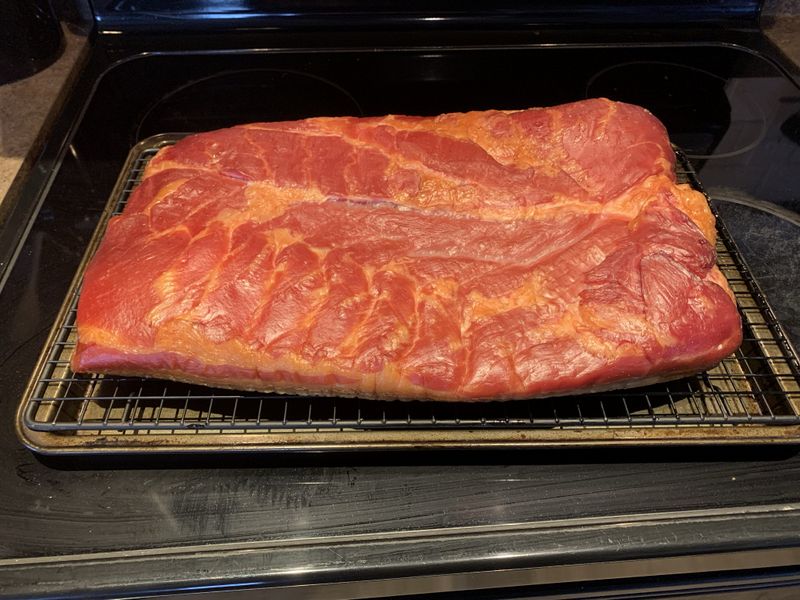
Next up was bacon since Costco put Pork Belly on sale.
You can check out my whole making bacon experience under the How To's section back on the Grill Masters page. There I go into detail on how we made it.
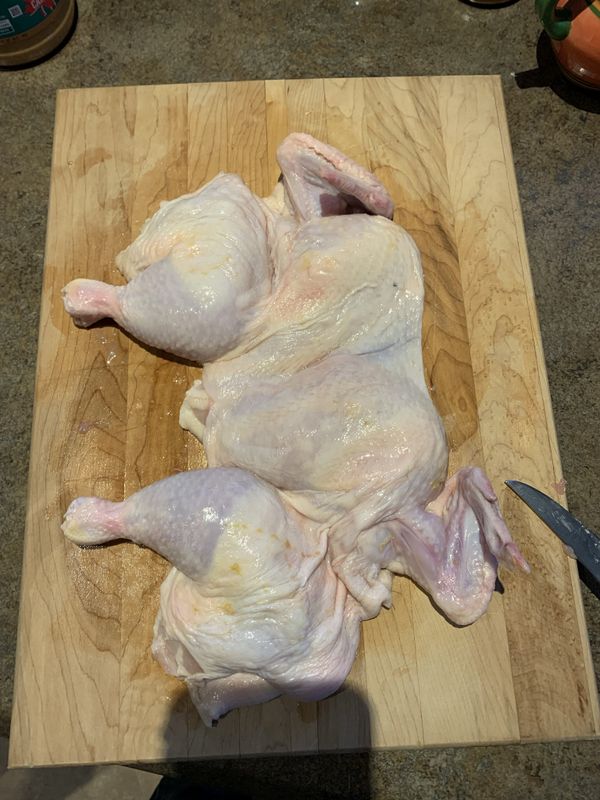
That week while the pork bellies were in cure I decided to do a Spatchcock chicken on the pellet grill.
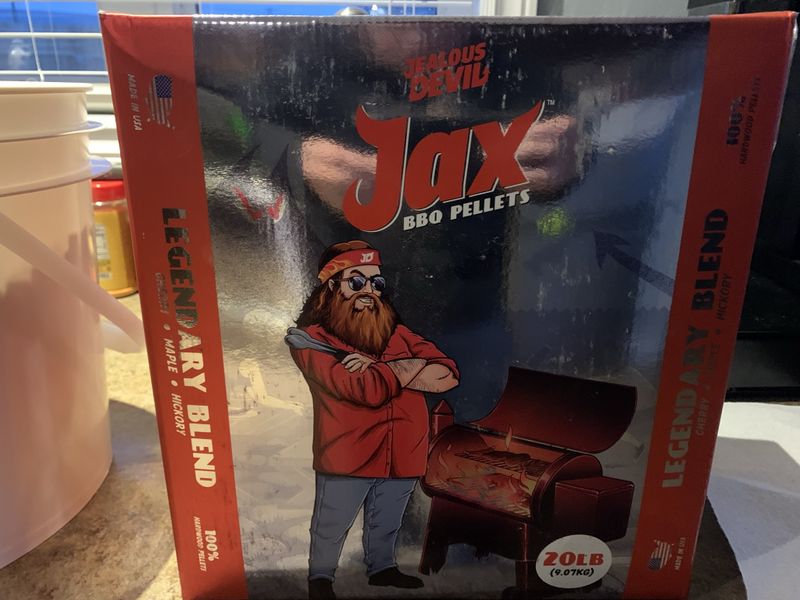
It was also a great opportunity to try a new flavour wood pellet which was a blend of Cherry, Maple and Hickory.
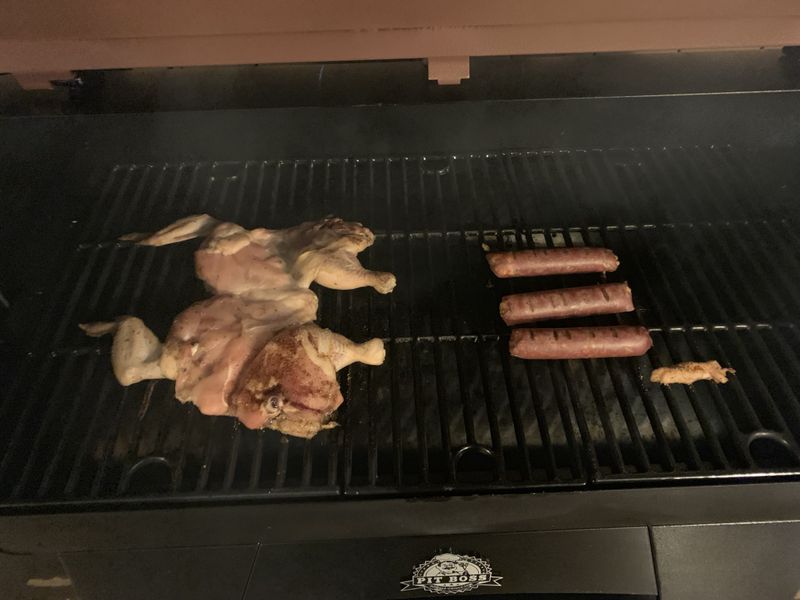
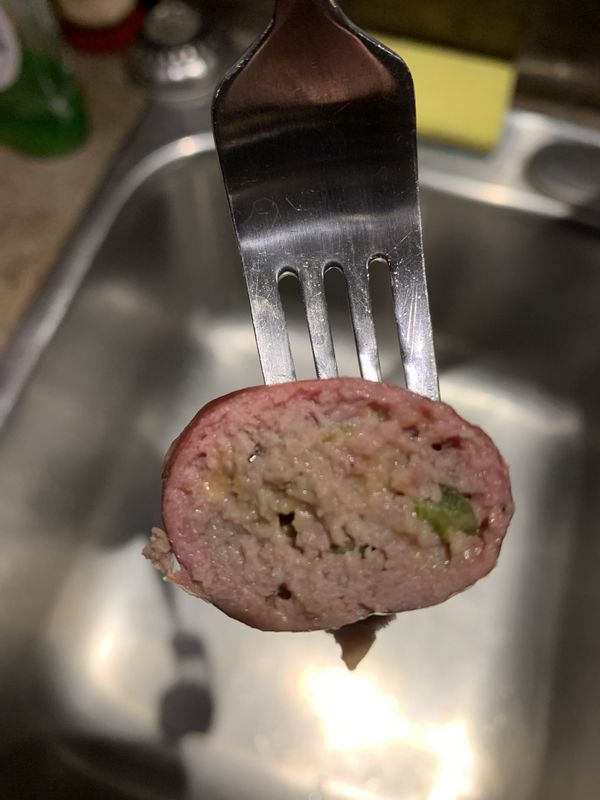
While the chicken was on the grill I also threw on a pack of 1" Jalapeño Cheddar Moose Sausages.
Needless to say it all turned out amazing.
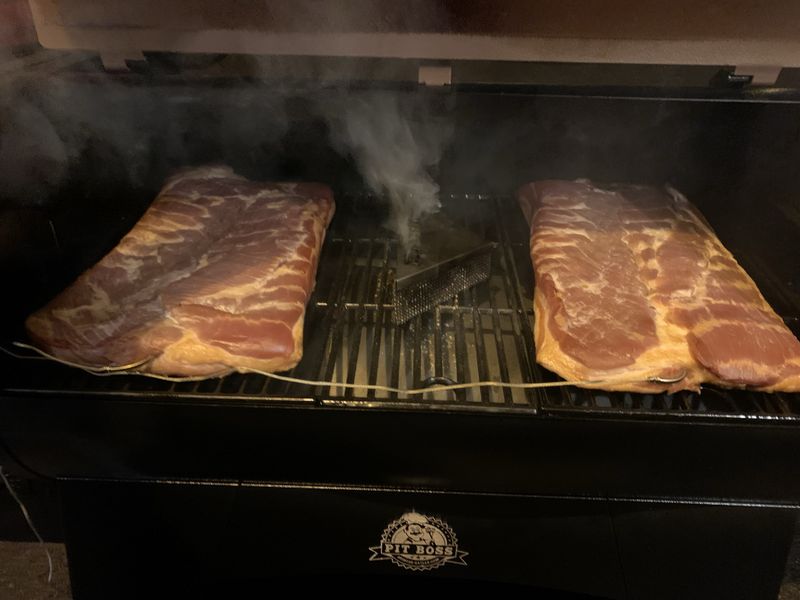
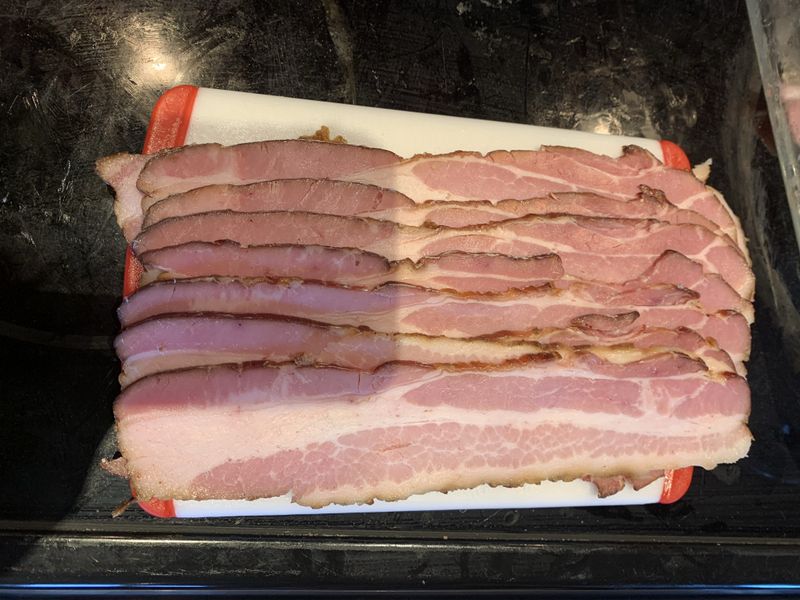
First batch of bacon on the Smoker.
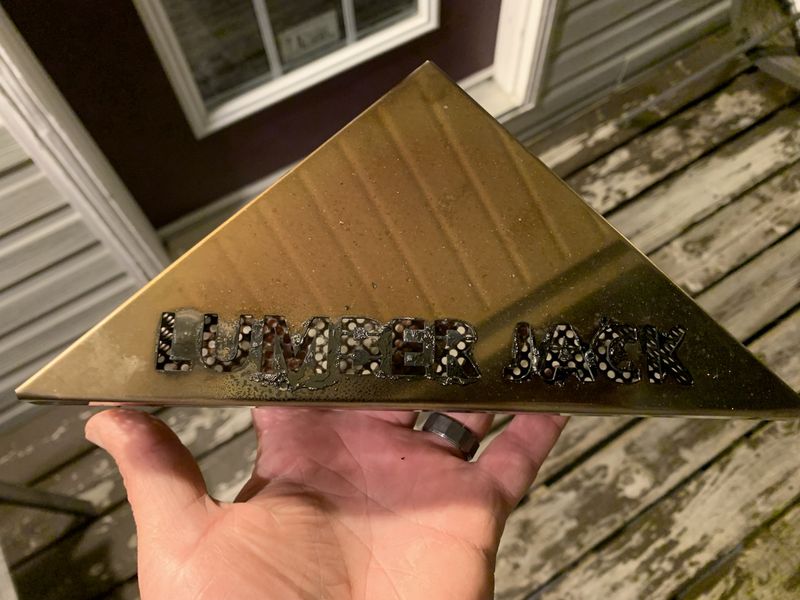
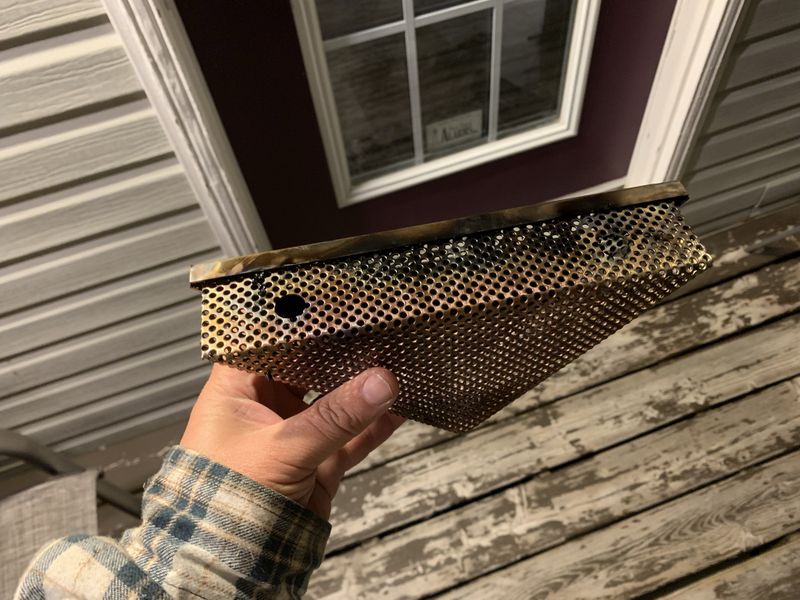
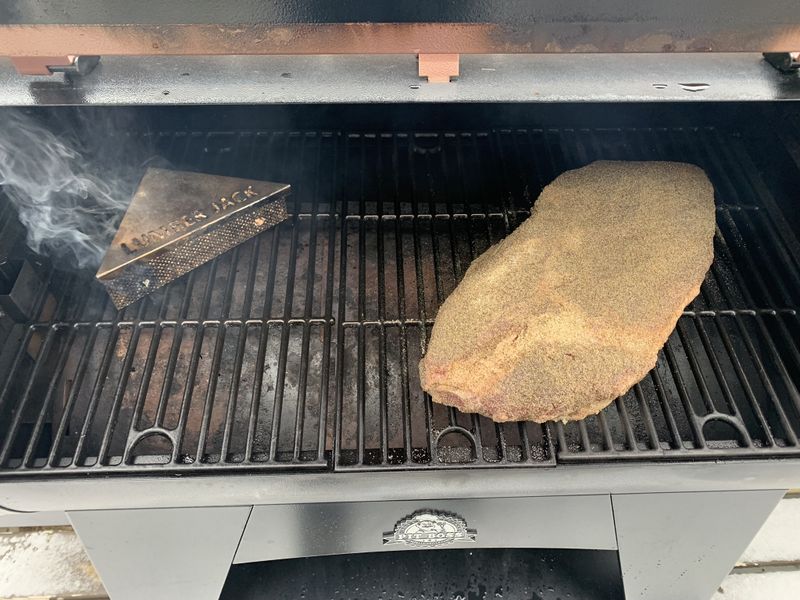
On longer cooks such as bacon, pulled pork and brisket on my pellet grill, I like to run a smoke box at the beginning to hit the meat with lot of smoke before it crusts over. That is my preference and I find gives a really nice but not over powering smoke flavour.
This lumberjack smoke box will smoulder away for about 1.5-2 hours which is plenty, and of course was filled with the same apple wood pellets.
The grilling feature of the Pit Boss is fantastic. It reaches grilling temperature quickly and maintains it with ease. You don't get as much smoke on grilling temperatures as you do on smoke temperatures but there's still plenty to give you the wood fired taste without being overpowering.
Near the end of November I tackled the piece de la resistance of BBQ, the beef brisket. It's a hearty endeavour, one that took a lot of time and research as there is a lot of information and varying techniques out there.
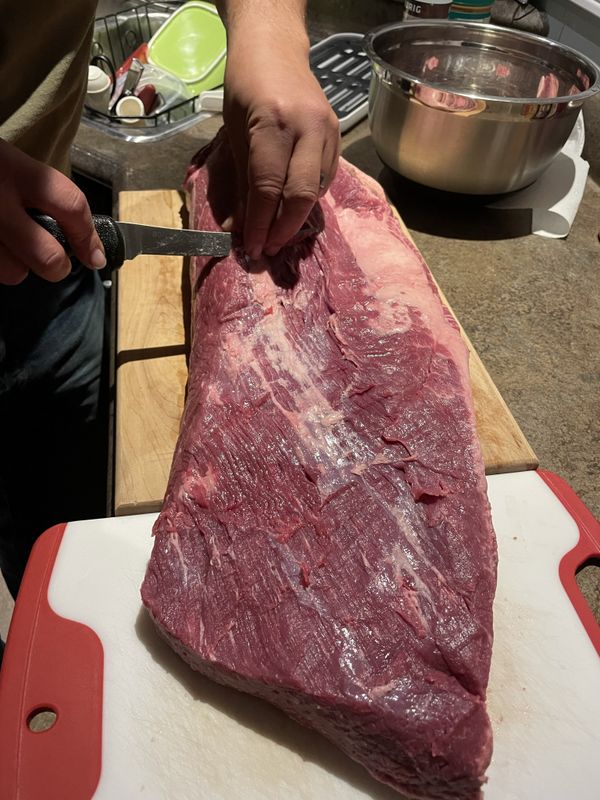
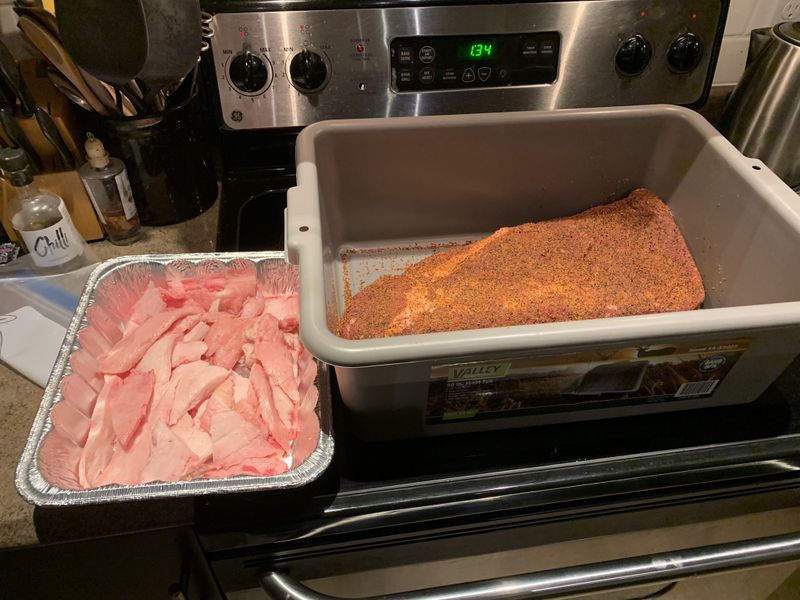
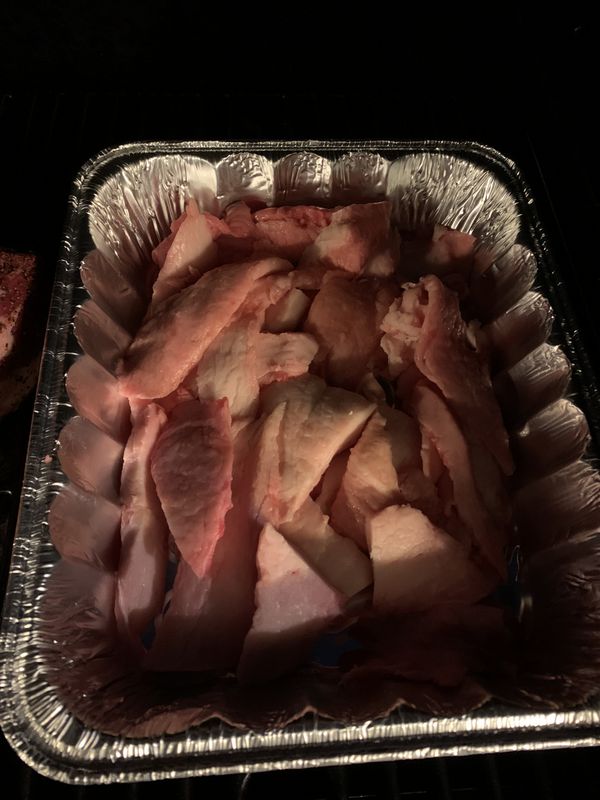
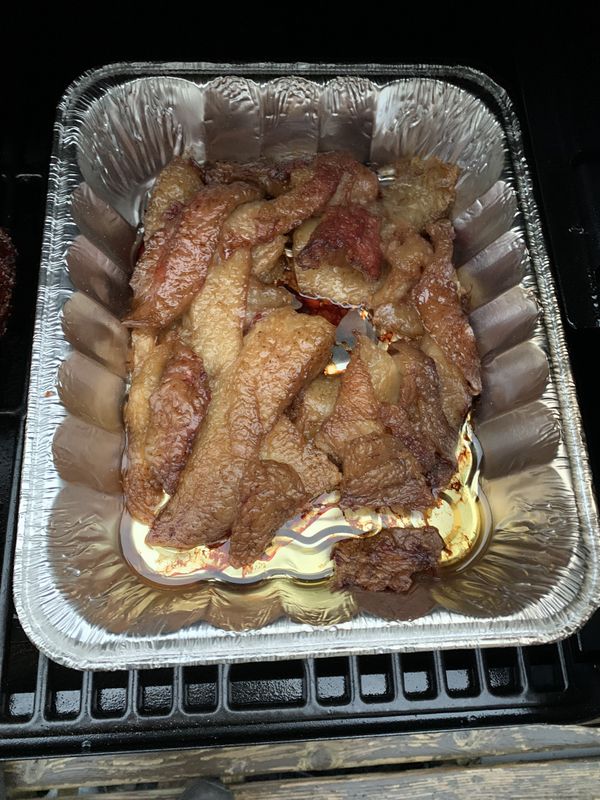
I trimmed the brisket to the best of my abilities according to the Mad Scientist BBQ channel. I left 1/4" of fat on one side, removed all fat and silver skin on the meat side, and trimmed away thin pieces of meat completely as they won't survive the cook. Meat trimmings were saved and frozen for future burgers, fat trimmings were saved to render out and make smoked beef tallow.
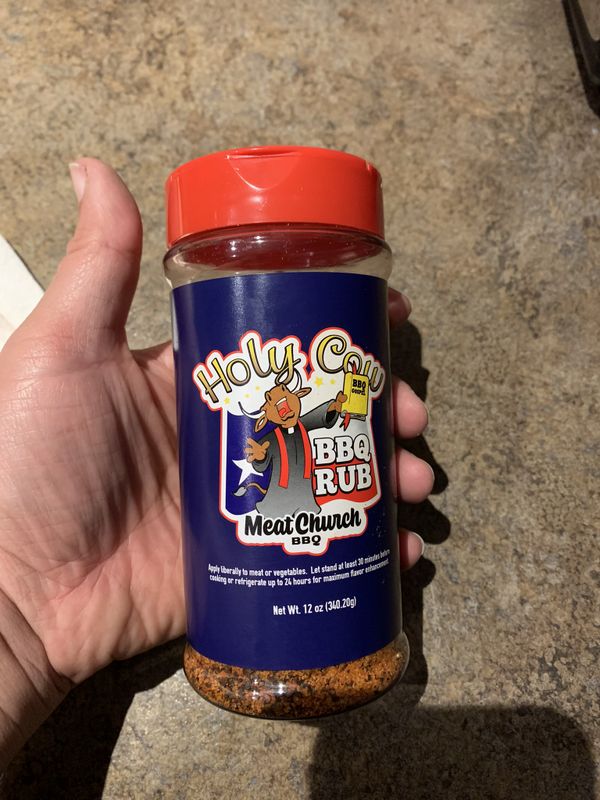
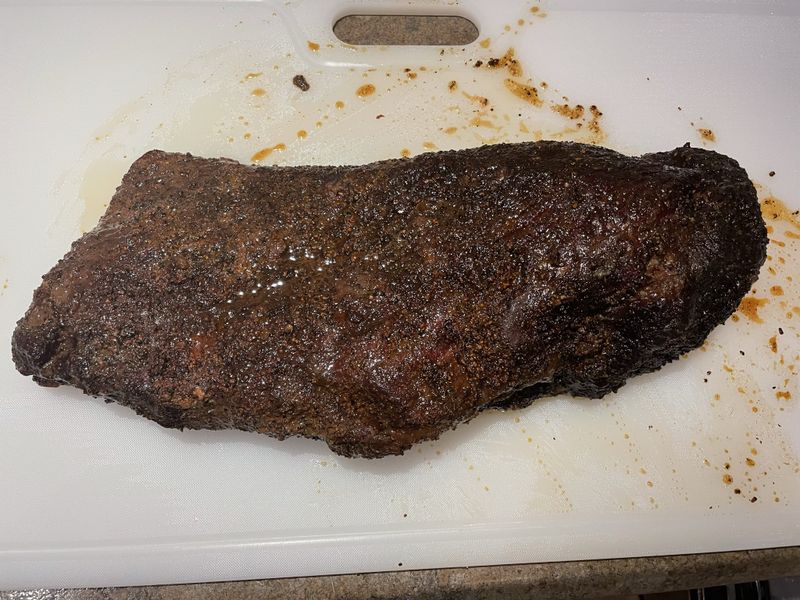
This brisket was seasoned with Meat Church Holy Cow BBQ rub which is quite peppery and has a little kick to it.
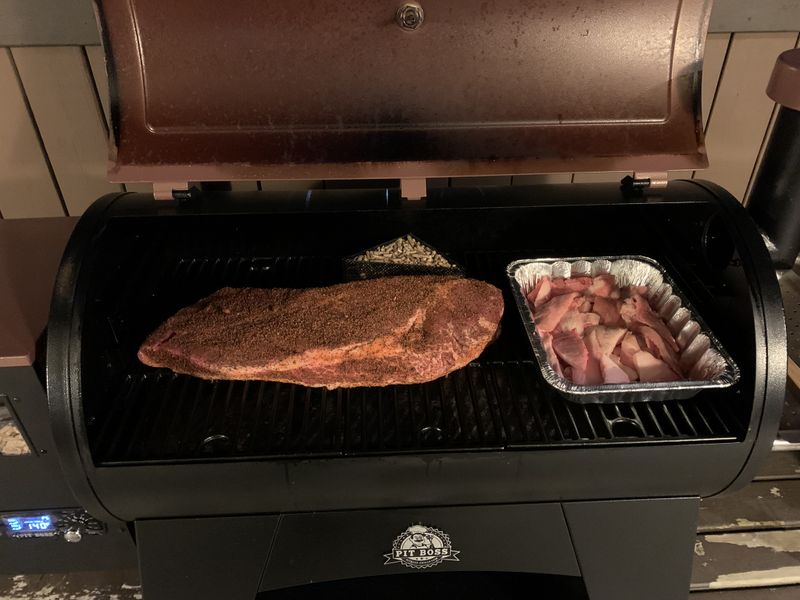
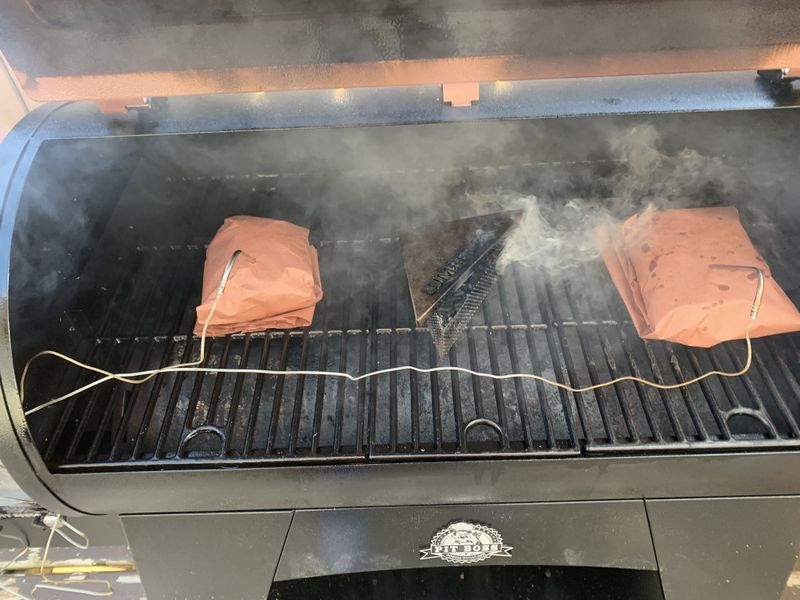
This is a long process, the brisket went on at midnight on smoke setting P4 with the lumberjack smoke box running as well. The brisket was placed fat side down to protect the meat and was left until 6am. Then temperature was turned up to 225 to render the fat for 2 hours.
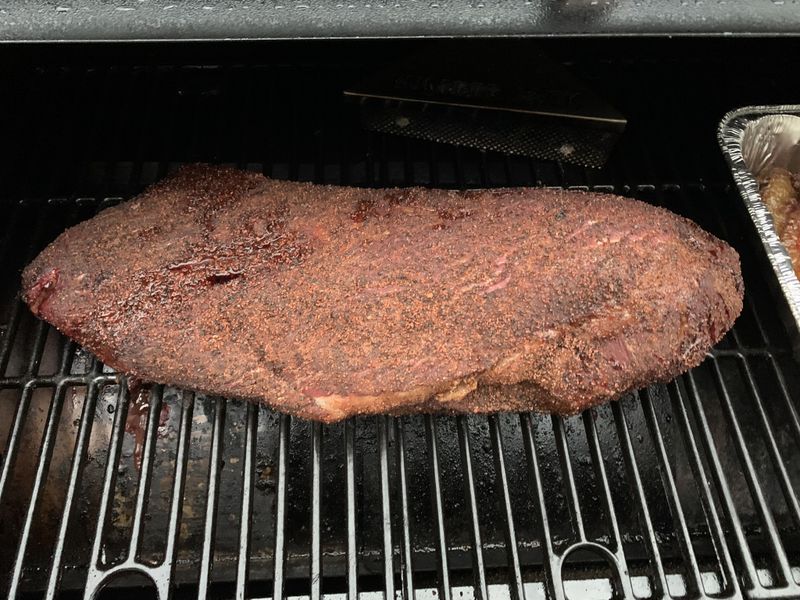
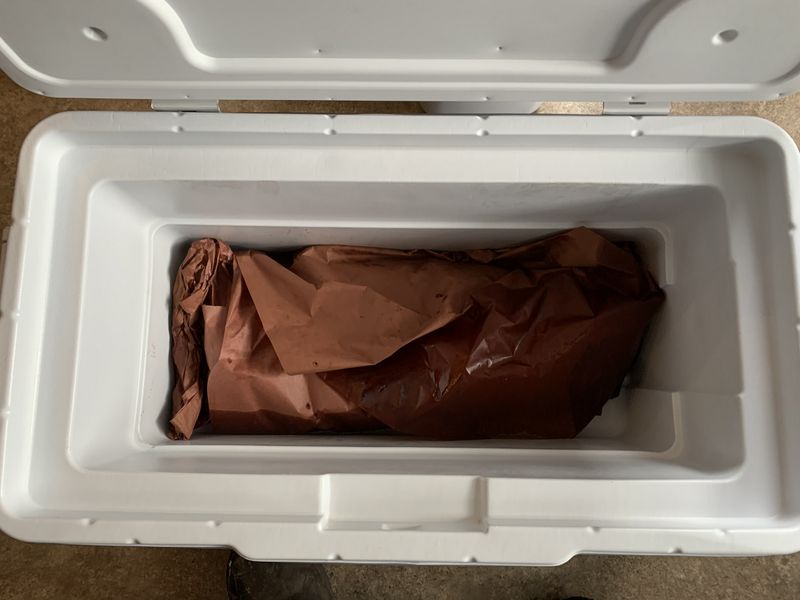
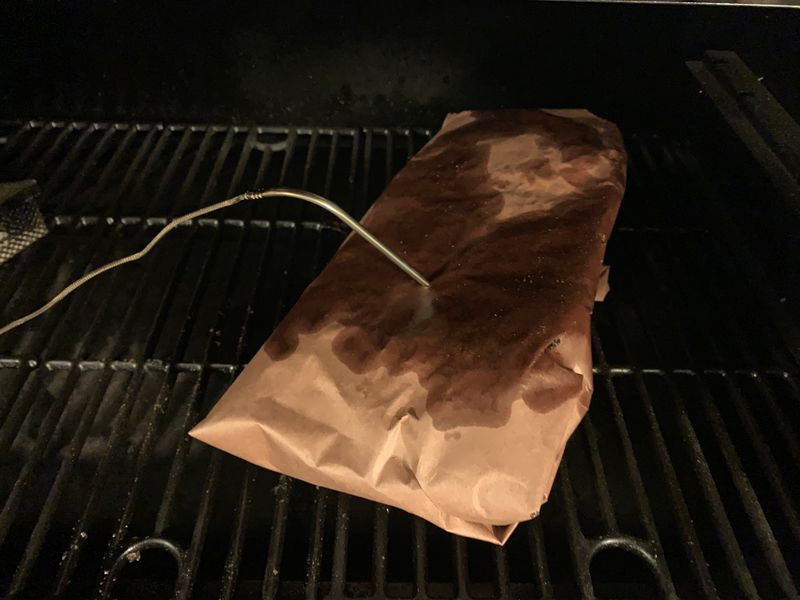
With a decent colour and internal temp nearing 160F it was time to wrap in butcher paper.
On this cook the wrapped brisket went back on the grill fat side down again, however on subsequent brisket cooks I bunch the folded ends of paper under the brisket and put it on fat side up which I found keeps the meat even more moist. This brisket took approximately another 4-5 hours to finish.
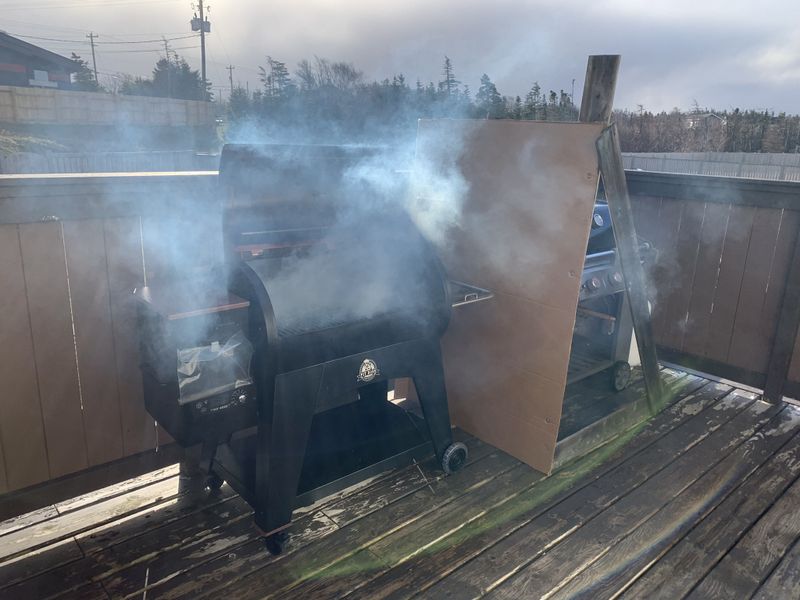
Wind and rain couldn't put the brakes on this cook. A simple windbreak helps maintain heat and smoke inside the unit.
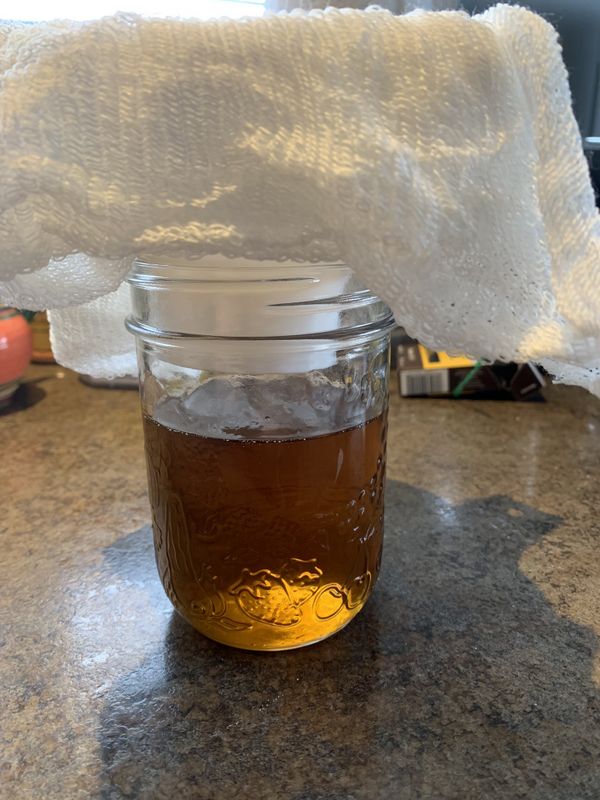
The beef tallow was now done, I strained it through cheese cloth into a mason jar and left it to come to room temperature before refrigerating. Many people use tallow on their brisket cooks to coat the butcher paper during wrapping, and it's amazing for frying hash browns. Studies have shown positive health benefits of using tallow vs. refined/processed cooking oils.
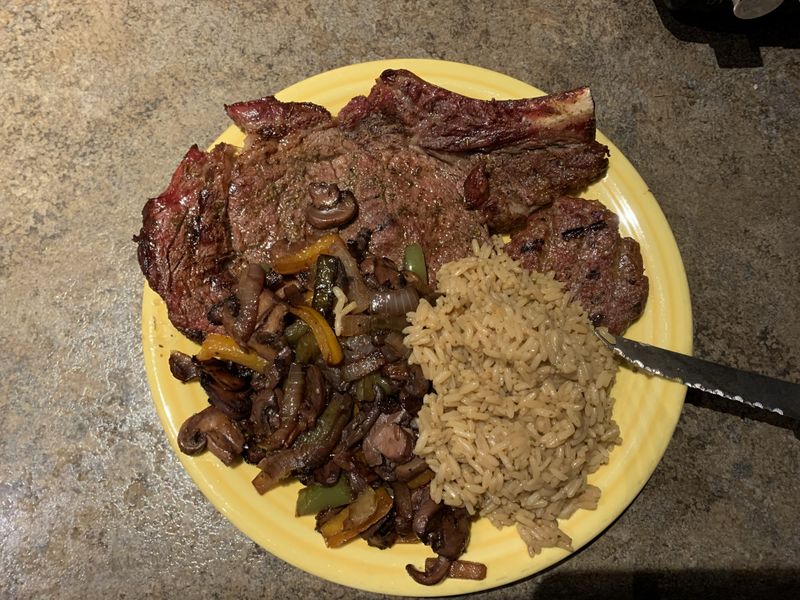
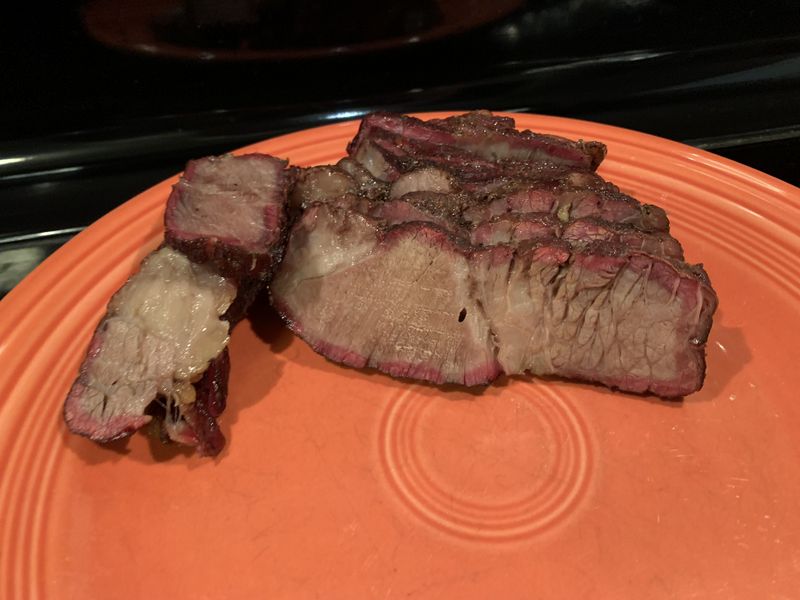
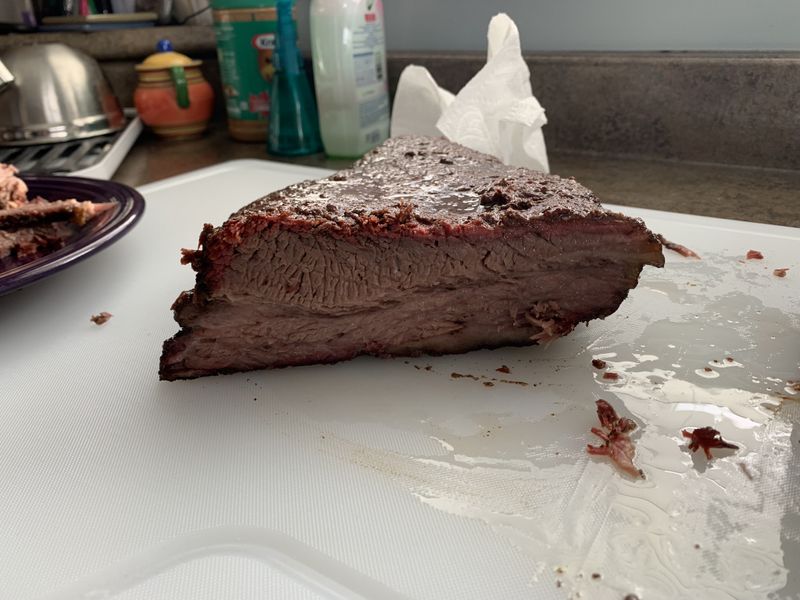
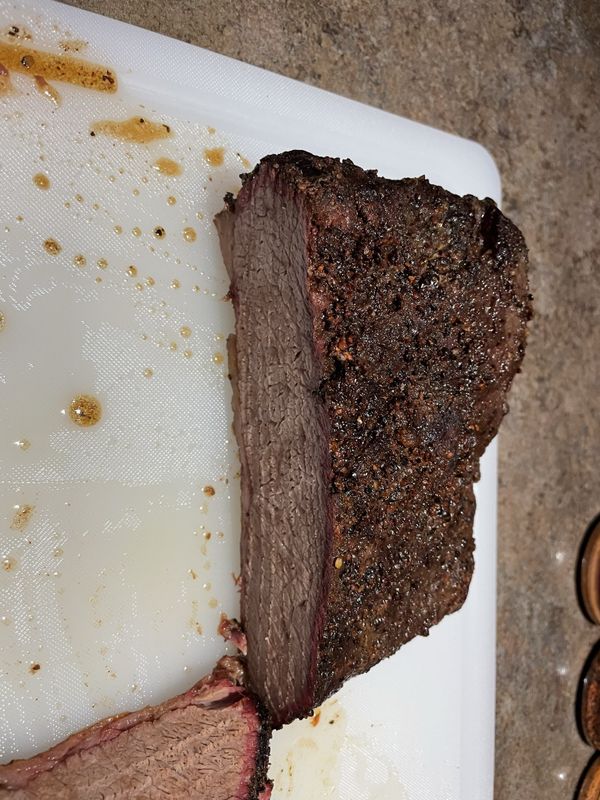
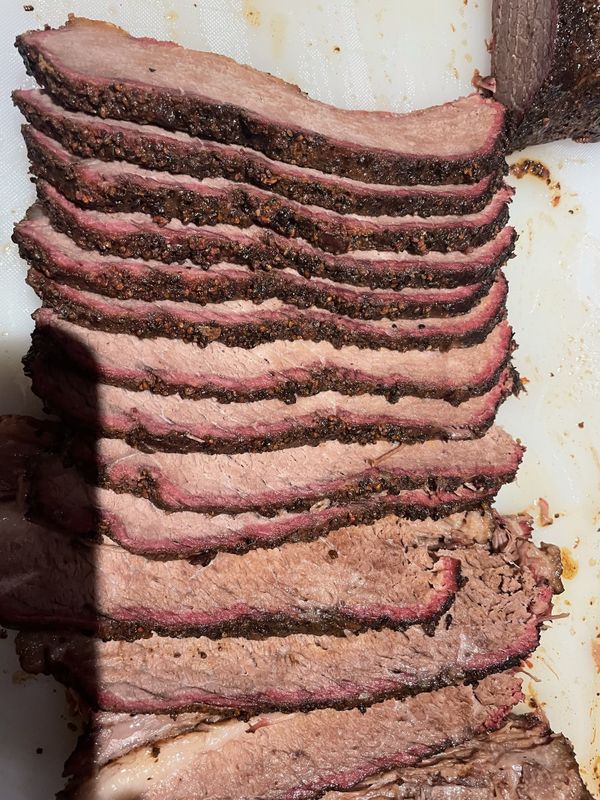
The brisket came off when the internal temperature reached 205F and I was able to probe my instant read thermometer into the flat with no resistance. If there is still resistance leave it longer on the grill.
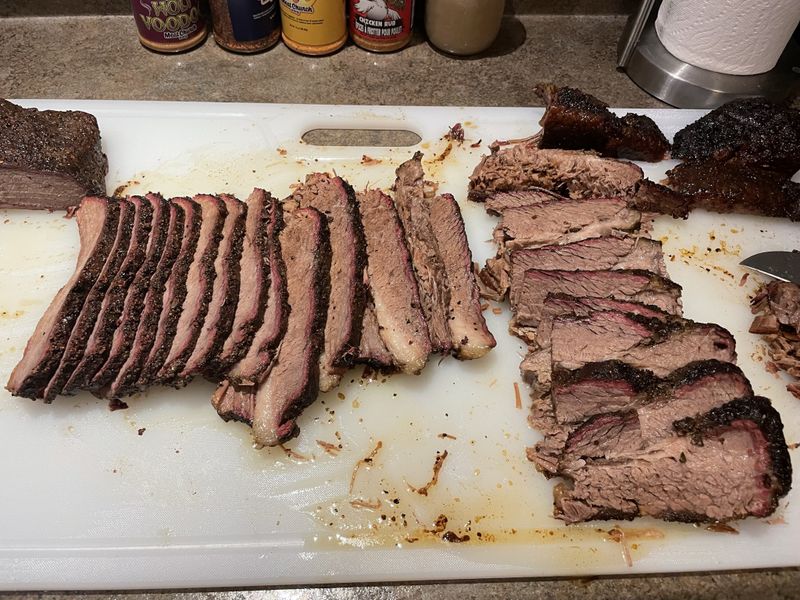
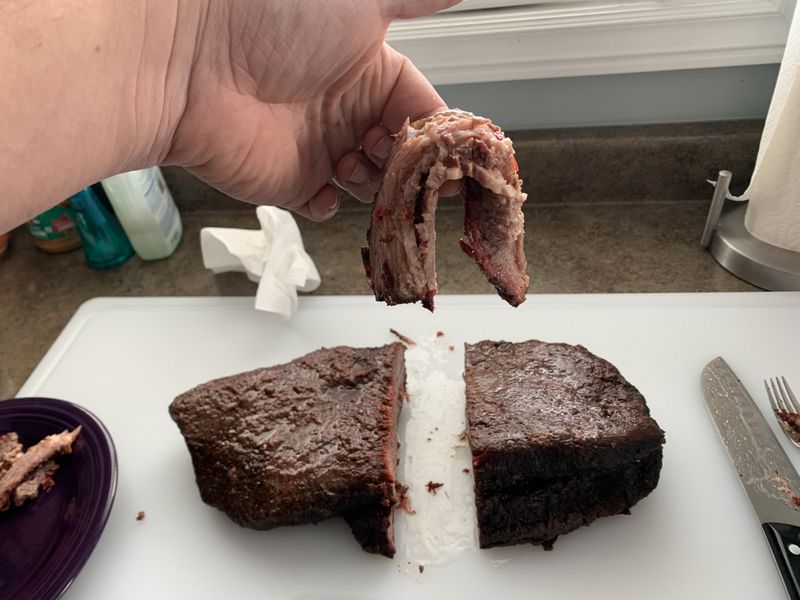
Overall the bark of my first brisket was decent, not perfect but that's to be expected while learning. However the flavour and tenderness was out of this world. It's the first time I ever had beef literally melt in my mouth, it was absolutely crazy good.
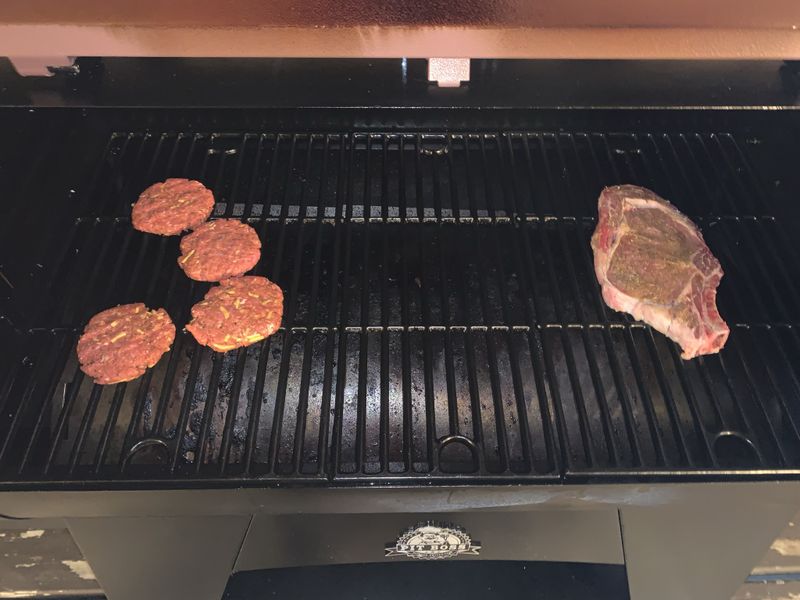
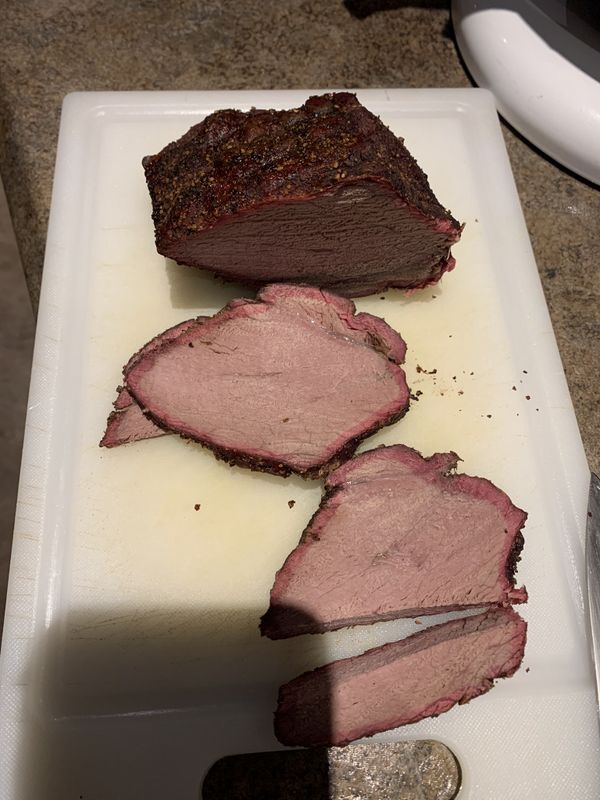
On a very windy day in December I did some rub testing with a beef roast and a moose roast. I was trying out a couple different combinations in preparation for doing a New Years brisket. One was coated in Meat Church Voodoo, the other with my own mixture of Salt, Pepper and Garlic for a Texas style BBQ roast.
Both turned out great, I was really surprised how great the simple Salt, Pepper, Garlic came out!
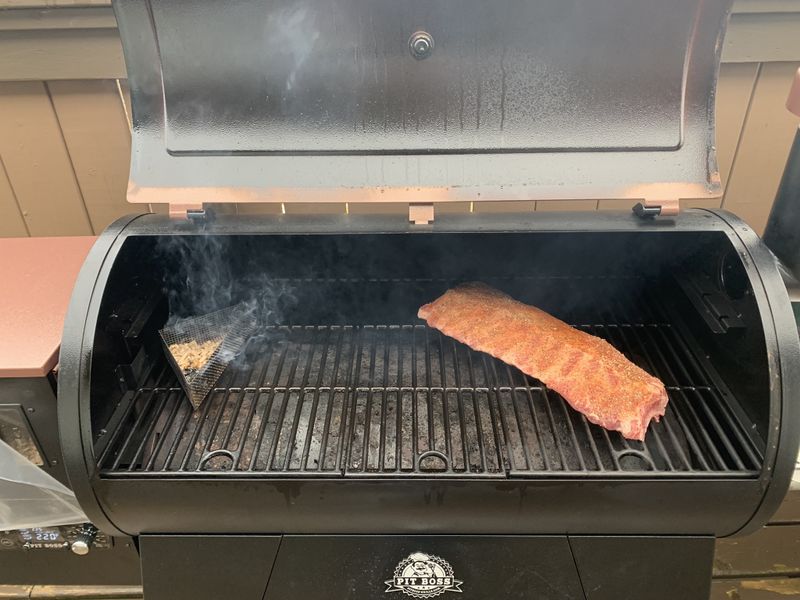
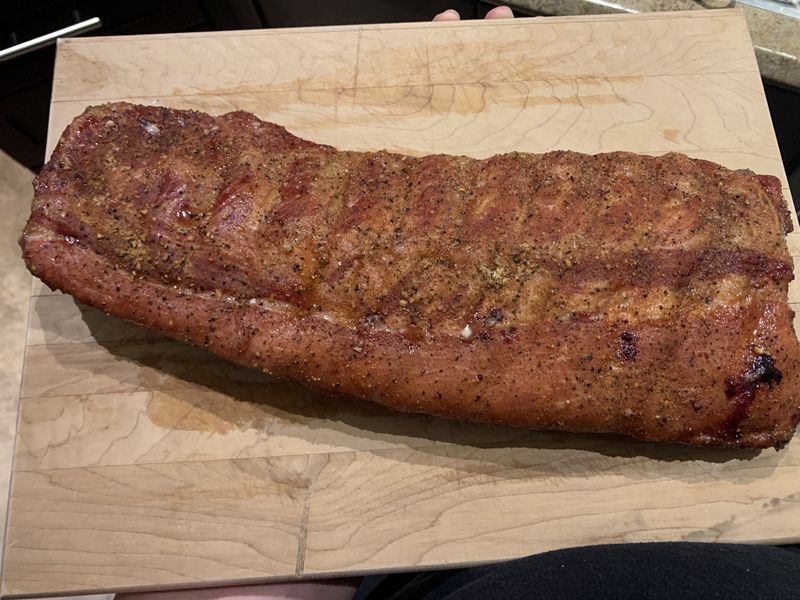
Between Christmas and New Years I tried my had at Ribs for the first time. I seasoned this rack with Suckle Busters SPG (Salt, Pepper, Garlic) and Meat Church Honey Hog.
The ribs were on for about 3 hours bone side down on 225F being misted in apple juice every 1/2 hour.
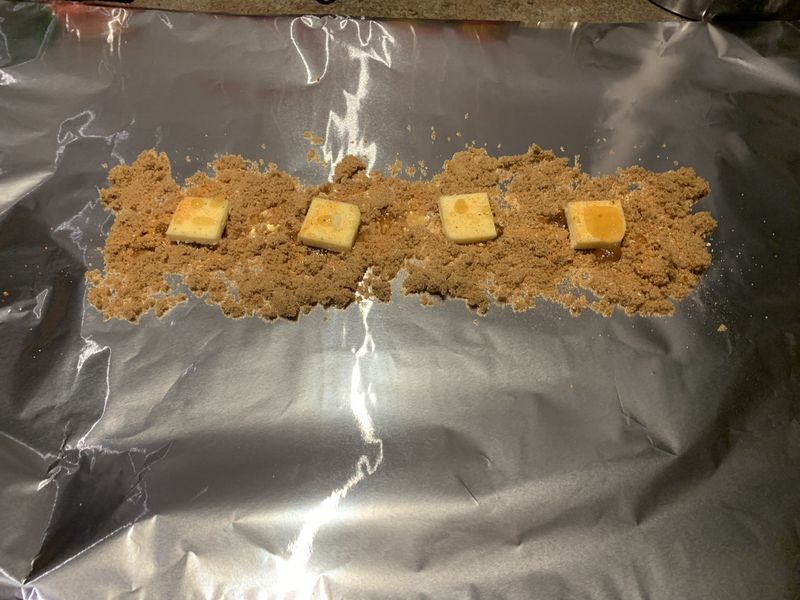
Then they came off to be wrapped in tin foil. I laid down a bed of brown sugar, knobs of butter and a healthy drizzle of honey.
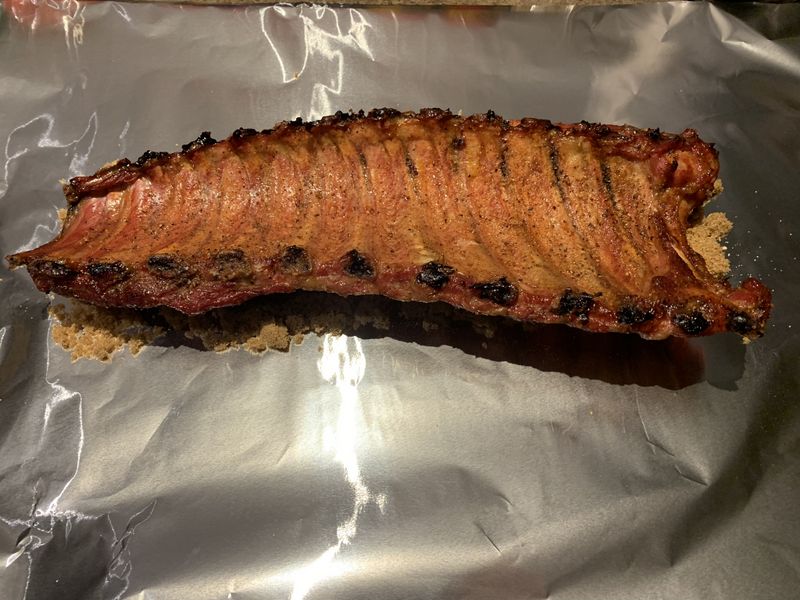
The wrapped ribs were placed back on the grill this time meat side down for approximately 2 hours, on 250F until tender and internal temp 180-200F. Finally they were unwrapped, dressed in BBQ sauce and briefly cooked 10 minutes further.
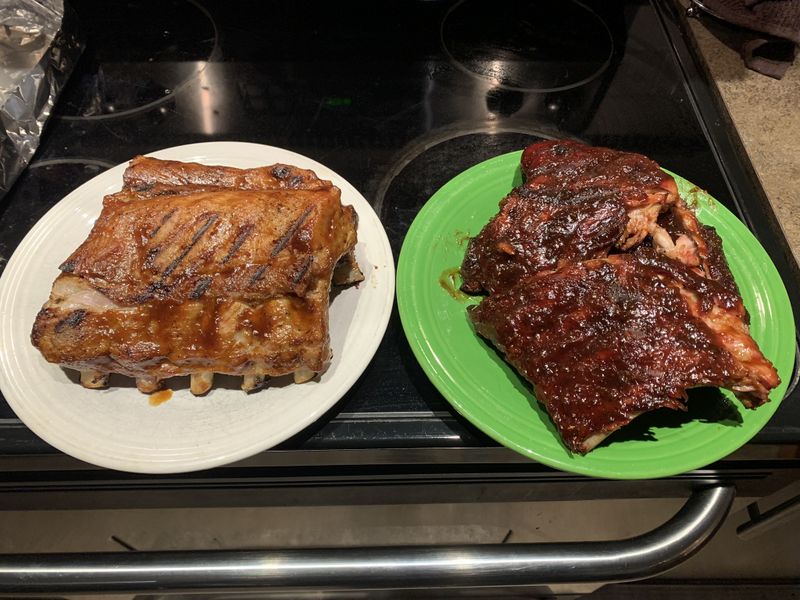
Sandra did her rack of ribs (left hand side) in the oven, and finished on the Propane BBQ to brown up and cook in BBQ sauce. Both racks have the same BBQ sauce! Sandra's ribs were really good as they always have been, but the Pit Boss cooked ribs looked and tasted out of this world amazing!
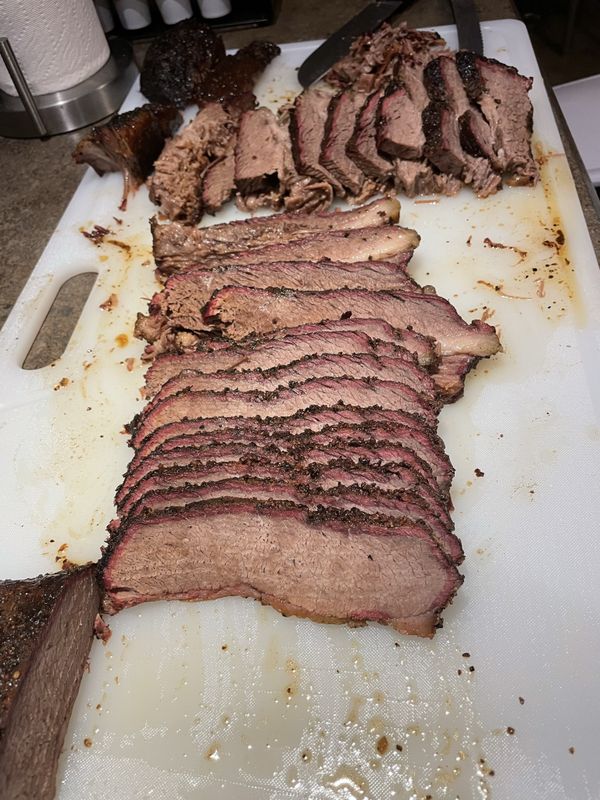
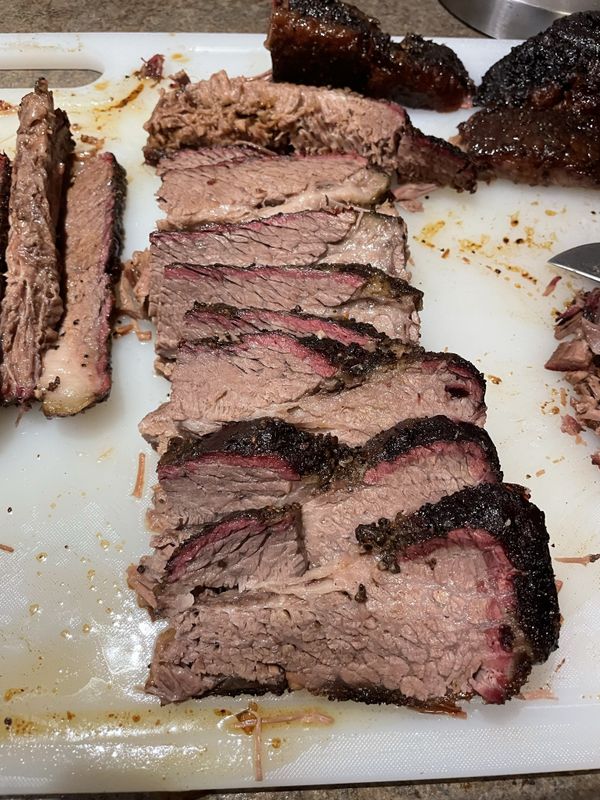
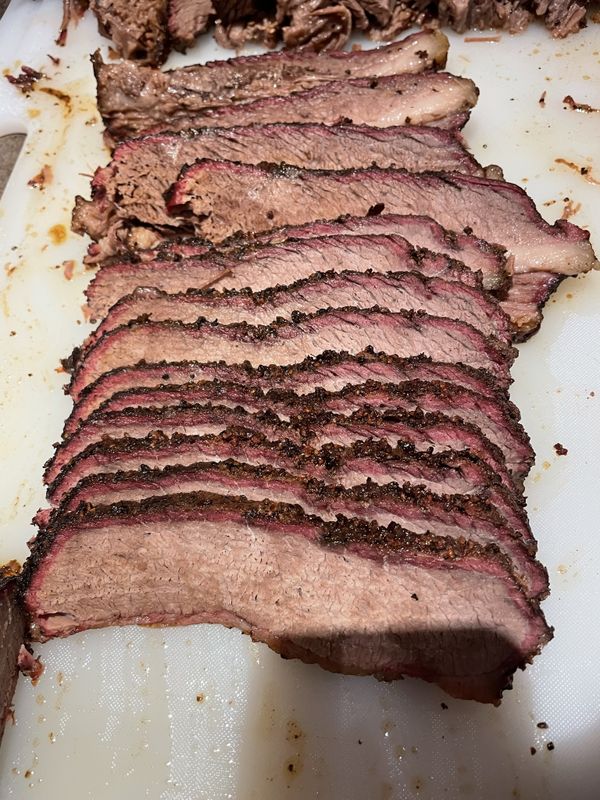
On New Years eve I tackled my 2nd ever brisket. This time I used a simple Salt, Black Pepper (50/50 ratio) and garlic powder for a Texas style BBQ.
Time lines were similar to the first brisket, again it's a long cook.
In hindsight I wrapped this brisket too early and should have left it for another hour or two to render more fat and get better colour.
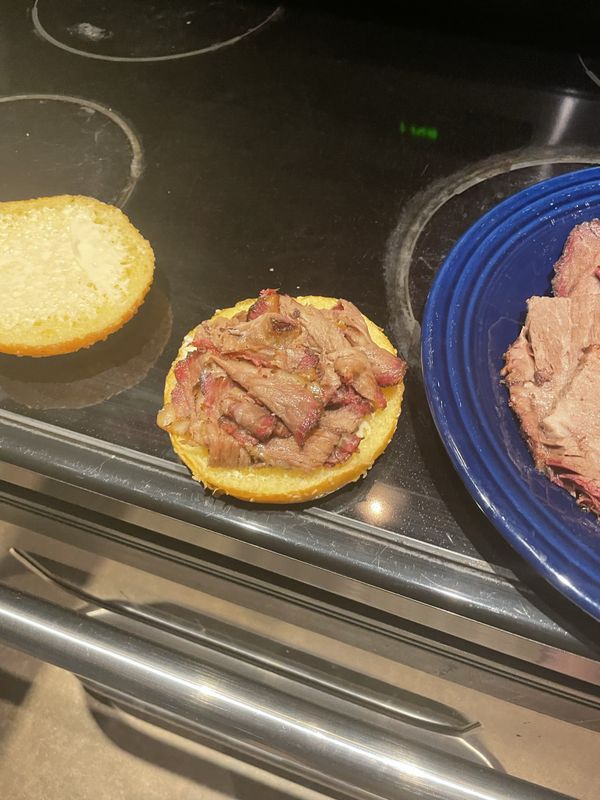
With that said, the flavour and tenderness were still out of this world!
Cooking on the Pit Boss is a continual learning and very enjoyable experience gaining knowledge after every cook to make the next one better and better. I have to say it's one of the most enjoyable skills I have picked up since I started fly fishing last summer, I truly enjoy it and really look forward to each new cook!
Cheers, MIKE
Copyright © 2011 Michael Smith |