|
Area51 - Mike's 2011 Silverado HD Paint Touch up Project 2020: |
|
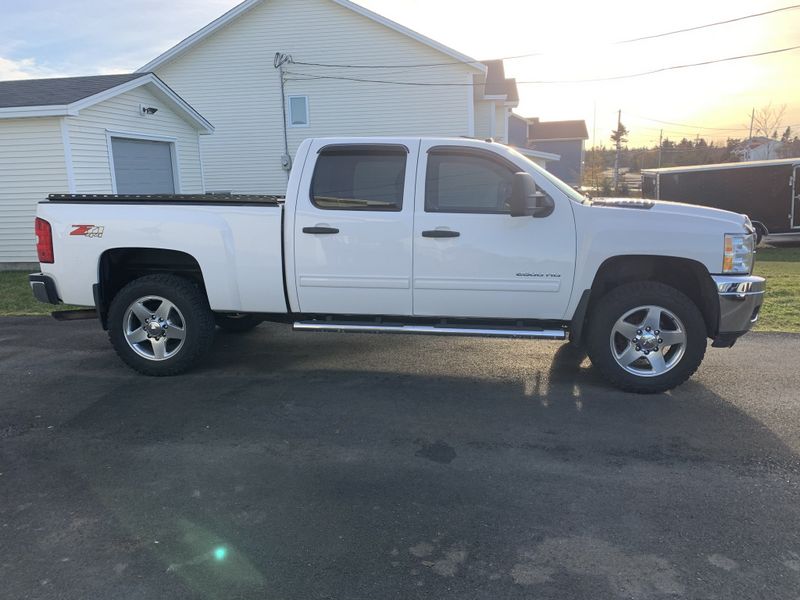
Its been a couple years since I last made any paint repairs on my 2011 (just under 200,000km) Silverado 2500 HD. I plan to keep this truck as long as I can so this summer I took a couple weeks here and there to complete the work on my own. Touching up the paint not only keeps the truck looking like new but also helps prevent the spread of the much hated vehicle cancer, rust. I will also be tackling damage on the driver side rear door from a bullet impact 5 years ago, and repainting the passenger side front fender from a shoddy repair job by the original owner sometime in 2011. Let me point out, I am not a body man so this article is not so much a how to do it, but more of a how I did it!
In October 2014 I was on my way home from Bassan's house in Torbay when my truck was struck by a stray rifle round while stopped at a traffic light near the Torbay bypass highway. The RNC Ident team arrived and pulled a .223 calibre round from the plastic moulding on the driver side rear door. As I've been telling people for years, Chev heavy duty trucks are bullet proof and was proven right by the fact the round did not penetrate the steel door.
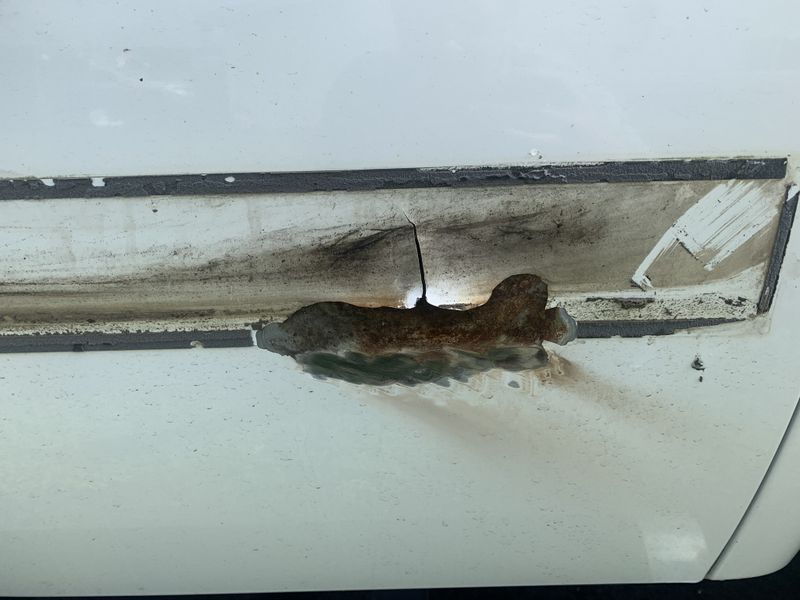
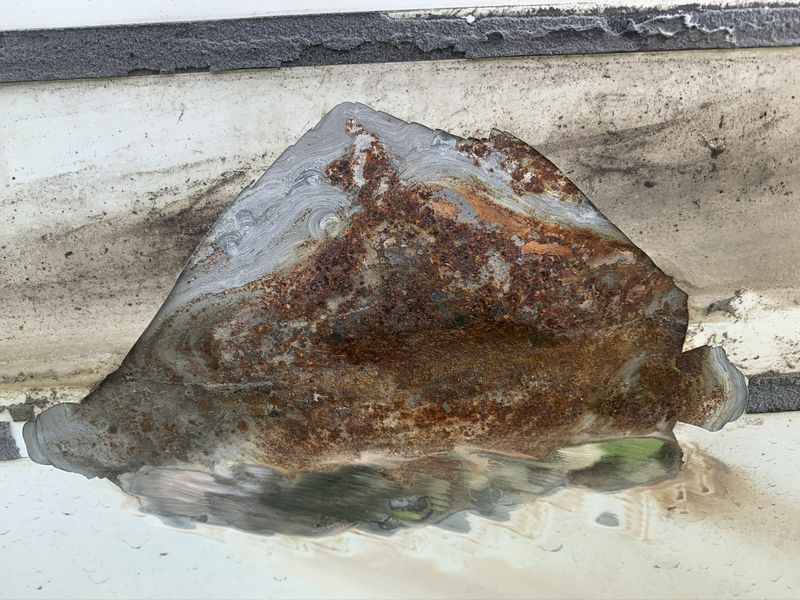
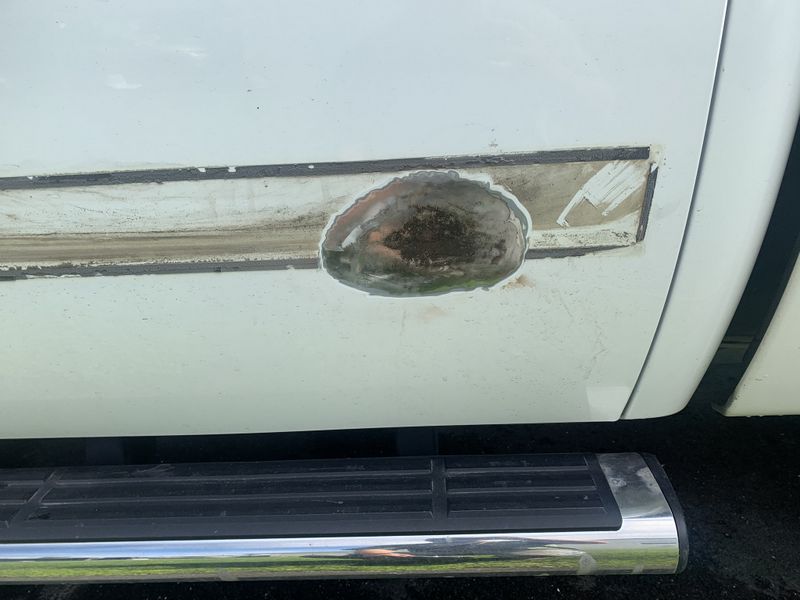
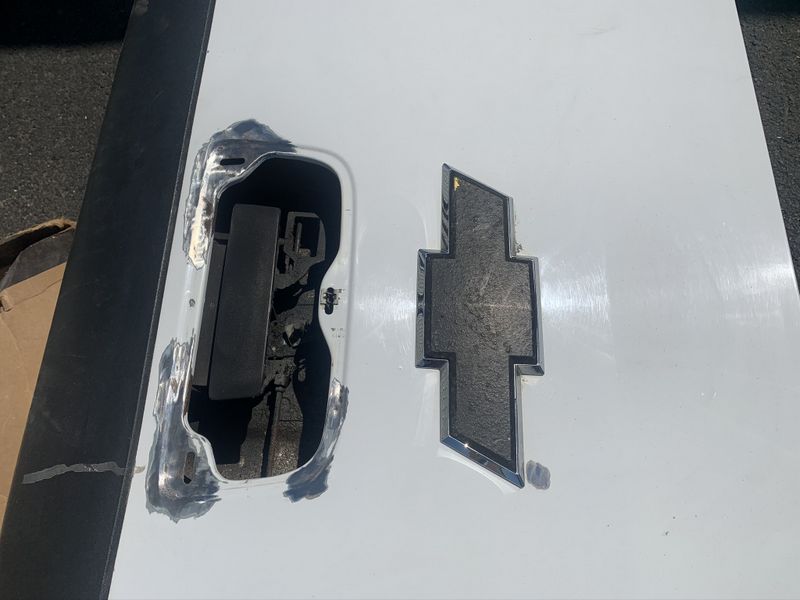
Six years later after a particularly harsh winter I finally found some body damage stemming from the point of impact. Inevitably the paint had cracked under the moulding and slowly rusted over the past 6 years and finally broke out below the moulding lifting the paint.
Upon inspection I was pleased to find that although there was a minor dent in the door, there was indeed no hole!
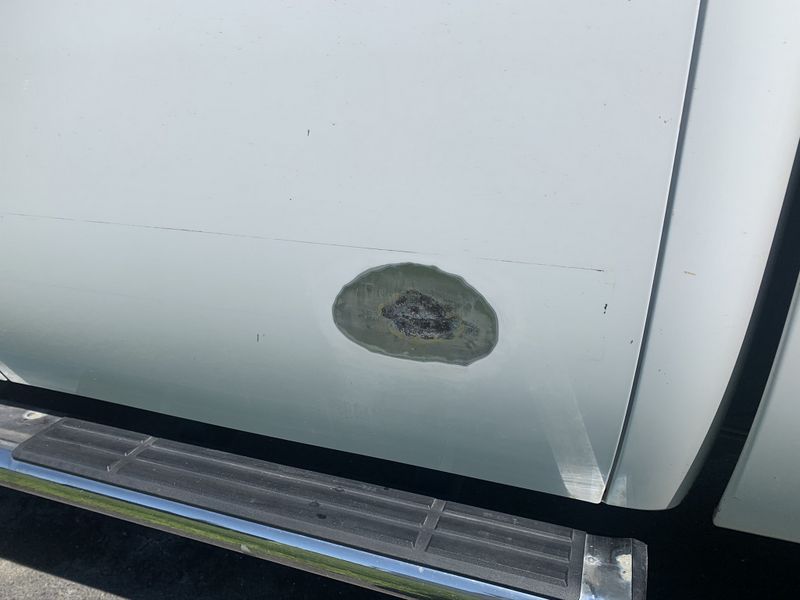
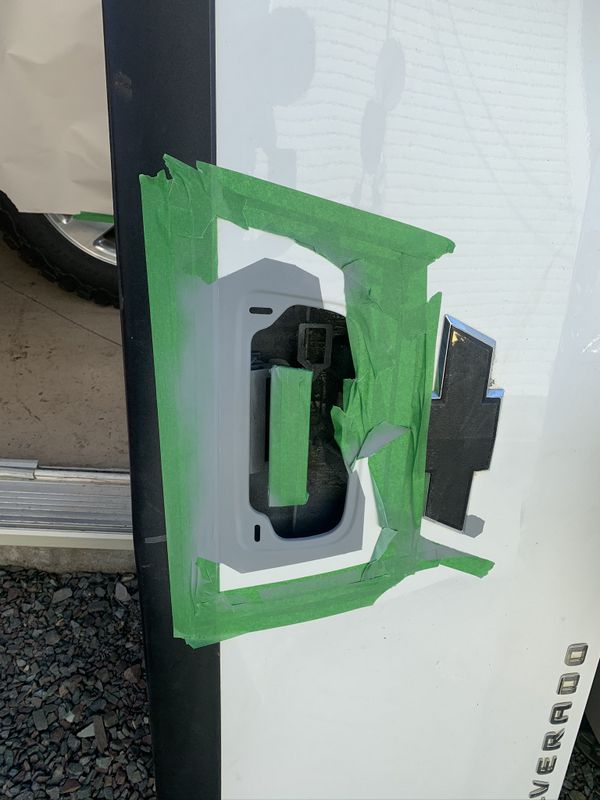
Some quick work with a 3M 2" disc followed up by feathering the area with my 5" sander had the affected area looking much better. The rust was treated with Rust Check chemical rust converter, then the whole area cleaned to remove dirt under the moulding and adhesive glue.
Next the area was prepped and sprayed with professional grade primer purchased at Car Quest.
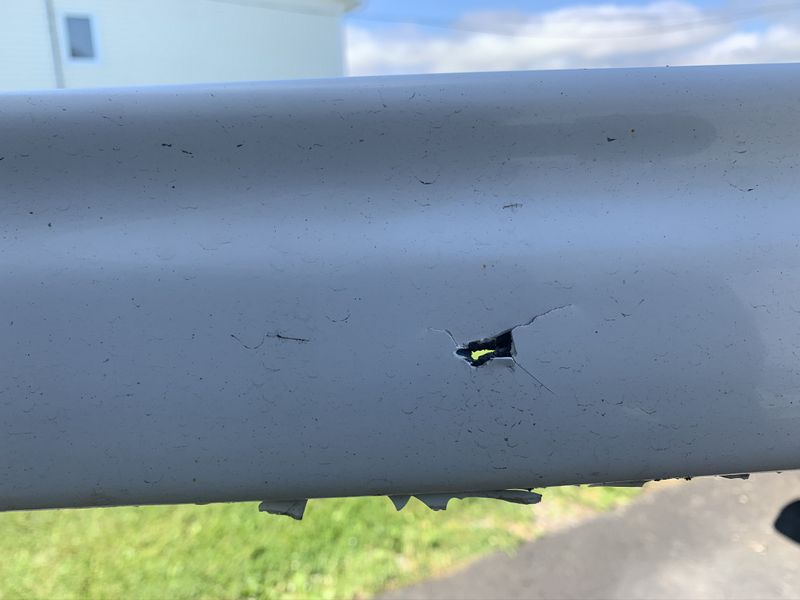
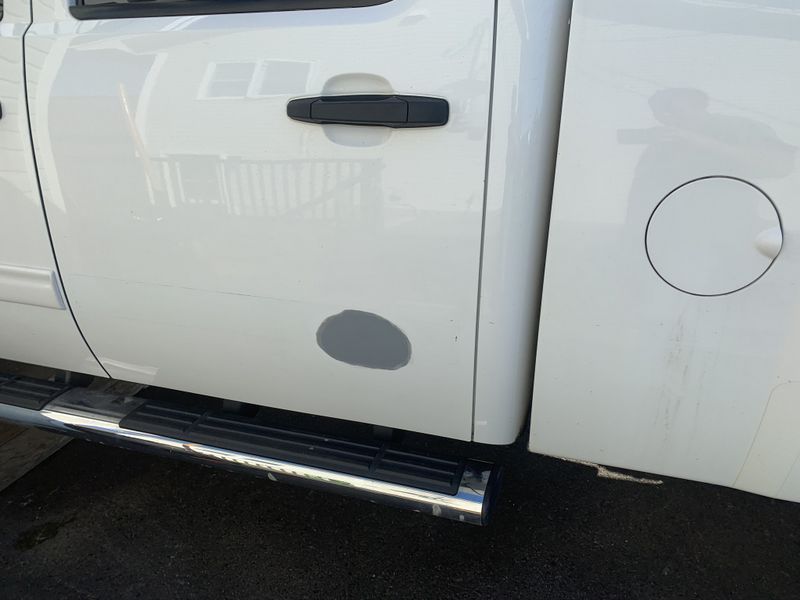
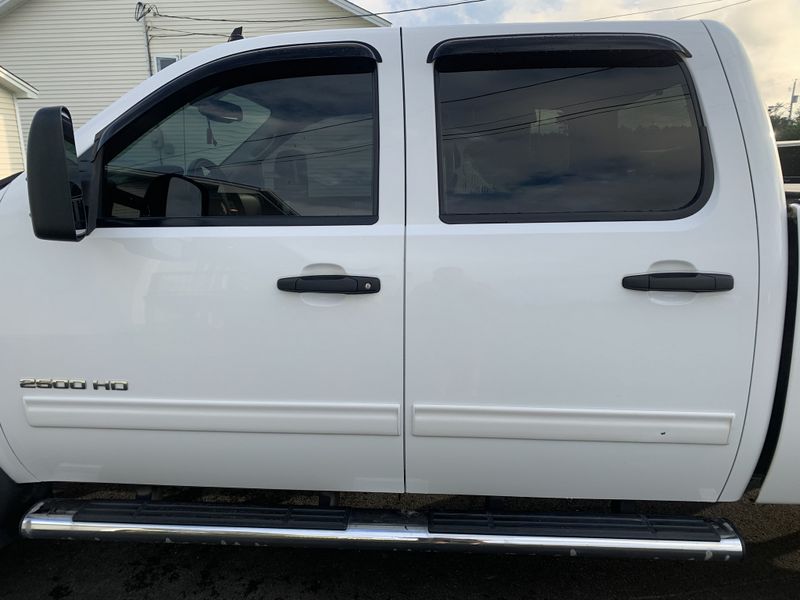
The colour match top coat and clear were also products purchased from the crew at Car Quest in St. John's. I made a spot repair and after curing I blended the repaired area by wet sanding and compound buffing the bottom of the door. Fresh 3M pressure sensitive double sided tape was used to reattach the door moulding. I left the hole in the moulding as a souvenir of the event, I did fill the hole with clear silicone to keep the water out.
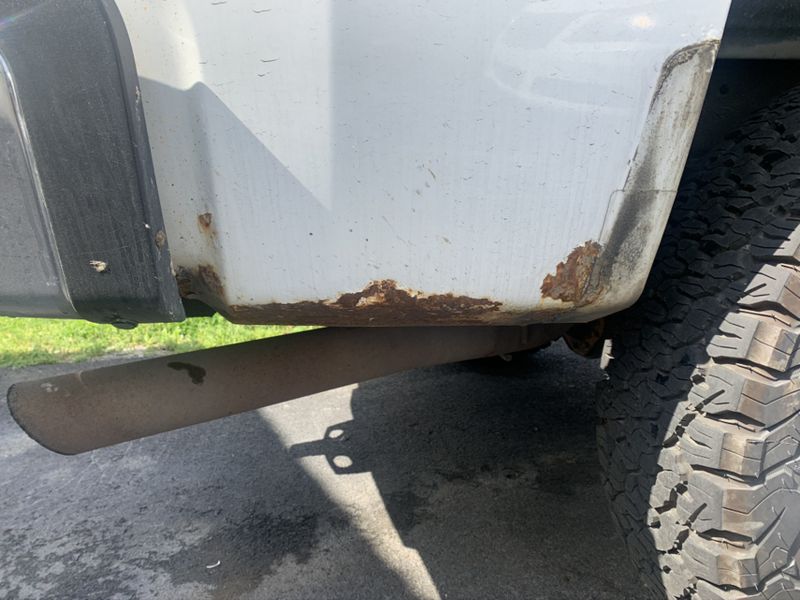
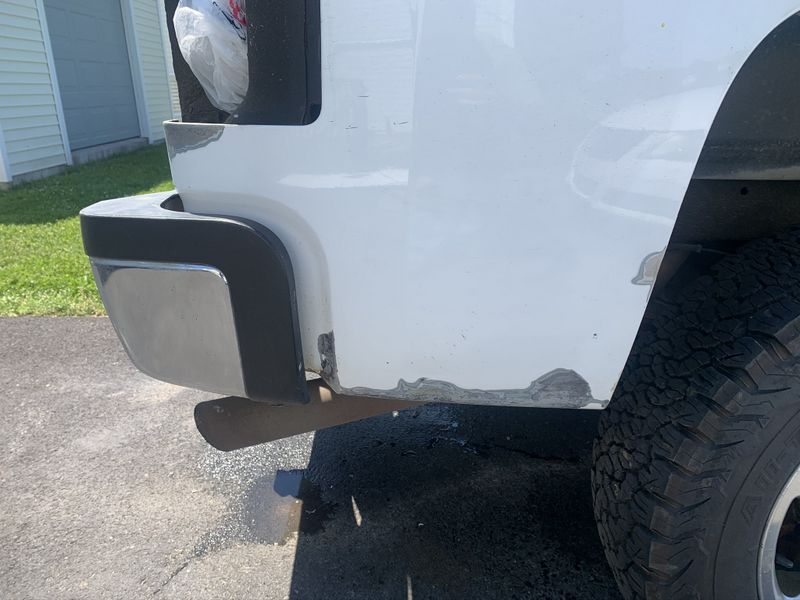
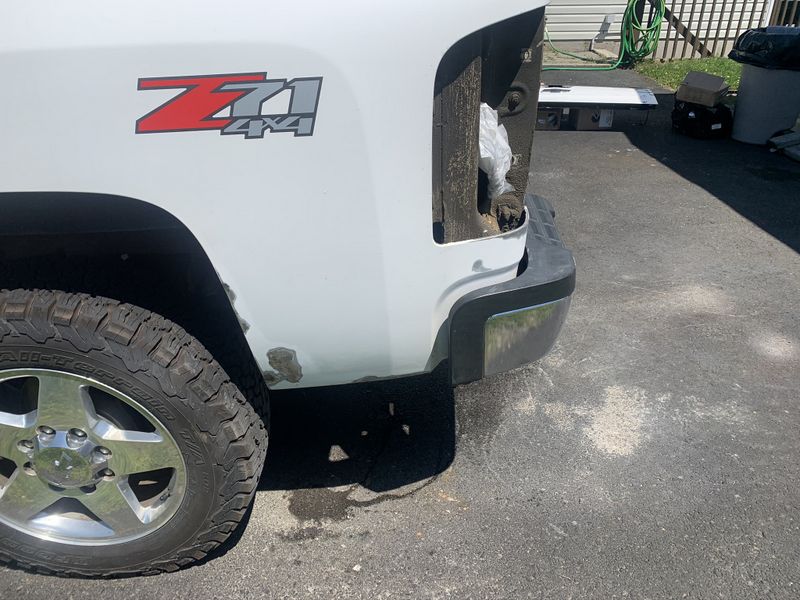
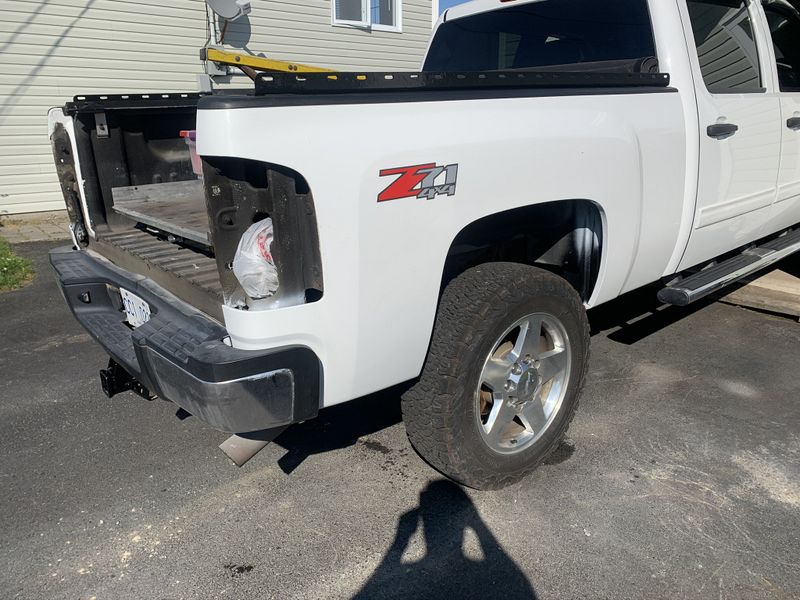
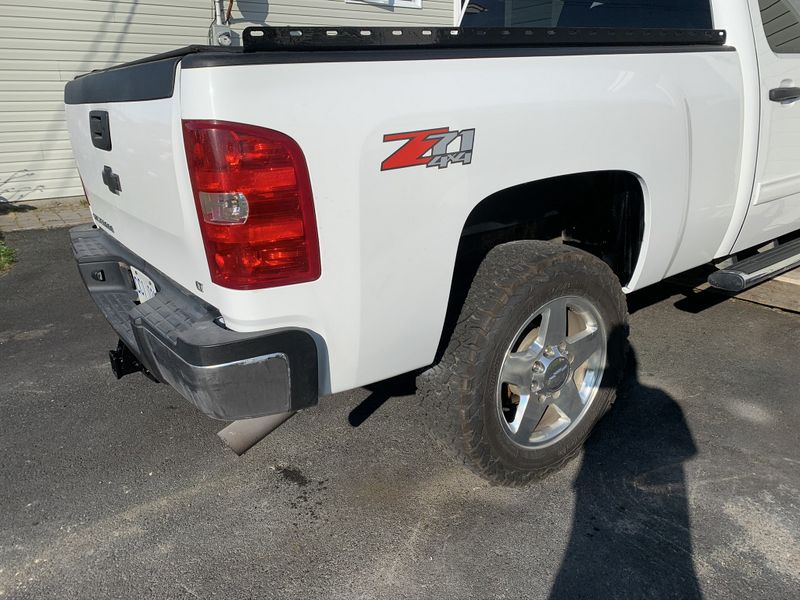
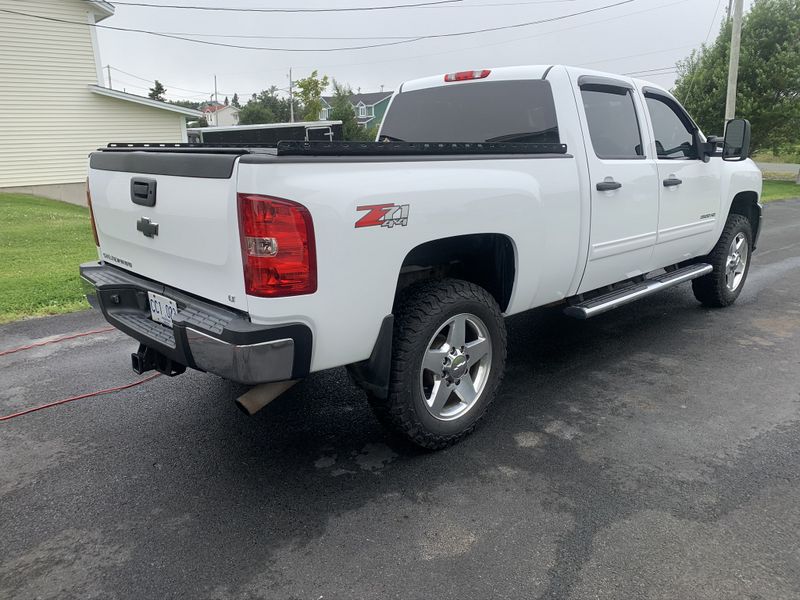
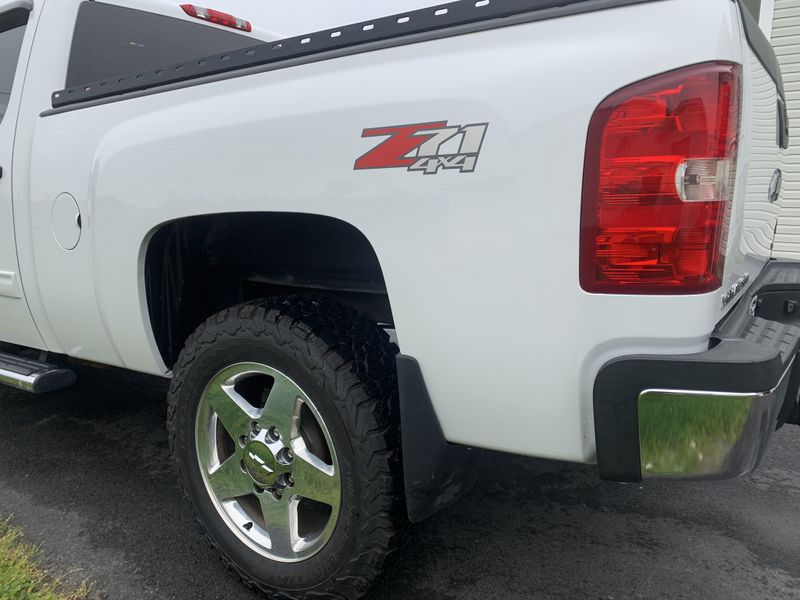
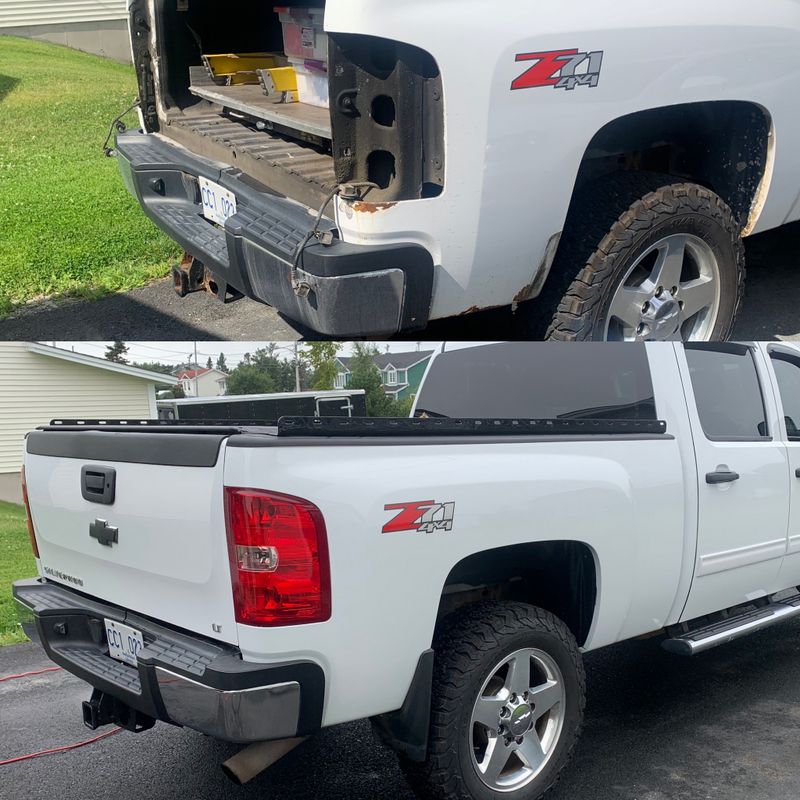
Rusty areas around the rear mud flaps & taillights were repaired similarly with 3M 2" discs followed by feathering with my 5" sander. Rust was treated with Rust Check chemical rust converter as an experiment to see how well the stuff works or not.
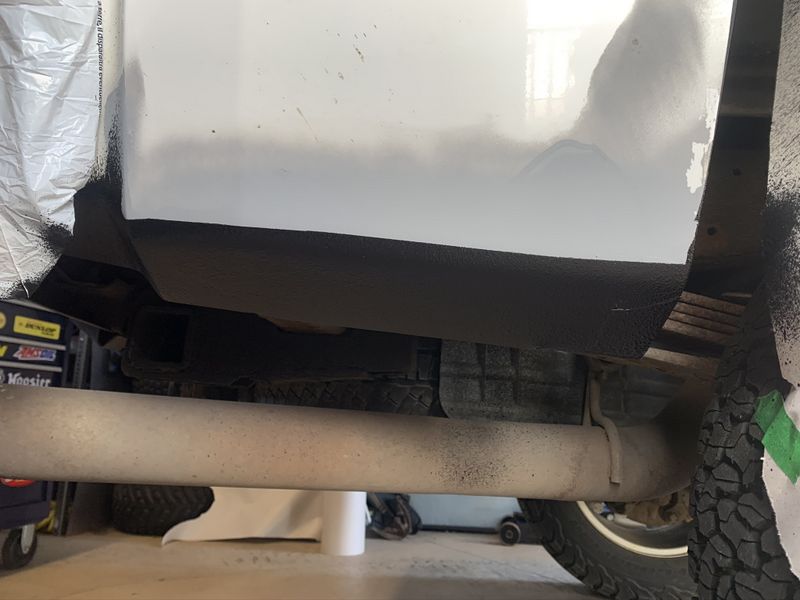
The bottoms of the rear fenders behind the wheels always get sandblasted over the winter even with factory mud flaps. After etch priming I decided to coat these areas first with paintable rocker guard also purchased at Car Quest.
Pro grade primer was next applied to all repaired areas.
I used the same colour match paint and clear coat from the door repair for all my repairs.
White overspray inside the wheel wells was repainted black for a tidy finished job.
Like the door repair, once the paint cured for a couple weeks I wet sanded then compound buffed the repaired areas to blend the new paint with the existing.
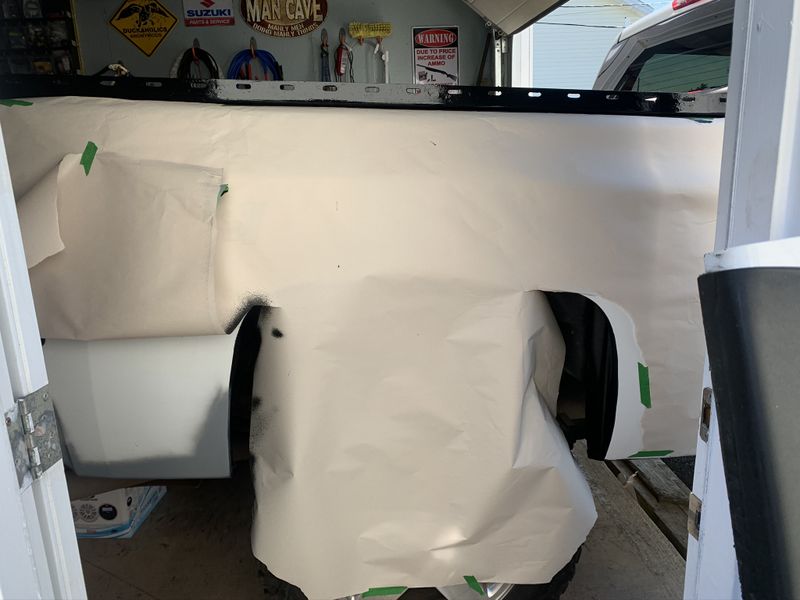
The tailgate repairs were completed just the same only in tighter quarters so there was less room to blend the new paint to the old.
After the primer was sprayed I re-masked further back from the repaired areas, feathered out the new paint to the existing surface then applied the colour match paint. Professional body men are probably cringing as they read this, but that's OK. LoL
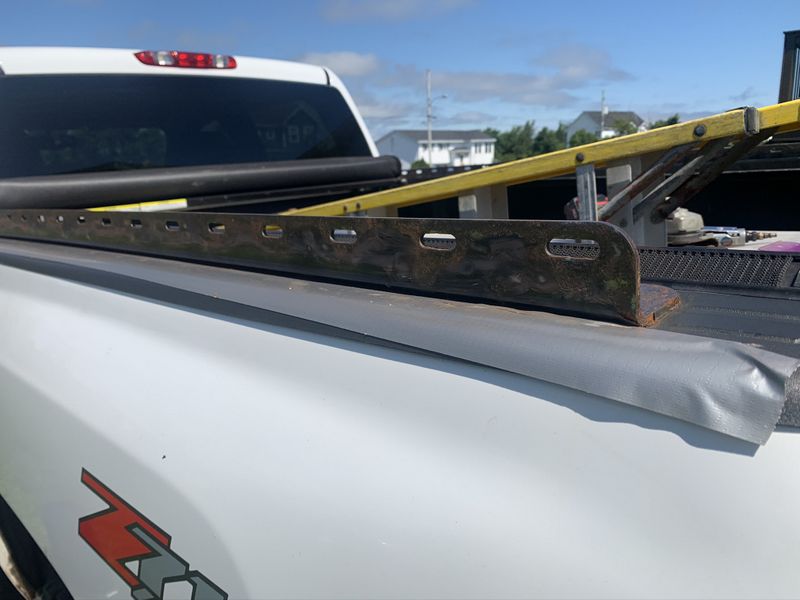
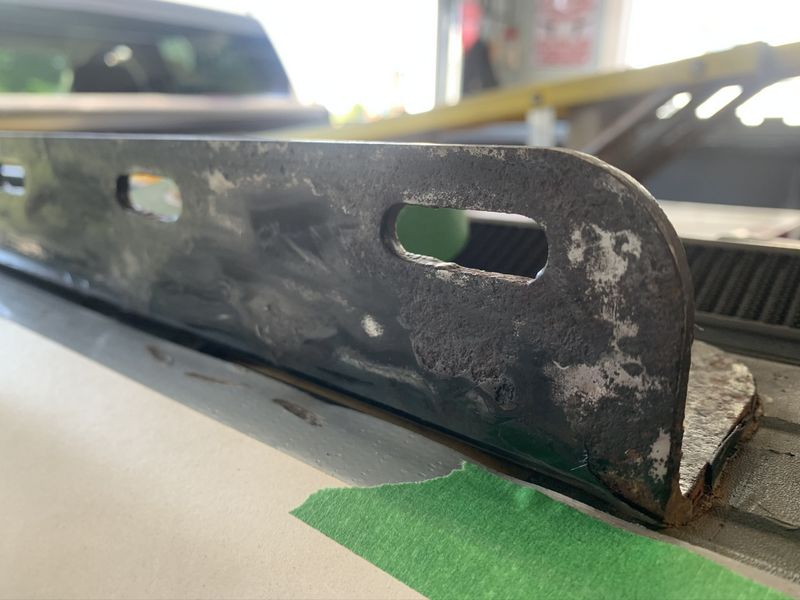
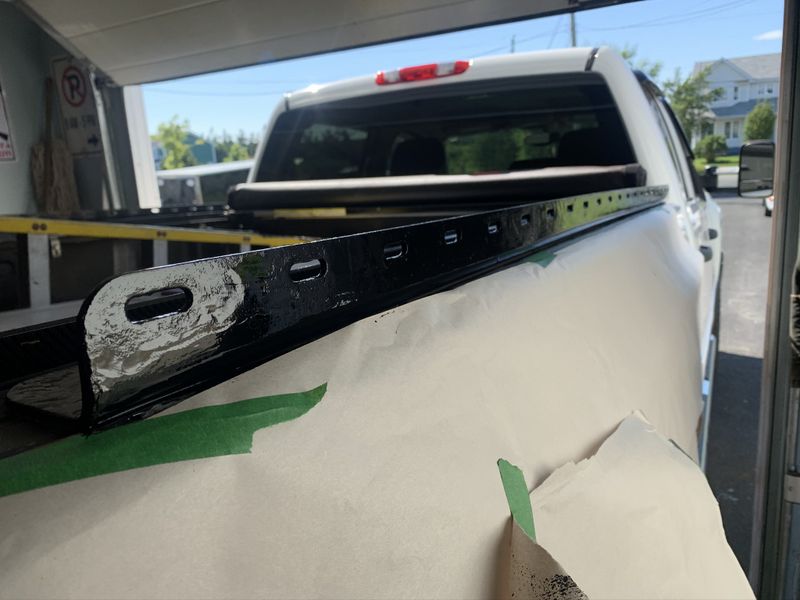
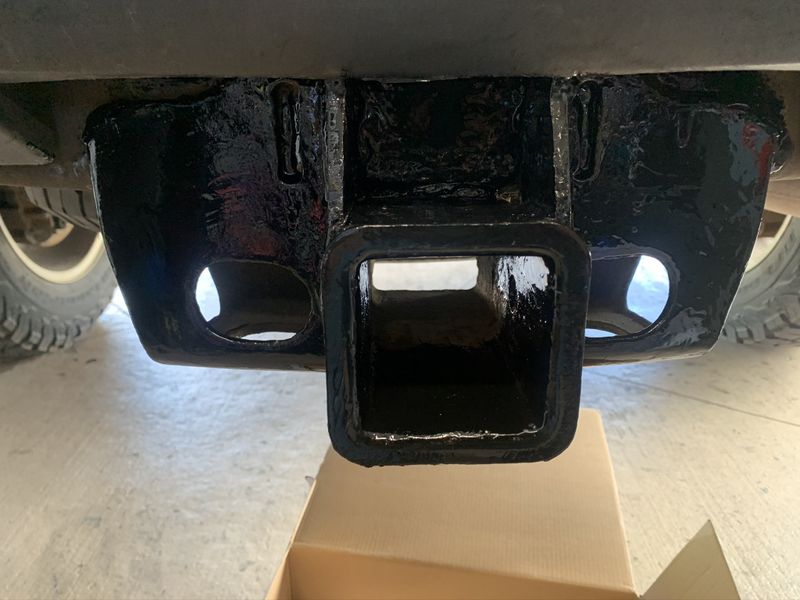
With part one complete I spent another afternoon cleaning, prepping and repainting my ladder rack bed rails and trailer hitch with Tremclad gloss black brush on enamel.
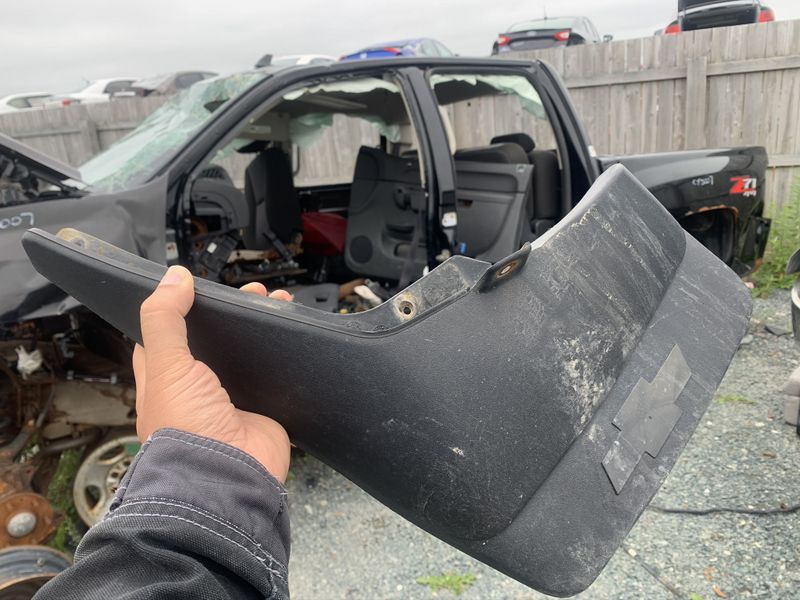
At some point after Snowmageddon I noticed I was missing one of my OEM mud flaps. Luckily there were lots at the U-pick in Mount Pearl so I grabbed one plus a few more odds and ends including a few body plugs, bushings and bolts for other projects. Total cost was $5.00.
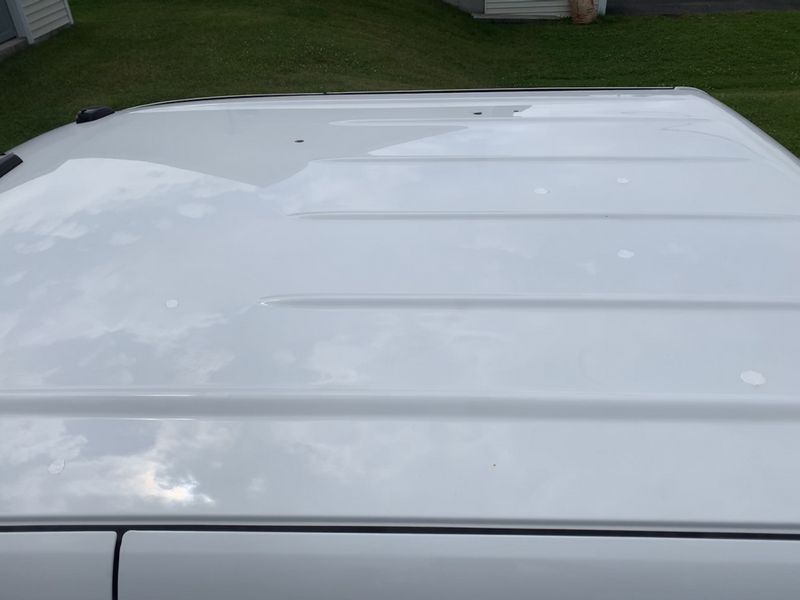
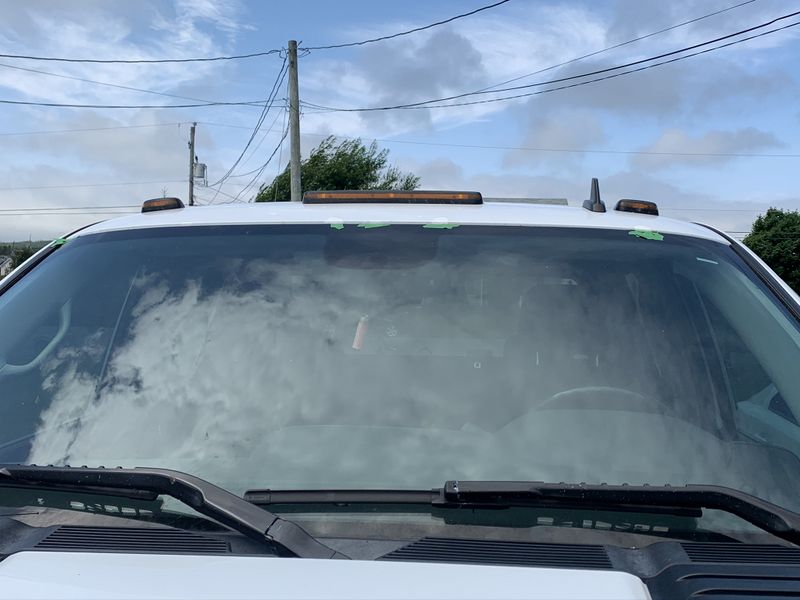
Roof and top of the windshield roof line touch ups were next and were quickly ground out with 3M 2" discs, rust converted and touched up by hand. This repair was more for protection than ascetics. #lifeintherustbelt
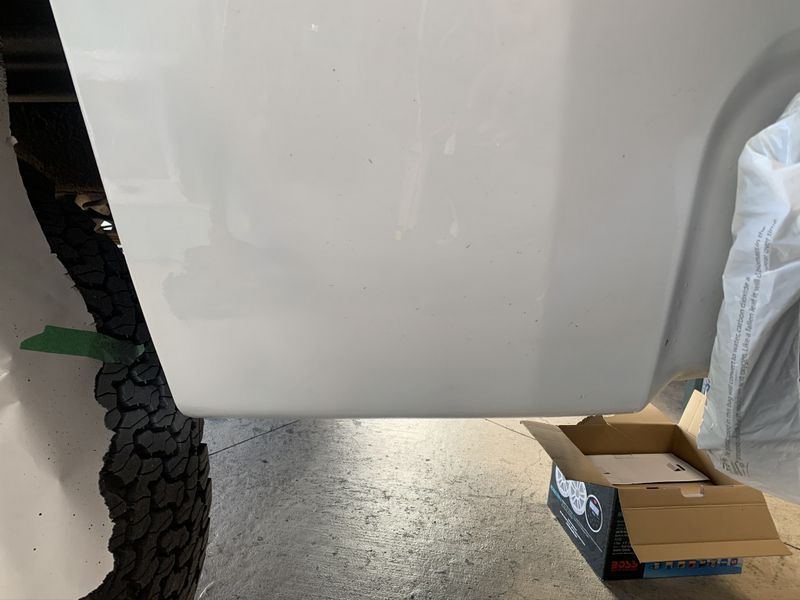
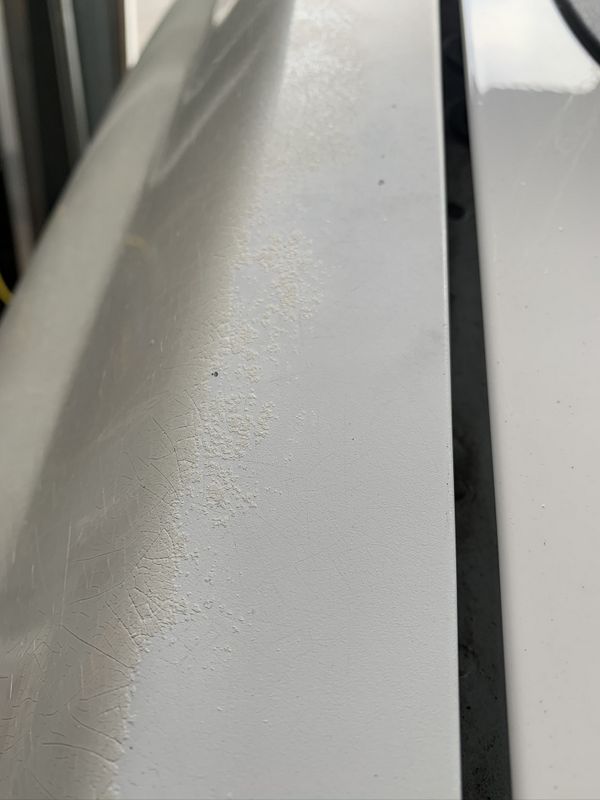
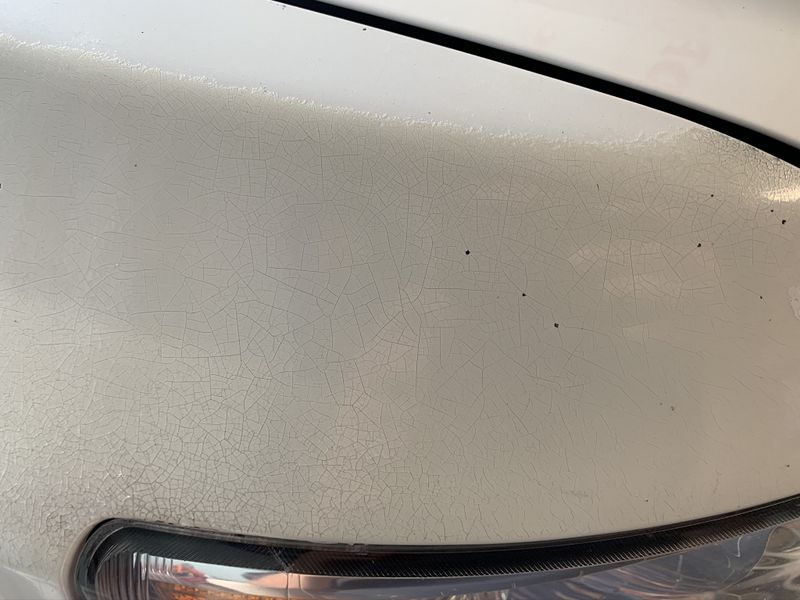
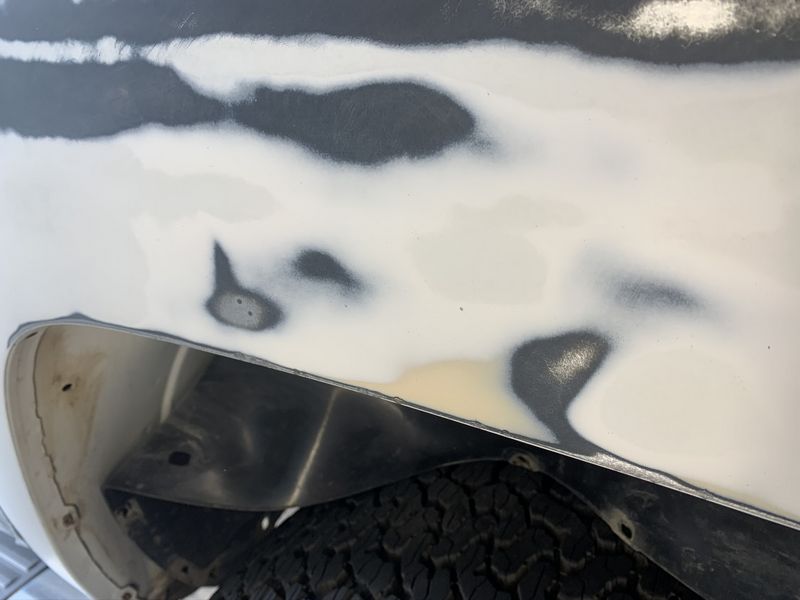
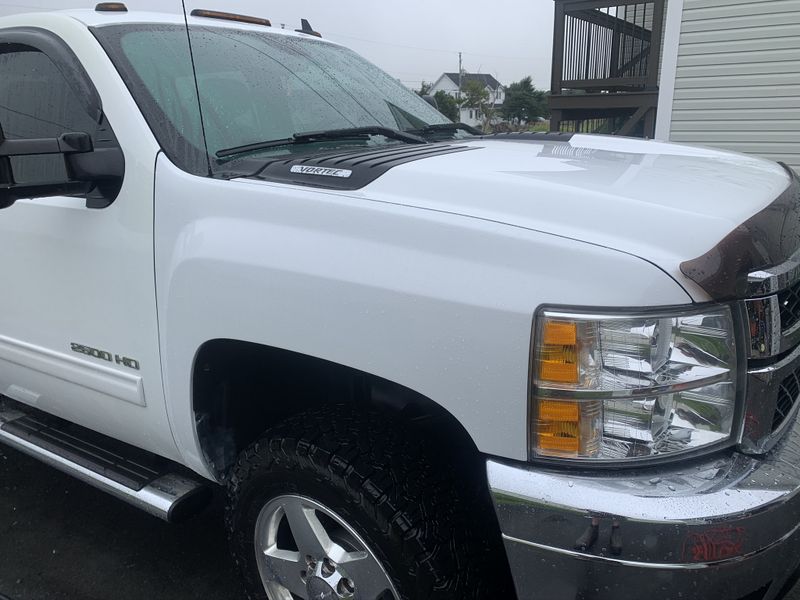
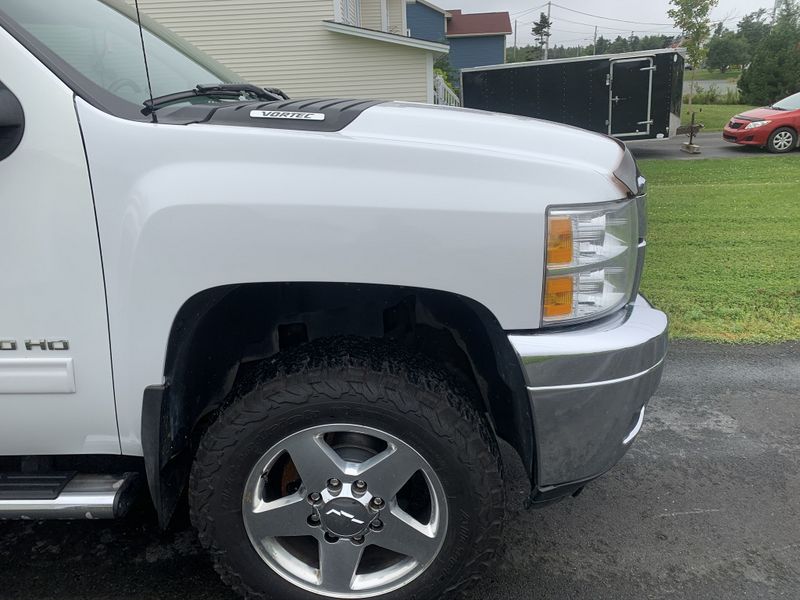
My final paint project was repainting the front fender which had been shoddily repaired before I purchased this truck in 2013. The cheap AF clear coat turned yellow, cracked and disintegrated getting progressively worse over the last 7 years and looked terrible.
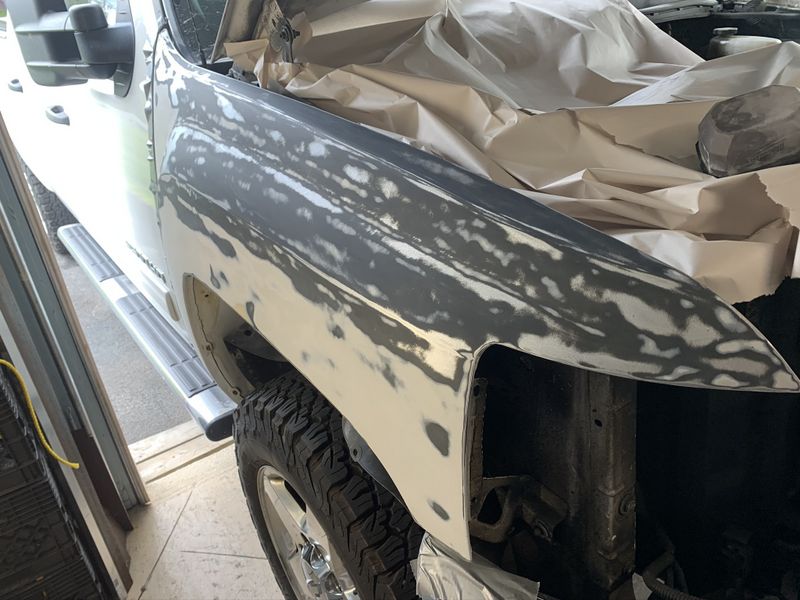
I sanded down the fender with my 5" sander to fully remove all the old defective product.
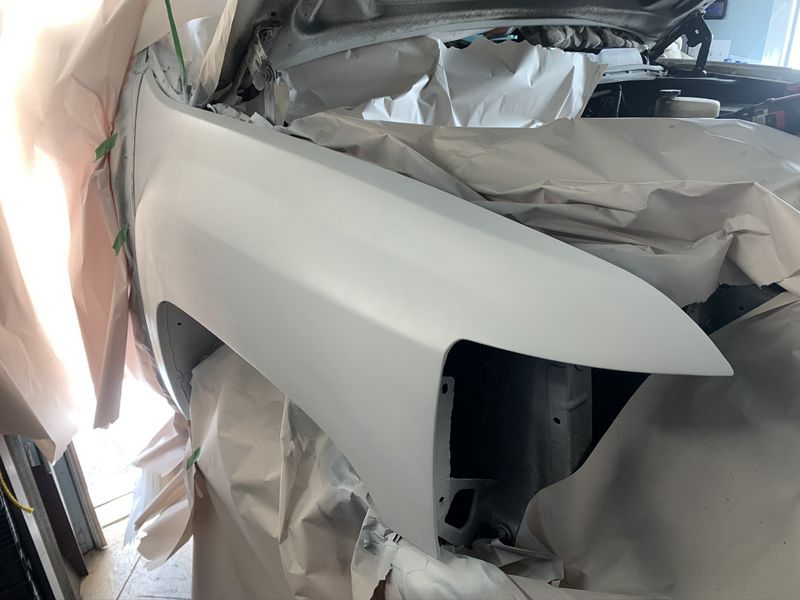
First up was quality professional grade primer applied in light coats lightly sanding in between.
Then the white colour match base coat.
And finally a can of good quality but defective (bad spray nozzle) spray bomb of clear coat. The final appearance was quite matte but I laid the clear on thick so I could wet sand it out later.
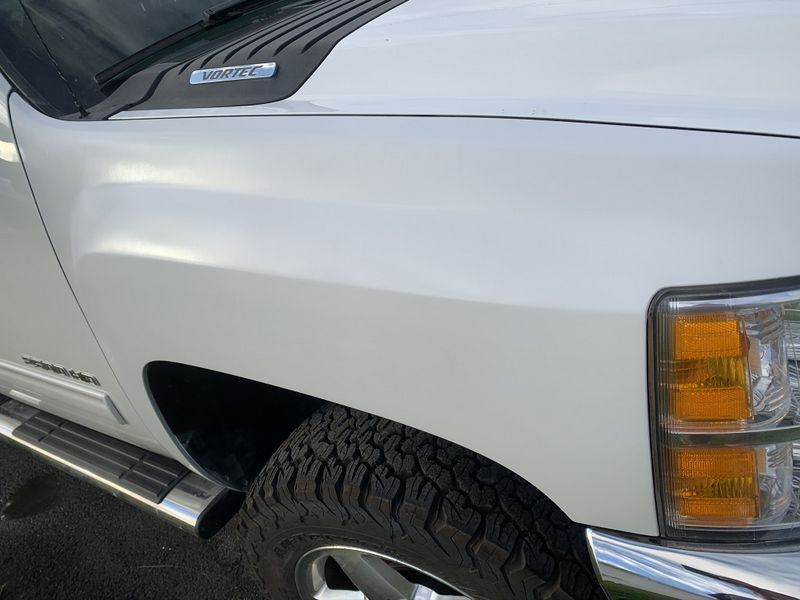
A couple weeks later I wet sanded and compound buffed the repaired fender and I'm happy with the results.
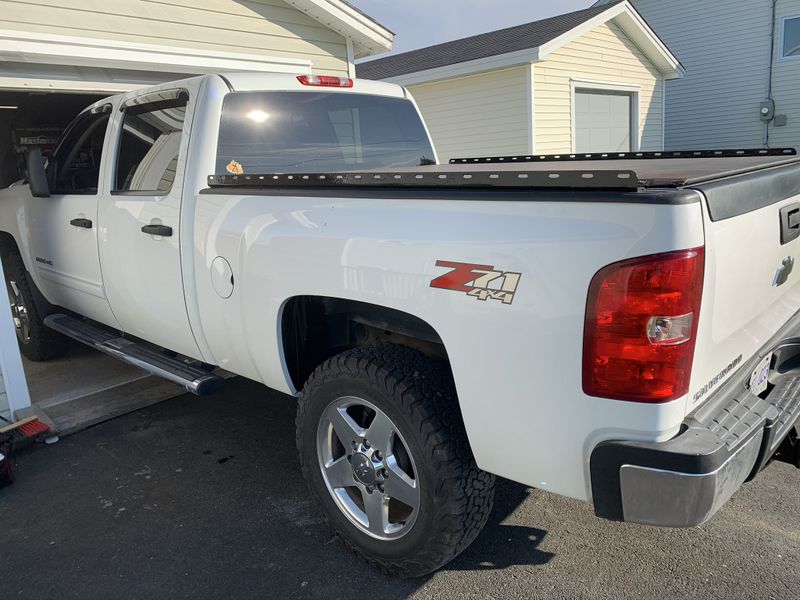
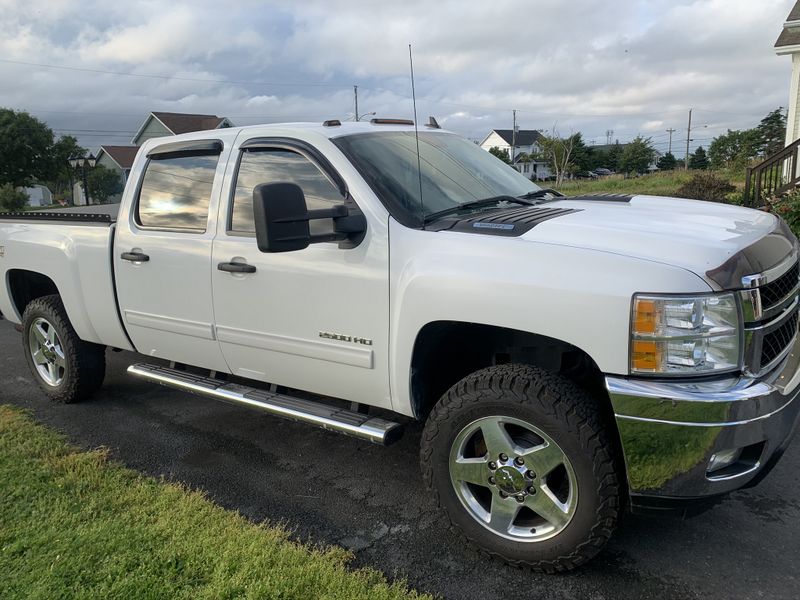
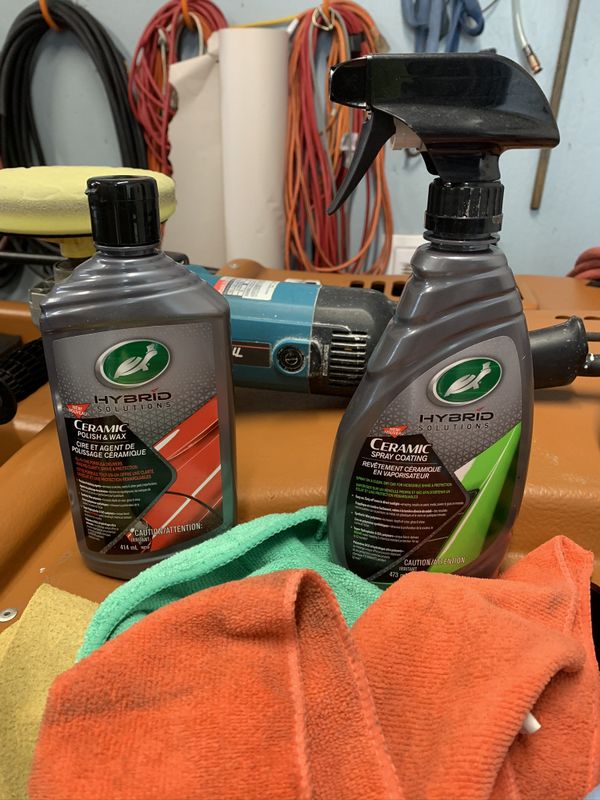
Since white paint is notorious for showing up embedded dirt such as road tar and iron specks from vehicle brakes I decided to polish out the whole truck to have all the repaired areas looking great against the existing body. This turtle wax Hybrid Ceramic Polish worked absolutely fantastic. I applied the first coat wet and fairly fast with my Makita buffer to scrub the paint clean, waited 24 hours and did it again but this time dry and slow. This worked great and polished the paint without leaving swirls. After another 24 hours I applied 2 coats (24 hours apart) of the Turtle wax ceramic spray coating. This product when installed according to the manufacturers directions provide outstanding shine and protection. It has received great online reviews when tested along side other brands. Great value for a fairly inexpensive product.
It may not be a shop quality job, but for a half in the garage, half in the driveway, spray bomb, fairly inexpensive touch up job, I'm very happy with the results.
Cheers, MIKE
Copyright © 2025 Michael Smith |