|
Area51 Mike's new Hultafors Arvika Axe Project:
Earlier this year French and I started watching a real interesting YouTube channel - Buckin Billy Ray Smith, a logger, tree climber and arborist on Vancouver Island. This guy is also right into restoring and fitting new handles on vintage axes. Mark ordered a Buckin' Special antique and I wanted something a little different as well.
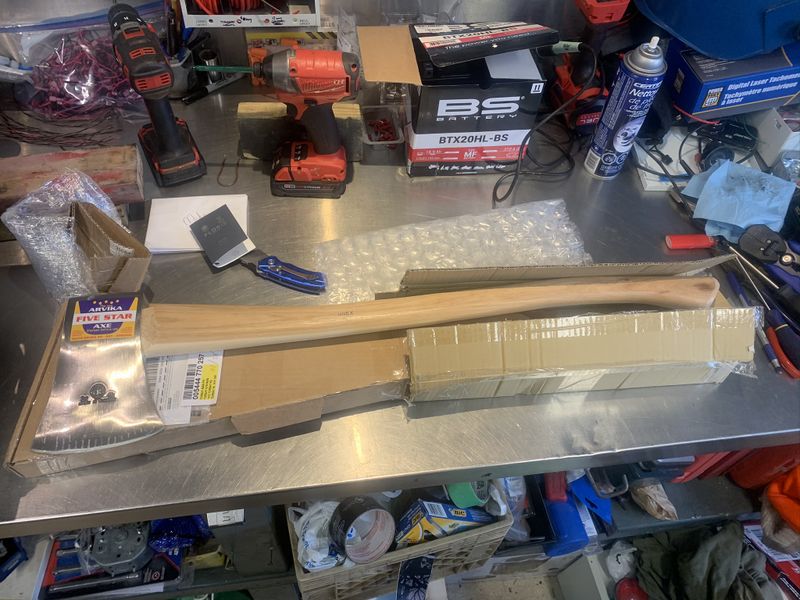
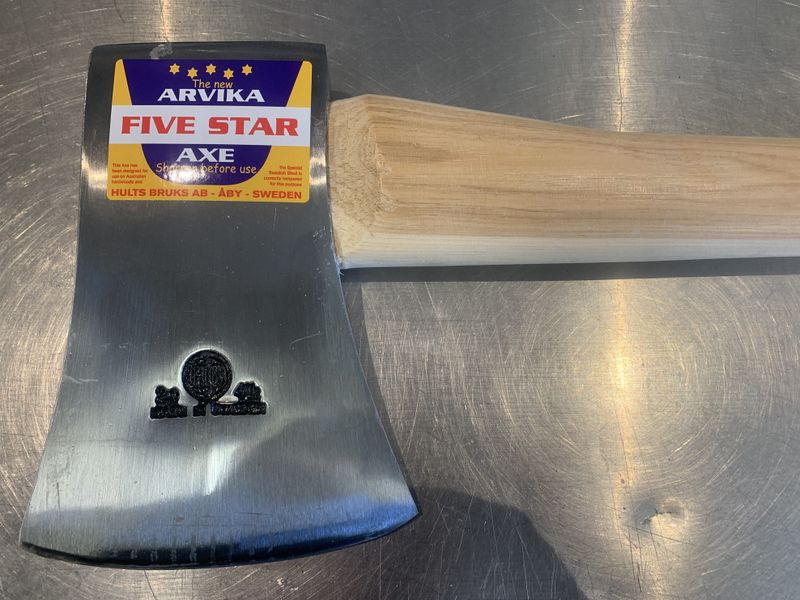
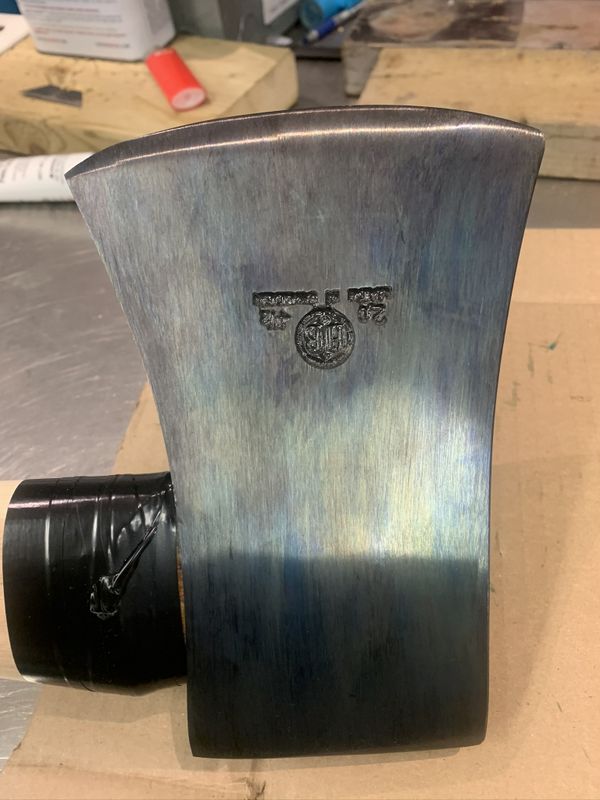
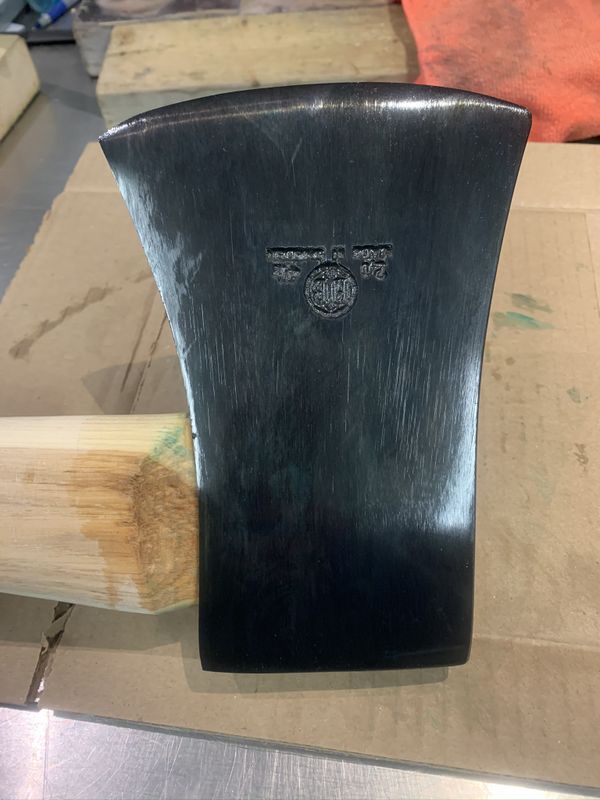
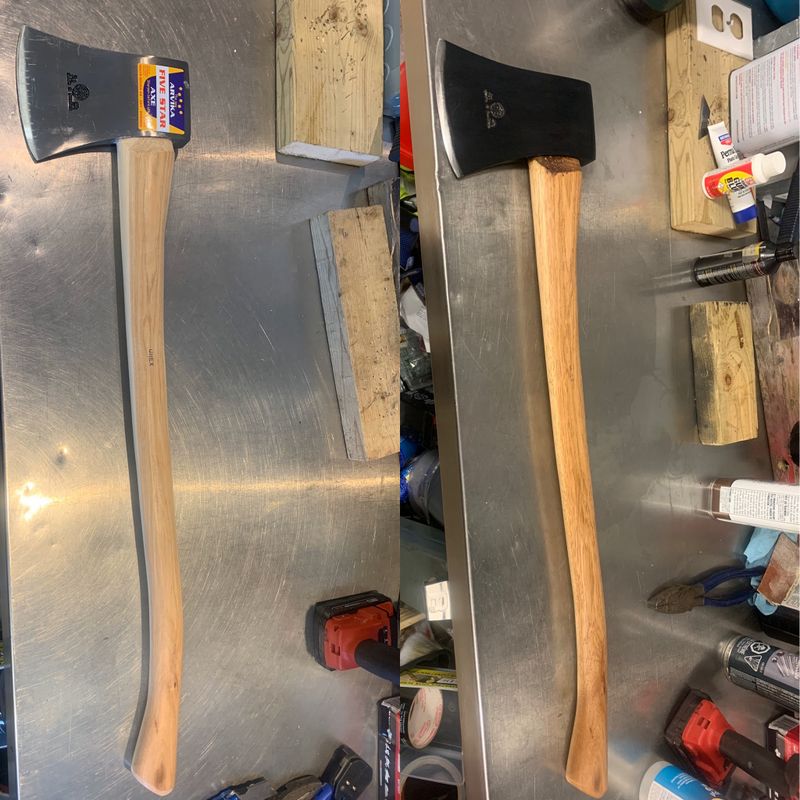
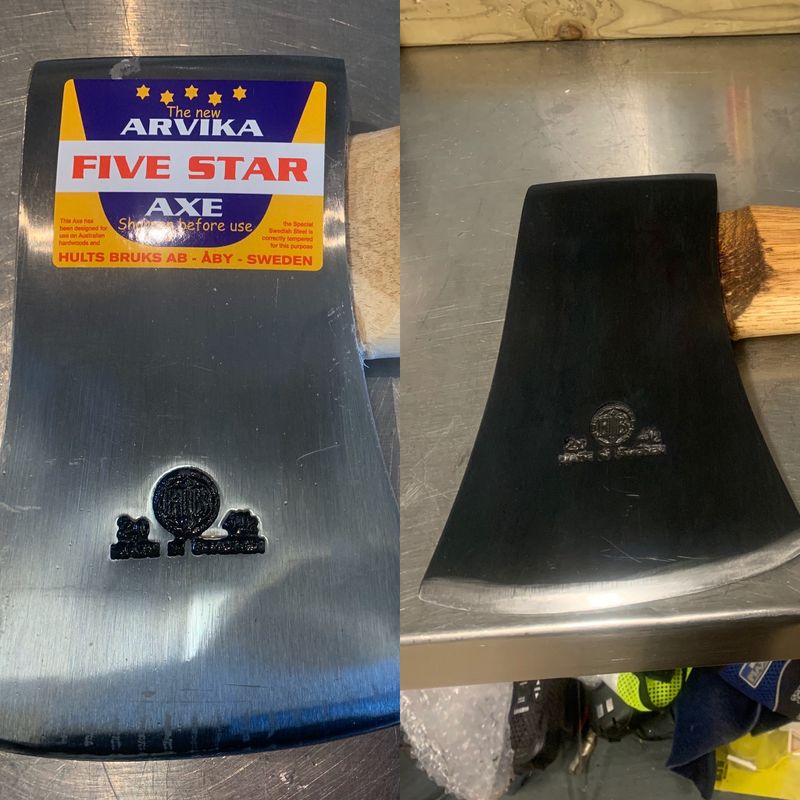
I did a lot of reading and research and settled on this Hultafors Arvika 4.5lb polished steel axe (which is hand forged in Hults Bruks, Sweden), ordered from a fantastic company: Kent of Inglewood located in Calgary, Alberta.
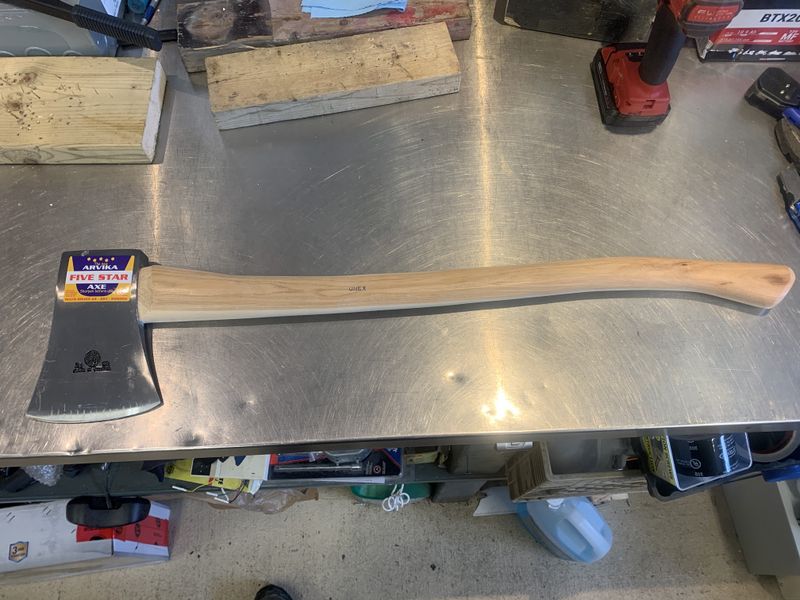
These axes are beautiful. I have a a Fiskars that I carry on the bike and a large Fiskars splitting axe which are both great every day beat around the woods, utility tools. I really wanted something pretty, unique and an axe with heritage.
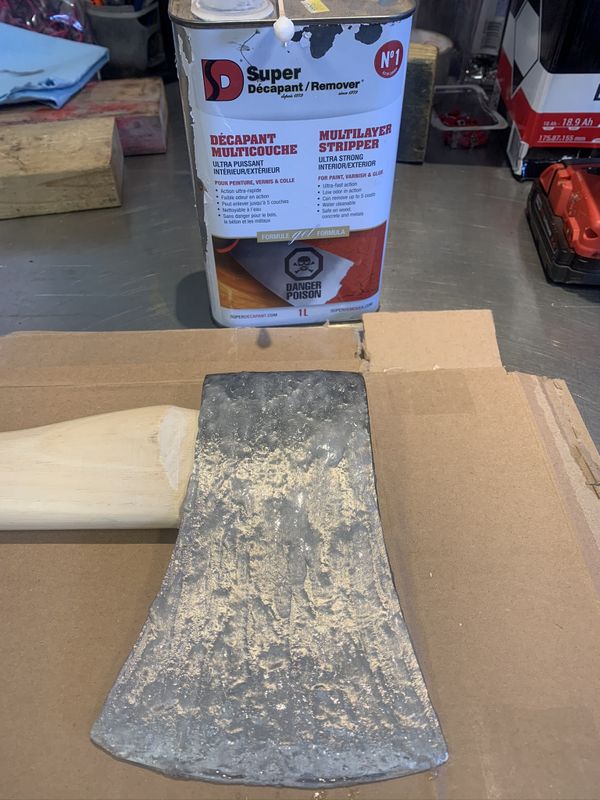
Out of the box the Arvika is not fully sharpened and the head is coated in a clear varnish to prevent rust so the first step was to chemical strip that coating to prepare the axe for my next step.
I used a gel style chemical paint striper in two applications to remove the thick clear coat following the directions on the can.
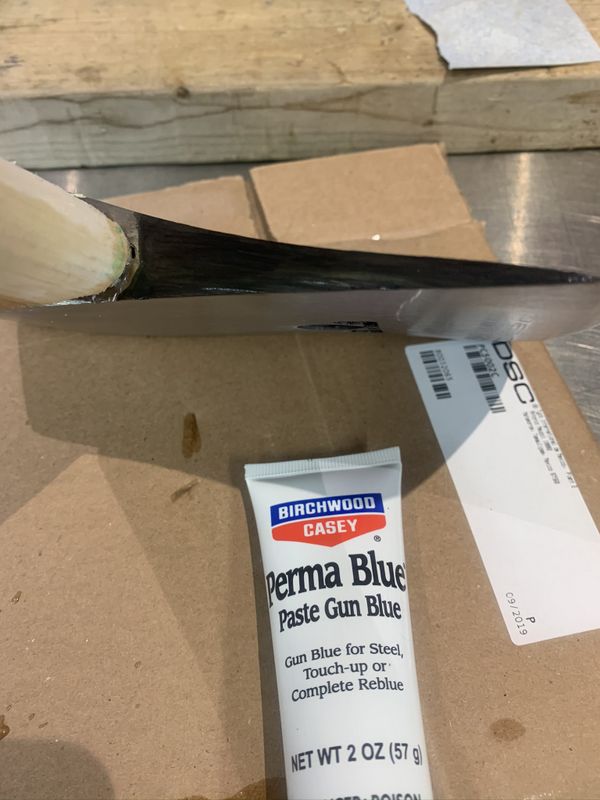
With the clear coat removed the axe head was washed in hot water, dried, and wiped down with rubbing alcohol.
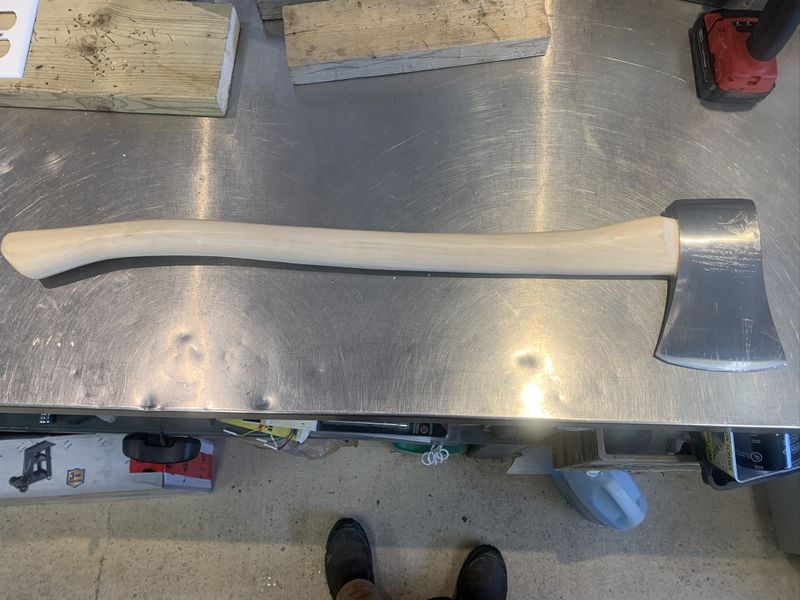
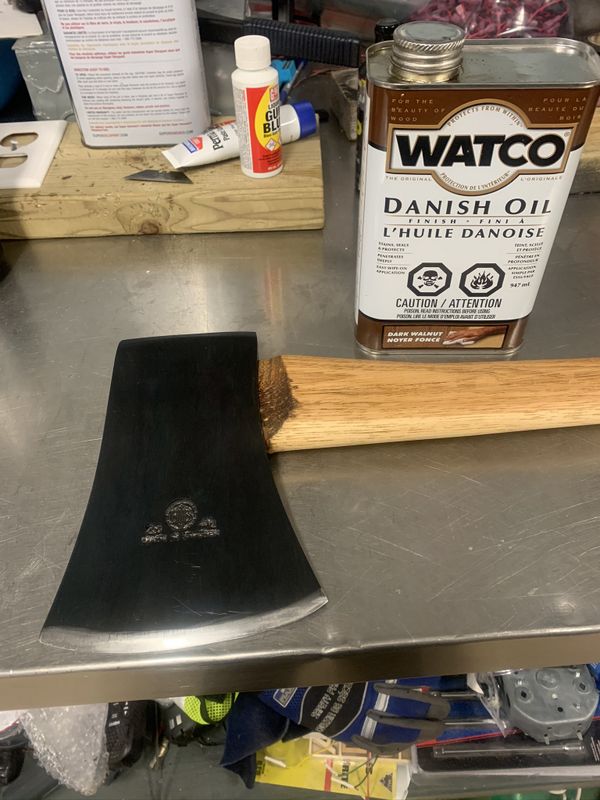
I wanted a unique, fairly durable, dark finish so I used Gun Blueing which chemically colours raw steel bluish-black like a gun barrel. I started with a Birchwood Casey gel style product following the directions on the bottle.
I did 2-3 applications of the Birchwood Casey product adding depth and darkness with each application.
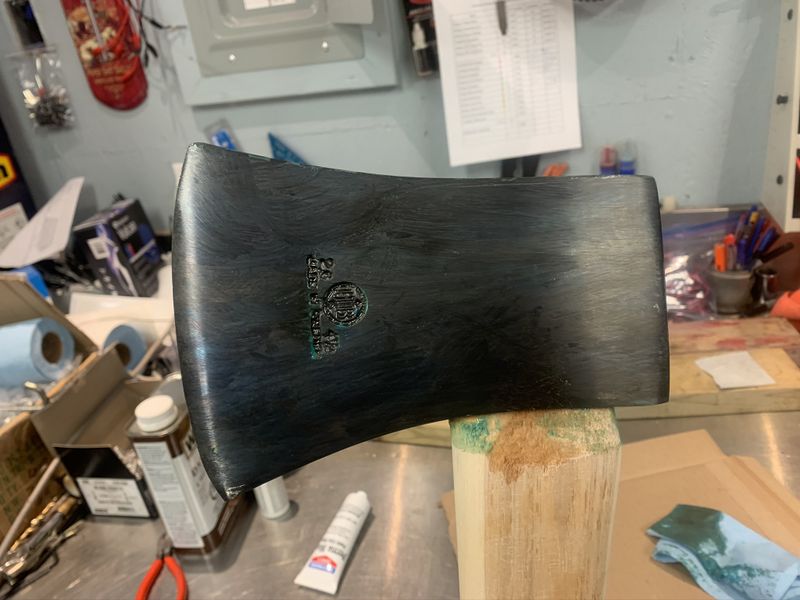
I then switched to a G96 liquid gun blue which comes out a little darker for the last two applications. After completing the last application of gun blue I treated the entire axe head with Break Free CLP gun oil for maximum protection against rust.
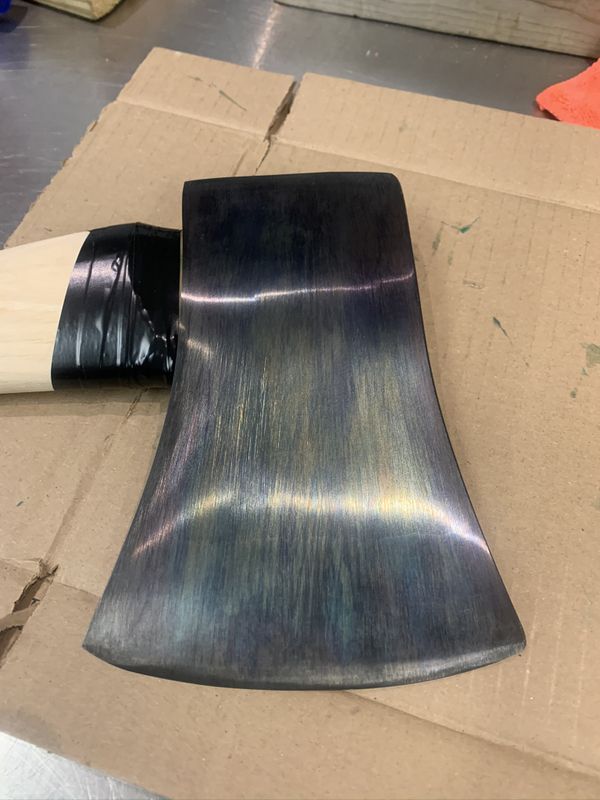
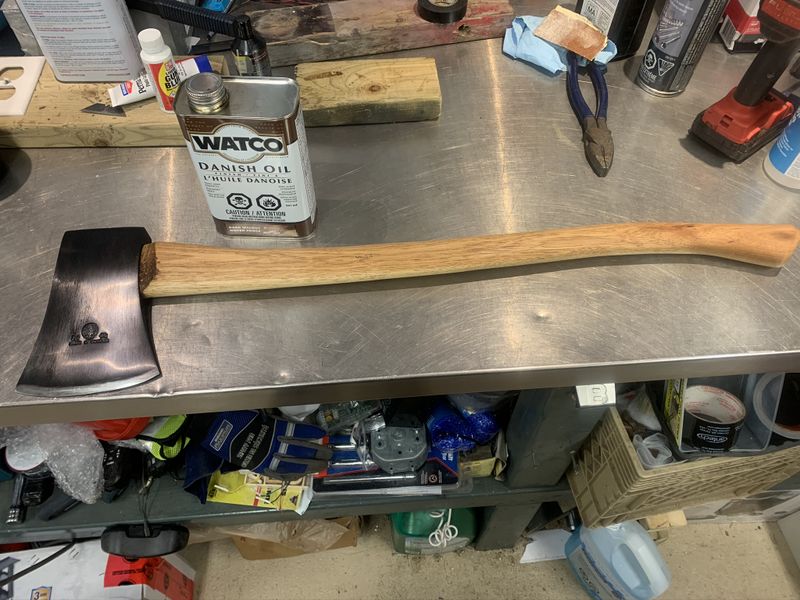
The handle of the Arvika came coated in a linseed oil finish which is nice but I wanted something a little darker. First I sanded down the handle wtih 220-grit 3M sandpaper. Next I torched the wood to highlight the grain, finally coated the handle with Watco Dark Walnut coloured Danish Oil to provide a beautiful finished look to my axe project.
All in all I'm really happy with how this turned out. This will be an occasional use axe that will be kept in top notch condition and not something that will be beat around the back of the bike. It's a fantastic tool and a piece of art all at the same time.
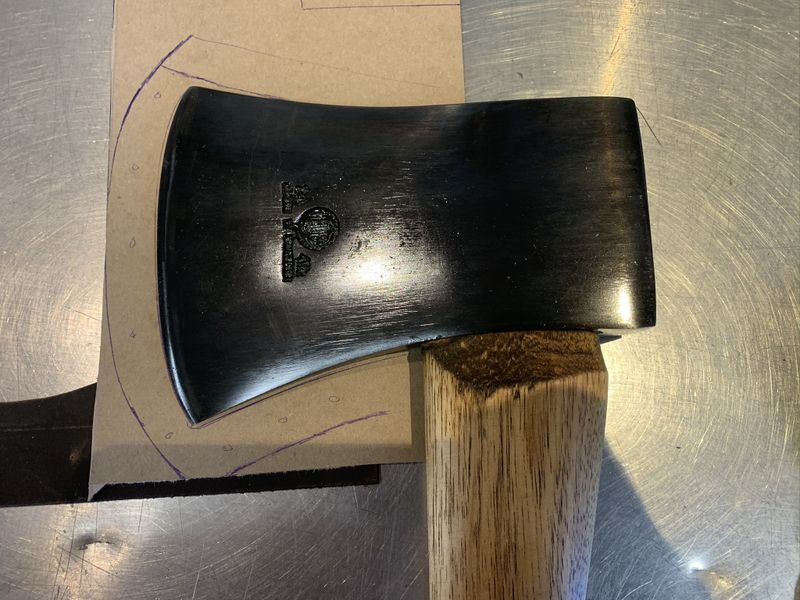
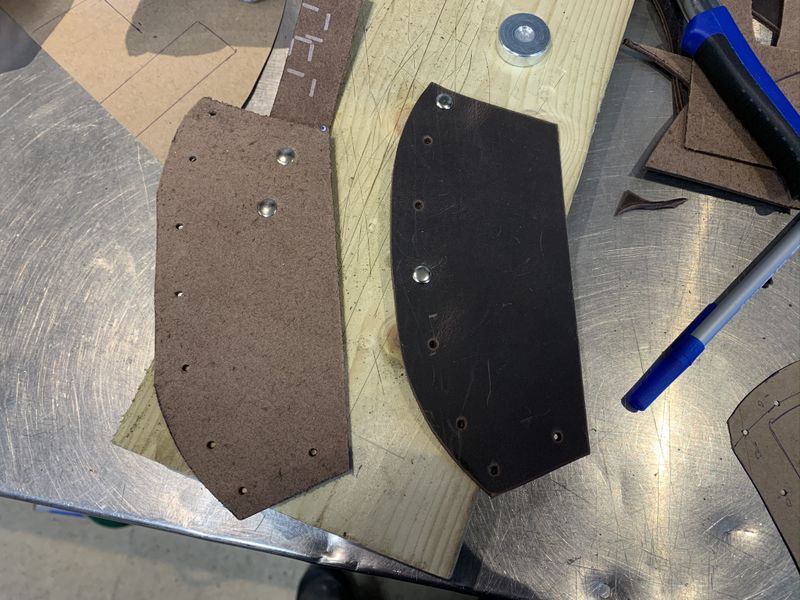
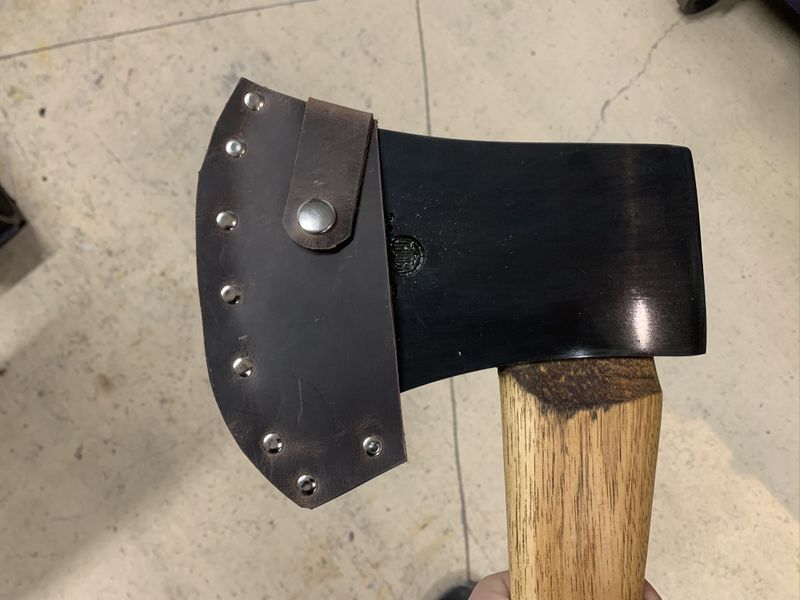
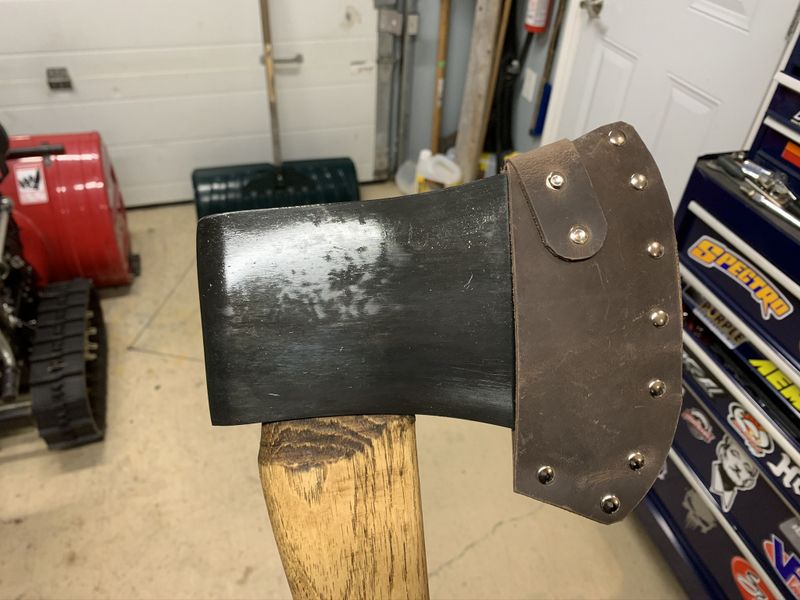
In March I took some left over leather from my Council Tools #2 axe sheath project to make an edge guard for my Arvika. This will provide protection to the sharp edge, but more importantly protect everything else nearby FROM the sharp edge while transporting!
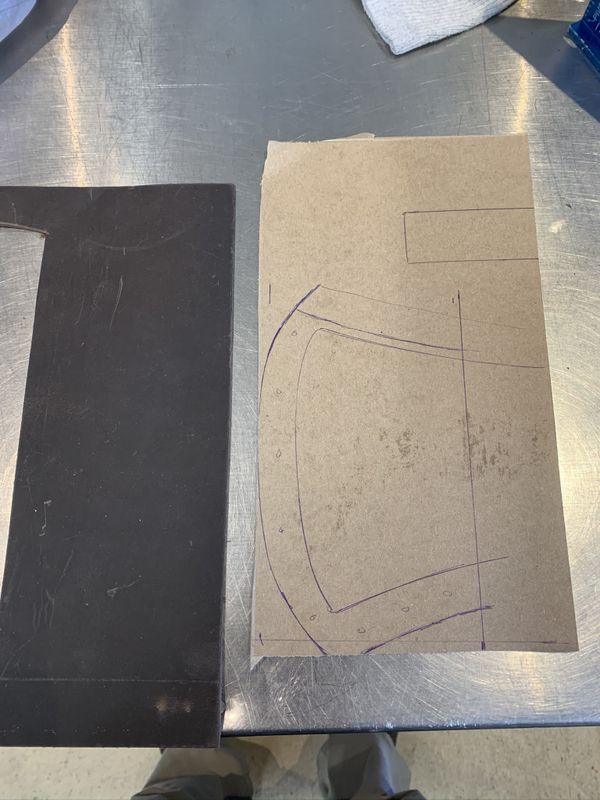
I laid out a pattern based on the shape of the head and my experience from making my other axe sheath. I was limited in size to the piece of leather I had on hand but it will do the job!
I duplicated the pattern to make 2 equal pieces, punched holes for the rivets, then attached the fixed side of the strap before joining the two pieces.
With the two pieces permanently joined with stainless leather rivets I put the axe in the sheath and marked the location for both halves of the snap fastener so the axe would fit tight in the cover.
All in all for left over scraps it came out pretty good! It's not fancy, but for the rare occasion this axe goes in the woods it won't do any unsuspecting damage now! Cheers, MIKE
Copyright © 2011 Michael Smith
|