|
Area51 Mike's Backyard & House Repairs 2021:
As I've said many times before owning a house is a big responsibility, maintaining it can be a lot of work or money sometimes both. Hampered by supply issues and rising material costs during the Covid Pandemic we put many planned household projects in hiatus. This included some outdoor repairs, instead we focused on the necessary and emergency repairs.
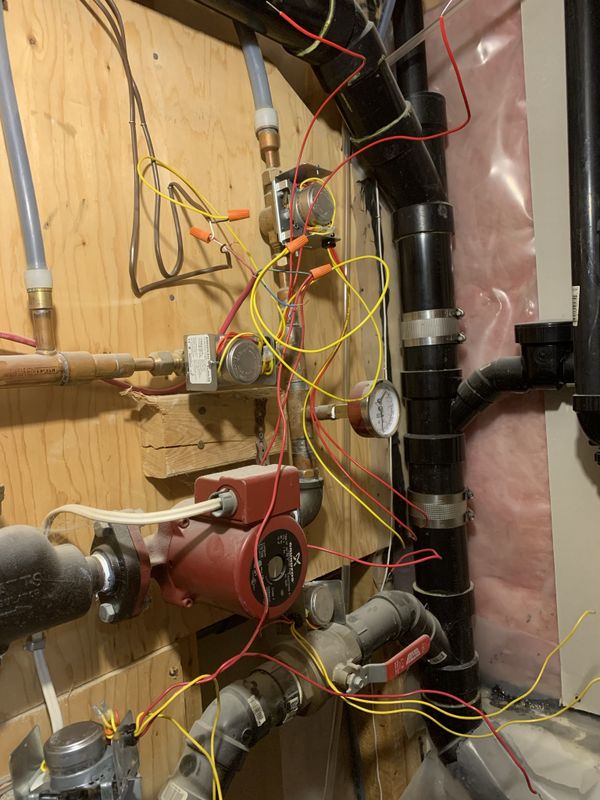
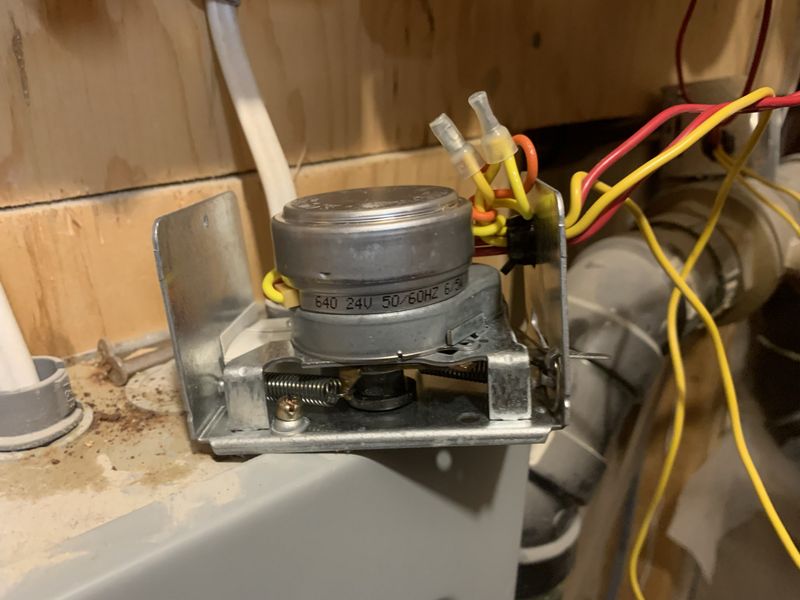
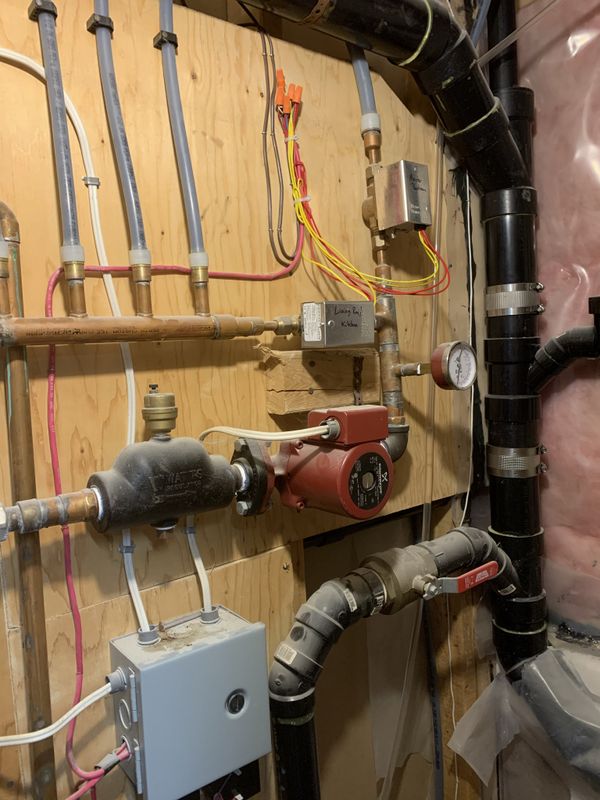
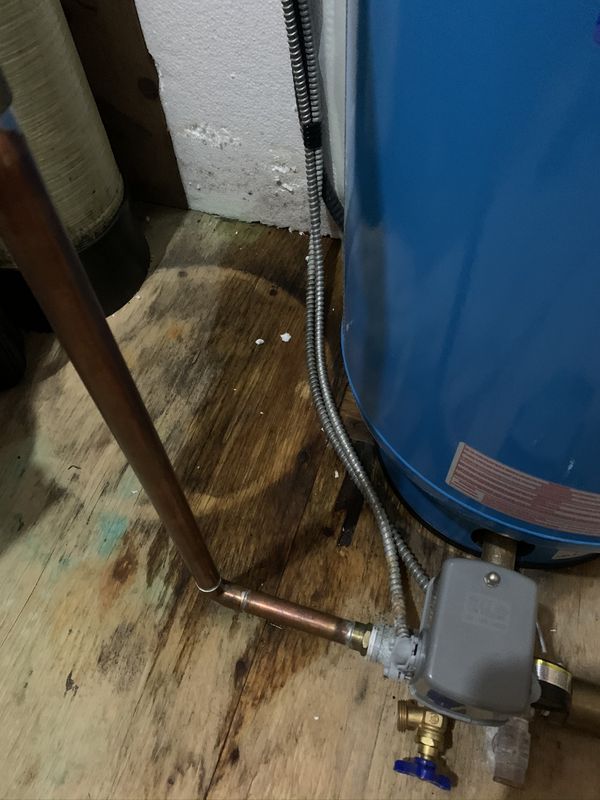
Repairs began in January when I had to replace the power heads on two motorized zone valves for our hot water in floor heating system. When these fail they can stick on so the system does not cut out or they can stick closed so heat won't come on when the thermostat calls for heat.
Mark helped me secure replacement parts from one of his suppliers which was a great help!
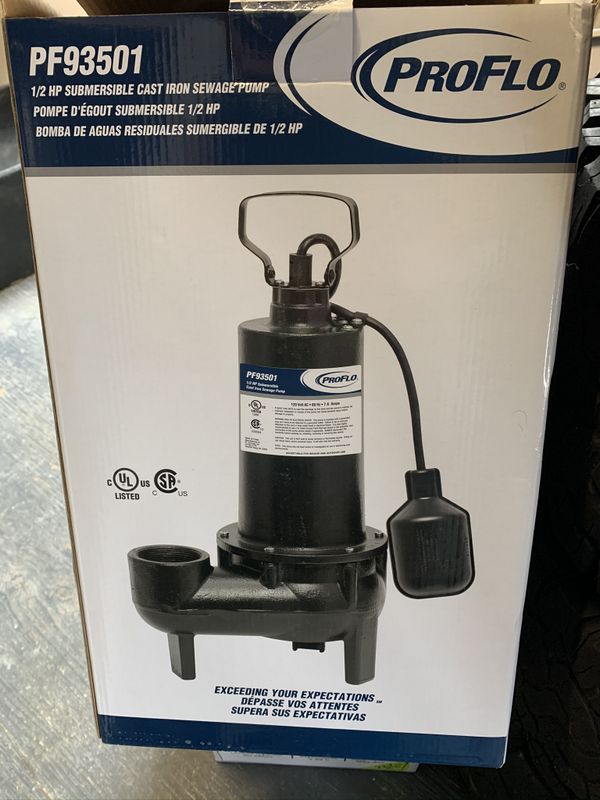
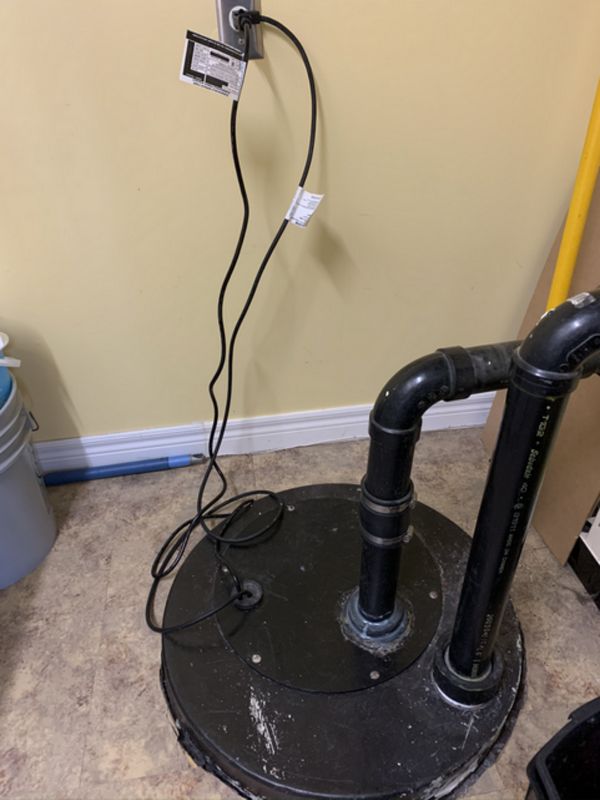
Not long after, I noticed water leaking out of our basement sewage lift station while I was doing a load of laundry. Luckily I was on hand and kicked the exit pipe which temporarily sparked the defective sewage pump to life. With Covid restrictions in full force I was fortunate to pick up a replacement unit via curbside service at Wosley in Mount Pearl.
Albeit it an unpleasant smelling job, I had the new unit properly installed quickly and with relative ease.
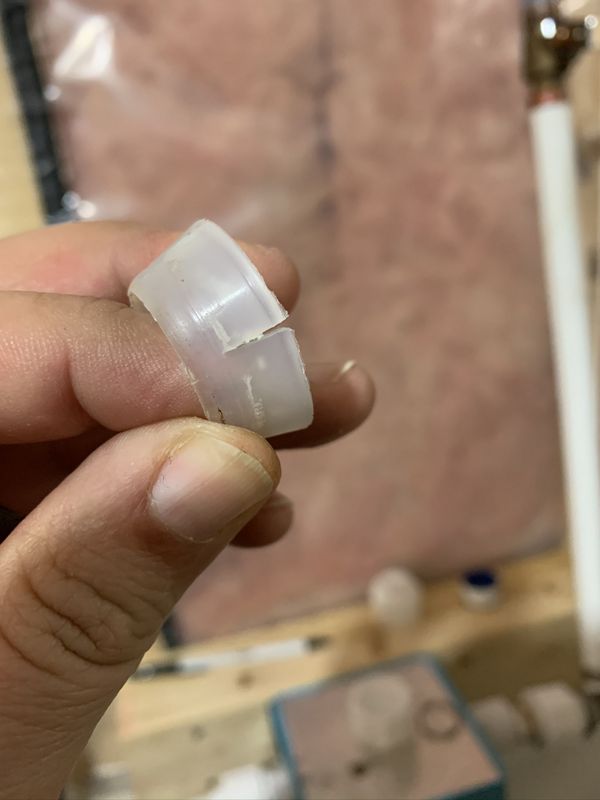
To round out a trio of emergency repairs, my home security system reported a water leak near the pressure tank for our artesian well.
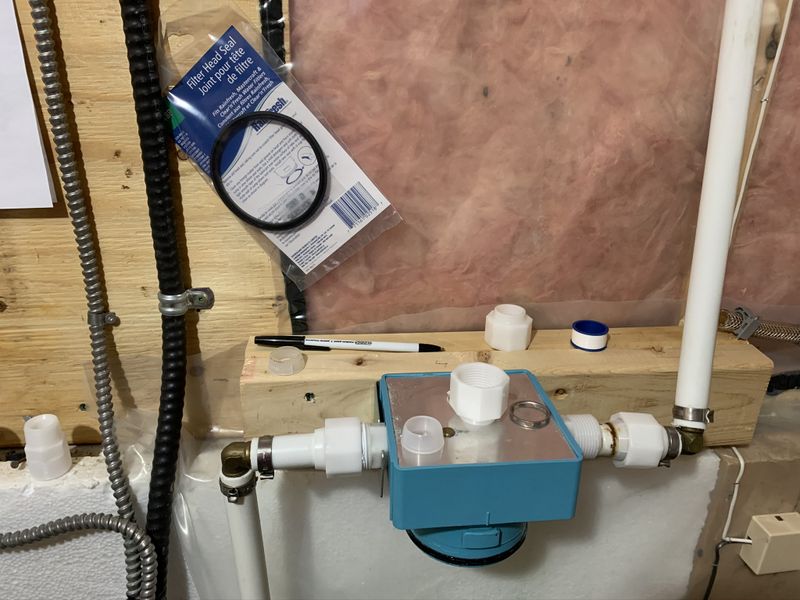
The culprit was a split bushing on our Rainfresh whole house water filter.
Thankfully parts were in stock at our local hardware store and I had that issue fixed up quickly. Our insurance company should thank me for catching these issues early and saving a claim, flood restoration, renovation and repairs, but they won't. LoL
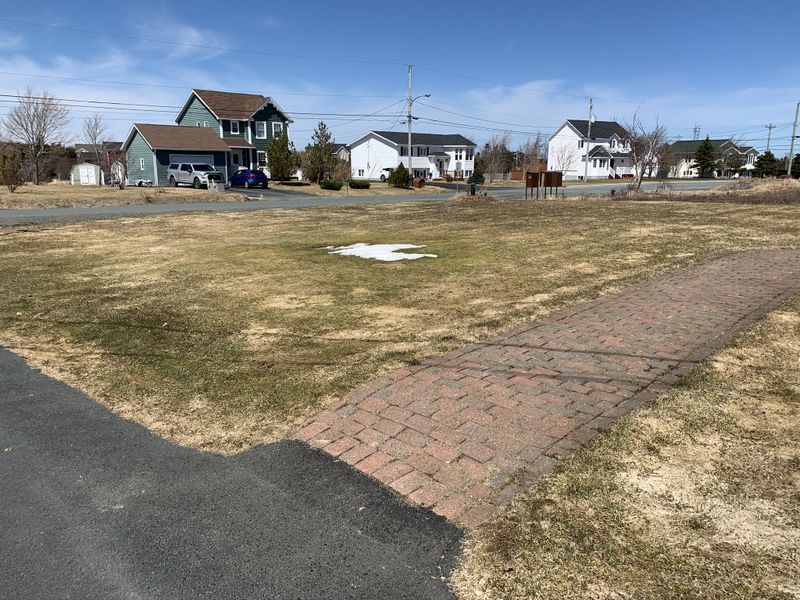
By April most of our snow was finally gone and it was time to rake dead grass out of the front lawn.
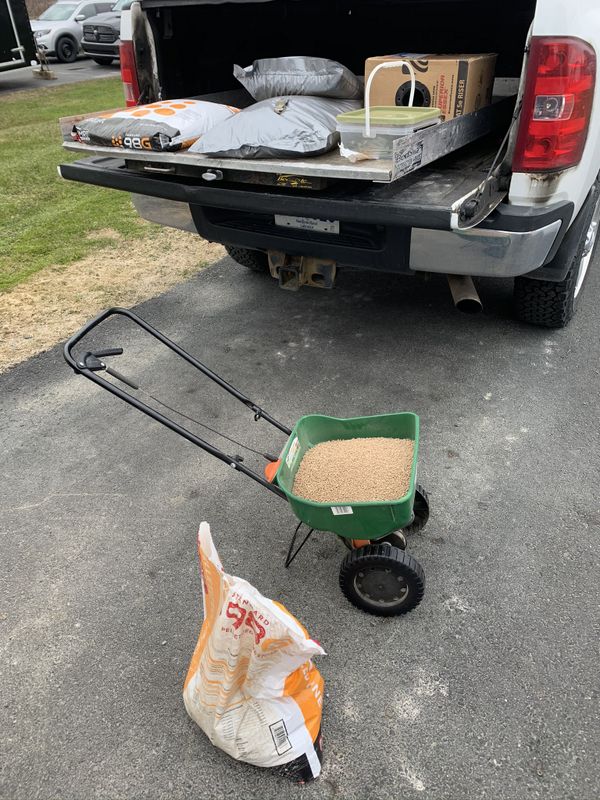
In May I applied a liberal application of pelletized lime and the recommended amount of 15-15-15 fertilizer.
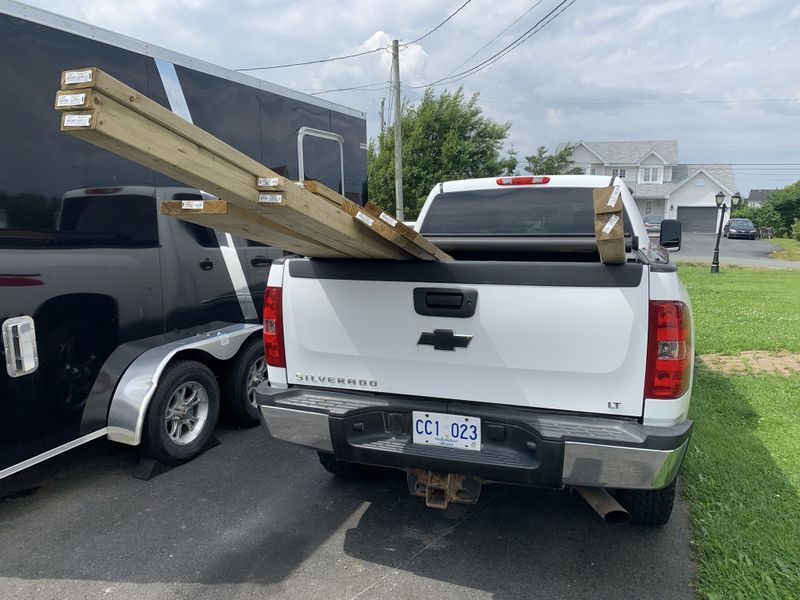
By August skyhigh lumber prices were tumbling rapidly so I decided to proceed with some very much needed outdoor repairs.
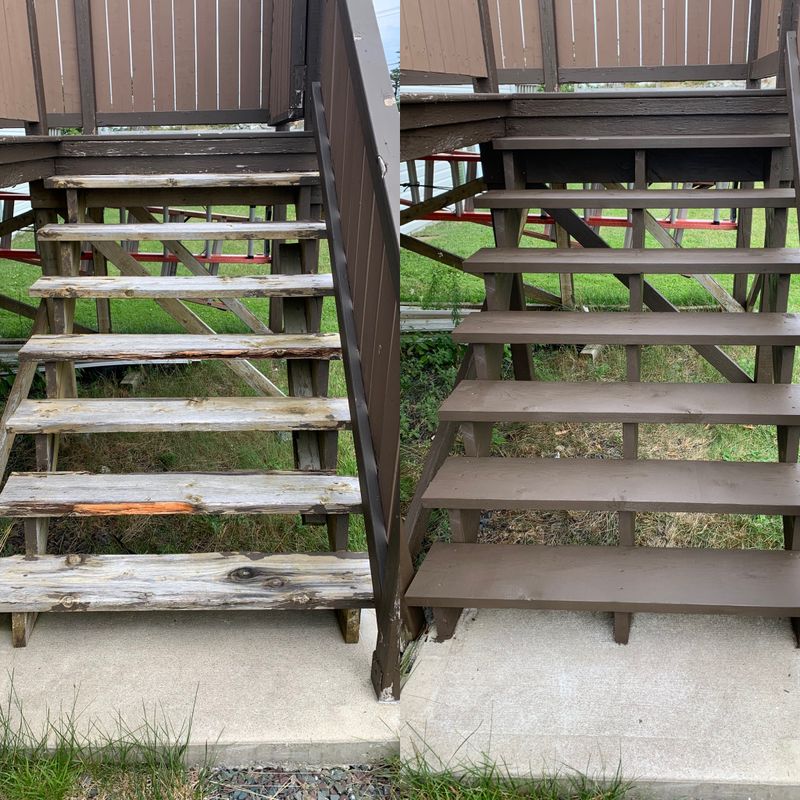
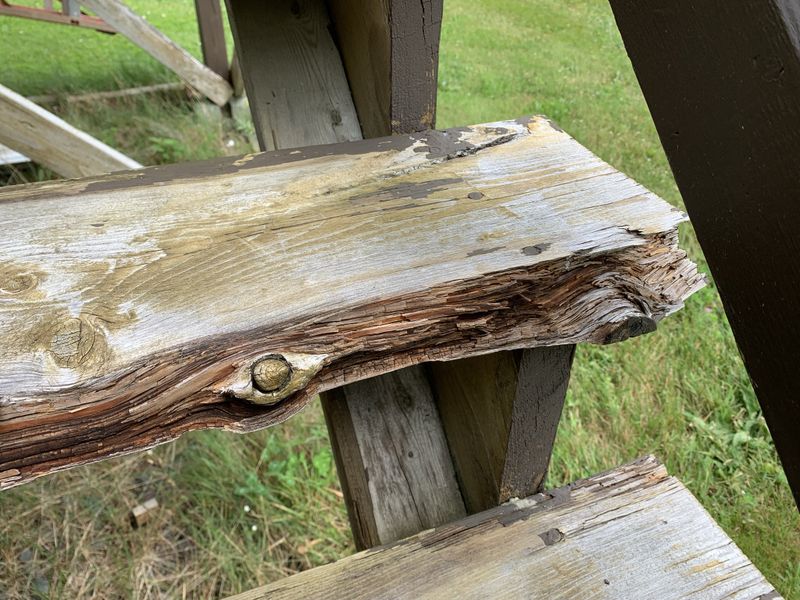
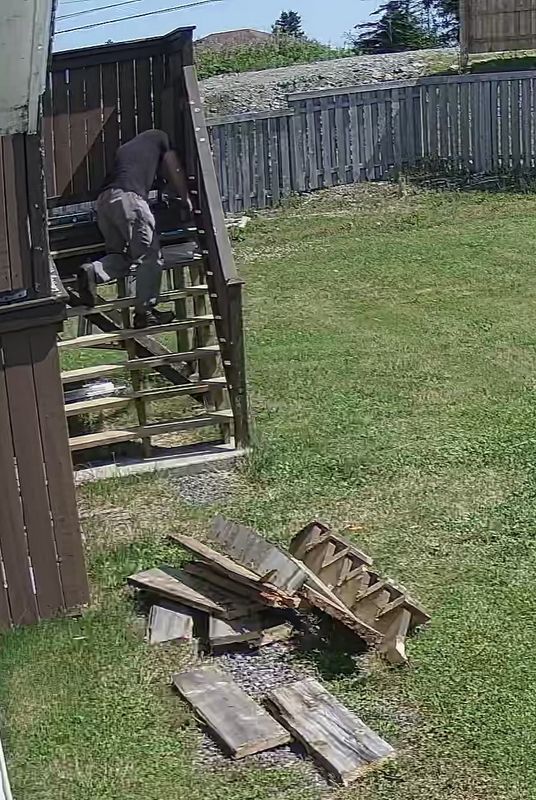
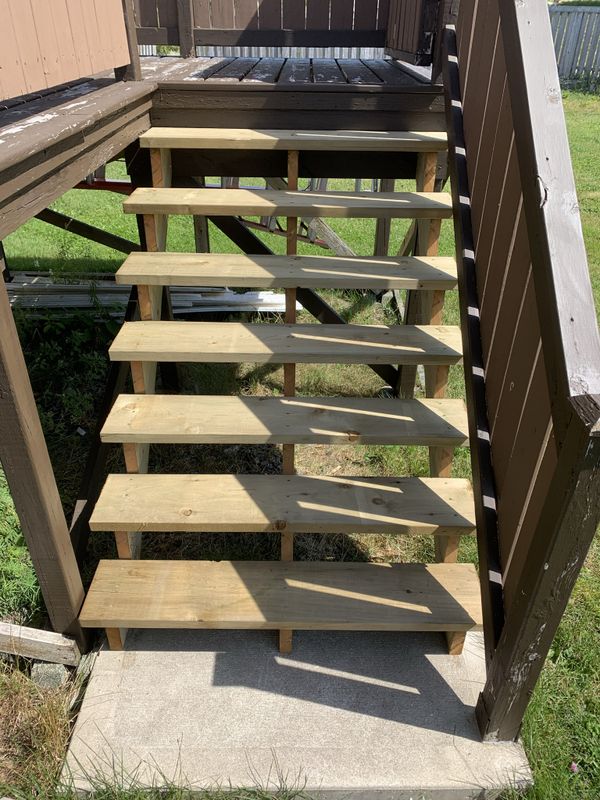
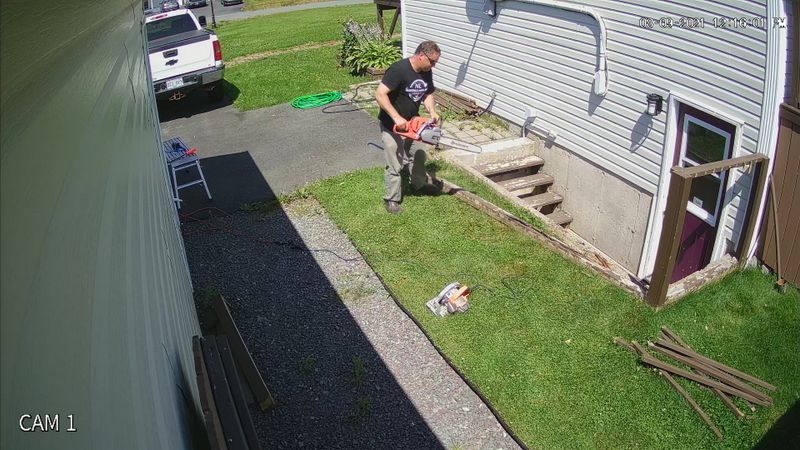
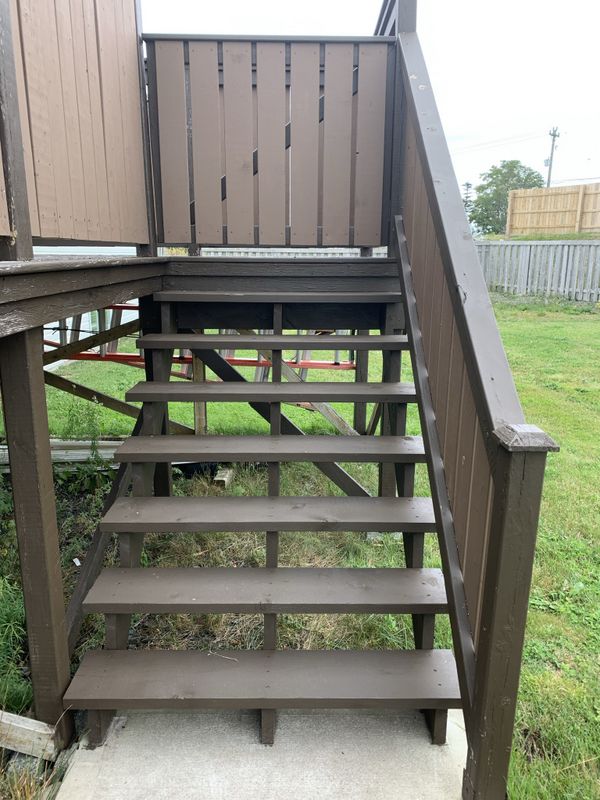
First up was replacing the steps to our rear deck.
These steps are original to the house and were in a bad state of decomposition.
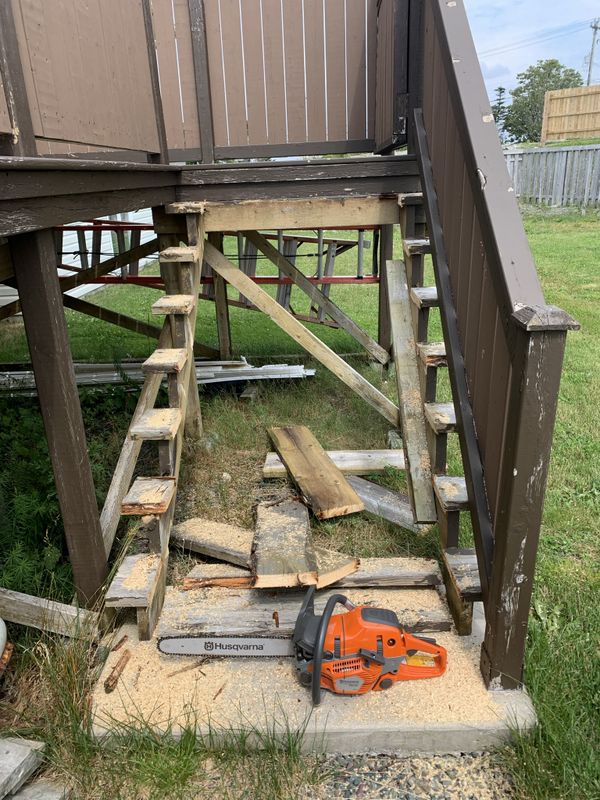
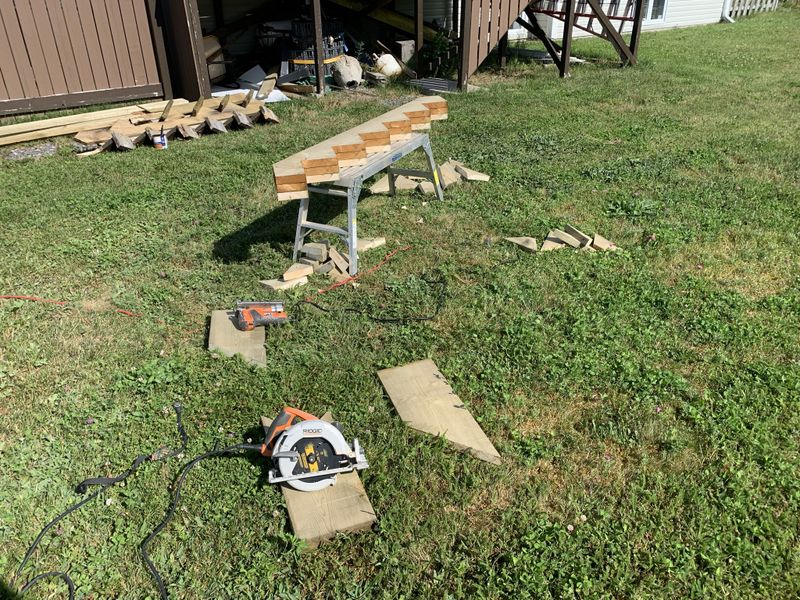
My trusty Husqvarna 550xp made short work of the old stairs, I kept the old risers intact to get measurements off them.
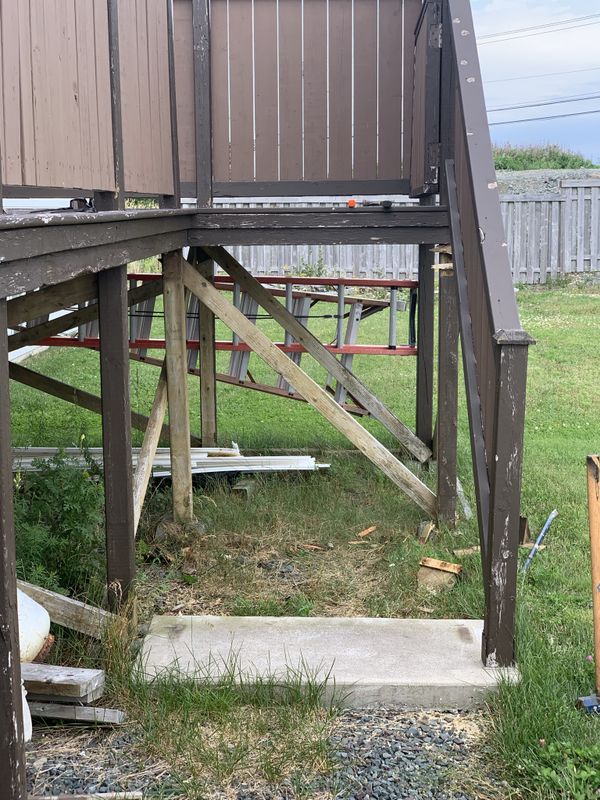
The concrete pad I poured a few years ago definitely extended the life of these stairs and provided a nice solid, level base for the replacement steps.
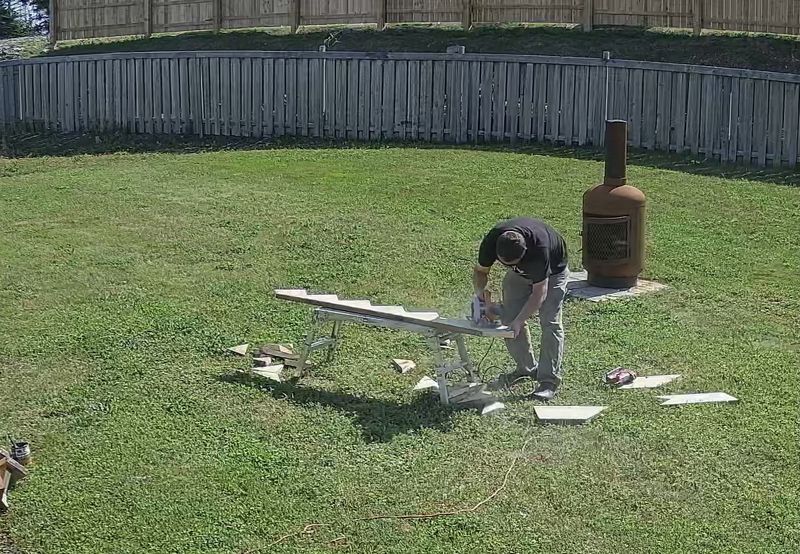
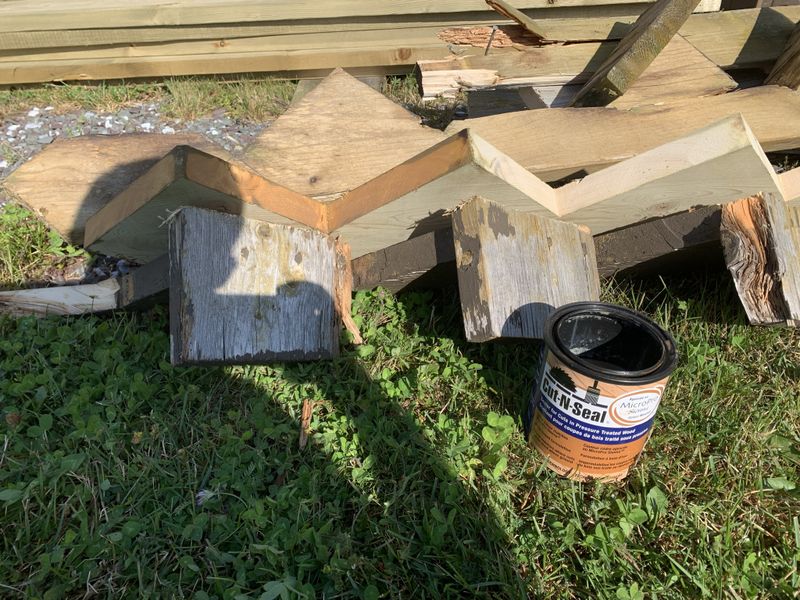
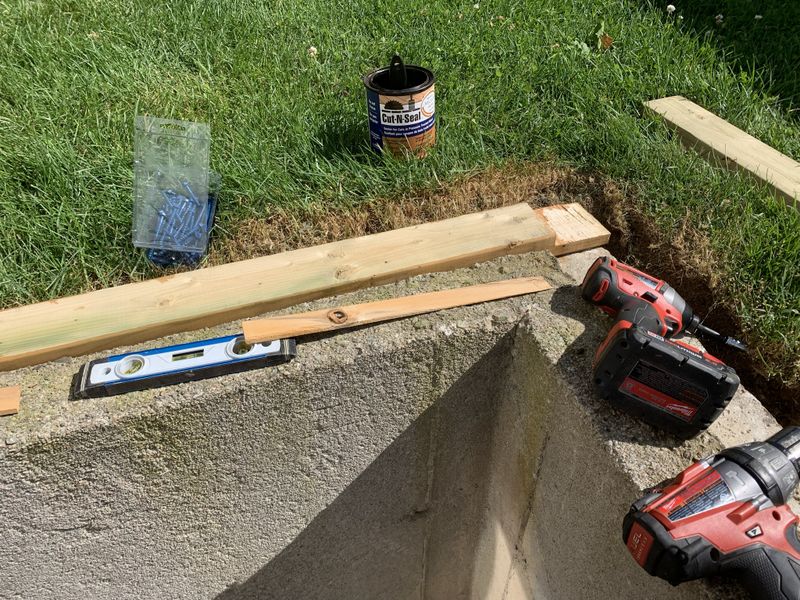
I used the same measurements as the old steps to scribe then cut out the new risers.
I used the first new riser to mark both the 2nd and 3rd risers. This extra riser will greatly improve the strength and sturdiness of the stairs.
All cuts were treated with end cut wood preservative to give them the best chance at a long life.
2x10" treads made for a very sturdy set of stairs.
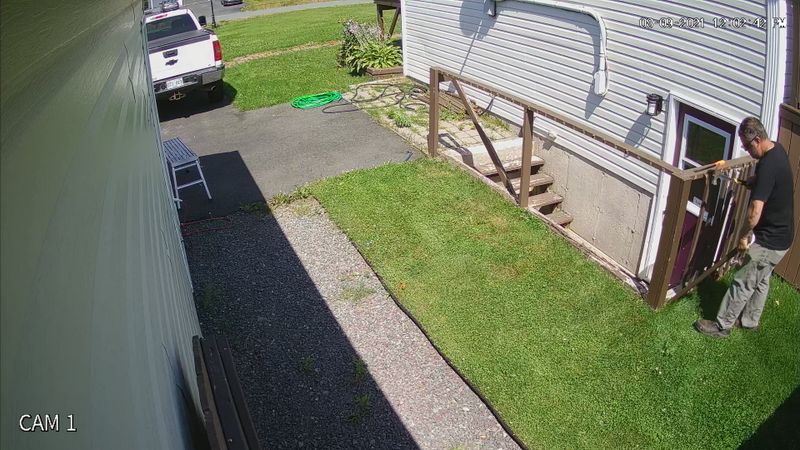
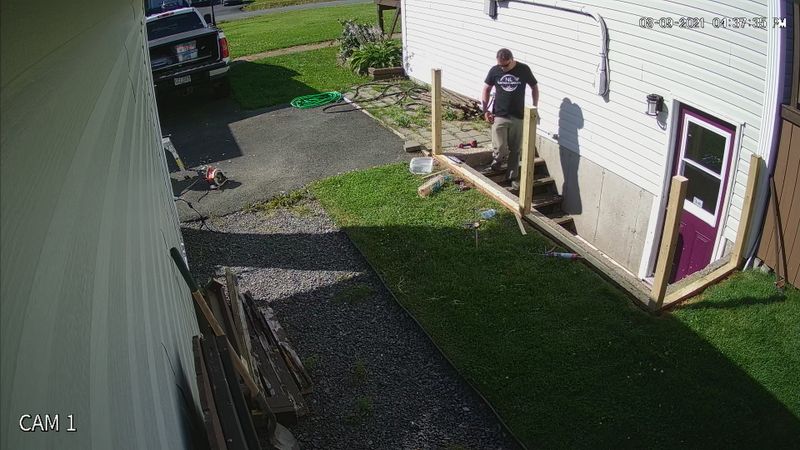
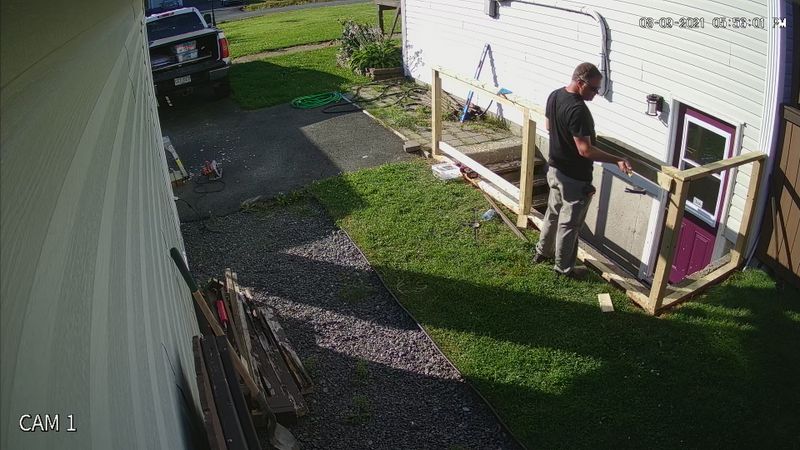
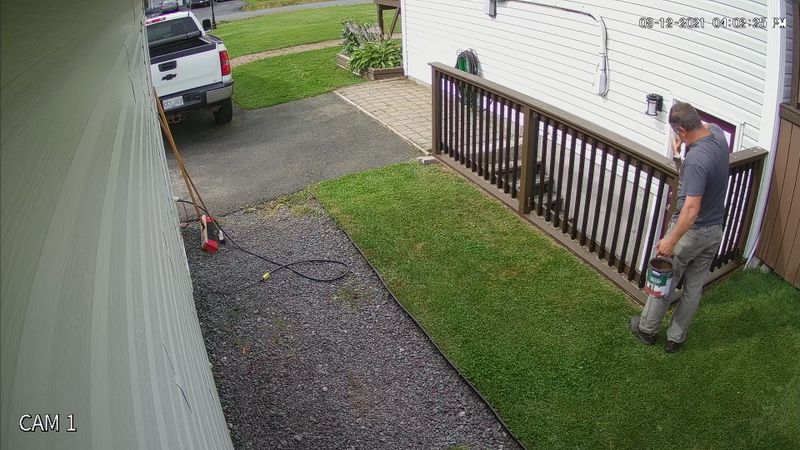
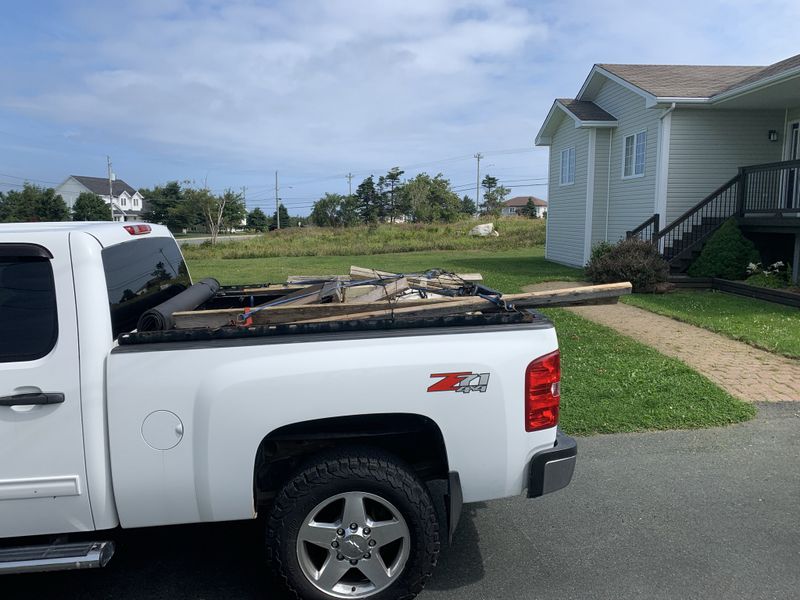
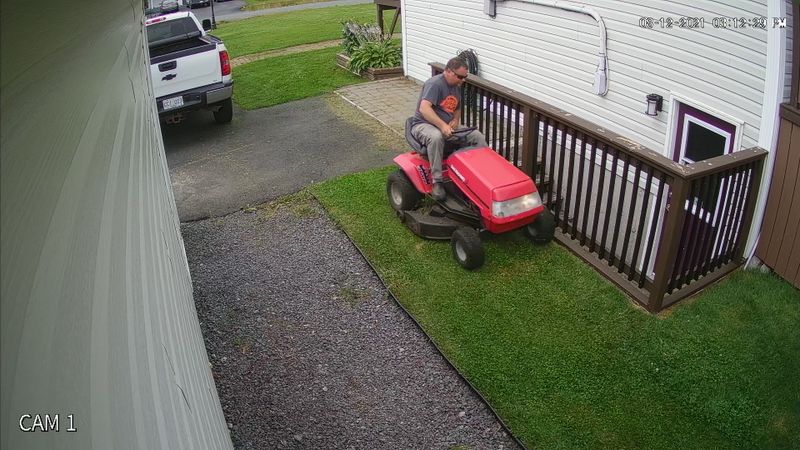
My new camera system has been very helpful in getting some extra shots of my outdoor projects around the house!
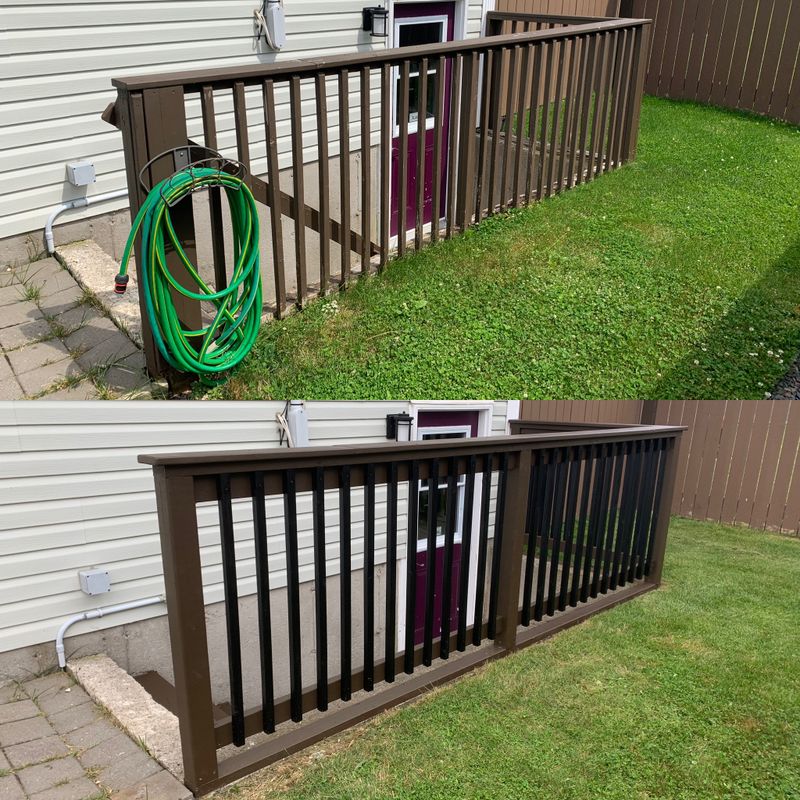
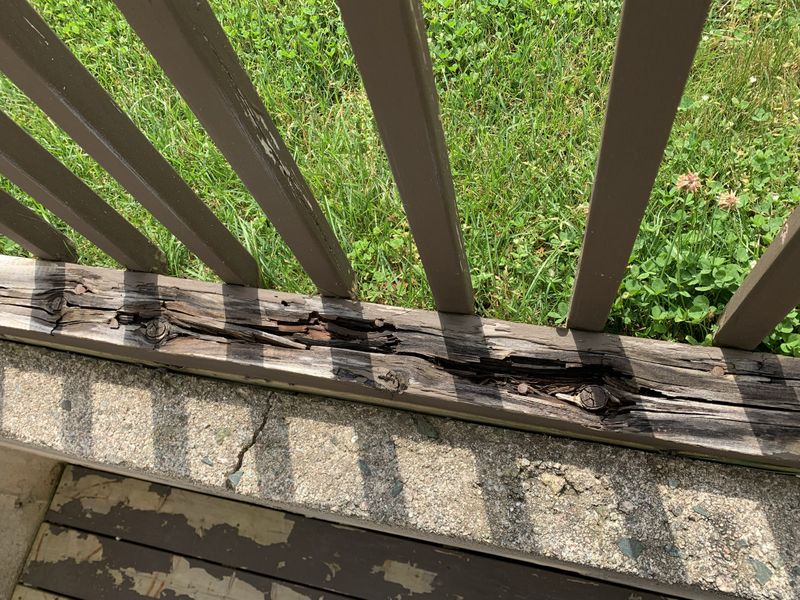
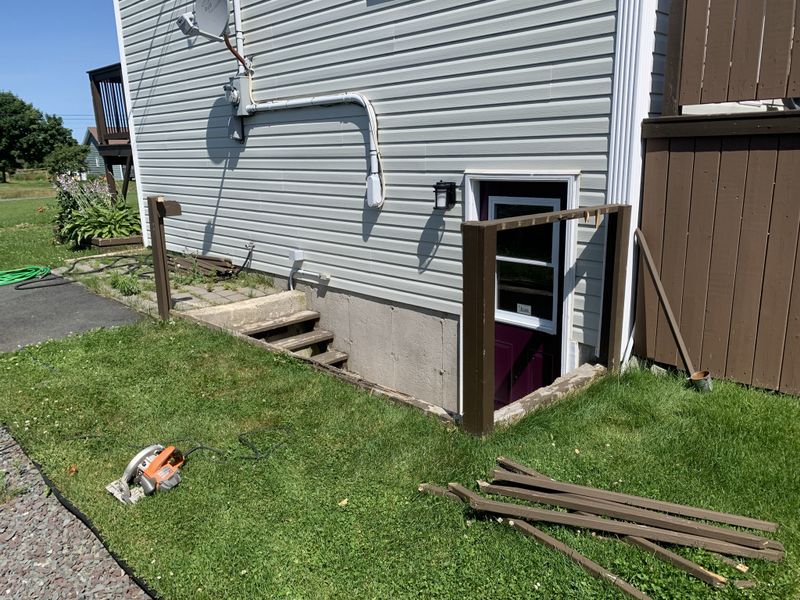
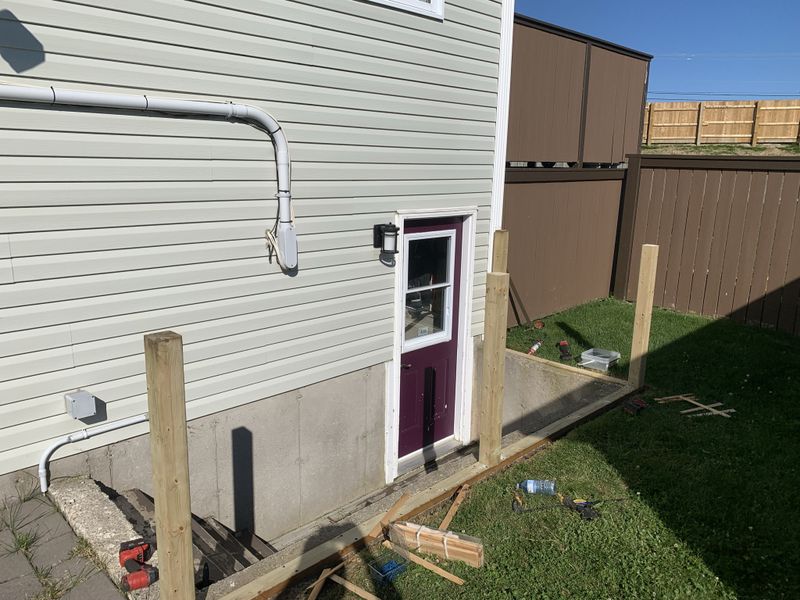
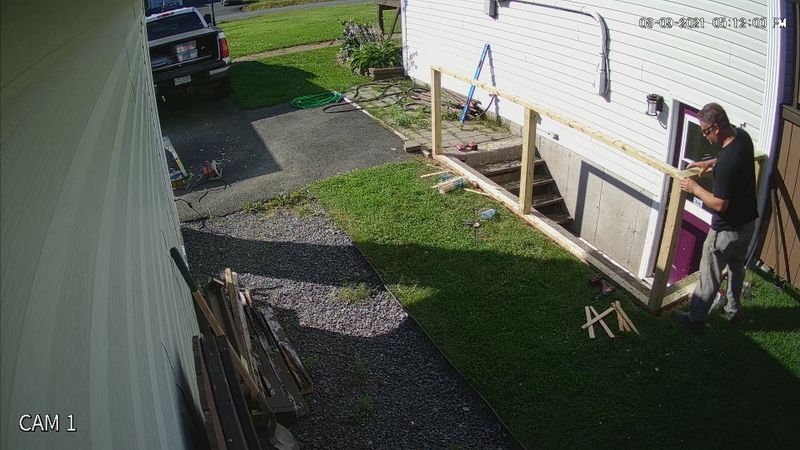
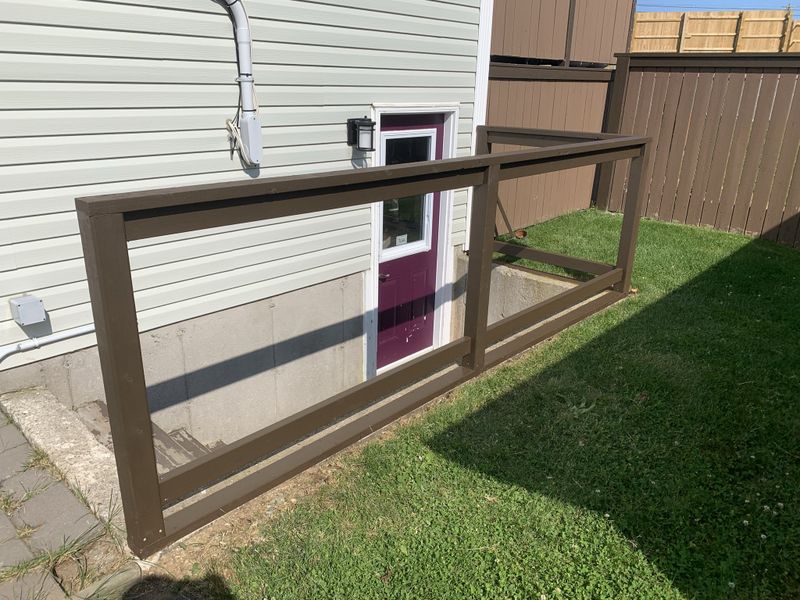
Next up was replacing the wobbly rotted out rail around our basement door.
I was never real happy with the way it was built (it was there when we bought the house in 2014), since it was in a bad state of repair here was a prime opportunity to build it right!
Some of the lumber up top was salvaged and re-used in other projects.
The old sill plate was attached with nails set in the concrete, these were cut off flush with an angle grinder and the groove thoroughly cleaned.
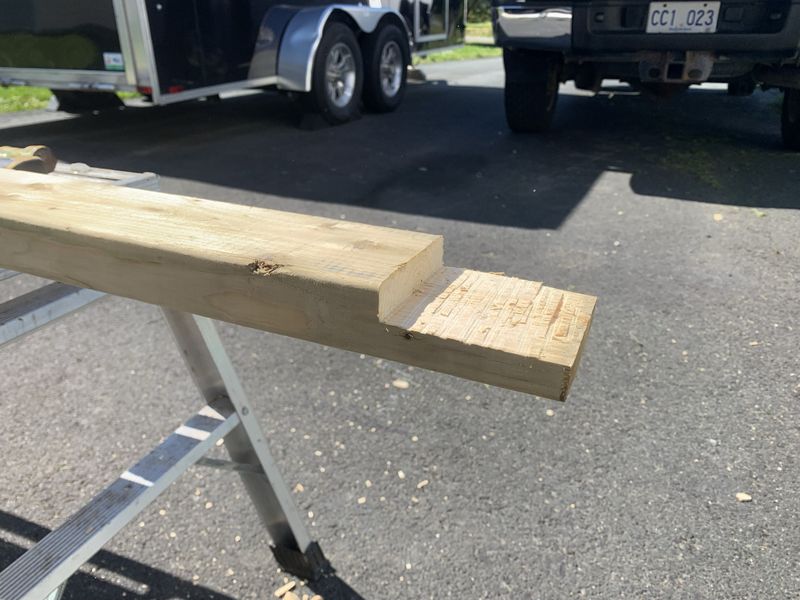
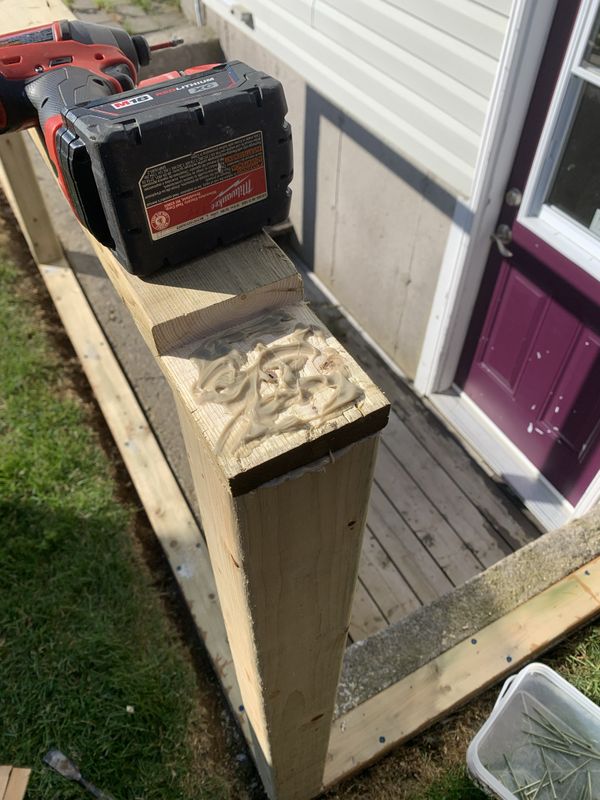
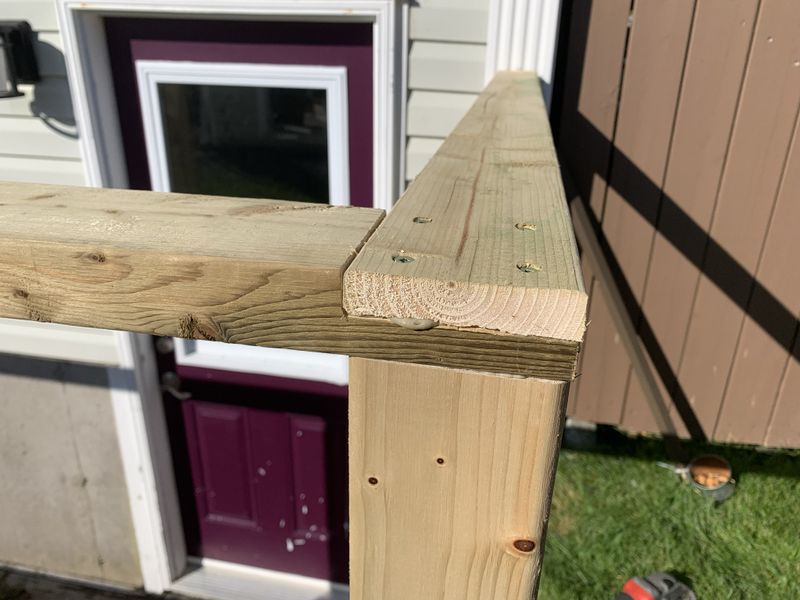
I decided to do a half lap joint in the corners of the sill plate and cap rail. This will provide lots of strength in the corner. I set the blade on my circular saw to 3/4" depth and made multiple cuts 1/8" apart. I then cleaned up the remainder with a chisel. This can also be quickly accomplished on a table saw if you have one.
The new sill boards were pressure treated but I coated the entire bottom side and end cuts with wood preservative to help extend their life. The corner half lap was glued with PL Premium & screwed, the entire sill plate was anchored in place with 1/4" Tapcon anchors.
4"x4" posts were anchored to the sill plate each with a newel post lag bolt, PL Premium then toe nailed for good measure.
The cap rails were glued with PL Premium to each post and attached with 3.5" #12 construction screws. I find smaller diameter screws are prone to breakage, #12's are significantly stronger.
These half lap corner joints are incredibly strong which is quite important for a safety rail if someone grabs or pulls on it.
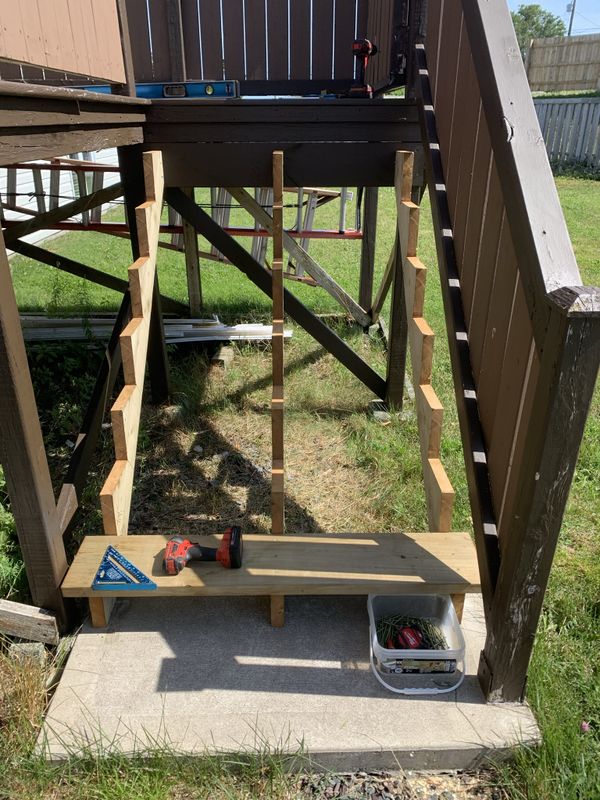
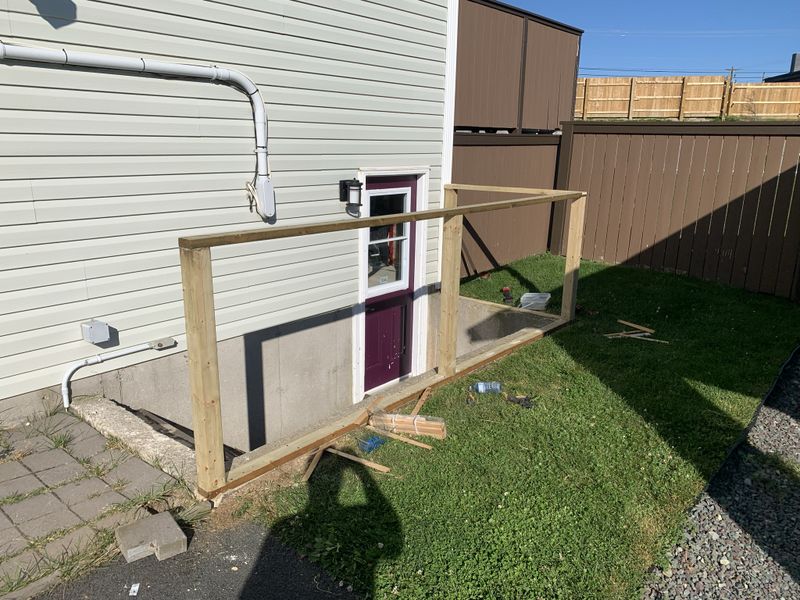
Next I installed top and bottom backer rails which are used to fasten palings, spindles or other fencing materials. I kept these 3" off the ground to help prevent damage from the grass or weed whacker.
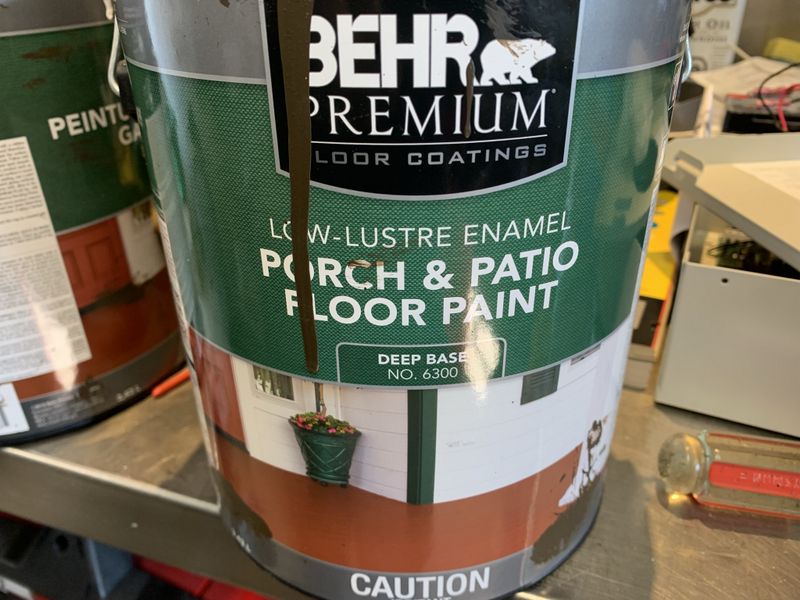
With this much work done, I applied 2 coats of Behr patio and floor paint so this much would be finished. This is an important time saver as my spindles will be painted black, this saved a lot of time cutting in.
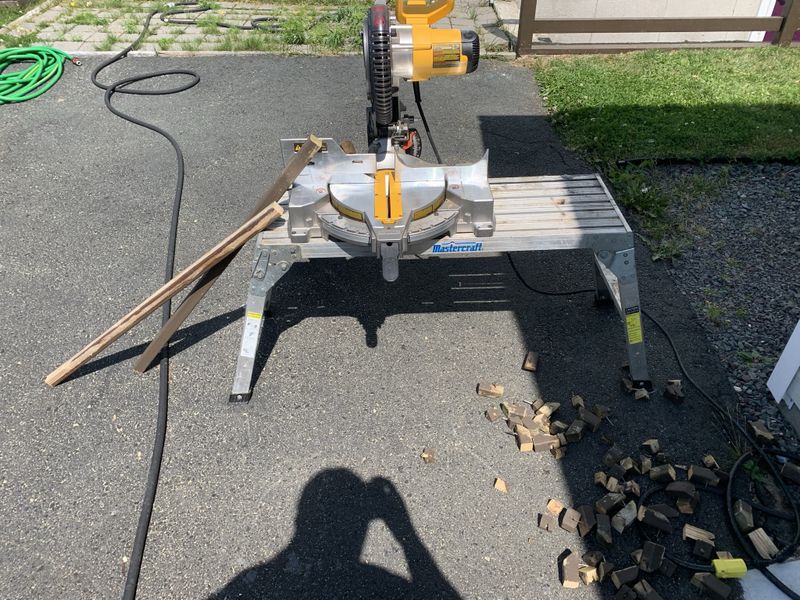
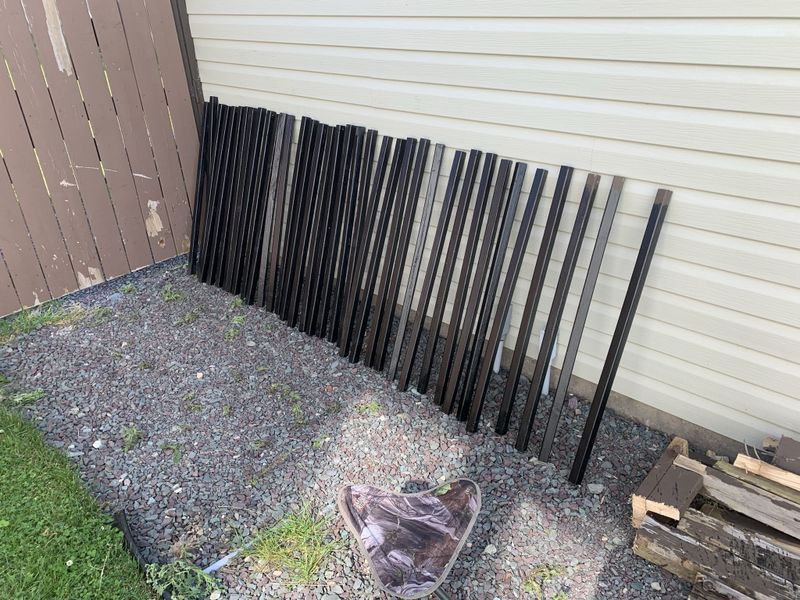
I found the existing spindles were made of cedar and still in great overall shape. Since I changed the design of the new rail I was able to trim the spindles, this cut off the old nail holes in the process. Previously they had a mitered cut, I chose to straight cut them for a more modern appearance.
All the spindles were treated with two coats of gloss black paint.
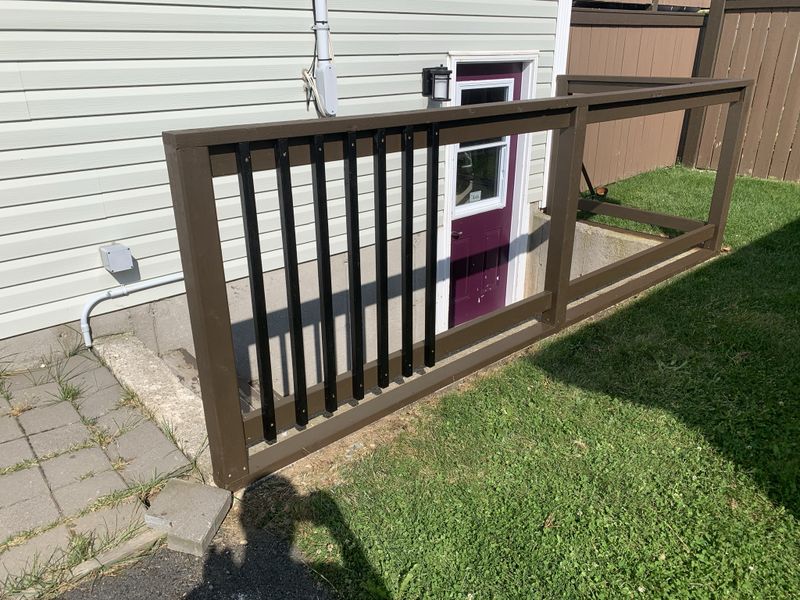
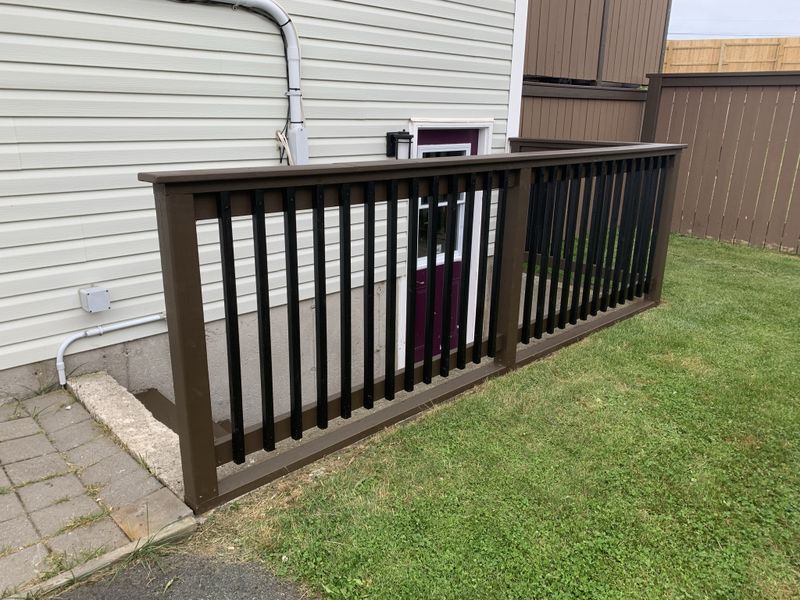
I also reused the old 5/4x6" cap board which I installed only a couple years ago. This creates a nice stepped appearance and matches rails on the front and rear decks. Now all three rails share similar design traits even though they use 3 different types of spindles/palings. I would have used round metal spindles to match the front, but prices on that stuff is still out to lunch. This is a decent compromise and easily changeable to the fancier units if I choose to later.
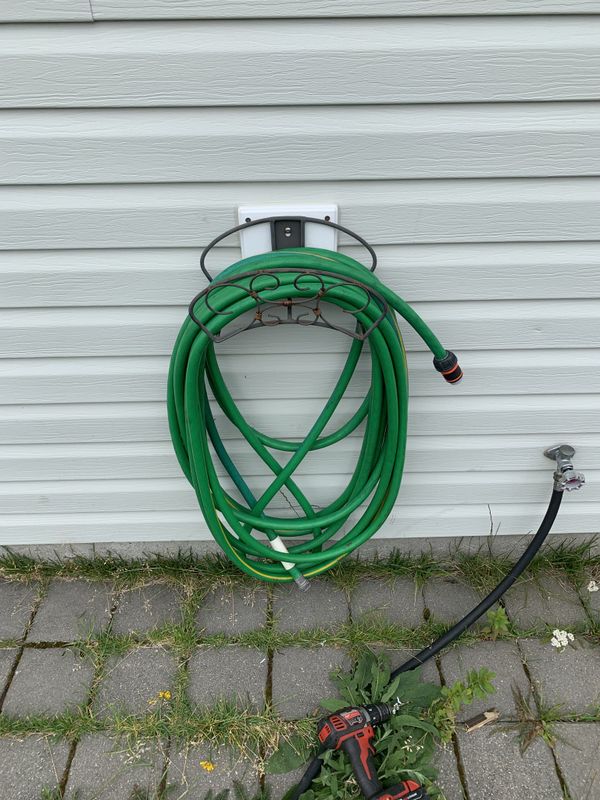
I also moved the hose hanger from the railing (which always posed a trip hazard at the top of the stairs) to the side of the house near the faucet. I used an over the siding accessory plate and attached it with 2.5" stainless countersunk screws. The block was siliconed around each screw and along the top and side edges. Screws for the hose hanger pass through the accessory plate & siding and attach directly to the house.
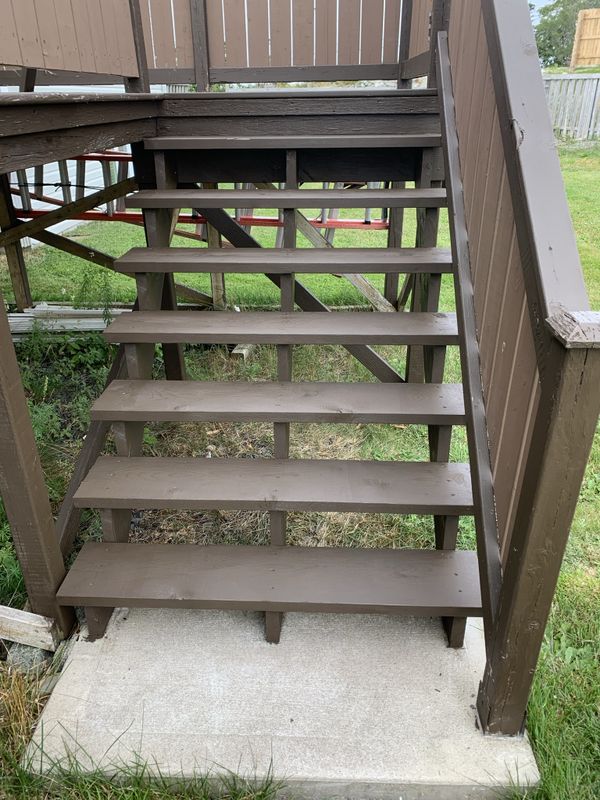
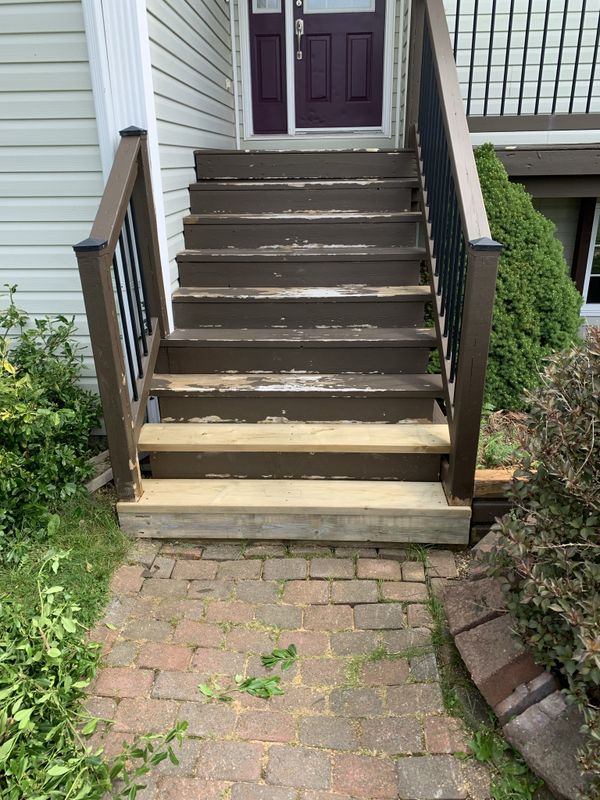
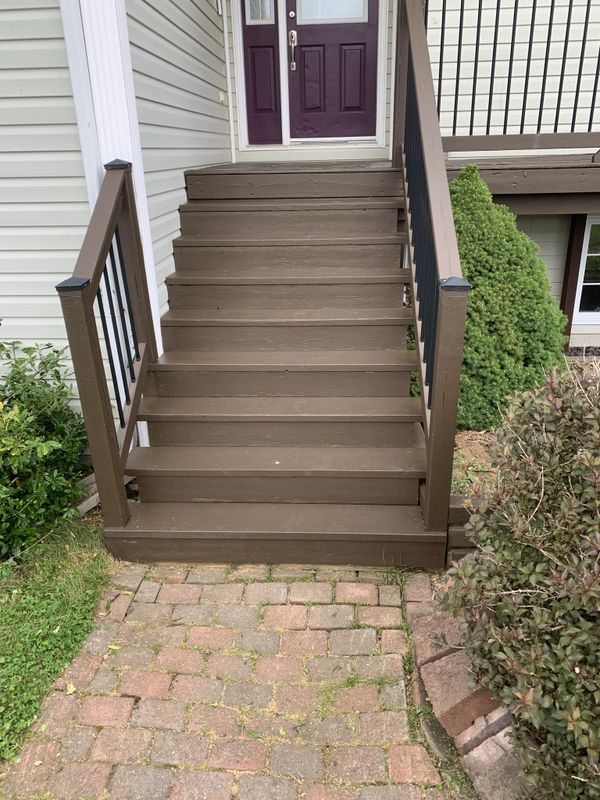
Next up was a minor repair out front simply replacing two soft stair treads. The structure underneath is still in great shape, a benefit of catching these repairs early. I doubled down on protection and treated the exposed rail surfaces with a fresh coat of wood preservative in addition to treating the end cuts on both new stair treads.
Replacing the bottom stair tread was mentally rewarding too. The previous builder made absolutely horrible cuts in the stair tread around the bottom posts which always drove me crazy.
A fresh coat of paint on the entire staircase really brightened up the main entrance to our home.
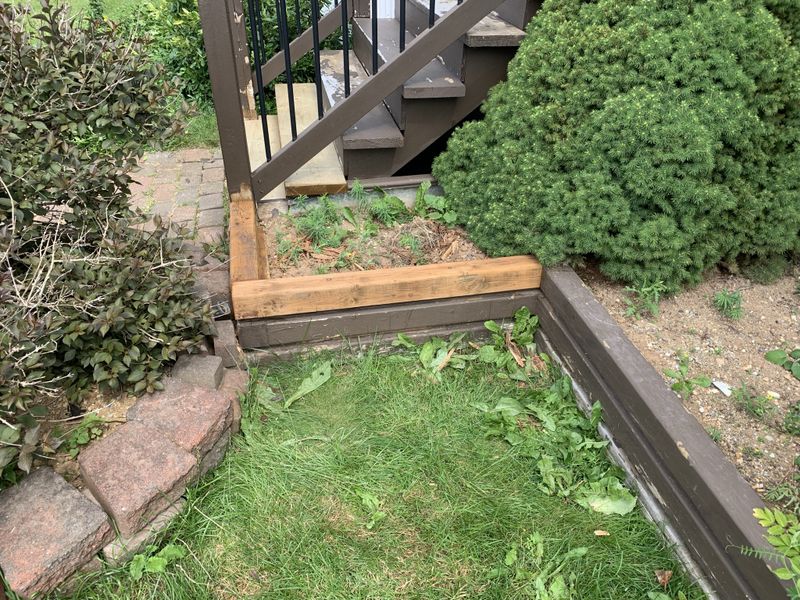
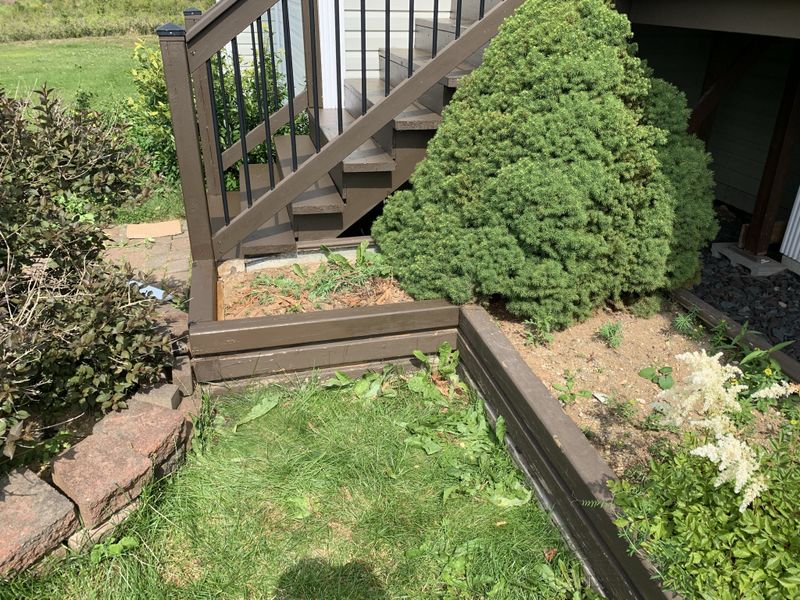
While replacing the stair treads I found two heavily rotted pieces in our flower planter. Since the rest was still in great shape I headed out to the backyard and found an old 4x4 post from our old fence. I sanded it, cut it to length, treated it with wood preservative and installed it for a quick, easy no cost repair!
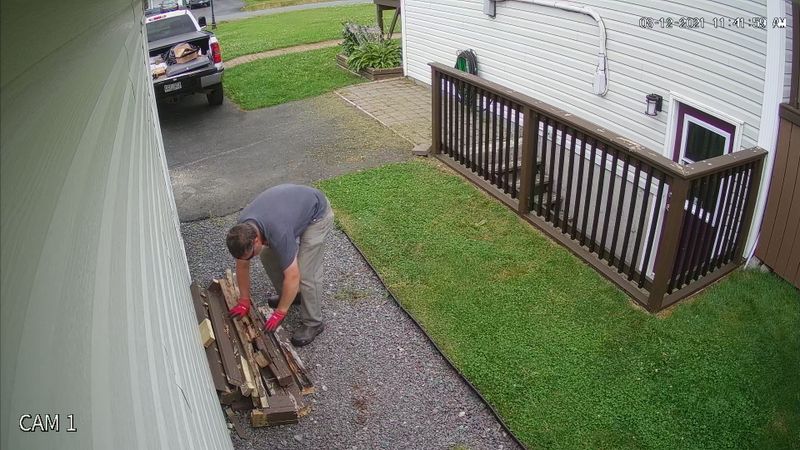
Dump run day! Rotten wood is a haven for insects so its important to get rid of it asap either in your fire pit or by bringing it straight to the dump.
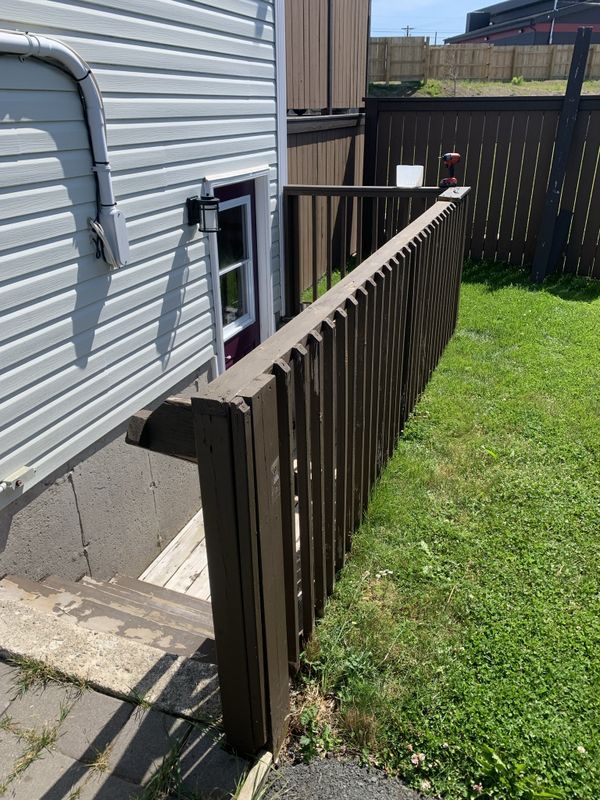
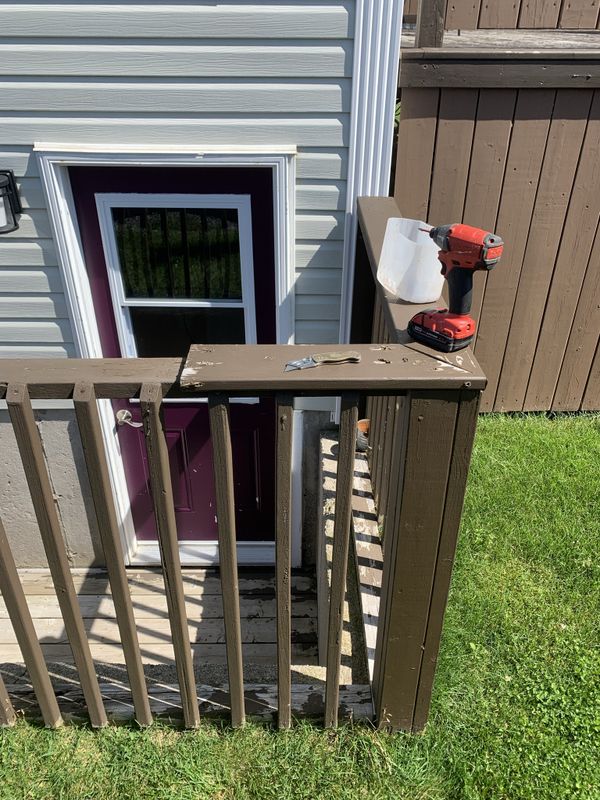
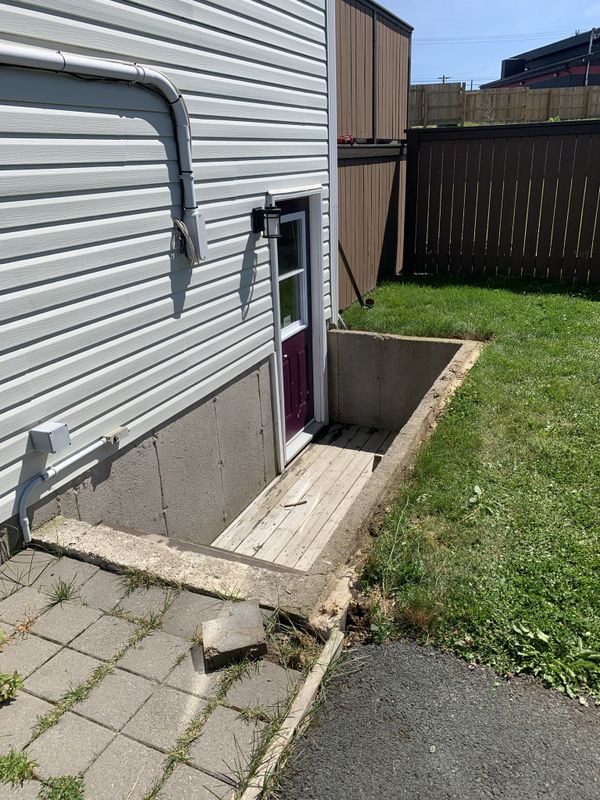
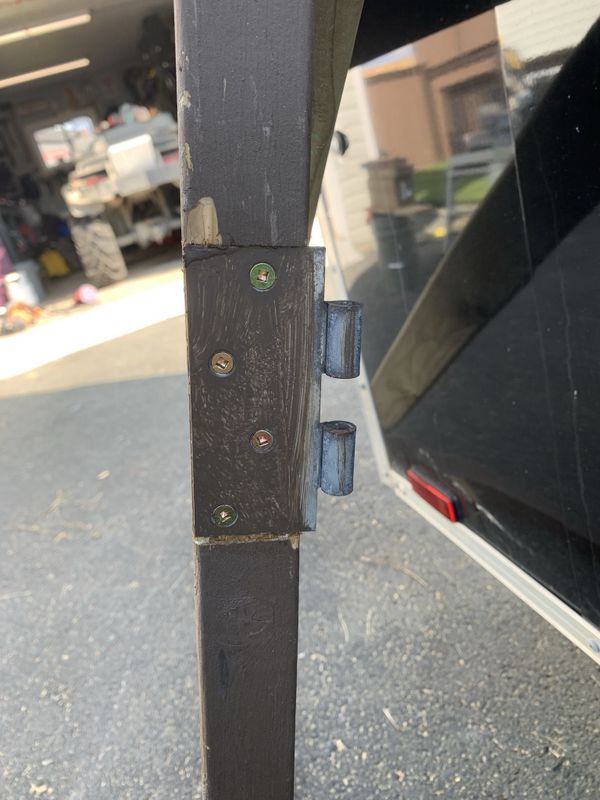
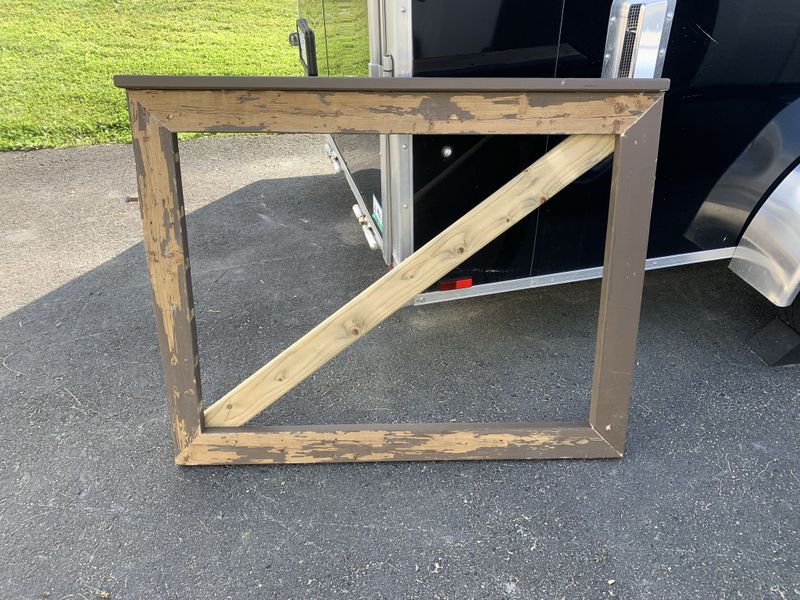
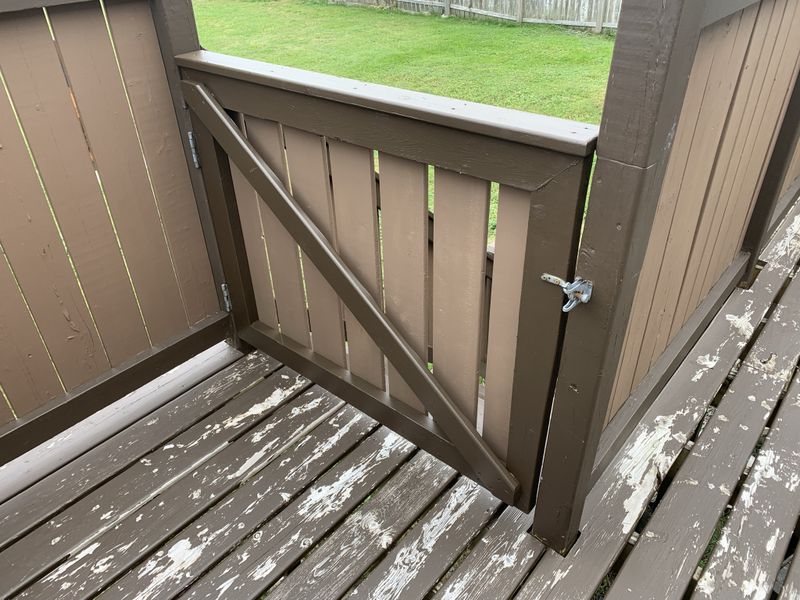
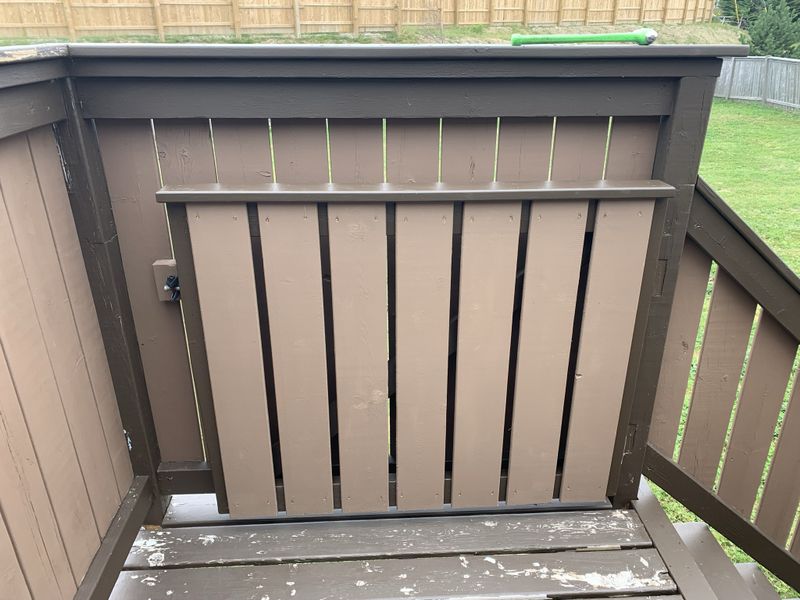
My final outdoor project this year was replacing the severely rotted out safety gate on our rear deck. For this I re-used some good lumber from the basement stairwell job, which left only palings to be purchased in new lumber.
I like to build gate frames flat with mitered corners which are then glued and screwed together. Building it flat keeps the gate thin but also makes the corners quite strong when glued. On large gates I make an X brace, on this small gate I may not have need any extra support but I added one diagonal brace from the high hinge side to the low latch side which was also glued and screwed in place.
Once again I painted the frame and palings separately as they are two different colours.
These projects made for a busy few weeks working afternoons/evenings and weekends but we're very happy to have them done and much safer property than when we started.
Cheers, MIKE
Copyright © 2011 Michael Smith
|